|
|
Post by 2whl on Jan 3, 2019 15:19:55 GMT -8
|
|
|
|
Post by robhart on Jan 3, 2019 18:35:03 GMT -8
That is going to be awesome! One of my favorite Ferraris.
|
|
|
|
Post by 2whl on Jan 4, 2019 13:21:01 GMT -8
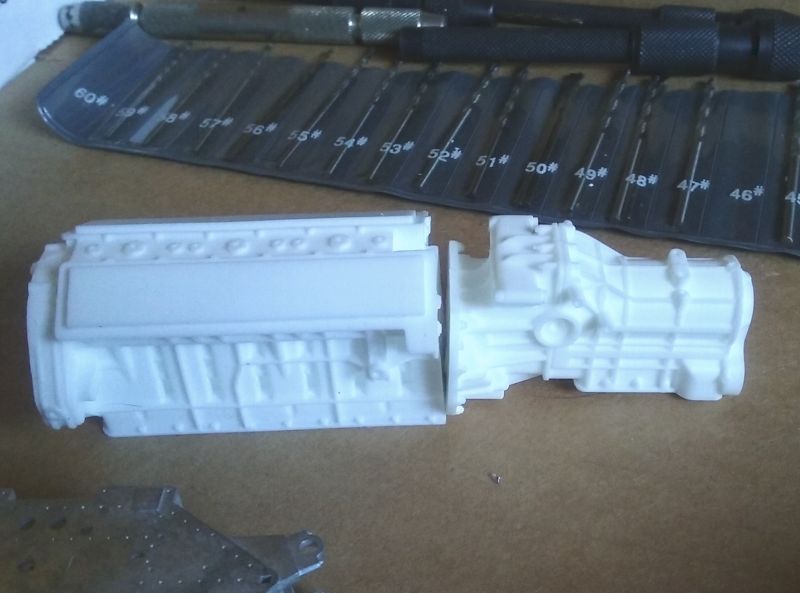
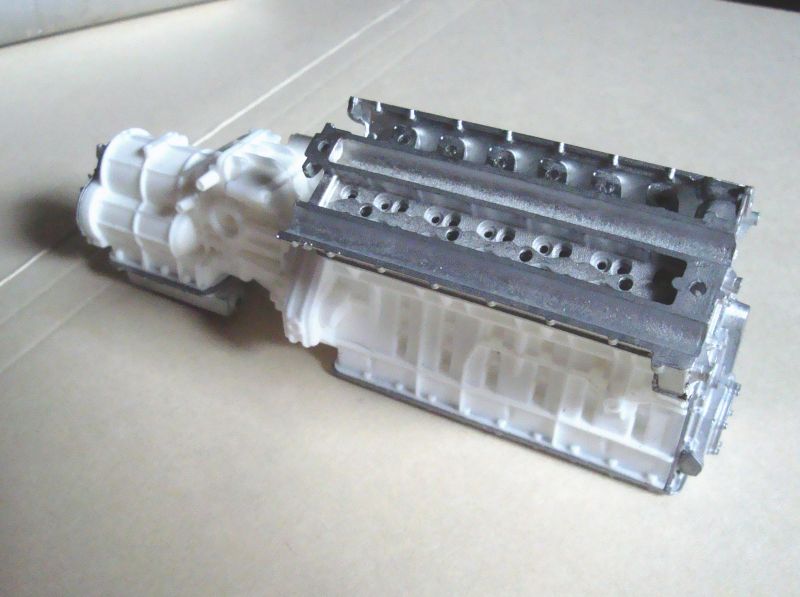
Thanks Rob. Mine too, I've also got it in 1/20th. This is where I got to with the engine when I had my set-back 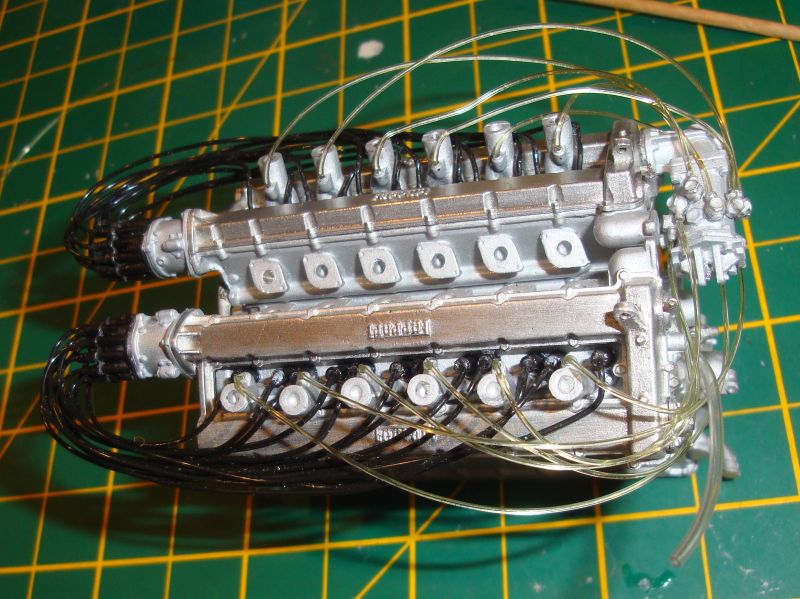 The fuel line I used as a substitute for the MFH stuff was too stiff. When I CA'd the throttle plates onto the intake runners, I managed to get a fuel line stuck between the two. Of course, I didn't notice it until it was too late. So I decided to invert the engine in a shallow puddle of acetone to debond the offending pieces. To keep the acetone from evaporating, I used a jar on it's side and closed the lid to let it sit overnite. When I came back to it the next morning, the entire engine had been debonded and was back to pieces. 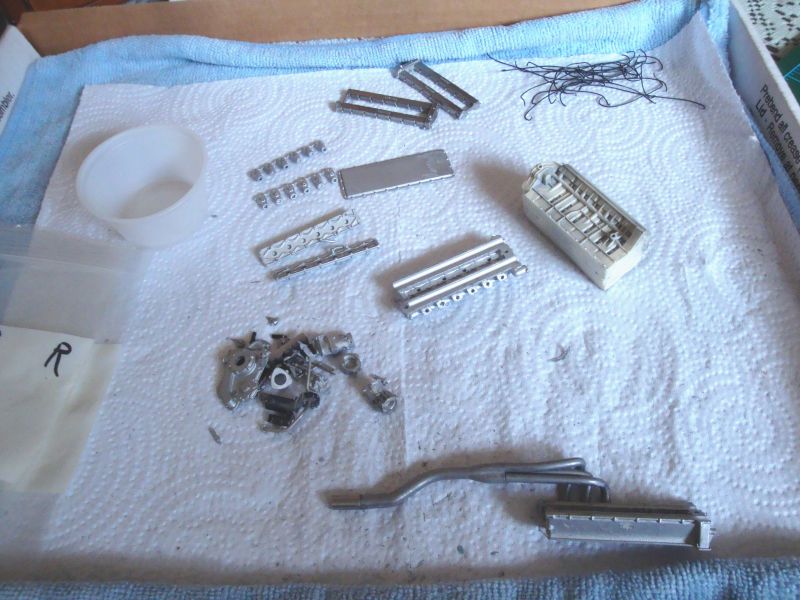 But there is a good side to this mistake. I had been having trouble getting all of the exhaust pipes lined up correctly with the engine assembled. But now that it is in pieces, I was able to slowly build up each sub-assembly. I CA'd one pipe onto the head, then bent/shaped the next pipe to it and the collector. So the four exhaust sub-assemblies are done. 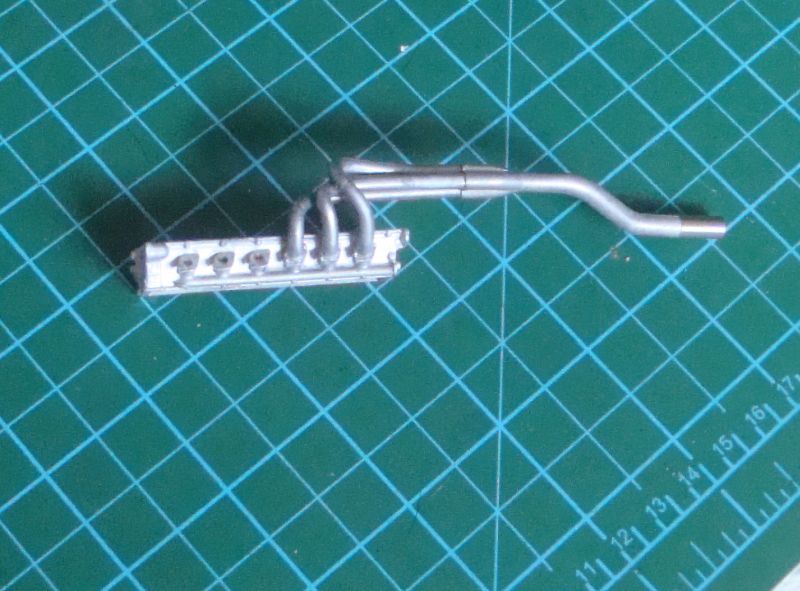 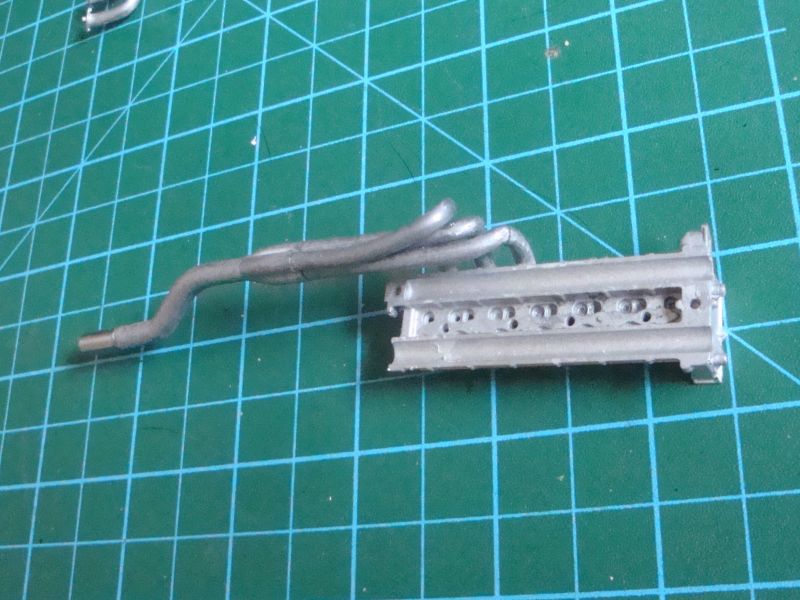 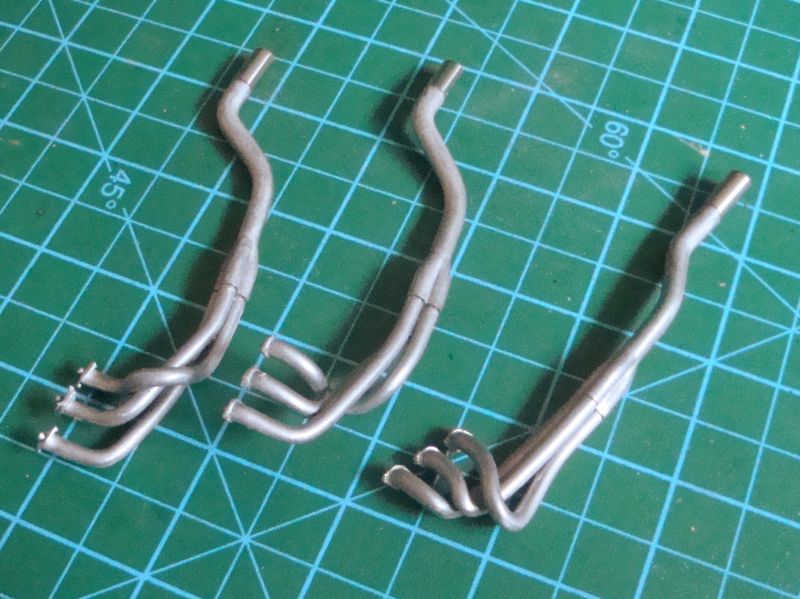 My next blunder was on one of the sets of exhaust pipes. While trying to get two of the pipes bent into position, they broke. I did manage to get all of the parts into position and CA'd. Next I will use some JB Weld to fill in the gaps. Then sand and paint. 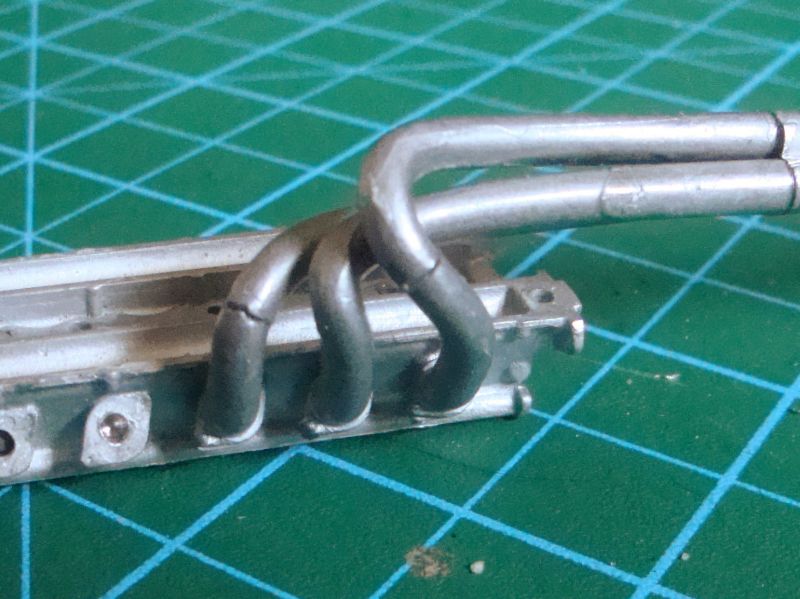 |
|
|
|
Post by garydavis on Jan 4, 2019 13:42:05 GMT -8
This is really looking good 2whl. Good job on the headers. Like you said...a little JB weld and it's fixed.
|
|
|
|
Post by Rob Spires on Jan 4, 2019 16:44:13 GMT -8
I can’t wait to see this one come together!
|
|
jj66
Rookie

Posts: 43 
|
Post by jj66 on Jan 6, 2019 14:11:28 GMT -8
Good start. Looking forward for more updates.
|
|
|
|
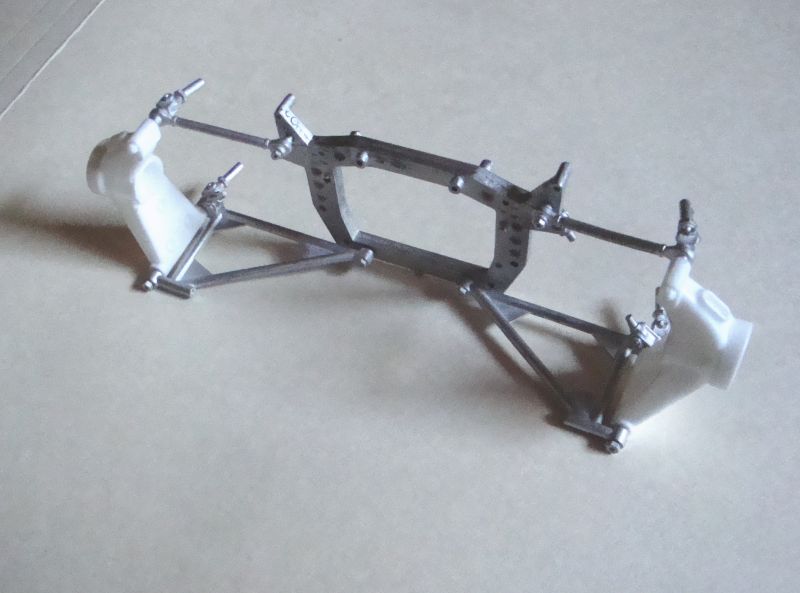
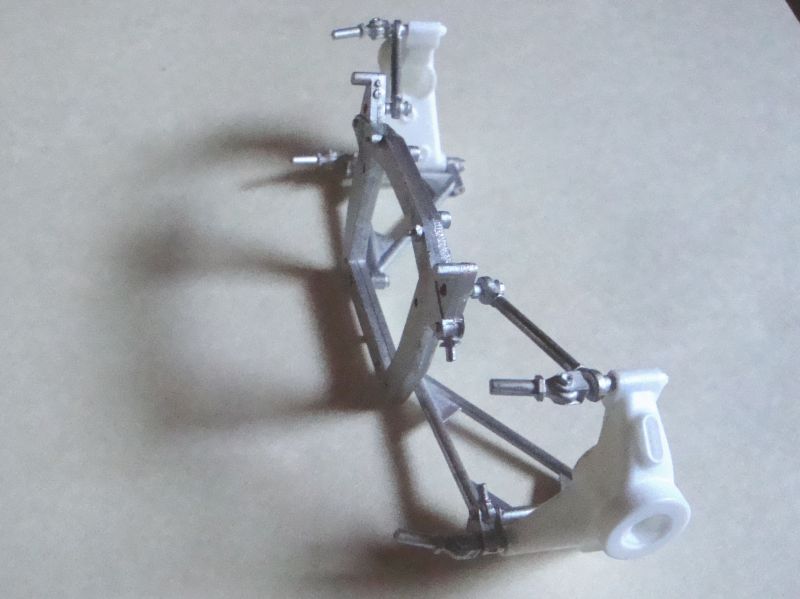
Post by 2whl on May 25, 2019 11:54:48 GMT -8
While I was JB Welding the Lotus parts, I filled in the cracks in the exhaust headers. 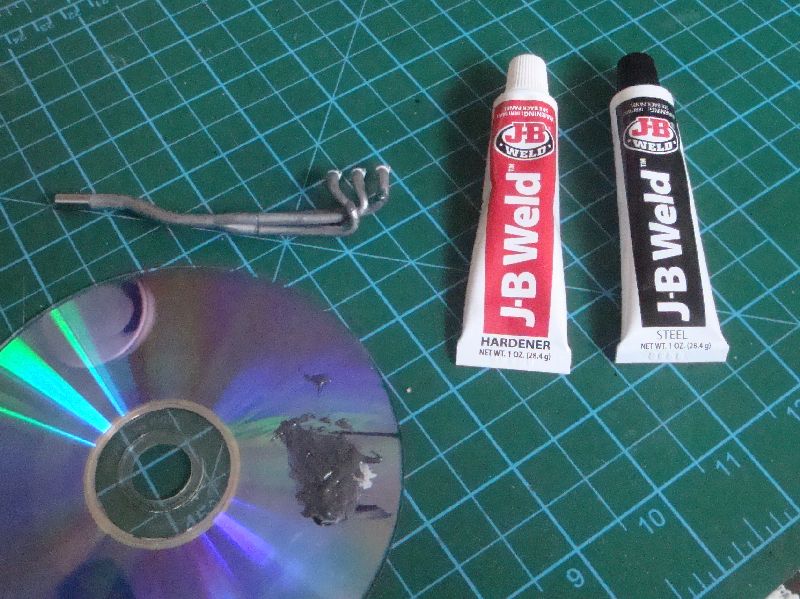 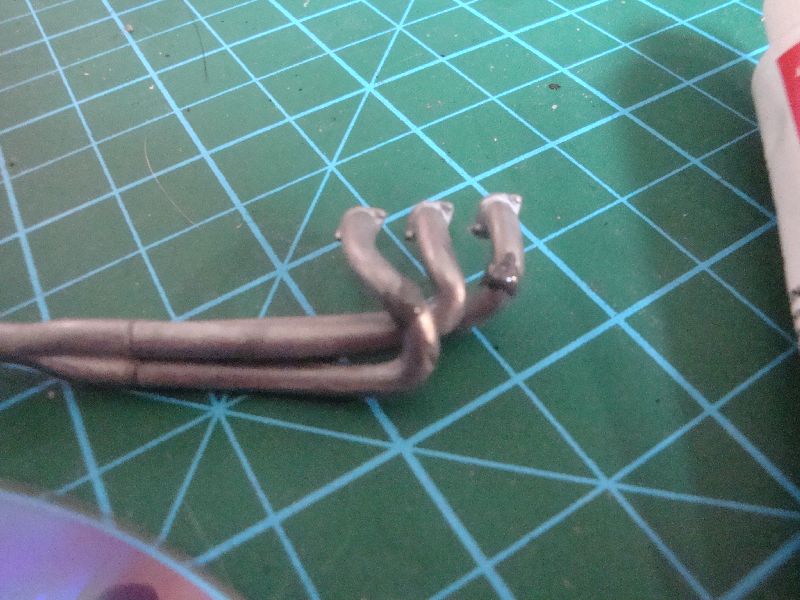 |
|
|
|
Post by tatocorvette on May 25, 2019 15:17:28 GMT -8
Beautiful work so far! JB Weld is great for many things!
|
|
|
|
Post by garydavis on May 28, 2019 11:34:24 GMT -8
OH YEA...now that's using the right stuff for the job. Thanks for the up-date pics 2whl..... Looking forward to more that's for sure..
|
|
|
|
Post by 2whl on Jul 7, 2019 15:49:09 GMT -8
Thanks for checking in guys. I've got some more for you. I sanded down the JB-Weld and primed the pipes with Tamiya fine white primer. Since the tail pipe tips are slightly larger than the w-m pipes, I am using Tamiya liquid surface primer to build the gap area. After a couple of layers, it's time for some sanding to level the seam. 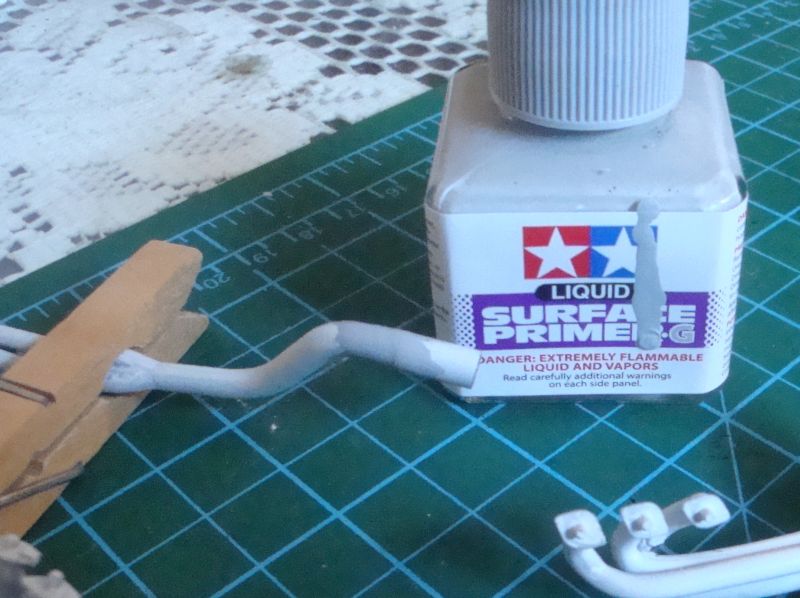 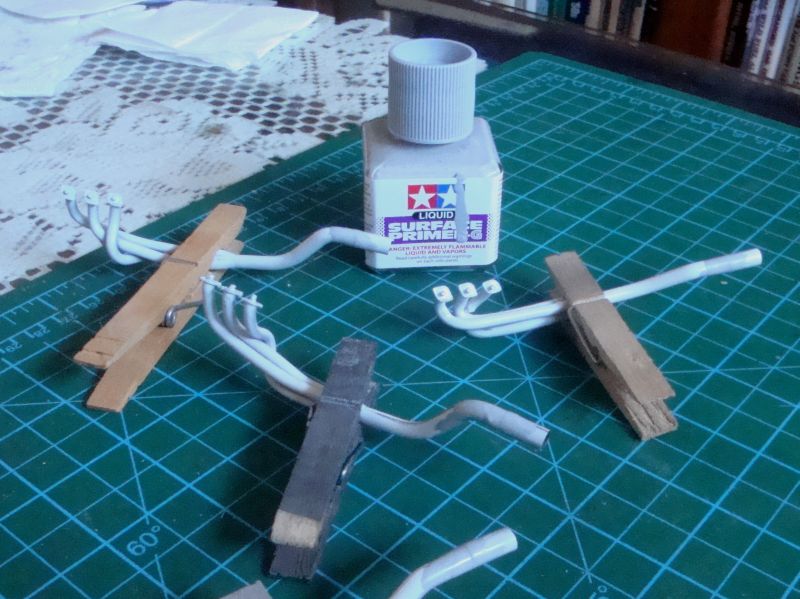 |
|
|
|
Post by robhart on Jul 8, 2019 13:09:09 GMT -8
Tamiya primer is magic stuff.
|
|
cc
Full Time Ride
Posts: 141
|
Post by cc on Jul 8, 2019 16:17:20 GMT -8
2whl. I’m always amazed at how much skill is displayed on building MFH kits. So many skill set‘s needed to do them justice. I’ll be watching you as you build. JB weld has so many use’s. Good job on the exhaust repair.
CC 😎
|
|