


Post by Joel_W on Jun 21, 2019 11:51:24 GMT -8
Another really satisfying week working on the 935 K2 Porsche.
Last update ended with the body shell just resting on the chassis pegs to get a feel for how she'll look. So it's time to finish up the interior.
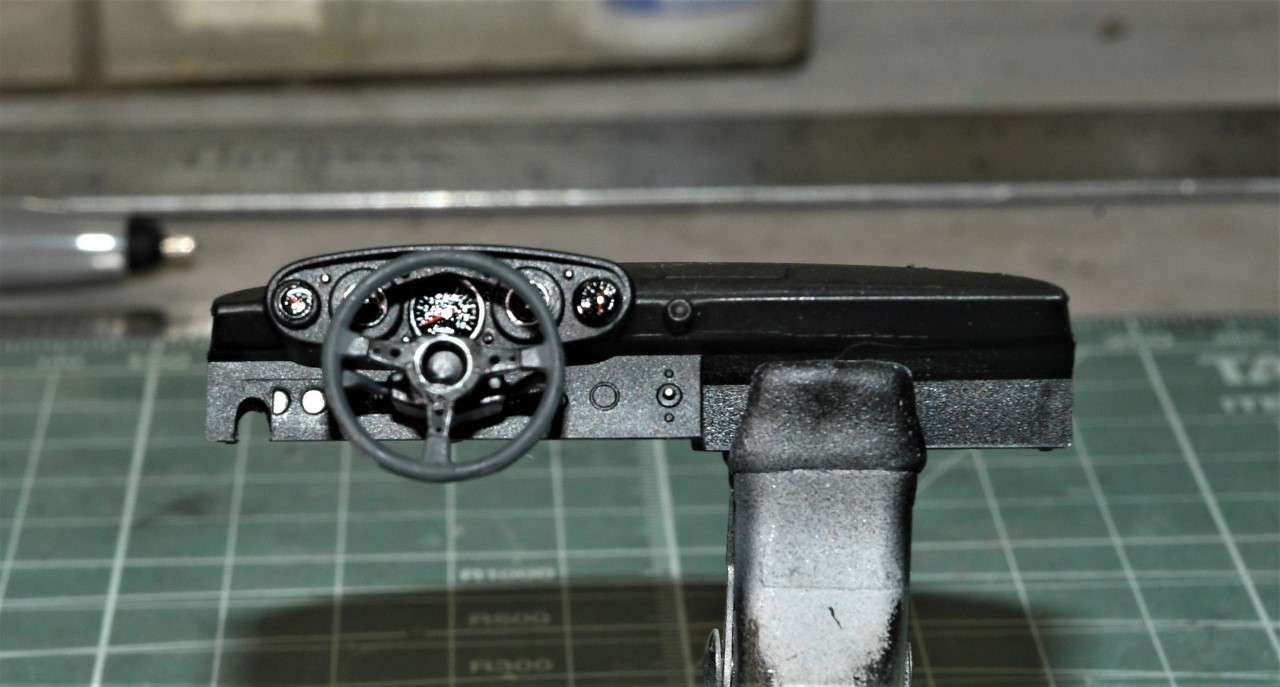
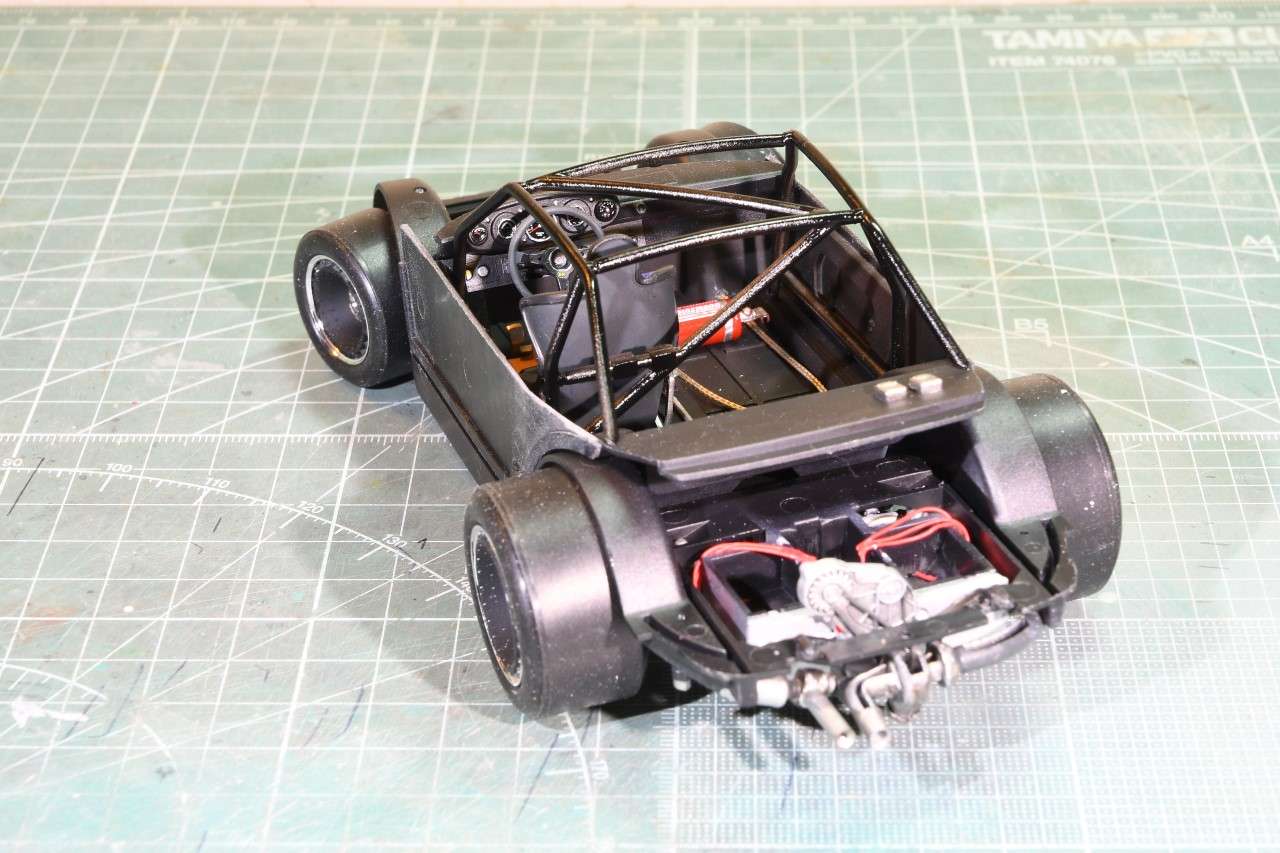
1st up was the dash and steering wheel assembly. I primed all three parts Mr. Hobby Gray Finishing Surfacer #1500, then air brushed the front of the dash and instrument cluster Mig Ammo Flat Black. The Top of the dash was air brushed with Tamiya Semi Gloss Black with a few drops of Dullcoat. The steering wheel was painted Flat Black with the grip hand brushed Tamiya Nato black so it had a more of a foam/rubber look to it. The instrument bezels were hand painted with good old Testors Enamel Silver using a # 5/0 Sable Brush. All the instruments are decals, so I gave each recess a drop of Pledge and let it dry. A hour or so later I applied the decals using my decaling system of Micro Set, Micro Sol, & Sovaset. 24 hrs later another drop or two of Pledge to replicate the lens.
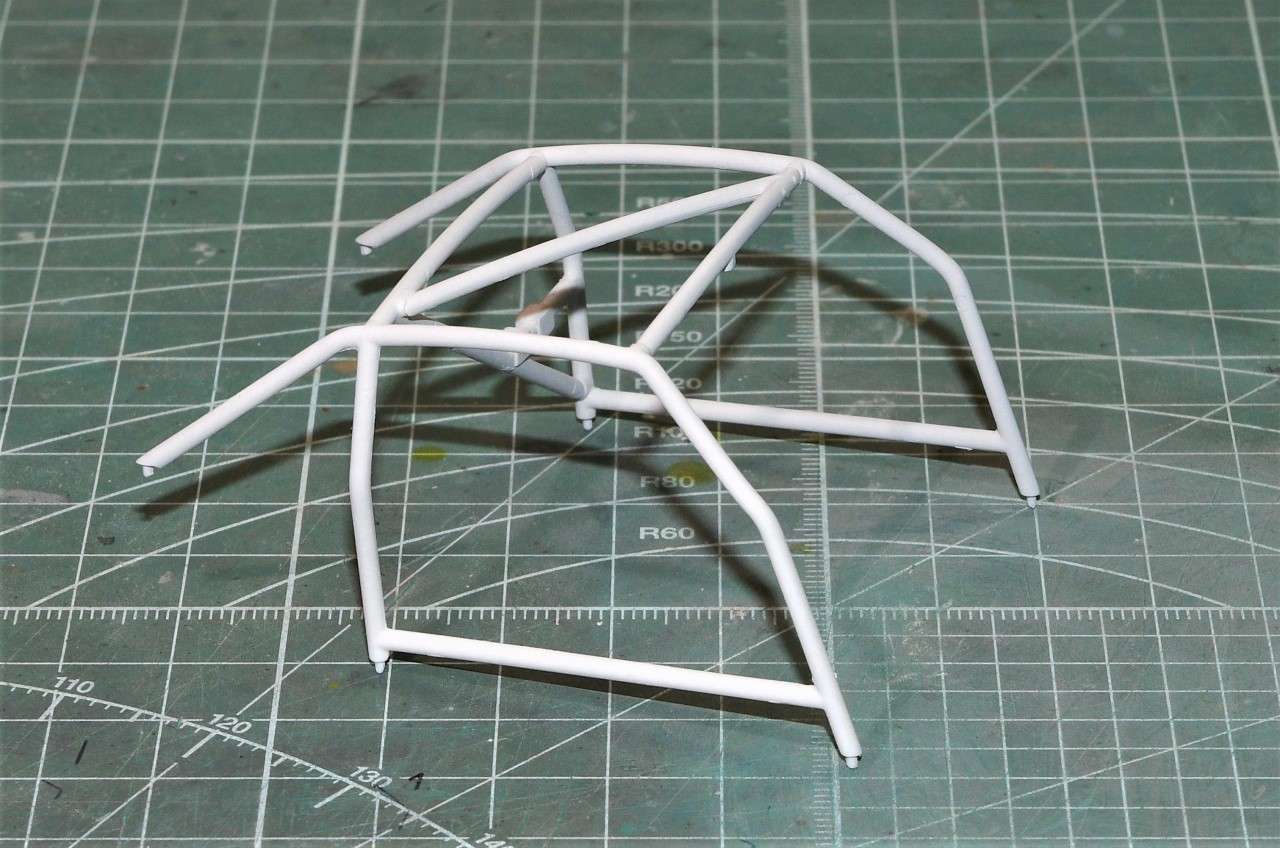
I then primed the roll cage with Tamiya Light Gray Primer Sealer in a Rattle can as I was just to lazy to get out the air brush. The Tamiya primer laid down perfectly. I know that in the picture it looks white, but it's light Gray for sure.
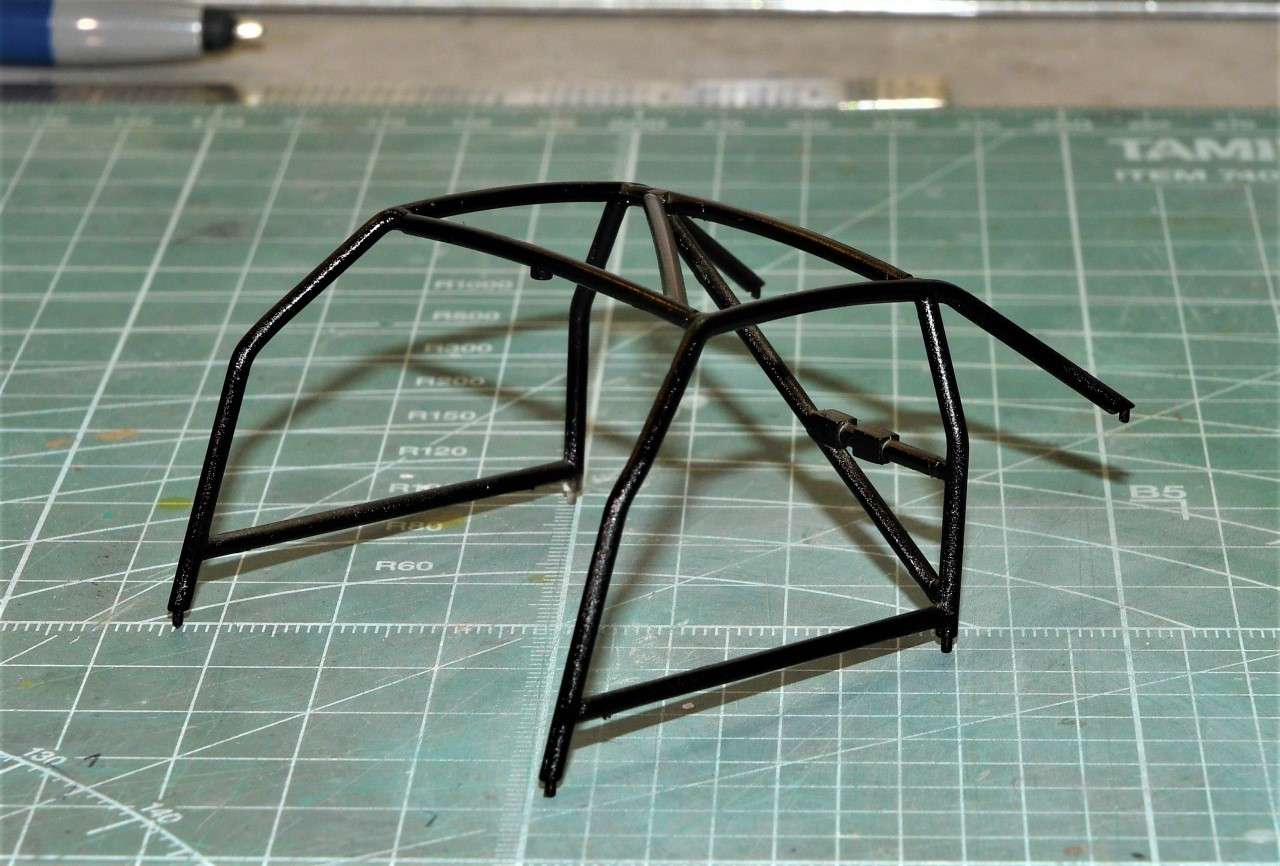
I gave it a hour or so to dry, then I air brushed it Tamiya Semi gloss Black. I let it dry overnight, then it recieved a coat of ModelMaster Glosscoat which isn't as glossy as Mr. Color's C46 Gloss Lacquer clearcoat.
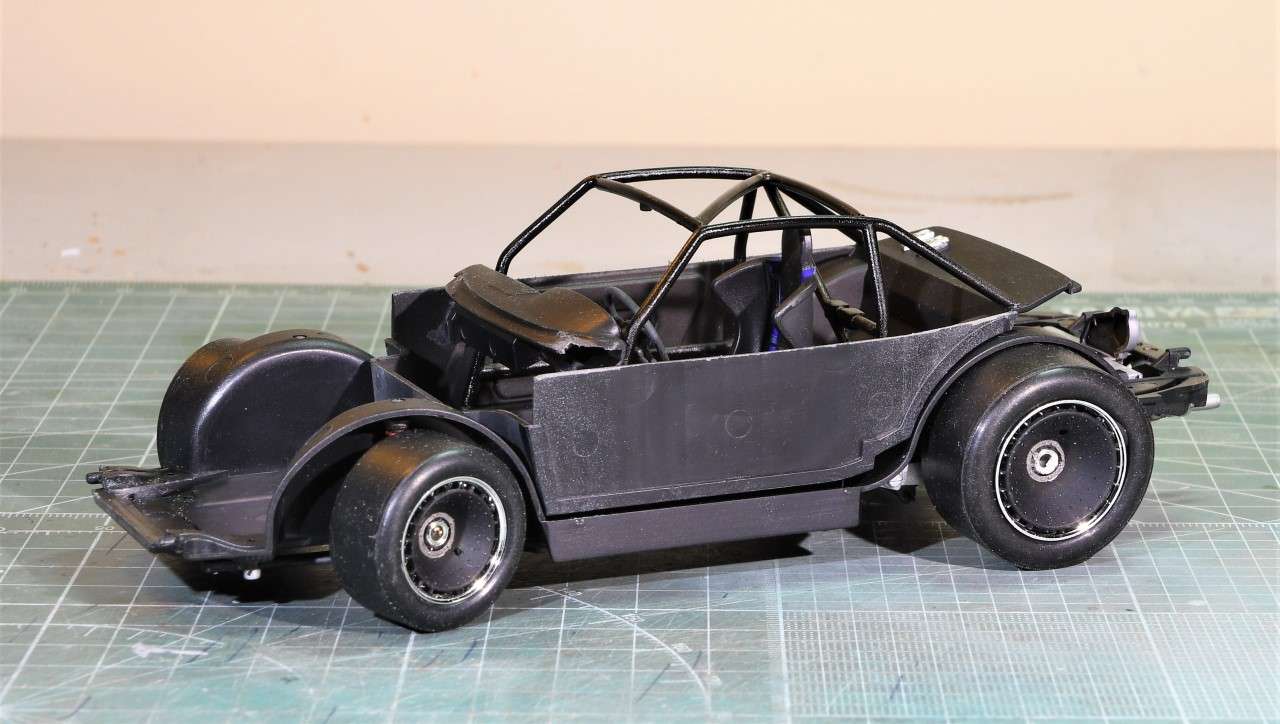
Next up was gluing the roll cage into it's proper position, which like everything else in the kit just dropped right into place. This was followed with both inner door panels that were also previously primed and painted Mig Ammo Flat Black, and then a coat of Dullcoat. Finally the Dash assembly which also just dropped right into place.
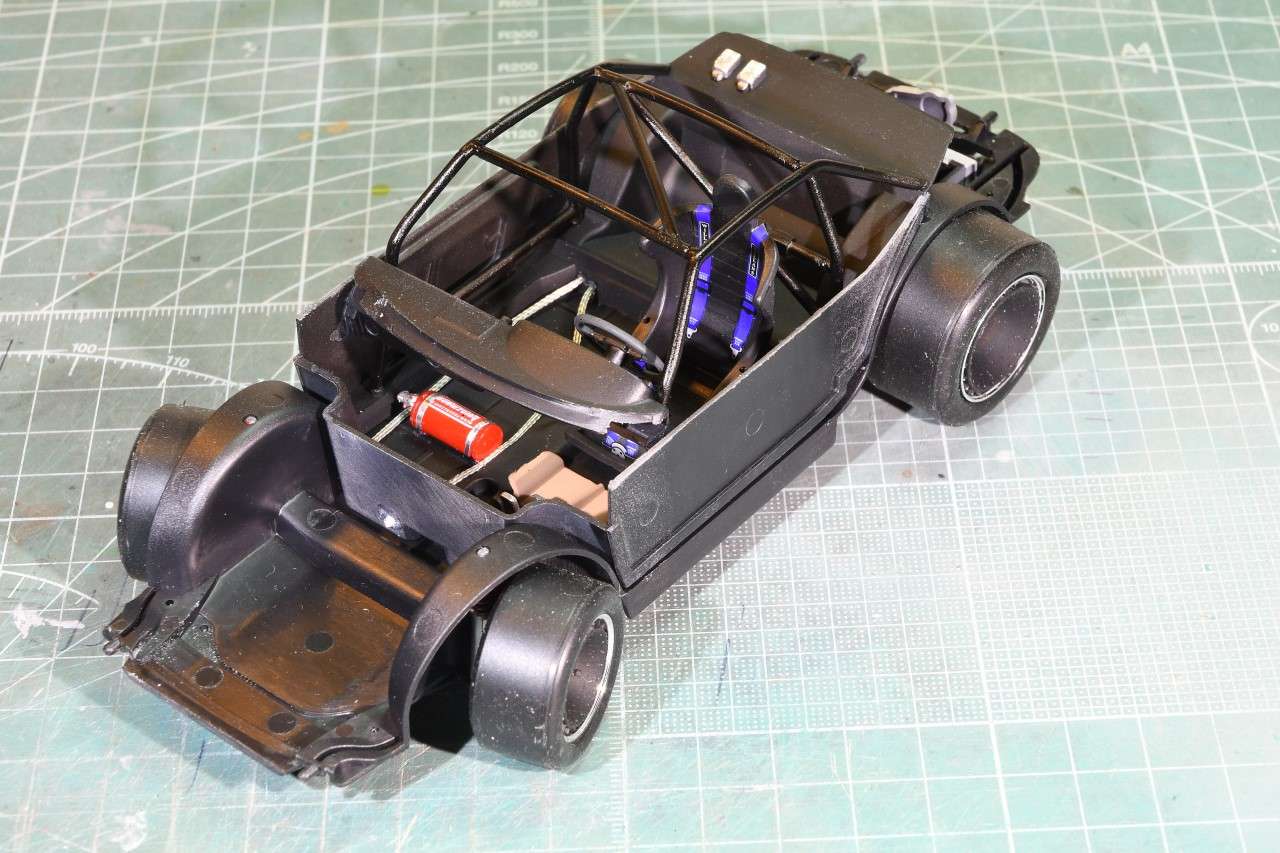
I've previously installed the brake venting discs into each wheel using CA for the front and 5 min epoxy for the rears, as the CA just didn't keep them glued into place for some unknown reason.
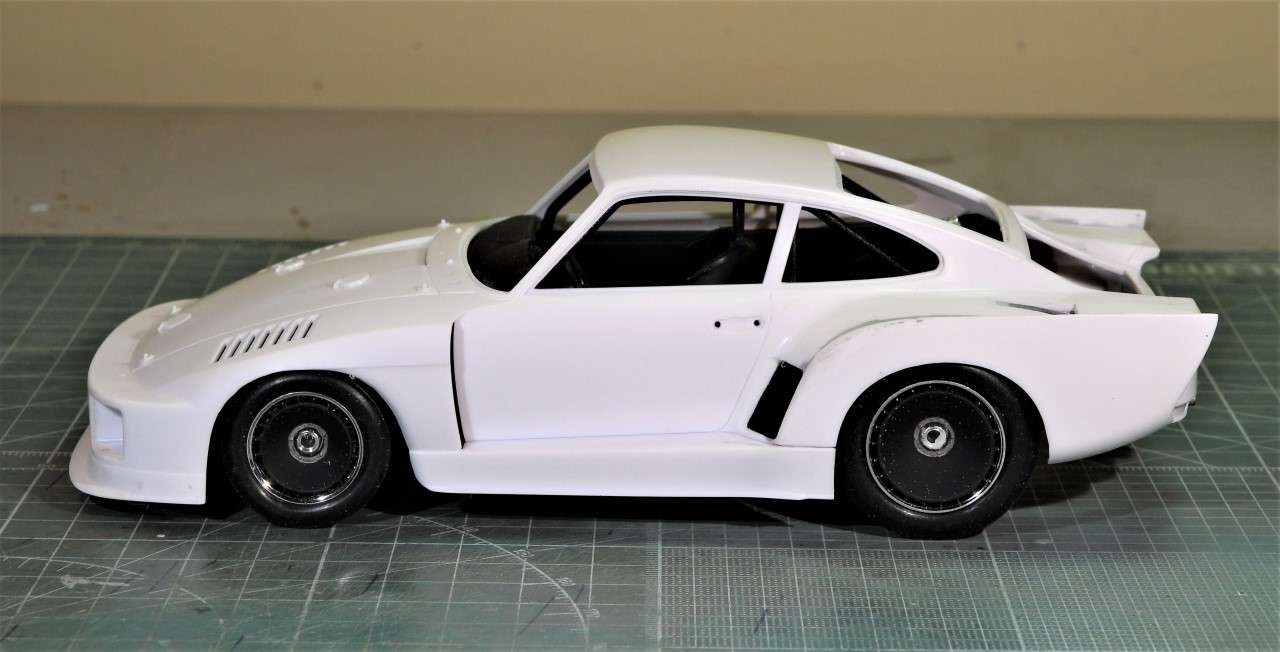
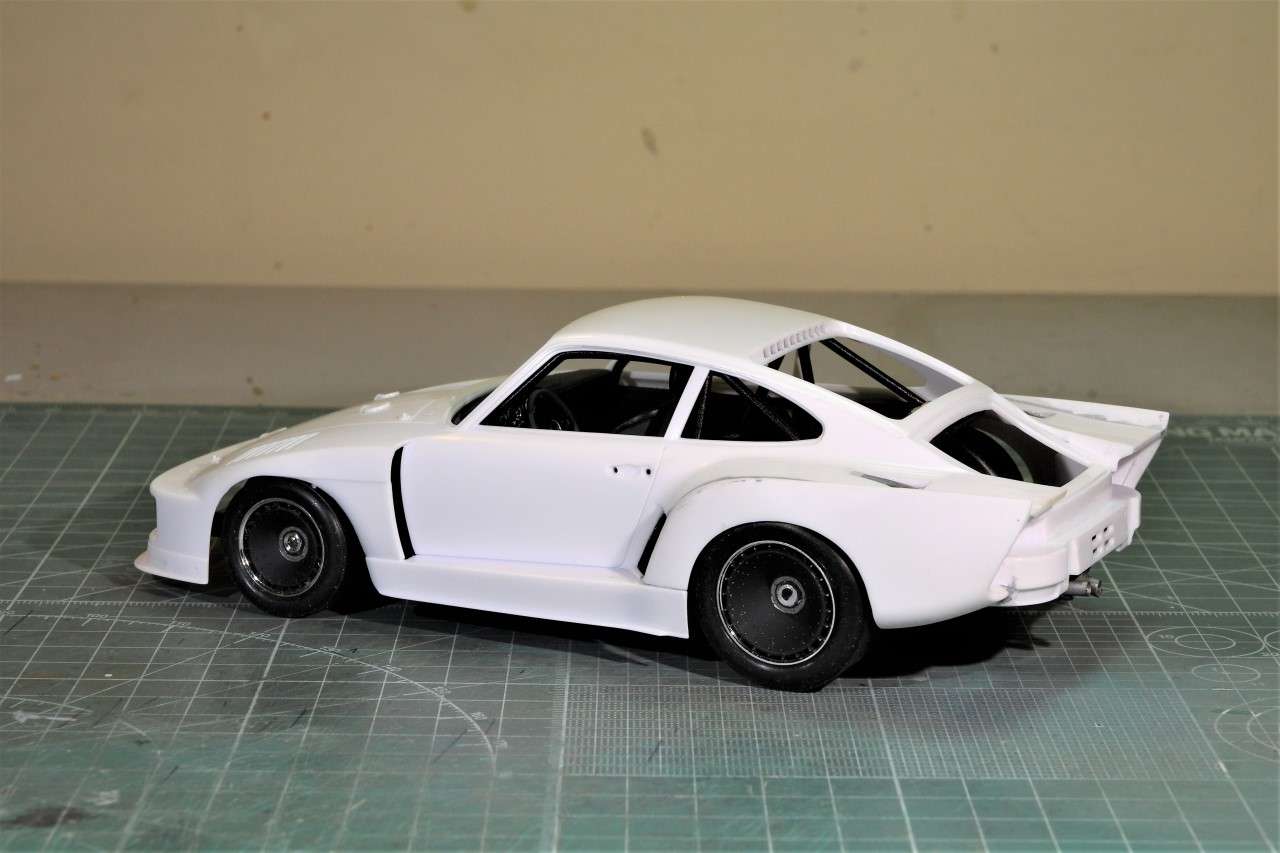
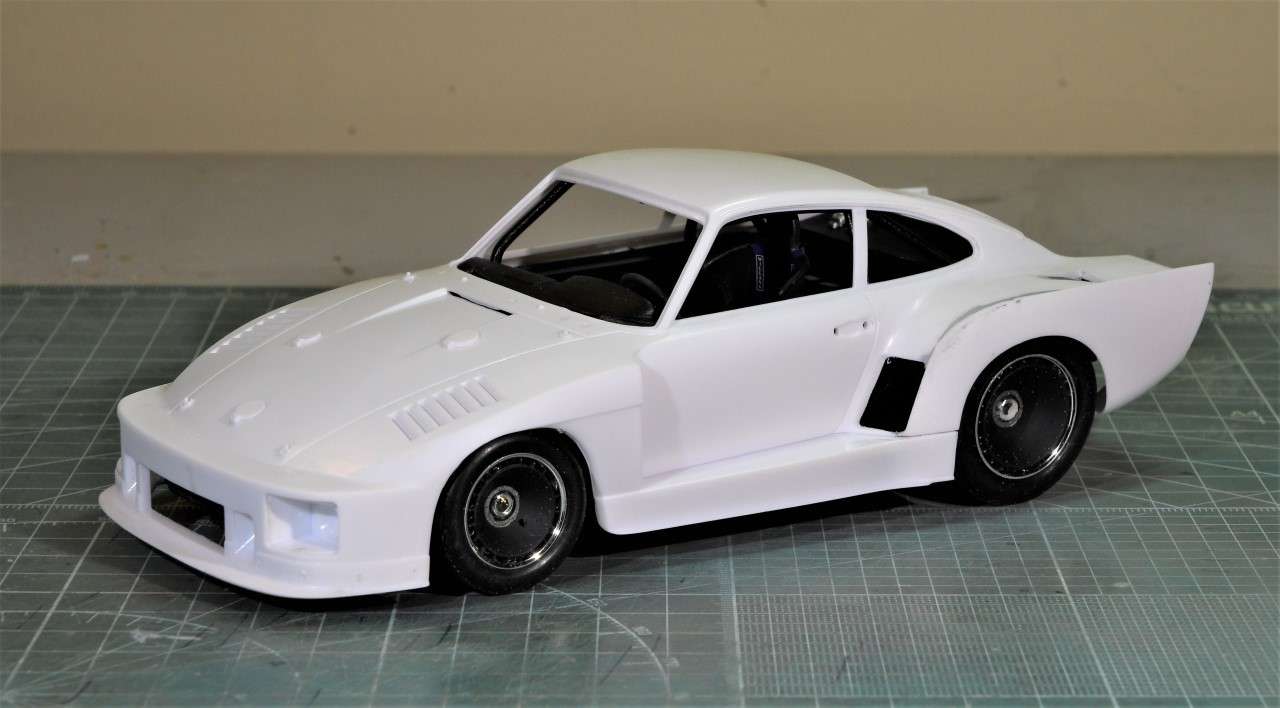
Now came the moment of truth for the test fit with everything basically in place. Usually I have a few issues that would need to be addressed, but not this time, as the body just snapped right into place on the 4 pegs. The dash fit perfectly, as did the tires, and the engine turbo exhausts. The body does have a little movement that's necessary to be able to get it over and then onto the pegs. Still, it has the proper stance and look of a Kremer 935 K2.
Joel
Last update ended with the body shell just resting on the chassis pegs to get a feel for how she'll look. So it's time to finish up the interior.
1st up was the dash and steering wheel assembly. I primed all three parts Mr. Hobby Gray Finishing Surfacer #1500, then air brushed the front of the dash and instrument cluster Mig Ammo Flat Black. The Top of the dash was air brushed with Tamiya Semi Gloss Black with a few drops of Dullcoat. The steering wheel was painted Flat Black with the grip hand brushed Tamiya Nato black so it had a more of a foam/rubber look to it. The instrument bezels were hand painted with good old Testors Enamel Silver using a # 5/0 Sable Brush. All the instruments are decals, so I gave each recess a drop of Pledge and let it dry. A hour or so later I applied the decals using my decaling system of Micro Set, Micro Sol, & Sovaset. 24 hrs later another drop or two of Pledge to replicate the lens.
I then primed the roll cage with Tamiya Light Gray Primer Sealer in a Rattle can as I was just to lazy to get out the air brush. The Tamiya primer laid down perfectly. I know that in the picture it looks white, but it's light Gray for sure.
I gave it a hour or so to dry, then I air brushed it Tamiya Semi gloss Black. I let it dry overnight, then it recieved a coat of ModelMaster Glosscoat which isn't as glossy as Mr. Color's C46 Gloss Lacquer clearcoat.
Next up was gluing the roll cage into it's proper position, which like everything else in the kit just dropped right into place. This was followed with both inner door panels that were also previously primed and painted Mig Ammo Flat Black, and then a coat of Dullcoat. Finally the Dash assembly which also just dropped right into place.
I've previously installed the brake venting discs into each wheel using CA for the front and 5 min epoxy for the rears, as the CA just didn't keep them glued into place for some unknown reason.
Now came the moment of truth for the test fit with everything basically in place. Usually I have a few issues that would need to be addressed, but not this time, as the body just snapped right into place on the 4 pegs. The dash fit perfectly, as did the tires, and the engine turbo exhausts. The body does have a little movement that's necessary to be able to get it over and then onto the pegs. Still, it has the proper stance and look of a Kremer 935 K2.
Joel


