Post by Joel_W on Sept 1, 2019 9:18:52 GMT -8
Well, Yesterday my Coventry Climax Lotus 25 crossed the finish line, so this is my final update before she's placed in her individual display case, and then on my F1 shelf. But 1st I did have several final touches to complete.
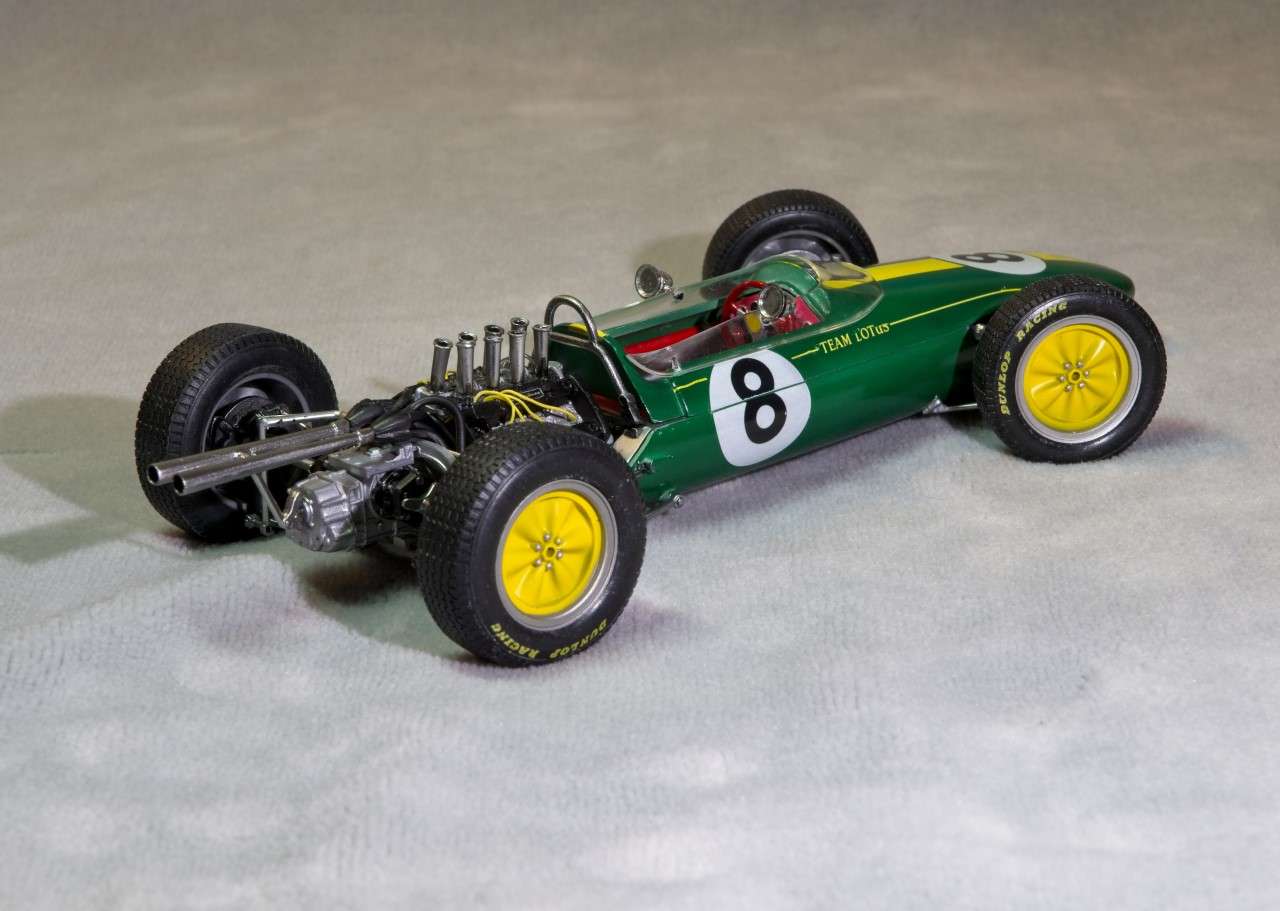
1-1st was the installation of the roll bar/rear bulkhead. After the usual gloss Black basecoat, the bulkhead was painted Alcad2 Aluminum. Once dry I masked it off, and painted the rull bar Alcad2 Chrome. The bulkhead fits right between the pipe to the water pump and the pipe to the radiator. Hense, that gap you saw in previous pictures.
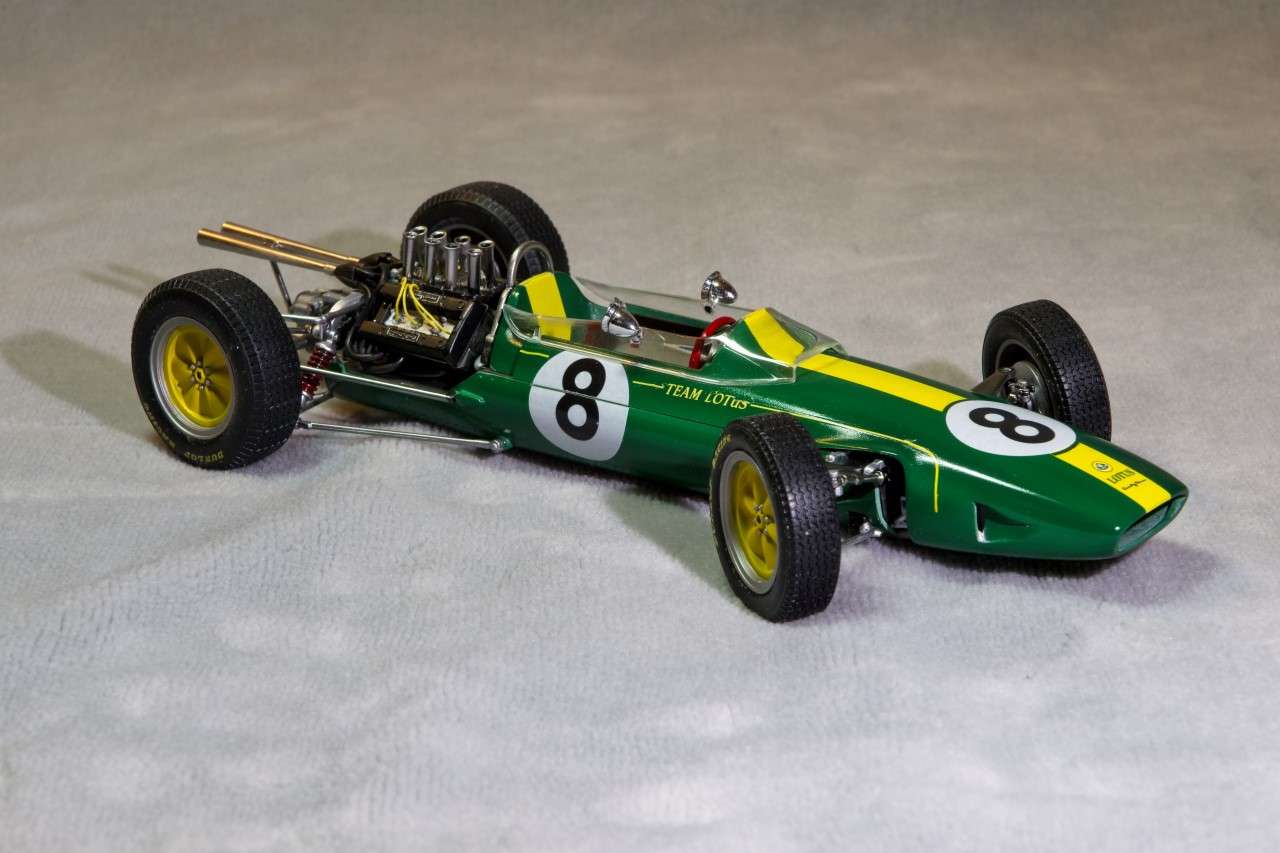
2-The Redish Brown leather seat and steering wheel as well as the Stainless Steel steering shaft were installed. I started off with the custom mix that Tamiya listed, but the color was way to Brown. So I kept on adding Tamiya Gloss Red till I got closer to the set of reference pictures I was using. The Redish color does vary all over the place depending on whose restoration you're looking at. Some are pure Red which I believe for this car was wrong. The Redish color would have quickly turned darker and somewhat Brownish from dirt, grease, oils, etc. So I went with my own mix.
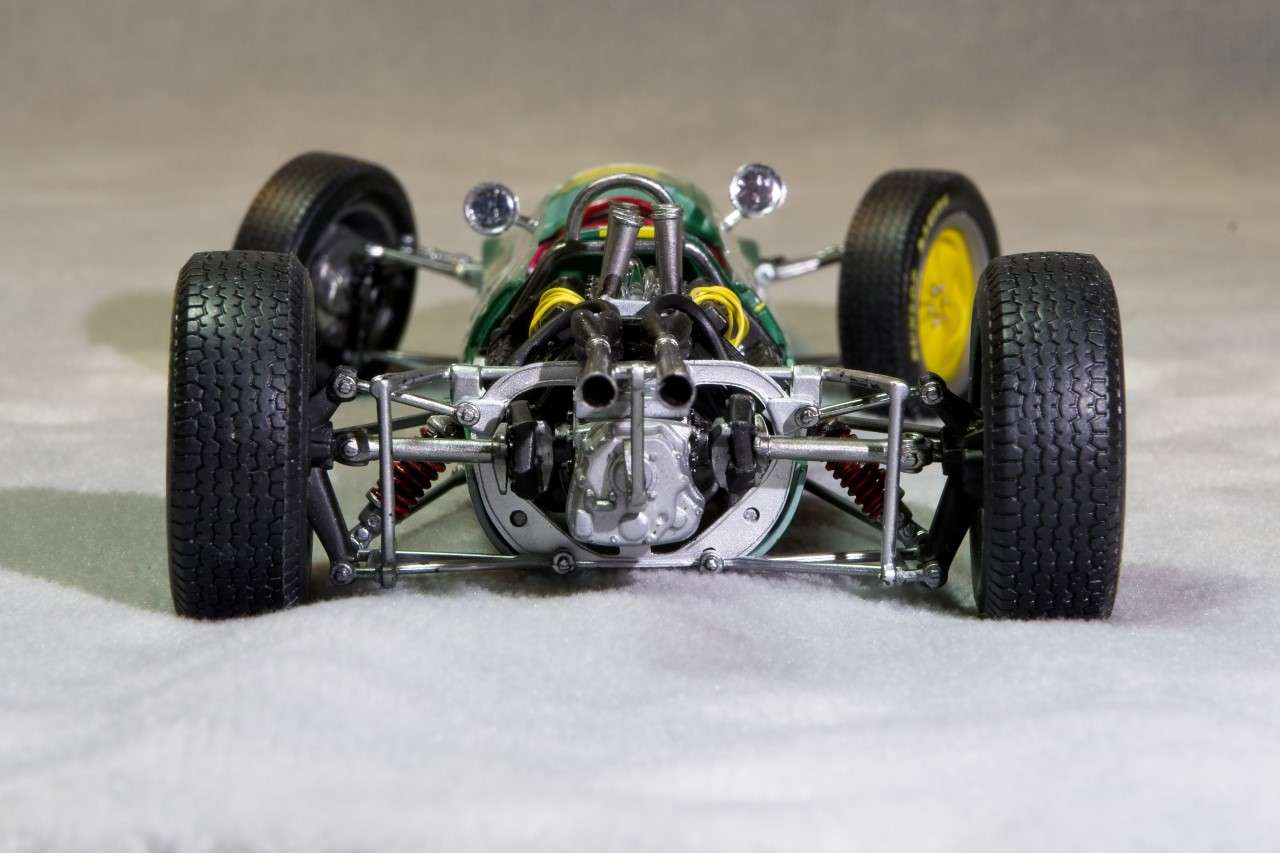
3-The Fuel injection intakes had preveiously been stripped, recieved a basecoat of Tamiya Gloss Black, then Alcad2 Chrome. Now they were glued into position.
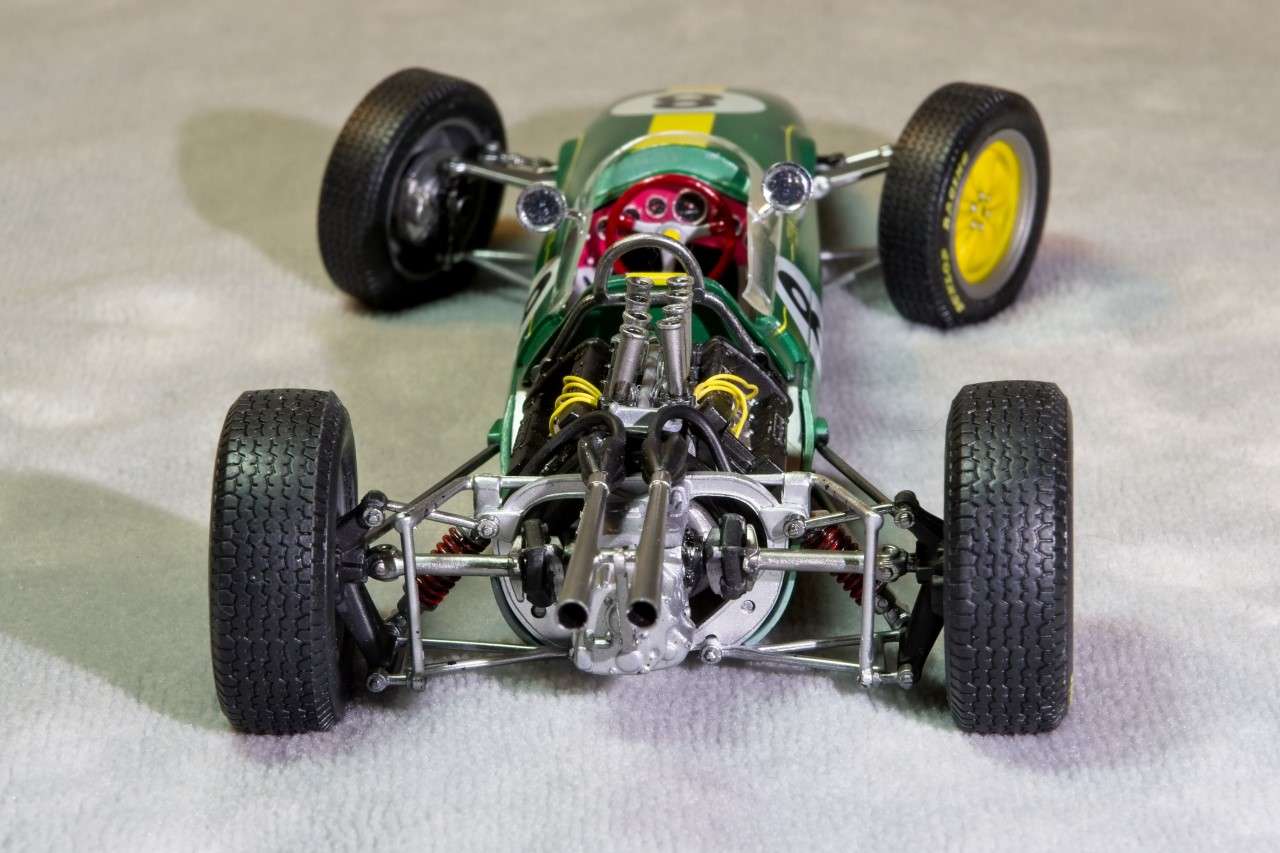
4-Next was finishing the rear suspension. All the various rods were painted various shades of Alcad2. The hub carrier was painted Semi Gloss Black, the Disc brake assemblies also recieved various shades of Alcad2, and Mr. Hobby Metallics. The rubber donuts were painted Tamiya Natio black mixed with some Flat Black, then the bolts were picked out with Testors Silver. The drive shafts were also painted with Alcad2 Chrome. Honestly, the suspension assembly required a min. of 3 hands and the eyesight of an Eagle, neither of which I have. So boy did I struggle, and did I have a ton of colorful words and expressions that my wife just loved so much that she closed the computer/modeling room door, and turned up the TV in the Den. Finally, when I thought all was lost, I got one side done. The other side took considerable less time, the colorful oration wasn't necessary.
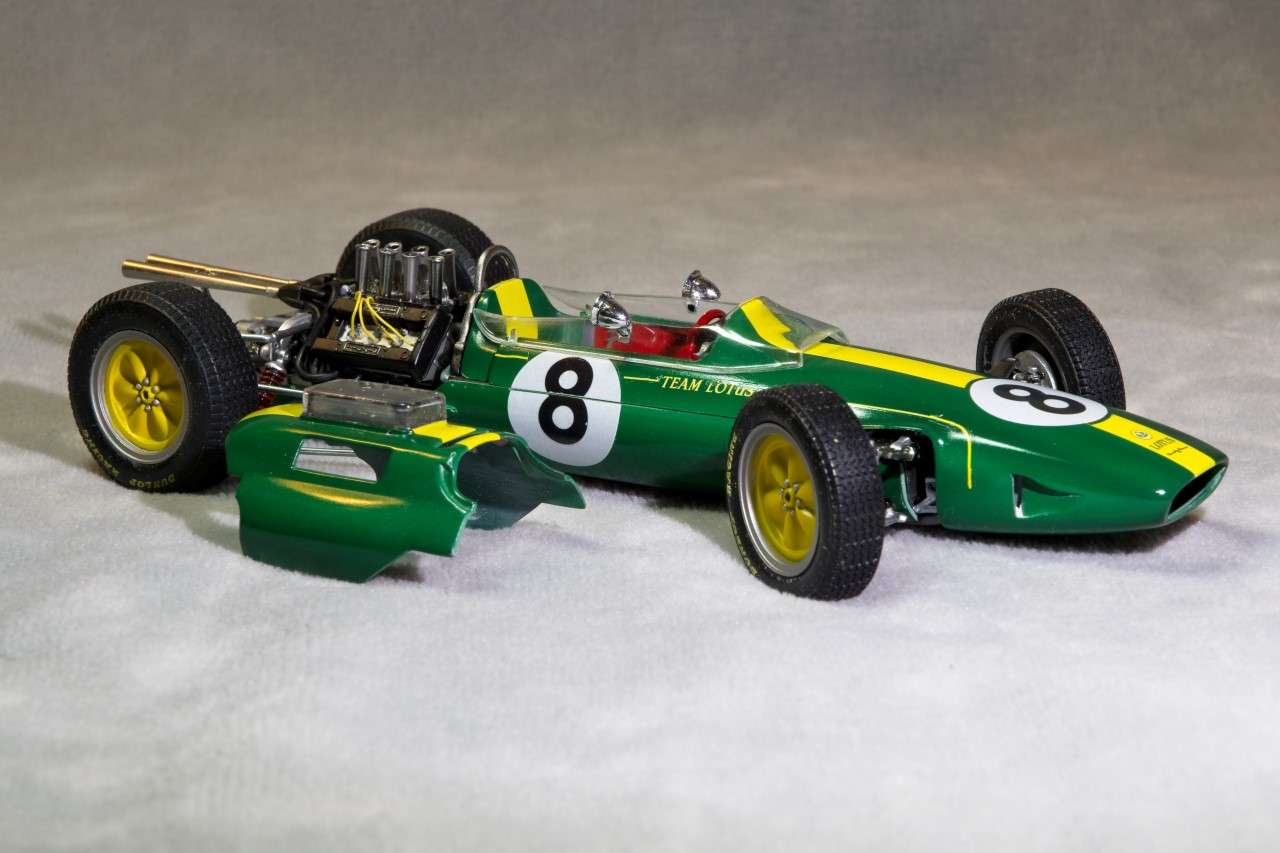
5-Now for the moment of truth, time to attach the top main body shell to the lower half. I had decided to glue them together rather then have the ability to remove it to display the front end details, which honestly were just OOB and therefore nothing special. One could always look into the front of the nose to see the radiator, or turn over the model and look through the lower front suspension to see some more detail. That does look a whole lot better then the complete insight overview.
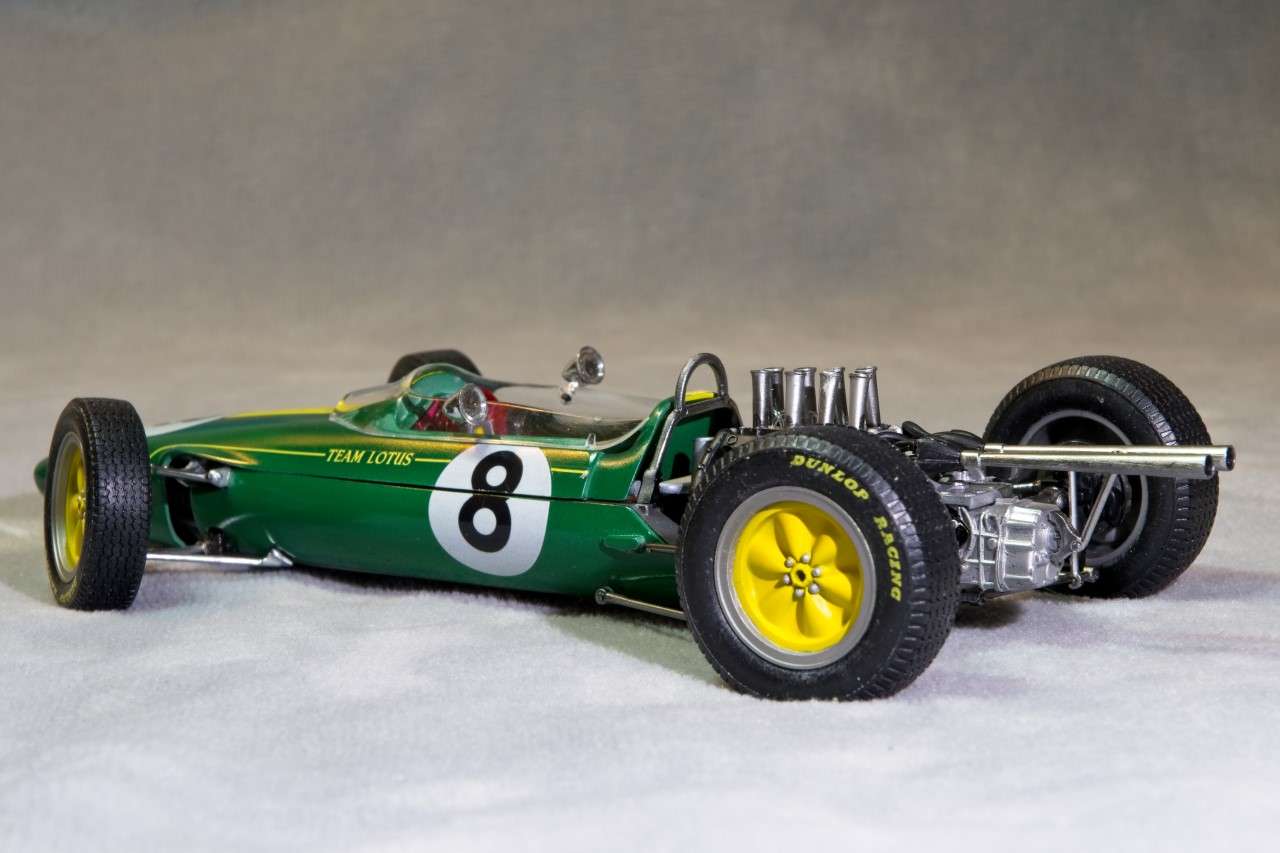
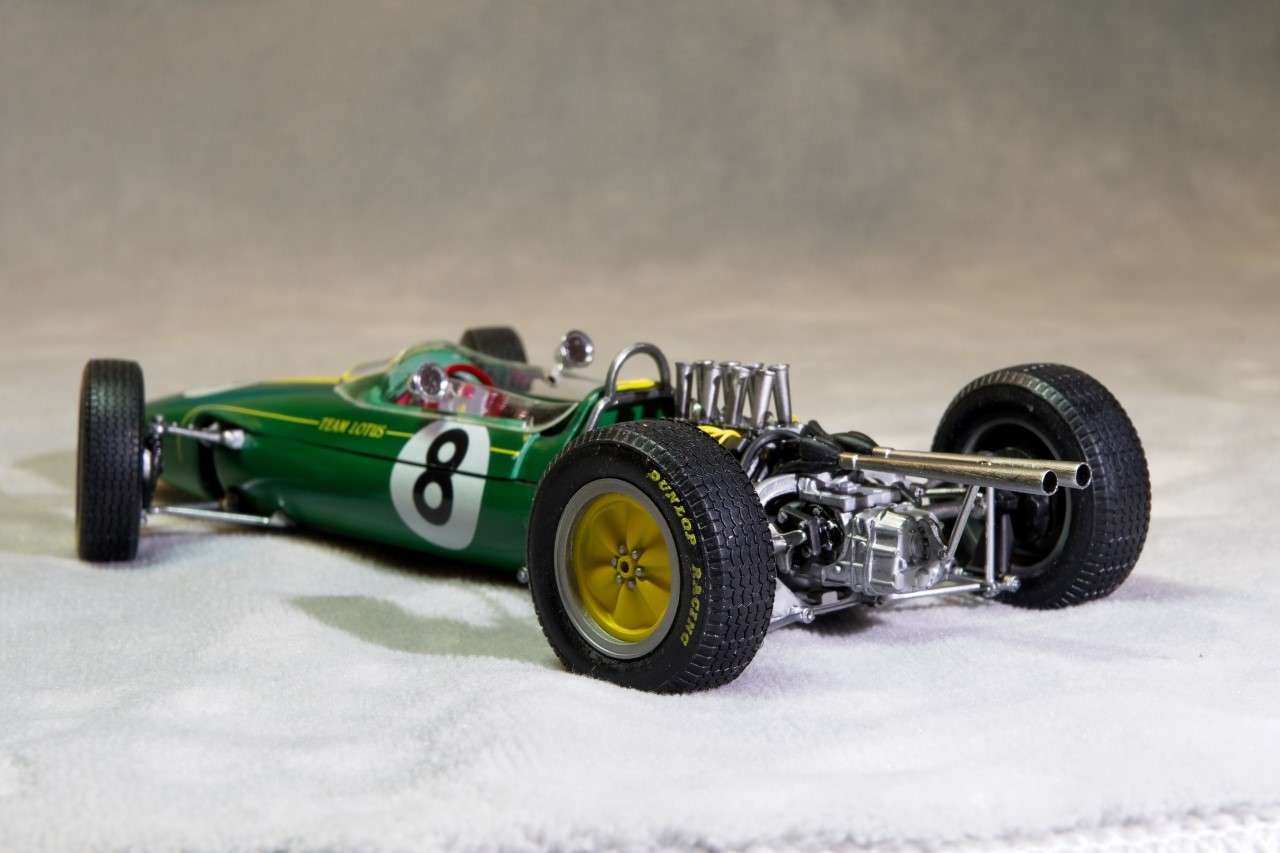
6-The Exhaust collectors and attachment brace to the rear of the gearbox were chromed with Alcad2 and installed. To my surprise the fit was perfect! And I'd worried about this since day 1 of the build, as I've always had issues with exhaust and collectors.
7-The cockpit plexiglass fits perfectly. Once glued into place I glued the two Talbot mirrors into position. The glass parts are separate. I used Pledge over the chrome to represent the mirror faces, and then glued them to their bases.
8-And finally the wheels and tires were press fitted into place. I've read review after review that knocked how they look. But honestly, they looked just fine to me. Sure glad that I didn't spring for #25 for the resin replacement set.
And so ends one special build of the Lotus that helped formulate my love of road racing and Formula 1 way back in the summer of 1963 when I bought my 1st Road & Track magazine.
Thanks to all that have been along for journey, and to those who have stopped by from time to time. It's always much appreciated.
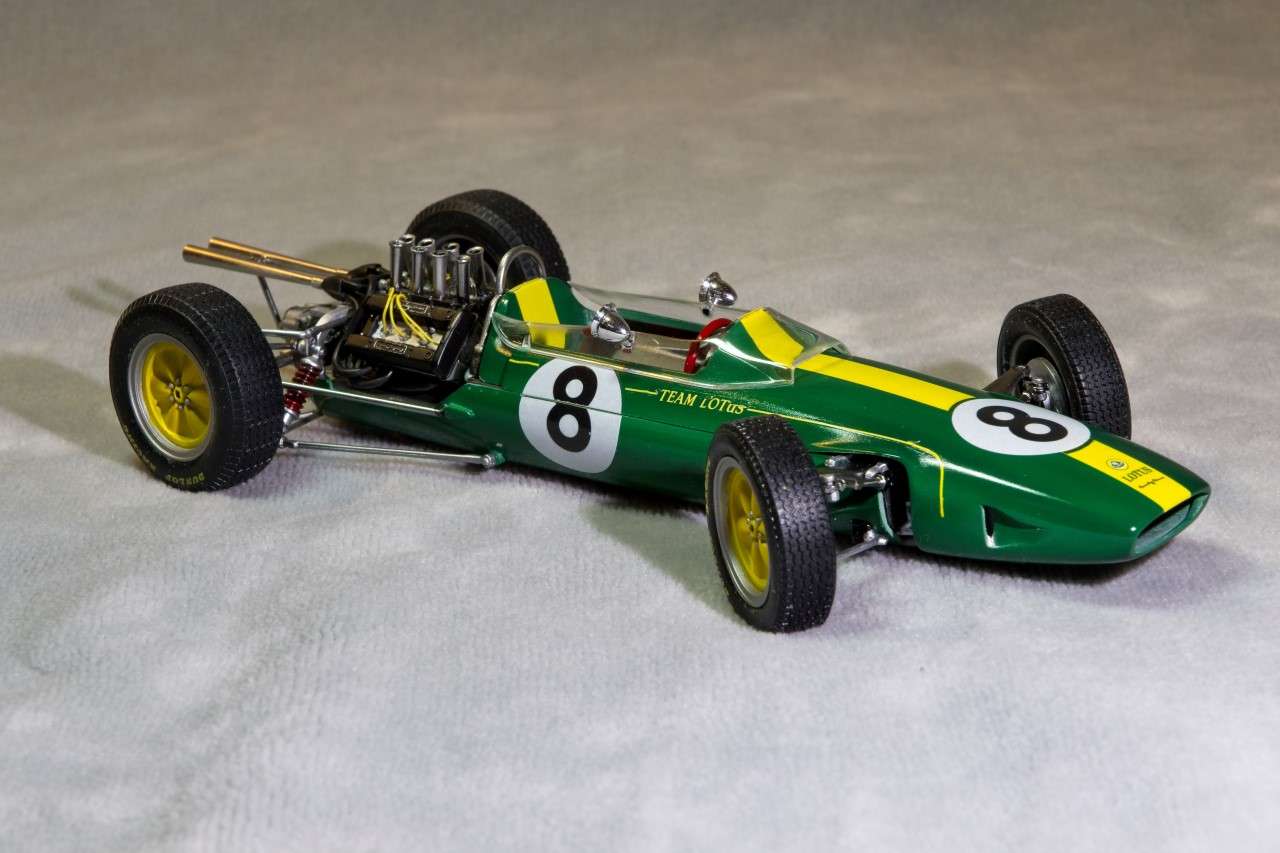
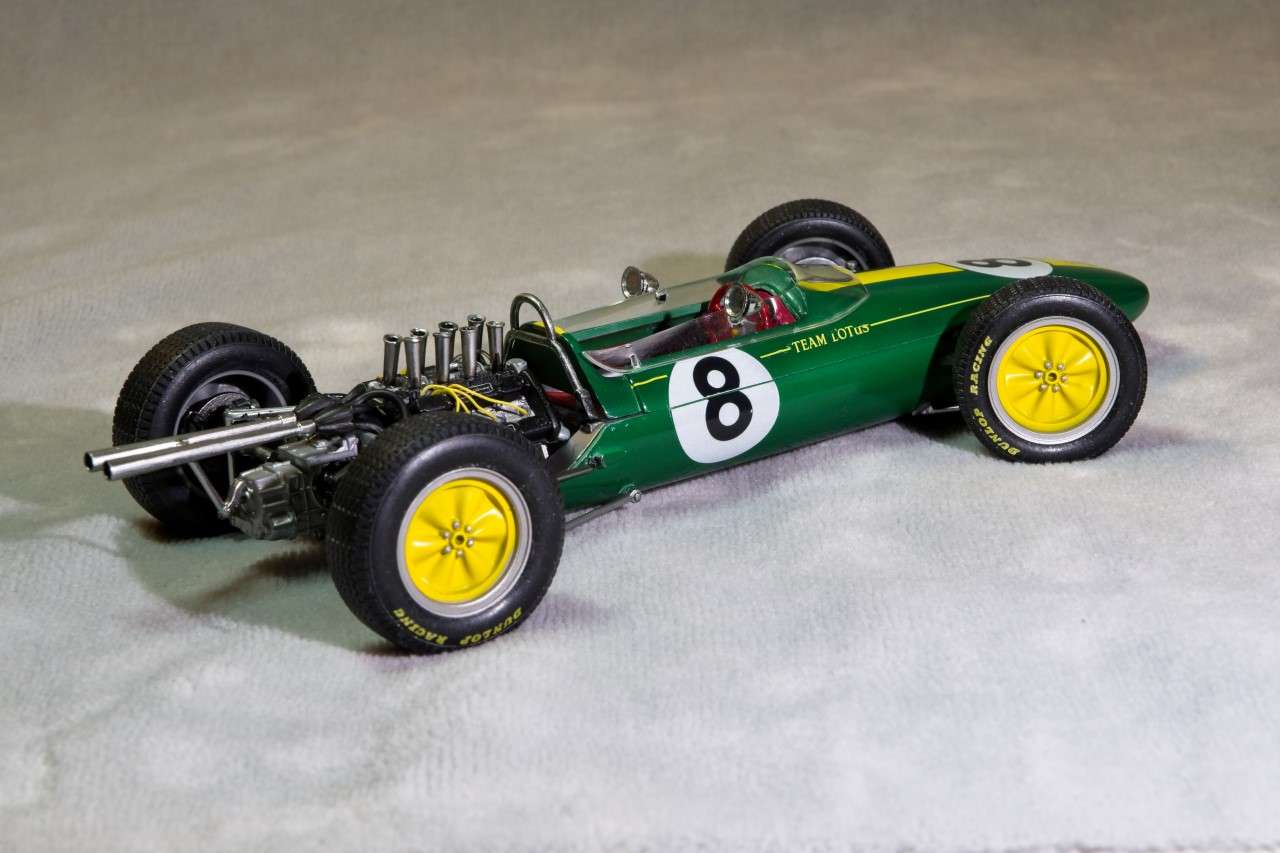
And here's some pictures of the finished Lotus 25.
Joel


