|
|
Post by arcticwolf on Sept 17, 2020 8:17:34 GMT -8
I been thinking about adding another Clear Gloss wet coat, followed by a final further 25% thinned wet coat. What I'm concerned about is that I've already waxed the body shell to protect it from constant rough handling. Is there a safe way to remove the thin layer of Gravity Wax without damaging the Mr. Color Lacquer Gloss clearcoat? I've thought about Iso Alcohol, but I use both Iso and Denatured Alcohol to strip all paint types, so neither are a valid option. Any and all suggestions will be greatly appreciated. Joel Have you tried Windex? It removes most waxes, but I'd test it first. |
|
|
|
Post by Joel_W on Sept 17, 2020 9:18:59 GMT -8
Paul,
I was thinking along the same lines. It's the universal thinner for Pledge/Future so I'll give a shot on the rear bottom fender.
Joel
|
|
|
|
Post by tatocorvette on Sept 17, 2020 14:34:48 GMT -8
Haven't tried but I've heard dish washing soap will do. I remember centuries ago (1985) I used hot water to remove wax from windshields. But I don't even remember if it worked properly.
Thanks,
Ismael
|
|
|
|
Post by Ben_B on Sept 17, 2020 14:55:13 GMT -8
Dawn dish soap is supposed to be able to strip wax. I remember reading on an auto detailing thread to never use it to wash your car. Winded will take Future off in a hurry. Not sure about auto wax.
Ben
|
|
|
|
Post by Joel_W on Sept 18, 2020 6:01:03 GMT -8
Thanks guys.
I think I'll go for the Dawn detergent 1st and see what happens. My plan of Attack is just to lay down one tack coat, then one good wet coat, then a 25% further thinned Wet coat to level out the finish. I'll give it a good 4-5 days to cure, then start off with the Gravity 3 part polishing system and then wax. I shouldn't have to go through the Micro Mesh rubbing system for these final coats.
Joel
|
|
|
|
Post by Joel_W on Sept 20, 2020 12:52:29 GMT -8
Time for another small update. As I posted earlier this week, I've decided to try to remove the wax finish with Dawn detergent, then reapply the Gloss Clear wet coats, buff out, and wax once again. I'm not expecting any miracles, but rather hoping for a little better depth to the shine. So that's this week's upcoming focus. So my attention focused on finishing up the interior, wheels, and tires. The kit BBS wheels are ok, nothing special in terms of fidelity to scale as they're a little, shall I say on the chunky side. I primed them with Gunze light Gray #1500 primer sealer, then AB'd the center sections Tamiya X-32 Titanium Silver. In real life the centers are a matt finish so the Tamiya paint is just perfect in appearance. The rims are Mig Ammo Polished Steel to represent Polished Aluminum. The pictures don't really show the shine at all. The tires are a weird type of rubber. Soft to the touch, and for the 1st time any gloss base just beaded right up. Even Pledge didn't work. So I applied the decals over drops of Micro Set as even it just beaded up. Couldn't touch the decals as they just moved. I let the Set settle in and dry, then brushed on Micro Sol. Same deal, the decals moved at the slightest touch. So I also let the solution soak in and dry. Then out came my big Guns: Walthers Solvaset. A really heavy dose and then left the decals to soak all of it up, & dry off. Next day the decals were all nicely settled in with no flash or Silvering. Talk about dumb luck. The wheels were then installed on the axles. 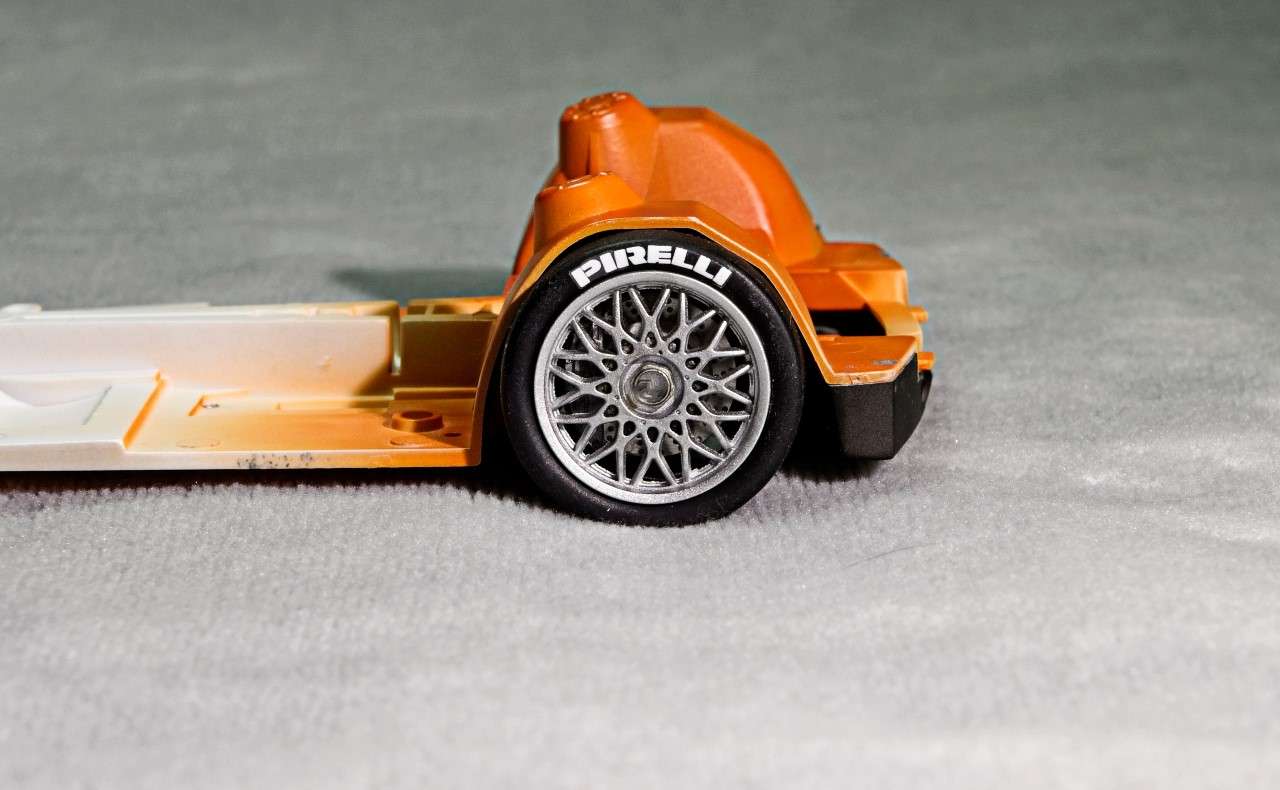 The roll cage and interior were previously primed and painted with Gravity Brun Jagmeister Orange. A couple of coats of Gunze Clear gloss gave the interior the correct shiny look. All the rest of the parts were primed with #1500 Black primer. Now my attention turned to the seat. I'm so use to seeing all of the Touring car seats being made from carbon fiber, that I just assumed the same applied in this case. But when I checked my references, I could clearly see that the seat shell was Fiber Glass with a leather insert. The seat looks more like a Yellowish Green and pretty dirty. I tried a few colors I had and nothing came close. I still have some of my aircraft paints, so I took a look, and what do you know? There was a full bottle of Tamiya Yellow Green Zinc Chromate. Darn, if it didn't look perfect. I decided to brush coat it on as I wanted to paint to pool up around the sides and the frame of the seat. 6 coats with 30 min between coats, and I had the look I was after.  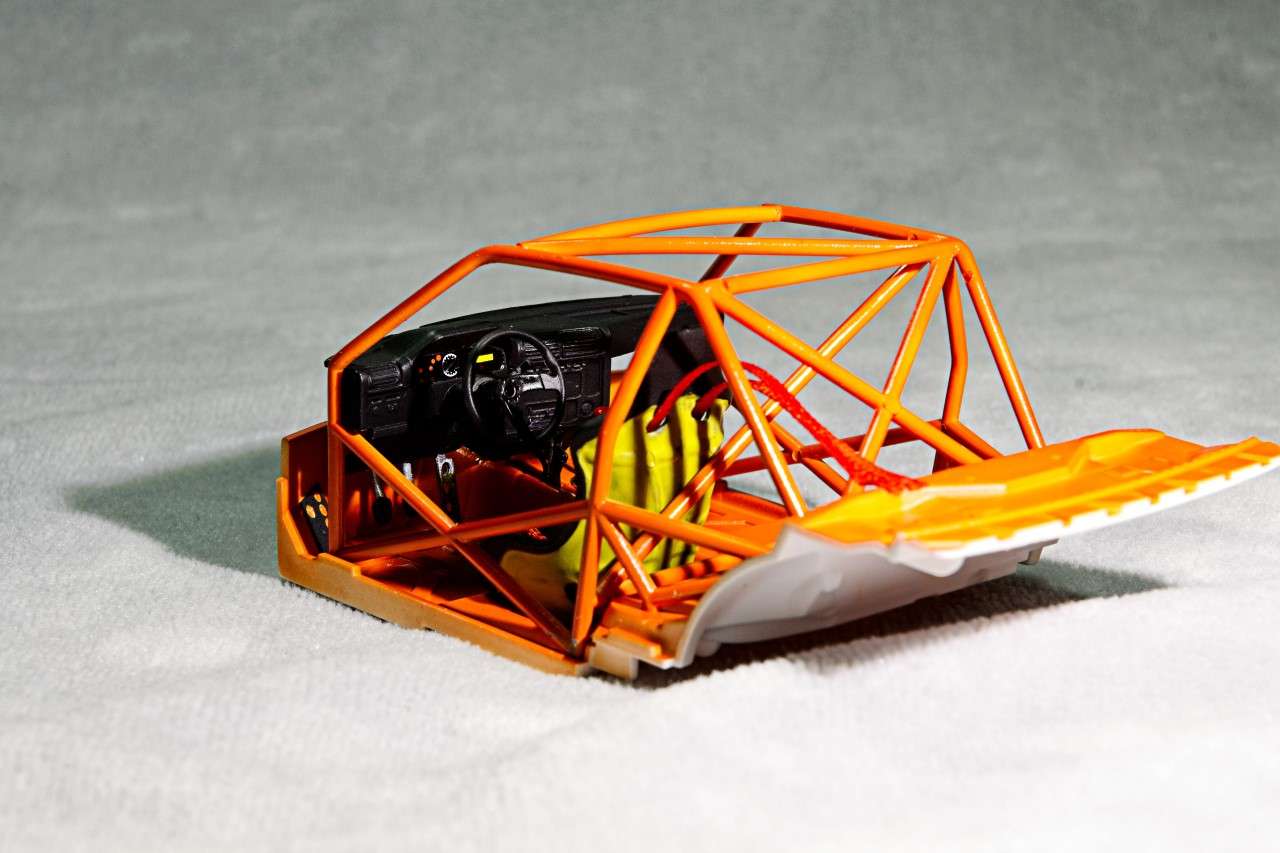 Next up was the 6 way seat harness. The detail up set had all the various PE buckles and latches, as well as a red ribbon for the belt material. So I started on my two day adventure. Not being able to see these little parts just made it all that more fun to deal with. I ended up making several compromises, but the end results look ok, and honestly, better then I expected. All I've got left to do is glue the shoulder harness straps to the top back of the seat so that they have a more realistic droopy appearance. 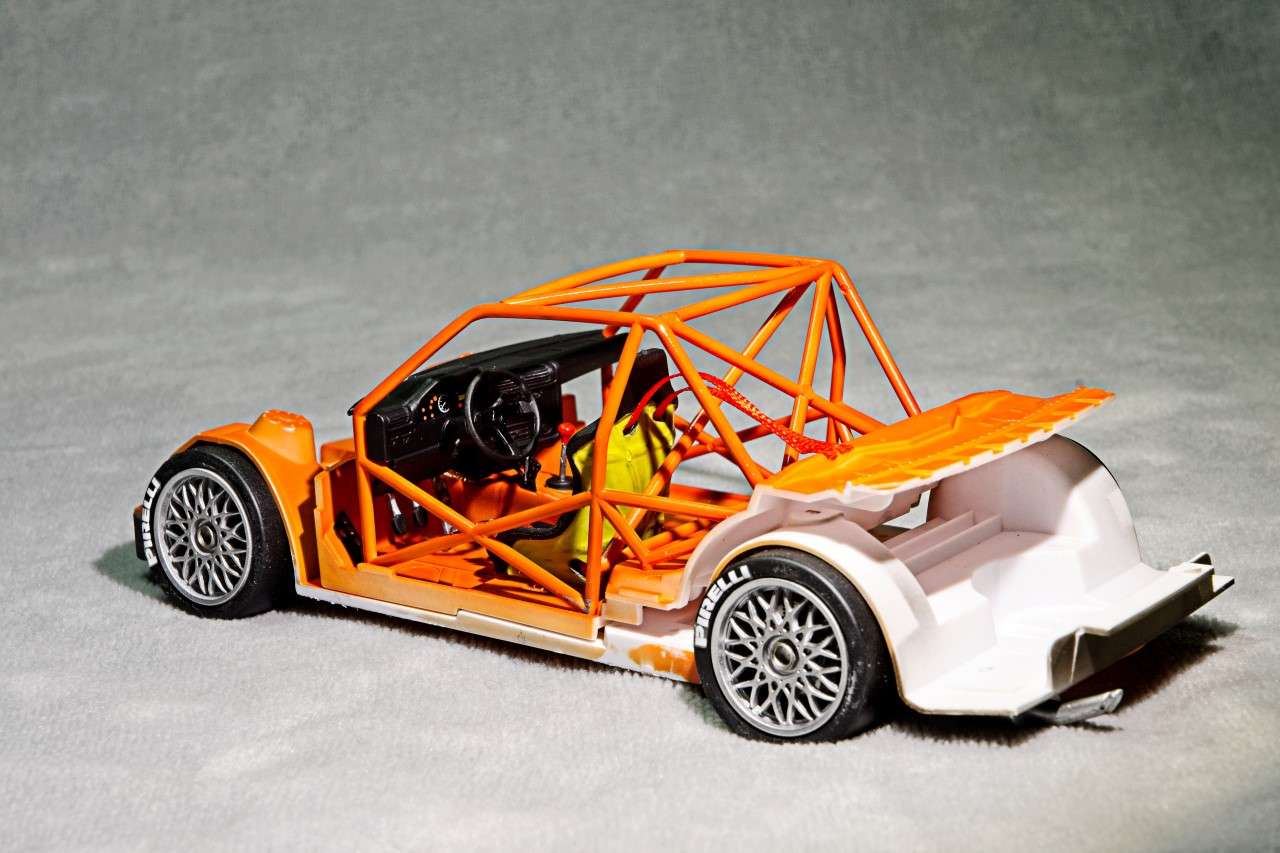 Joel |
|
|
|
Post by Joel_W on Sept 27, 2020 4:55:25 GMT -8
Well, time for my final update as the Bimmer just crossed the finish line. Since my last update all that was left to do were the various odds and ends of the build. I started off by air brushing on Tamiya Matt Black XF-1 around all the glass. Good thing I actually read the instructions this time as the front and rear glass were painted on the interior side, while the side windows were painted on the outside. Once again I was smart enough to purchase the Decalas window masks. Every mask fits perfectly with just enough tack to stick, but easy enough to remove till I got each one correctly positioned. Once dry both the front and rear glass got sun glare decals. I glued on the side mirrors and then the glass to the body shell. To install all the glass pcs I used Testors acrylic glass glue for the 1st time, and boy was I impressed. Dries fairly quickly and dries clear, and doesn't eat through any of the paint, which was my 1st concern as that has always been a issue for me. I then painted up the rear light lenses with Tamiya clear Orange, and clear Red, then installed them. The front grill was next with the lights and lenses added. Finally I slipped in the wire mesh radiator grill behind the front bumper. I didn't paint it black so that you could actually see it. I cut off the plastic roof antenna from it's base and added a metal one which looks a million times better. Then I gave the body a final coat of wax. While not perfect by any means, it looks a whole lot better then before. But I'll let you guys decide that. Here's a few pictures of the Bimmer as she stands now. Of course what I couldn't see that needs some extra TLC like wax build up in some of the recessed panel lines, and the wiper that's to low, shows up in the pictures just fine. So I still have a little work left to do. And thanks to all of you for following my build, as always it's greatly appreciated. Joel 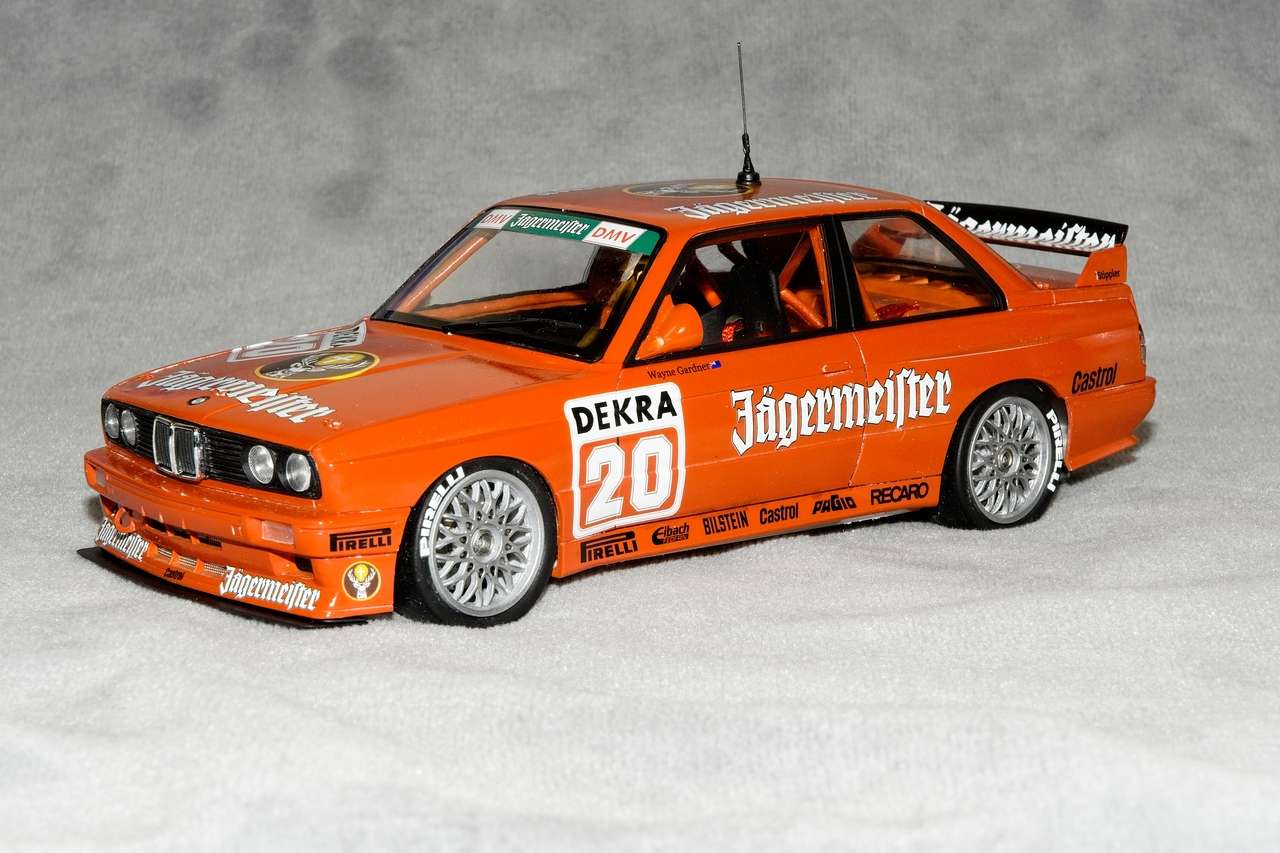 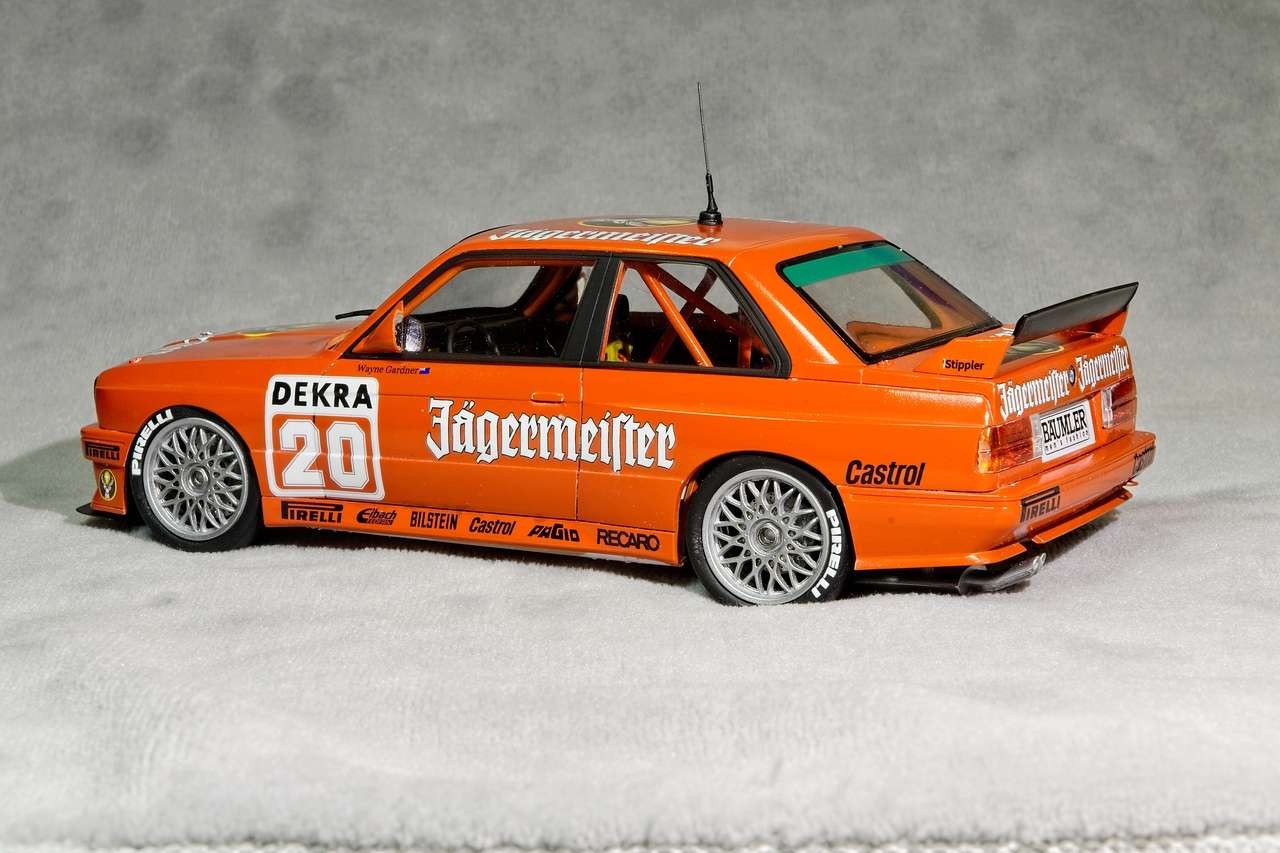     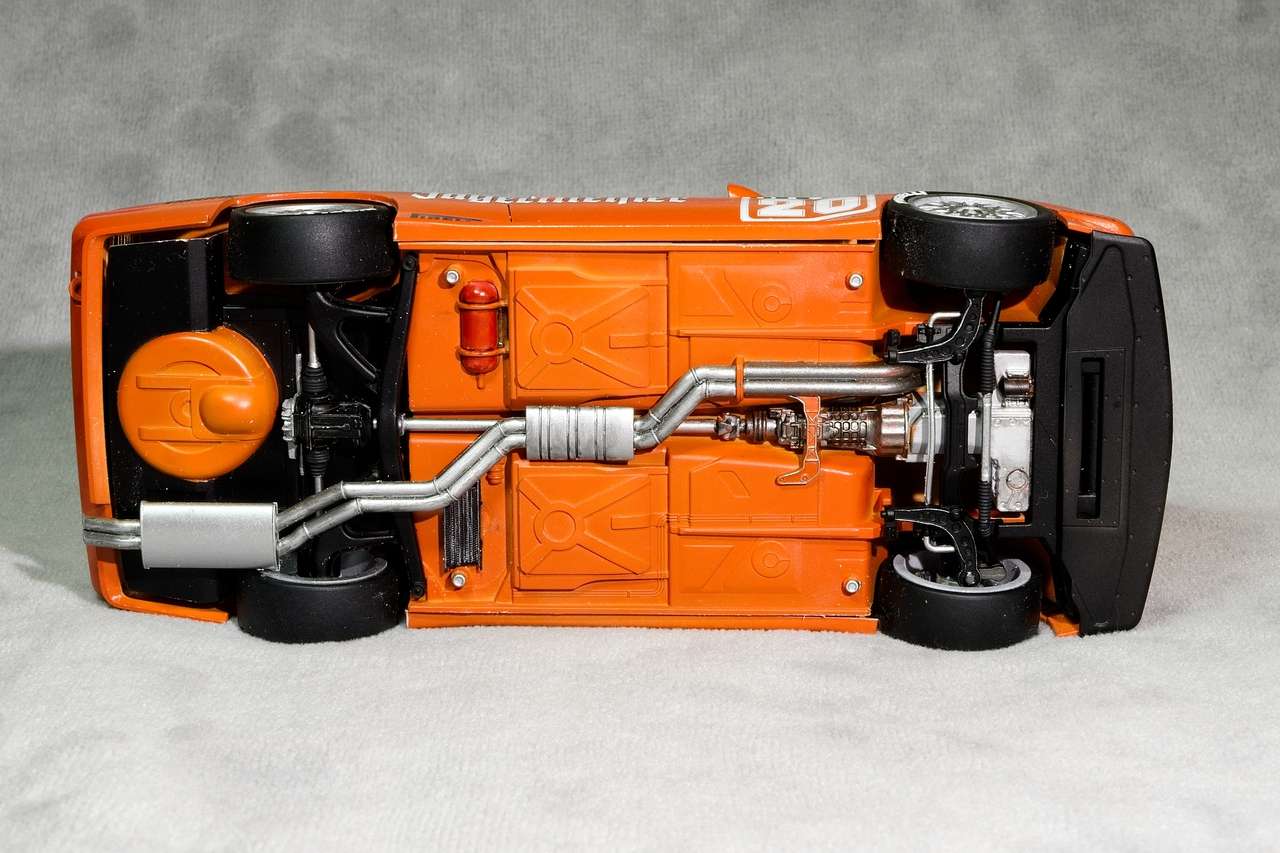 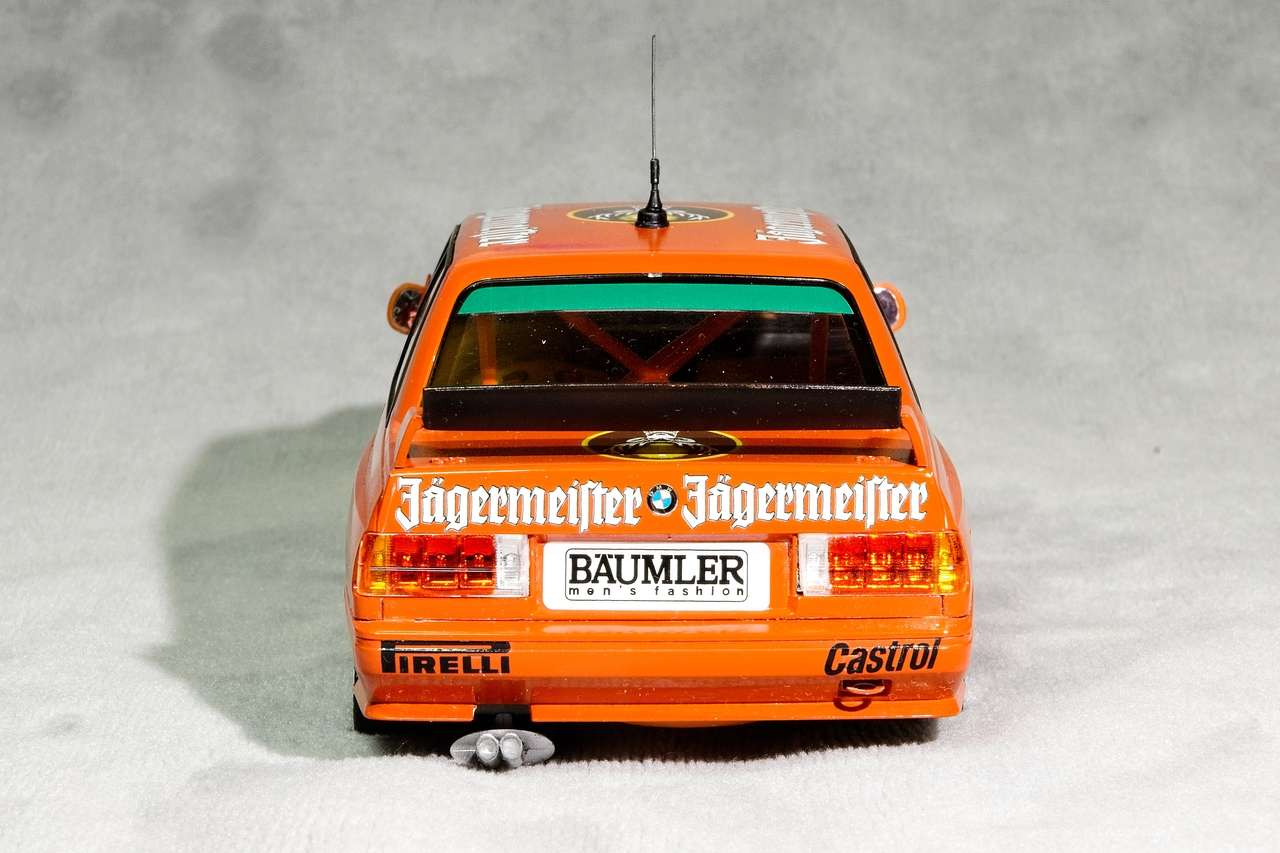 |
|
|
|
Post by tatocorvette on Sept 27, 2020 10:58:09 GMT -8
Great job Joel! Love that color scheme.
I would love to see it side by side with mine which is a road legal version.
For that wax residue I use a wooden toothpick where I cut a very thin tip. Strong enough to take the residue away, soft enough not to harm the paint.
Love it!
One little suggestion if I may, you can put a drop of black wash or paint into the exhaust tips.
Thanks,
Ismael
|
|
|
|
Post by Ben_B on Sept 27, 2020 12:36:42 GMT -8
Love it! Great job, as usual, Joel!
Ben
|
|
|
|
Post by Joel_W on Sept 27, 2020 15:07:51 GMT -8
Ismael,
Thanks for checking out my Bimmer, and liking what you saw. As for forgetting to blacken the exhaust tips, it was on my list along with a few other things that still need to be done or fixed. I actually use a toothpick for that job as well, but I did a final waxing when I thought I was done, and honestly just didn't do a very good job of cleaning up the residue. How about posting a pic or two of your Bimmer. I'd love to see how you worked your magic on it.
Joel
|
|
|
|
Post by 2whl on Sept 27, 2020 15:11:21 GMT -8
Very nice, Joel. It looks like you did your usual excellent job on it
|
|
|
|
Post by Joel_W on Sept 27, 2020 15:11:36 GMT -8
Ben,
I'm thrilled that my Bimmer meets your expectations. As I posted earlier, it was nip and tuck for a while till I got the paint finish to be at least acceptable. But one learns more from a failure then a success, which is so true in this case. No more short cuts for me. Every step needs to meet my expectations as Ismael keeps on saying.
Joel
|
|
|
|
Post by Joel_W on Sept 27, 2020 15:13:45 GMT -8
Paul,
Thanks for the thumbs up. It's greatly appreciated.
Joel
|
|
|
|
Post by afx on Sept 28, 2020 4:33:35 GMT -8
Nice work Joel.
|
|
|
|
Post by Joel_W on Sept 28, 2020 5:02:37 GMT -8
JC,
Thanks for your thumbs up. Gotta finish cleaning out the wax in the recessed panel lines, add some Matt black to the exhaust tips, and finally paint the front and back tow hooks Bright Gloss Red, then I'll finally call it a done deal.
Joel
|
|


