|
|
Post by afx on Mar 22, 2019 5:43:33 GMT -8
Looks great Shayne.
|
|
|
|
Post by tatocorvette on Mar 22, 2019 6:28:47 GMT -8
Shayne,
Looking Abso-Freaking-Lutely GREAT! Can you elaborate on your heat technique?
Thanks,
Ismael
|
|
|
|
Post by shunter on Mar 22, 2019 12:57:03 GMT -8
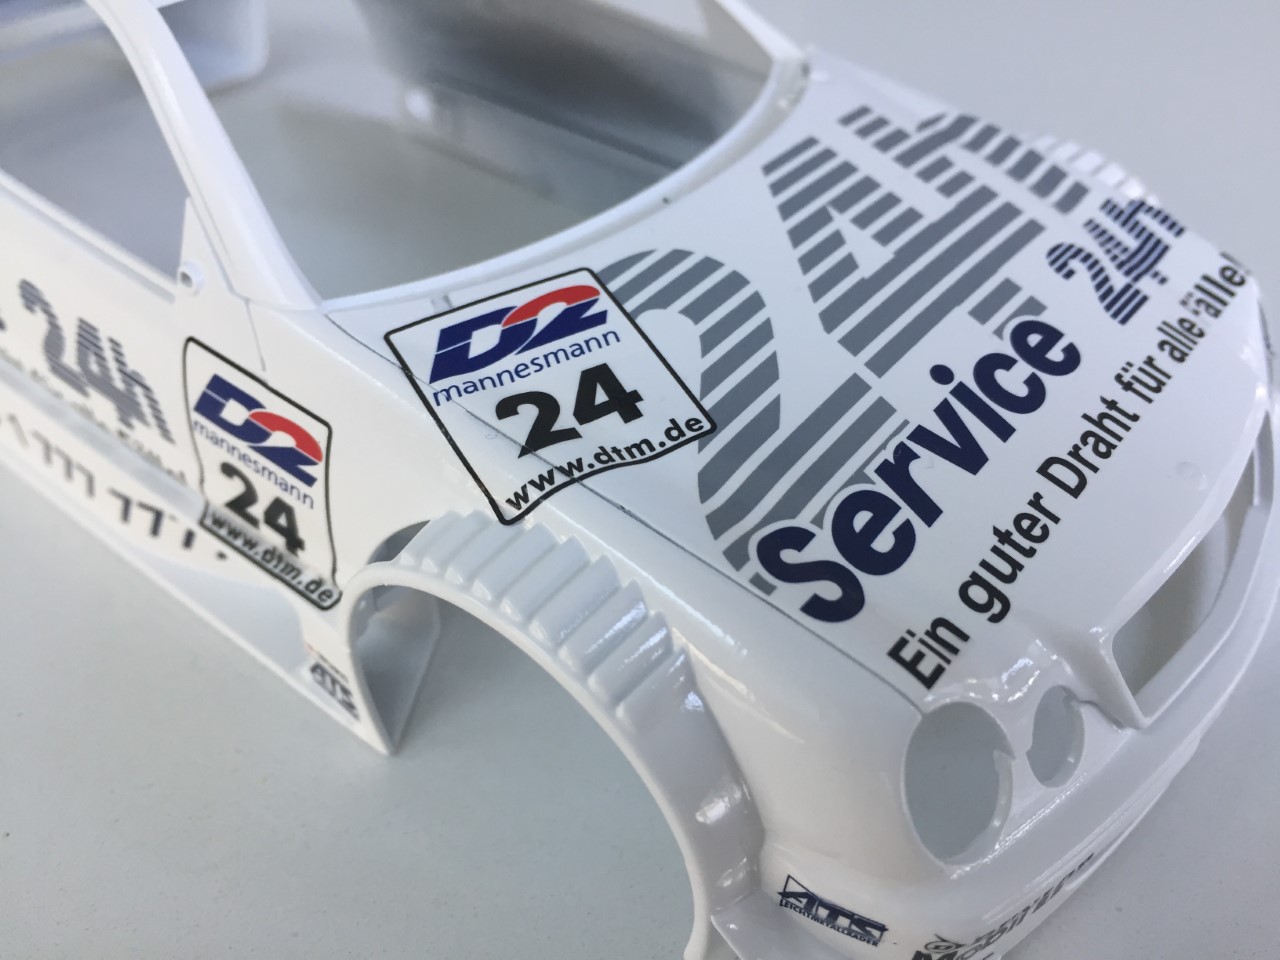
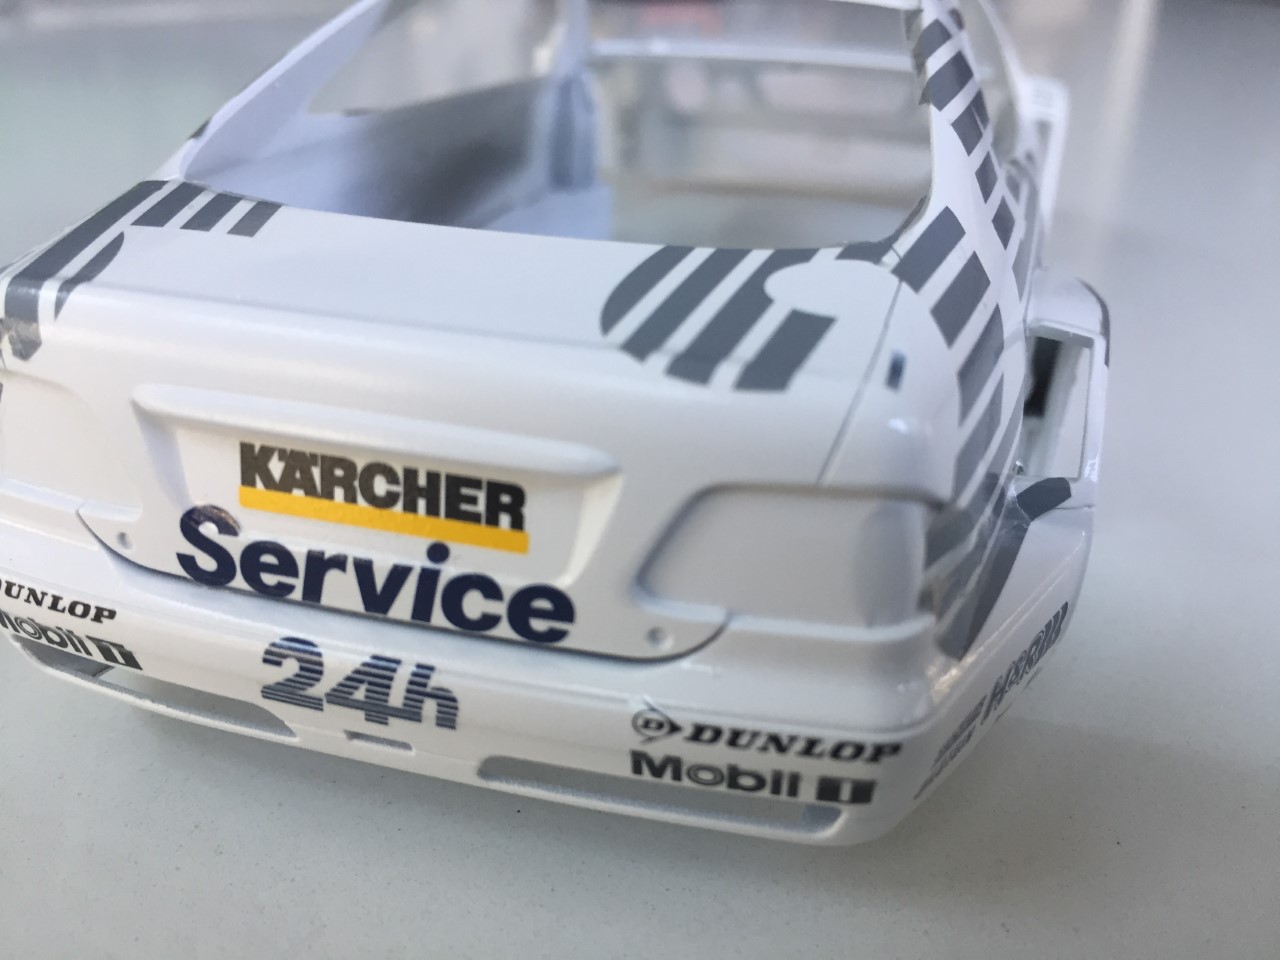
Thank you...Ismael as per what Joel picked up on I use a hairdryer to put some heat onto the decal, this helps soften it a little more and you can watch it pull down over the curves as you do it. Care must be taken but I have in the past gone quite hard on some decals. I usually will sit it for a minute and then push it down with a cotton tip or water brush.
|
|
|
|
Post by afx on Mar 23, 2019 4:23:03 GMT -8
I use the hair dryer method too for difficult spots. I have a wide flat paint brush that I use exclusively for decals to smooth them out and press them into the groves and corners.
|
|
|
|
Post by Joel_W on Mar 23, 2019 5:49:47 GMT -8
What's always concerned me with using a hairdryer is that even at low heat is it still to much heat, and will damage the decal, paint, or even the plastic shell?
Joel
|
|
|
|
Post by Ben_B on Mar 23, 2019 7:49:26 GMT -8
Beautiful work, Shane! That white paint job look so smooth!
Ben
|
|
|
|
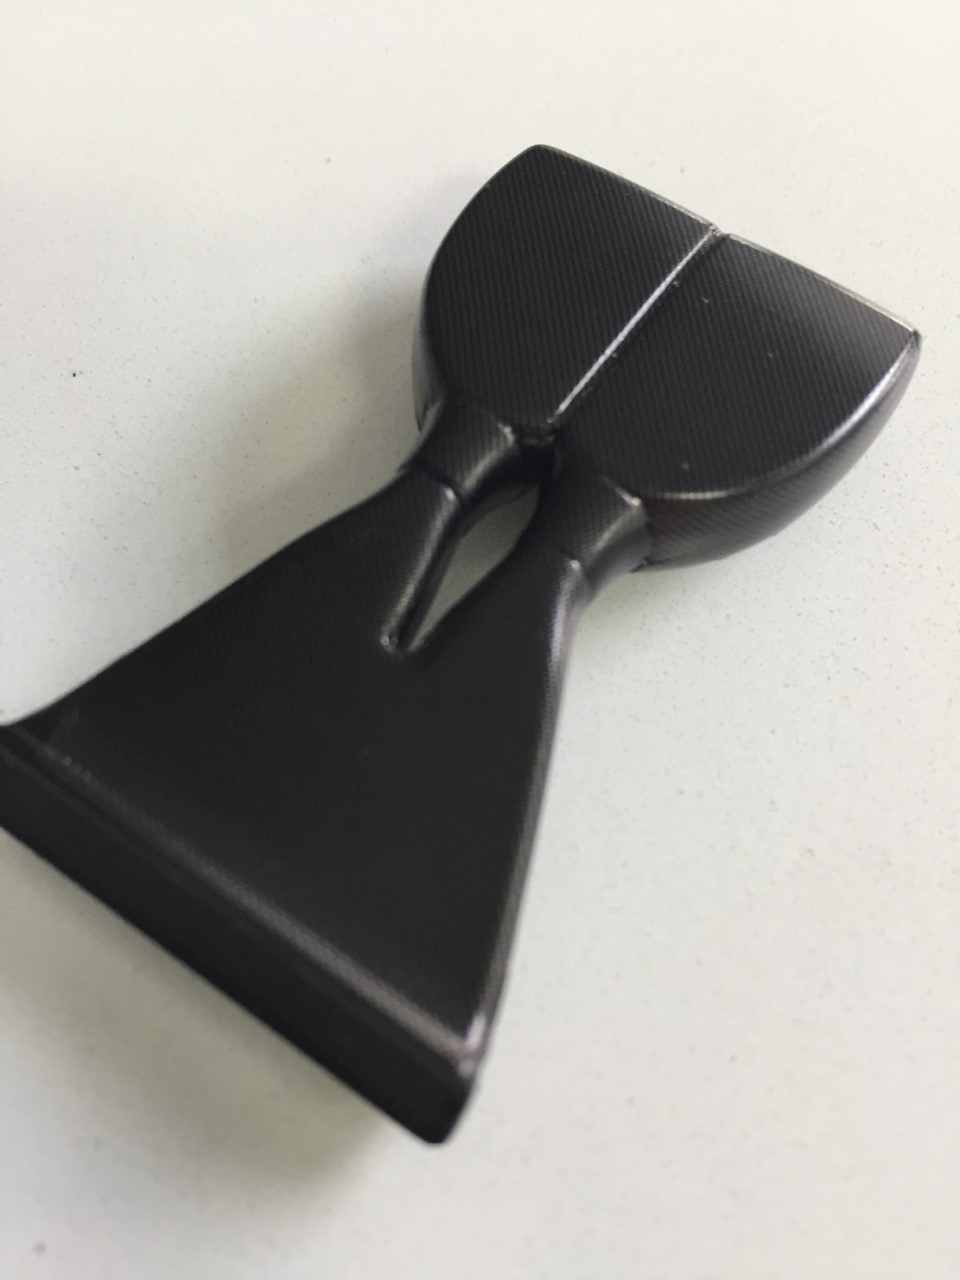
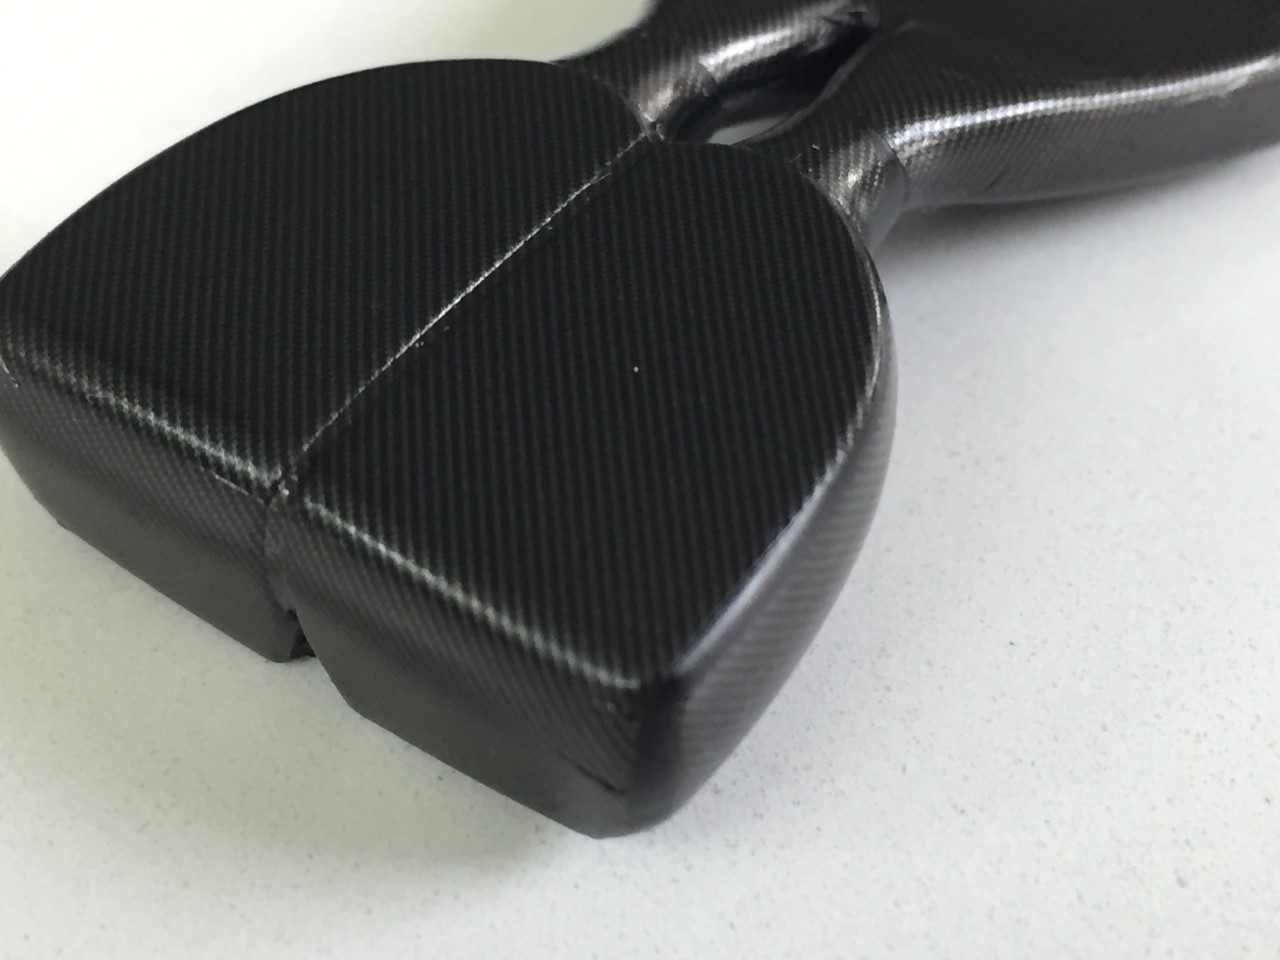
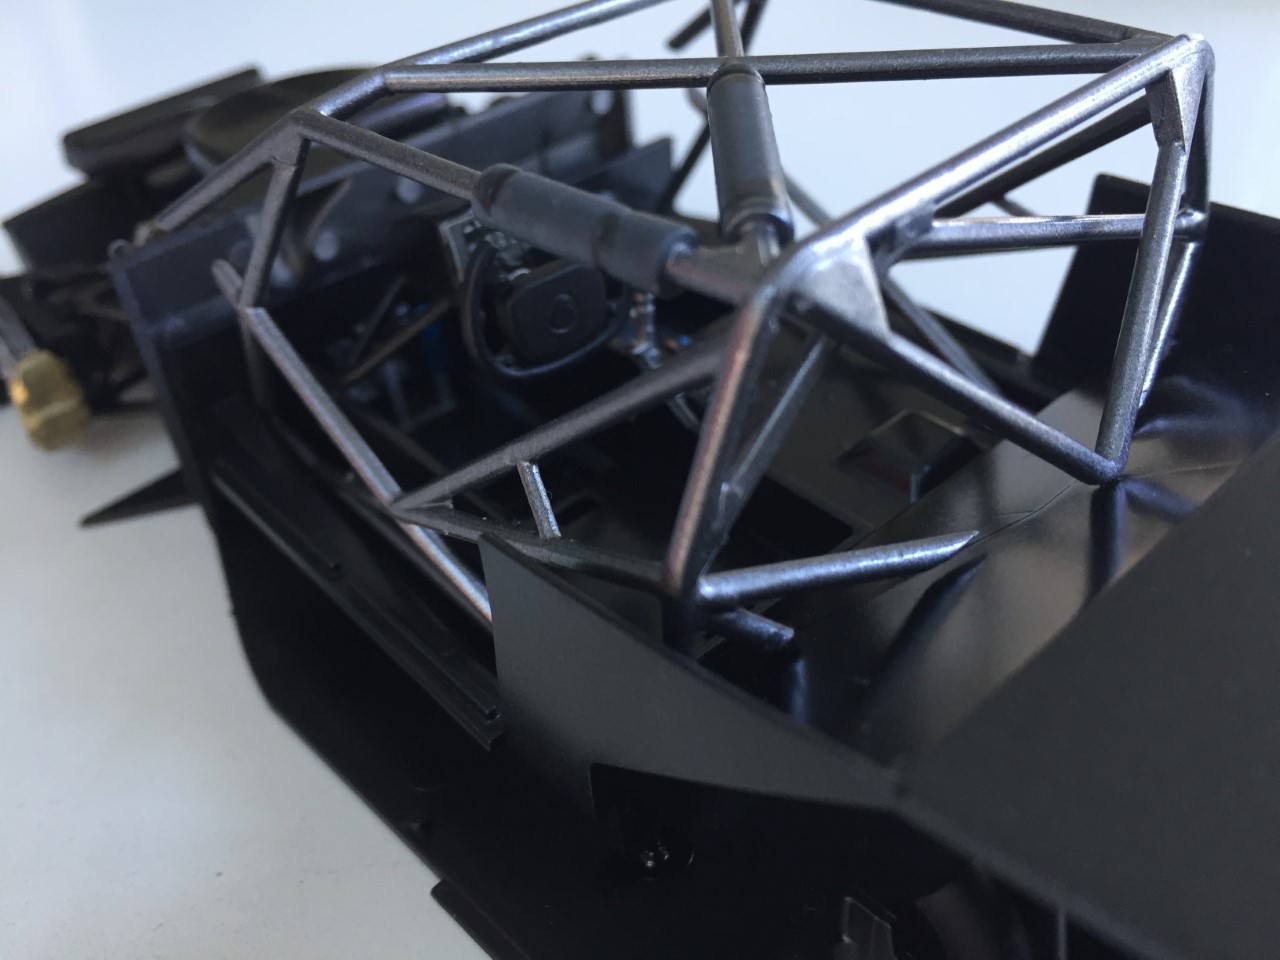
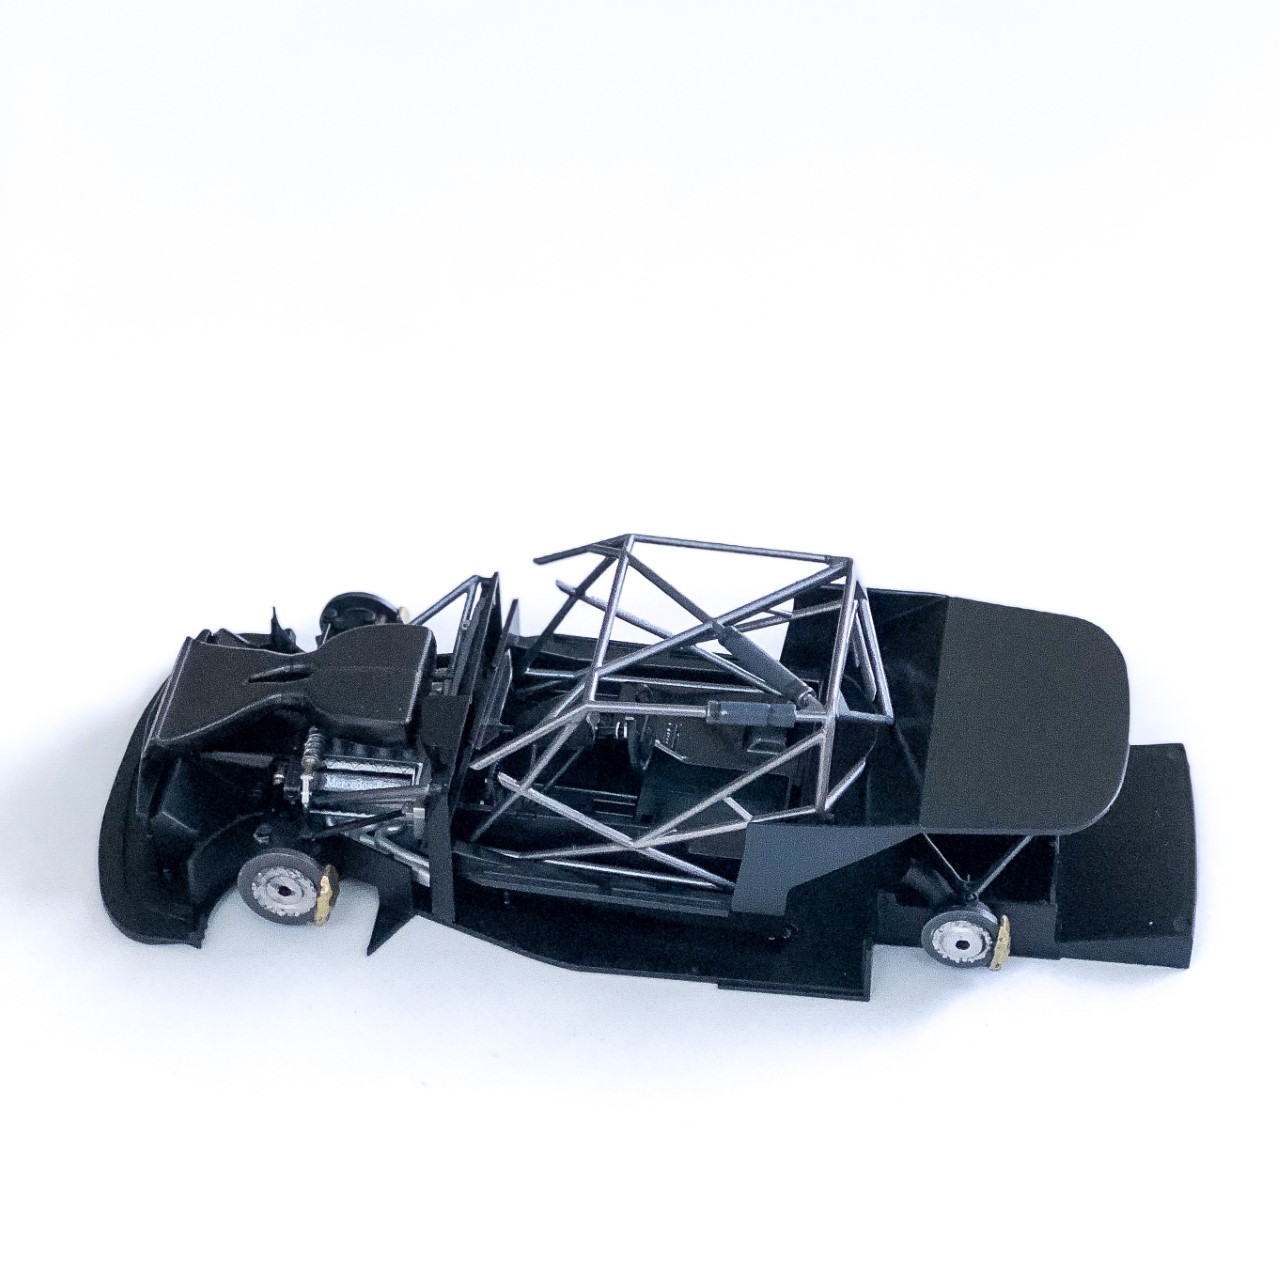
Post by shunter on Mar 26, 2019 11:46:59 GMT -8
|
|
|
|
Post by tatocorvette on Mar 26, 2019 11:48:45 GMT -8
Nice CF work!
|
|
|
|
Post by Joel_W on Mar 26, 2019 13:44:08 GMT -8
Shanye,
Now that's impressive CF decaling for sure. I've been really leery about actually trying it myself, instead I use a CF color from Gravity, but it's really not that close.
Joel
|
|
|
|
Post by ShawnS on Mar 27, 2019 0:11:15 GMT -8
Great work so far especially the CF decal work. Interesting that you used acrylic thinners for the lacquer paint. I have been thinking about experimenting with some Tamiya LP paint and after reading about it in several places online everyone seems to have different opinion regarding whether to thin it or not so that's another side of the story.
|
|
|
|
Post by shunter on Mar 30, 2019 14:43:19 GMT -8
|
|
|
|
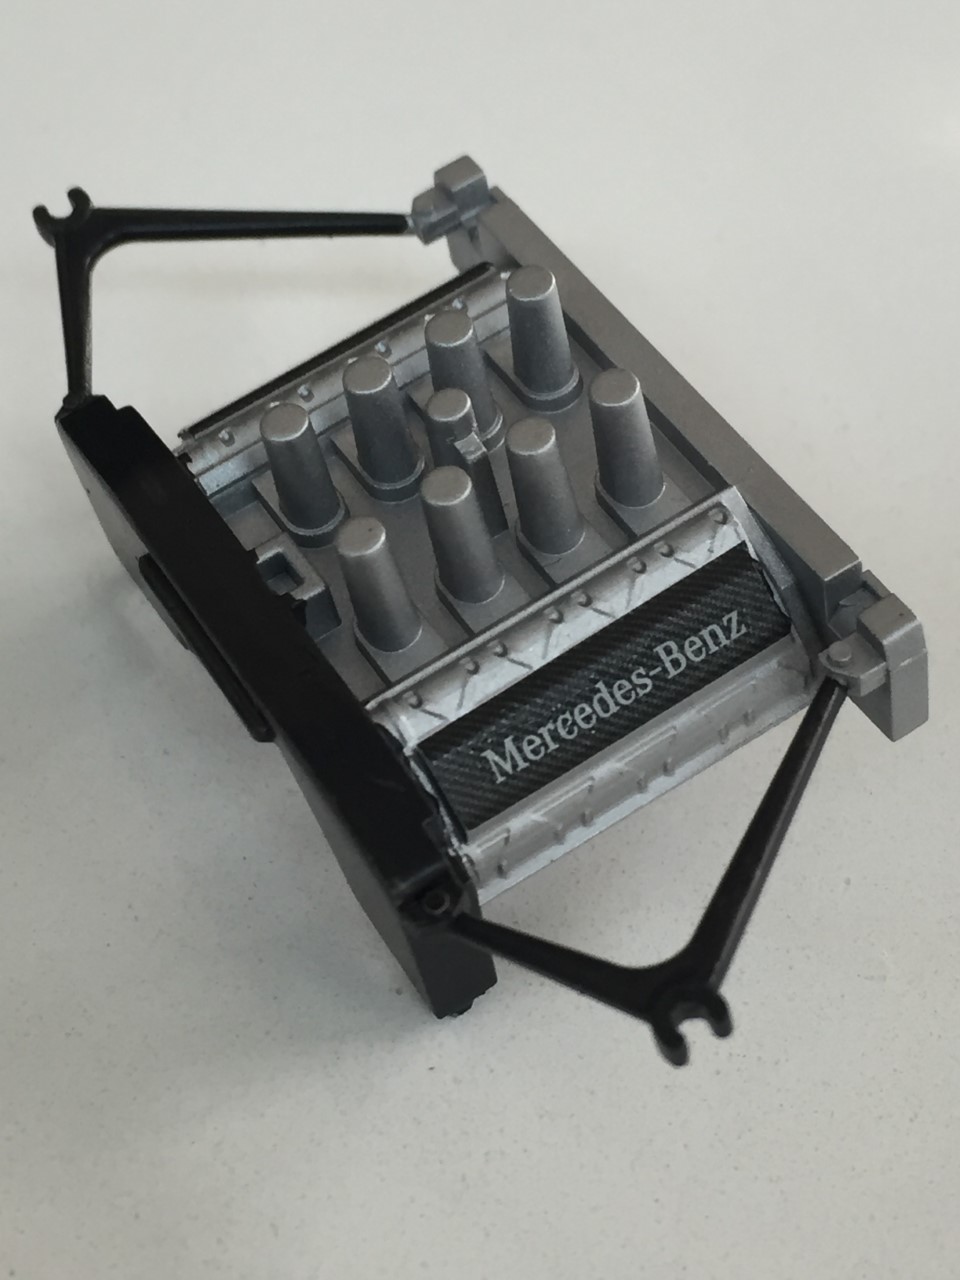
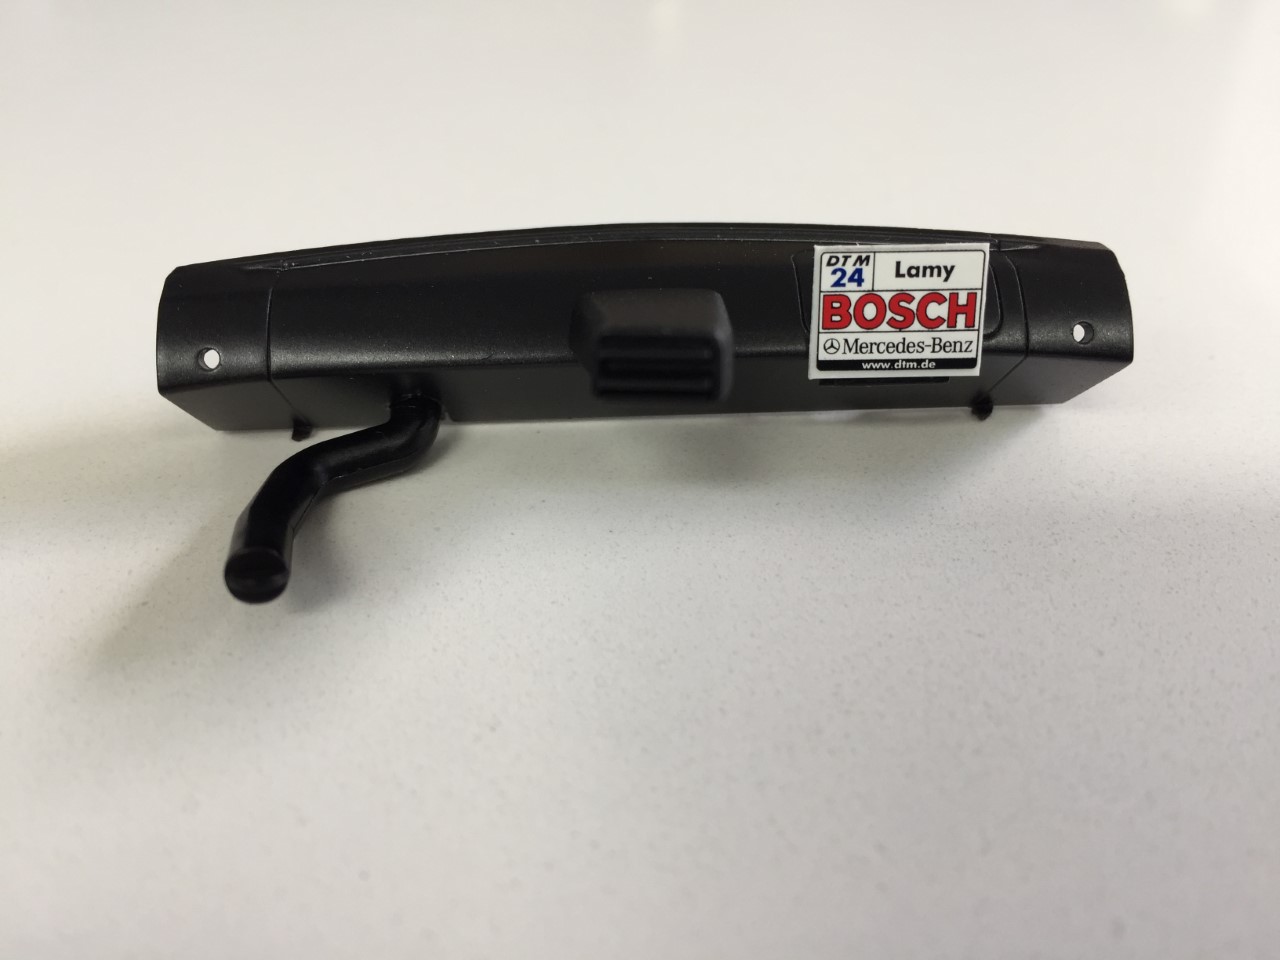
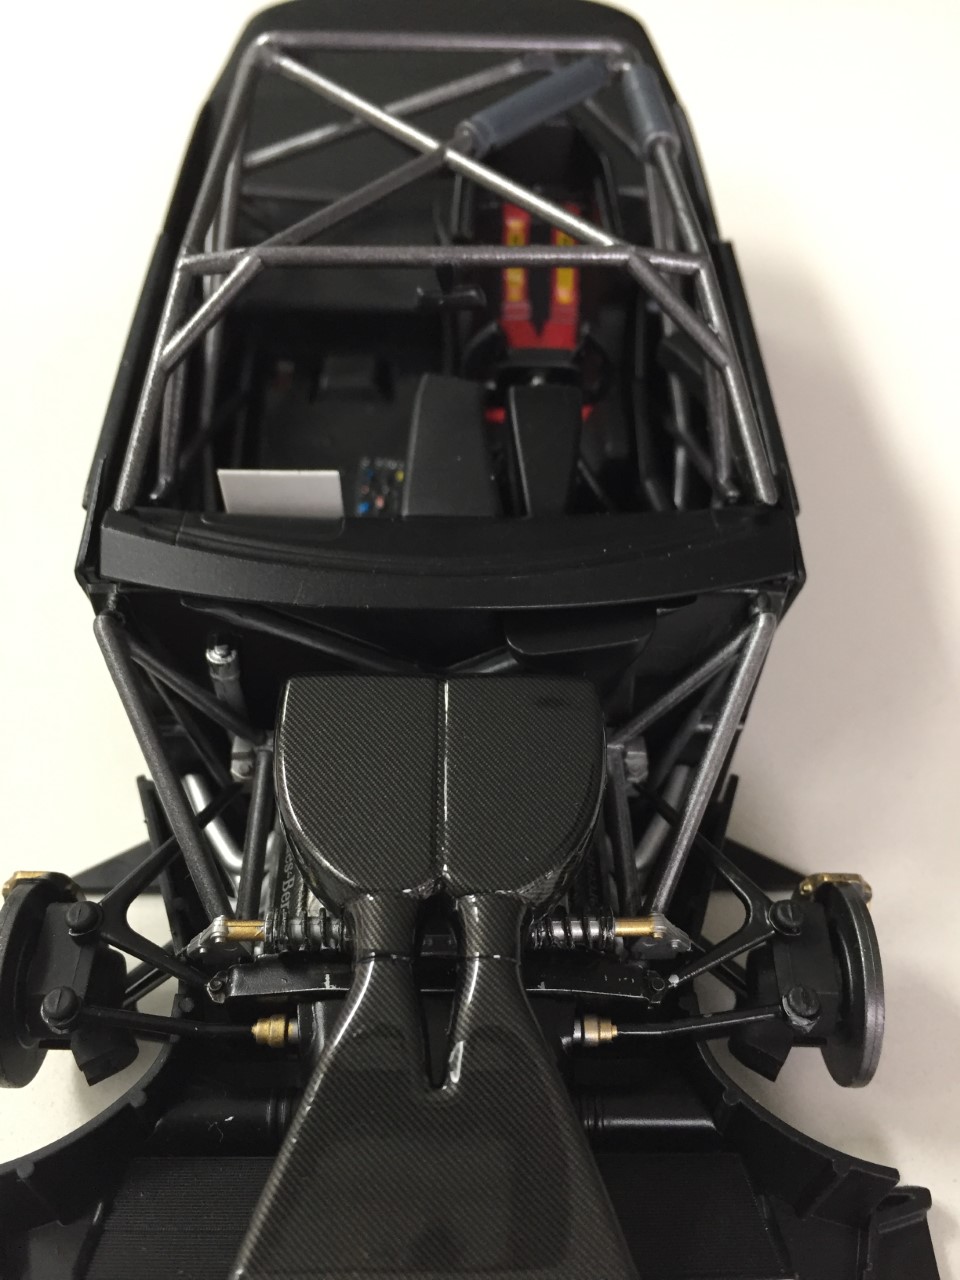
Post by shunter on Apr 8, 2019 0:10:52 GMT -8
Starting to wrap this one up now...I do enjoy when i get to the final stages, I just now cross my fingers that I don't stuff it up. Seat and belts are now in. 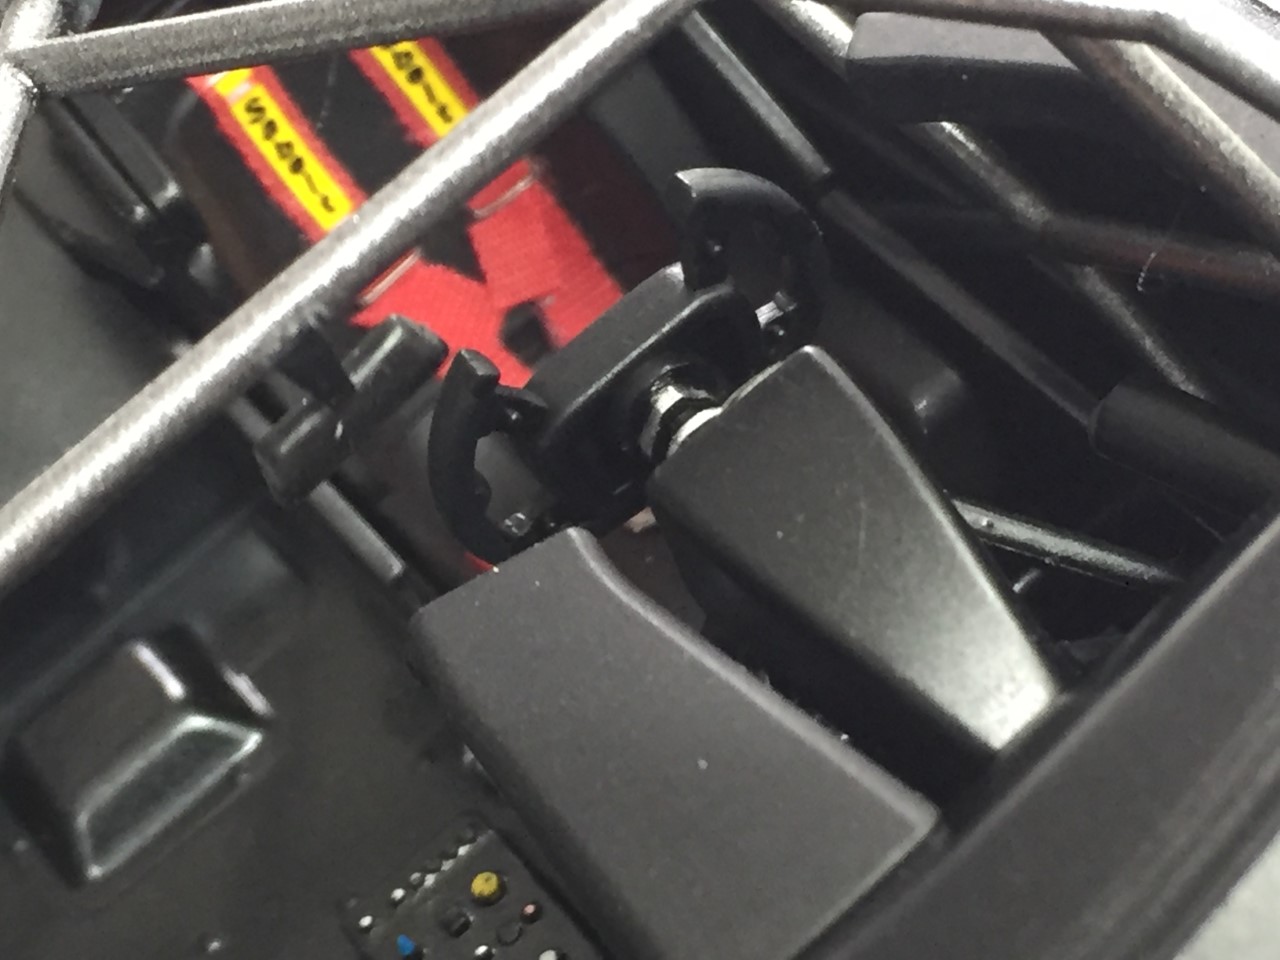 Engine and airbox now in place. 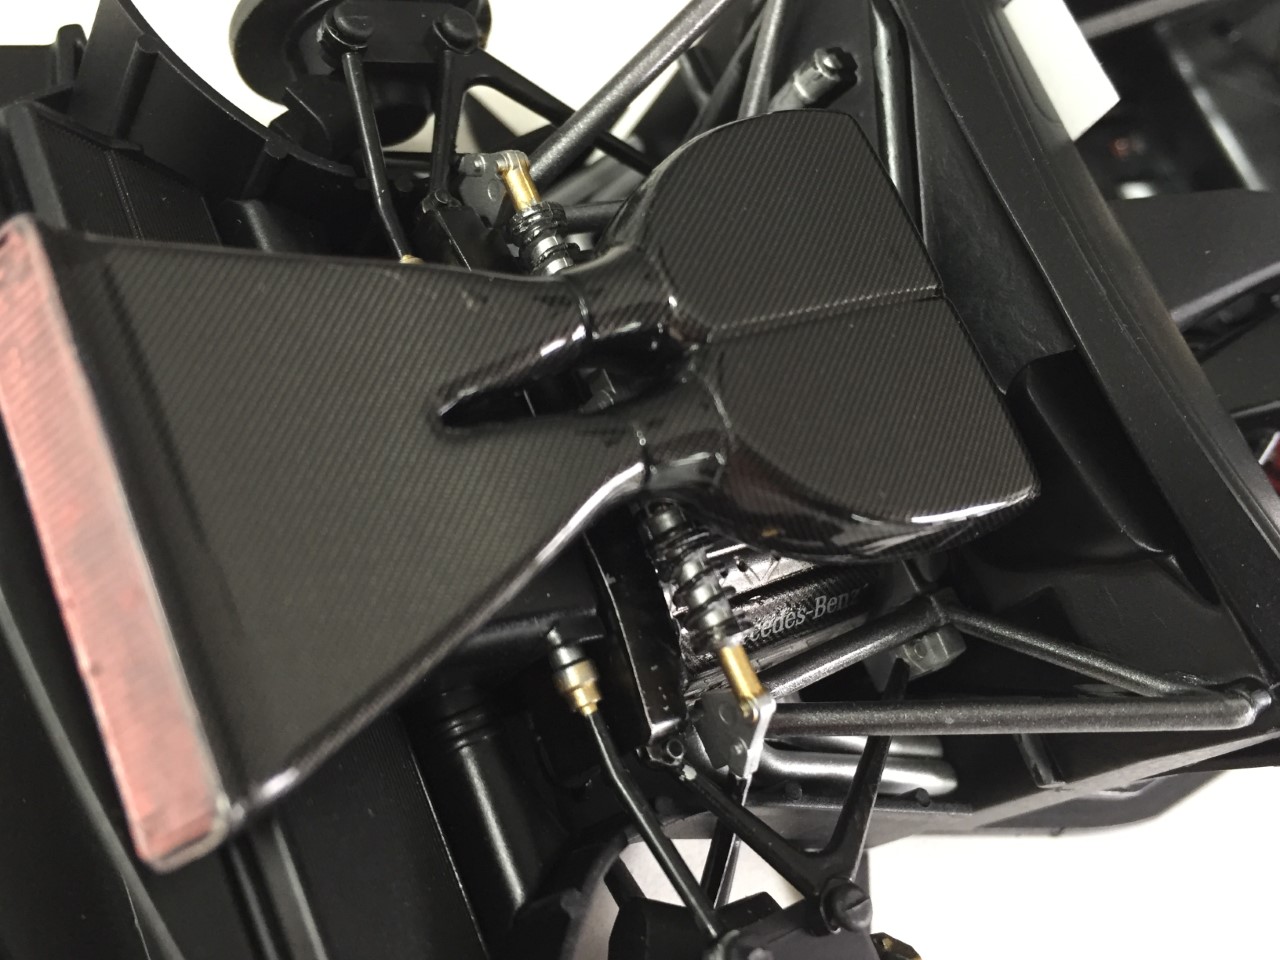 And my first time of using the Tamiya masks for the clear section, nerve raking time when you hit it with a spray hoping that there is no paint bleed etc. Lucky for me it worked out.. 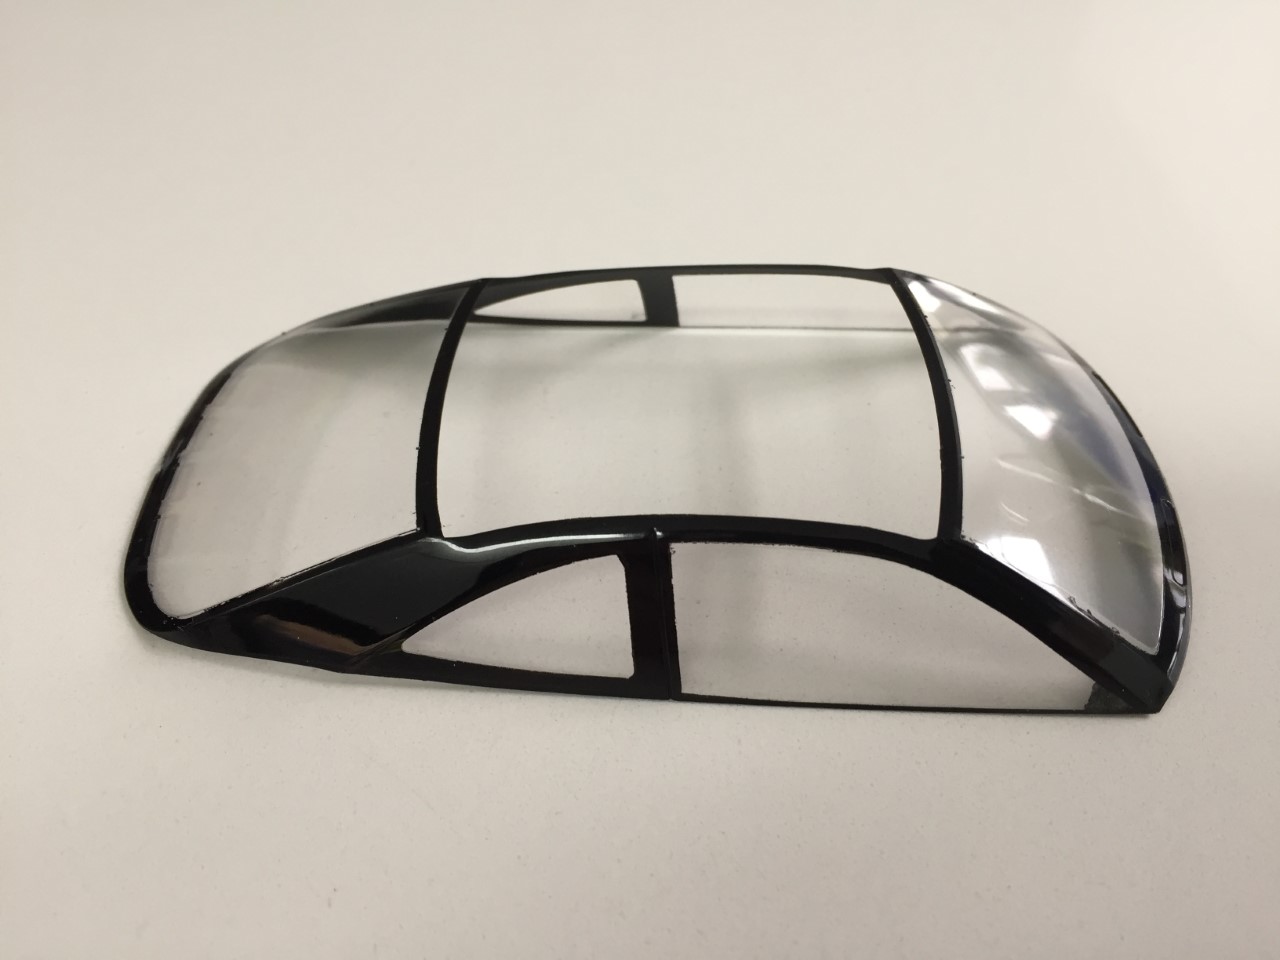 |
|
|
|
Post by Joel_W on Apr 8, 2019 4:52:53 GMT -8
Shayne,
the close ups of the cockpit look fantastic.
As for using Tamiya masks, or any other tape type masks on clear parts, 1st you need to really clean them as any molding release will allow bleed through. after I apply the mask, I burnish it down with a cosmetic Qtip as they don't seem to leave little strings of cotton stuck to the sides of the tape. And lastly, a mist coat or two should seal the edge. And even after all of that, a tad of bleed through does happen. I just let it completely dry, then it's easy to remove with a sharpened toothpick.
Joel
|
|
|
|
Post by garydavis on Apr 9, 2019 13:24:31 GMT -8
Well Shane...it don't look like you needed to clean anything up. Good job on the burnishing my friend. That trim looks GREAT..
|
|
|
|
Post by shunter on Apr 12, 2019 15:27:08 GMT -8
|
|