mike_t
Full Time Ride

Posts: 219
|
Post by mike_t on Feb 28, 2020 14:05:20 GMT -8
Understood but I believe they were your responses to Adrian's post. if I need to move any back let me know. It's up to Mike, but I'm good! Doesn't matter to me, JC. It's all good. As long as everybody's talkin'...that's why we're here! |
|
|
|
Post by pnance26 on Mar 3, 2020 21:30:43 GMT -8
Making any progress, Mike... since I'm the one that got you into this mess!
|
|
mike_t
Full Time Ride
Posts: 219
|
Post by mike_t on Mar 4, 2020 4:06:21 GMT -8
Making any progress, Mike... since I'm the one that got you into this mess! Baby steps..... Got some more heat shielding on the monocoque. This sheet of shiny stuff actually came from the innards of an iPhone. I was changing out the screen in my daughter's phone about 4 years ago and discovered this inside. There was one attached to the new screen so like any good modeller/packrat, I kept the old one. Figured it might make good mirrors, which it did on a couple of motorbikes I had done. It's quite shiny and very thin, so, easy to work with. 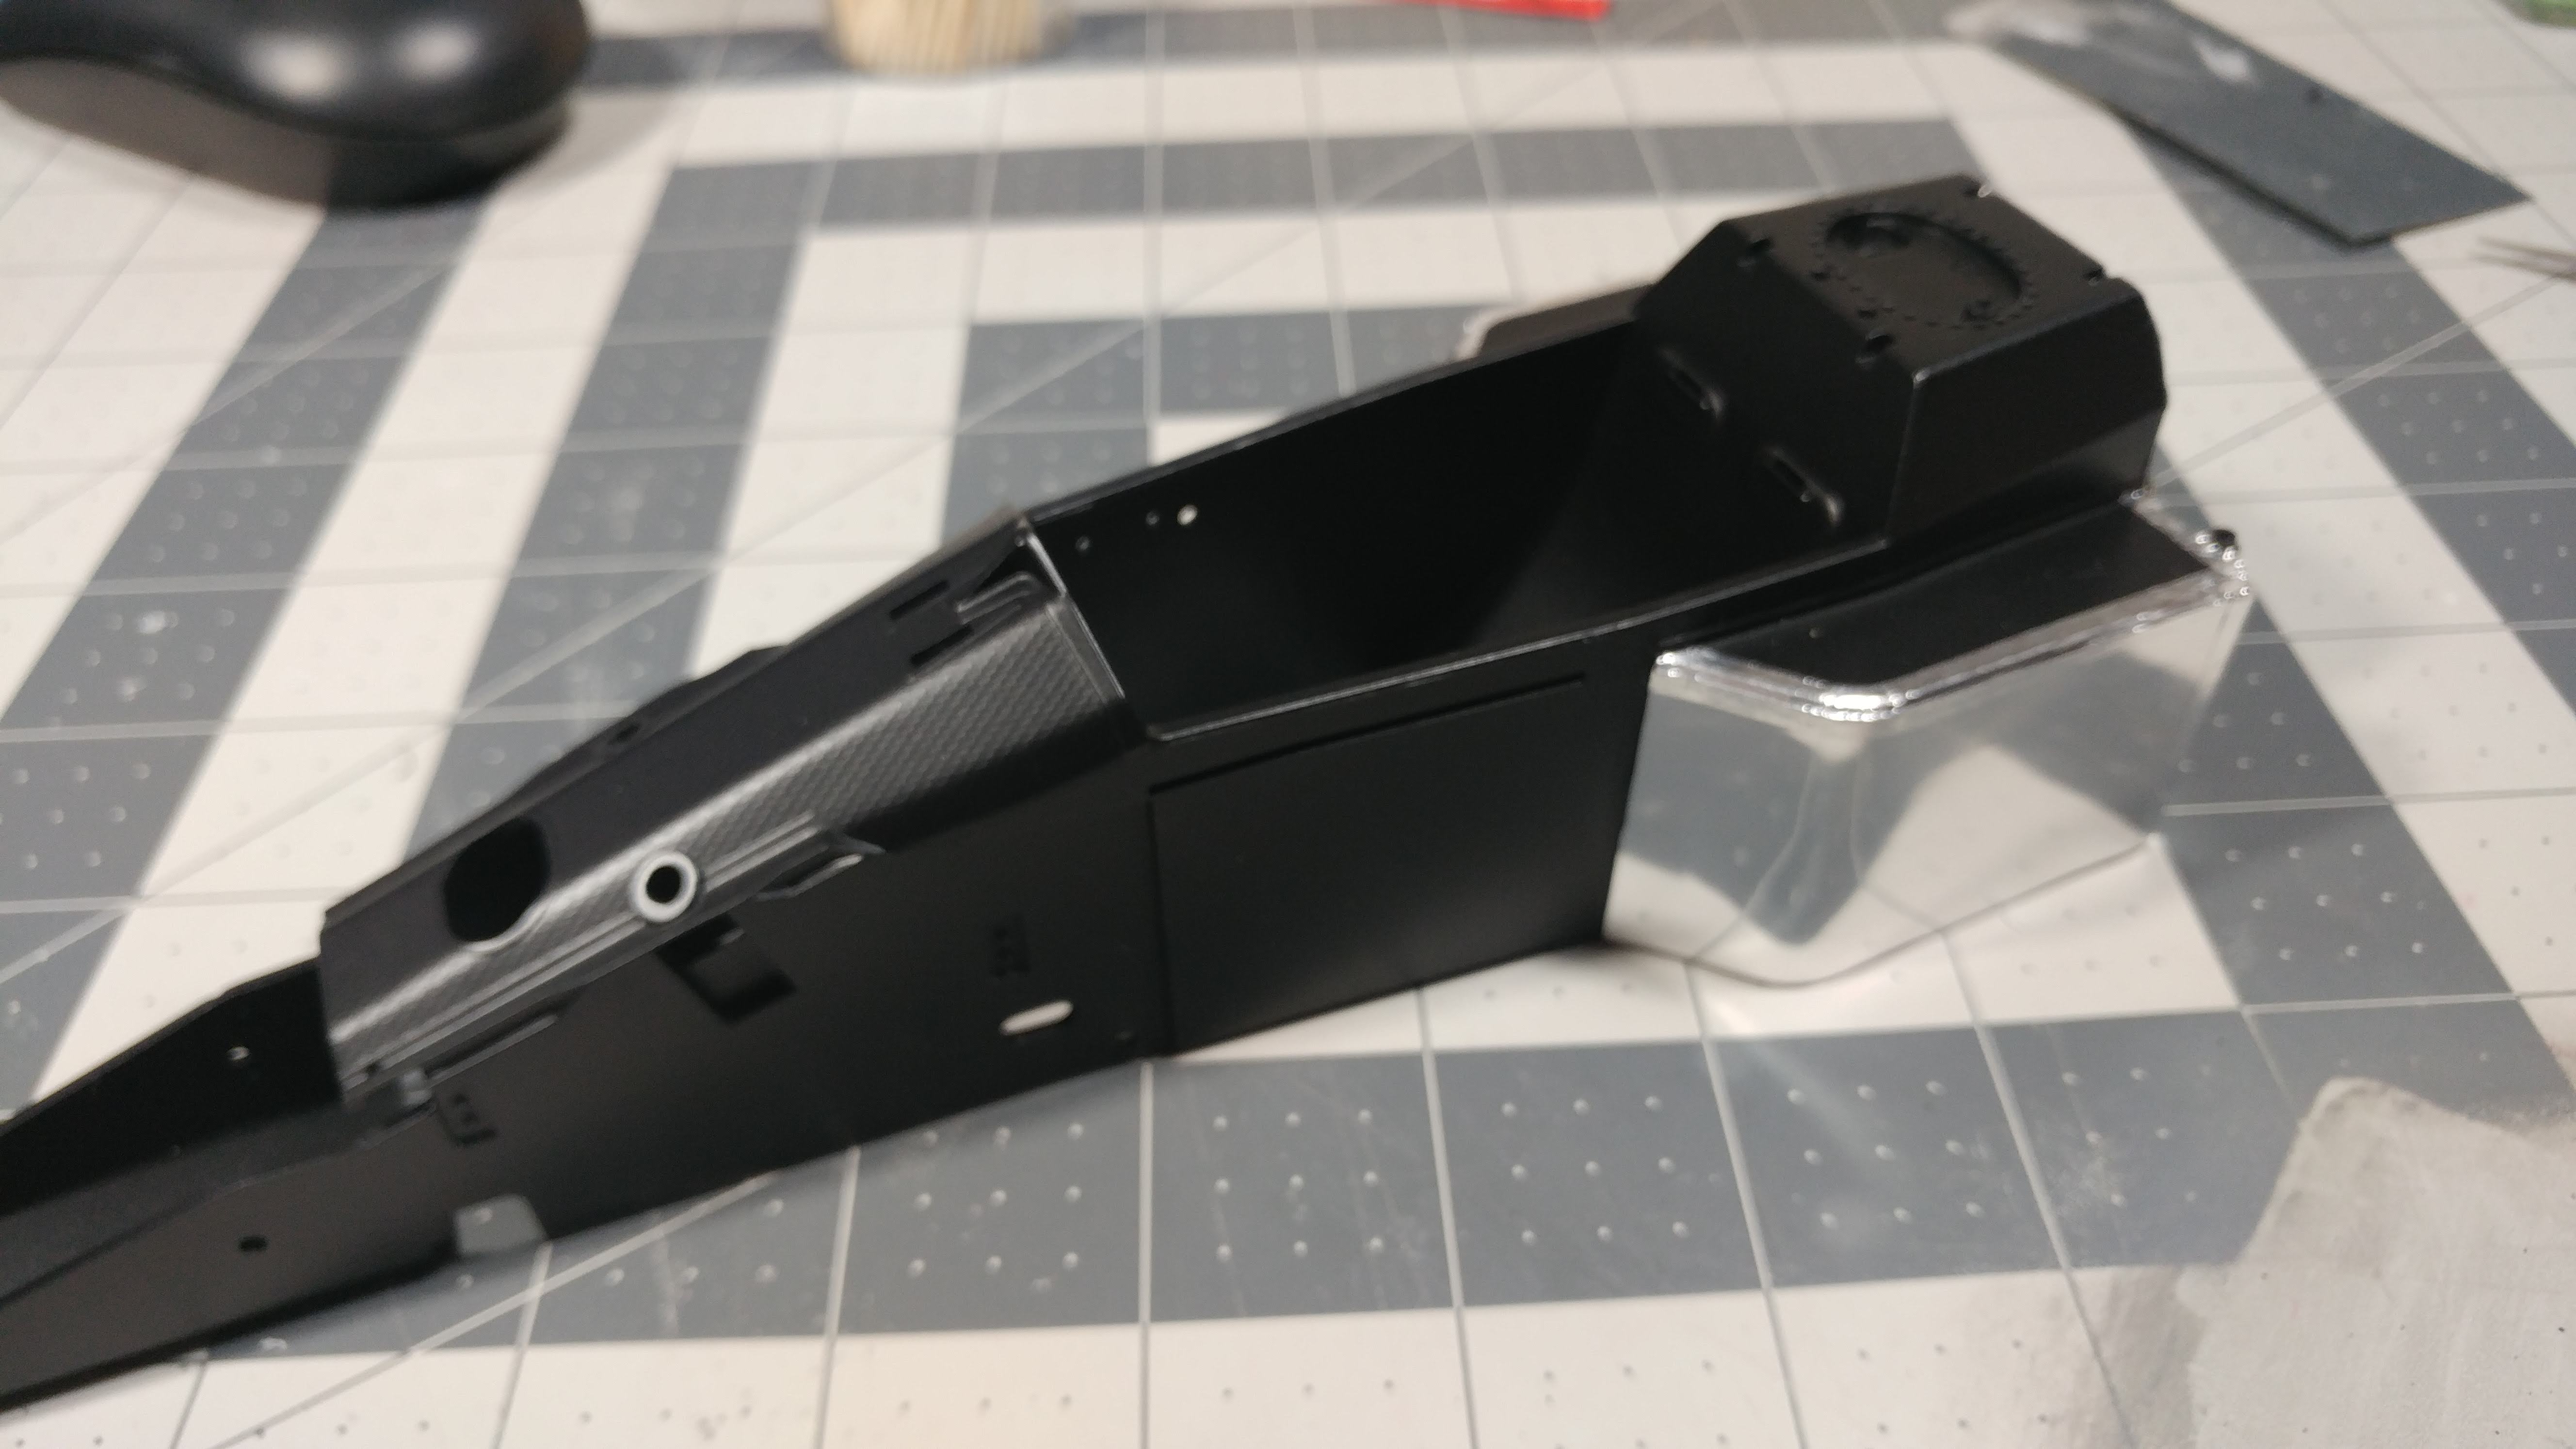 Got some prep work done on the a-arms. Kinda hard to tell here (my phone camera is crapping out, I think...can't get it to focus properly, a known problem with LG G5 phone) but the smaller one on the left has been cleaned up and readied for paint while the larger one is still "raw". Original die-cast parts from the kit. They aren't in bad shape, just need some TLC. 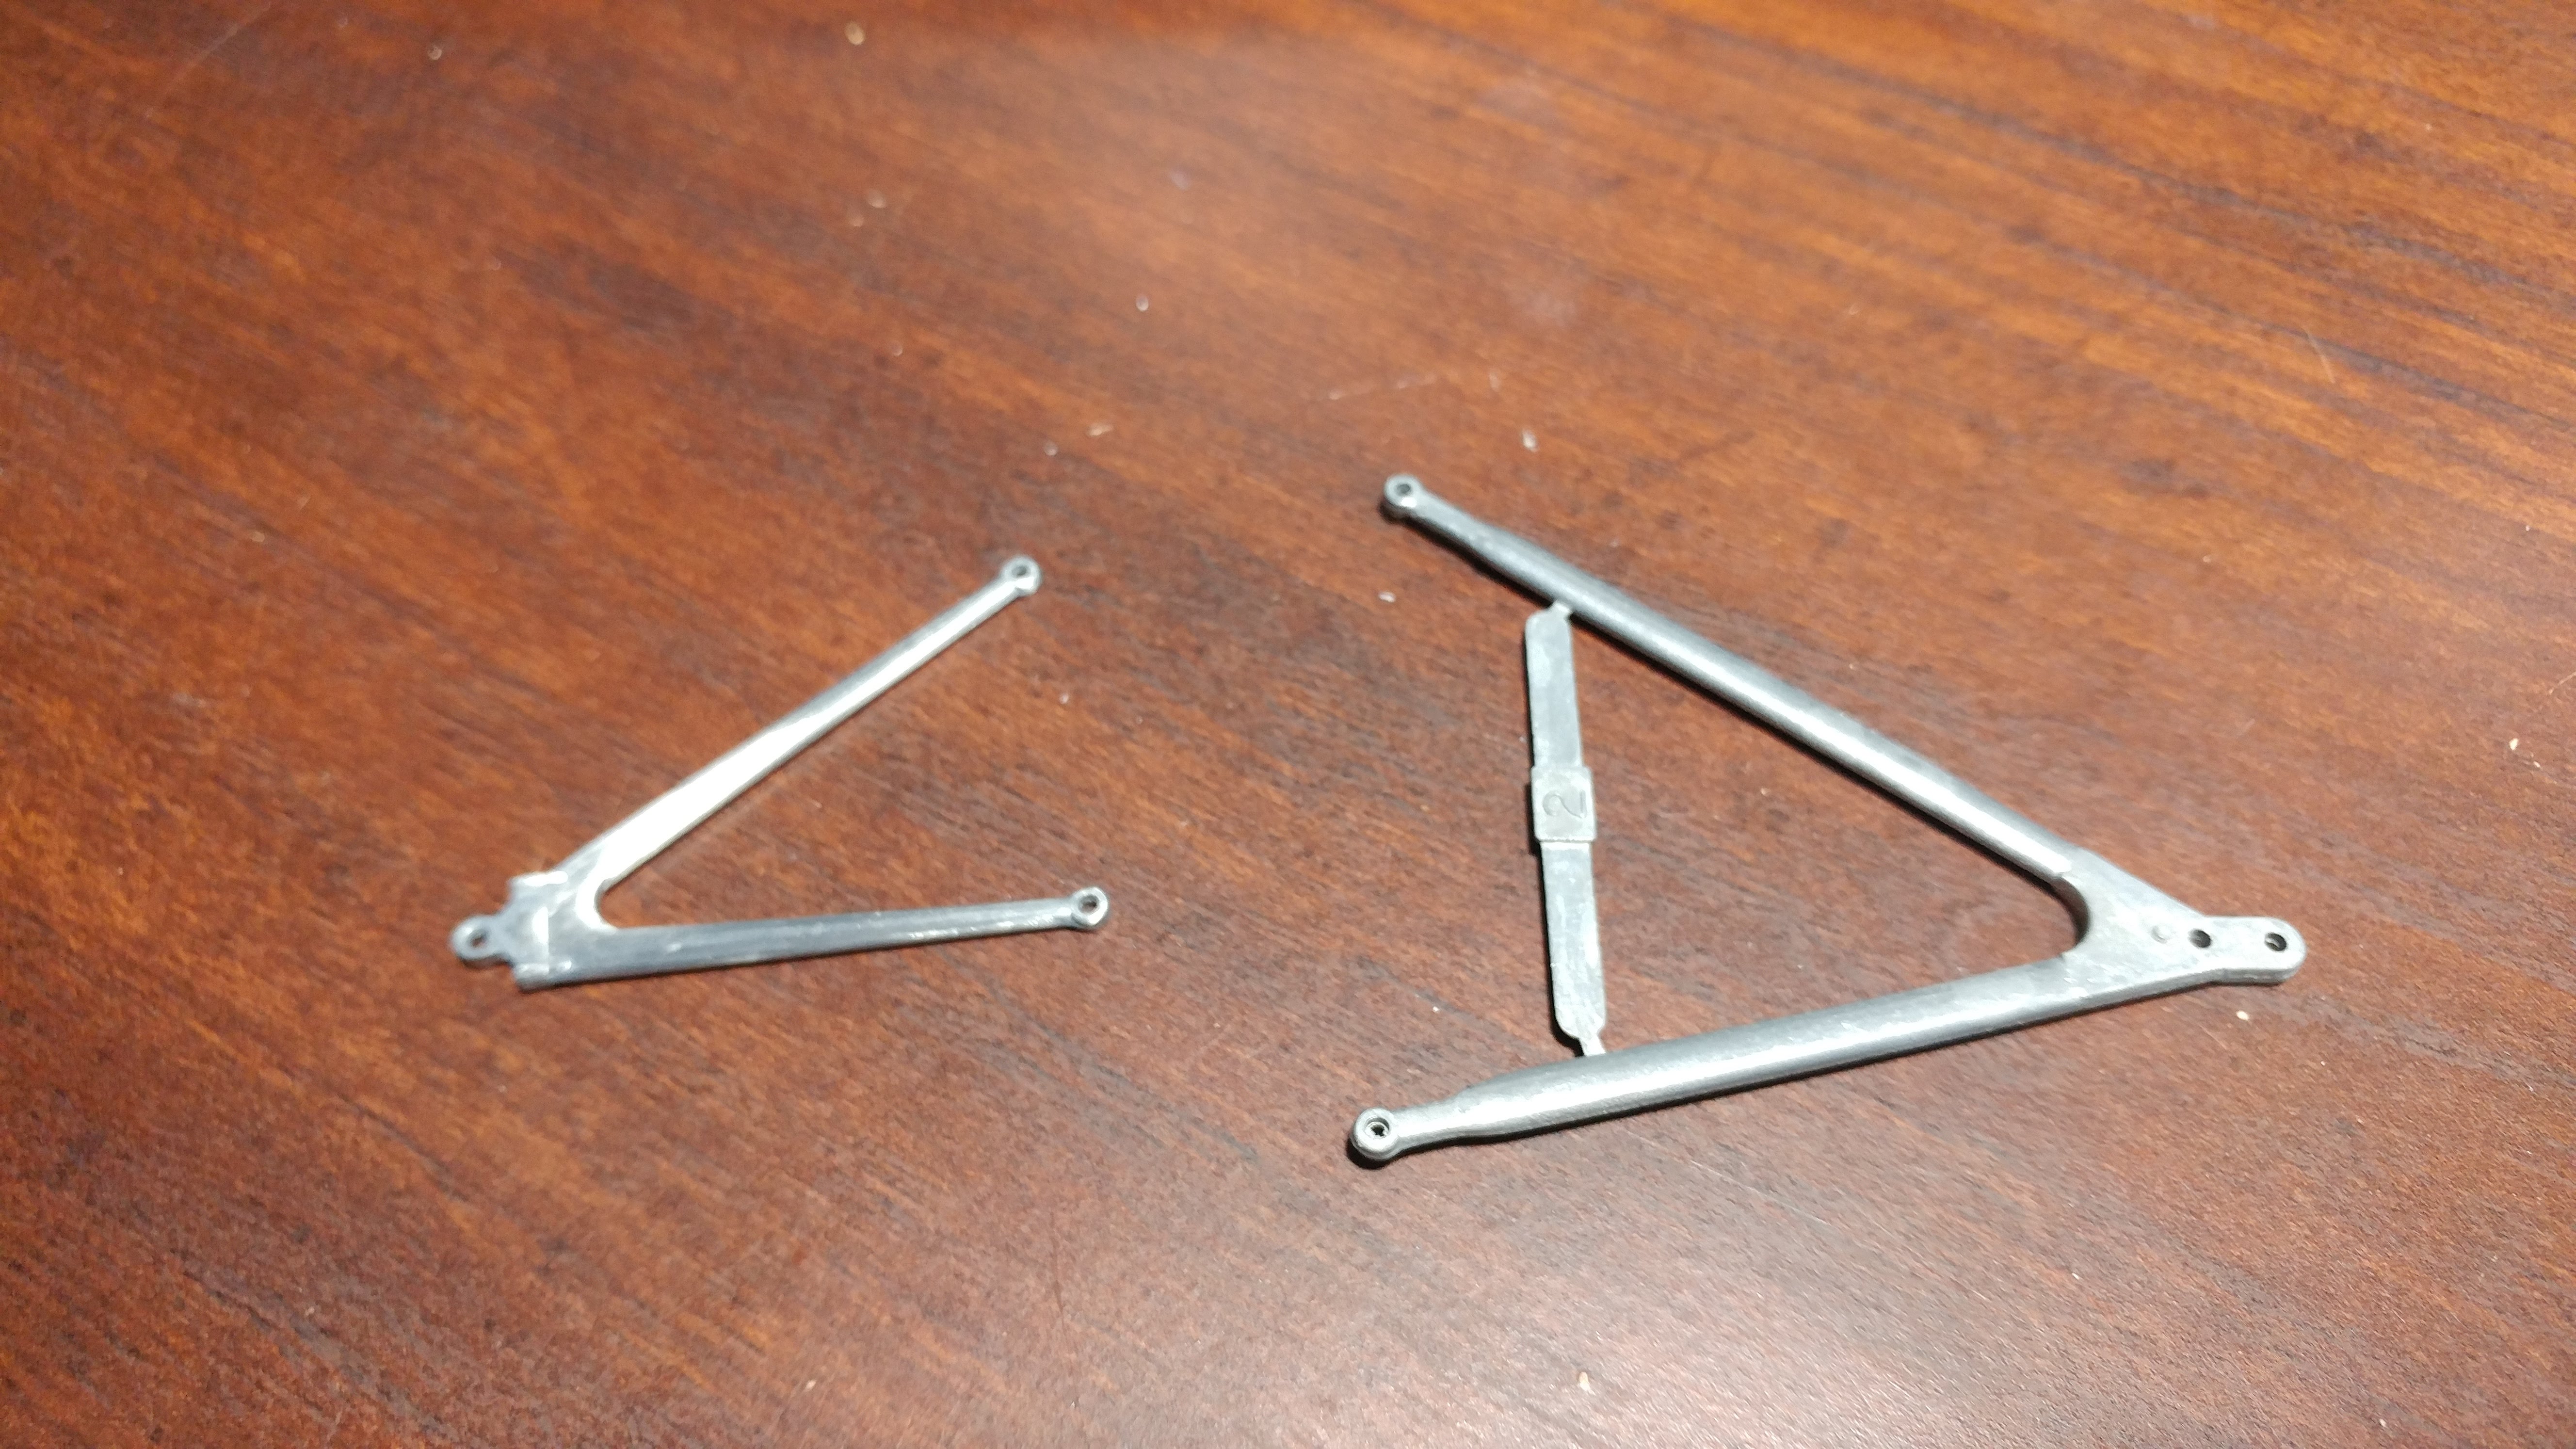 Got the snorkel together and filled some little gaps. Bought some kevlar decals from SpotModel and going with the lower picture as a reference. The decals are a bit brighter than the actual snorkel but, in reality, not much of it is going to be seen with the body shell on. 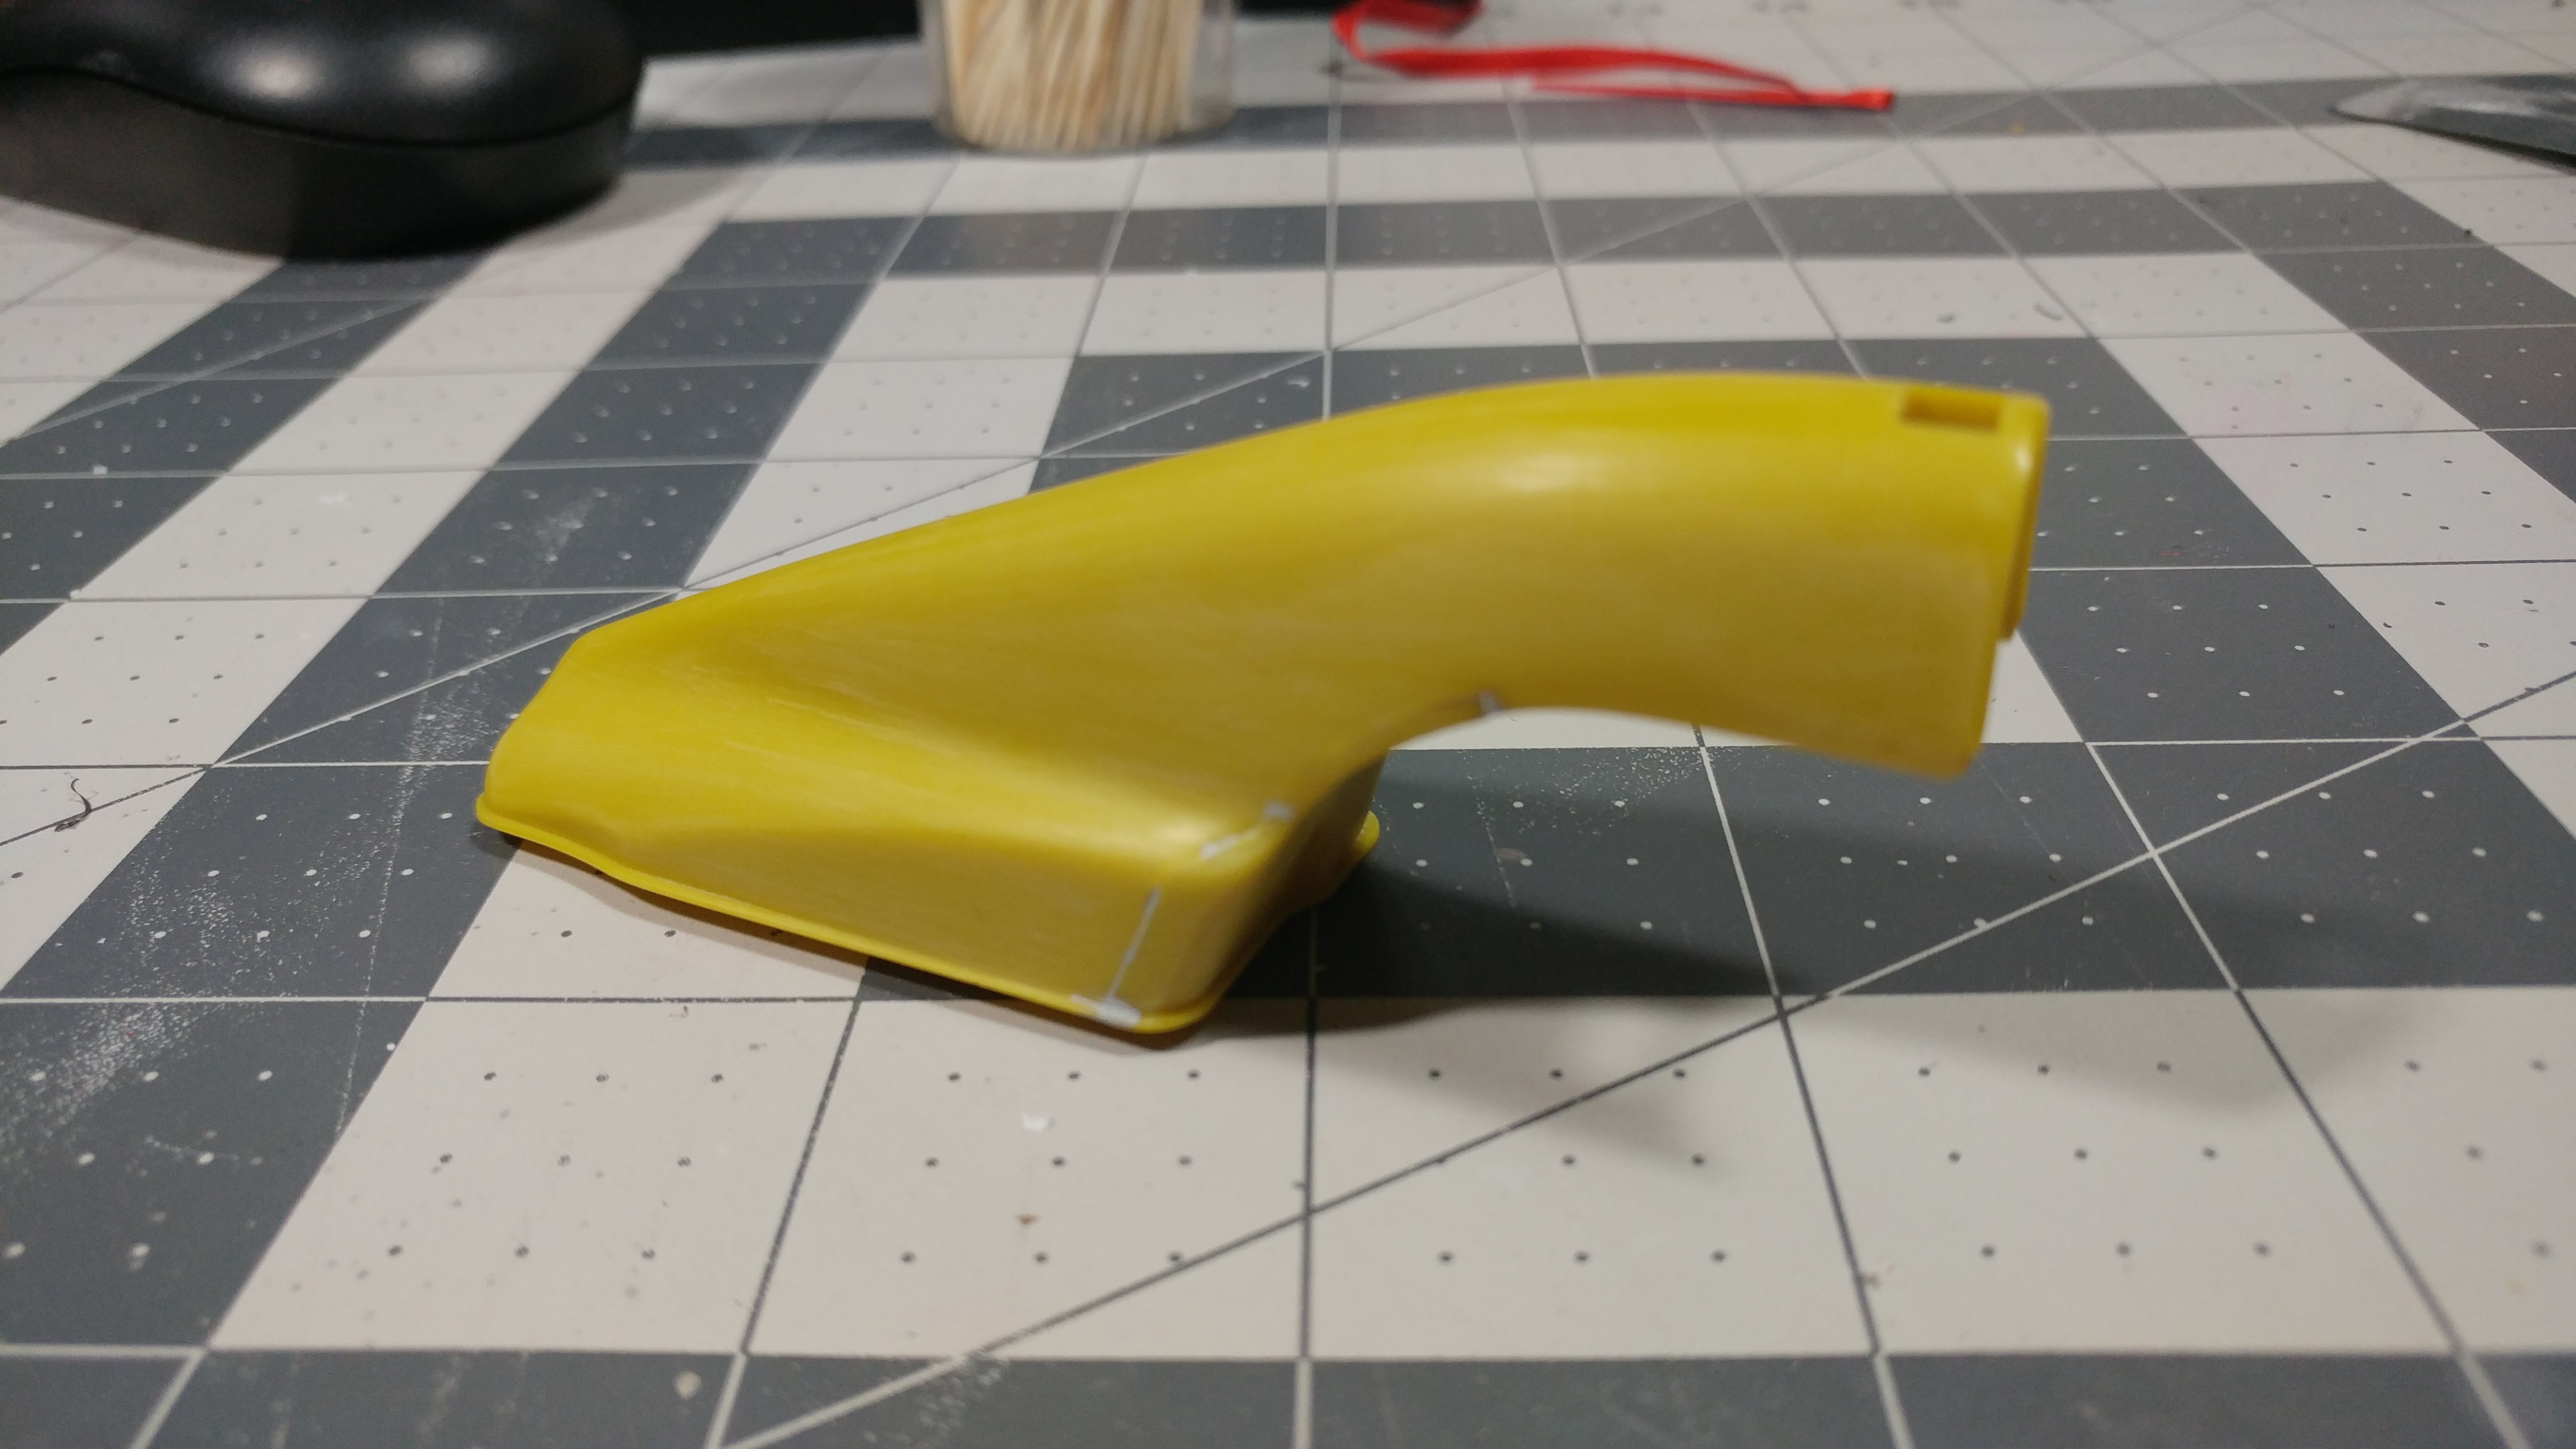 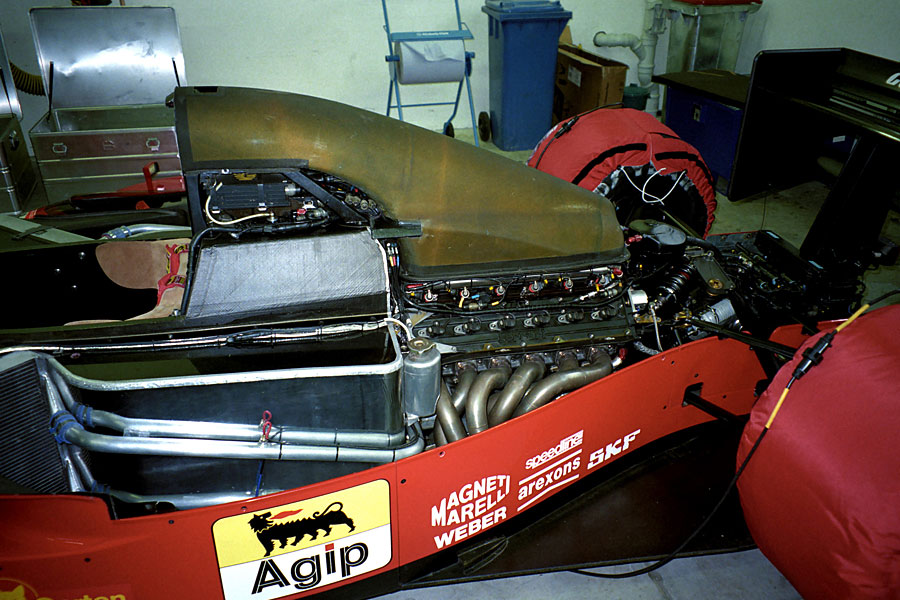 And finally, got a new helper. Only temporary, though. My daughter and her boyfriend are moving into a new place so she asked me to "babysit" this dude while they get things organized. He's almost 10 years old, which I recently learned is about 100 in human years! I hope I have as much energy when I'm 100!!  |
|
|
|
Post by pnance26 on Mar 4, 2020 9:09:56 GMT -8
Making any progress, Mike... since I'm the one that got you into this mess! Baby steps..... Got some more heat shielding on the monocoque. This sheet of shiny stuff actually came from the innards of an iPhone. I was changing out the screen in my daughter's phone about 4 years ago and discovered this inside. There was one attached to the new screen so like any good modeller/packrat, I kept the old one. Figured it might make good mirrors, which it did on a couple of motorbikes I had done. It's quite shiny and very thin, so, easy to work with. Looks great! Nice use of found materials... I didn't know that heat shield existed!Got some prep work done on the a-arms. Kinda hard to tell here (my phone camera is crapping out, I think...can't get it to focus properly, a known problem with LG G5 phone) but the smaller one on the left has been cleaned up and readied for paint while the larger one is still "raw". Original die-cast parts from the kit. They aren't in bad shape, just need some TLC. Are these metal? Did you polish them?Got the snorkel together and filled some little gaps. Bought some kevlar decals from SpotModel and going with the lower picture as a reference. The decals are a bit brighter than the actual snorkel but, in reality, not much of it is going to be seen with the body shell on. Too bad you can't simulate the fiberglass look of the intake (never thought of it as a snorkel)!And finally, got a new helper. Only temporary, though. My daughter and her boyfriend are moving into a new place so she asked me to "babysit" this dude while they get things organized. He's almost 10 years old, which I recently learned is about 100 in human years! I hope I have as much energy when I'm 100!! Just in time for Ether! Nice looking bunny! |
|
|
|
Post by arcticwolf on Mar 4, 2020 9:30:42 GMT -8
To duplicate the fiberglass "look" on the Ferrari, I'm going to try covering it with a carbon fiber decal (if I ever get any) and then painting over it with Testors Turn Signal Amber, which is very transparent. I'm hoping that the carbon fiber pattern will show through. Just a thought.
|
|
mike_t
Full Time Ride
Posts: 219
|
Post by mike_t on Mar 4, 2020 11:11:02 GMT -8
To duplicate the fiberglass "look" on the Ferrari, I'm going to try covering it with a carbon fiber decal (if I ever get any) and then painting over it with Testors Turn Signal Amber, which is very transparent. I'm hoping that the carbon fiber pattern will show through. Just a thought. Funny, I was kind of contemplating the opposite! Using the kevlar decal but going over it with Tamiya Smoke to tone it down a bit. 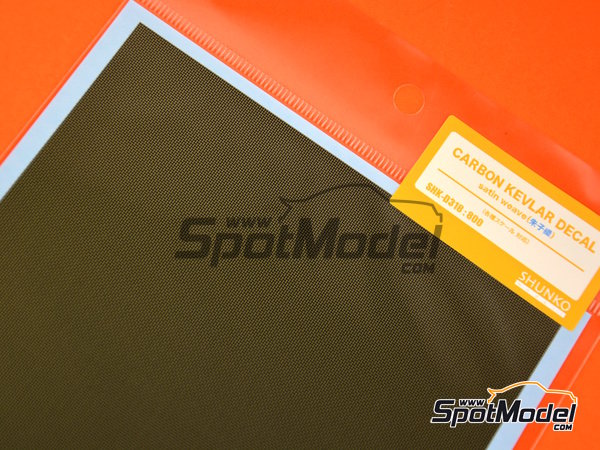 |
|
Deleted
Deleted Member
Posts: 0
|
Post by Deleted on Mar 4, 2020 11:18:39 GMT -8
To duplicate the fiberglass "look" on the Ferrari, I'm going to try covering it with a carbon fiber decal (if I ever get any) and then painting over it with Testors Turn Signal Amber, which is very transparent. I'm hoping that the carbon fiber pattern will show through. Just a thought. Funny, I was kind of contemplating the opposite! Using the kevlar decal but going over it with Tamiya Smoke to tone it down a bit. |
|
mike_t
Full Time Ride
Posts: 219
|
Post by mike_t on Mar 4, 2020 11:20:39 GMT -8
Looks great! Nice use of found materials... I didn't know that heat shield existed!
You mean on the car or in the phone?  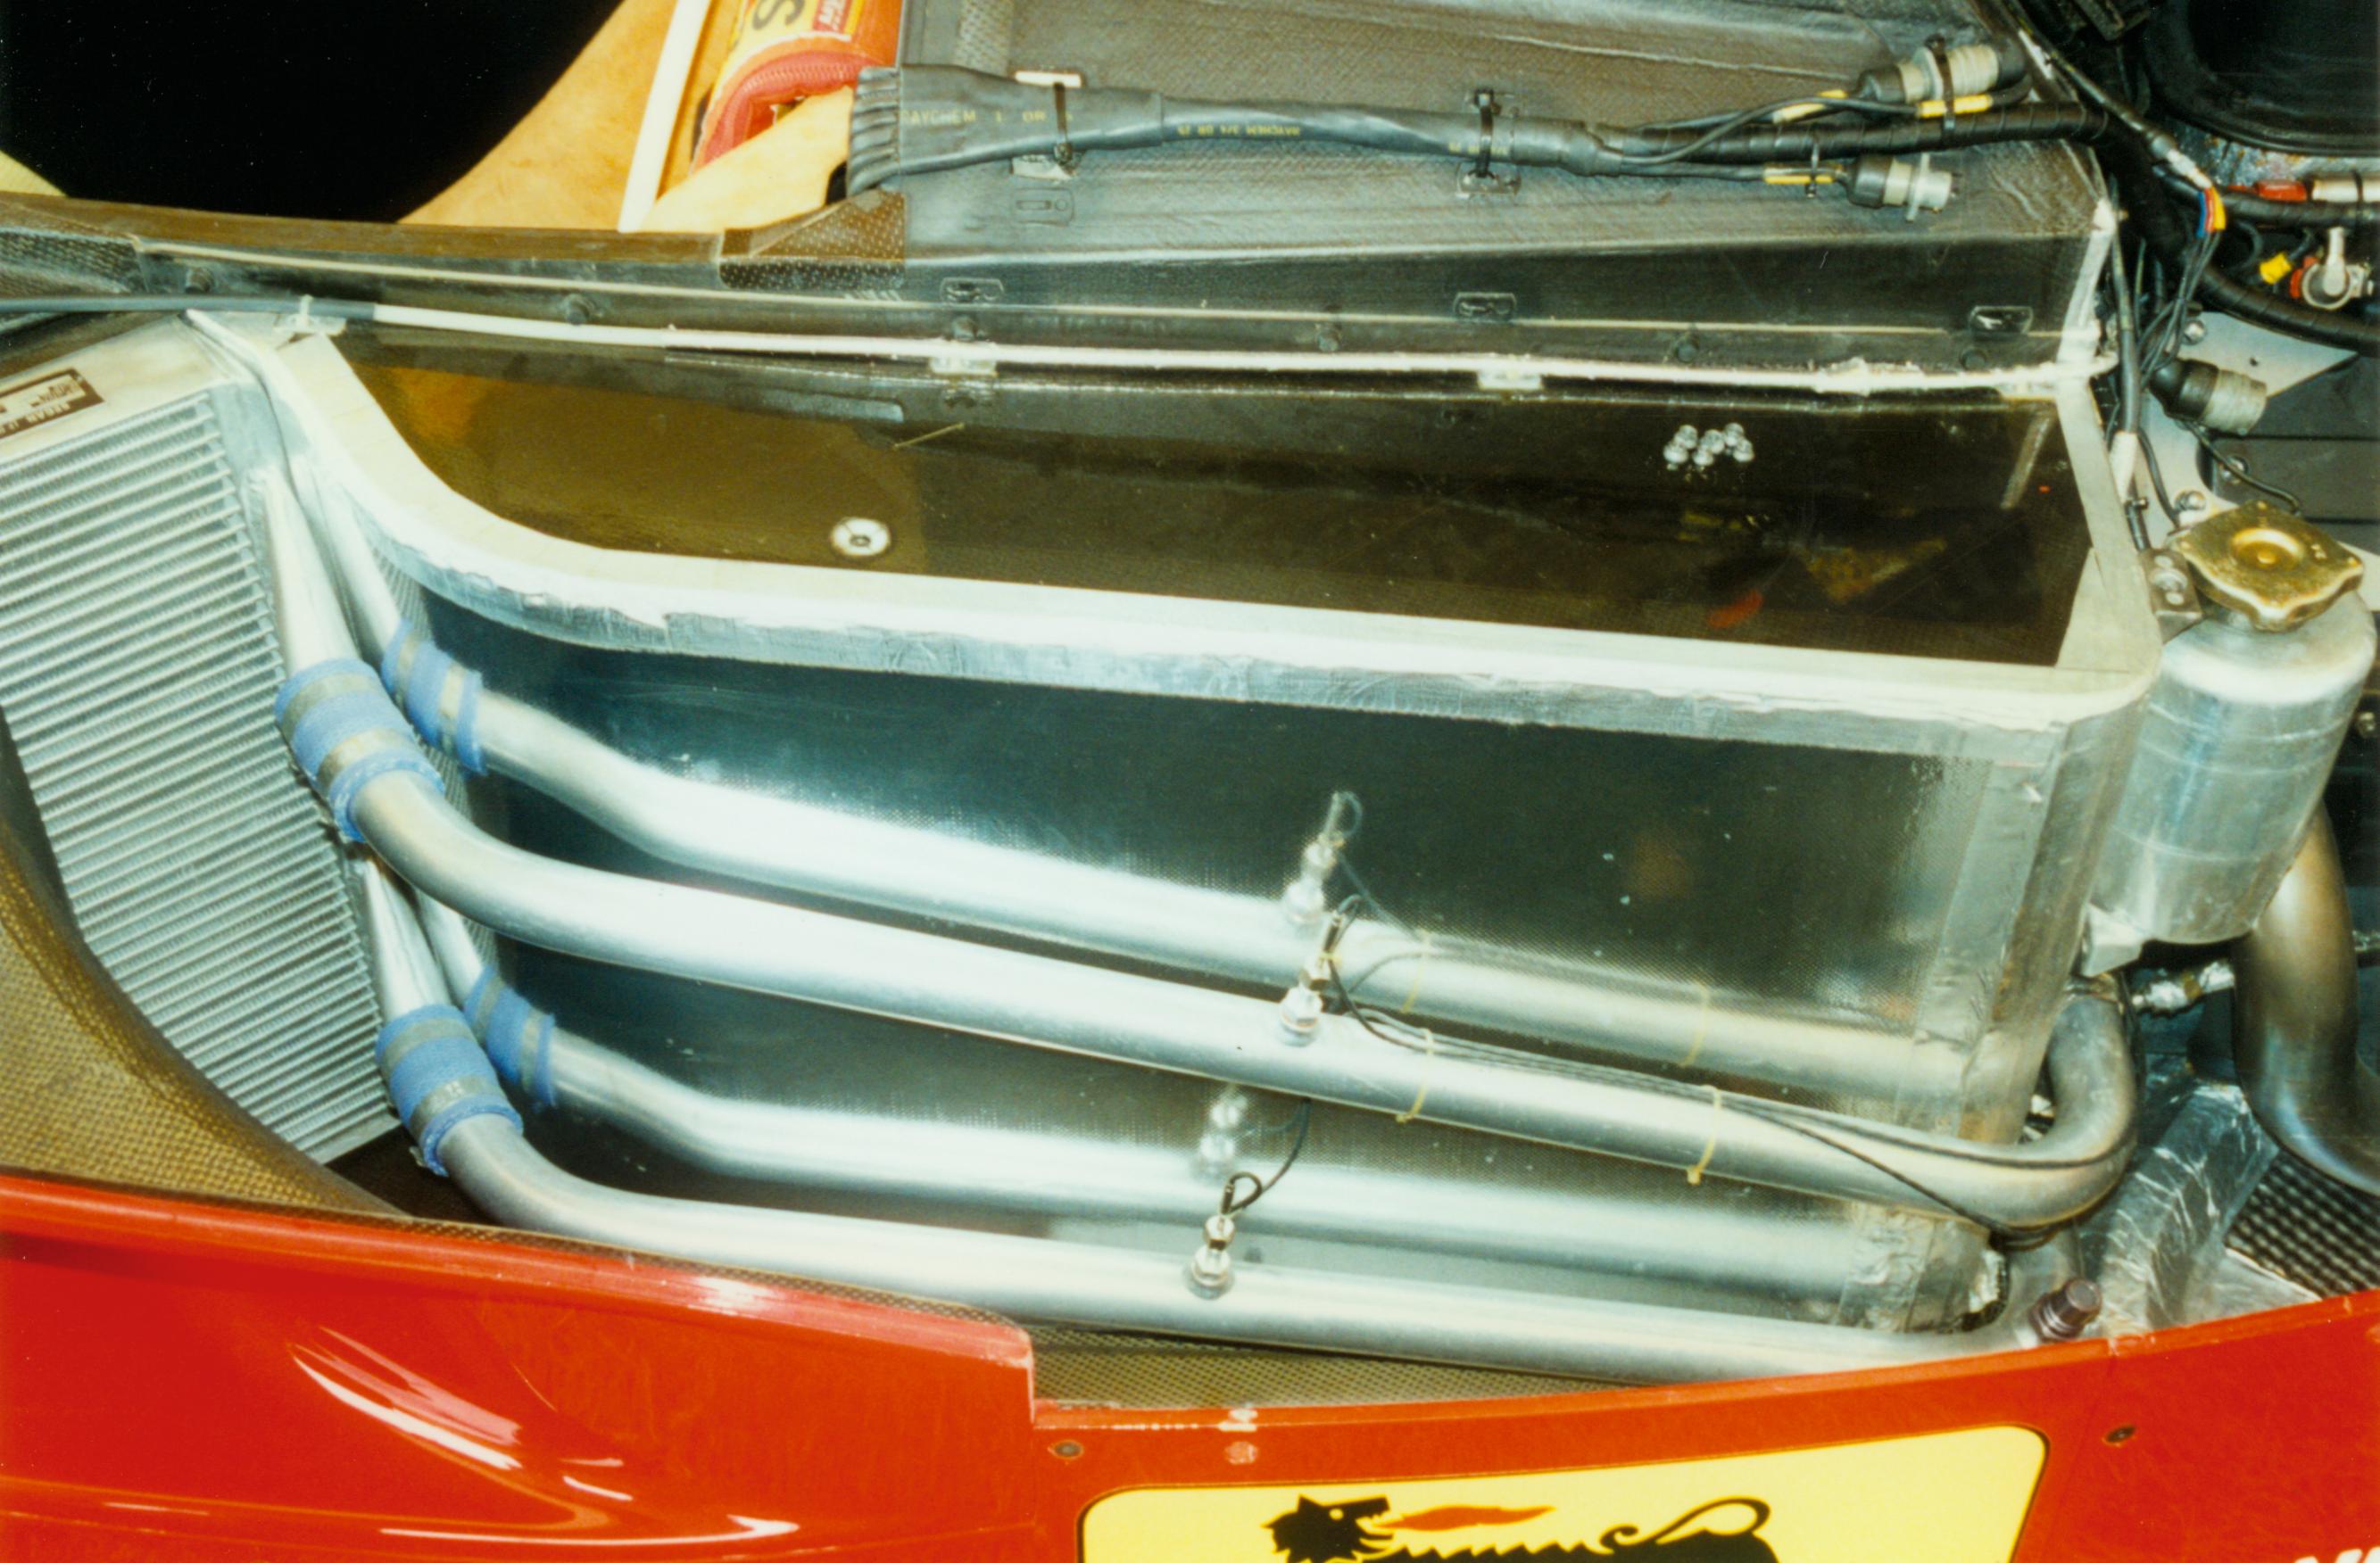 Are these metal? Did you polish them? Are these metal? Did you polish them?
They are metal...and I didn't really polish them to a shine, just filed off the seams and went over them with some 400 paper. Too bad you can't simulate the fiberglass look of the intake (never thought of it as a snorkel)!
See response to Arcticwolf above  Just in time for Ether! Nice looking bunny! Just in time for Ether! Nice looking bunny!I told my daughter if he doesn't behave, I'll be having rabbit stew for lunch next week.  In fact, when she first got him and was trying to decide on a name, I suggested Stu but she didn't find that funny at all.  |
|
|
|
Post by arcticwolf on Mar 4, 2020 12:40:00 GMT -8
I was thinking cacciatore myself.......yum yum
|
|
|
|
Post by arcticwolf on Mar 4, 2020 12:45:30 GMT -8
Funny, I was kind of contemplating the opposite! Using the kevlar decal but going over it with Tamiya Smoke to tone it down a bit. I do that on exhaust pipes. Thin the Tamiya smoke a little and brush (or spray) a light coat over the base colour. Then a flat clear top coat if you want. It works.
I was just thinking with the snorkel, the Testors is very transparent, so the decal texture should show through. The kevlar would be a better bet, never thought of that.
|
|
mike_t
Full Time Ride
Posts: 219
|
Post by mike_t on Mar 30, 2020 10:36:41 GMT -8
Had a 3 day long weekend finally. My daughter is moving to a new apartment, so that killed one day so I spent the other 2 at the bench...well, one and a half, anyway. Been here since 9 this morning but taking a break for food! Anyway, spent most of that time on the motor, suspension and rear brakes. And just as I sit to load these pics up, I see a couple of drive shafts that I forgot, even after reminding myself twice. Jeez...Ah well, easy fix... So, here's where I am....and I'd recommend 1/12 scale bleeder screws and banjo bolts to someone with better eyesight and less shaky hands. If I ever mention a full detail kit like this again, someone please smack me! 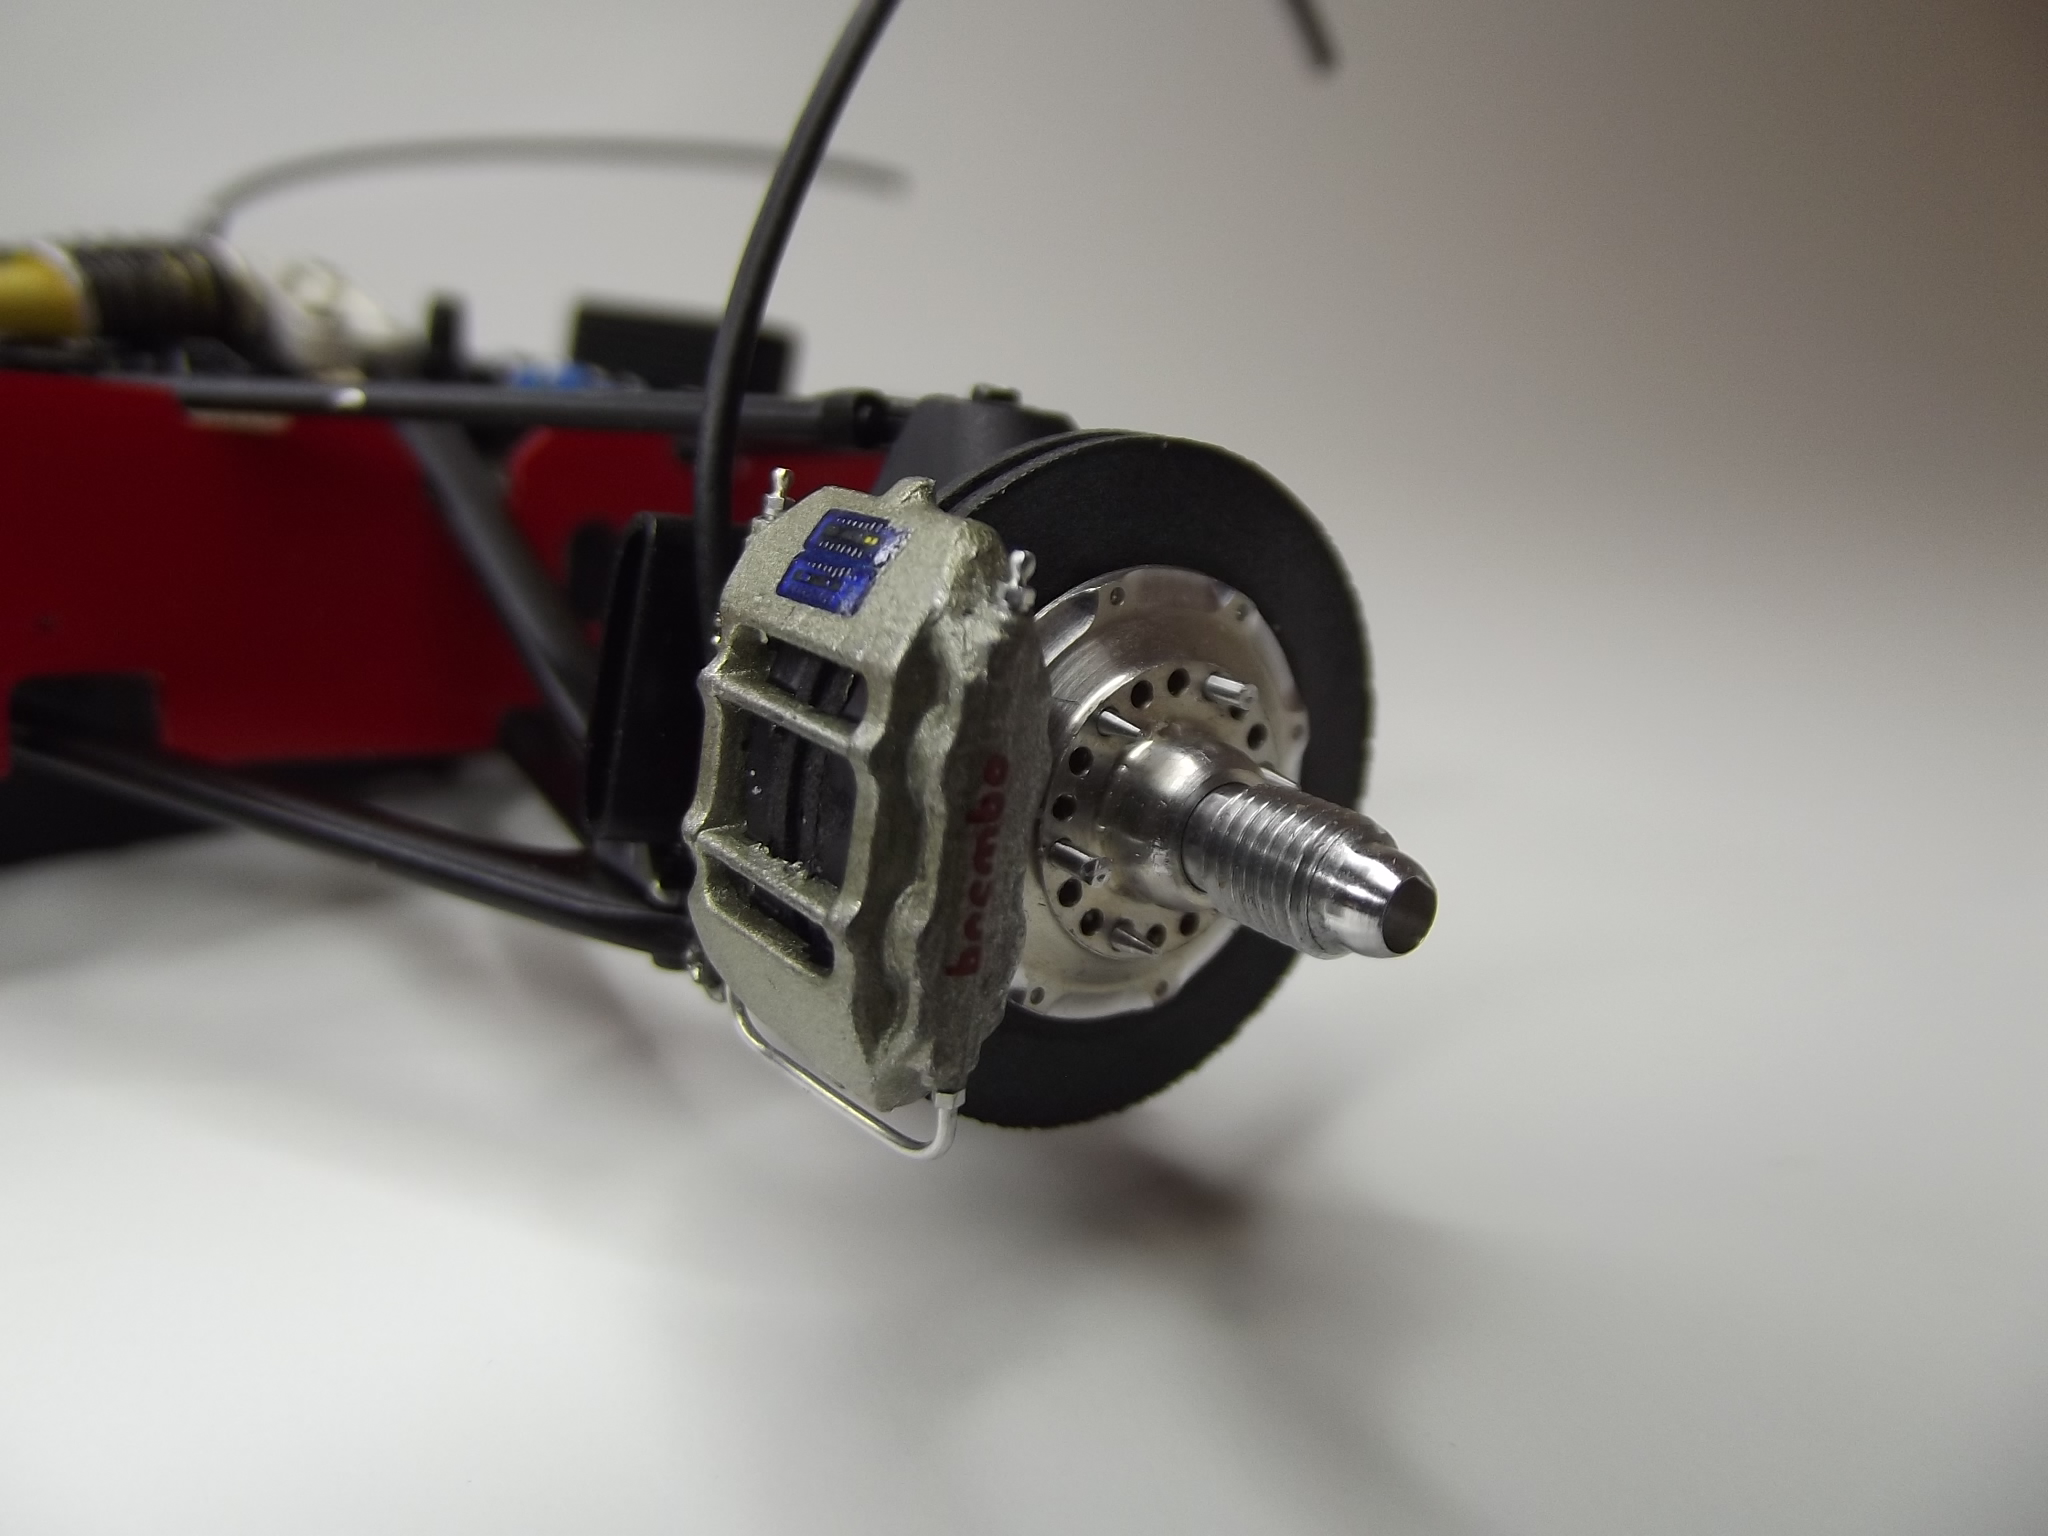  |
|
|
|
Post by chrissmith on Mar 30, 2020 10:54:15 GMT -8
The brakes are looking good, which upgrade kit are they?
If you are like me, you’ll get another full detail kit. Then you’ll bang your head up against the wall a few times.
|
|
|
|
Post by mustang1989 on Mar 30, 2020 11:00:04 GMT -8
Those details are looking swell Mike!
|
|
mike_t
Full Time Ride
Posts: 219
|
Post by mike_t on Mar 30, 2020 11:24:23 GMT -8
The brakes are looking good, which upgrade kit are they? If you are like me, you’ll get another full detail kit. Then you’ll bang your head up against the wall a few times. Thanks, Chris. The calipers are from the kit. The fittings, rotors and spindles are from ThunderValleyF1. He's apparently not making this stuff anymore, according to the website...and although I may buy another 1/12 some day, I can't see me taking it this far. But, never say never, eh? |
|
mike_t
Full Time Ride
Posts: 219
|
Post by mike_t on Mar 30, 2020 11:27:04 GMT -8
Those details are looking swell Mike! Thank you, sir! A bit frustrating at times but isn't that part of a modelers life? |
|


 In fact, when she first got him and was trying to decide on a name, I suggested Stu but she didn't find that funny at all.

