|
|
Post by afx on Mar 20, 2020 2:41:59 GMT -8
Thanks for sharing this project here Ismael. I've not built an aircraft or military subject but enjoy seeing them built.
|
|
|
|
Post by Joel_W on Mar 21, 2020 7:27:06 GMT -8
Ismael,
In a million years I wouldn't have thought of all people that you built aircraft models, specifically helicopters. Your collection that you showed pictures of are models that I don't even remember, all extremely rare and quite unique. As for your current Copter build, it certainly is not only up to your extremely high standards, but your added detail really sets it apart from the average build.
Looking forward to your next update for sure.
As for Ben, well, I already knew of his addiction to anything that flies.
Joel
|
|
|
|
Post by tatocorvette on Mar 21, 2020 14:00:22 GMT -8
Hello, Doing one can be a challenge. Doing 2 identical ones a bit more. 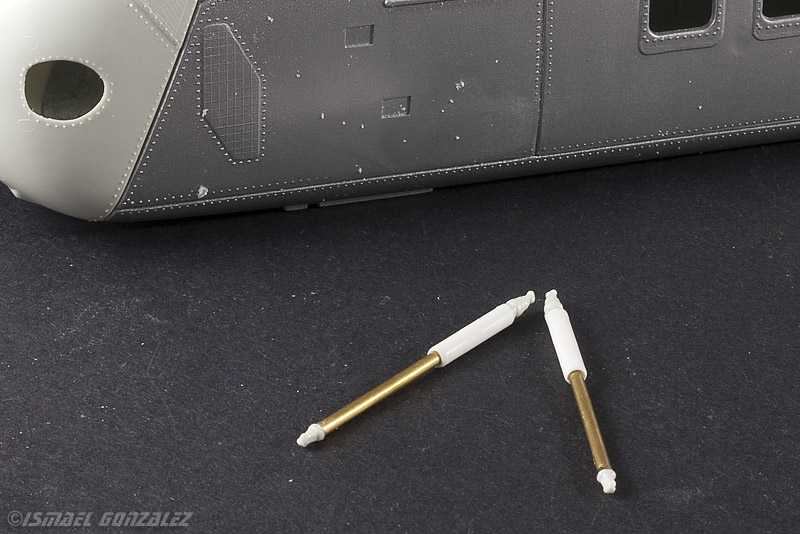 Finally finished the rotor hub. I really, REALLY like it. 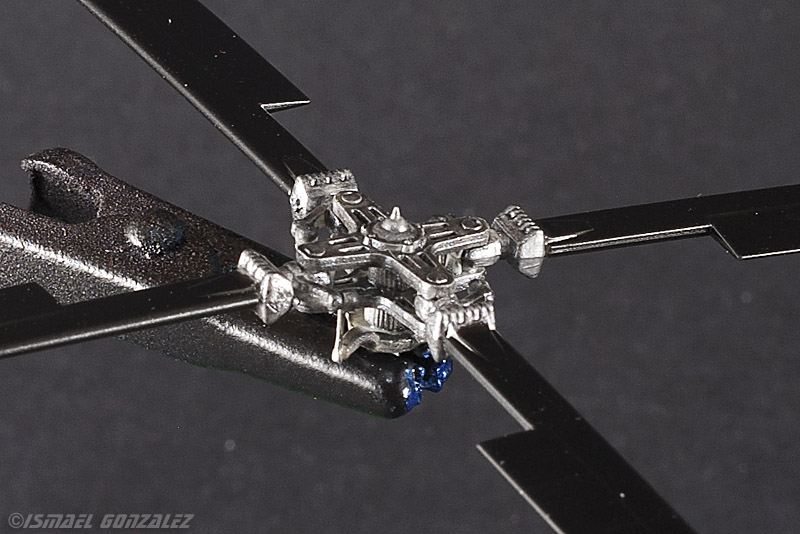 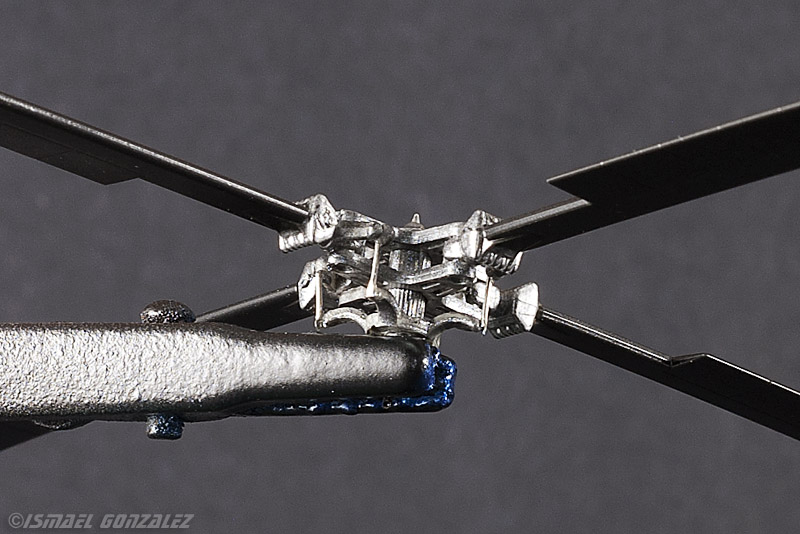 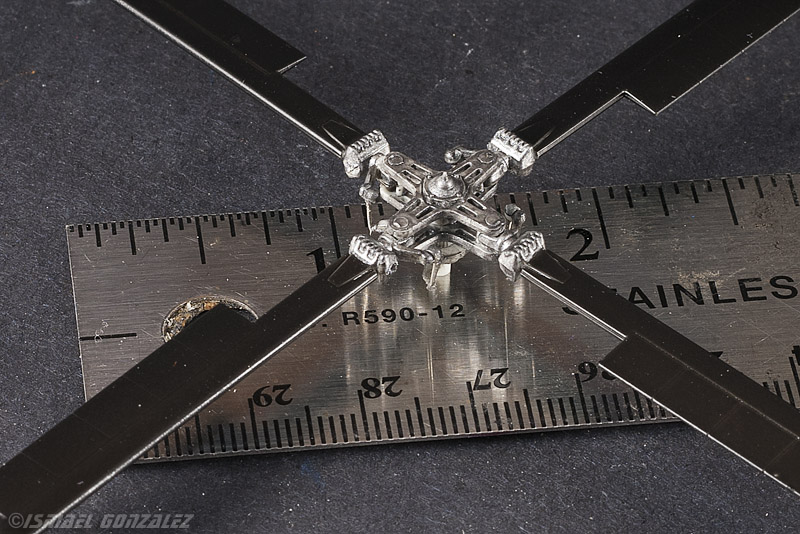 Thanks, Ismael |
|
|
|
Post by Joel_W on Mar 22, 2020 6:10:15 GMT -8
Ismael,
As usual, your detailing is 1st hand and top quality. Those struts are simply amazing.
Joel
|
|
|
|
Post by tatocorvette on Mar 23, 2020 15:49:59 GMT -8
Hello, You didn't think for a moment that I was going to trust my tail rotor to some wimpy unbalanced plastic shaft, did you? Brass shaft. Added a sleeve inside the housing so the shaft can be installed AFTER both housing parts are glued together.  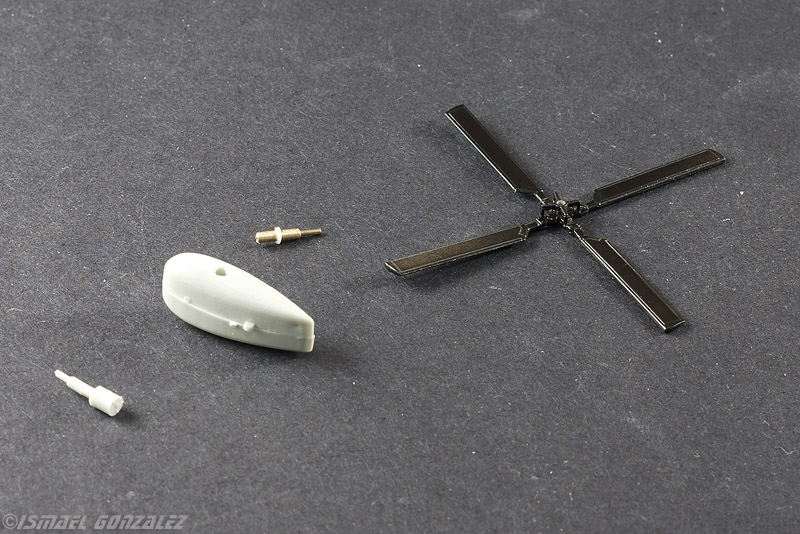 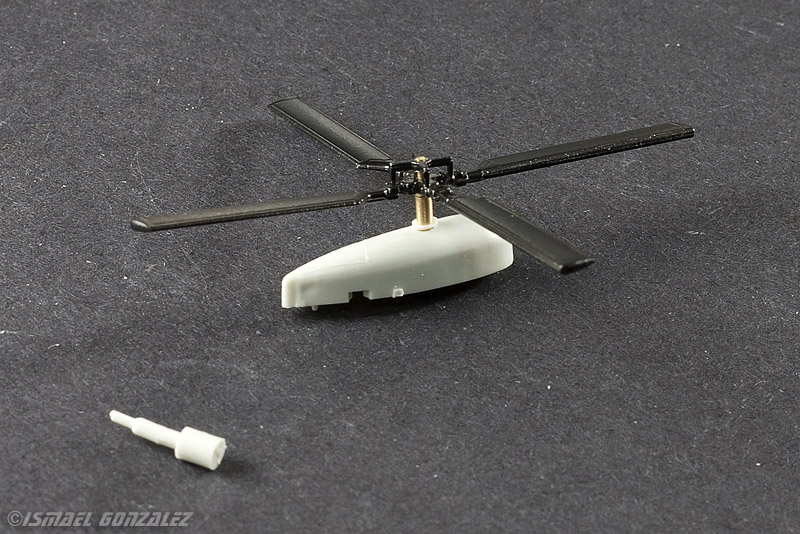 Thanks, Ismael |
|
|
|
Post by mustang1989 on Mar 24, 2020 10:11:54 GMT -8
Man this is great!!! Remember that the leading edges of most blades (main or tail rotor) usually have the coating worn off to show a bare metallic underneath on these older aircraft. Will be watchin' in on this one.
It's been a while now since I've built anything aviation. Good year or so but that's my other genre of building when I'm not doing autos.
|
|
|
|
Post by 2whl on Mar 24, 2020 12:25:10 GMT -8
That rotor detail is amazing. The only helicopter I have ever ridden in is this version while I was in the Army
|
|
|
|
Post by Joel_W on Mar 24, 2020 13:41:11 GMT -8
Ismael,
Once again you simply amaze me with even the most basic of improvements.
Joel
|
|
|
|
Post by tatocorvette on Mar 24, 2020 19:24:41 GMT -8
Hello, And we have COLOR! First coat of color. However, this paint will take a long time to dry. I airbrushed it over 4 hours ago and it is still very tacky, almost wet. But it looks good so far. Almost complete coverage but it still needs more paint. This pic reminds me of a bass  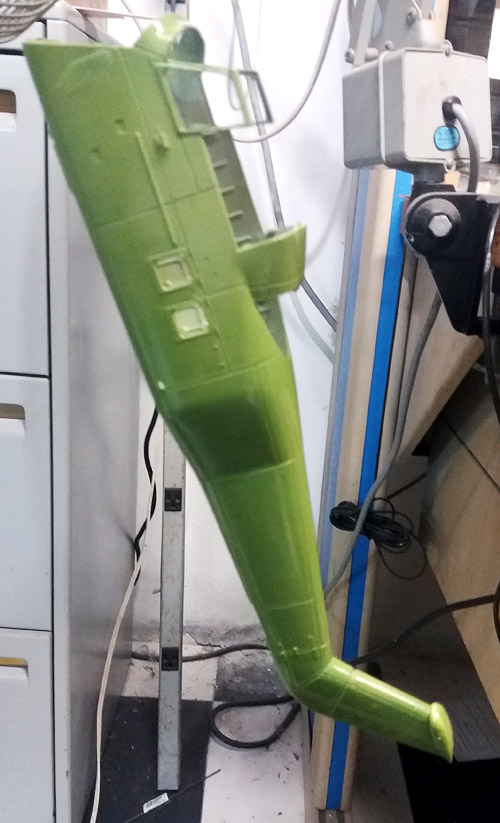  Thanks, |
|
|
|
Post by Joel_W on Mar 25, 2020 12:54:26 GMT -8
Ismael,
The paint looks smooth and consistent. Must be some kind of enamel for it to still be wet after that length of time.
Joel
|
|
|
|
Post by tatocorvette on Mar 29, 2020 12:05:52 GMT -8
Hello, Regardless of subject or type of paint, airbrushing is such an enjoyable experience for me! It is my therapy. Love it! Will let it dry for a few days before inspecting and deciding if more is still needed. I hope this is the last coat of paint.  Thanks, |
|
|
|
Post by tatocorvette on Mar 29, 2020 17:11:30 GMT -8
Hello again, With use, the floor on these birds would show reinforcement ribs. The kit's floor is just a smooth slab of plastic. I first made the ribs by cutting thin strips of Tamiya tape. Then used household aluminum foil to emboss the pattern. I will smooth the edges and apply some white glue to fix it before painting. 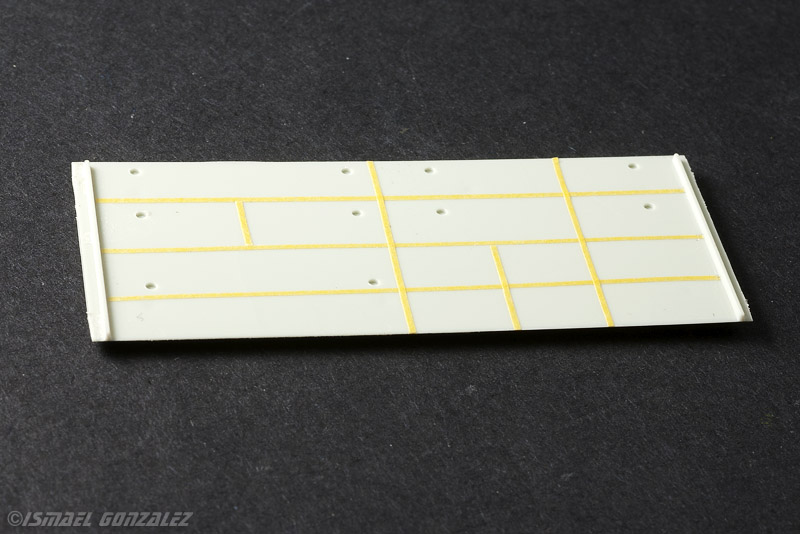 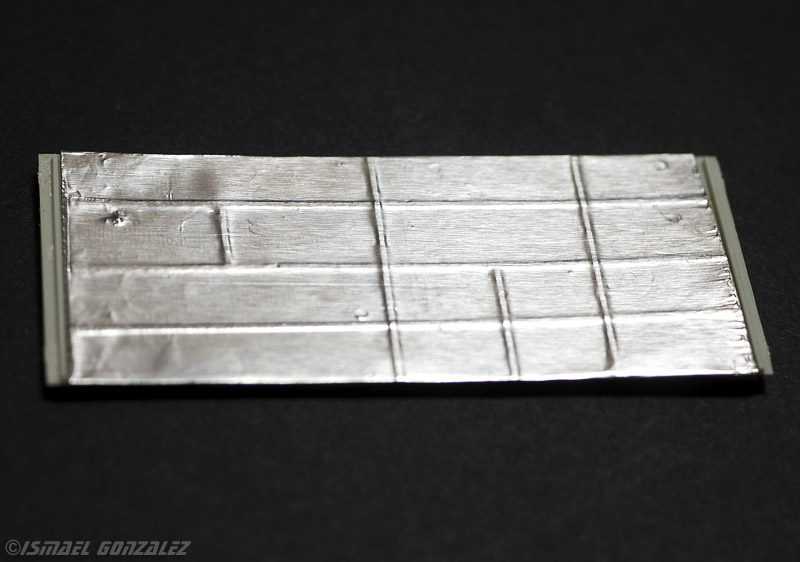 Thanks, Ismael |
|
|
|
Post by mustang1989 on Mar 29, 2020 17:41:51 GMT -8
This look great looking build Ismael. Looking forward to more.
|
|
|
|
Post by tatocorvette on Mar 30, 2020 3:59:24 GMT -8
Hello, The net at the back of the interior was done with Tamiya tape strips. 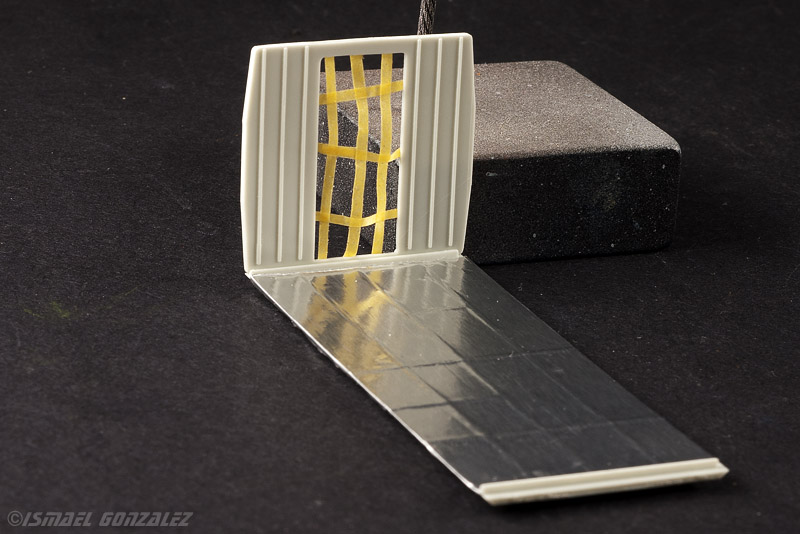 Thanks, Ismael |
|
|
|
Post by mustang1989 on Mar 30, 2020 6:08:28 GMT -8
That's a nifty idea with the tape for the cargo netting.
|
|


