|
|
Post by pnance26 on May 29, 2020 9:50:29 GMT -8
I like it when ideas just happen to work. Great looking tires and wheels!
|
|
|
|
Post by Joel_W on May 29, 2020 11:02:43 GMT -8
Patrick,
Thanks, And me too, which in my case isn't all that often.
Joel
|
|
|
|
Post by Joel_W on Jun 2, 2020 8:42:15 GMT -8
Well, this is the final update post as my Lotus 99t has finally crossed the finish line. While the build had a few issues, for the most part this early Tamiya release really impressed me as to the fit and details of the parts. The wheels are held in place with little self tapping screws rather then the Vinyl inserts that nearly every car kit uses today. Tightening them was a little nerve racking as you need to really use more force to get the screws to seat correctly then I really wanted to, and that puts strain on the rear suspenion points that hold on the brake hubs. But all turned out well as I managed for a change not to break anything. Next time that I need to use screws, I'm going to pe-tap the holes. The rather complex rear wing has the lowest wing actually glued together after you seat it on the transaxle wing supports. Tamiya has both seams on the underside so you really don't see them. I had to paint and decal both halves before assembly. So if this was a contest model, I honestly don't know how you would deal with those 2 bottom seams unless you make your own mounting brackets. But for my purposes, it looks just fine. You then kind of wiggle the rest of the rear wing over that wing, and it actually fits! At this point I had to deal with the the body shell actually fitting over the full chassis and cockpit. Naturally it didn't. Aligning the twin turbo intakes which attach to the front radiators shouldn't have been an issue, but they're both to far forward. So a lot of finesse filing was needed so that the body literally slips right over both without any pressure from yours truly. The other area that needed attention was both the front wing mounting bracket location, the bracket itself, and the inside vertical edge of the body nose. Again, finesse filing till it was a drop on fit. The wing is removable at this point, but i'm going to just secure it with a little Extra Thin. There are two little locating tabs, one on each side of the body pods that go through holes in the pan to secure the shell to the chassis. It's meant to be removable by slightly pushing the two tabs inwards while lifting the shell up. After the nose alignment those two tabs align perfectly. The very last item was the antenna that goes through the hole in the upper nose section. After figuring out how to glue it to the tub, naturally I knocked it off as I was setting up for the 1st picture. So that's going to be repair #1. Finally, here's a dozen pictures of Senna's Lotus 99t. Joel 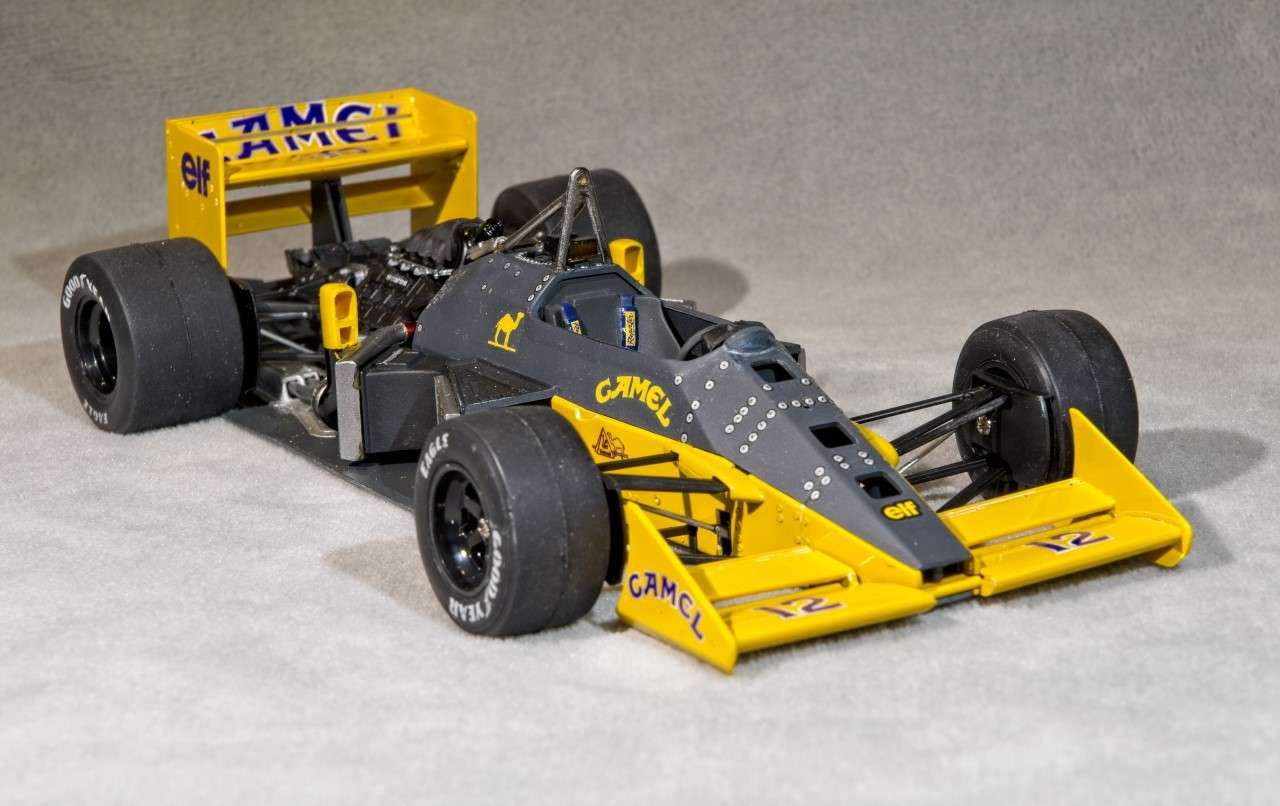 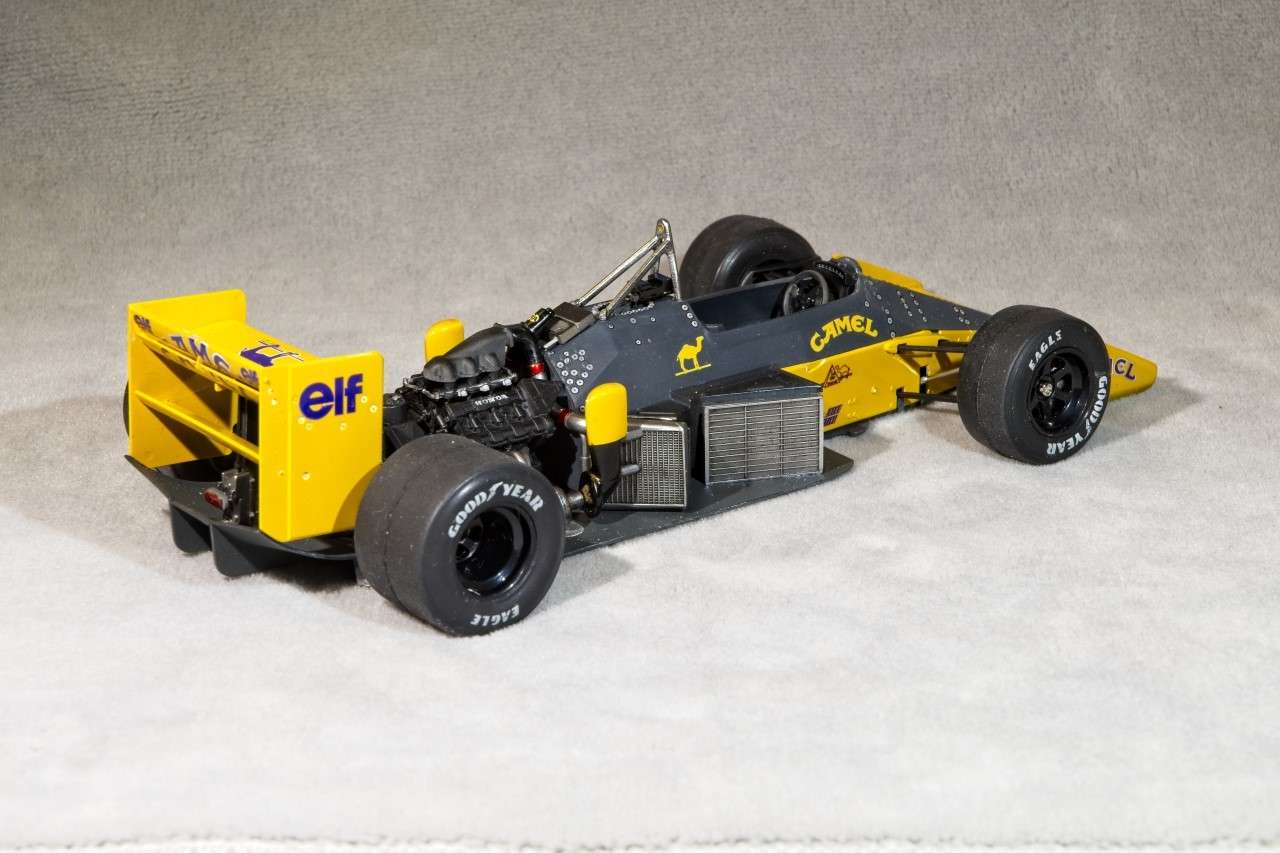 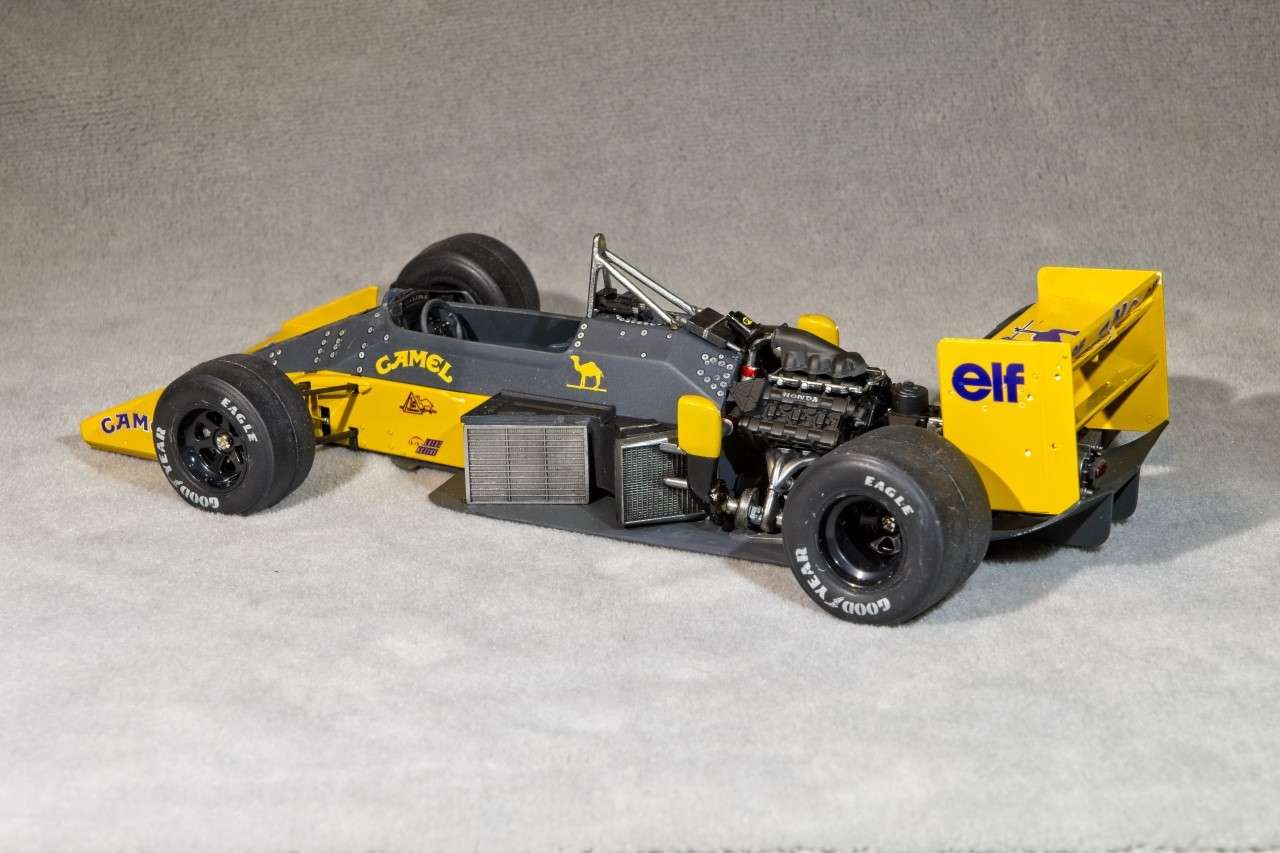 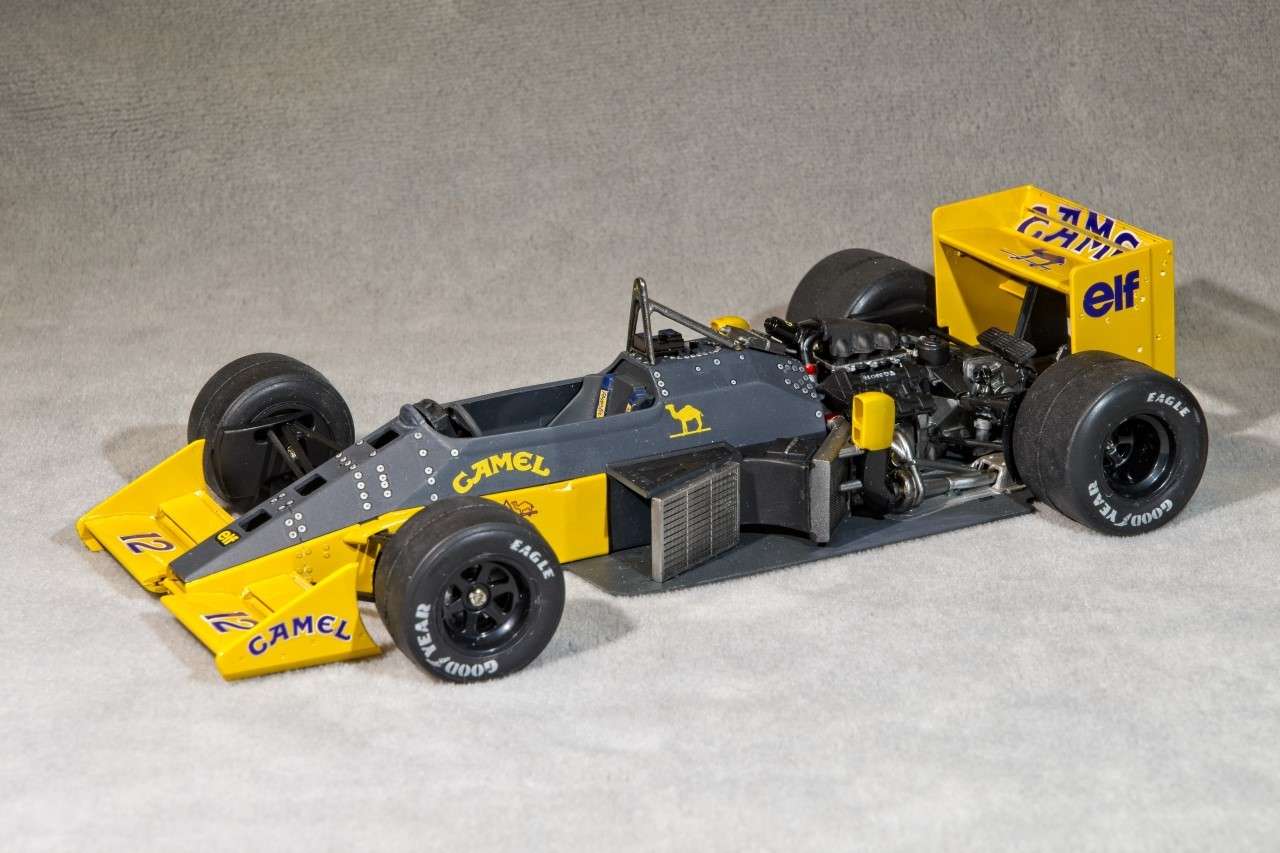 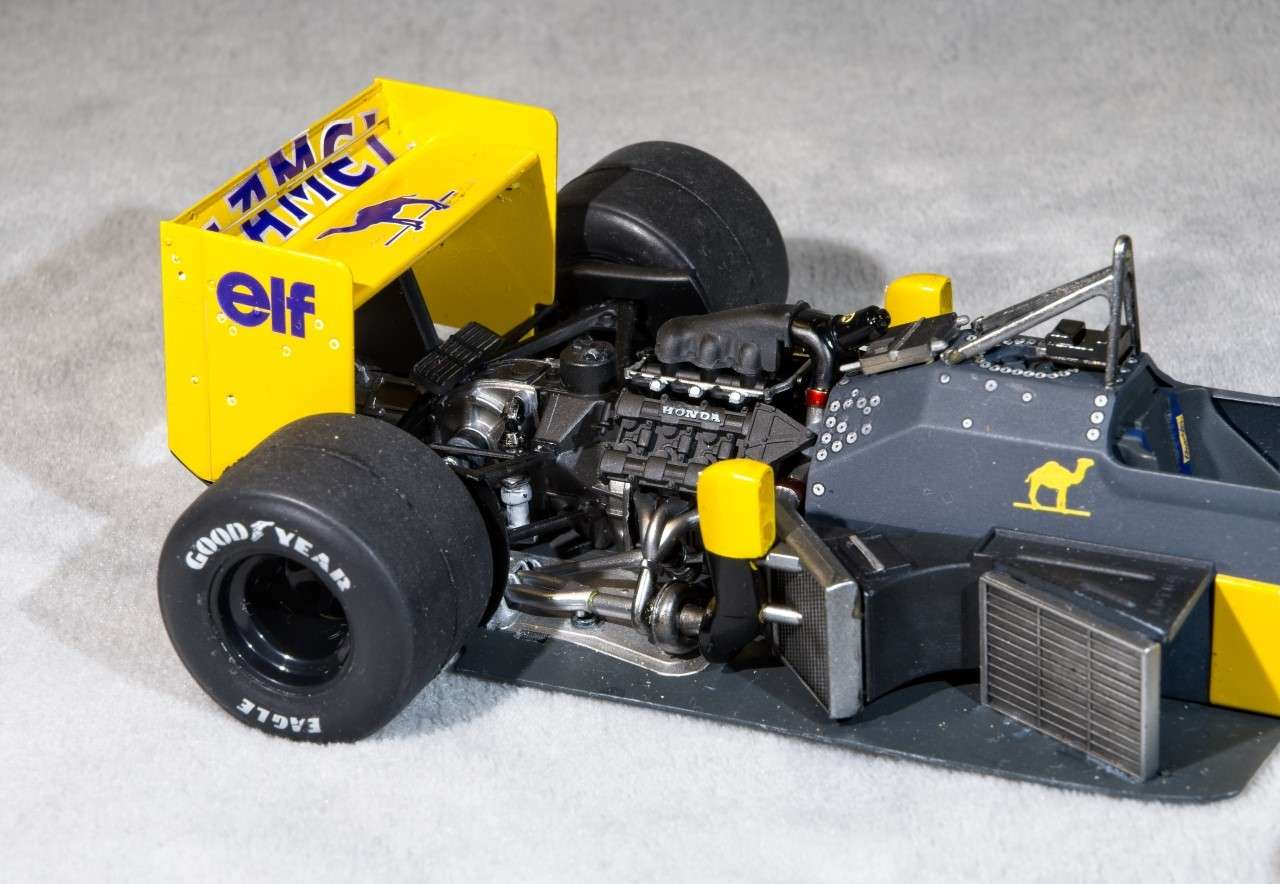  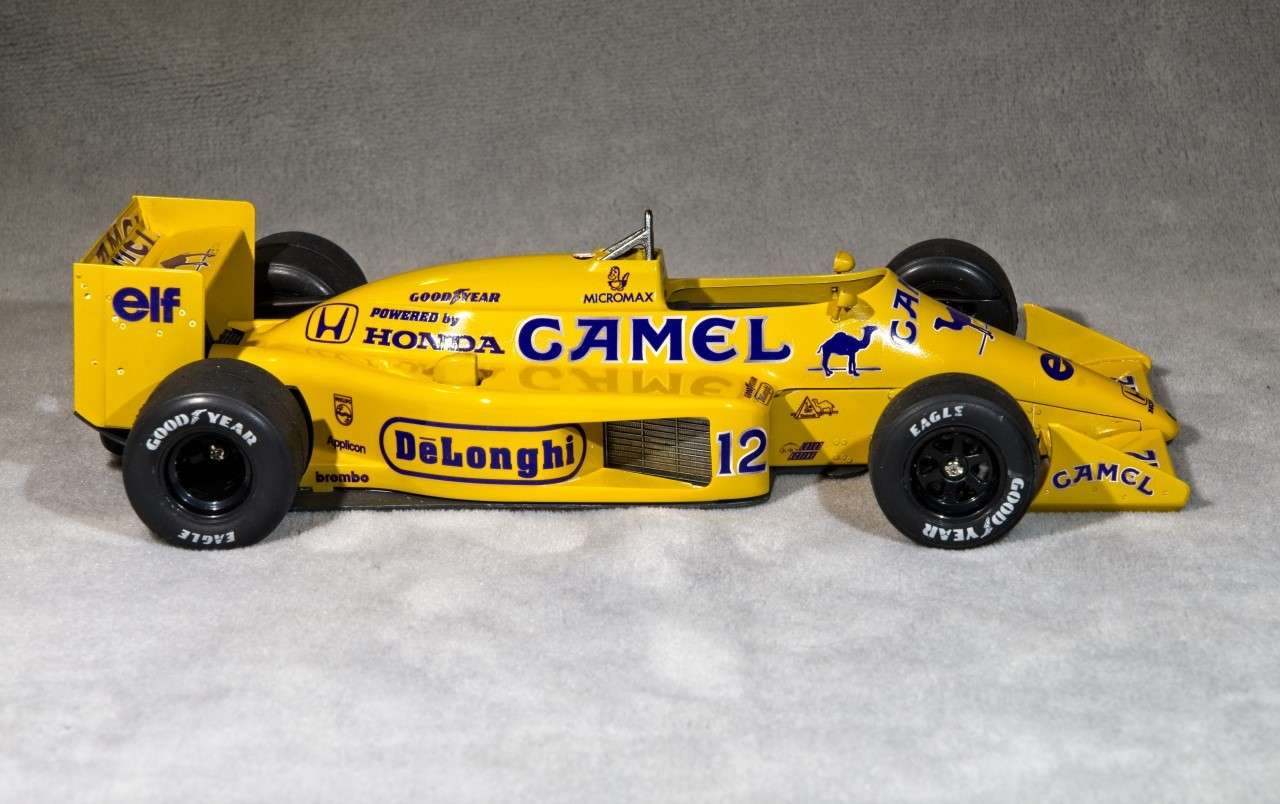 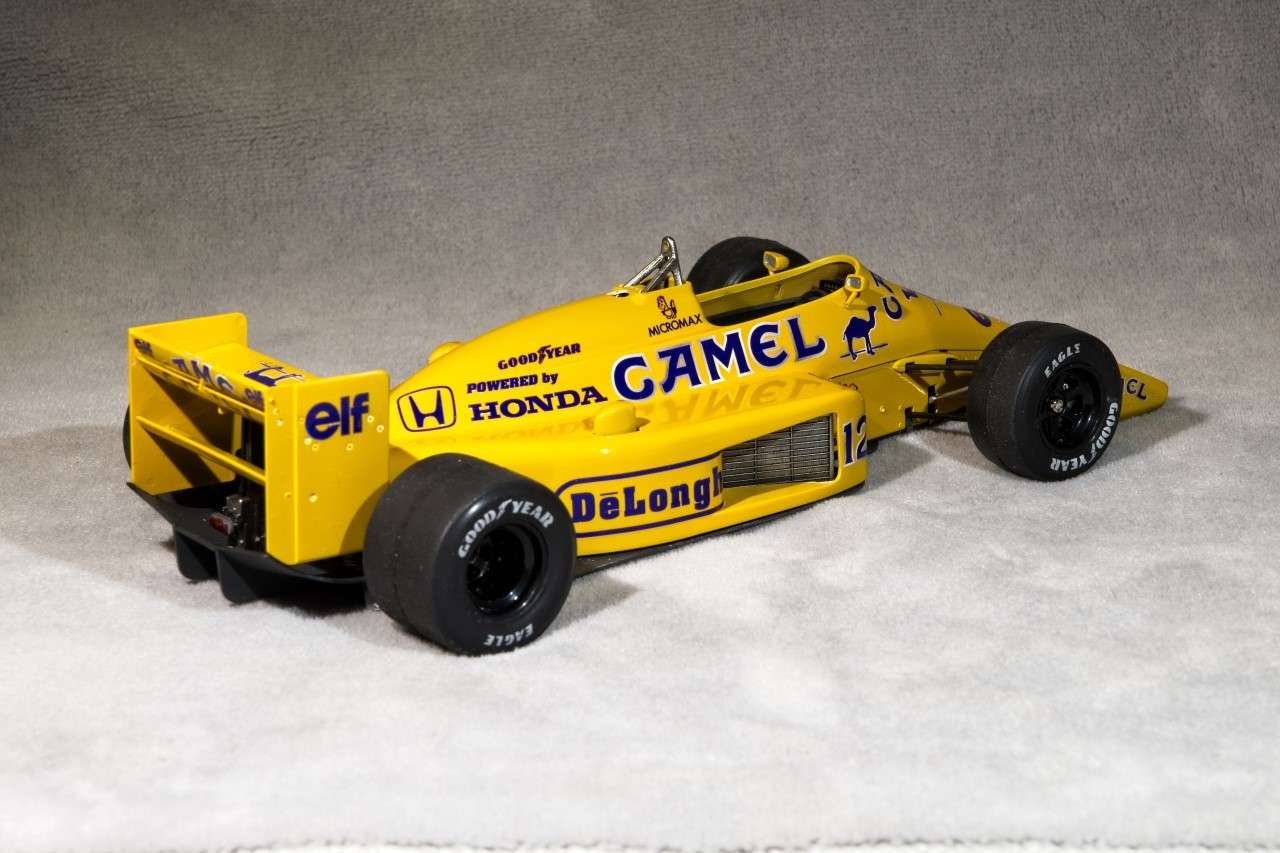 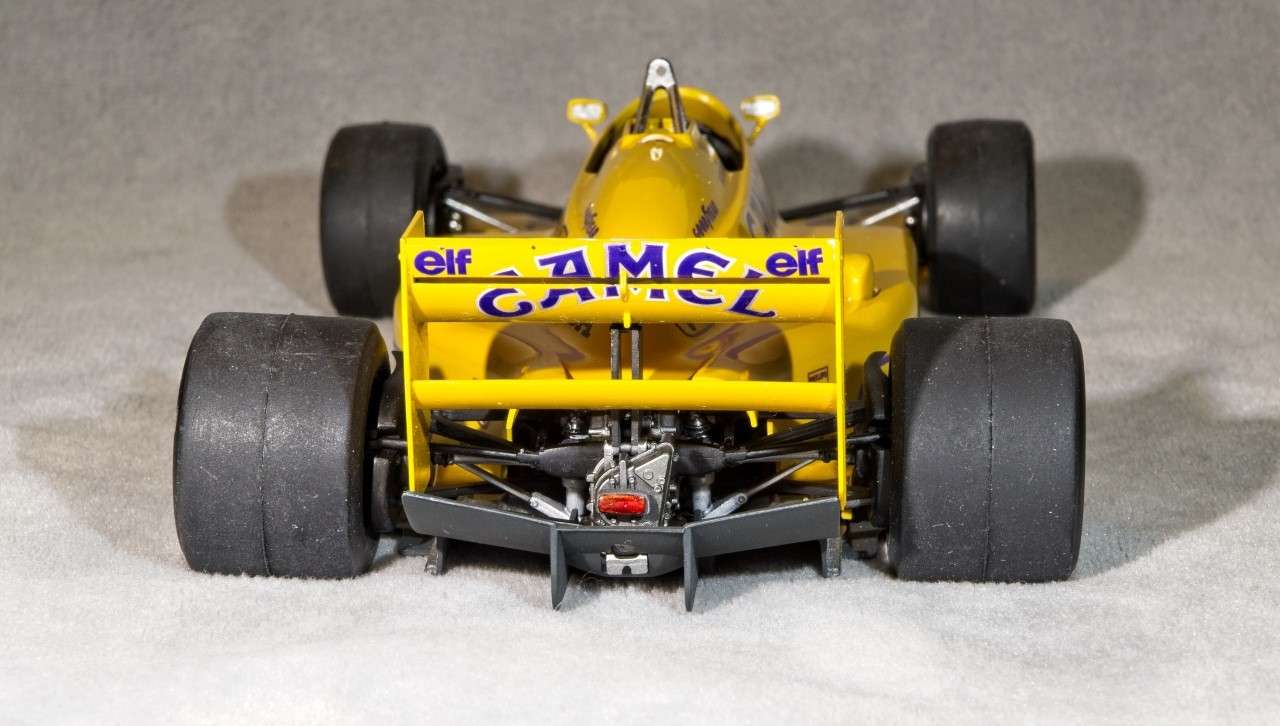  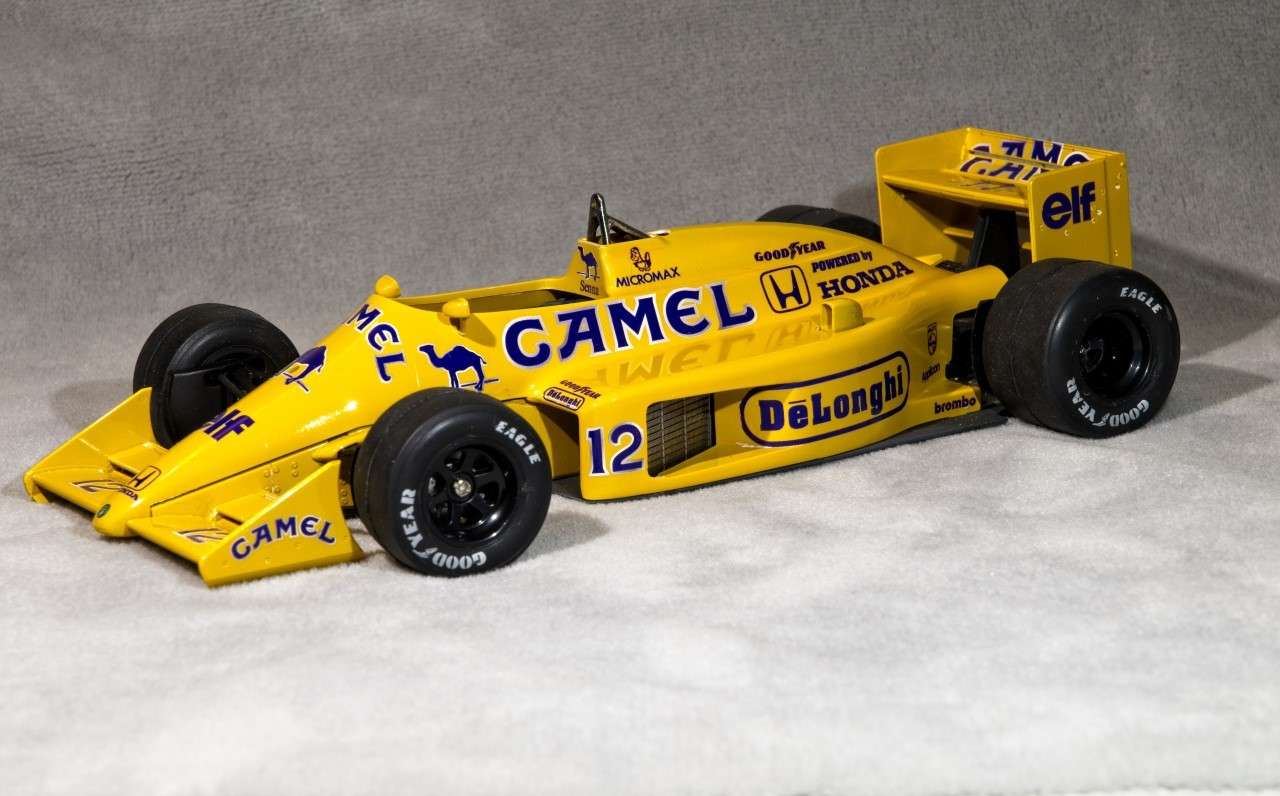  |
|
|
|
Post by tatocorvette on Jun 2, 2020 8:54:35 GMT -8
ANOTHER HOME RUN! That's a beautiful car in a beautiful livery. You made it justice! And the fact that you can remove the body is the cherry on top of the whipped cream on top of the icing on top of the cake  Love it! |
|
|
|
Post by afx on Jun 2, 2020 9:52:58 GMT -8
Very nice Joel!
|
|
|
|
Post by 2whl on Jun 2, 2020 11:54:35 GMT -8
Another spectacular build from you, Joel
|
|
|
|
Post by Joel_W on Jun 2, 2020 12:46:39 GMT -8
Ismael, JC, & Paul,
Thanks guys for stopping by and checking out my build. I'm thrilled that you guys like what you see.
Joel
|
|
Deleted
Deleted Member
Posts: 0
|
Post by Deleted on Jun 2, 2020 12:55:17 GMT -8
Joel! This is such a jewel of a model, it looks simply fantastic - doing Senna justice for sure sir. I would like to have this on my shelf - and I don't often say that. Well done my friend - and so quick for such a tight clean build? Wow.
Can't wait to see what you tackle next!

|
|
|
|
Post by arcticwolf on Jun 2, 2020 13:39:05 GMT -8
That's up to your usual high standards my friend, beautiful car. I thought I'd solved the air intake issue by using the slow setting Tamiya cement so I could adjust them with the body shell on the car before they set up. It would have worked too, except the black was showing, so I had to take them off and repaint the yellow further down! Aaargh! It's nice that the whole shell lifts off, makes for a cleaner look and better fit.
Top marks man!!
|
|
|
|
Post by pnance26 on Jun 2, 2020 16:34:38 GMT -8
Great job on a great car from a great manufacturer driven by one of the greatest! You honored them all!
|
|
|
|
Post by chrissmith on Jun 2, 2020 17:29:15 GMT -8
Joel this is awesome, you did a spectacular job on this!!
I hope you have more coming down the pipeline...
|
|
|
|
Post by Joel_W on Jun 3, 2020 6:24:55 GMT -8
Adrian,
Thank you for those super kind words. For me at this stage of my life and model building, it's all about the presentation on my display shelves. So almost pure OOB builds are the norm with my focus on the finish, as that's what one basically see. And honestly, the paint finish with that mile deep finish really surprised me, as I didn't see those Camel reflections while taking the pictures. the build took a little more then 3 months which is my normal time frame these days.
Paul
thanks my friend your thumbs up, it's greatly appreciated.
As for those turbo charger intakes decided that I was going to drop the Yellow/Black demarcation line completely under the intakes just to be sure. Besides, it looks just so much better that way. As for the fit, well I just made sure that I had the seated on the radiator posts fully by cleaning out the holes with a hand drill. the issue was that the twin radiator assembly had some slop to it, and naturally when it came time to test the shell to the chassis/tub it wouldn't clear those intakes by a pretty wide margin. My usual method was to just force it on, then glue it in place. This time I was determined to have it removable since Tamiya has those two securing tabs, and the fit had to be almost pure drop on. I just worked the openings, then the front nose area till I had that fit. If you look close enough you'll see a little more "breathing room" just forward of those intakes then there really should be.
All told this one really one very enjoyable F1 build that I usually have all sorts of issues with, but not this time. A big congrats goes out to Tamiya for that.
Patrick,
Now that's some alcalde. I'm truly humbled by it.
Chris,
Thanks so much for your most positive comments, they're certainly much appreciated.
I've narrowed down my next build which will be a tin top as I want to get back into the alternate build cycle as I originally intended, two just 3 kits, but I'll be starting one of them very shortly as I never stay idle at my bench for long.
Joel
|
|
|
|
Post by Ben_B on Jun 3, 2020 6:40:18 GMT -8
Wow!!!! Outstanding model, Joel!
Ben
|
|
|
|
Post by Joel_W on Jun 3, 2020 11:51:46 GMT -8
Ben,
Thanks buddy, it's greatly appreciated.
Joel
|
|
|
|
Post by pg265 on Jan 21, 2024 12:10:18 GMT -8
Hi,
First of all, Happy New Year! Not to late yet.
Talking about being late… I’m coming here 3 and a half years after completing your build to say: BRAVO!
Great build, great paint, great tips… Top build Joel!
I’m currently wonder if I will start one myself with some accessories…
Great build once again!
Pascal
|
|


