Post by Joel_W on Jun 13, 2020 9:47:00 GMT -8
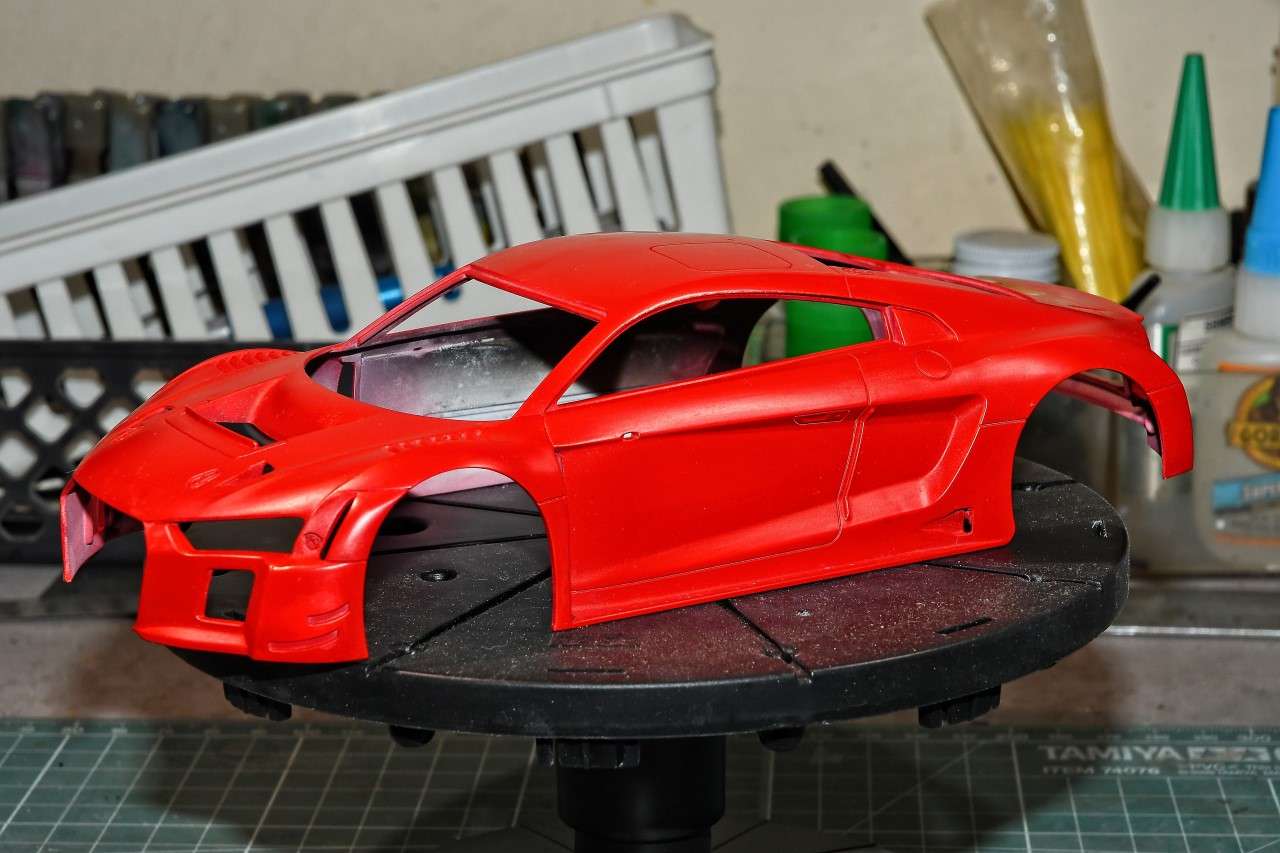
Well, after that very rocky start with the Metallic Gravity Audi Silver, with the full stripping down back to the raw plastic, I reprimed it with Mr. Finisher's light Gray #1500 primer. Gave it a few hours to cure, then a wet rub with Tamiya #3,000 sponge and warm water, and into the drying bin.
Next up was applying the Red Color coat using Gravity's GC1222 Audi R8 Red lacquer paint. Boy am I glad I ordered both colors. Guess I knew that there just might be a issue with the Silver. My usual 2 tack coats, and 4 light color coats, & then into the drying bin again. Next day I gave it a wet rub with Micro Mesh # 8,000 & 12,000 Emery cloth and warm water. Then back into the drying bin once again.

Now on to decaling. The kit comes with 3+ sheets of decals, with the sheets split between the two team cars due to color & numbers. The Silver got mostly Black stenciling, while the Red mostly white. So that equates to about 1 full sheet of decals dedicated to the Silver car. Still, 2+ sheets to deal with. Good thing I love decaling.
I was shocked when I saw the decaling instructions supplied with the kit. They were basically black and white copies of color pictures, and they were Horrid. The end result was that you really can't see nor read any of the details needed to apply the correct decals in the correct places. So I resorted to pictures of the real car, and of the Nunu display model.
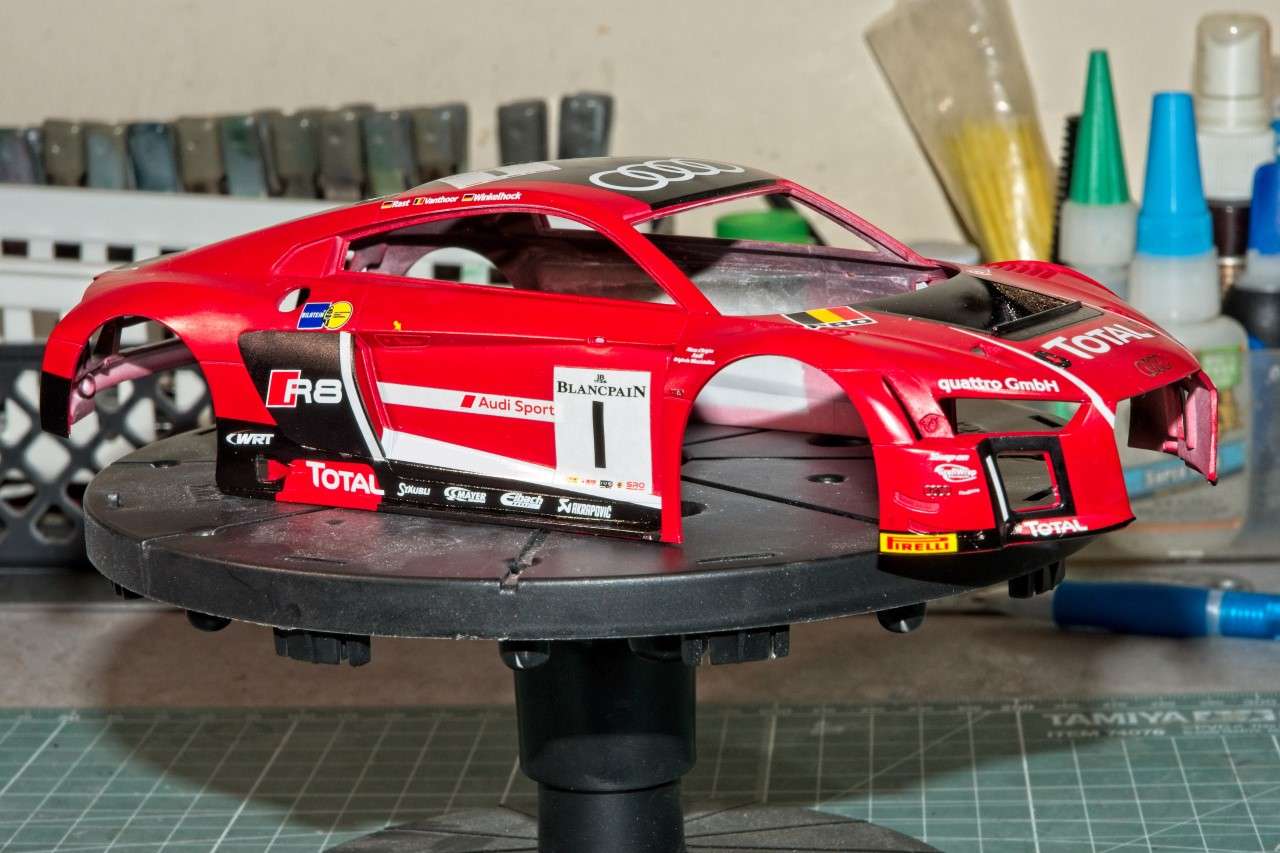
I started on the nose clip and slowly working my way back. With those Horrid instructions and the fact that these are in house decals, I was expecting the worst, but what I quickly found out was that the decals themselves are one of the best sets I've ever used. I rate them dead even with Cartograf's best. They're that good. Perfectly printed, dead on registration, sharp as a tack, and the white over Red has zero bleed through so far. The decals are a perfect thickness so they preformed as decals should. Usually, I have issues with laying down a decal over MicroSol as the decal just grabs the surface so I need to add water around the decal to move it into place. But not this time. They not only slid to where ever I needed to move them to, but once pated down, they stuck perfectly. As always, I use my "borrowed" decal procedures from Paul Budzik of Set, sol, and then Solvaset. And as I said, the decals just laid down perfectly, and were a true joy to work the wrinkles and air bubbles out, yet didn't seem to stretch or distort as some decals have a tendency to do.
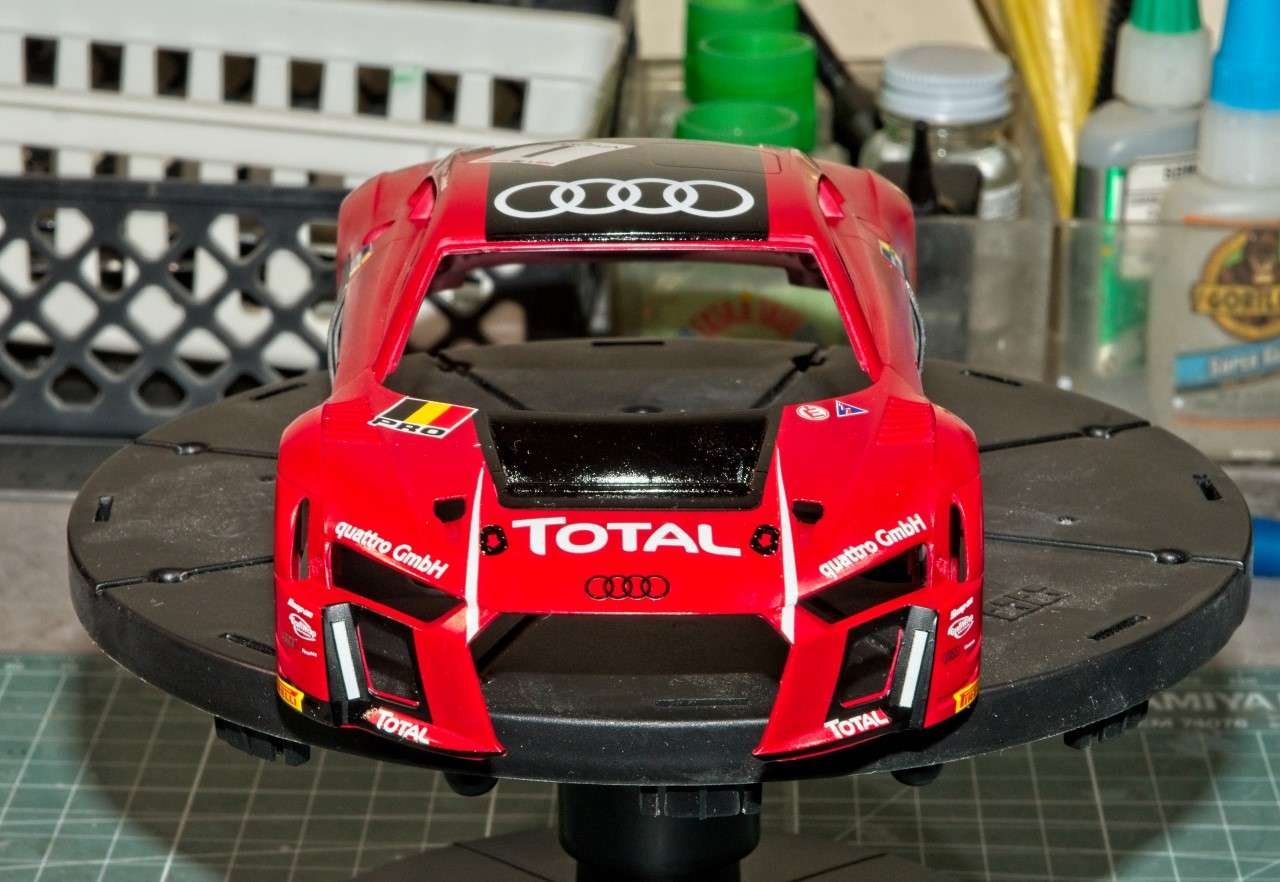
Starting with the radiator air exhaust on the front deck. It's quite a complex shape, and it's painted black down to the radiator housing. Nunu uses 5 Black decals that perfectly covered all the sides without an issue. And yes I need to touch up the bottom edges a tad. the White side strips are parts of the Red nose clip decal for the Silver version, so I cut them out and applied them separately, as the Red was very close to the Gravity Red but a tad brighter

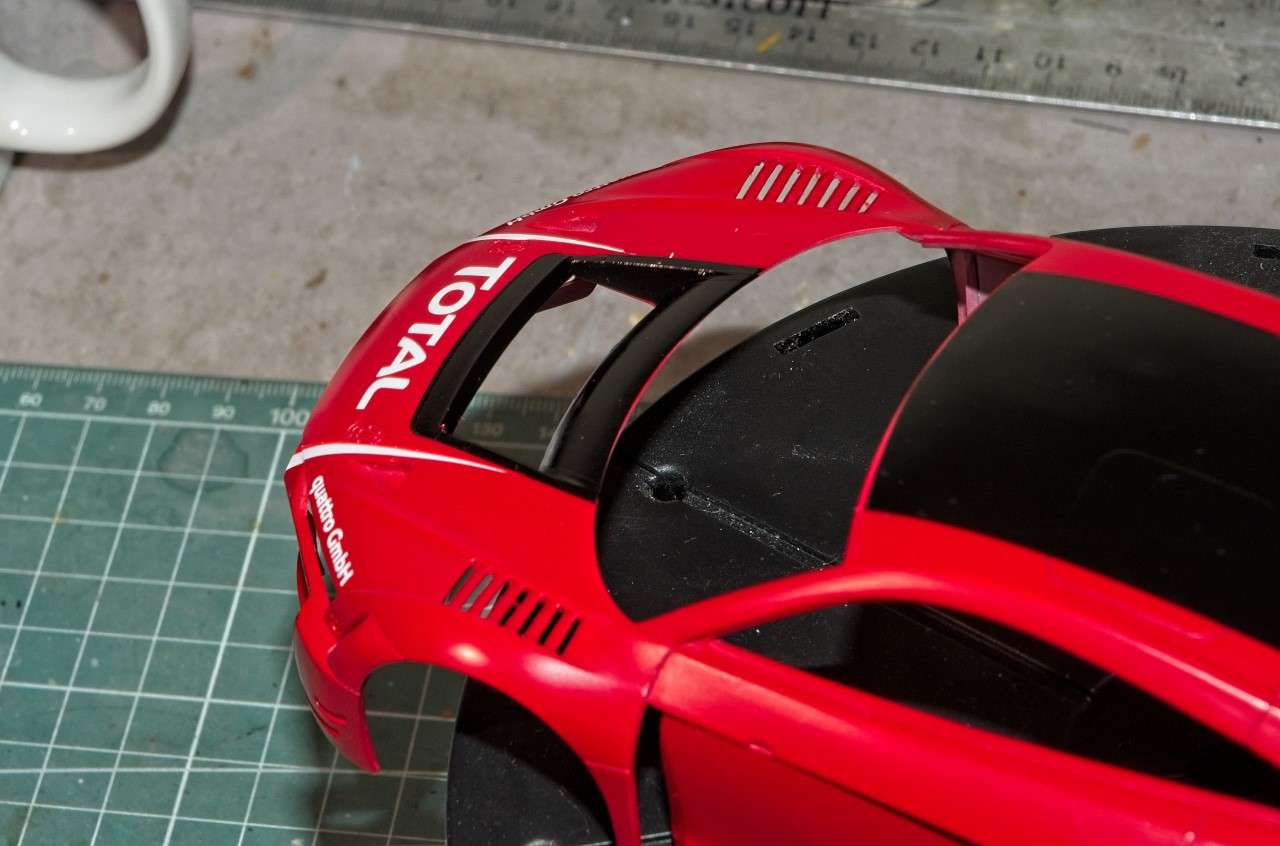
For some strange reason the white strip is longer on one side then other,but that's the way it seemed to be on the full decal.
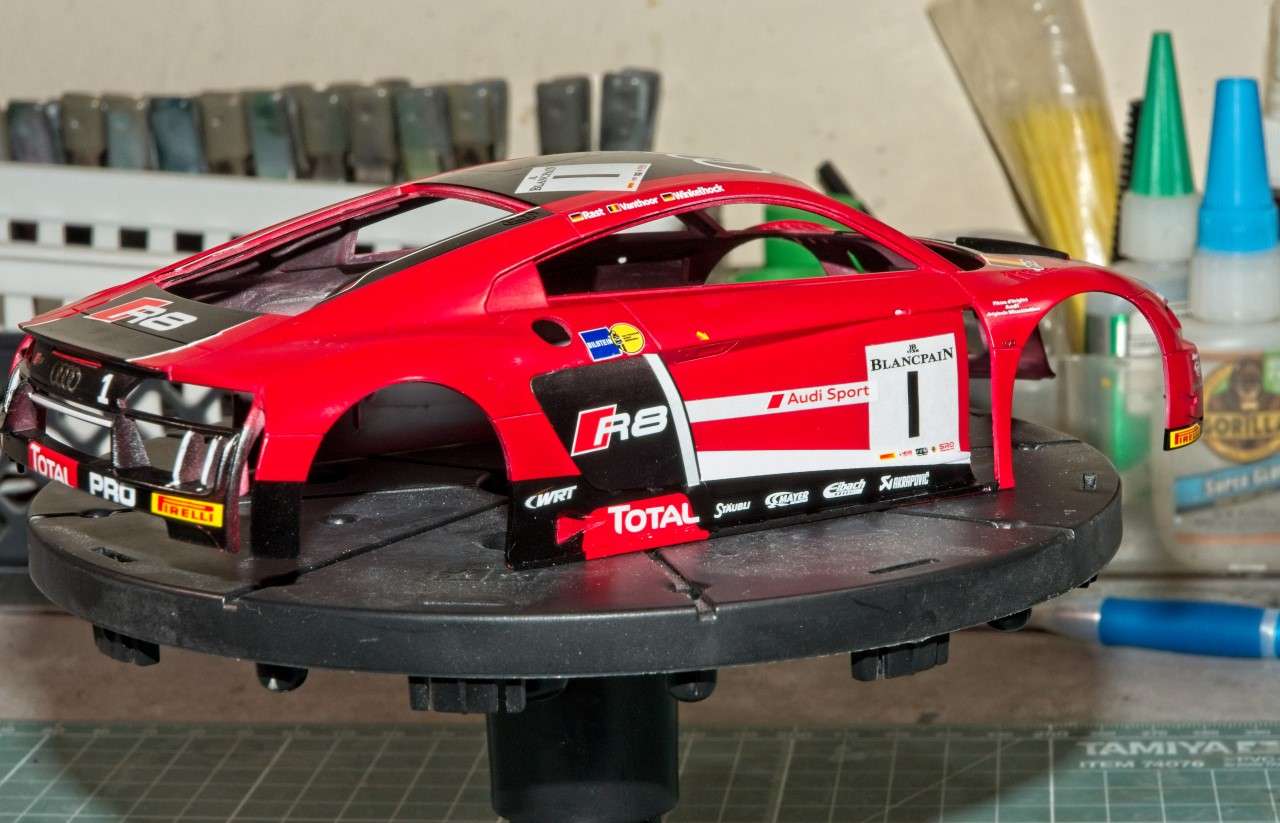
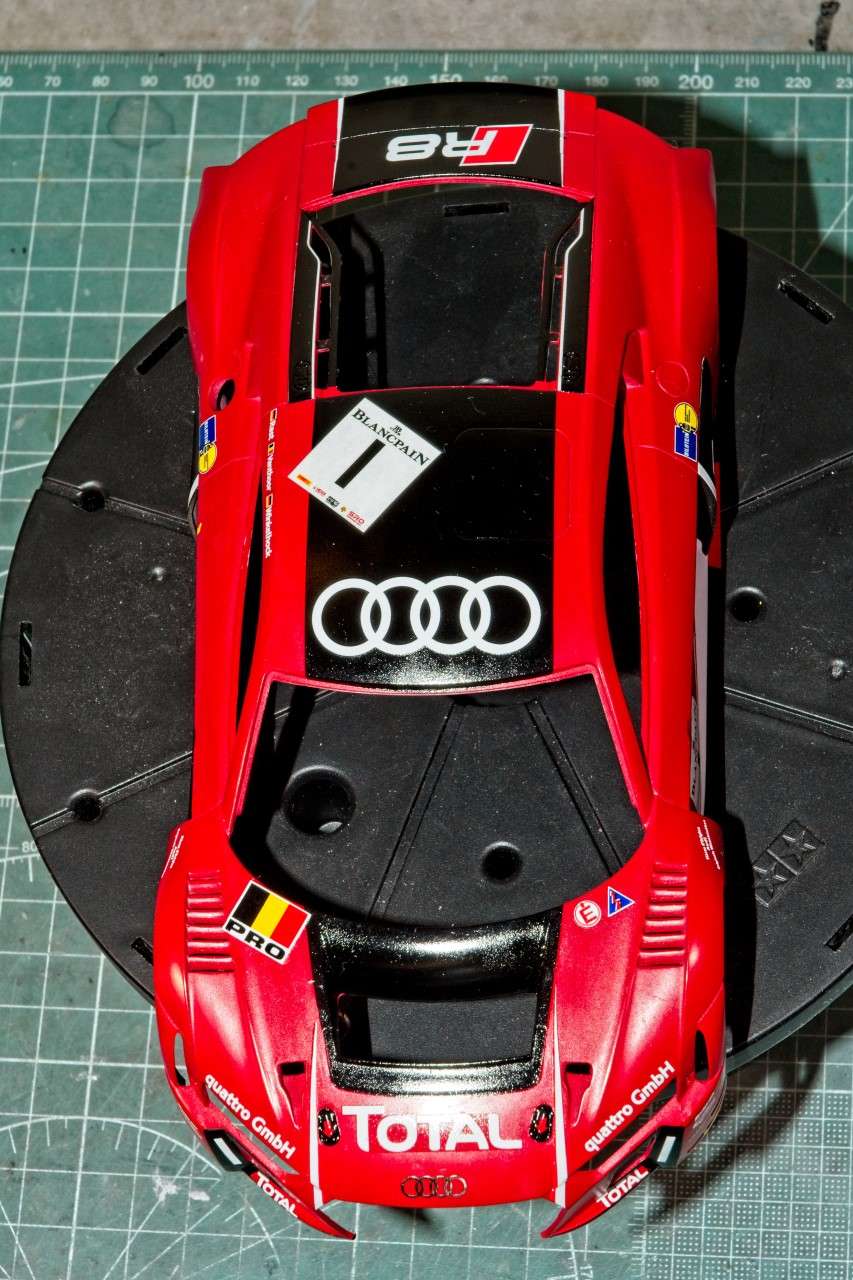
Then I applied the big Black decal on the roof rather then painting it so that there was no chance of bleed through, then the Black around the headlight housings, and a few sponsor decals. Time to let it dry, so back in the bin once again.
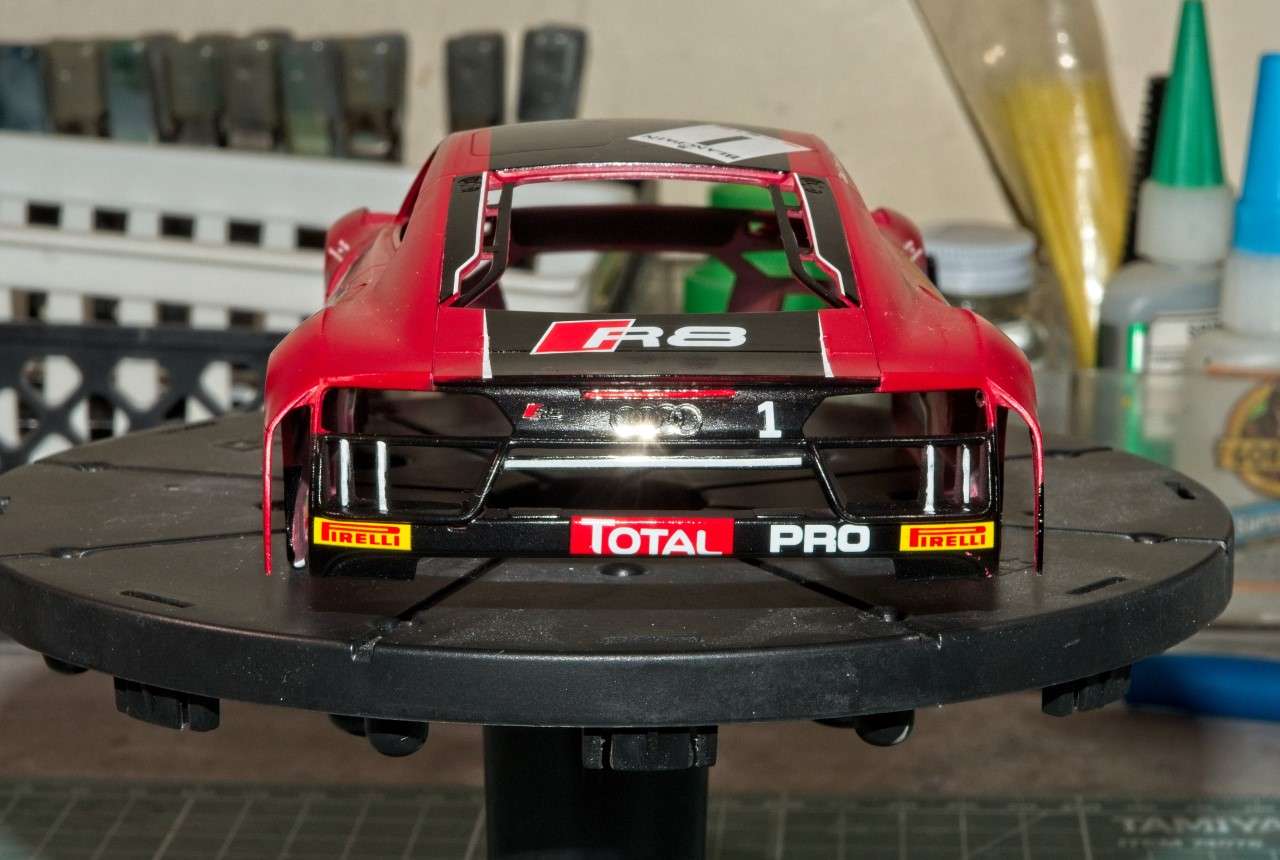
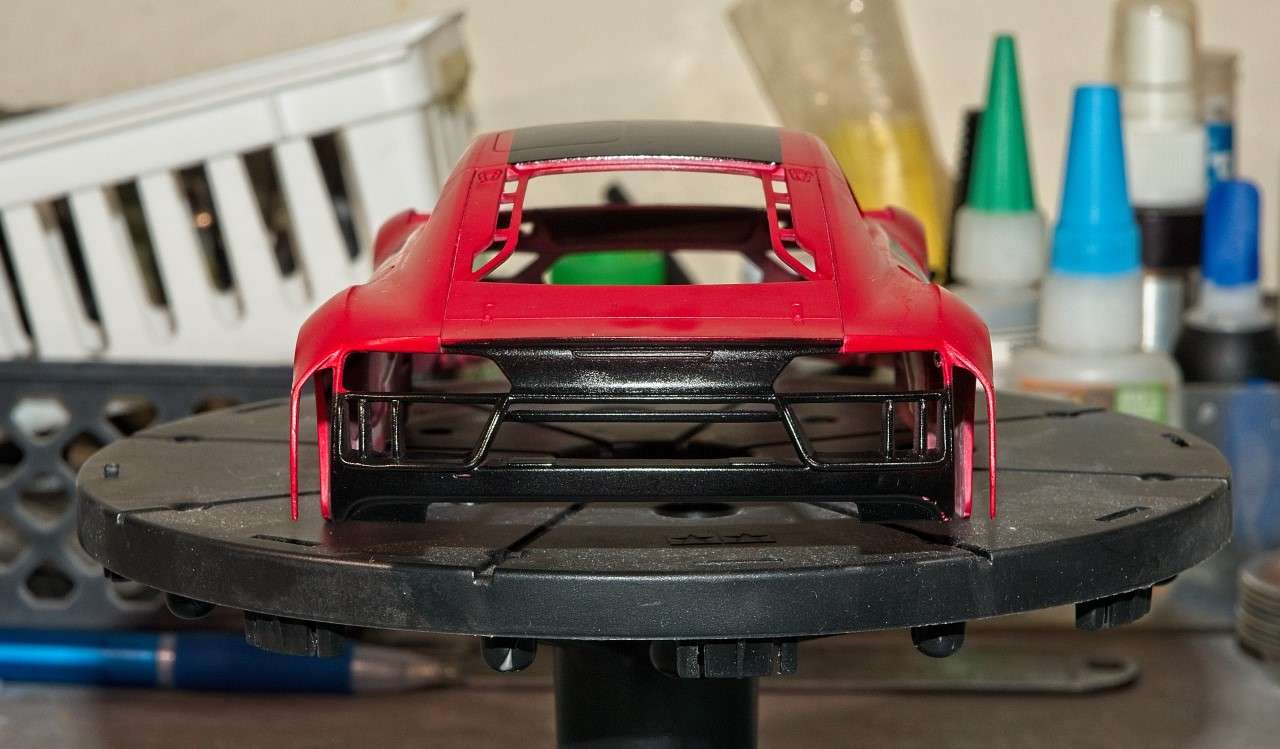
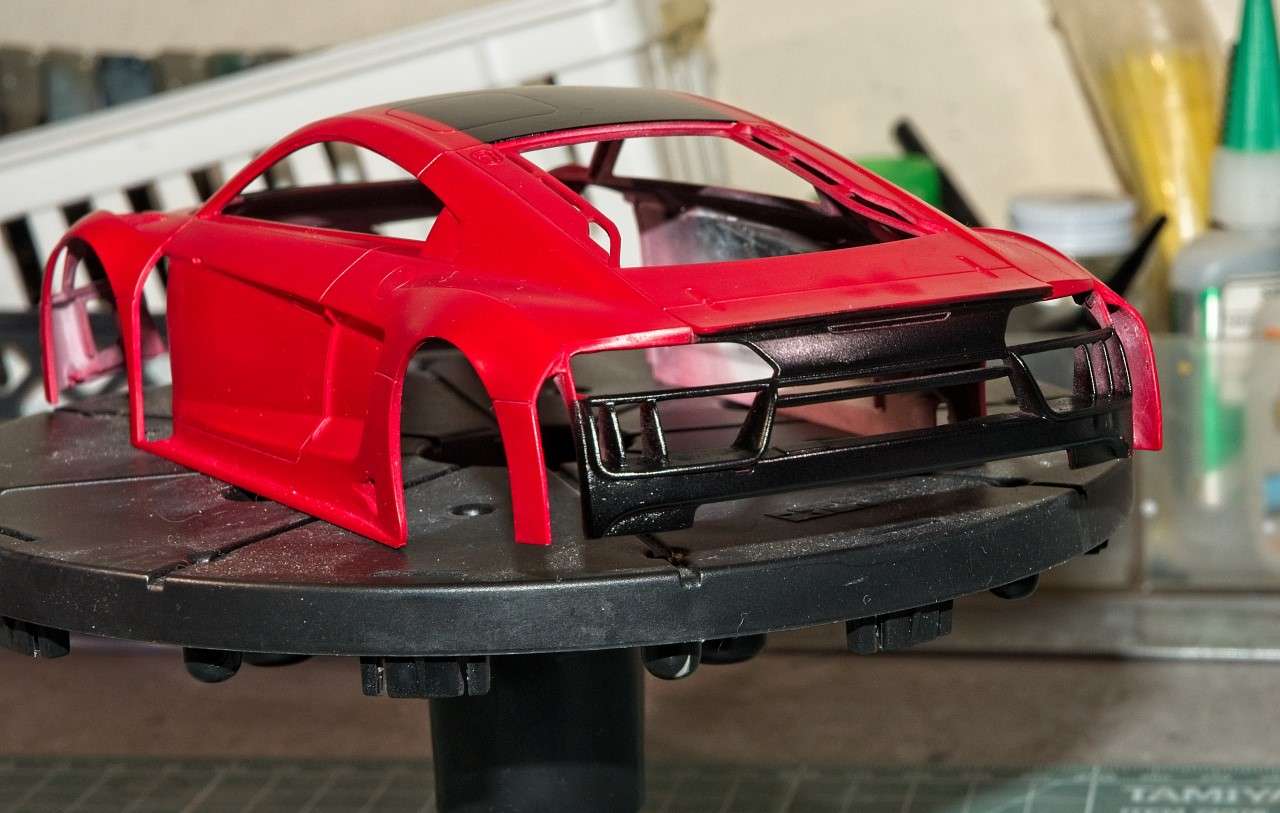
The rear deck is flat Black so I masked it out and air brushed it with Zero Lotus Black.
Thanks to all for stopping by and checking out my progress to date. As usual, it's always greatly appreciated.
Joel
Next up was applying the Red Color coat using Gravity's GC1222 Audi R8 Red lacquer paint. Boy am I glad I ordered both colors. Guess I knew that there just might be a issue with the Silver. My usual 2 tack coats, and 4 light color coats, & then into the drying bin again. Next day I gave it a wet rub with Micro Mesh # 8,000 & 12,000 Emery cloth and warm water. Then back into the drying bin once again.
Now on to decaling. The kit comes with 3+ sheets of decals, with the sheets split between the two team cars due to color & numbers. The Silver got mostly Black stenciling, while the Red mostly white. So that equates to about 1 full sheet of decals dedicated to the Silver car. Still, 2+ sheets to deal with. Good thing I love decaling.
I was shocked when I saw the decaling instructions supplied with the kit. They were basically black and white copies of color pictures, and they were Horrid. The end result was that you really can't see nor read any of the details needed to apply the correct decals in the correct places. So I resorted to pictures of the real car, and of the Nunu display model.
I started on the nose clip and slowly working my way back. With those Horrid instructions and the fact that these are in house decals, I was expecting the worst, but what I quickly found out was that the decals themselves are one of the best sets I've ever used. I rate them dead even with Cartograf's best. They're that good. Perfectly printed, dead on registration, sharp as a tack, and the white over Red has zero bleed through so far. The decals are a perfect thickness so they preformed as decals should. Usually, I have issues with laying down a decal over MicroSol as the decal just grabs the surface so I need to add water around the decal to move it into place. But not this time. They not only slid to where ever I needed to move them to, but once pated down, they stuck perfectly. As always, I use my "borrowed" decal procedures from Paul Budzik of Set, sol, and then Solvaset. And as I said, the decals just laid down perfectly, and were a true joy to work the wrinkles and air bubbles out, yet didn't seem to stretch or distort as some decals have a tendency to do.
Starting with the radiator air exhaust on the front deck. It's quite a complex shape, and it's painted black down to the radiator housing. Nunu uses 5 Black decals that perfectly covered all the sides without an issue. And yes I need to touch up the bottom edges a tad. the White side strips are parts of the Red nose clip decal for the Silver version, so I cut them out and applied them separately, as the Red was very close to the Gravity Red but a tad brighter
For some strange reason the white strip is longer on one side then other,but that's the way it seemed to be on the full decal.
Then I applied the big Black decal on the roof rather then painting it so that there was no chance of bleed through, then the Black around the headlight housings, and a few sponsor decals. Time to let it dry, so back in the bin once again.
The rear deck is flat Black so I masked it out and air brushed it with Zero Lotus Black.
Thanks to all for stopping by and checking out my progress to date. As usual, it's always greatly appreciated.
Joel