|
|
Post by Oldtimer on Jan 19, 2021 10:13:58 GMT -8
|
|
|
|
Post by Oldtimer on Jan 20, 2021 11:42:05 GMT -8
|
|
|
|
Post by Joel_W on Jan 20, 2021 14:02:33 GMT -8
the hood really turned out darn good if you ask me. The replacement seat just puts the old seat to shame.
joel
|
|
|
|
Post by Oldtimer on Jan 20, 2021 15:28:37 GMT -8
the hood really turned out darn good if you ask me. The replacement seat just puts the old seat to shame. joel Thanks! I'm pretty pleased with the hood, got a little bit of truing up, but good foundation. My first race car had a Solar seat, one of the things that I really miss about selling it. Stay Tuned, back into the groove. |
|
|
|
Post by Oldtimer on Jan 21, 2021 19:45:08 GMT -8
Taking a pause, stepping back and seeing what we have. Put all the components together that can be.     Only got to figure out how to get these pieces installed.  Stay Tuned! |
|
|
|
Post by Joel_W on Jan 22, 2021 5:46:43 GMT -8
Great progress. The dry fit really looks darn good. Just a few little spots on the hood need some work. As for that small pile of parts to go, I'd say that you won't have much of an issue installing every single one of them.
joel
|
|
|
|
Post by Oldtimer on Jan 23, 2021 19:53:28 GMT -8
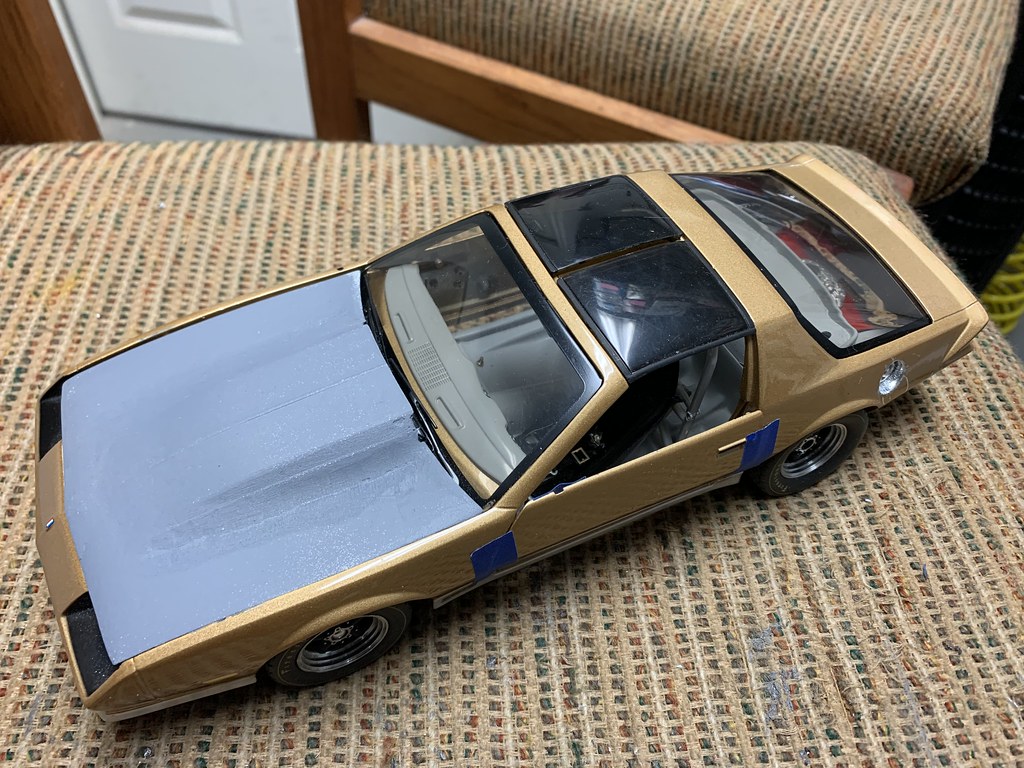
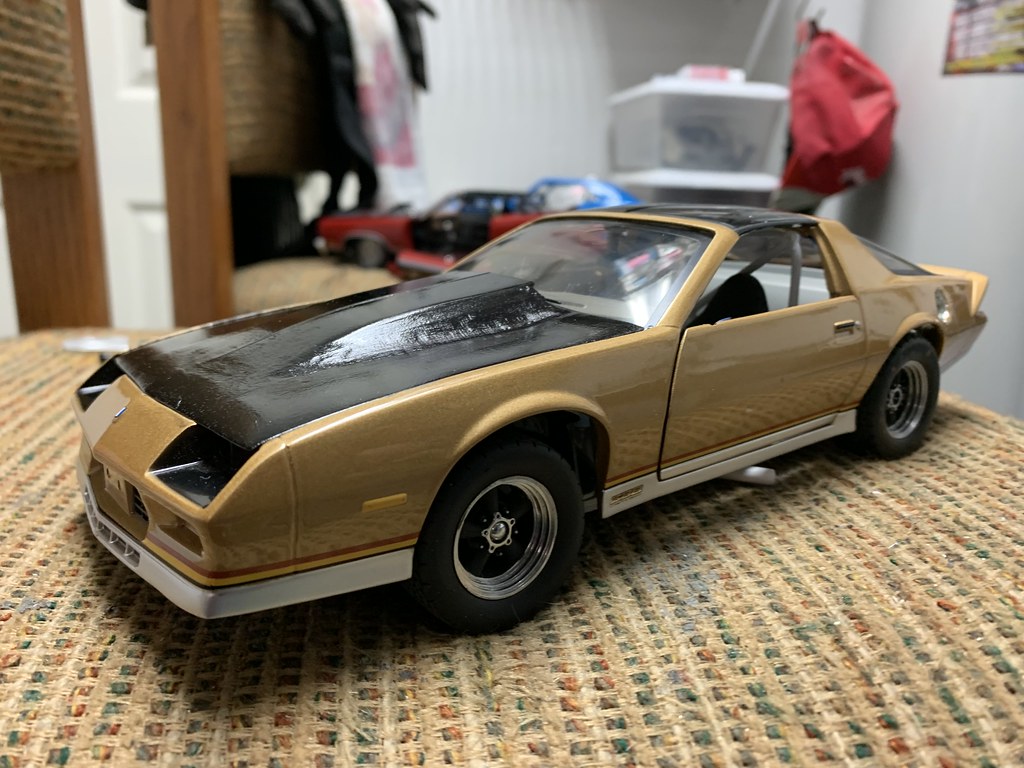
So, real paint brings out the flaws, and the hood really shows it. Was working up some details on the engine compartment, and since the hood will be stripped before I go to a final, thought I'd put a gloss black coat on it for shits and giggles. Picked up some other details along the way, still not complete, but " Casey Jones you better watch your speed"!   Had to shorten the exhaust headers the same length as the chassis, built a couple of aluminum couplers to make them match.    More soon, getting close. |
|
|
|
Post by Joel_W on Jan 24, 2021 6:52:56 GMT -8
Loved the pics of the engine overall detail. Agreed that the gloss Black paint just brings out every little imperfection, but I see no reason why with your skill set that the end results aren't just perfect.
Joel
|
|
|
|
Post by arcticwolf on Jan 24, 2021 9:24:31 GMT -8
Nice work. Is this thing really going to have a T-top roof when it's finished?
|
|
|
|
Post by Oldtimer on Jan 24, 2021 11:13:59 GMT -8
Nice work. Is this thing really going to have a T-top roof when it's finished? Well, hopefully I will be able to create a proper roof by gluing the two pieces (actually three pieces - there's a center strip that's not in the pictures) together, and having the seam filled with Bondo. |
|
|
|
Post by arcticwolf on Jan 24, 2021 13:11:41 GMT -8
Nice work. Is this thing really going to have a T-top roof when it's finished? Well, hopefully I will be able to create a proper roof by gluing the two pieces (actually three pieces - there's a center strip that's not in the pictures) together, and having the seam filled with Bondo. It just wouldn't look right on a race car!  |
|
|
|
Post by Oldtimer on Jan 25, 2021 18:31:43 GMT -8
Reminds me of the original days of the Showroom Stock classes in the Sports Car Club of America.
The rules prohibited sunroof-equipped cars.
Well, a local racer had a car (I think it was a Porsche 944) but it had a sunroof. He filled in the gaps with Bondo and repainted the entire car and replaced the headliner with a one-piece version.
This was three or so decades ago, but I want to say that he won our division and went on to win the runoffs, only to lose it in the Tech Shed when, I think, they ran a magnet over the roof and it didn’t stick where the glass of the sunroof was.
I don’t intend that to happen with this racer.
|
|
|
|
Post by Oldtimer on Feb 2, 2021 13:38:19 GMT -8
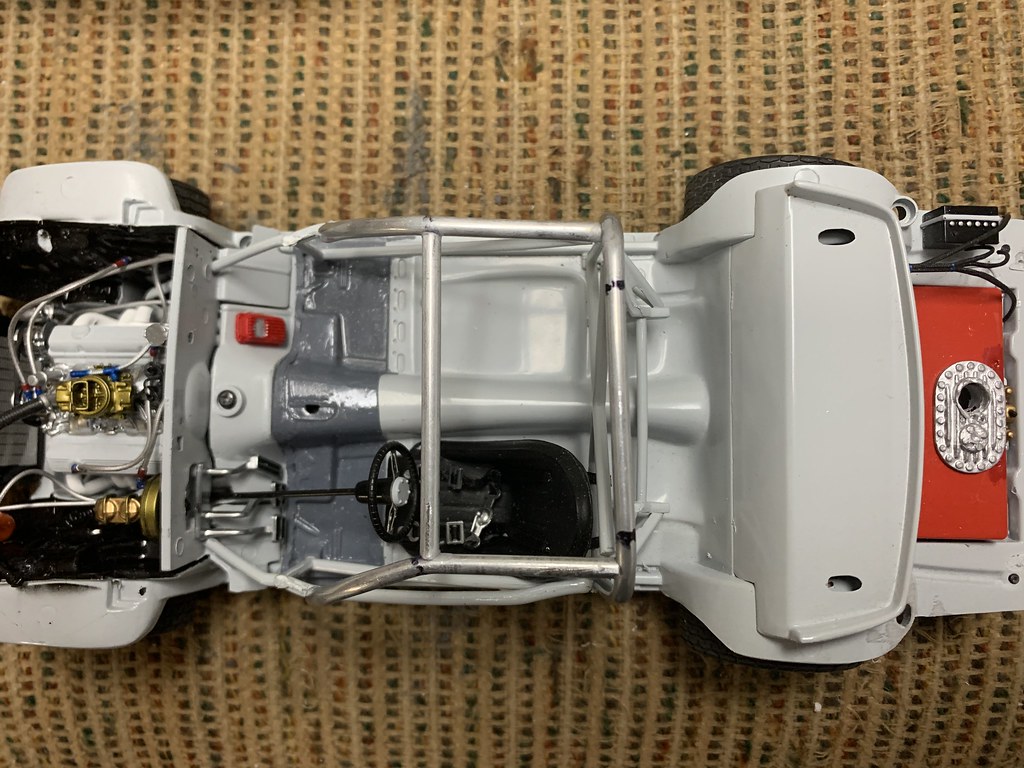
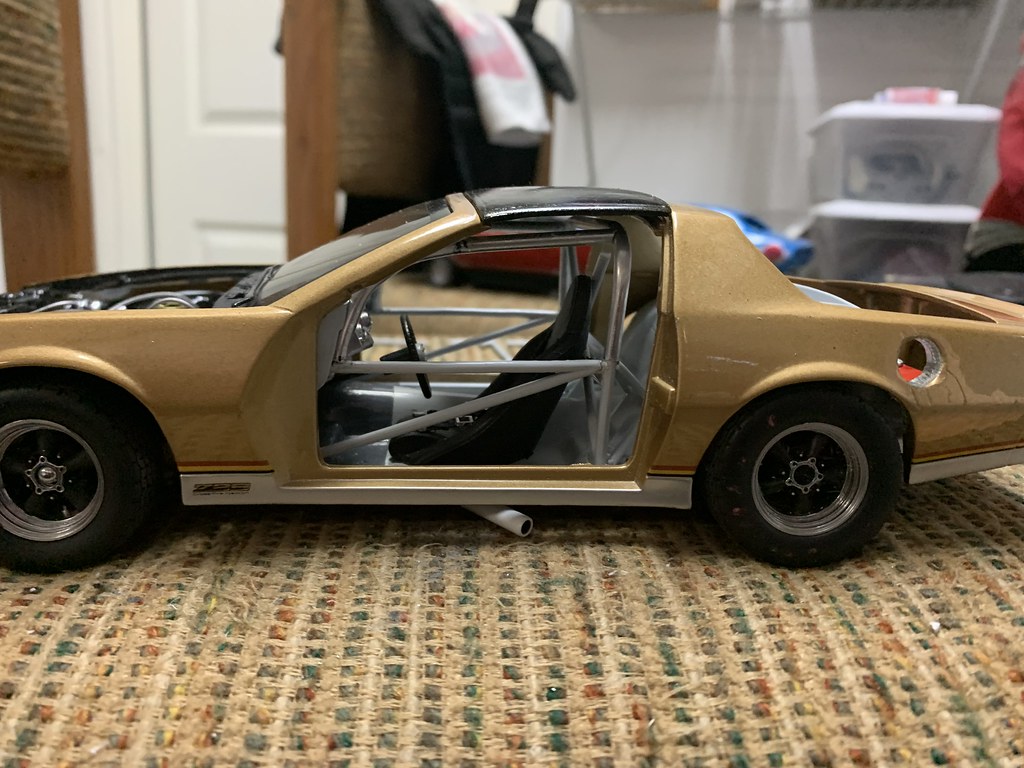
So this one is finally about to tax my abilities, as well as patience. Wish I could chalk this one up to a "lemons/lemonade" scenario. Got the chassis all together, including regluing all the cage bars, and the firewall. Loose fit had appeared that everything was going to be close but acceptable. Well, when I dropped the body back down onto the completed rolling chassis, all the tolerances went in the same direction. The original roll cage, starting with the roll hoop itself, are way too tall. I ended up taking all this off the car. 
With these bars out of the way, I began measuring how much room I actually do have, and got out some 1/8 inch thin wall aluminum tubing, and my handy-dandy trusty tubing bender (we used it to create the stainless steel hard lines for the real race cars), and started cyphering. Got the width of the main hoop on the first shot, which was encouraging. Then started on the halo bars, and did an A-pillar cross roof bar, and that's where we sit.   At least the body does now sit down properly on the chassis, but I have a lot of work to do.  The first issue I can into was notching tubing that small to get it to fit together. Back in the old days, we had a "fishmouth" cutter/tubing notcher.  Going to build a stand for my Dremel to hold it steady. Trying to notch tubing with a tube in one hand and Dremel in the other was less than successful. Second issue will be compound curves to get the tubes to follow the contour of the roof and A-pillars. Thanks for hanging in with me, hoping I can. |
|
|
|
Post by arcticwolf on Feb 2, 2021 14:40:39 GMT -8
I'm cheering you on, man!
|
|
|
|
Post by Joel_W on Feb 3, 2021 5:27:21 GMT -8
I'd certainly say that your regroup, and redo from scratch a new roll cage came out looking perfect. With the body on the Camaro really is starting to come together. The top down pic of the interior shows just how well it all came together, and with the paint one would be hard pressed to believe just how much cutting & fitting went into getting it to look that good.
Joel
|
|