

Post by pg265 on Nov 26, 2020 14:33:33 GMT -8
Hi,
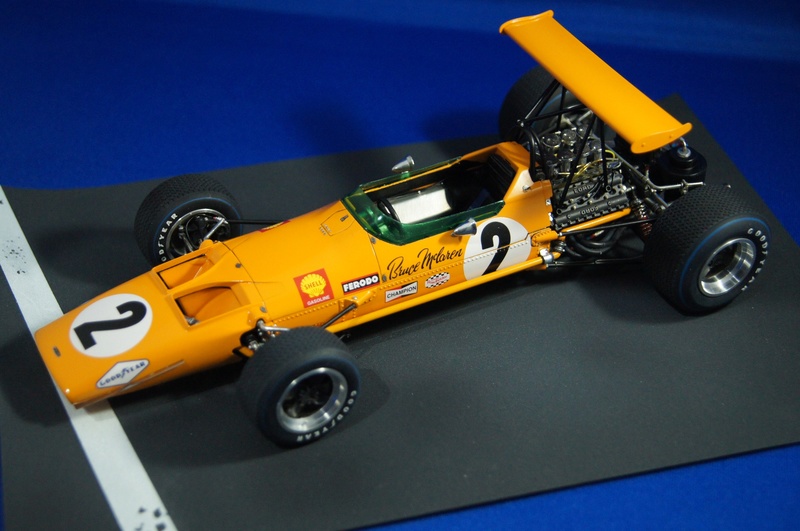
Time for the Gorgeous 1968 McLaren M7A!
This is of course the beautiful kit from Model Factory Hiro, 1/20.
The first step of the post will not be a building phase, but a quick Kit Review .
The Box:

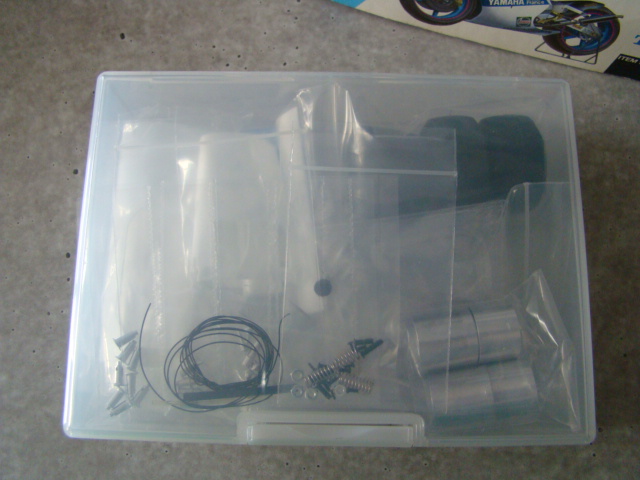
The plastic box:
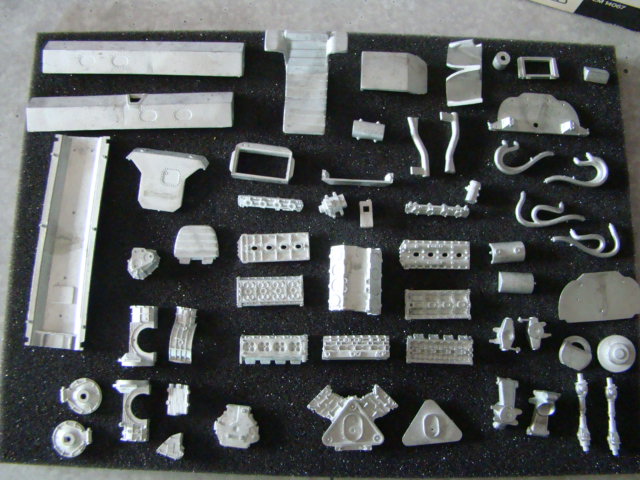
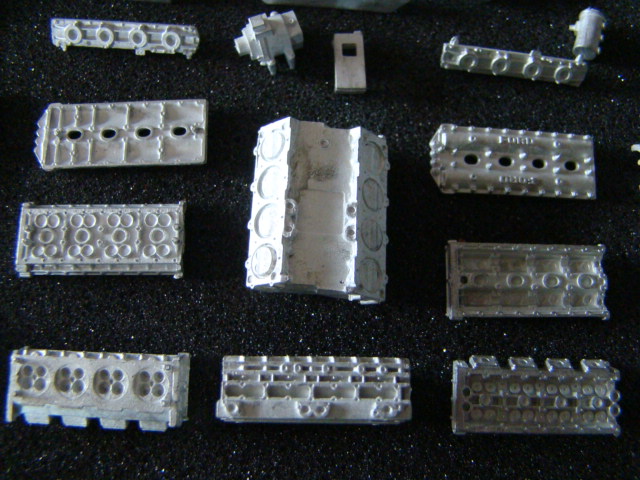
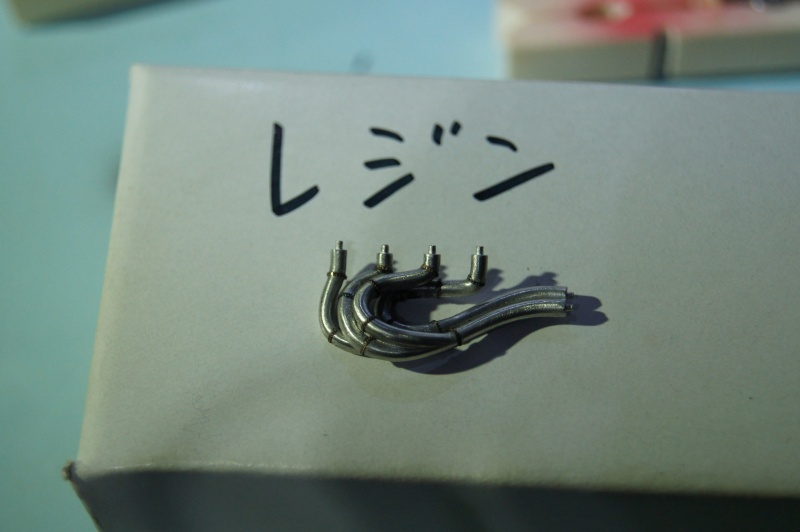
White Metal:
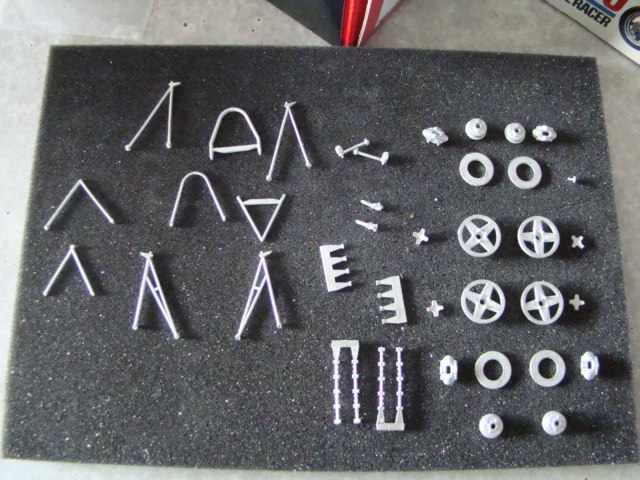
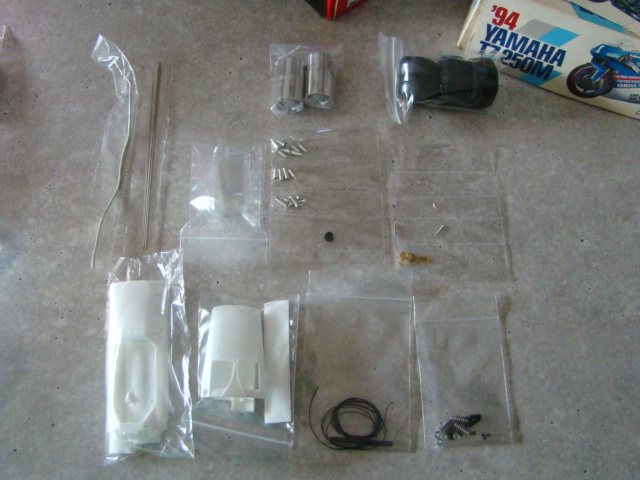
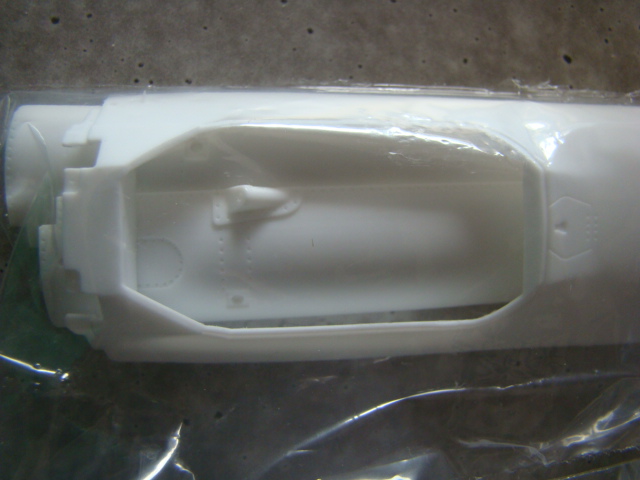
Other parts:
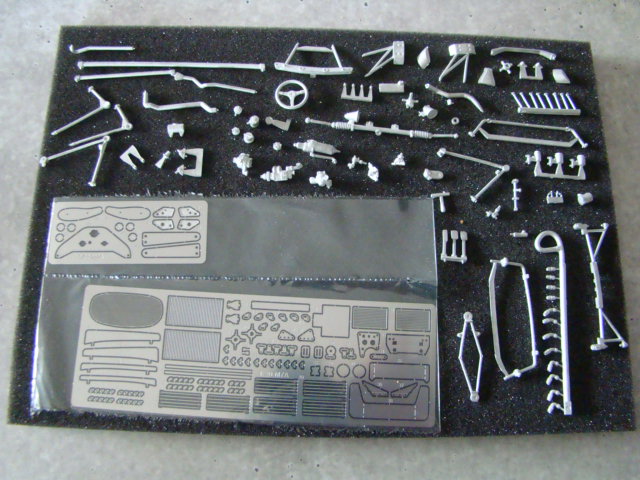
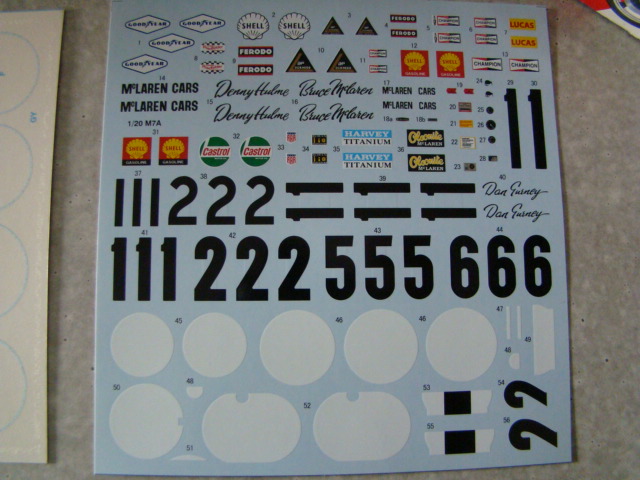
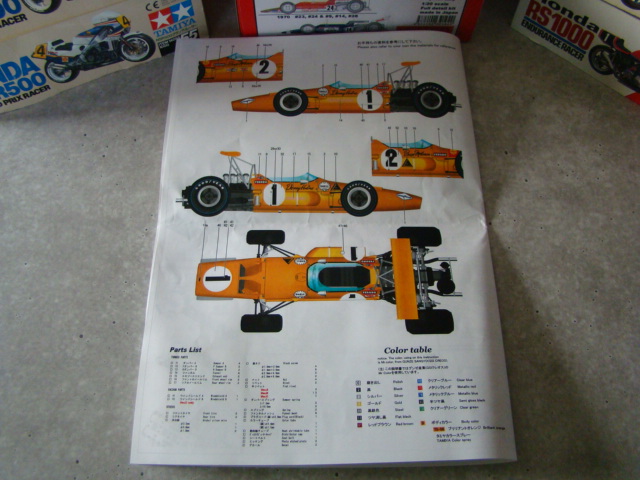
Decals:
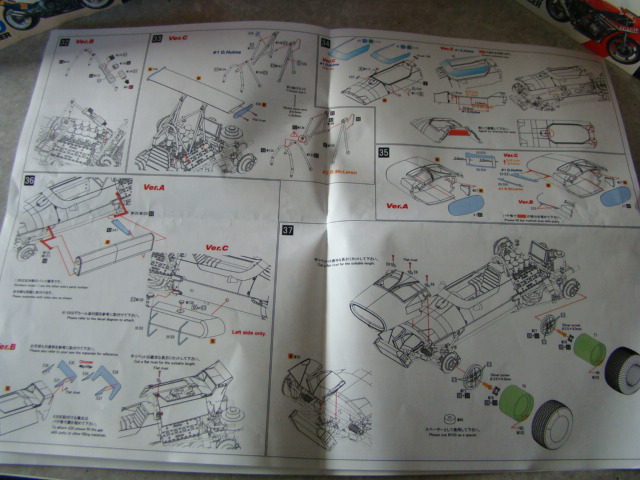
Instruction shhets:
This is one of my favourite Formula one!
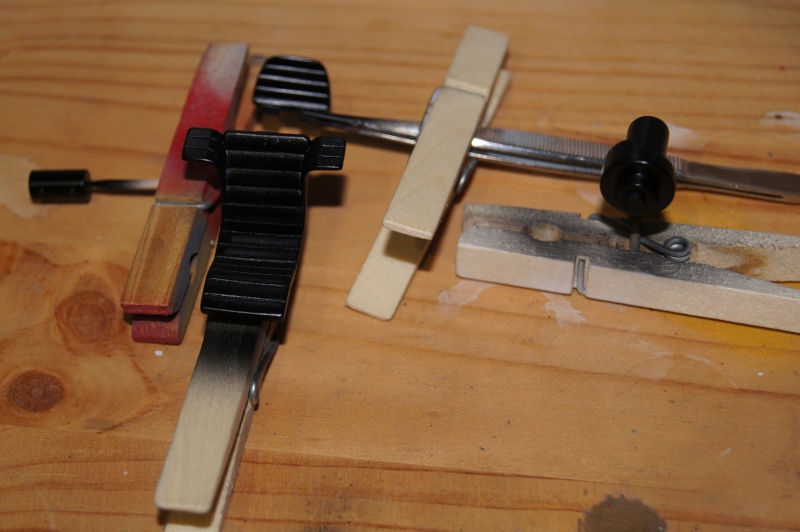
Test fit, holes and... rivets!
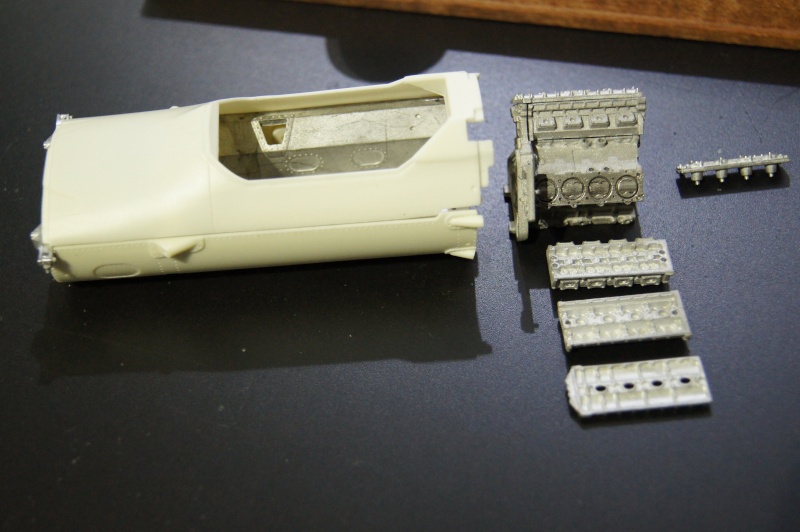
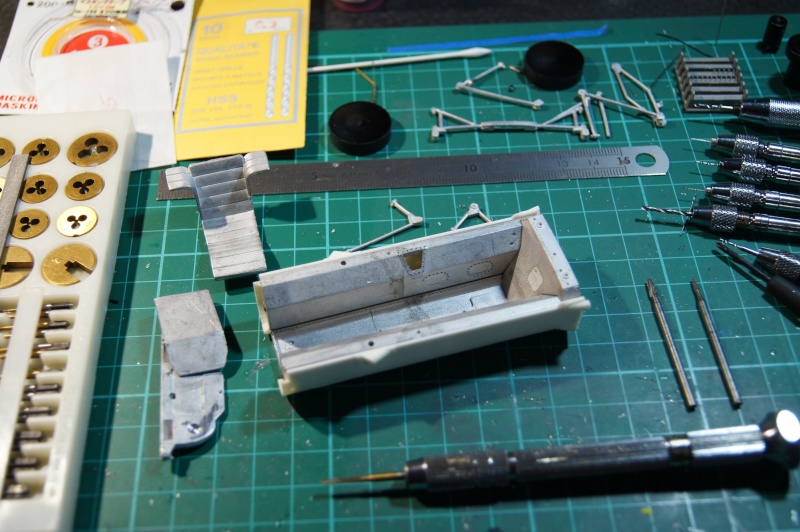


Some parts of the engine were sanded:
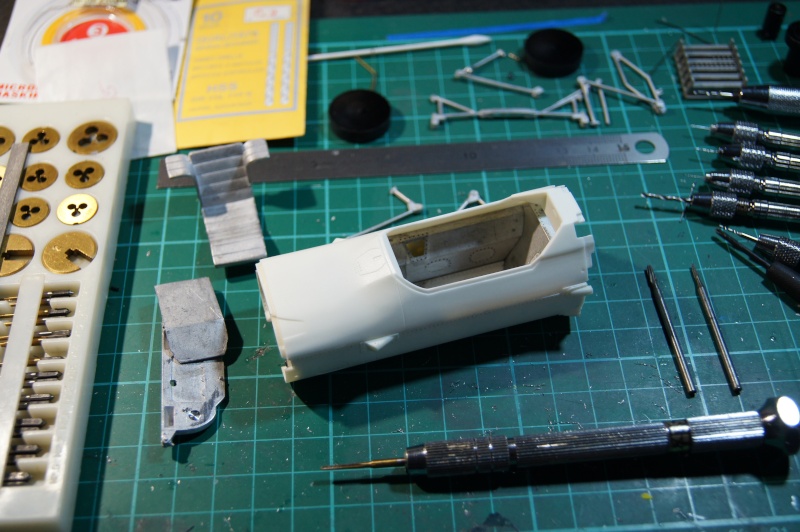
Cockpit parts prepared, drilled and riveted using ss rivets, pre assembled but not yet polished:
The white metal side water pipes replaced by brass pipes and alu holders.
Edi did the same on his build.
Rivets ok.
Test fitting with screws:
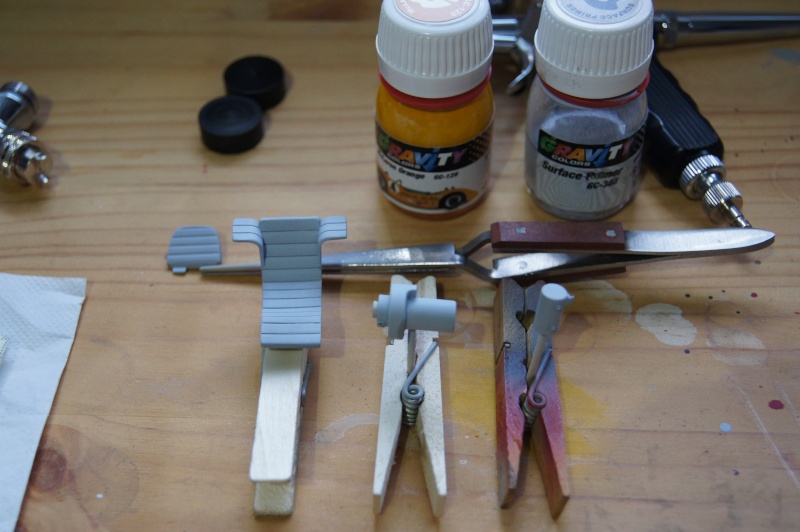
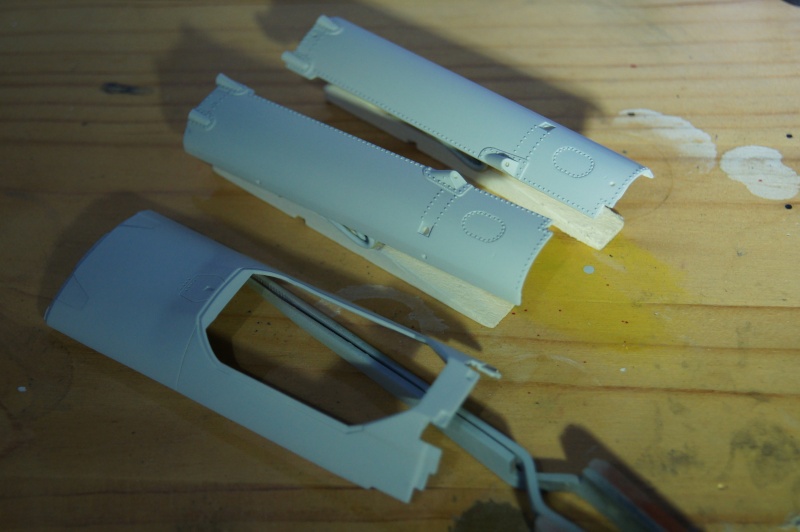
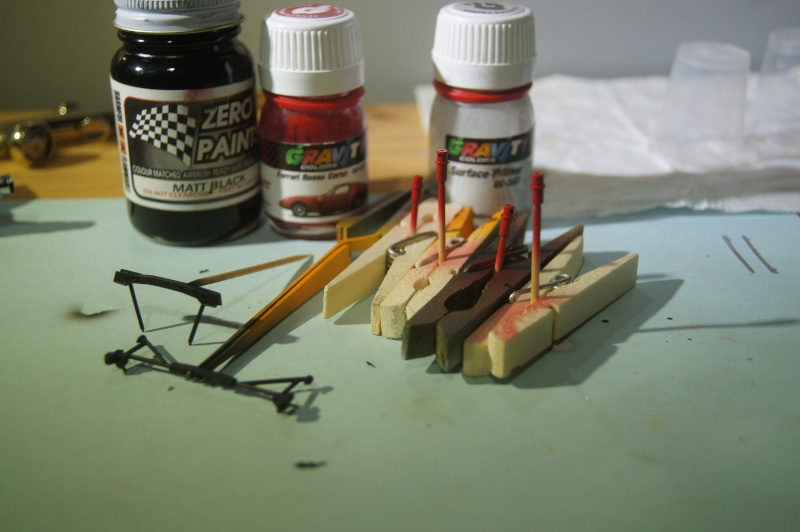
Primer:
Black is black:
This is the black I use to paint the propellers at the air club.
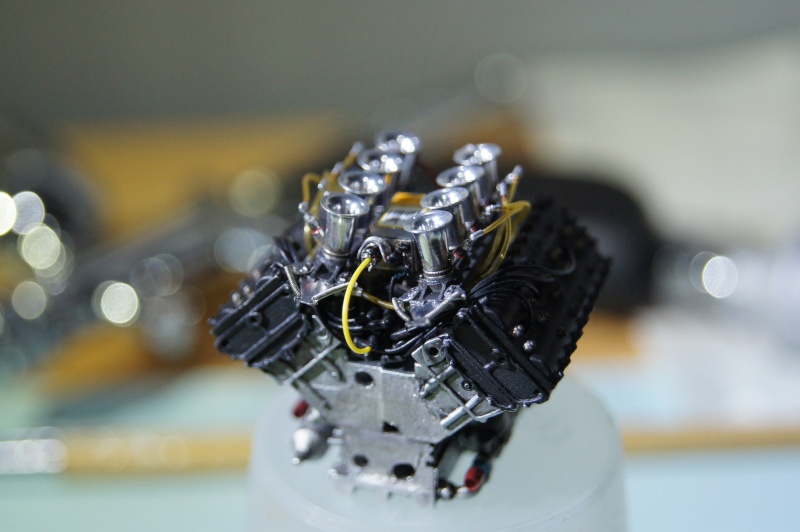
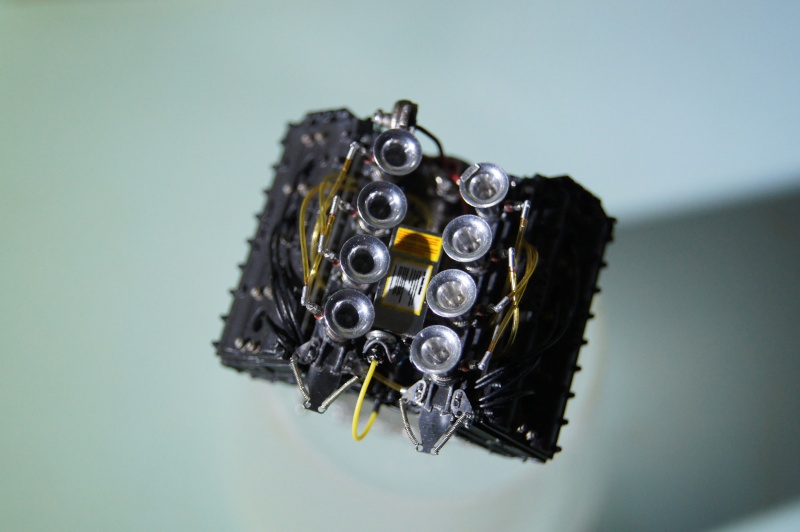
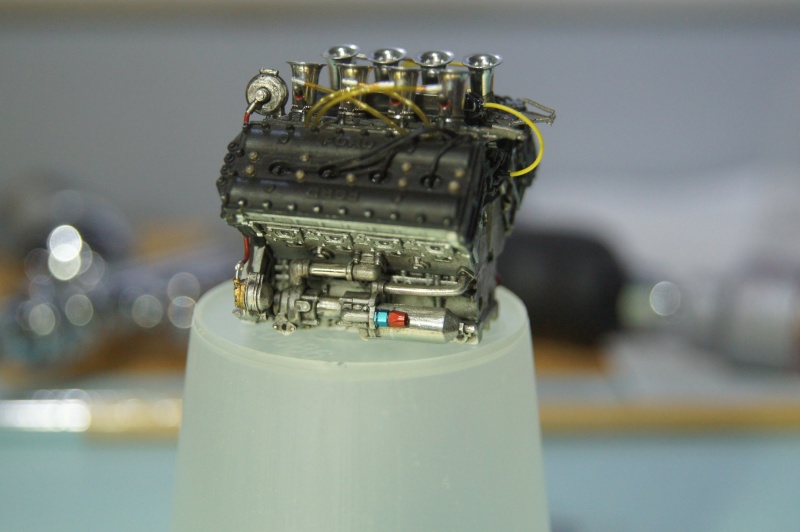
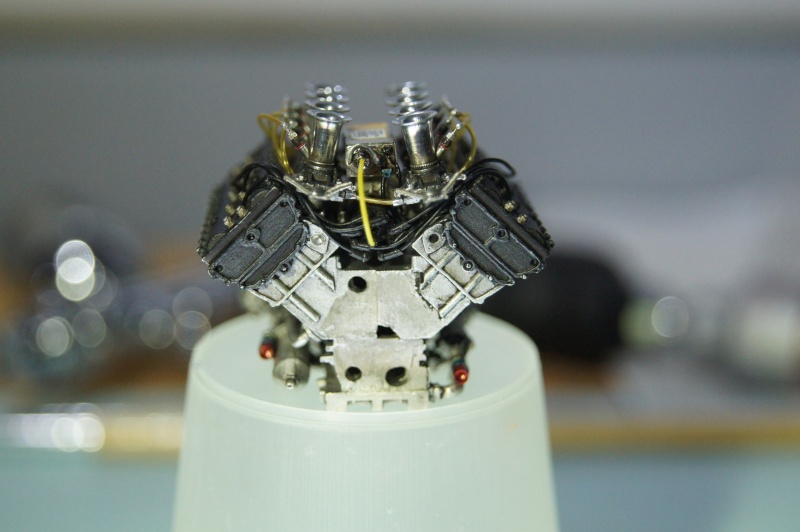
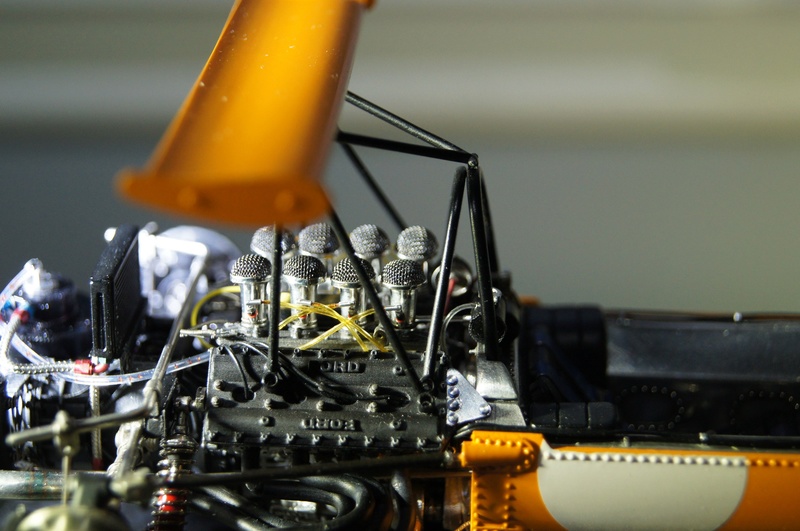
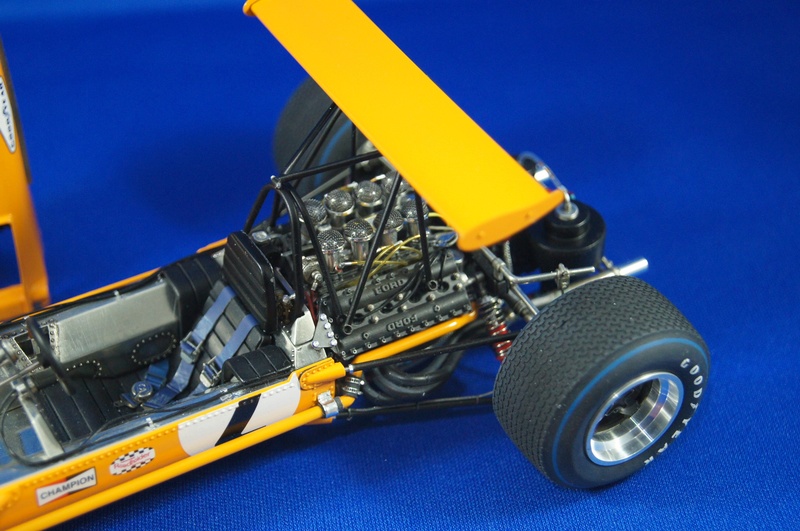
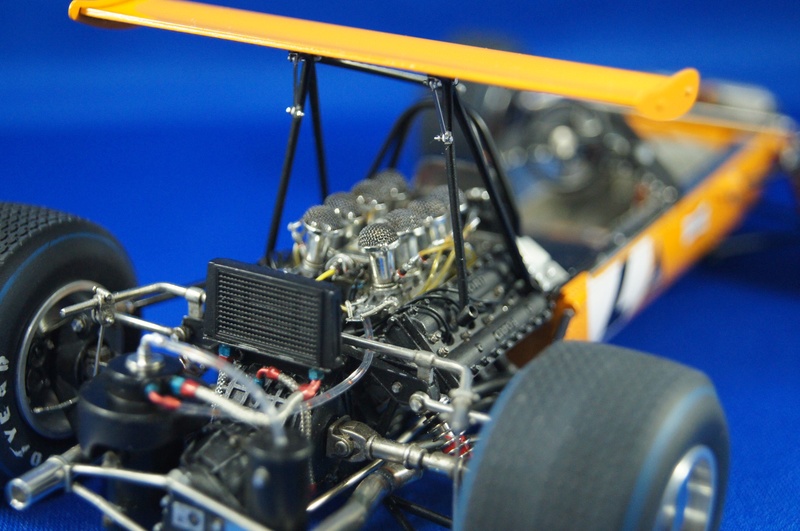
The stunning Widia (Bosica) Vellocity stacks for V8 DFV:
... What else?!
A/N fittings from the kit:
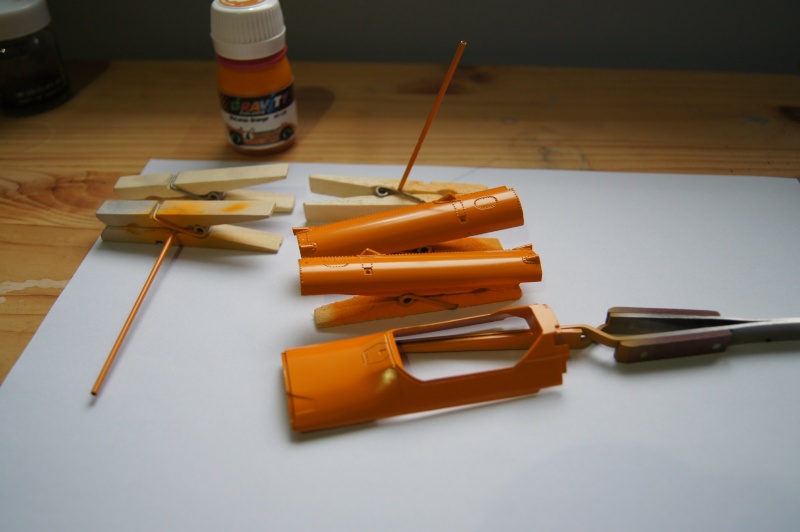
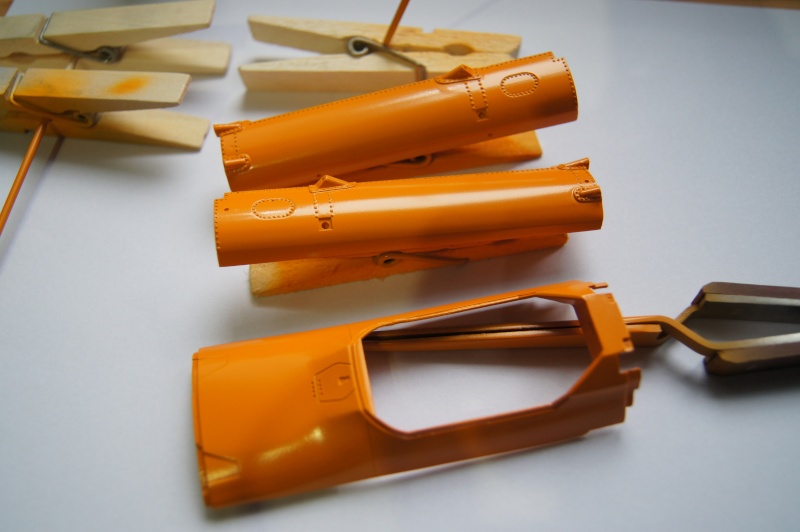
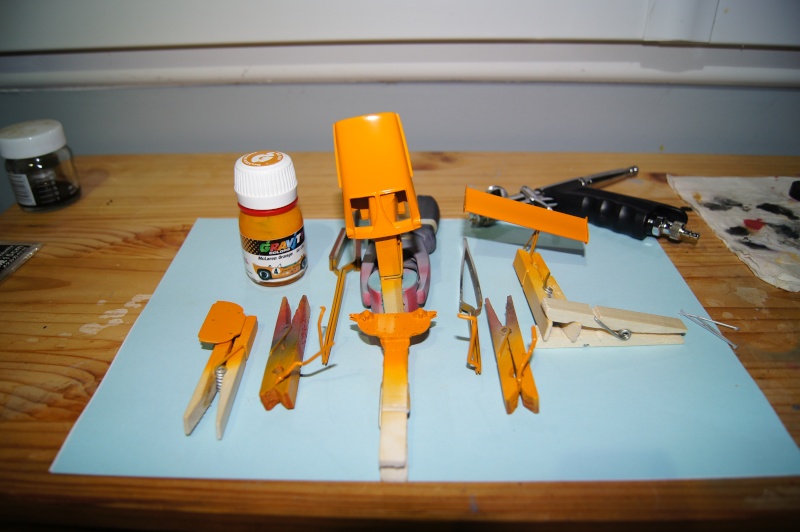
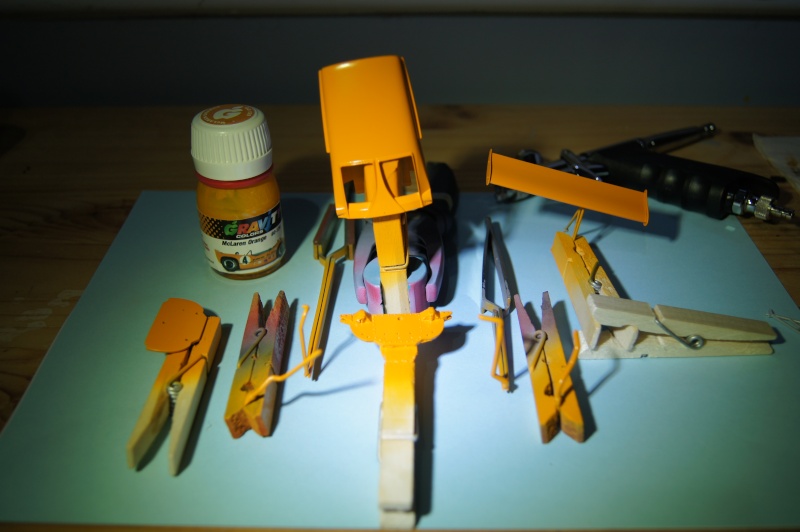
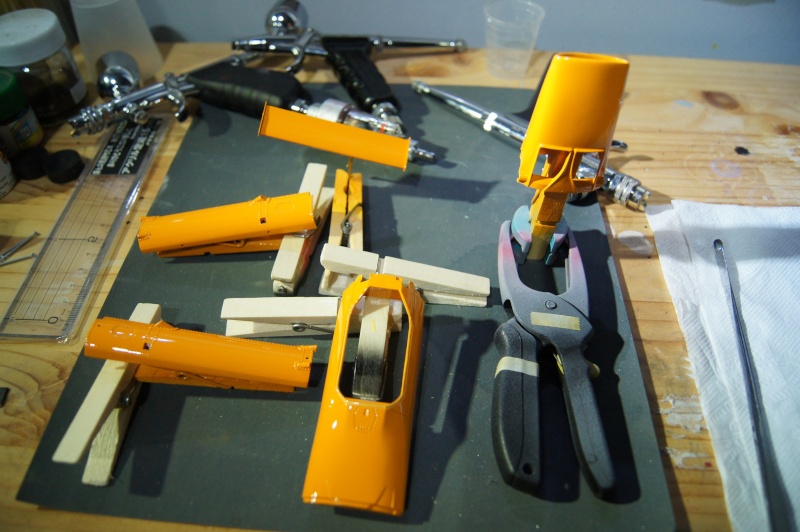
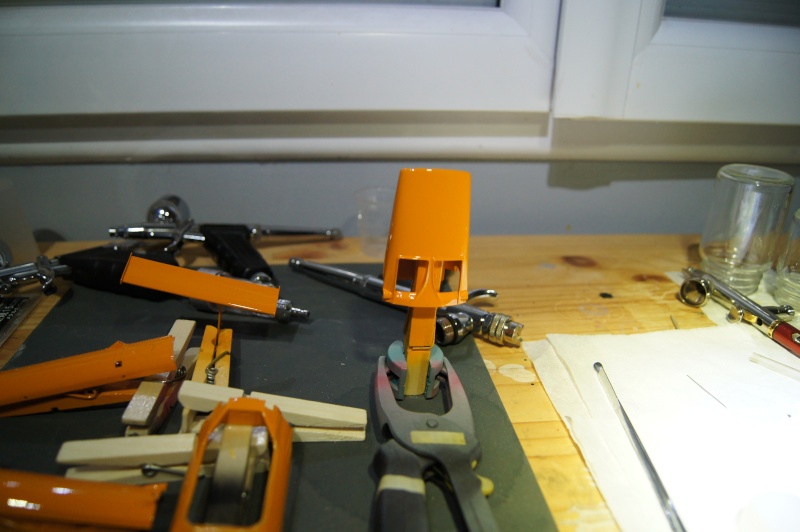
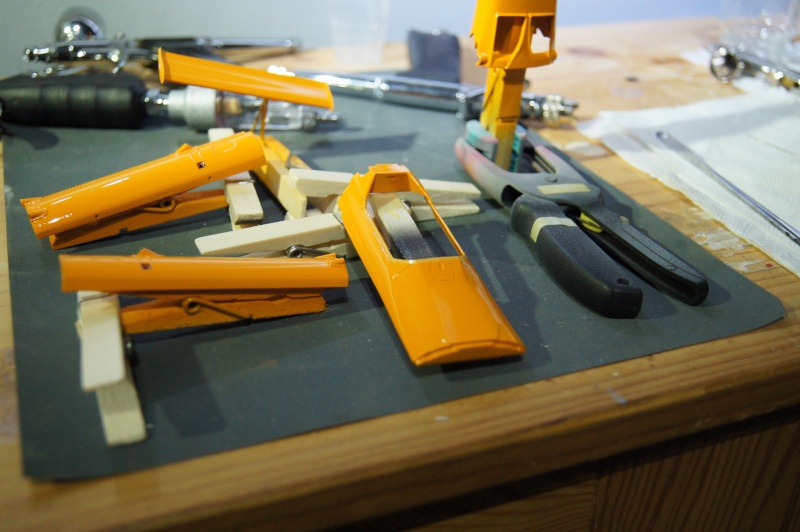
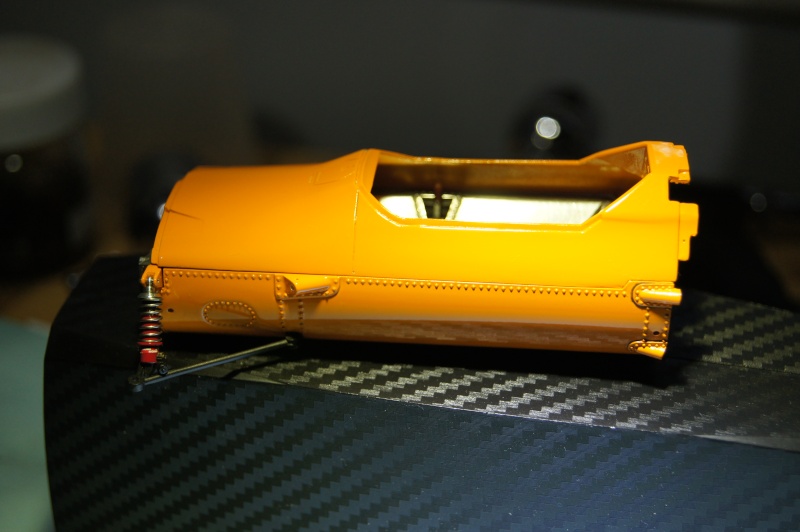
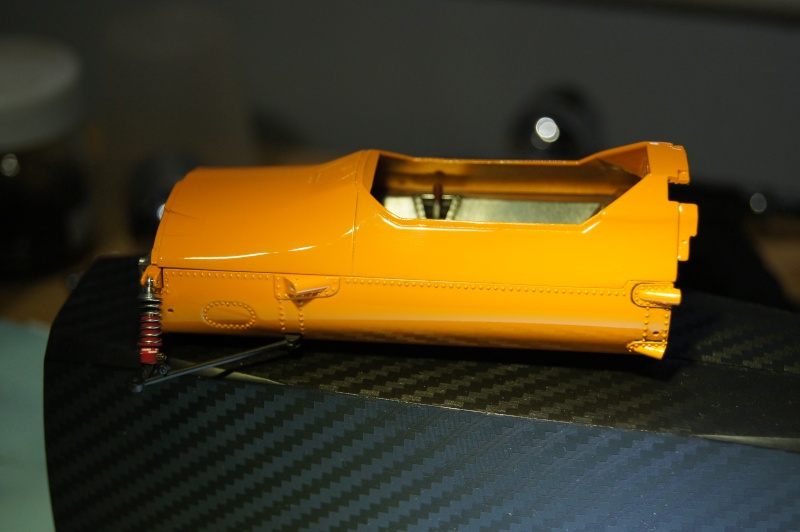
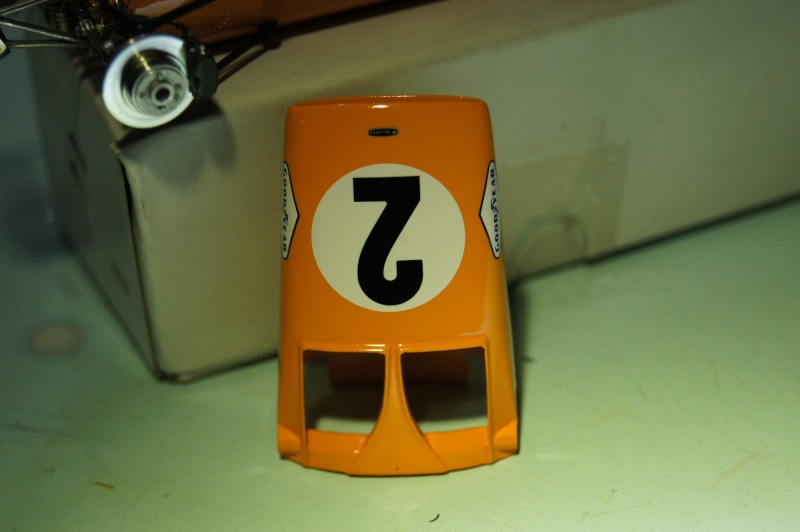
Orange!!
McLaren Orange from GC: I love it!!
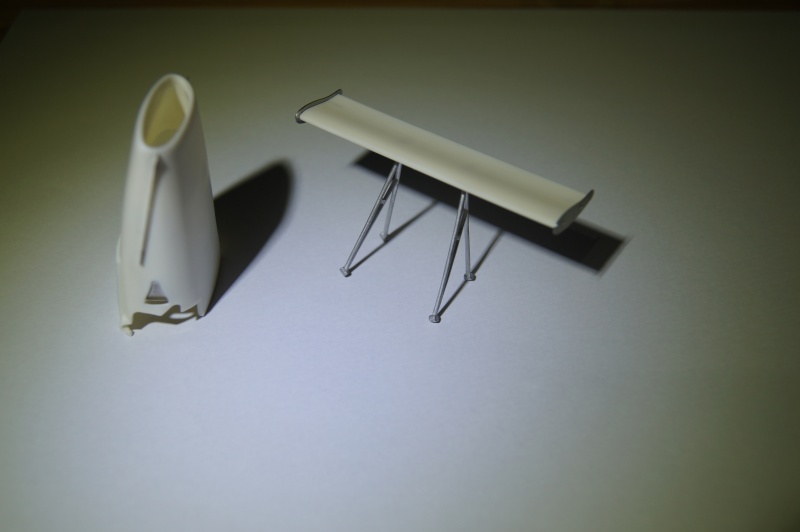
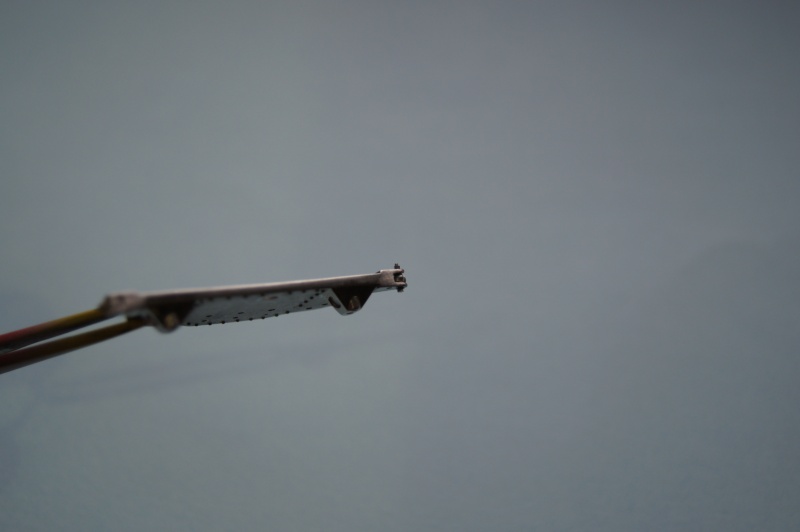
Nose (sorry for the horrible picture...) with tiny PE moustache installed and rear wing ready for primer
Oil tank with weld lines and test fit of the stunning RB Motion anodized A/N fittings:
Quick "fill" of the inside of the radiator with lead wire.
Enough once both front and rear grids will be placed.
Almost finished:
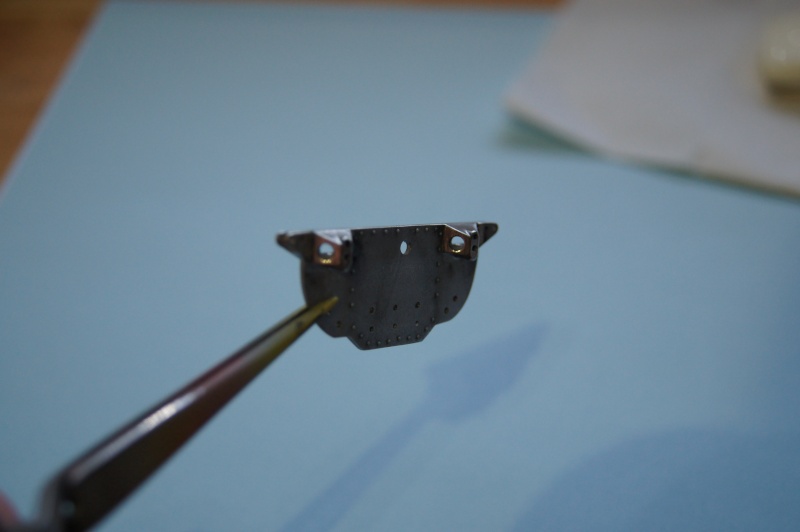
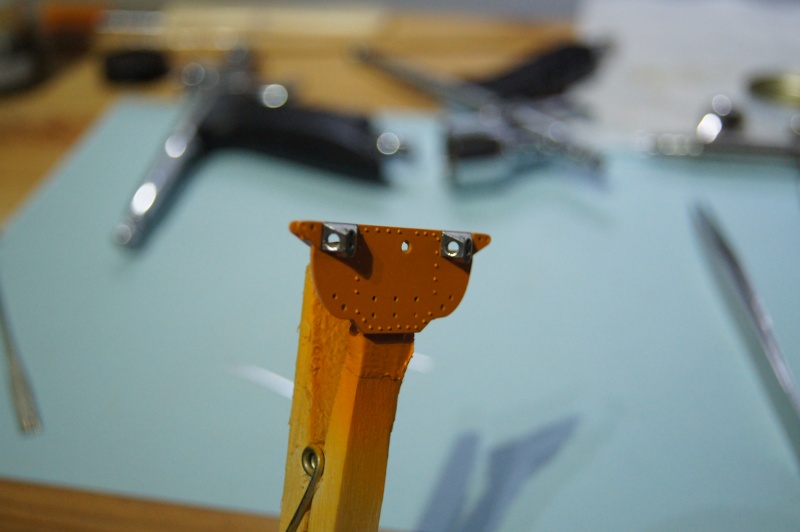
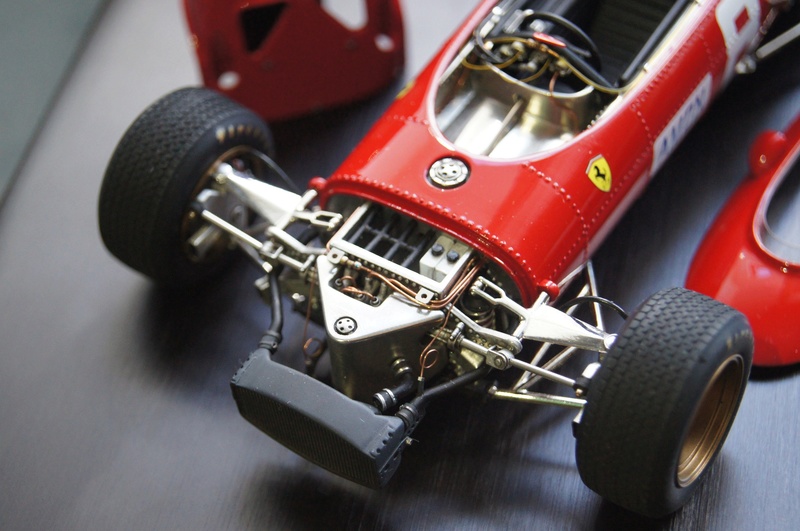
Front bulkhead riveted and modified.
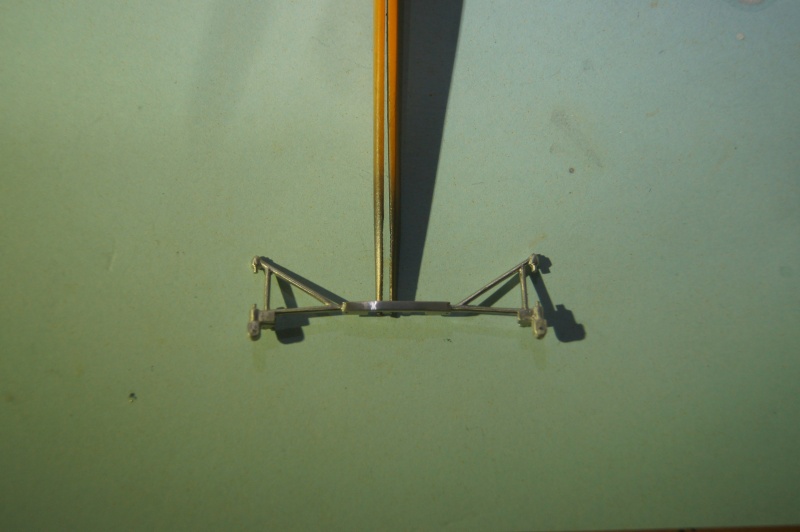
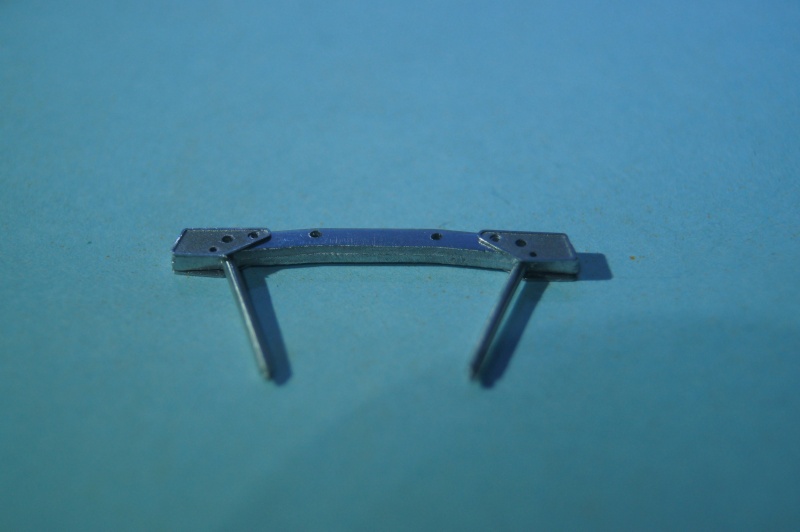
New mount using once again Rob's parts instead of the molded white metal.

test:
J'ai enfin modifier le corps de l'amorto pour l'adapter à la nouvelle tête usinée:
Nose ready for primer:
Holes opened :
Primer from Gravity:
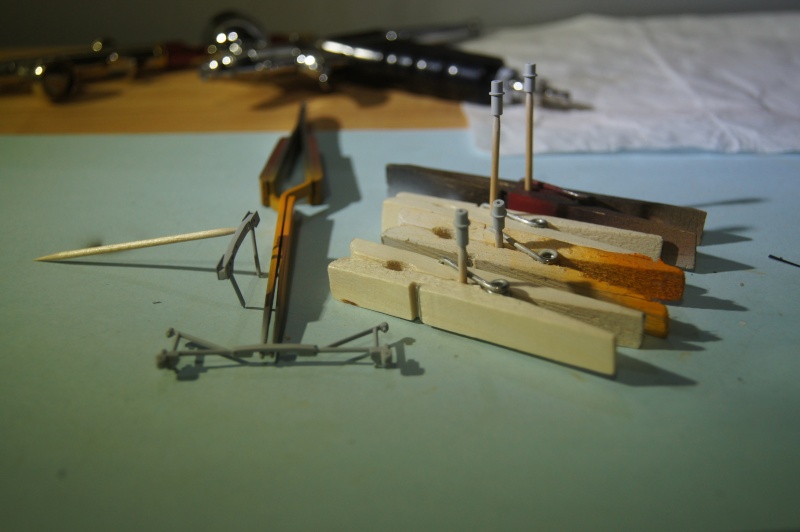
Steering wheel prepared and masked:
Family picture:

Test on the other version of the windshield.
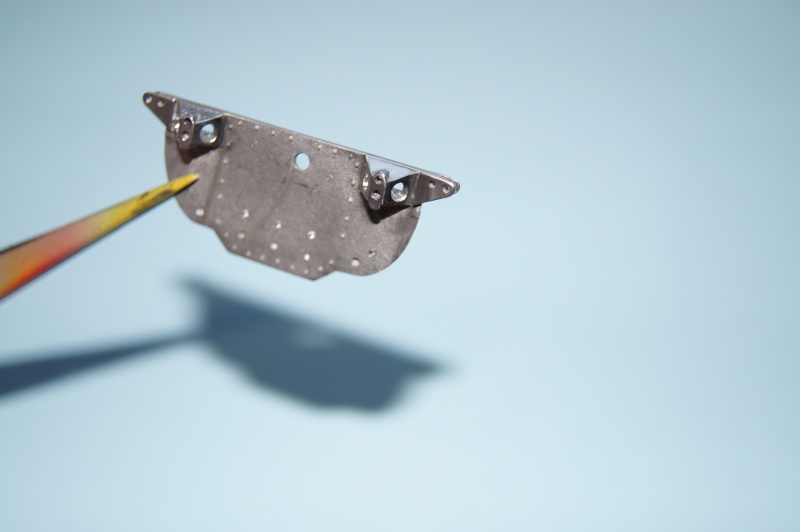
Front bulkhead unmasked and ready for completion:
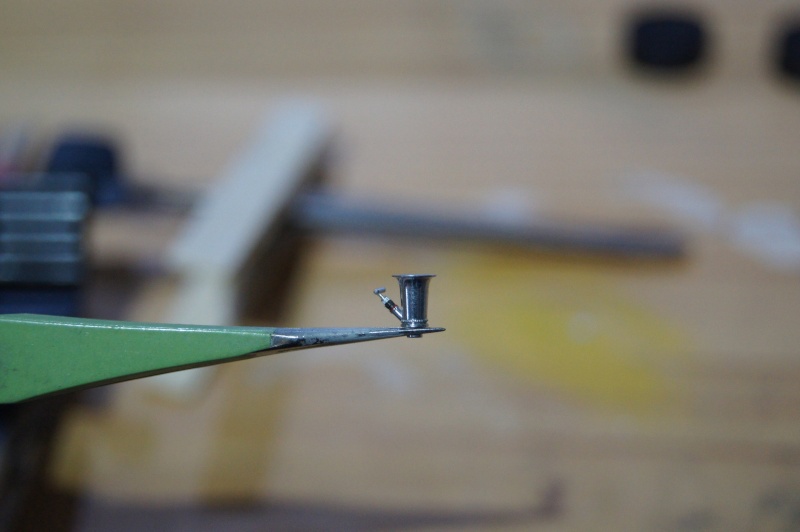
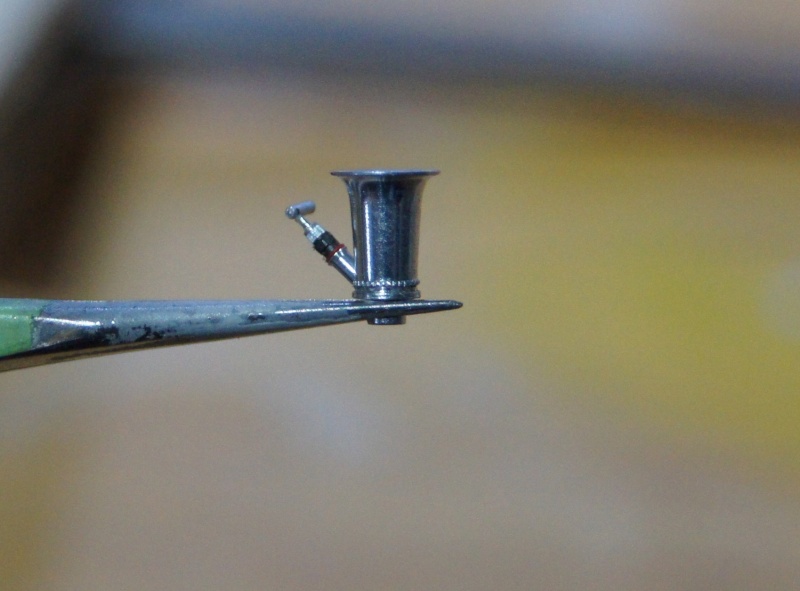
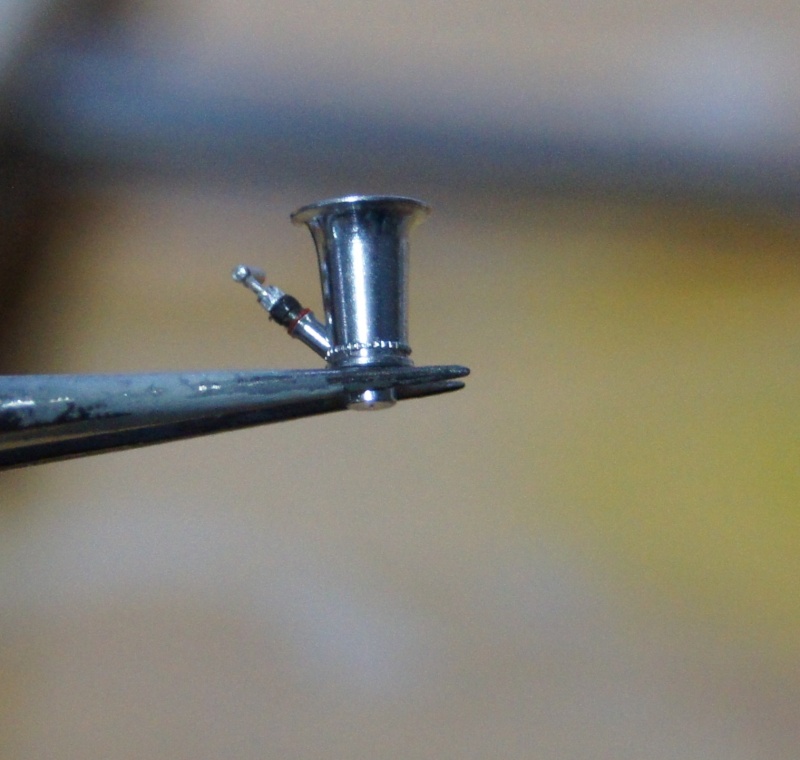
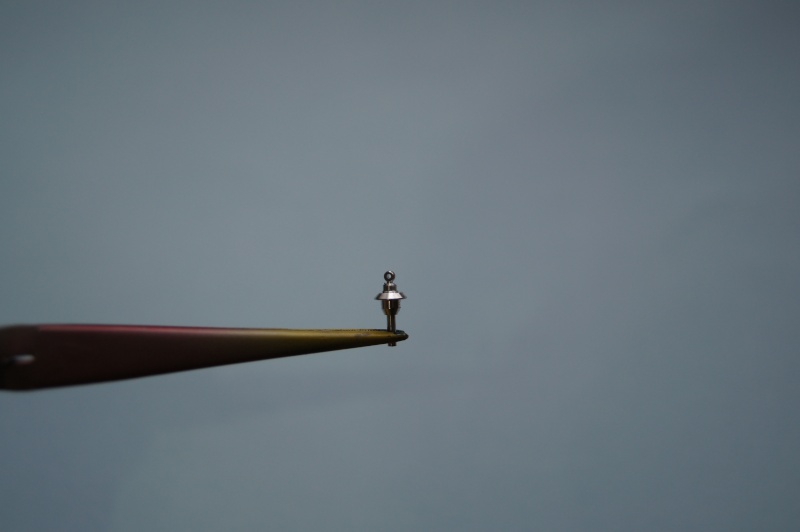
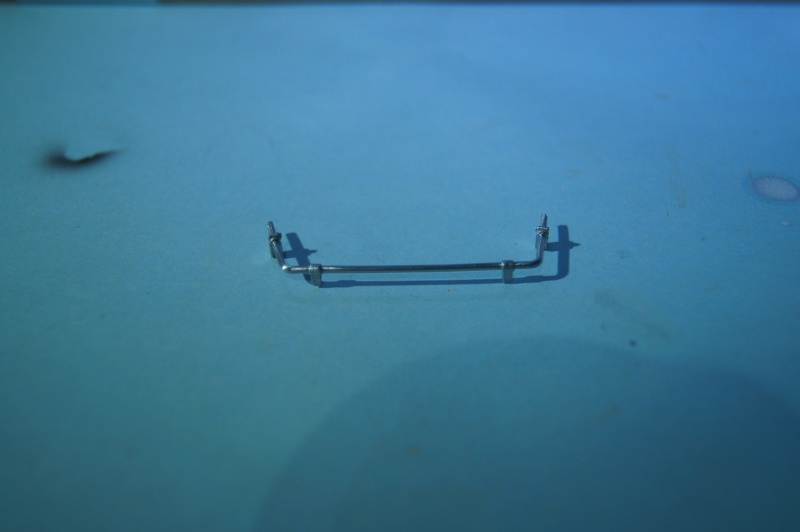
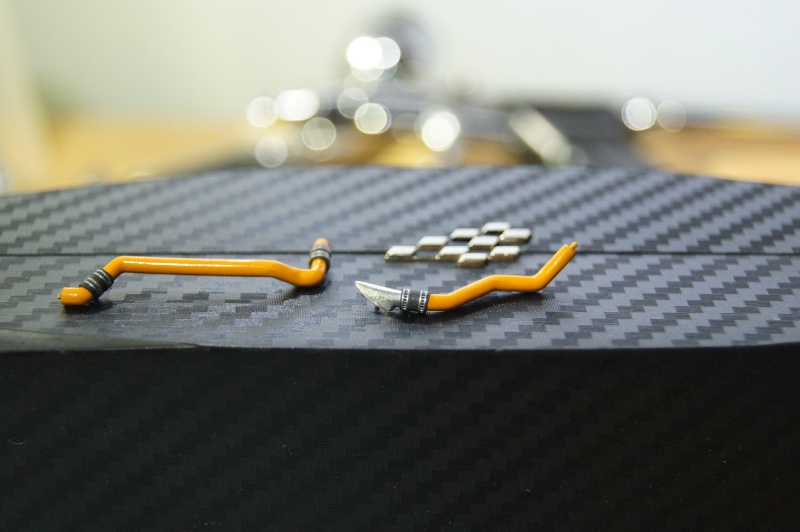
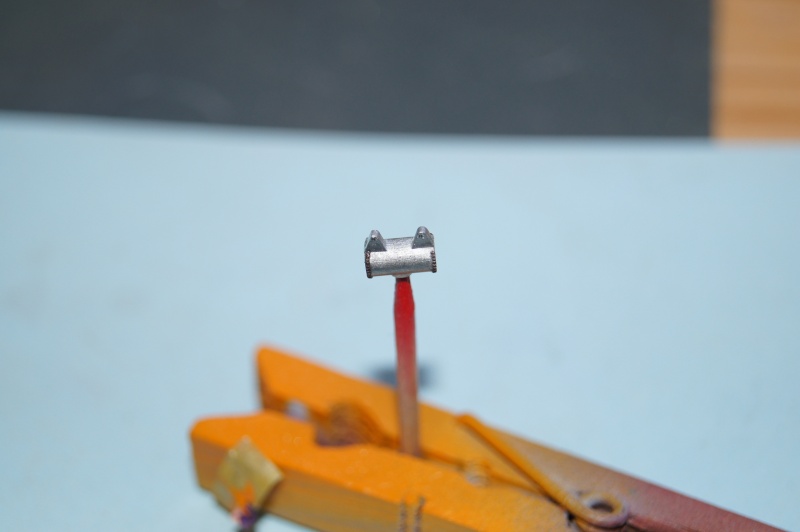
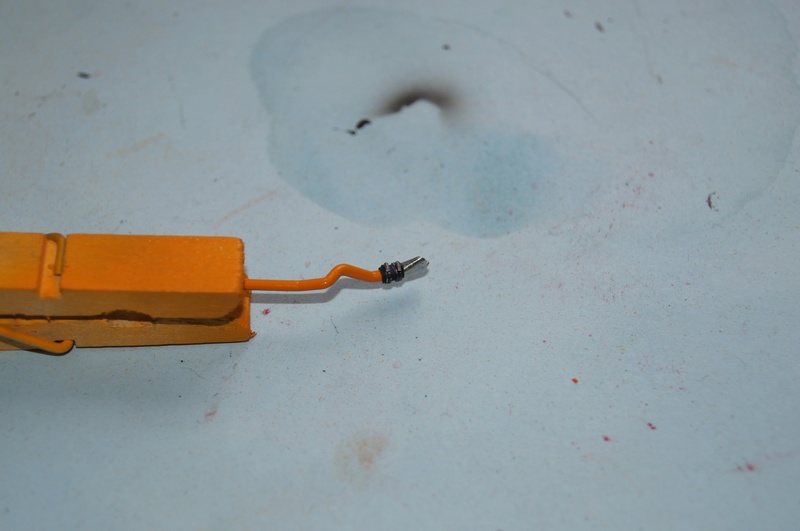
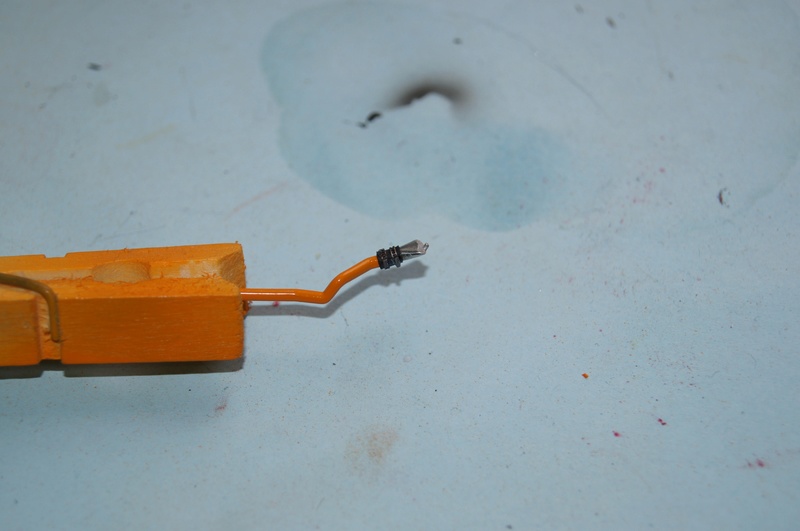
A small "T" fitting is quickly done.
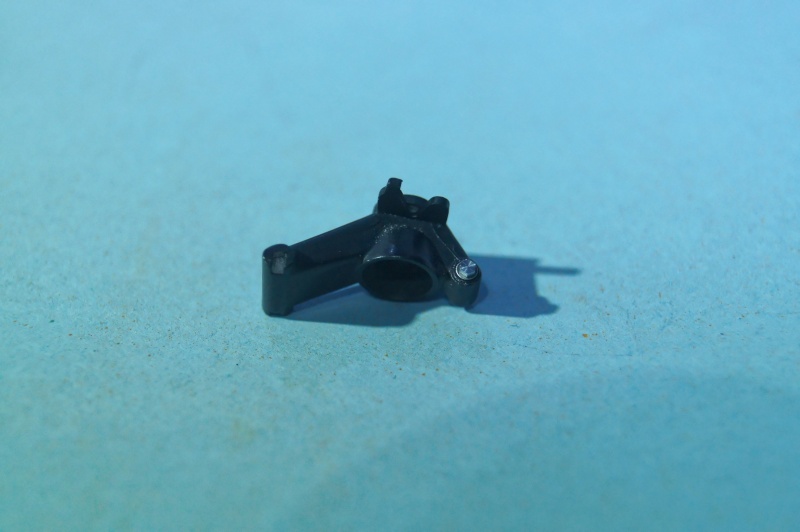
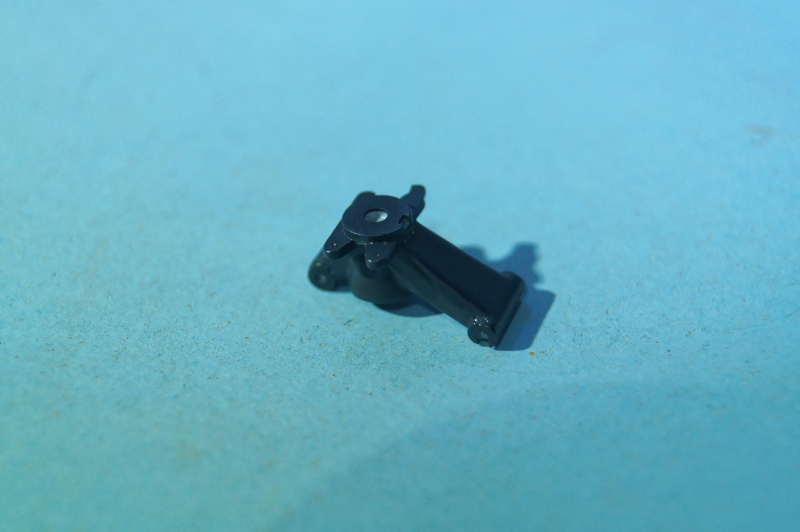
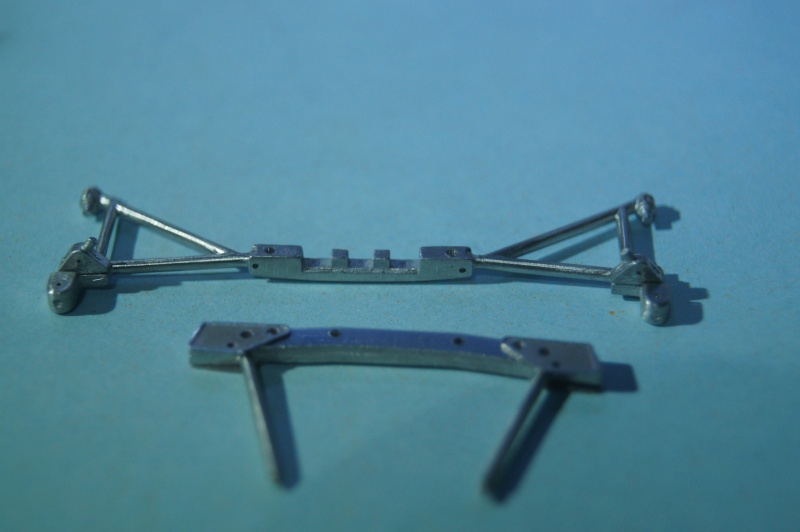
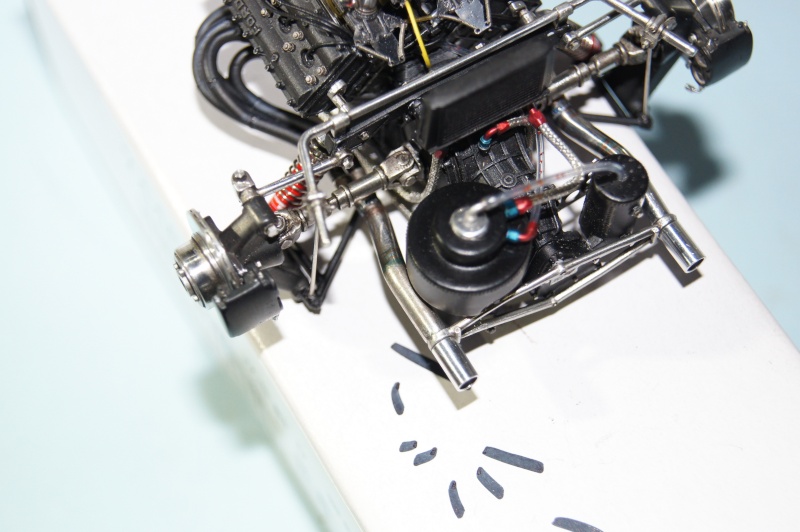
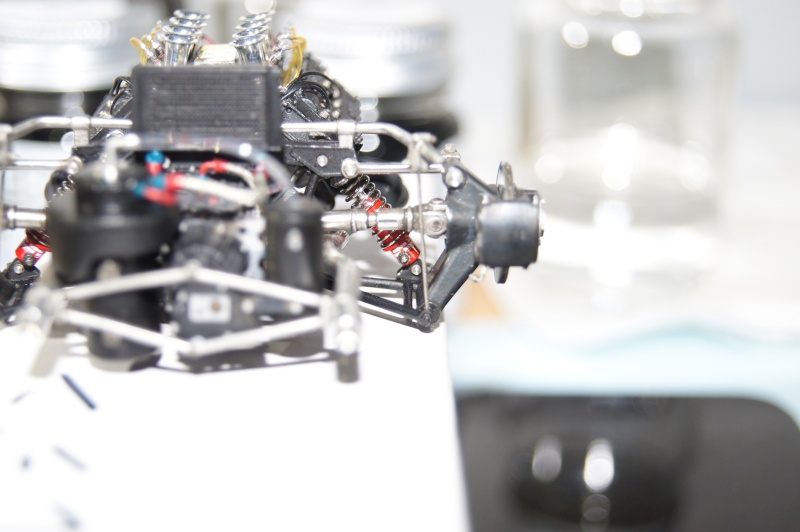
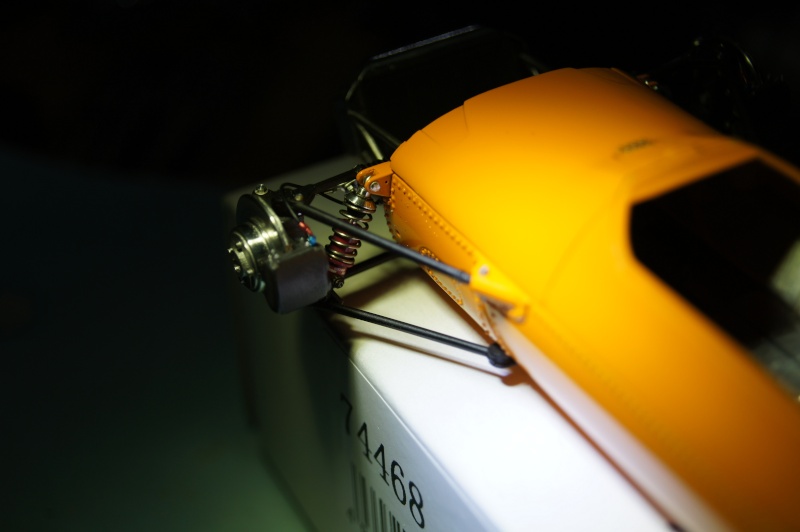
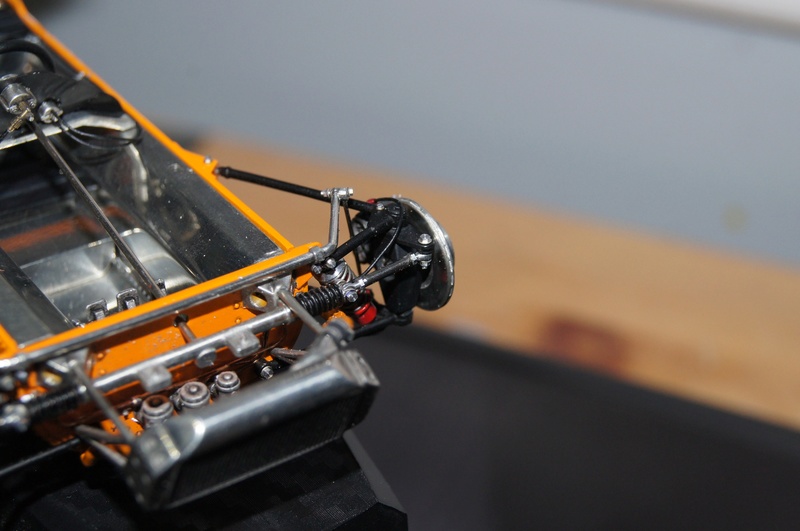
New modification for the upper part of the damper and the upper triangle:
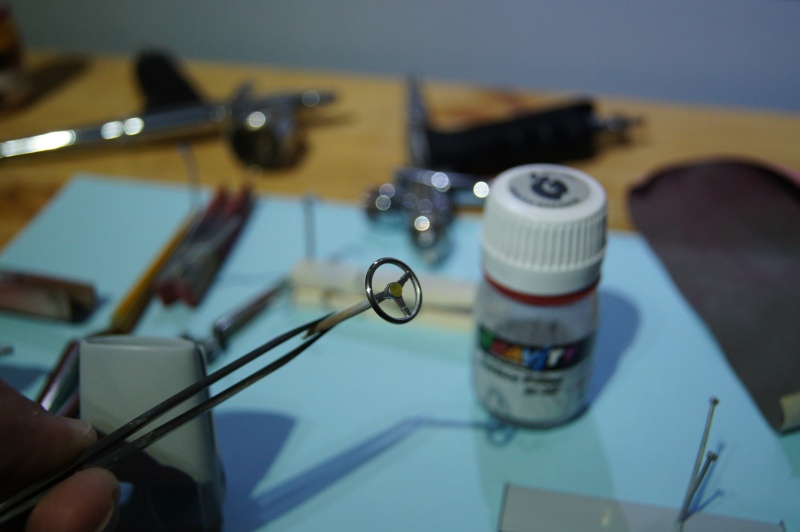
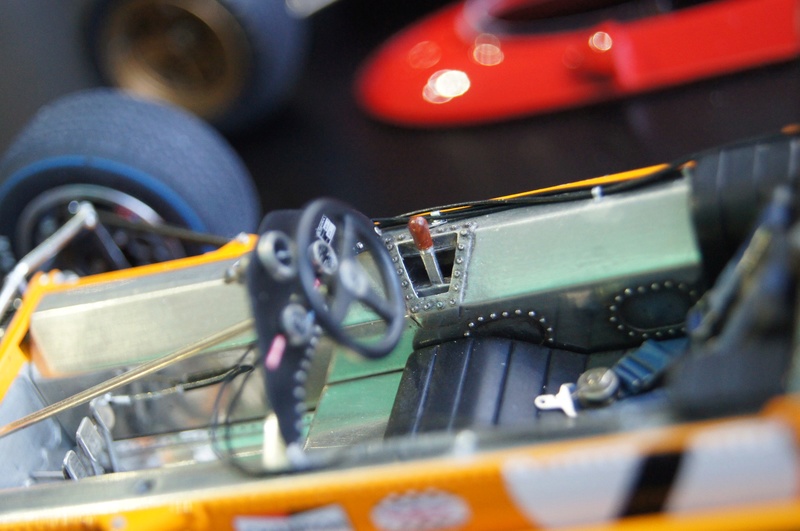
Steering wheel is almost done and waiting for oils:
Small details added on the pedals:

Brake fluid bottles detailed and installed.
Adding few details on the steering box:
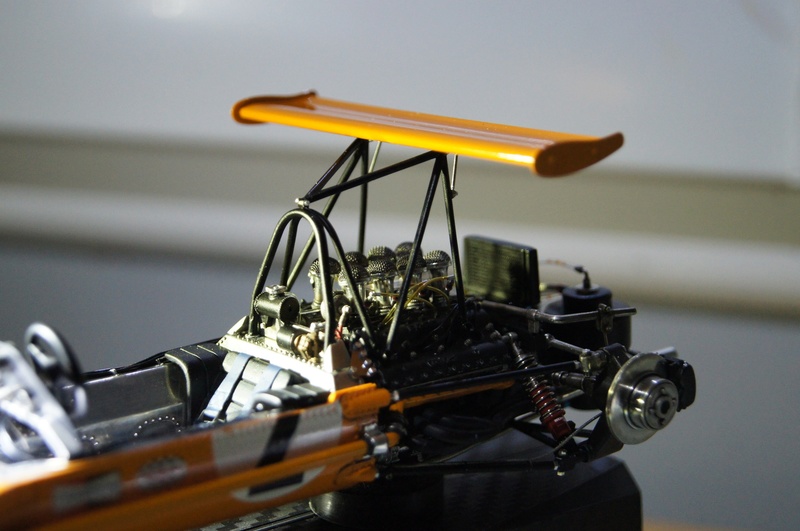
The Roooaaaring Papaya is still progressing!
Velocity stacks are finished.

I was not that happy with the cam covers...
So I replaced the white metal molded ones by some 0.8 Calibre 35 made from resin:
McLaren Papaya Orange for the front extractor... I forgot.
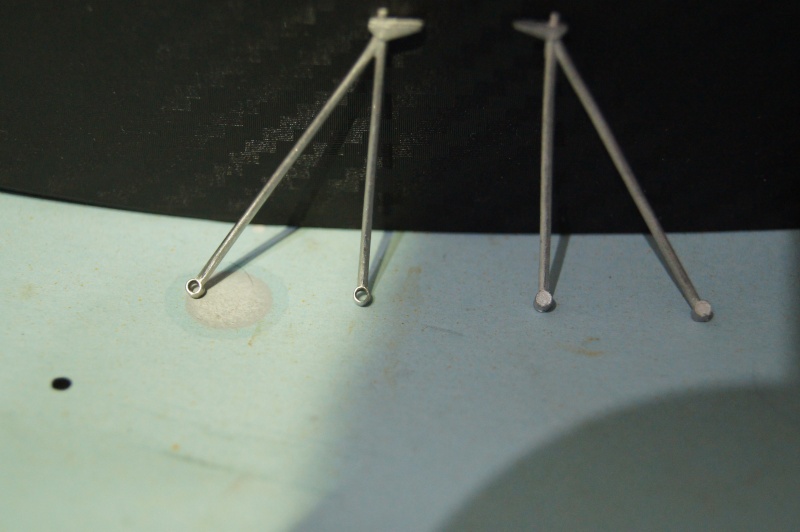
Forward triangles ready:
Fuel pumps ready :
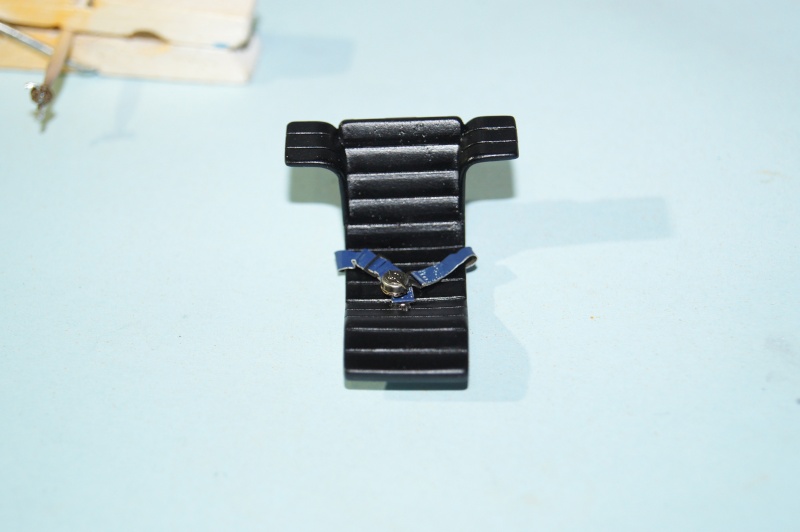
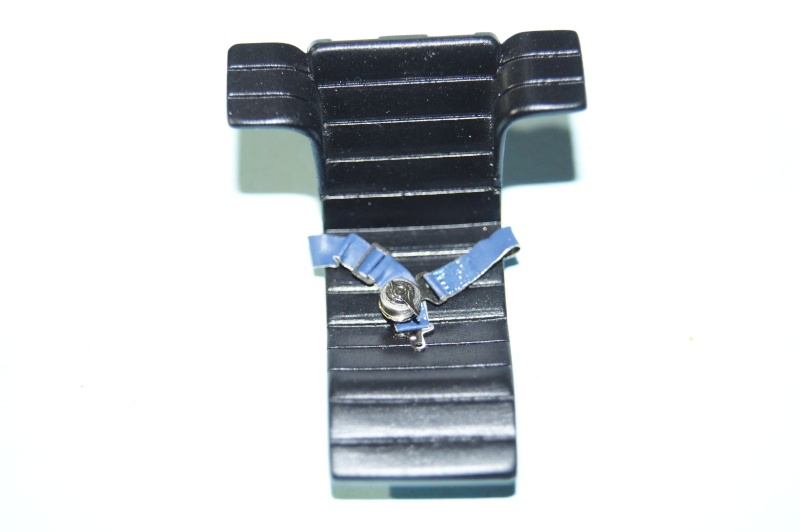
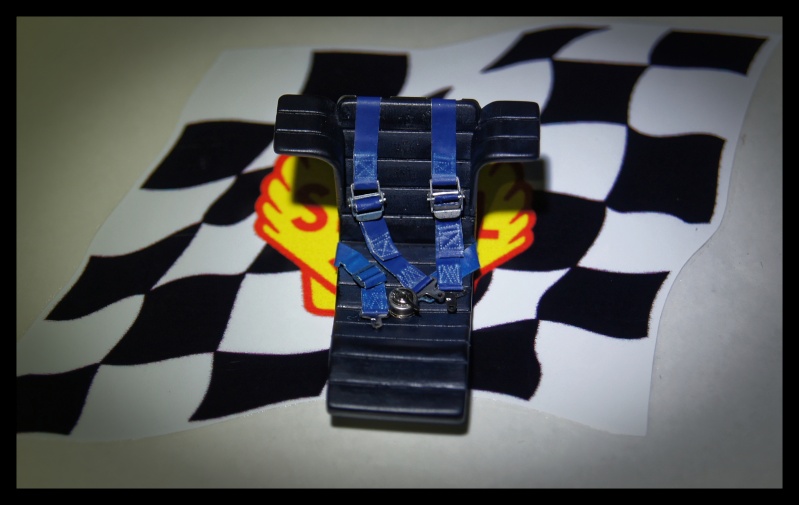
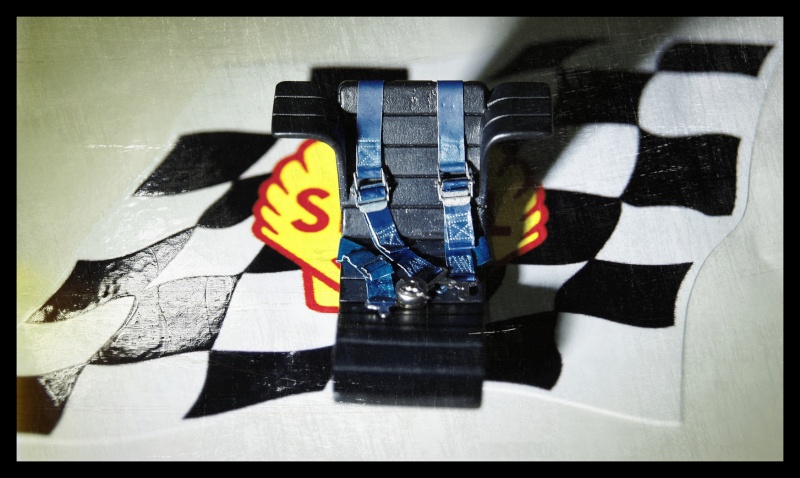
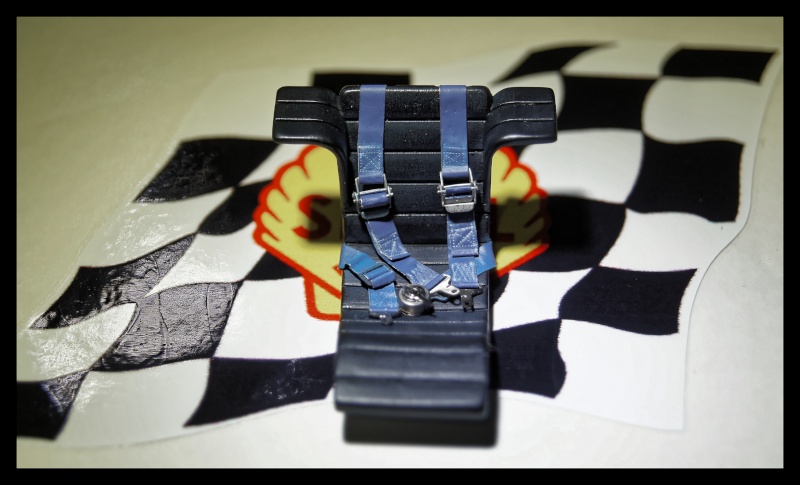
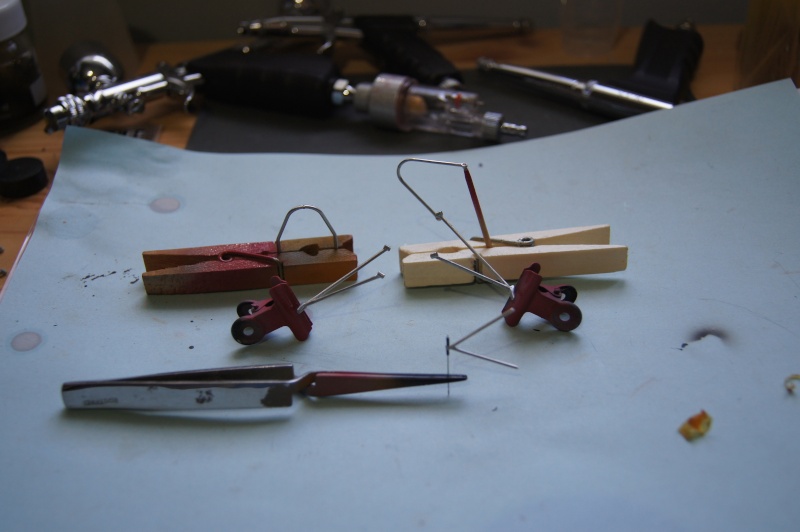
Studying how I will put the harness.
Hardware from F1 Specialties, T3B.
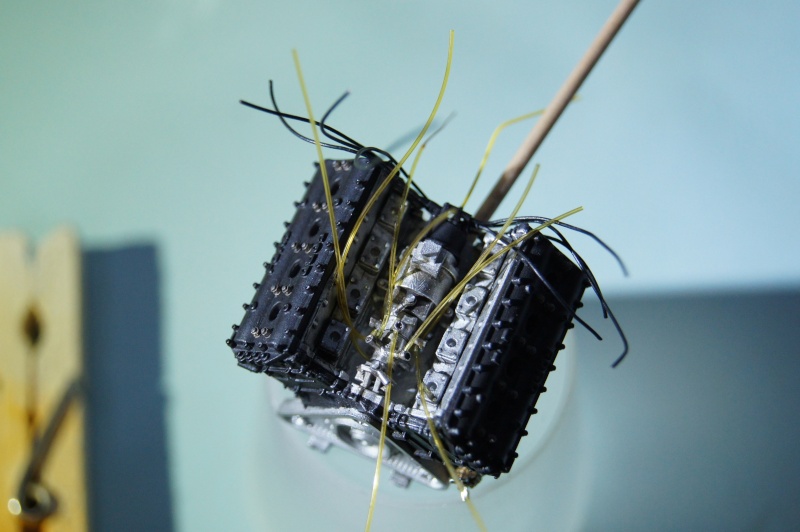
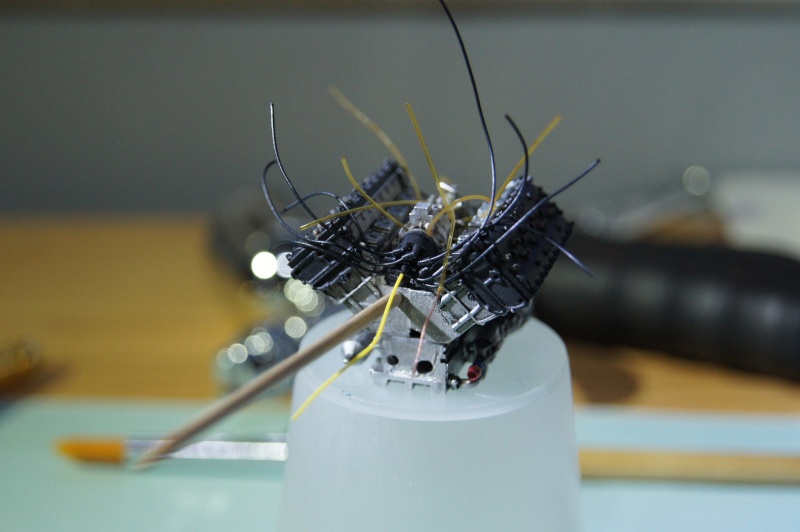
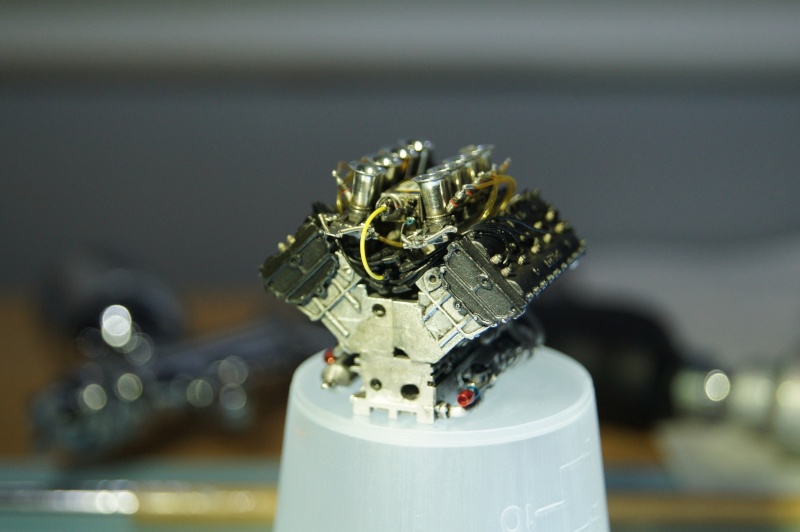
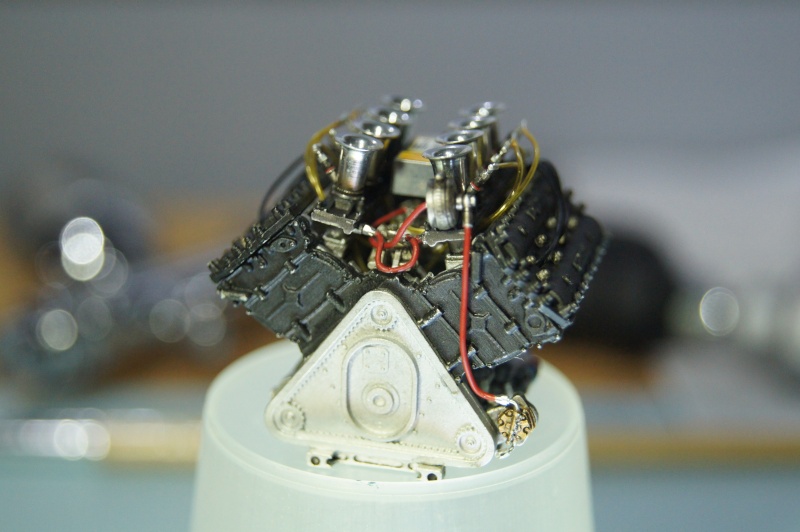
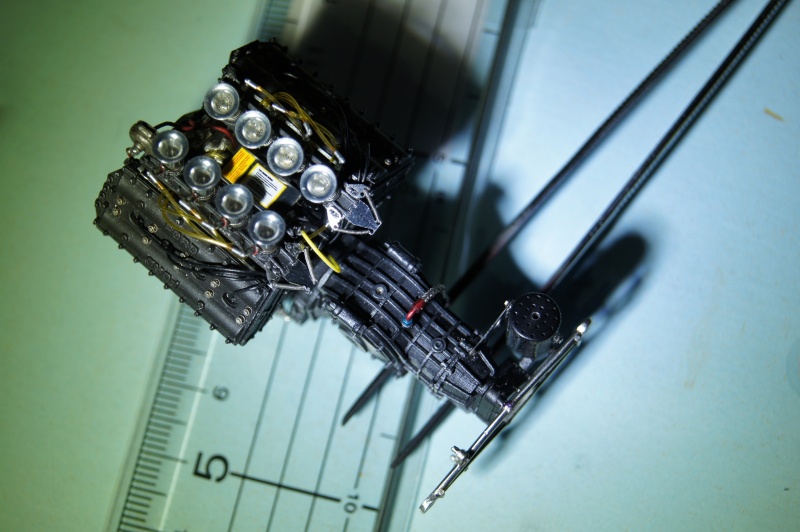
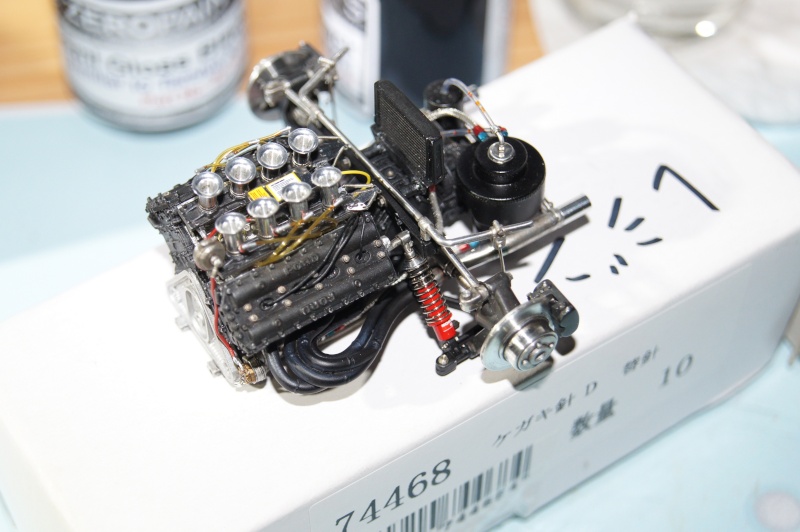
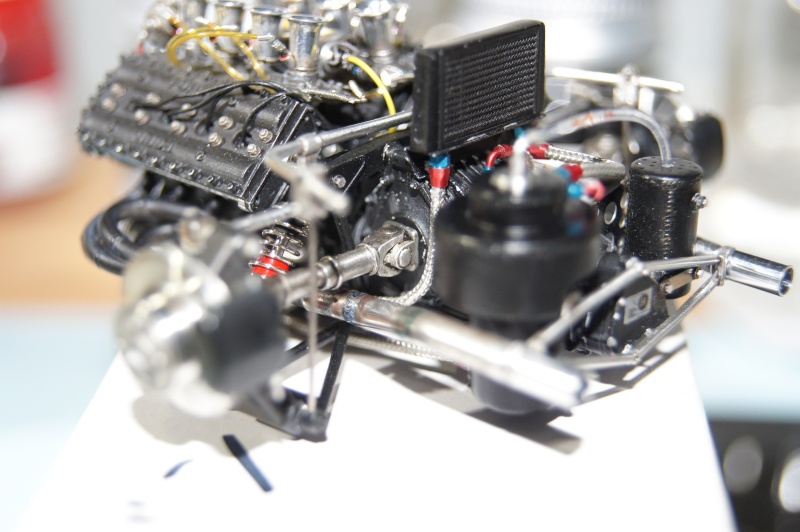
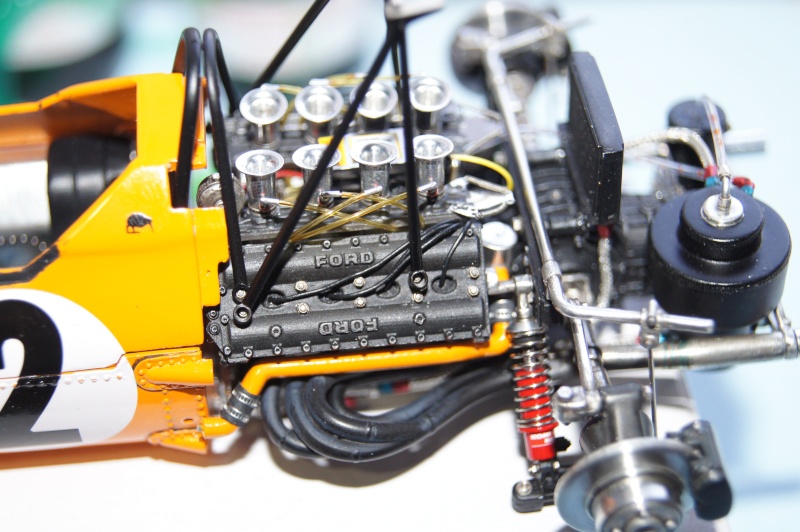
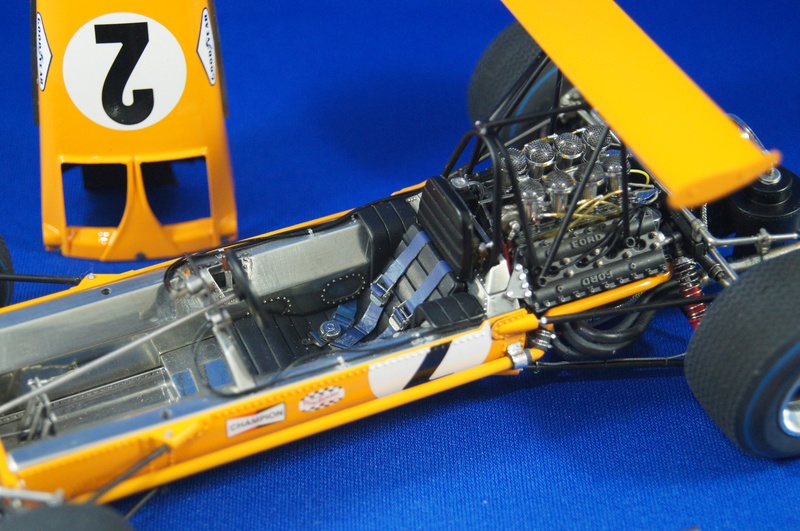
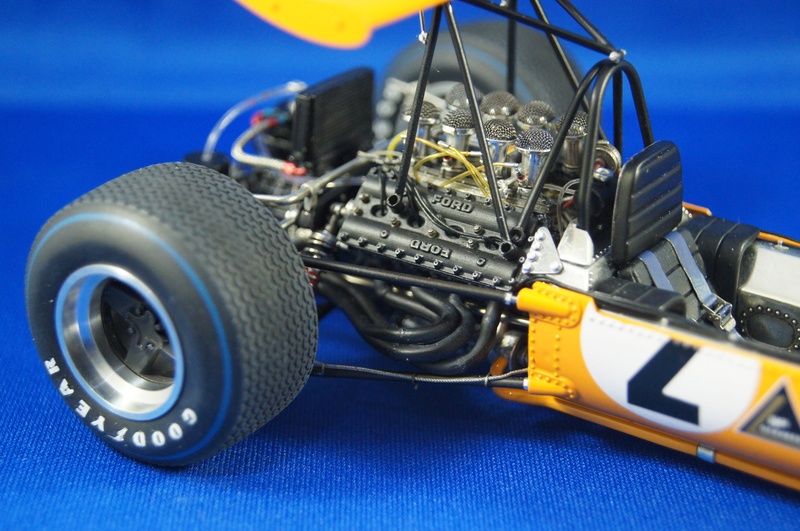
Hairy DFV!
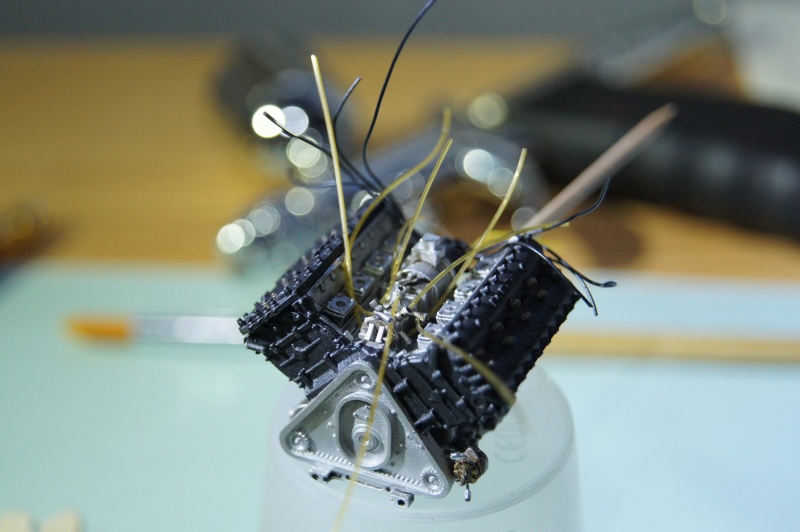
details added on the "electronic" box:
And on the admission ramps:
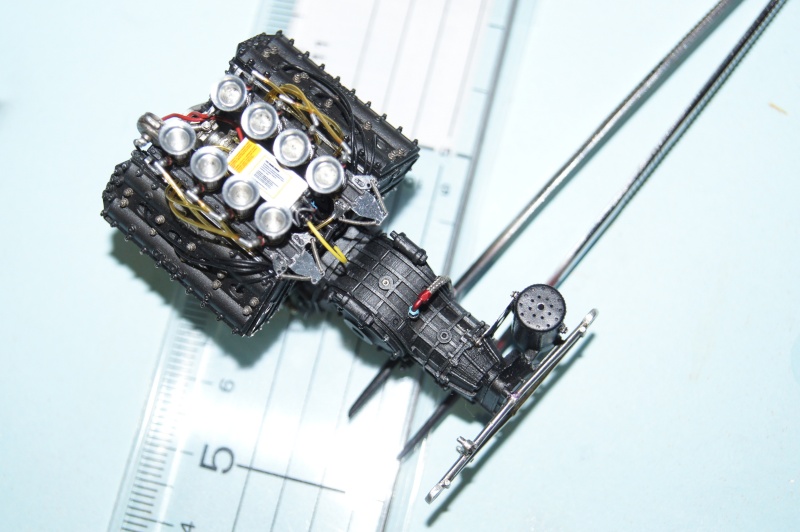
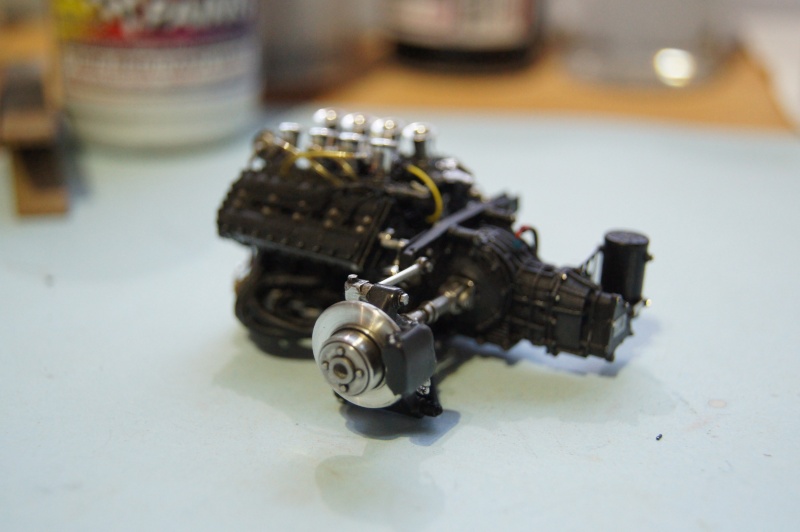
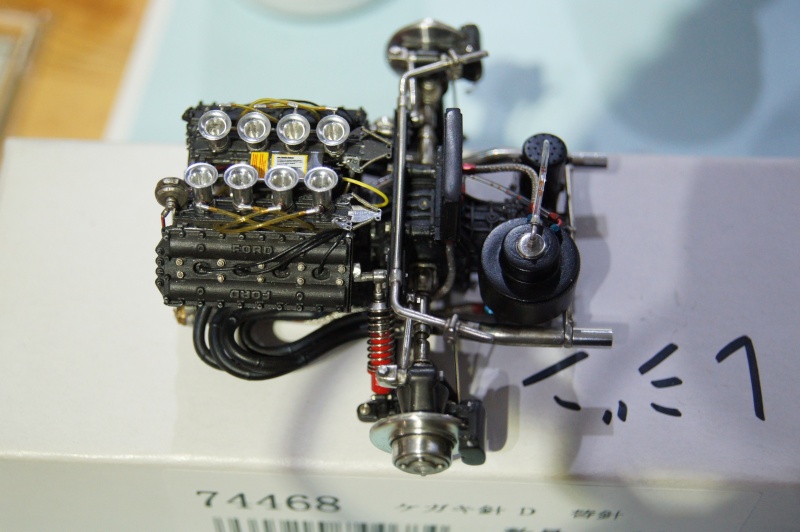
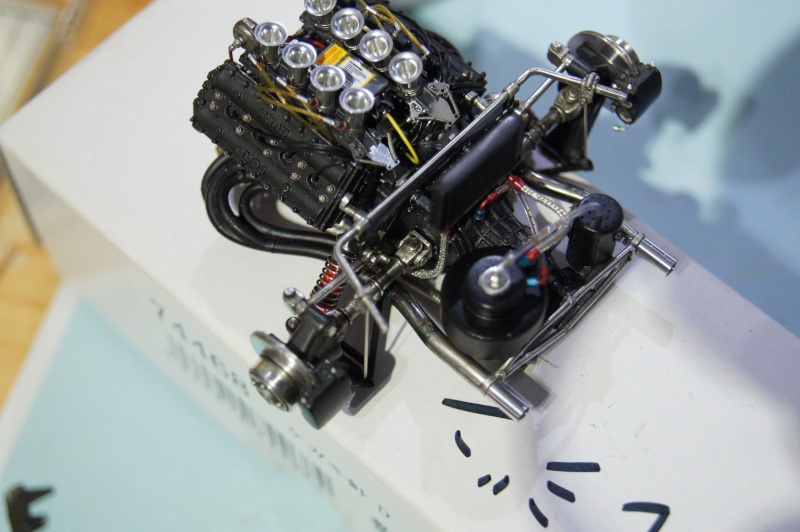
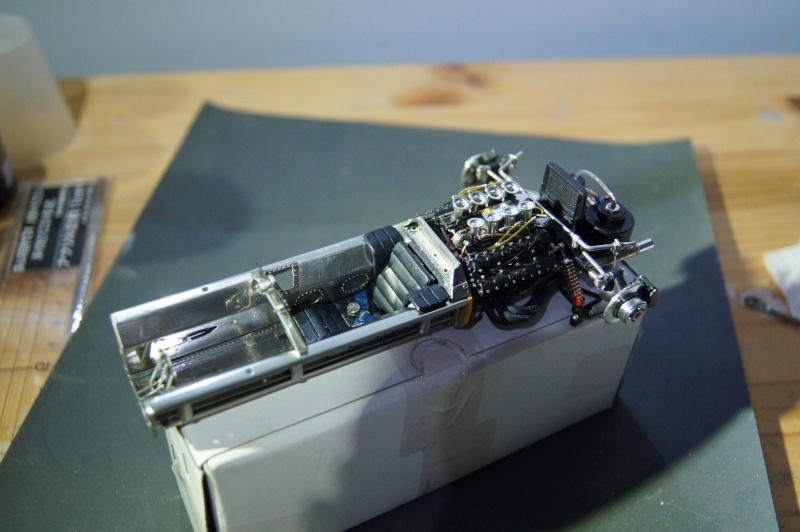
Pics of the Cosworth with the sub assemblies installed and few details:
Time to work on the Hewland Gearbox.
Parts were already sand blasted then primed with GC light grey primer... sorry for the picture!
Parts drilled where I'd add some details.
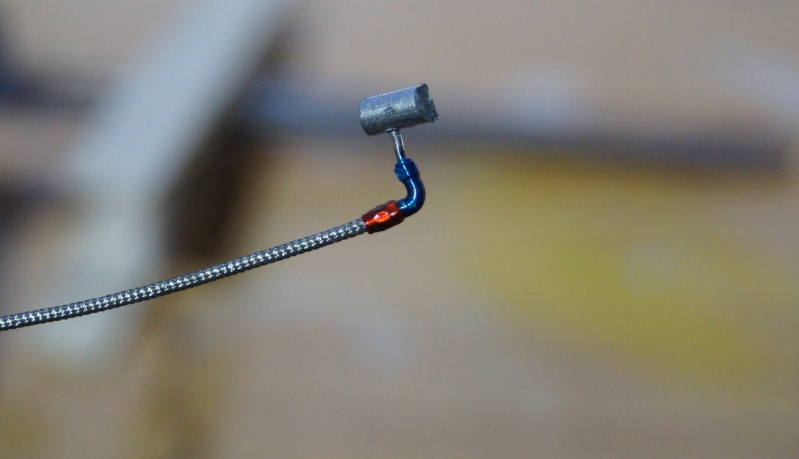
The A/N line is ready.
Black quickly sprayed.
Test fitting:
Washes , dry brushes, oils accessories and more soon.
Dry bushes with Polished Steel , Polished Alu from chez Humbrol Metal Cote.
Oil job with Rembrandt (Extra fine) Sépia and W&N Artists Ivory Black, Gris de Payne et Outremer.
Of course RB Motion bolts and washers were used.
Pics will tell more:

Brake calipers and the stub axle (?) were chemically burnished.

Brake calipers were "stolen" to the M19 in order to replace those supplied in the kit.
rear axle parts are prepared and drilled... too much drilled!
I had to play with the low temp solder in order to fill the hole in the lower part, then sand, but now it's ok.
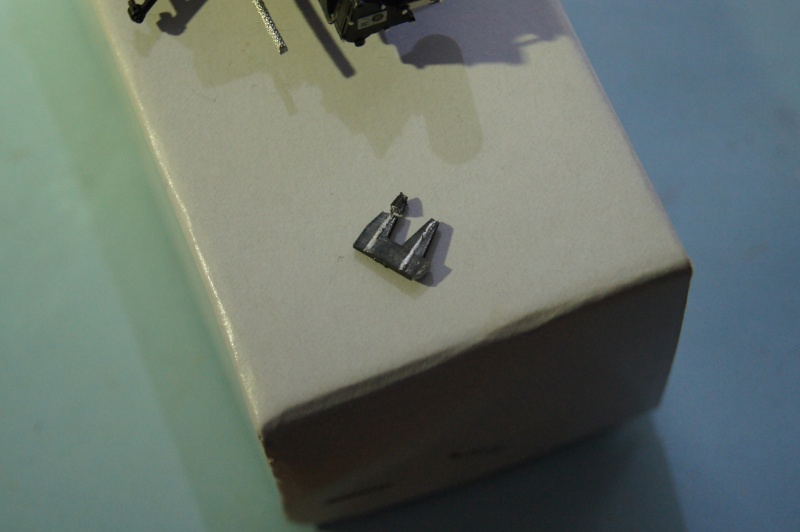
Brass knobs for the dampers.
Same method than those done for the Ferrari 312F1.
They will be burnished.

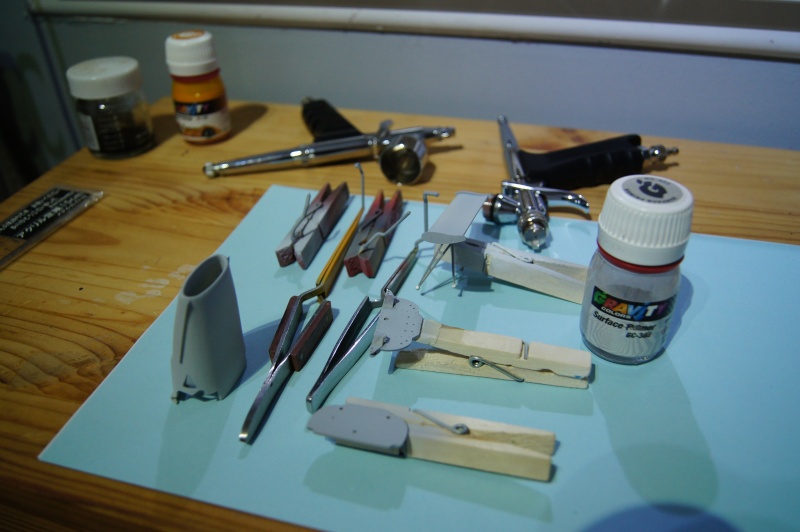
Primer and paint for everybody:
As usual, radiator is filled.

Better pics than those from yesterday:
Weld lines added.
It's a bit rude for now, but with primer and flat black it should be ok.
If not... I'll undo it and will make the weld lines with the iron as it was tested initially.

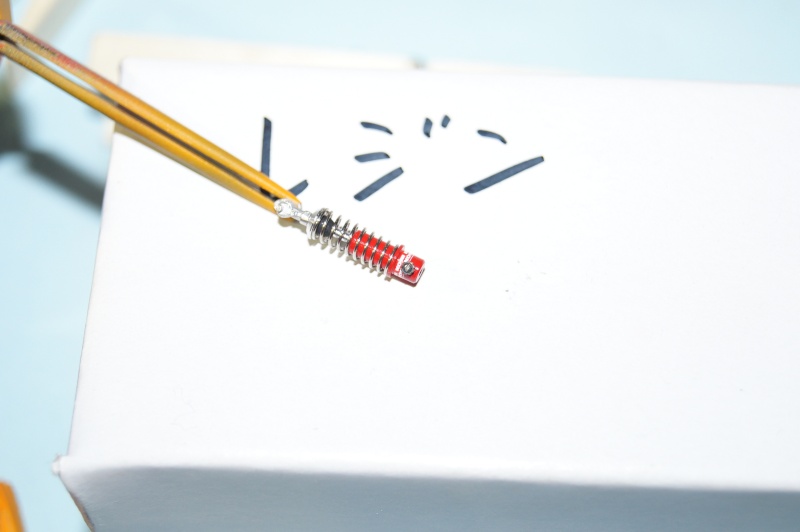
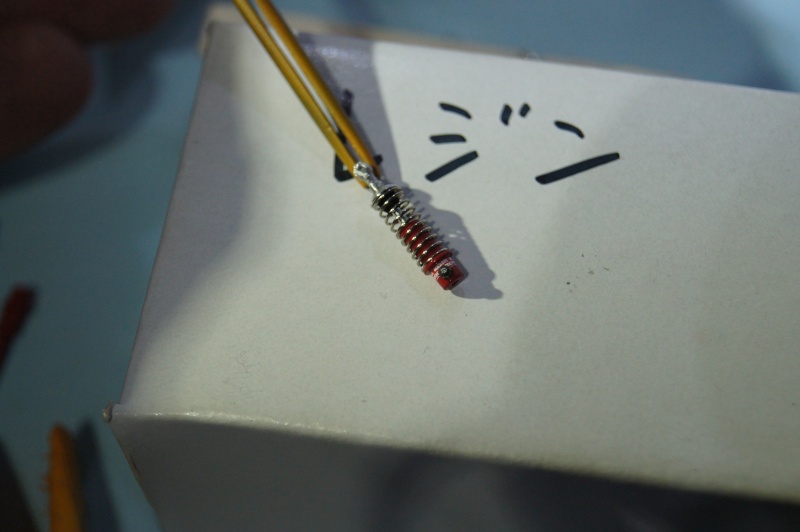
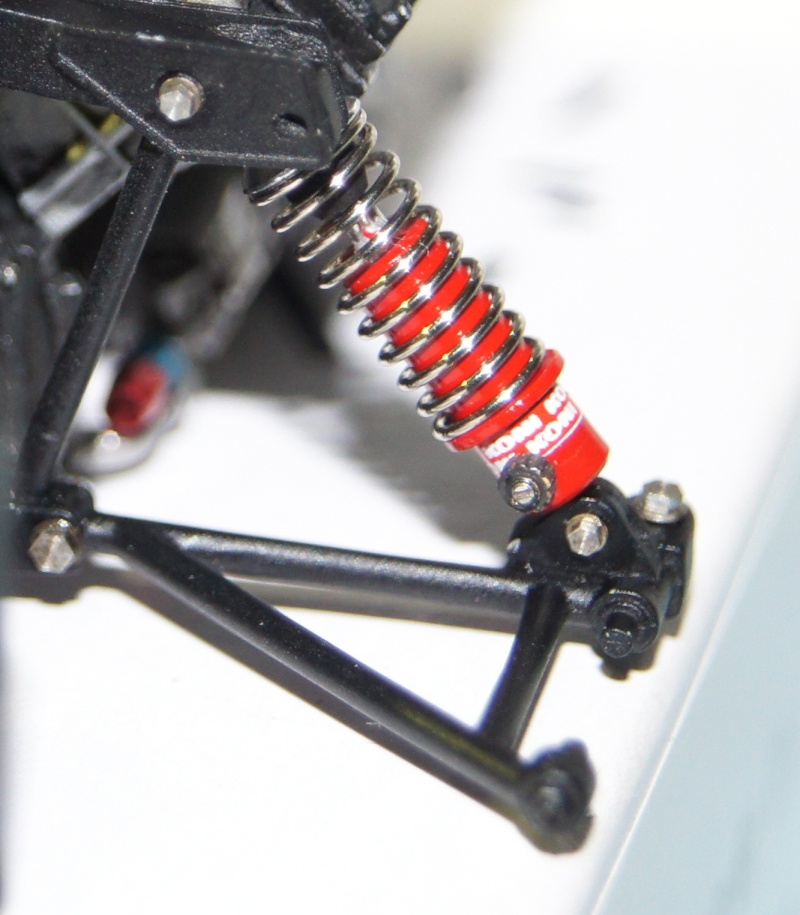
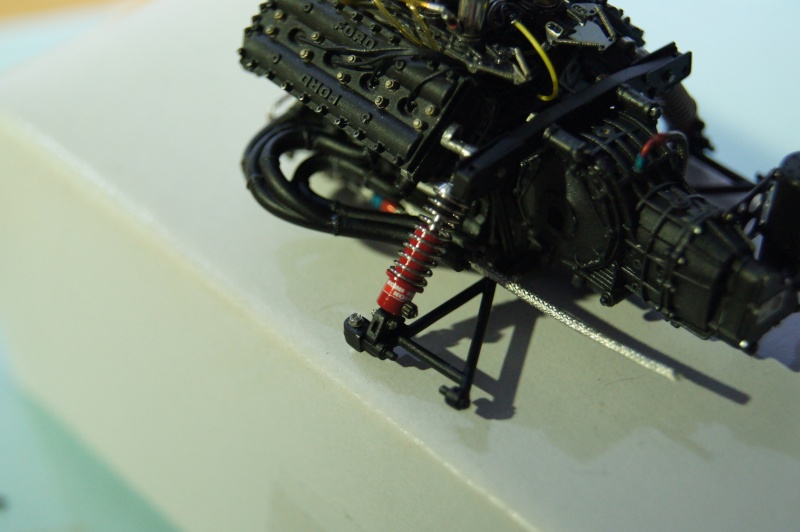
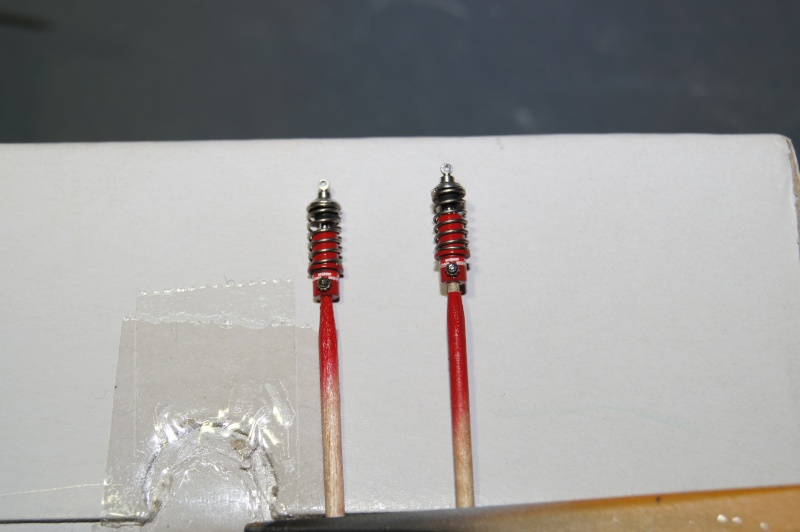
Dampers almost finished.
A Koni stucker was added...
Just now need a light oil wash.
Weld lines are pretty easy to work with.
Those ones are metal type from Top Studio and those seen earlier in the WIP and on the 67' Ferrari 312 F1 were from Archer.
Primer and paint session .
Front dampers clear coated:
Not that happy with the weld lines I find pretty rude and out of scale...
I will decide what to do after "weathering" job on this side exhaust.
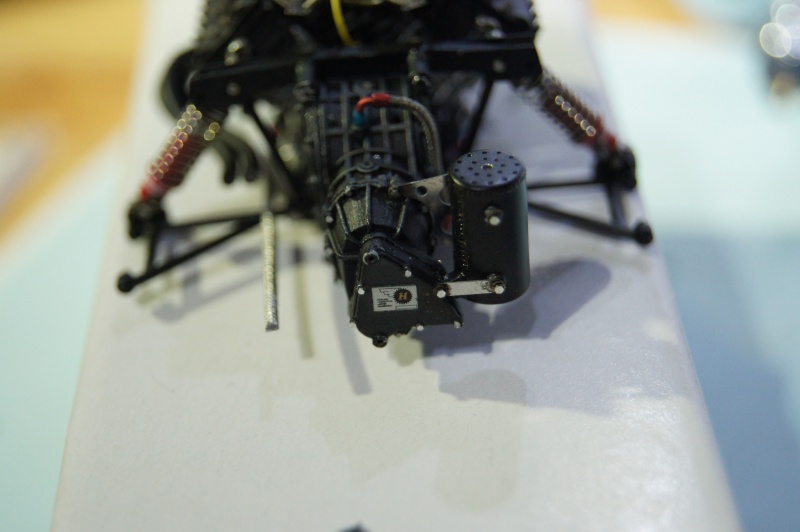
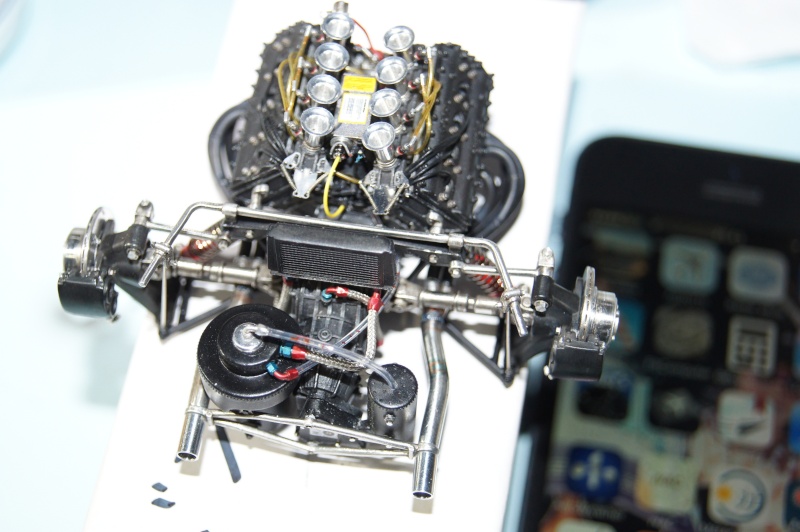
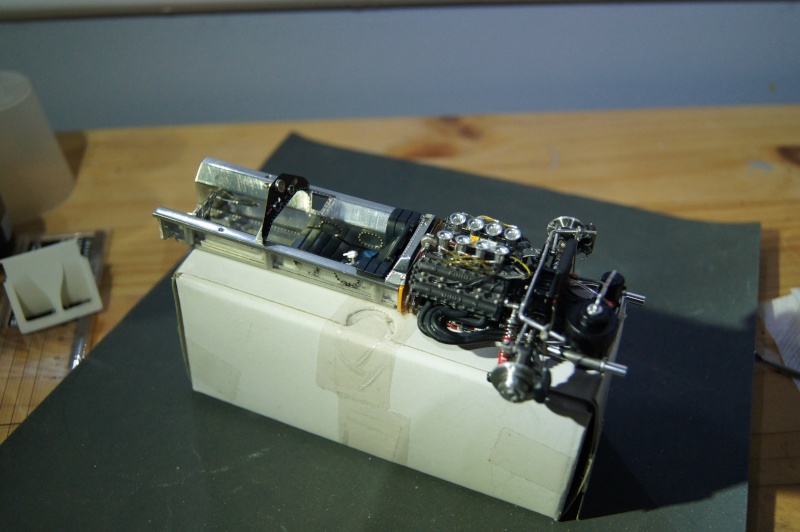
Update on the Gearbox/Engine assembly and test fit: cooool!
Time for pictures:

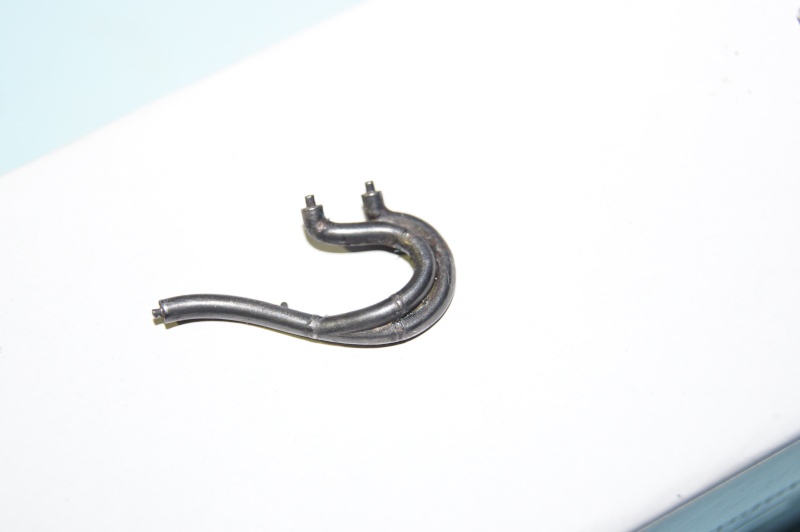
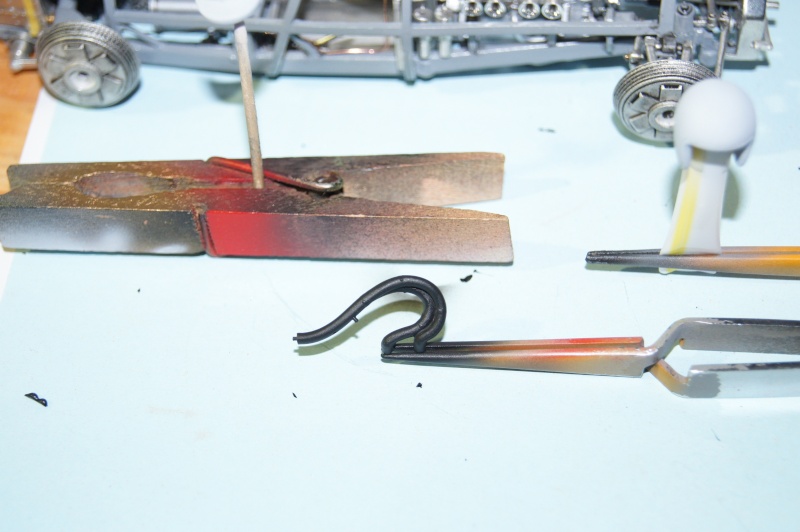
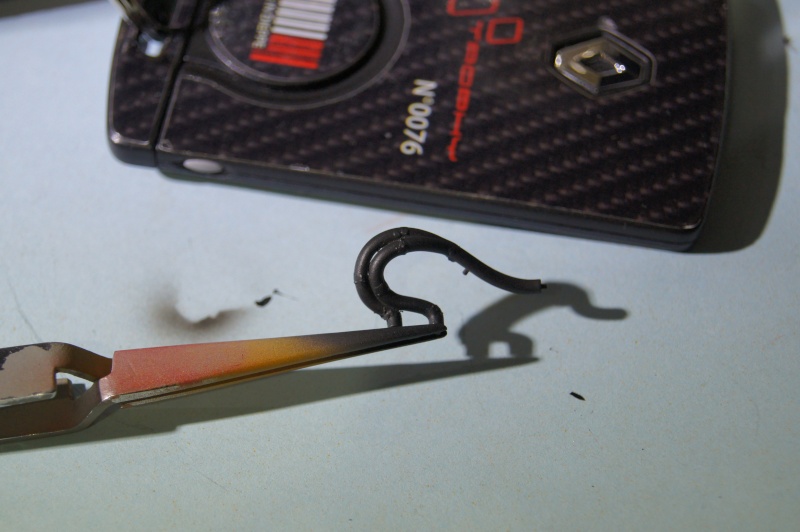
Maybe I will do something like that for the weld lines:
This is the other solution regarding the exhaust weld lines.
I made a real flat weld line with low temp solder.
It was then masked with liquid mask and treated with burnishing product.
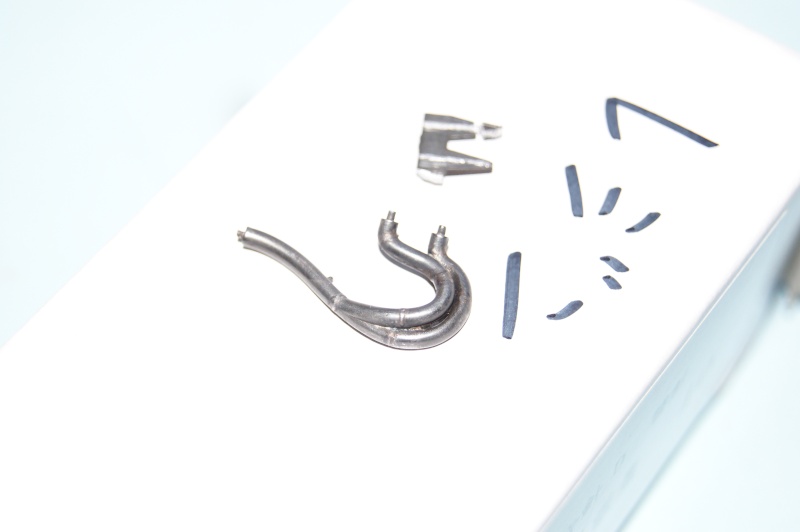
A mask a bit larger was then done before shooting primer and mat black
I think I will add few accessories:
Not that happy with the former result: Plouf! gone to swim in the cellulose thinner.
New black layer sprayed
ZP Black on the gloves too:

... and Pure White on the helmet:
Maskol off, ZP Translucent blue and W&N Ivory black wash down on the weld lines area:
Not decided yet...
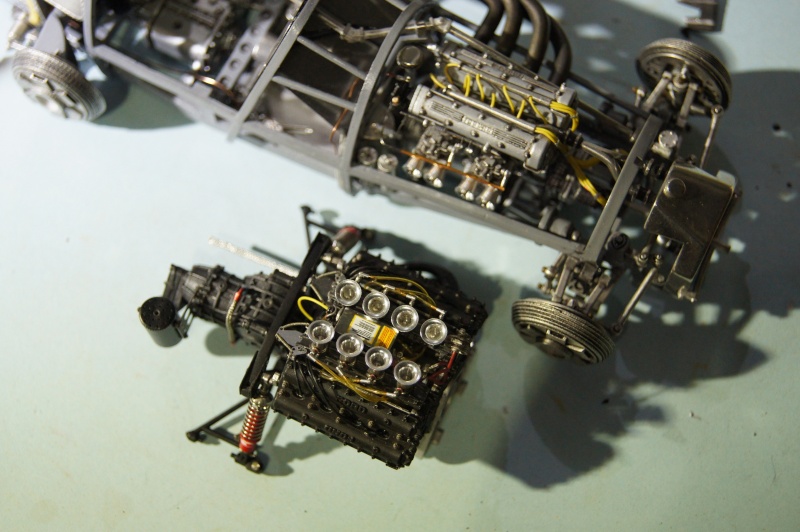
Couldn't resist to compare the DFV with the 500 F2 engine!
Should have done the same with the Tipo 218 V12 of the312F1...
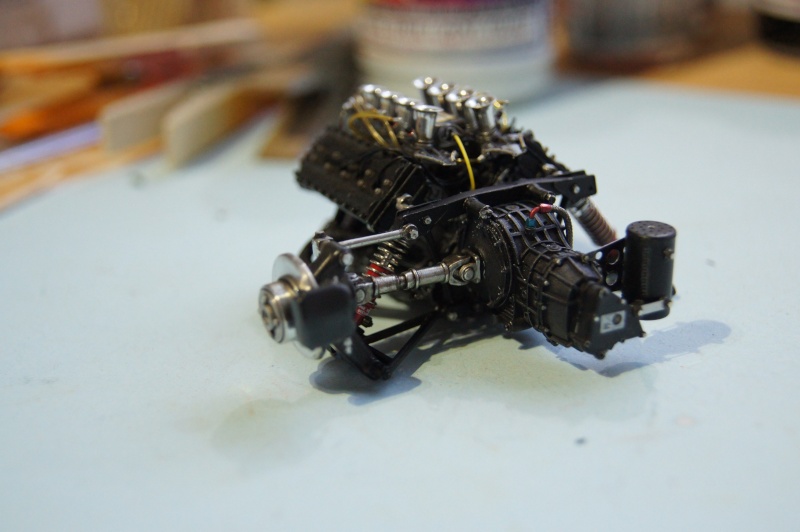
Transmission progress:

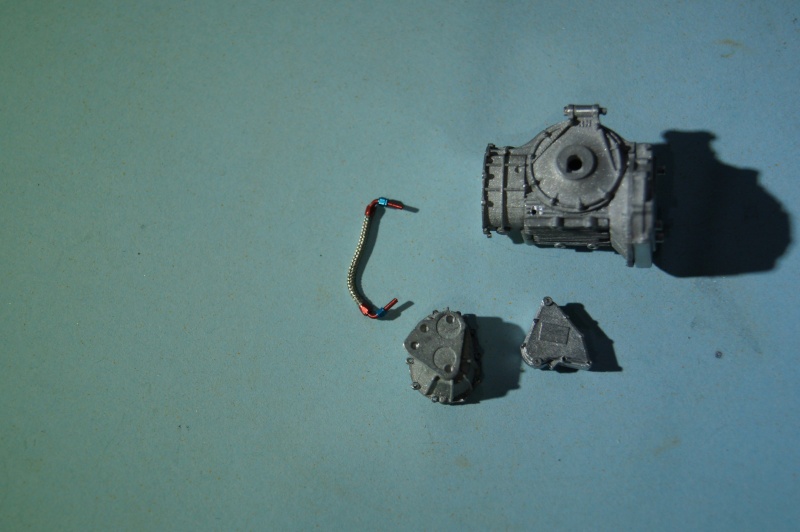
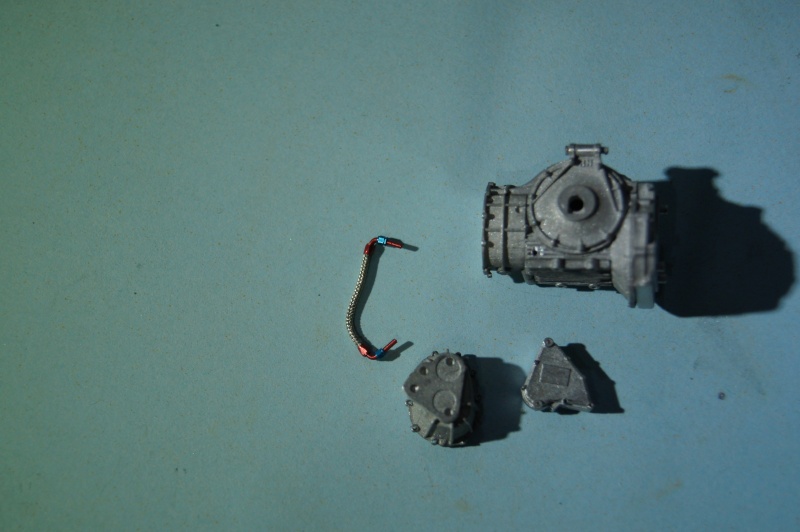
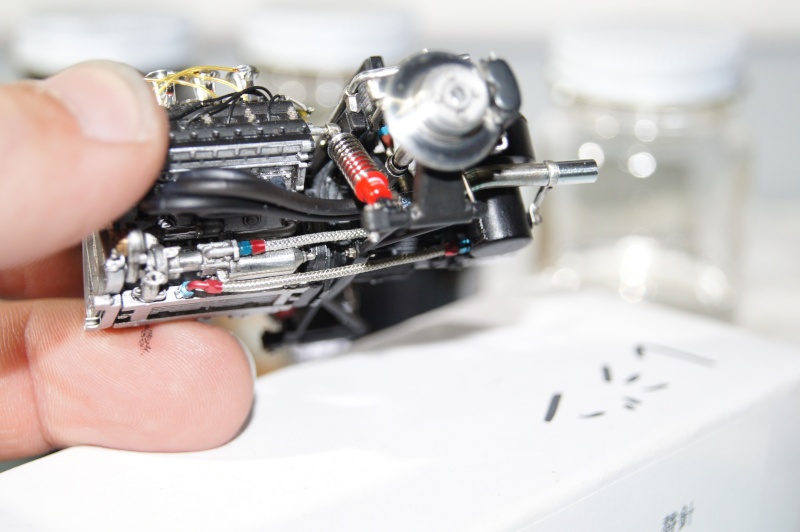
Oil coooooler; A/N fittings & braided line!
Transmission is now almost done.
Once the exhaust finished, engine and gearbox can be assembled, then fasten to the rear bulkhead.
Weld lines are finished on the right side of the exhaust and left was redone.
Few heat stains added.
Weld lines are also made on the 2 in 1 tube.
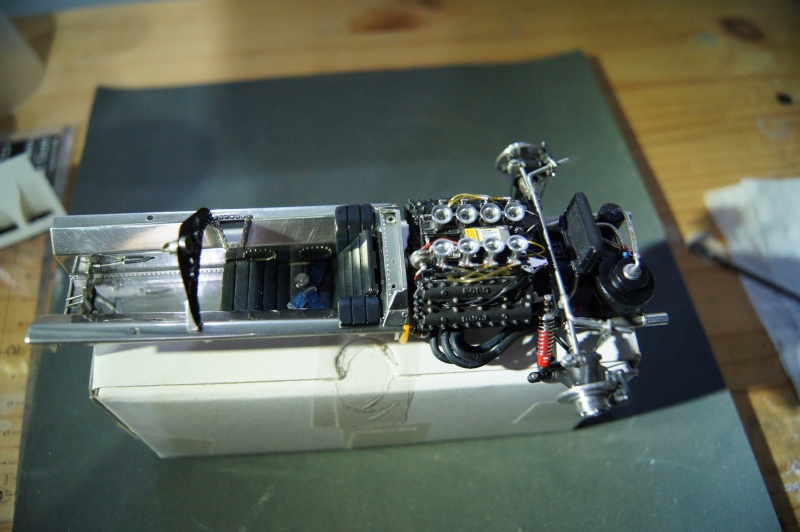
Pics of the sub assembly:
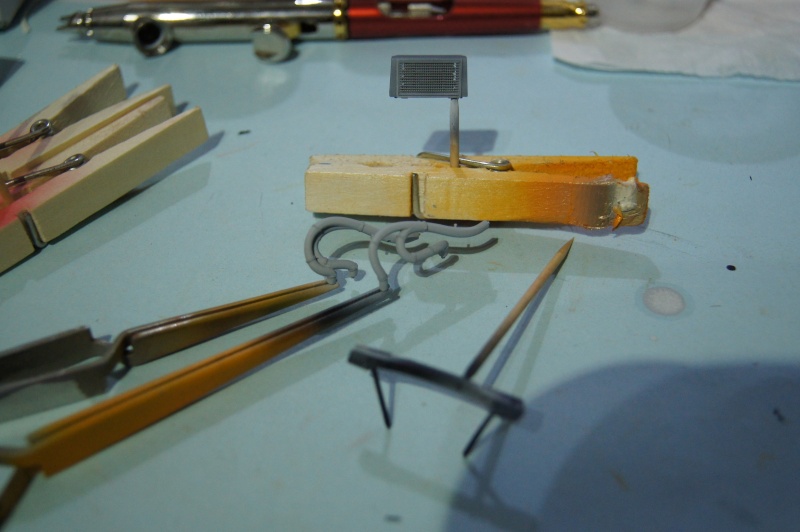
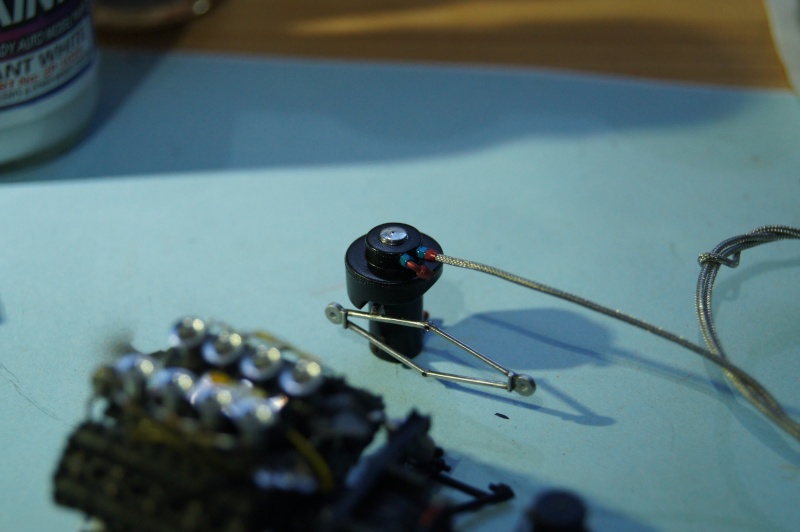
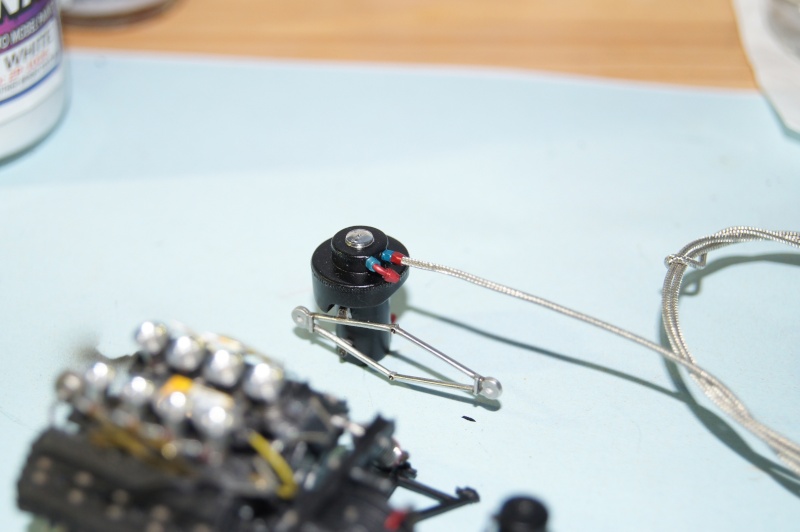
Started to work on the instrument panel and tachometer/tacho connection.
Angle gear is made of 2 parts of brass connectors, filed down and soldered.
Not the best, but not too bad due to the fact that the part diameter is 0.7.
The genuine hole in the tachometer is drilled with 0.5 bit, then filled with 0.5 lead wire.
Dash board painted with Flat Black ZP:

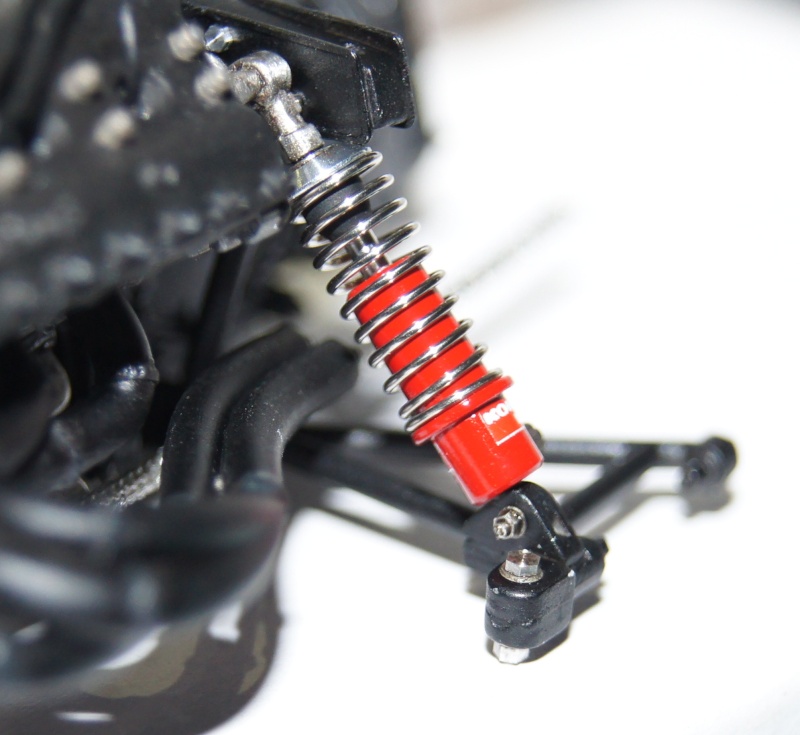
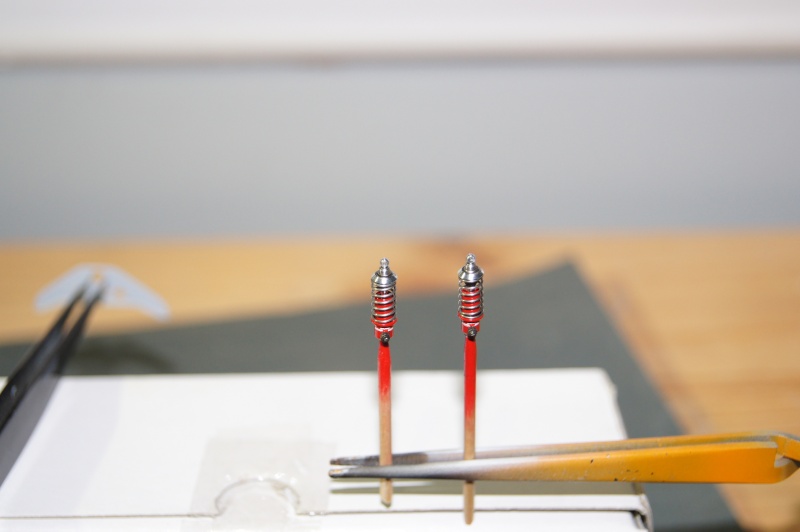
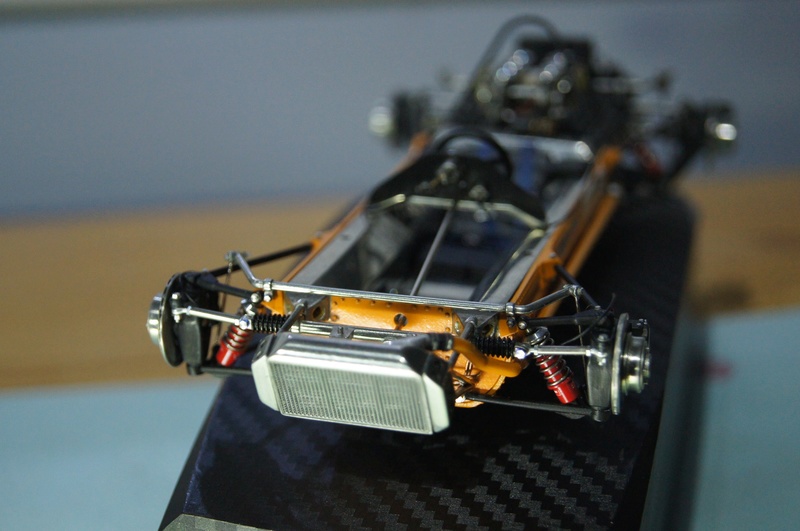
Front dampers done:
Stub axle modified:

... then burnished:
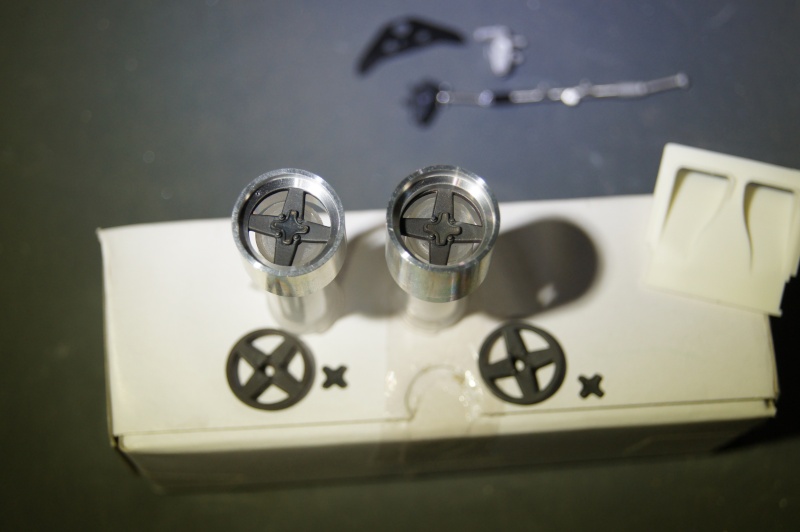
Same for the center of the wheels:
Stainless steel pop rivets cut and installed.
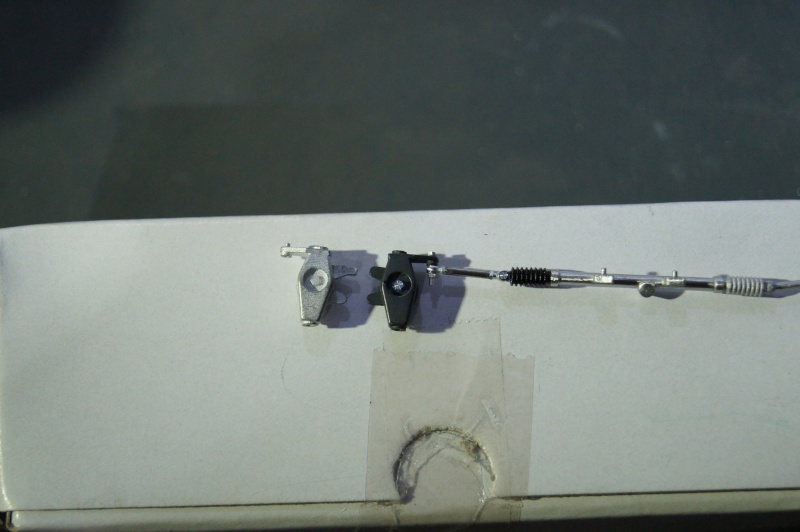
A little square bracket is fastened to the right side in order to hold the accelerator cable.
Dashboard is finished and instruments are installed:
Accelerator OK:

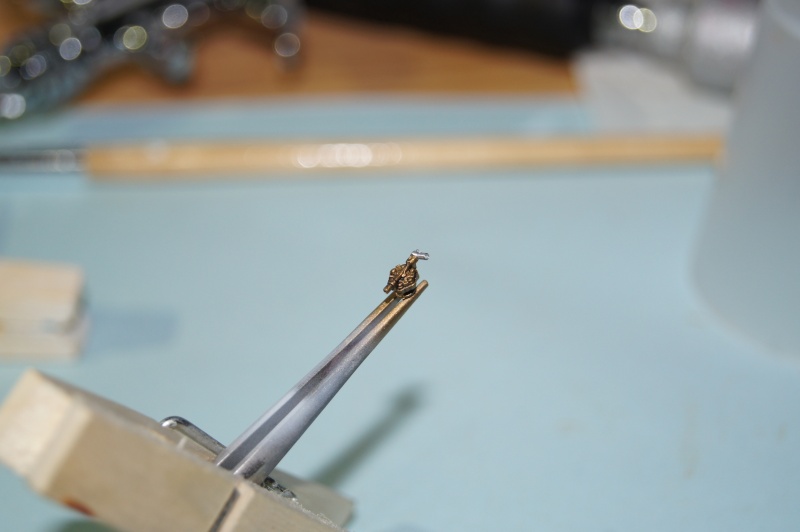
I've tried to do the stitching by myself instead of applying decals:
In the cockpit. A light weathering is started on the seat:
Dry fitting:

Time for the clear coat:
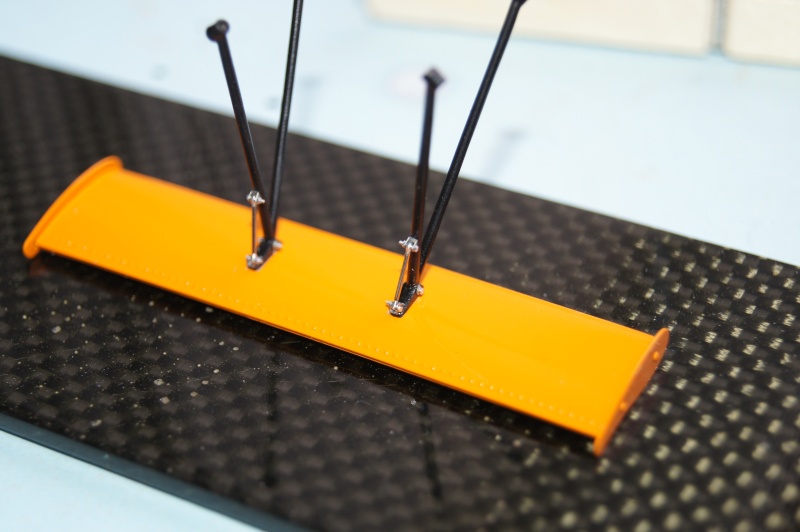
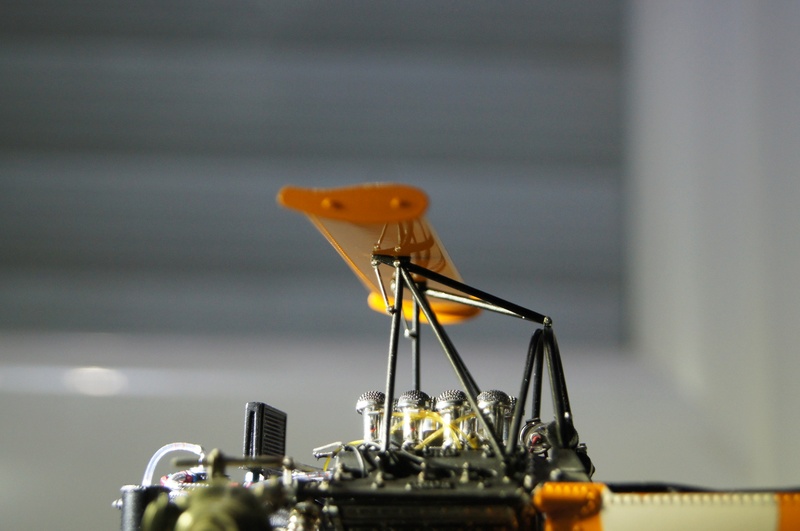
Modification for the wing support:
Shoulder straps done too:
Small progress with the body installed and some work on the pipes with rubber connections and clamps.

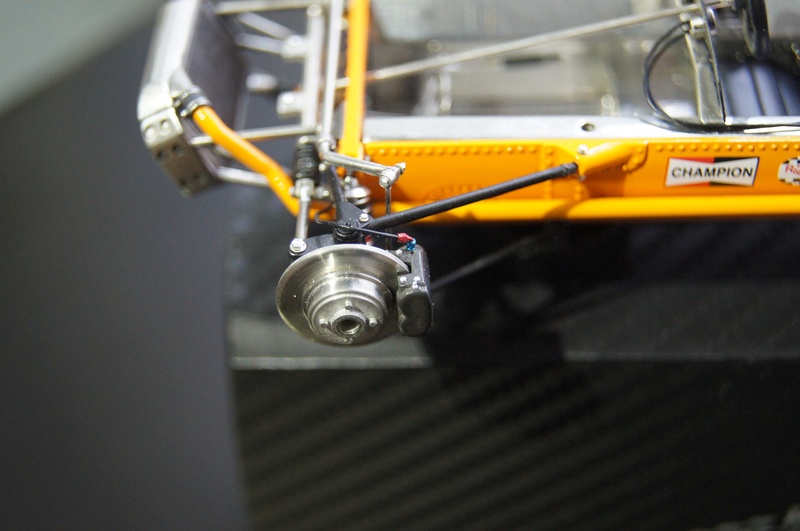
bracket for the brakes fittings
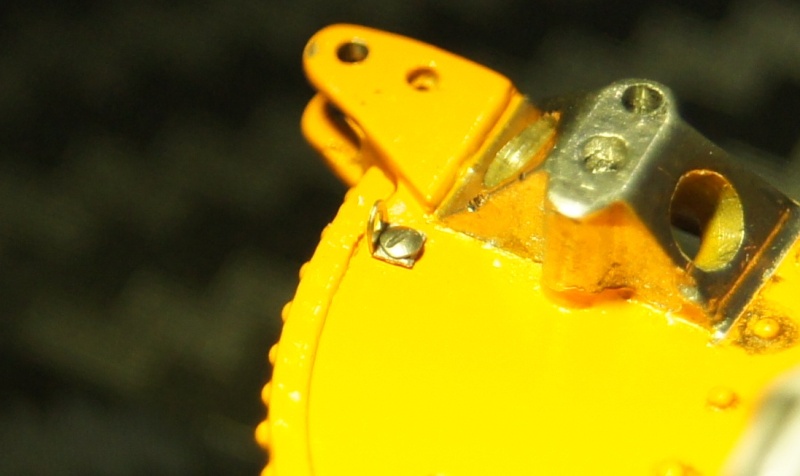
Few details for the calipers (from the MFH M19).
Test fit
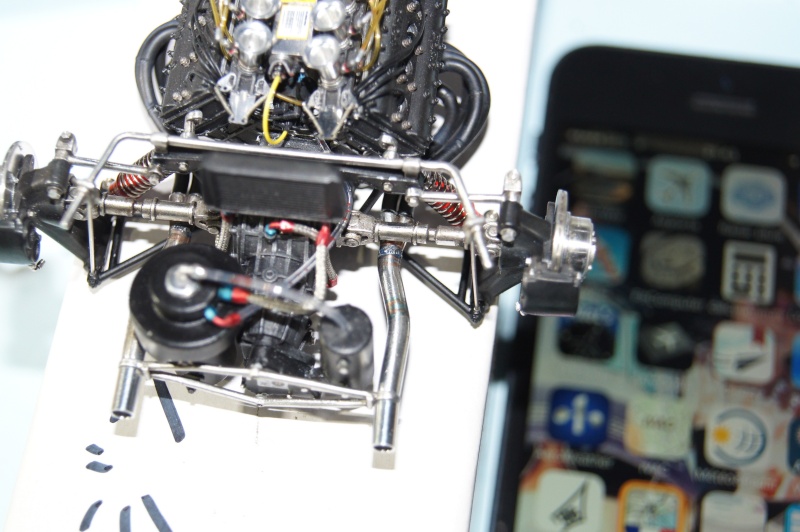
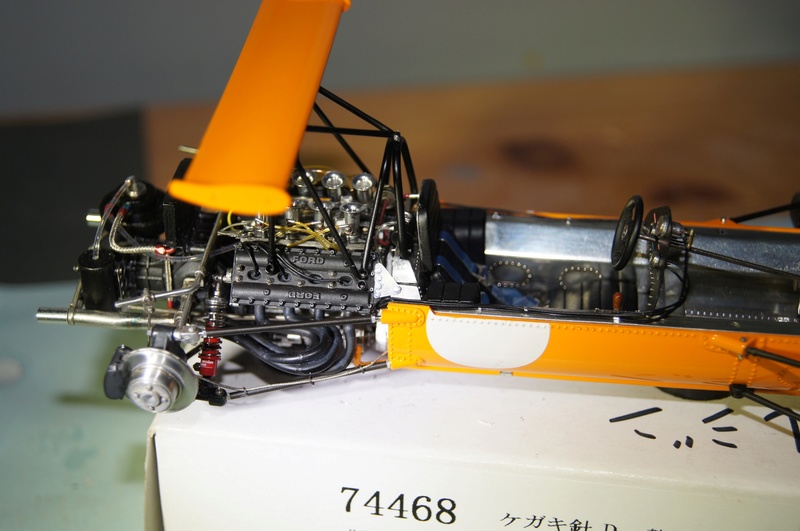
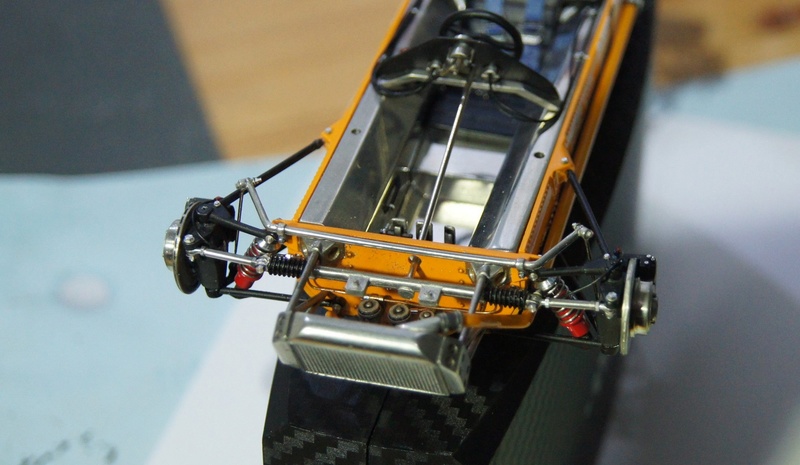
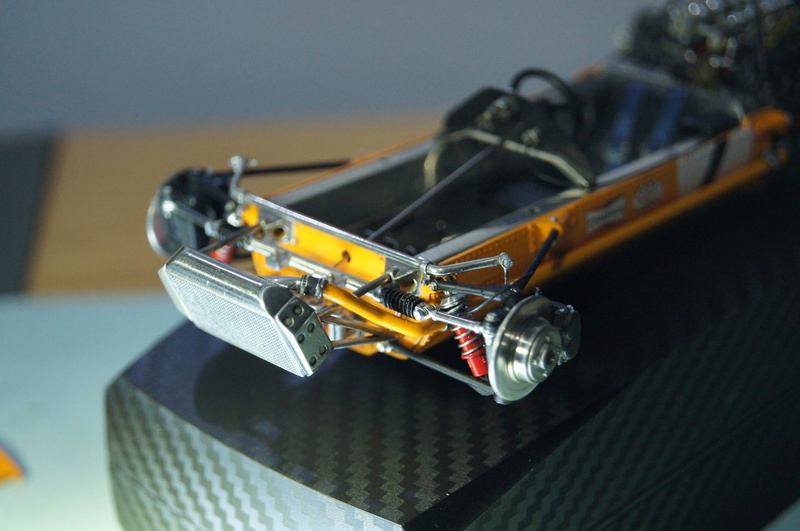
Front end of the McLaren is still progressing and almost done.
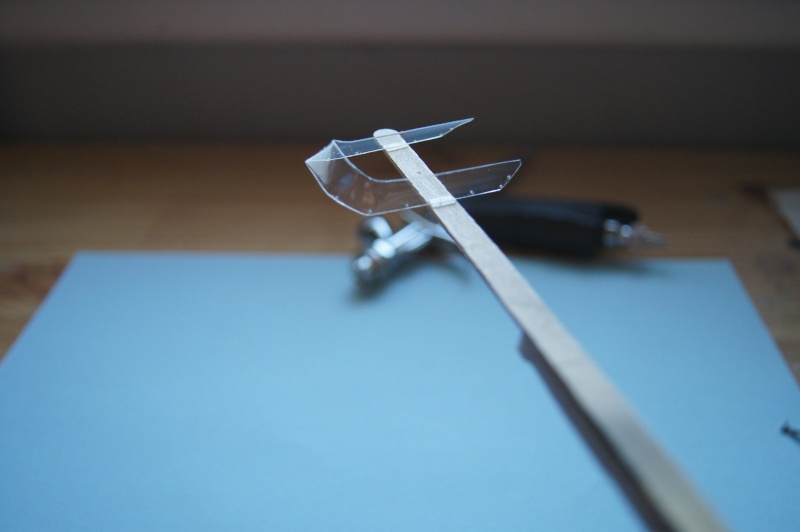
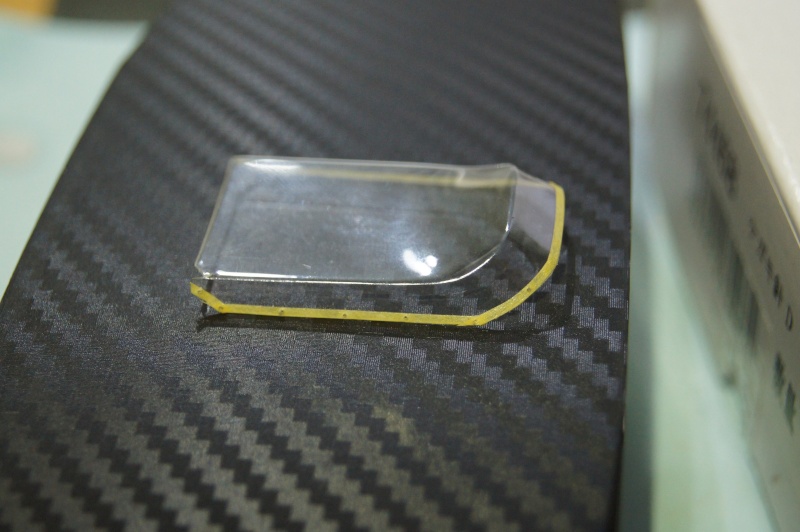
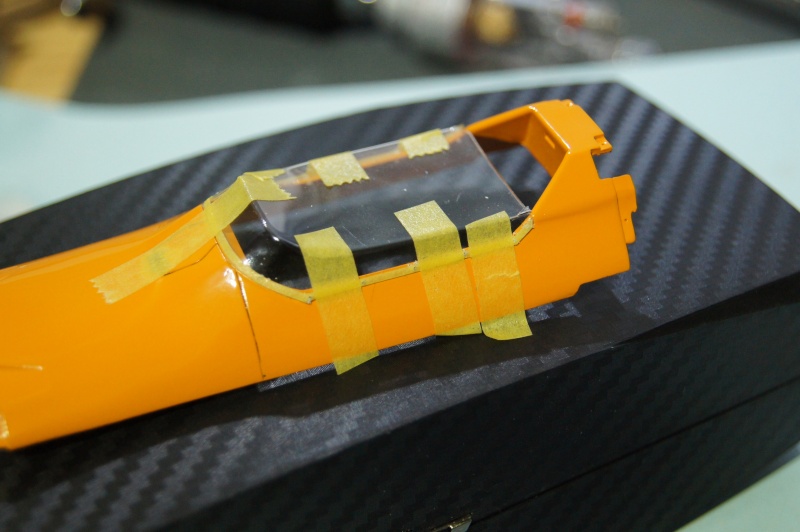
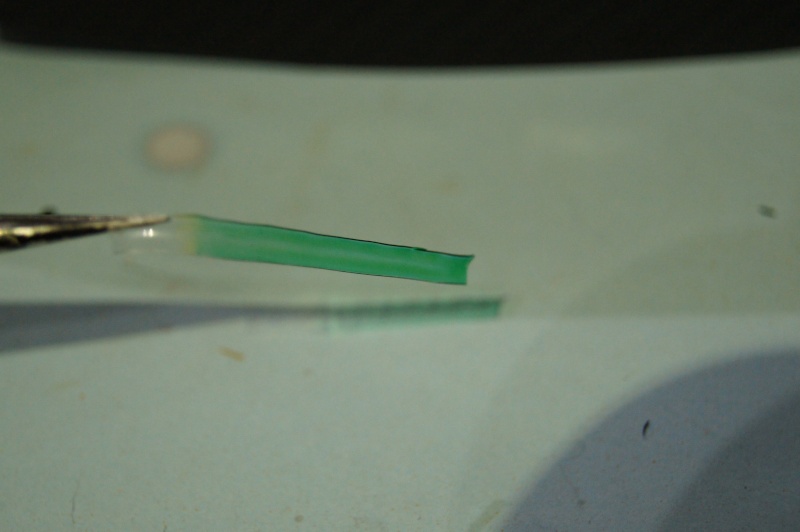
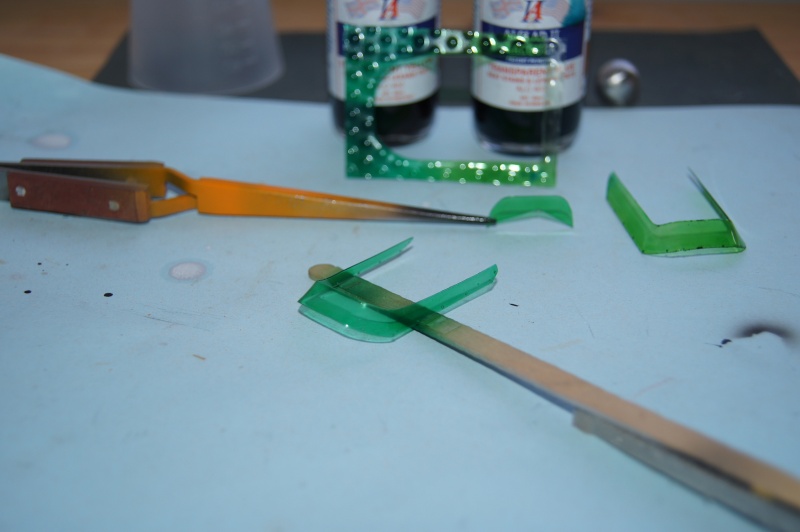
Work on the rhodoïd windshield of the M7A:
- cut,
- drilled,
- Black gasket painted
and a color test
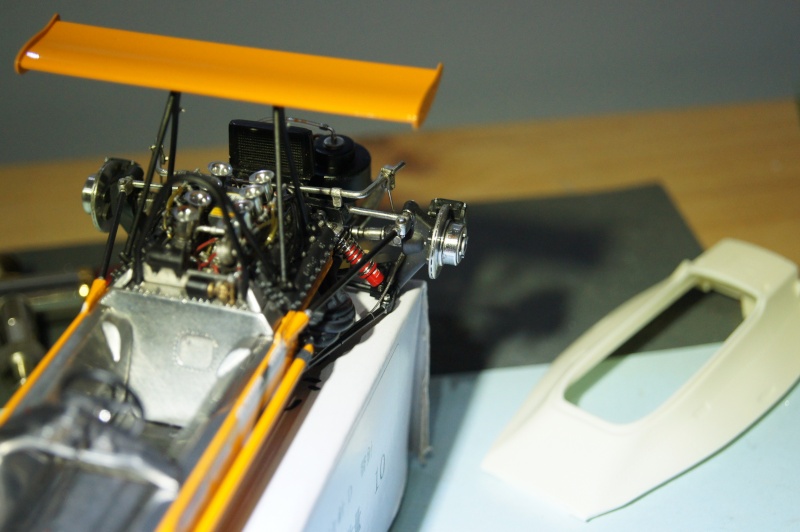
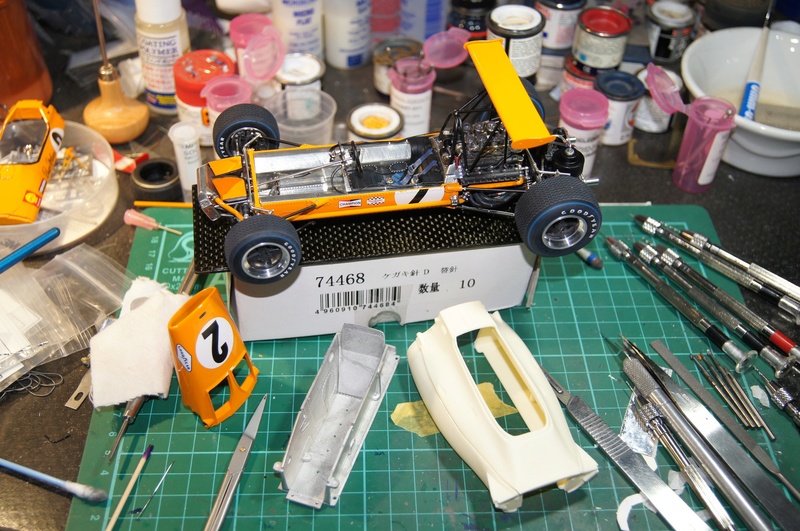
RROOAAAARING Papaya

Few progress on the M7A of the Boss.
Prep, primer and ZP SG Black.

details added:
I forgot this part... so Orange is out.
Need to clear coat... or not...
new color test...
...PGo for this one:
Details on the masts with the linkage bracket:
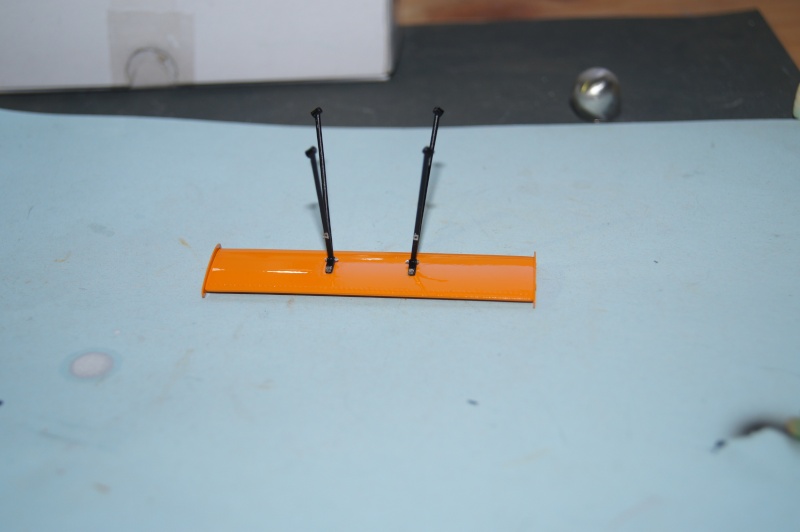
New parts made:
A bit disappointed due to the fact I din't have enough nuts to make a better detailing...
test fitting:

Cooling duct connected.
Alu tape having fun into a bath of MEK :
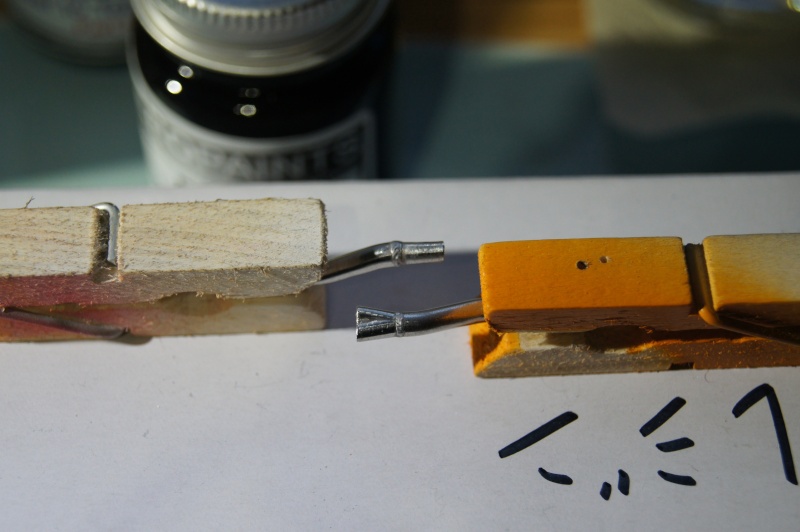
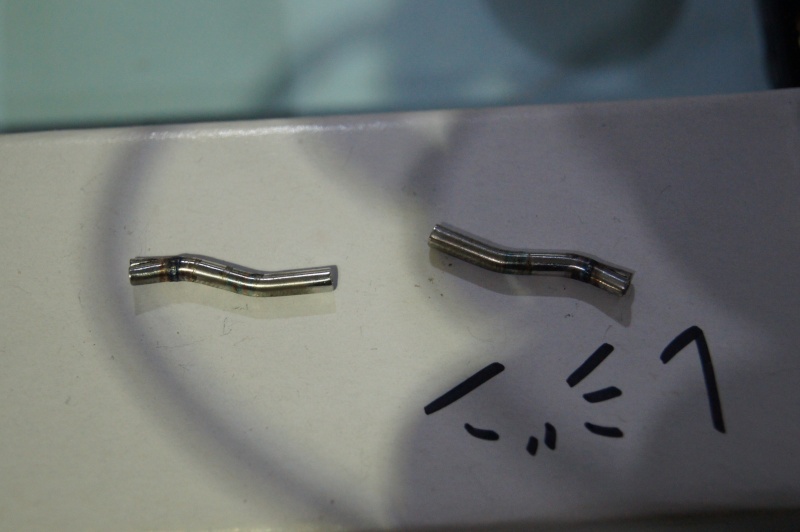
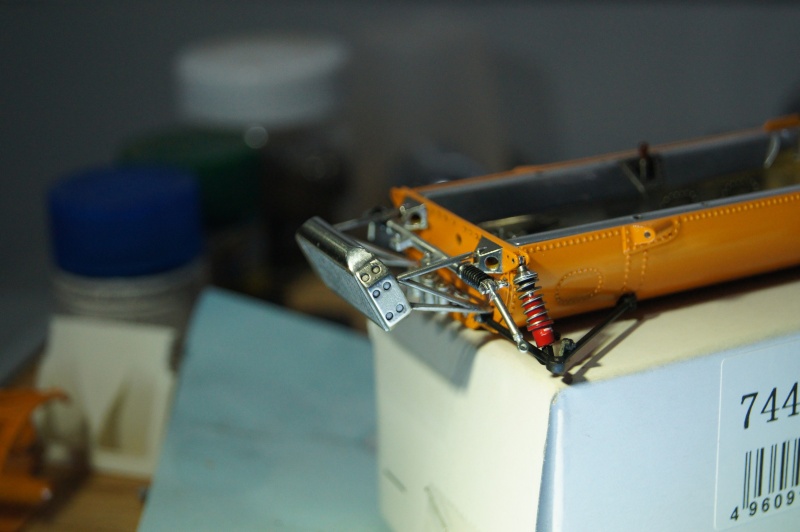
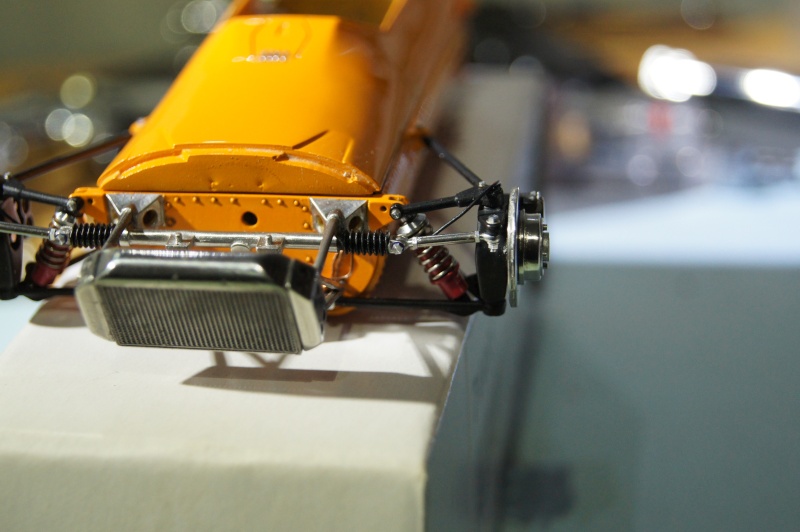
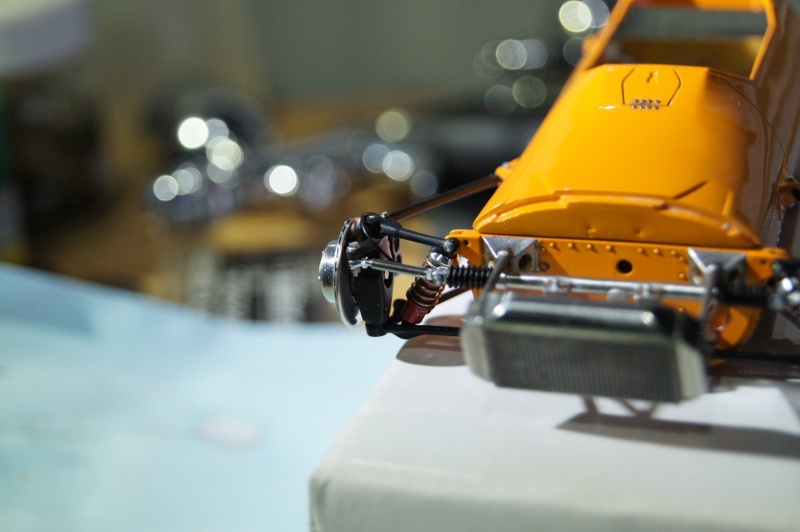
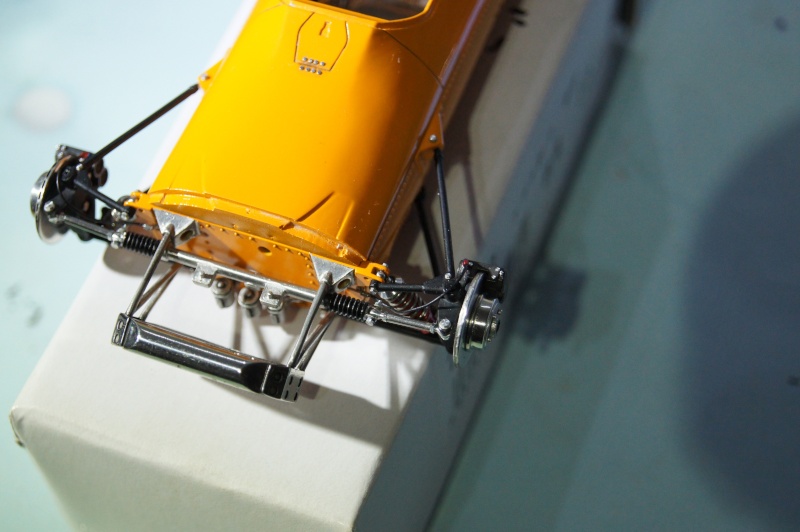
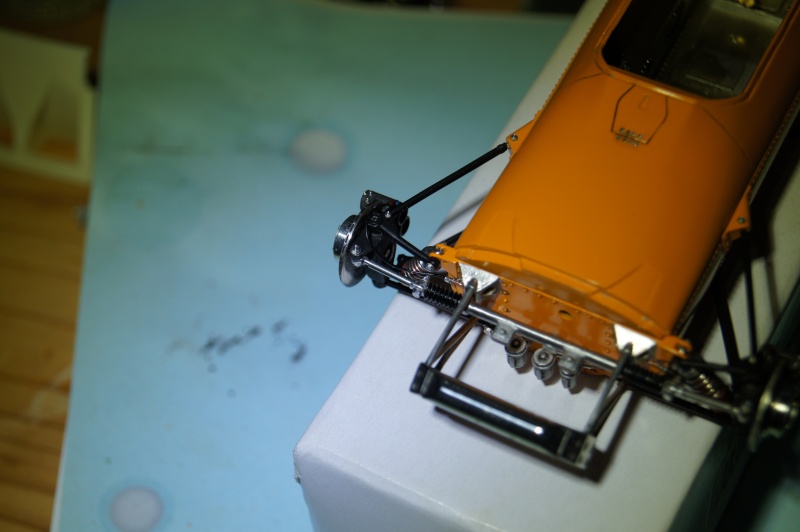
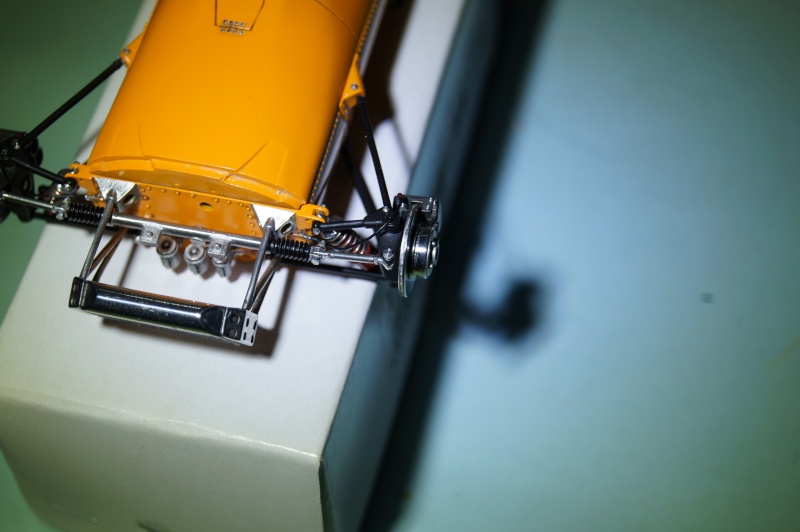
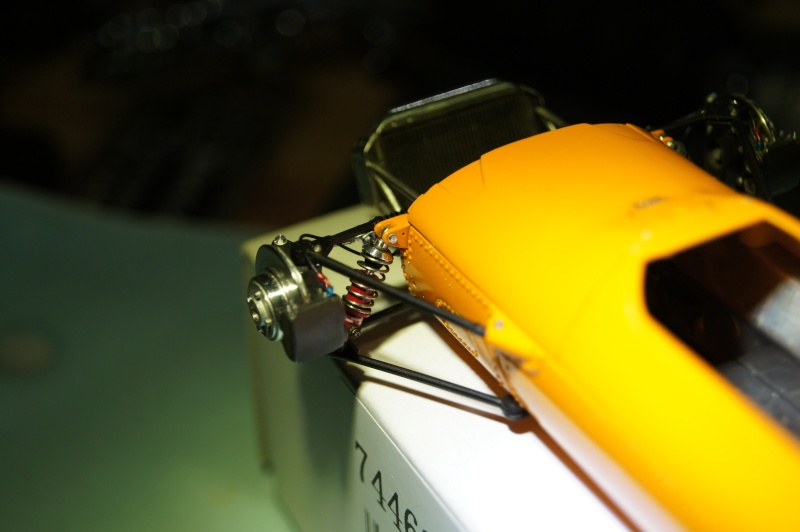
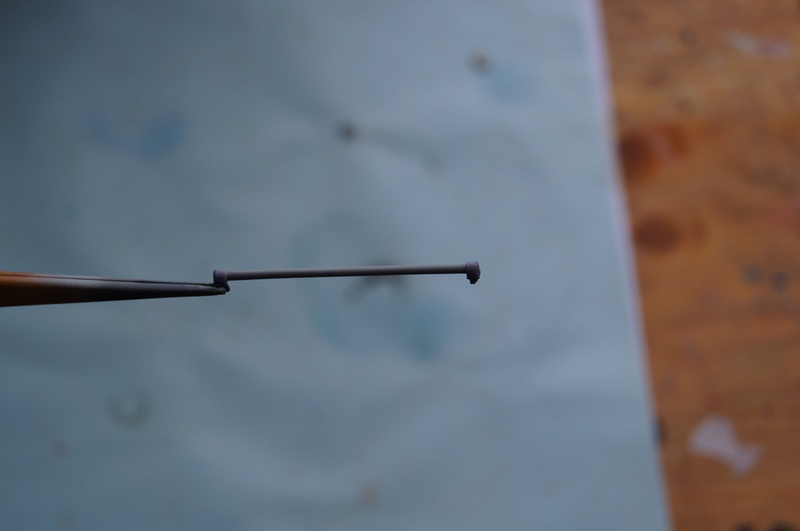
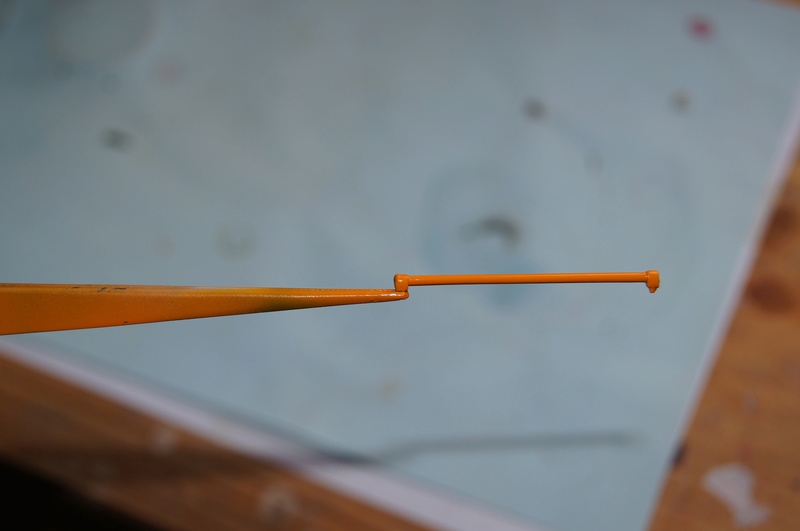
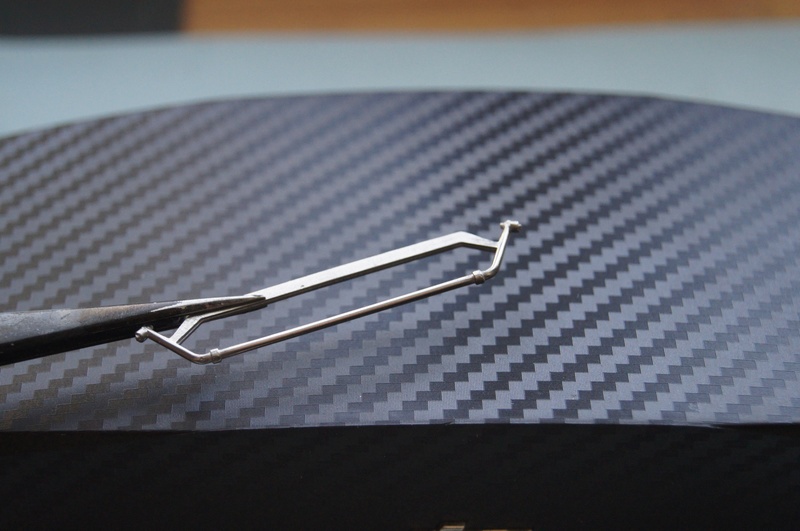
I spent a loooong time to find a solution and to succeed in modifying the rear tie rods: I didn't like that much the original ones.
I also added the brake lines .
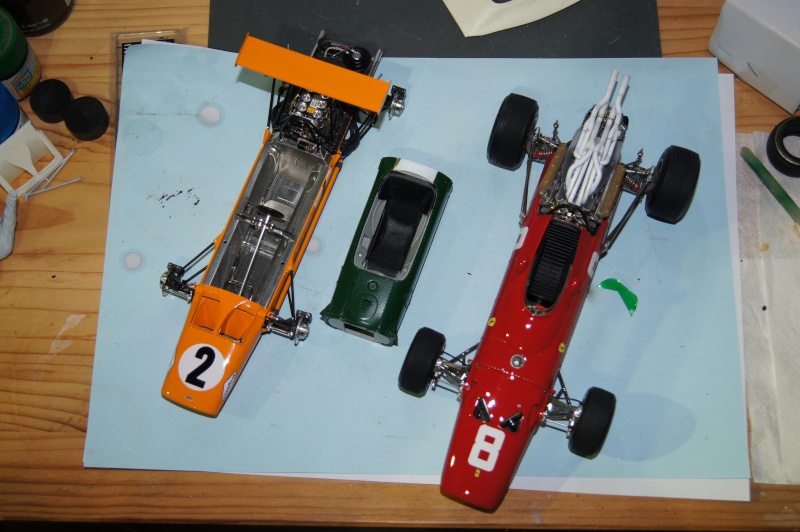
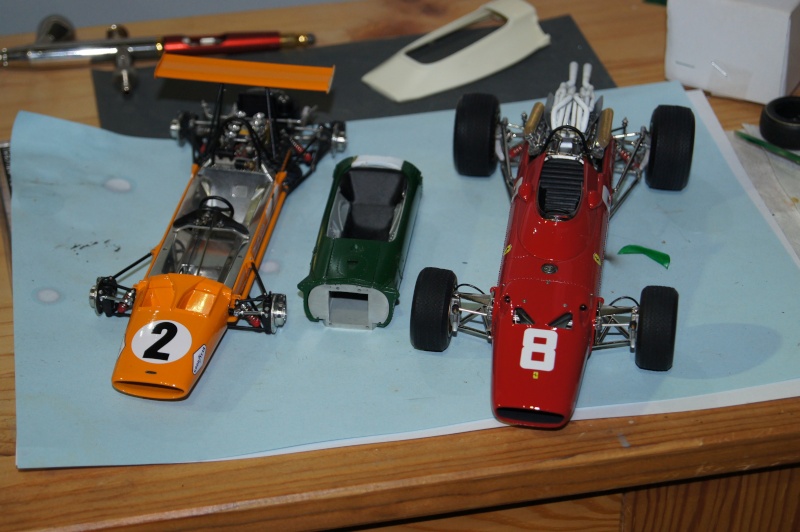
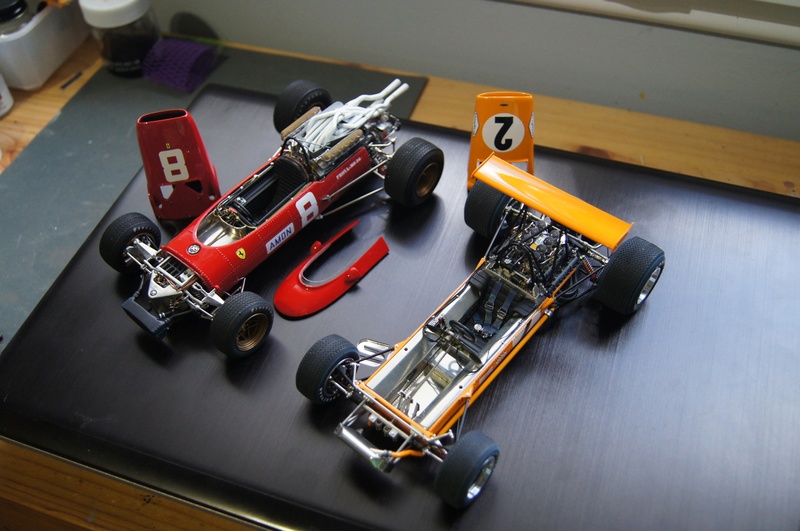
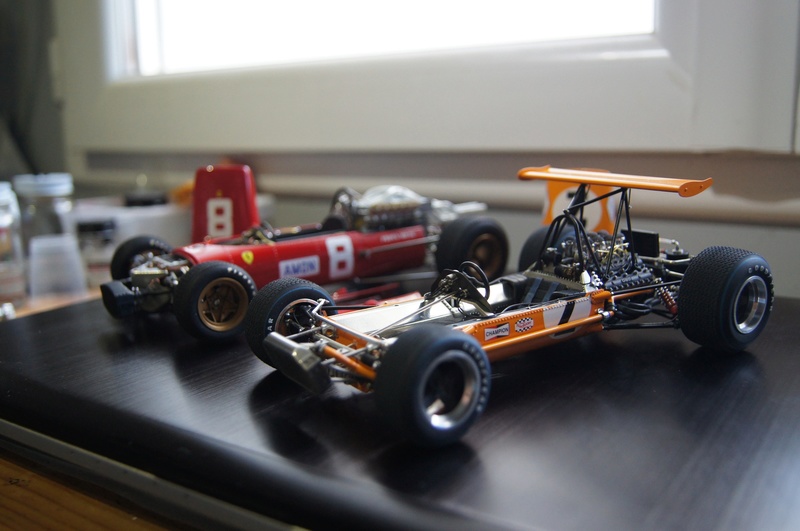
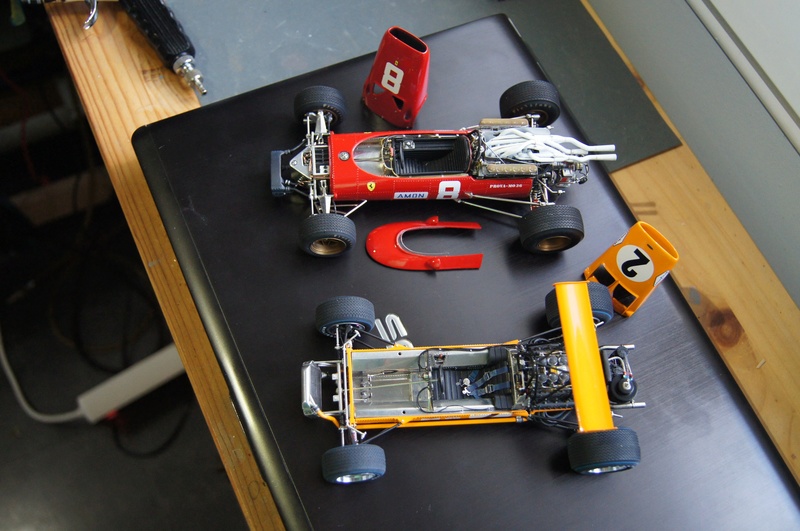
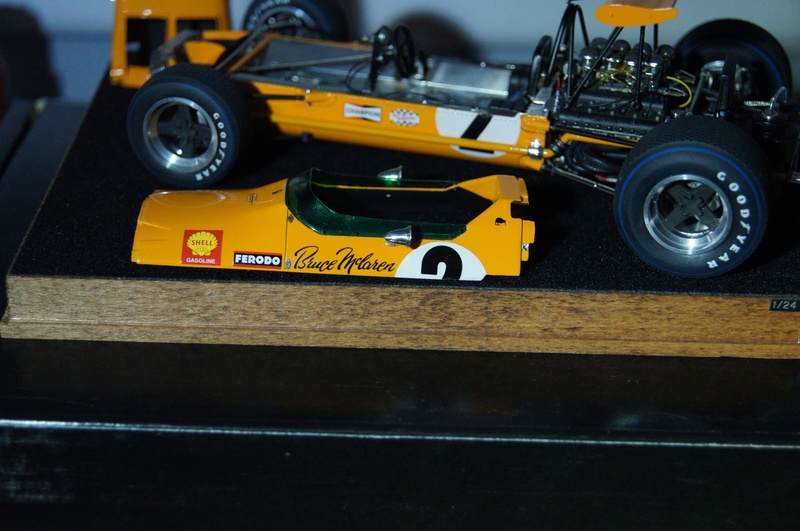
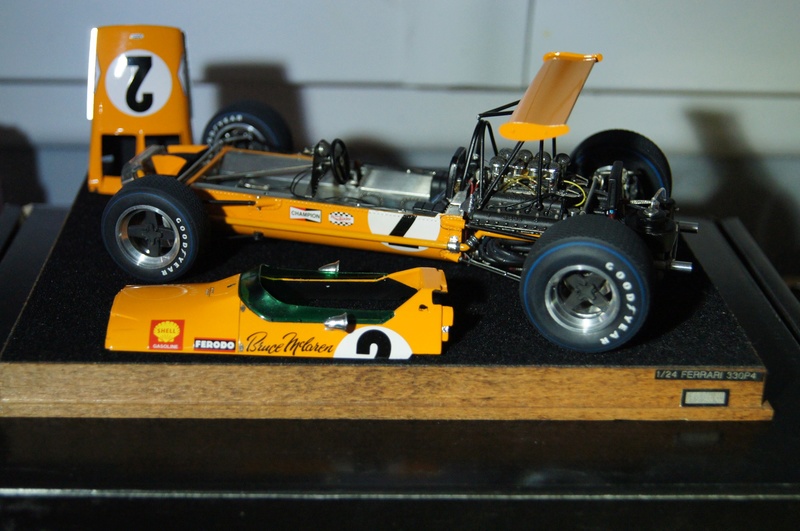
As the build is on a good way, I took some pictures of the M7 next to the 312 and the body of a Lotus 49...
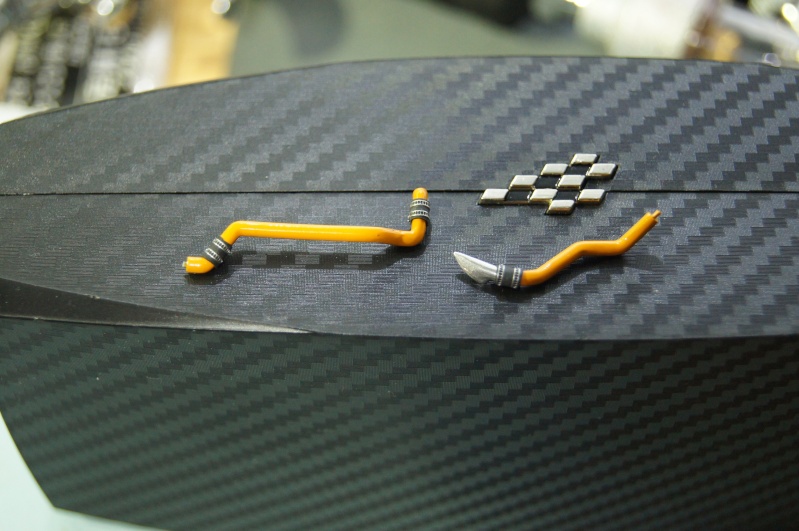
First, coolant pipe. The one which is running under the right side of the Body.
Masked, primed, painted and quickly clear coated with brush and Klear.

Installed and connected to the water pump on the engine side and to the radiator on the front end.
Same thing on the left side.
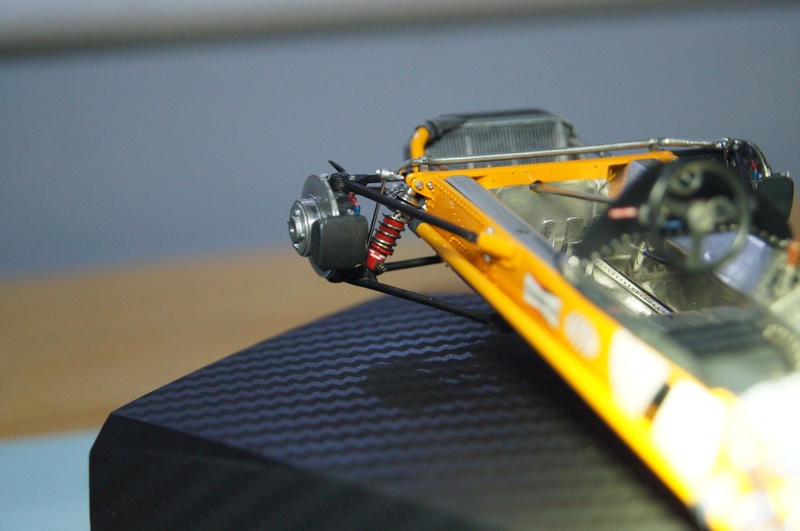
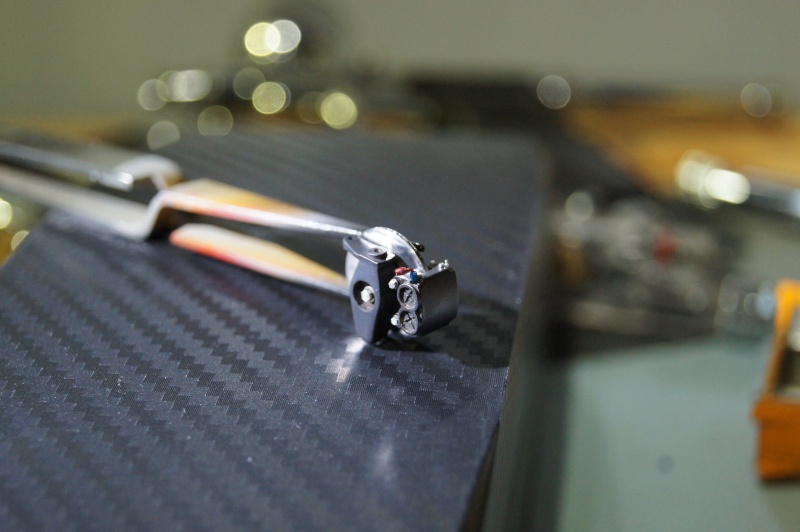
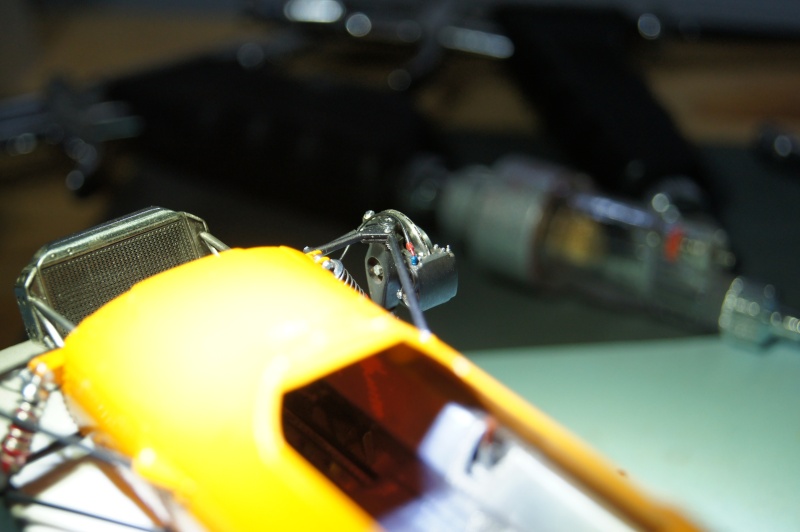
Stabilizing bar and rear view mirrors polished:
The intake trumpets are made of brass and need another color.
As usual with that kind of part, I prefer a chemical traetment.
So, the mesh is burnished with a blackening agent and slightly dry brushed with Metal Cote Polished Steel.
Then a thin aluminum band is installed around the base of the mesh.
An example on the MFH Lotus 49 DFV intakes, then on the AWESOME Widia velocity stacks of the McLaren.

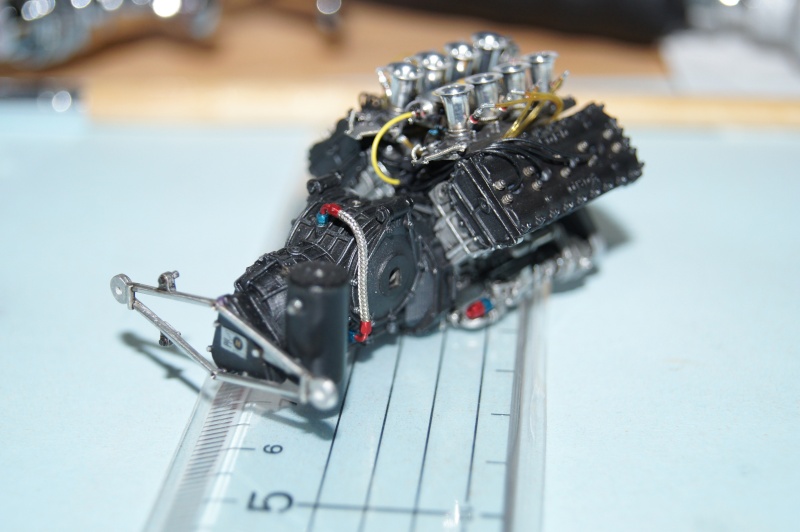
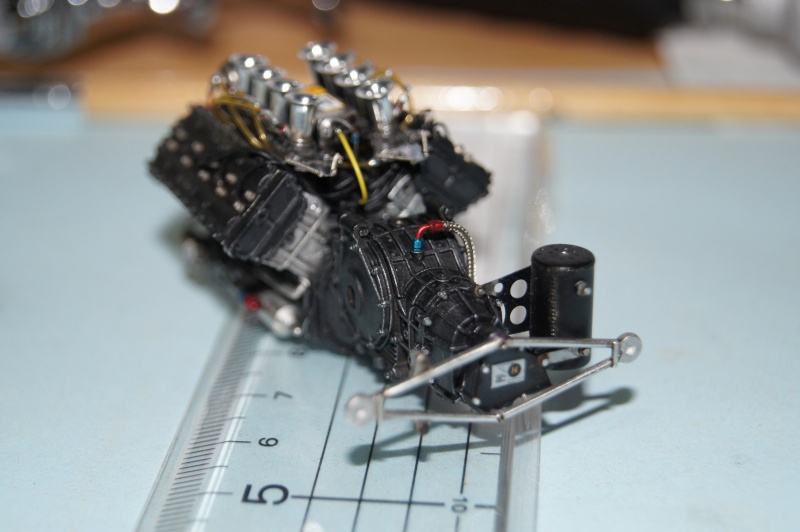
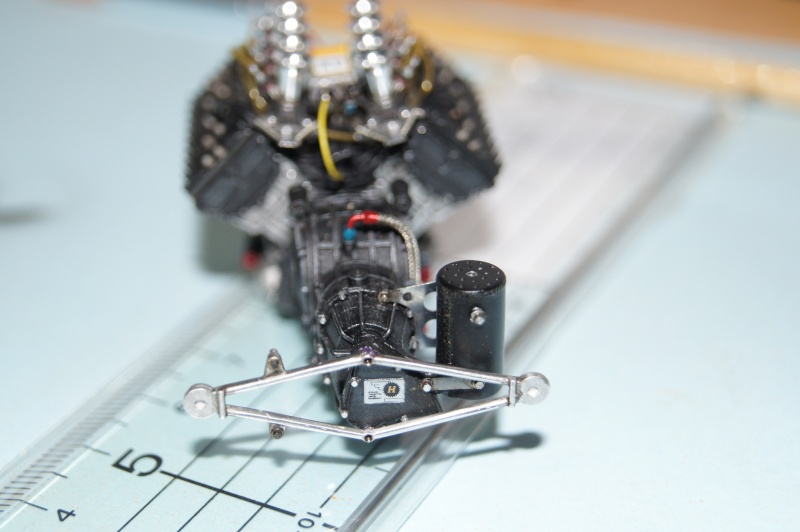
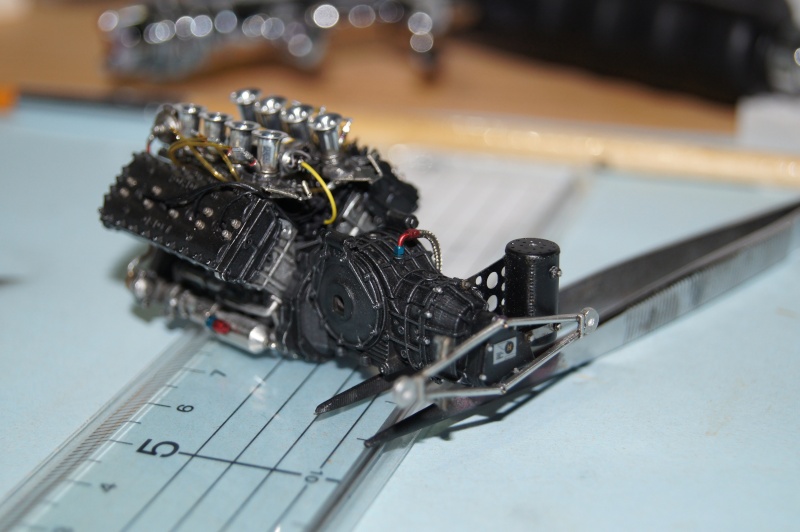
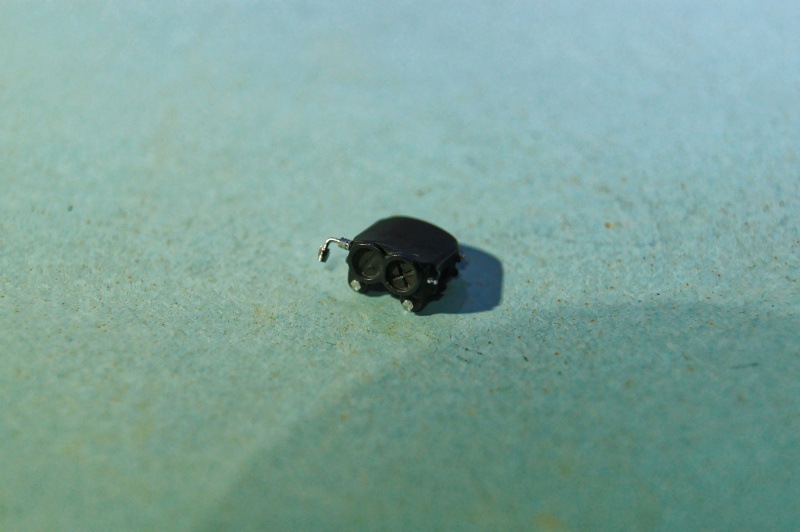
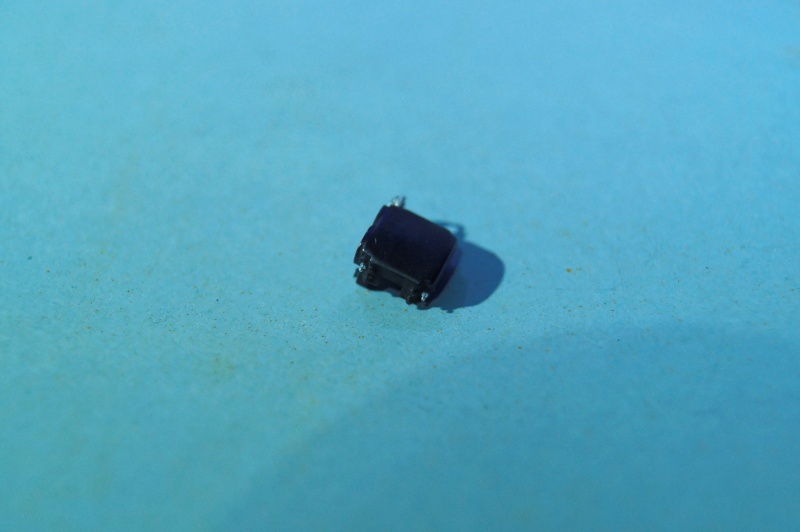
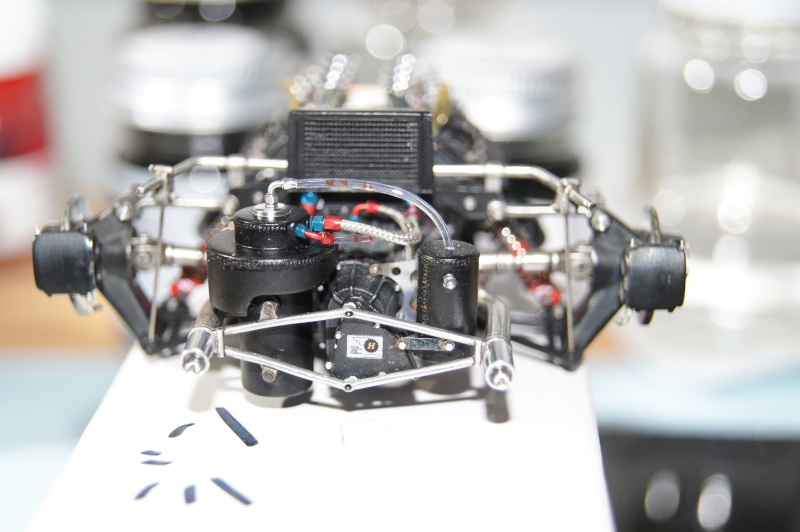
Fuel pump, expansion bowl (?...) and wing mounts installed.
The engine mounting plates are rebuilt and installed with RBMotion hardware.
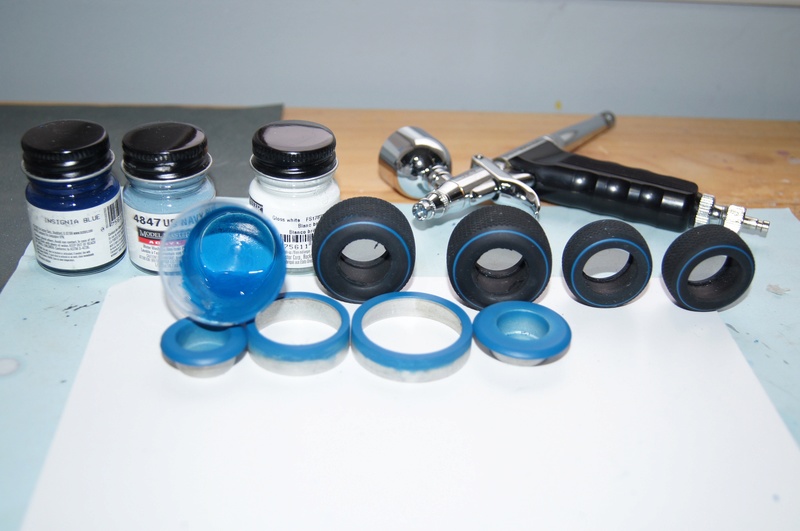
Time for the Papaya to have wheels.
Central seam line is sanded.
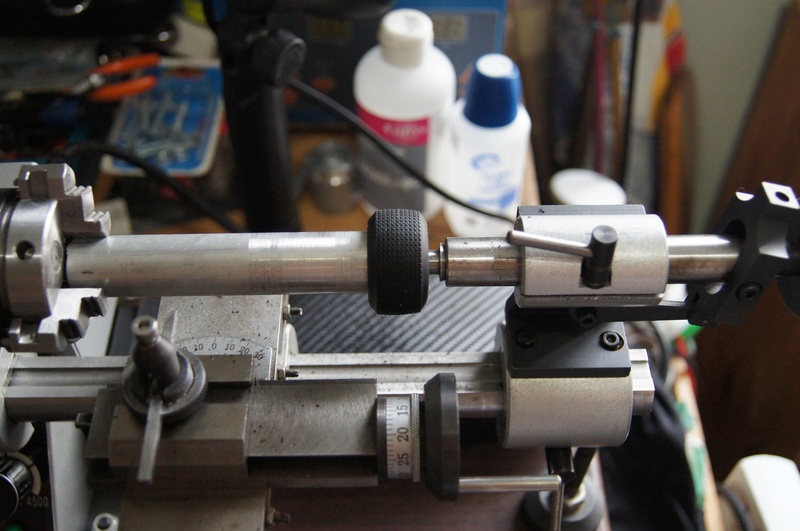
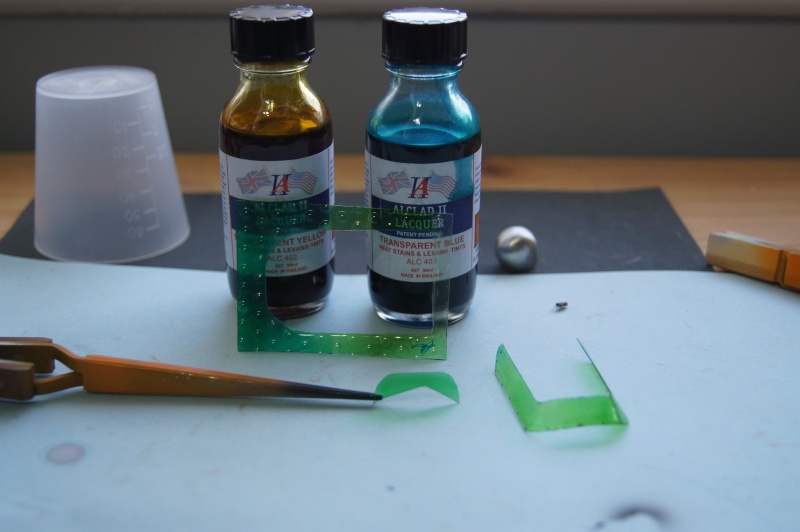
The blue ring is a mix of US Navy paints from Model Master Acryl.
Tires are airbrushed thru the MFH tool.
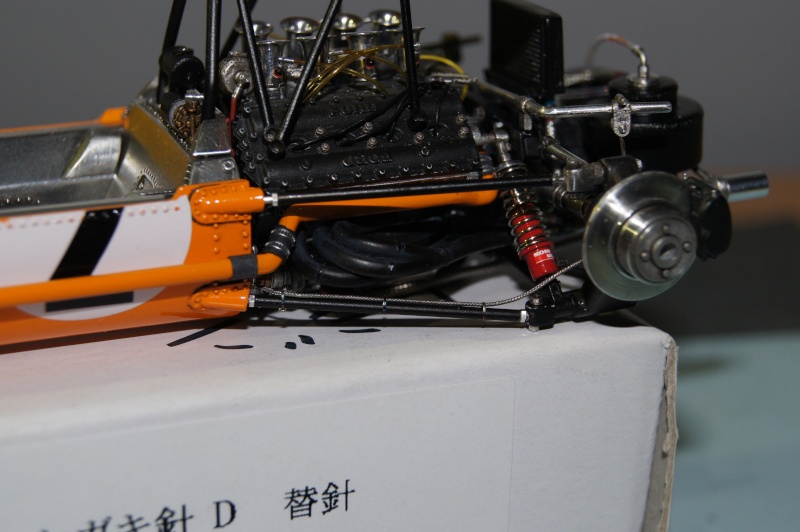
A last look on the caliper and its details...
Shoes or socks on!
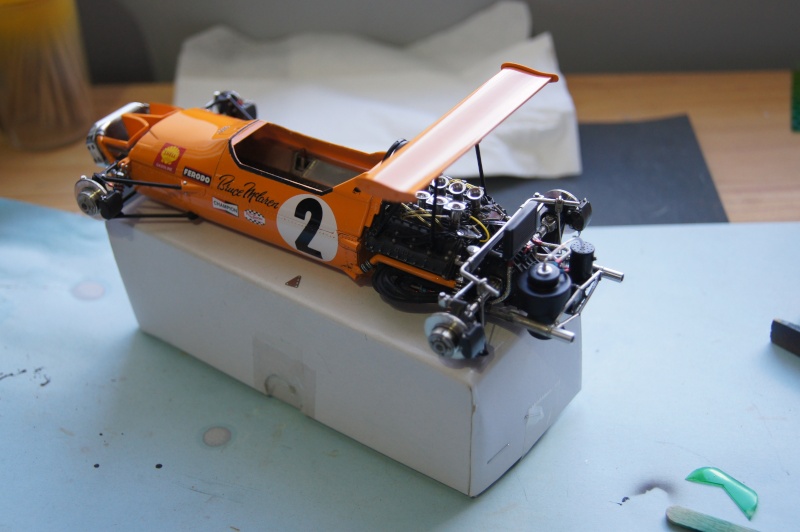
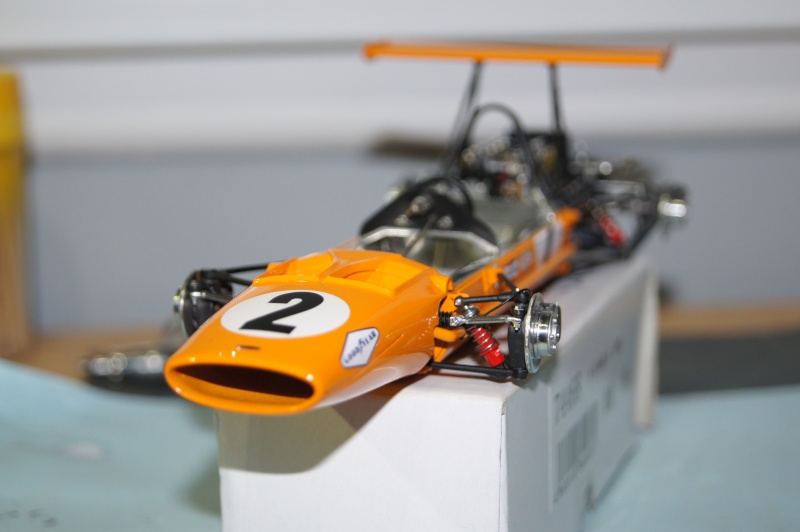
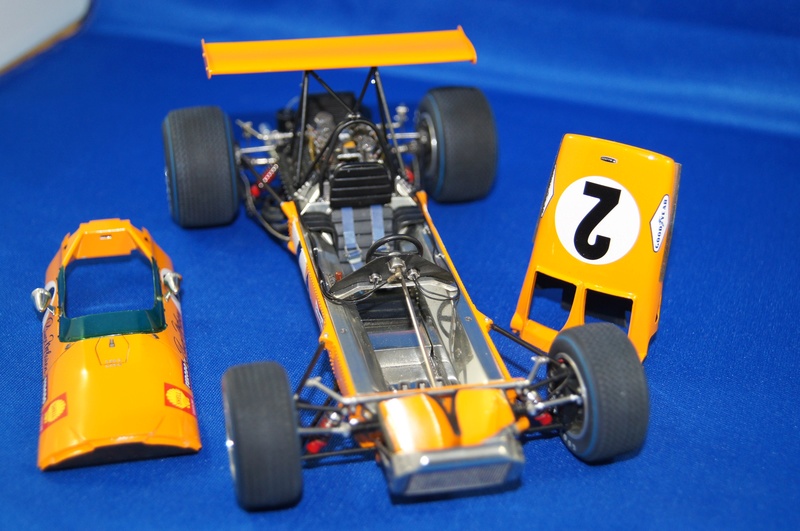
Nose on:
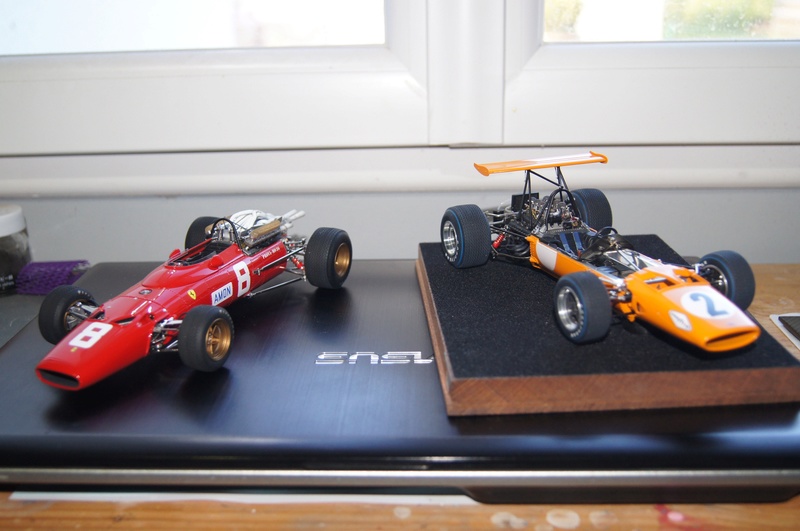
with her red friend:
already thinking to the next one...
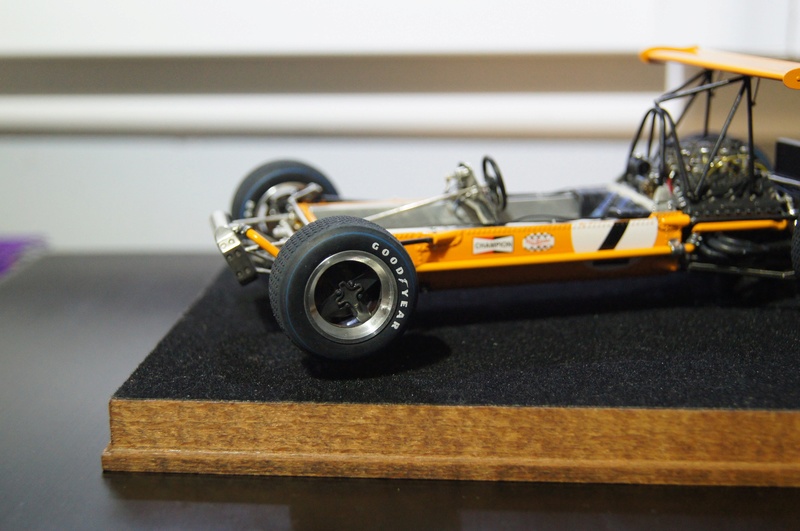
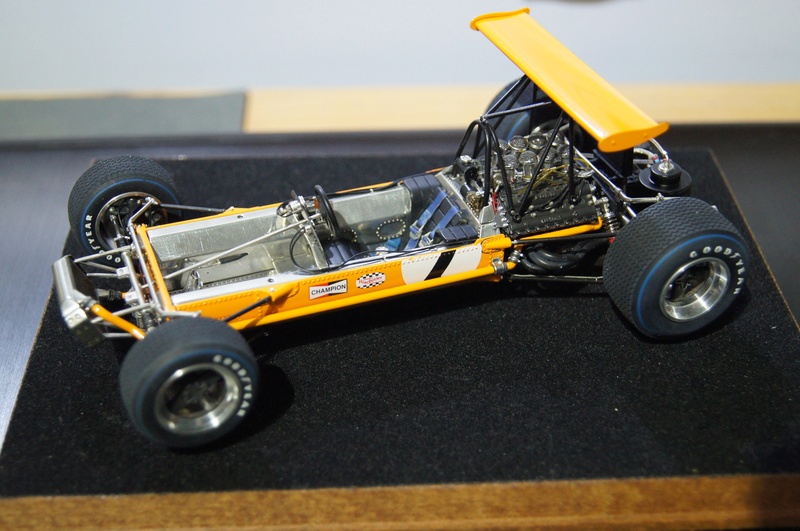
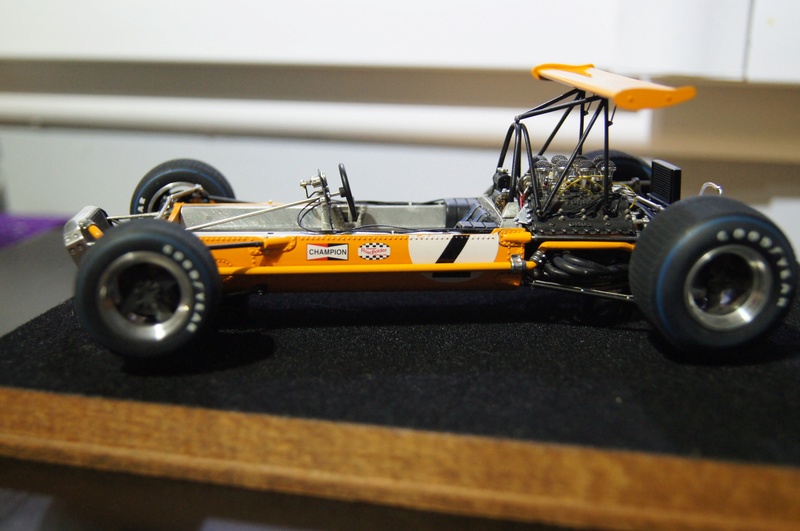
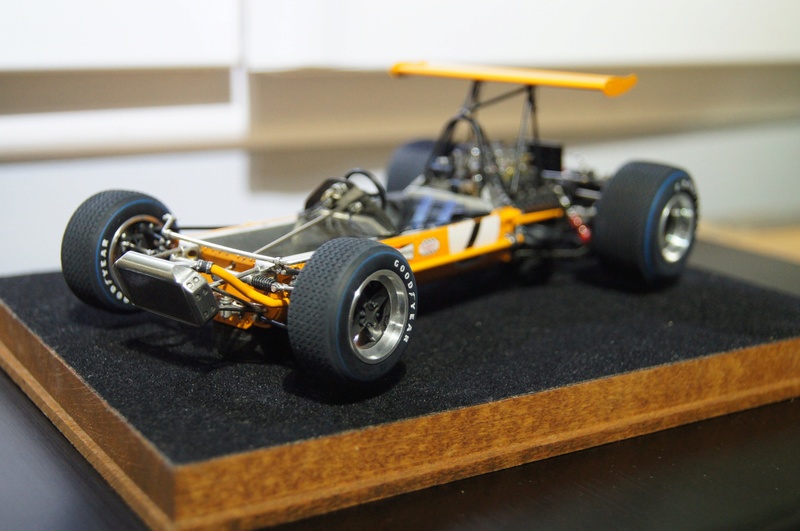
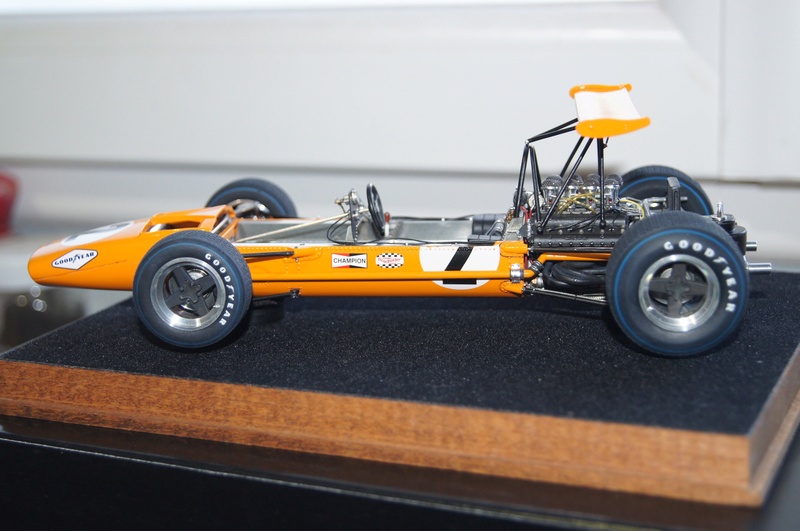
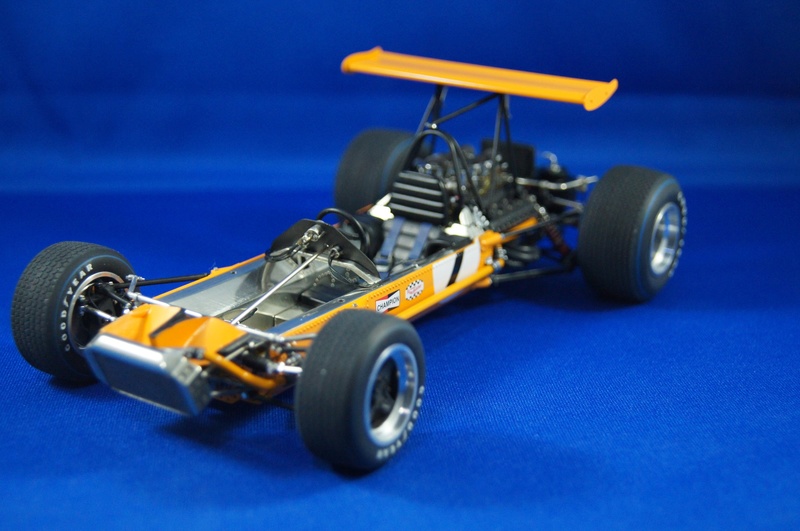
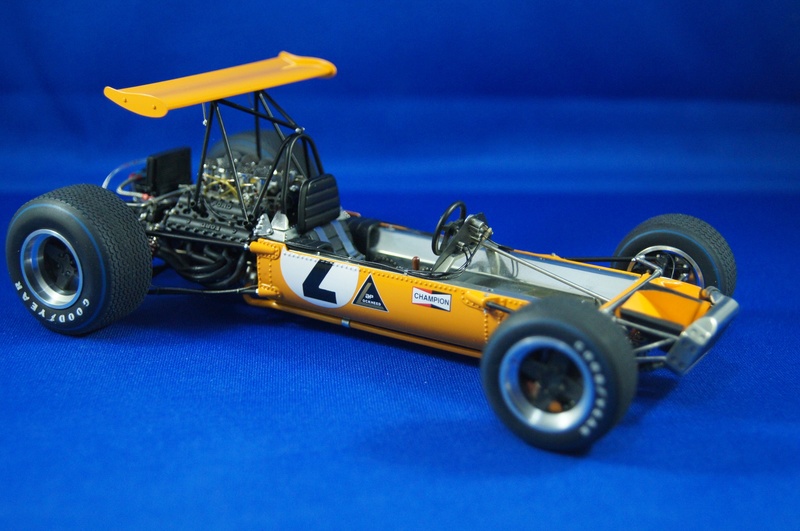
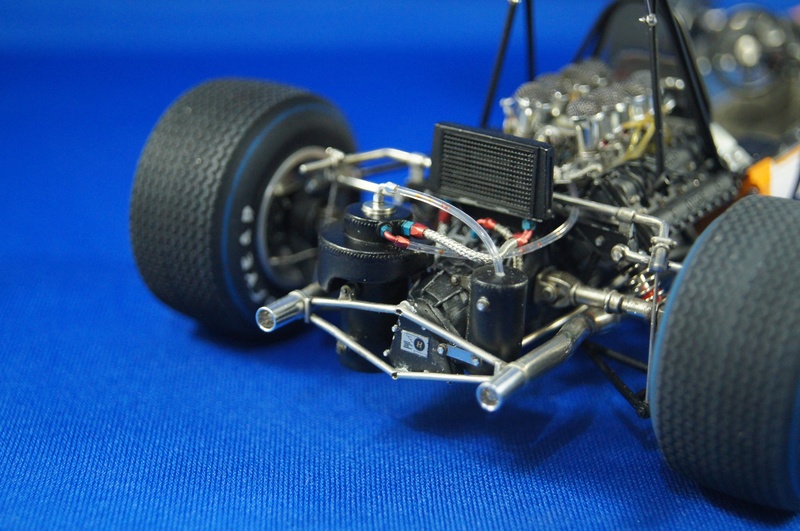
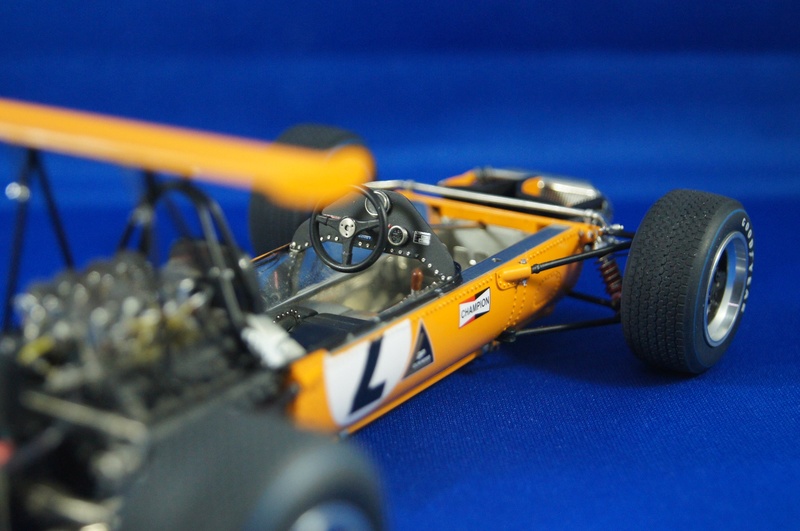
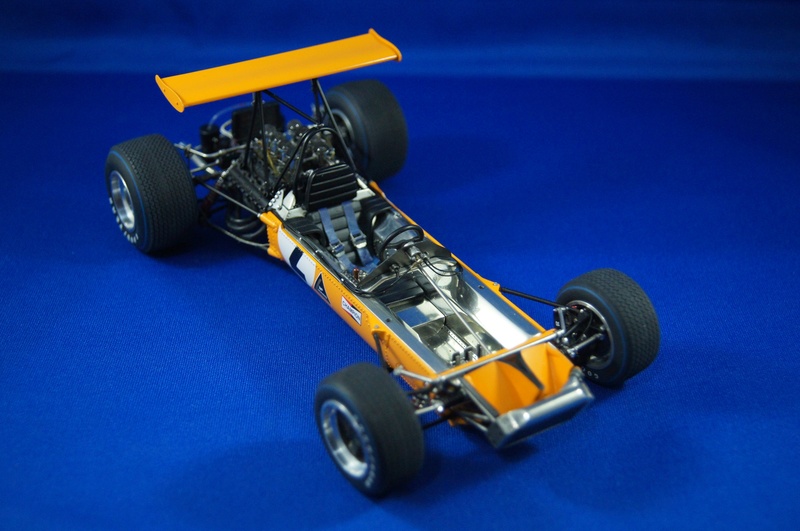
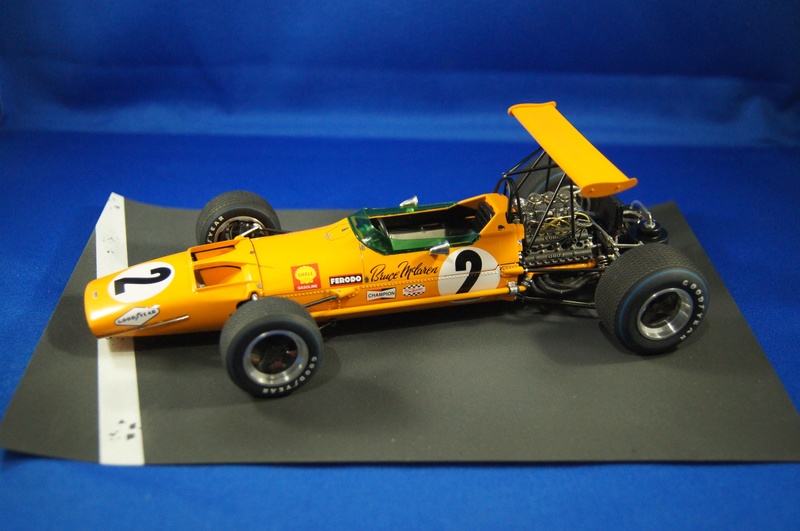
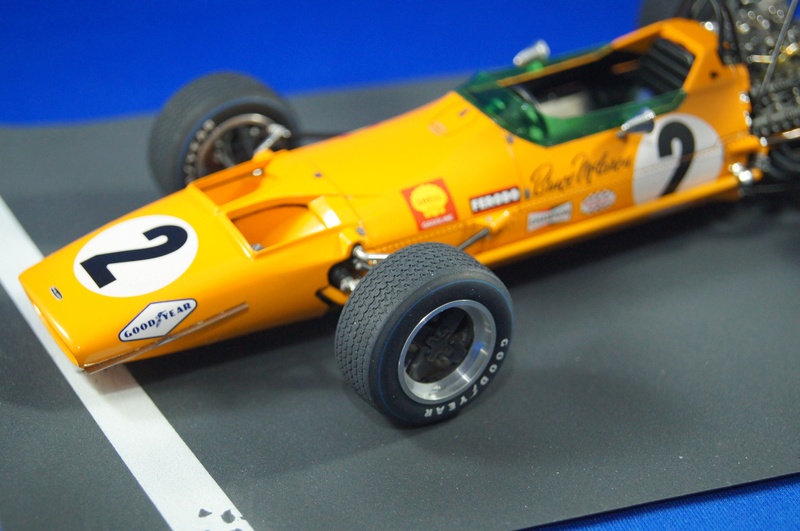
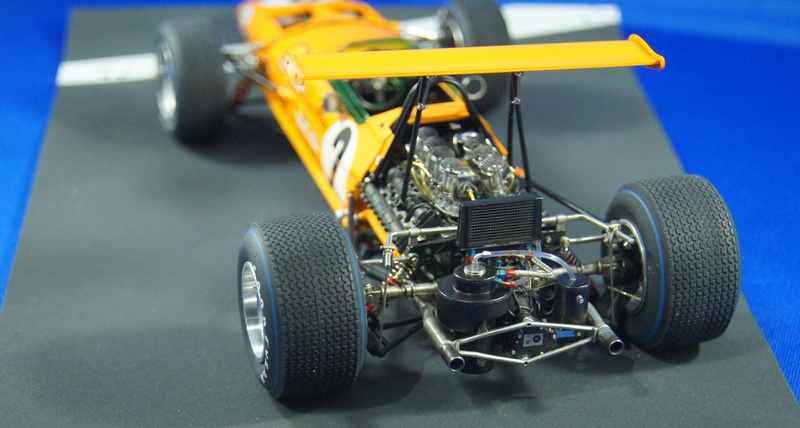
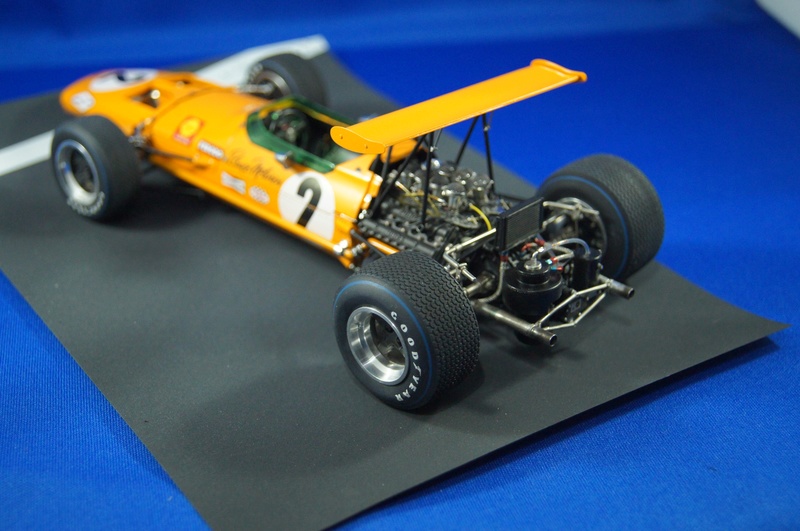
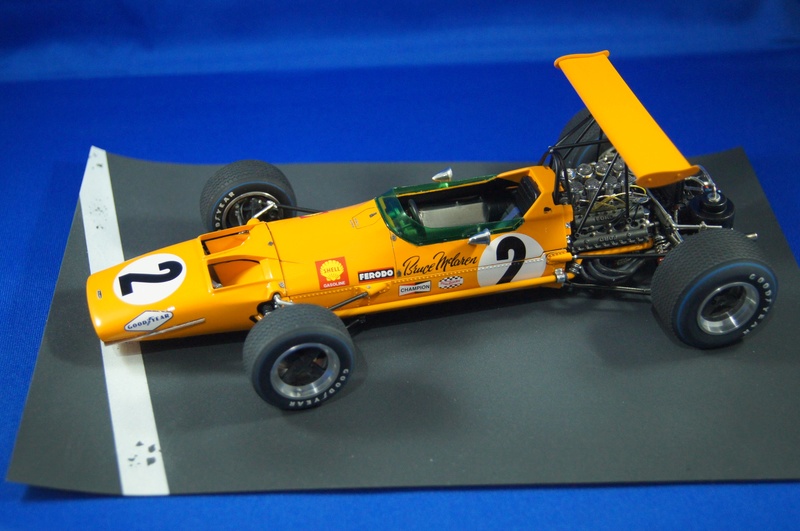
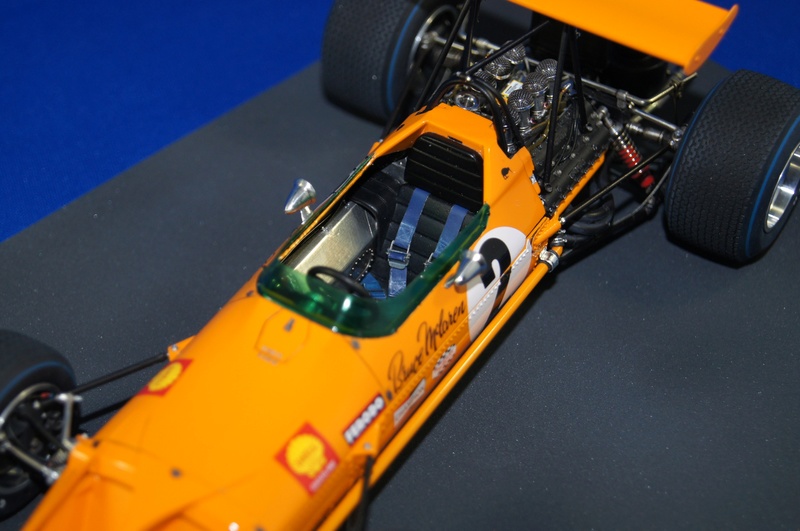
Here we are!
The Roaring Papaya is finished.
Mat black after masking:
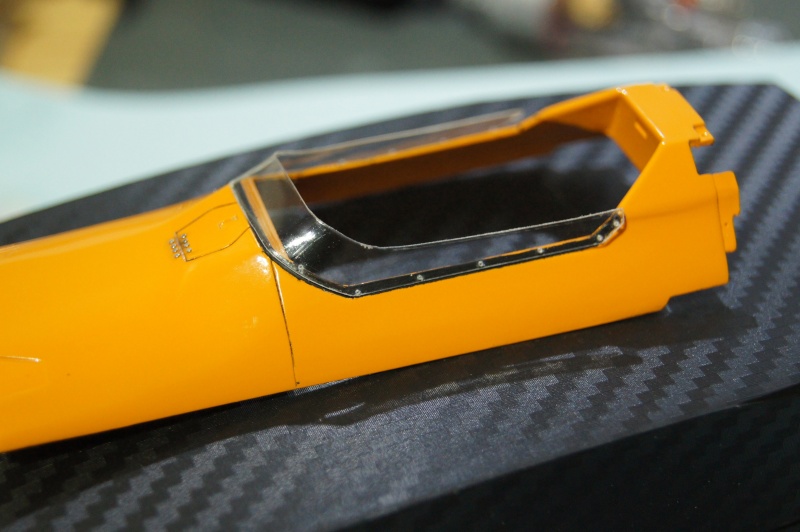
Windshield is installed with 0.7 resin rivets. Mirrors, Dzus and metal rivets of the front hatch are also now done.
.
Undressed.
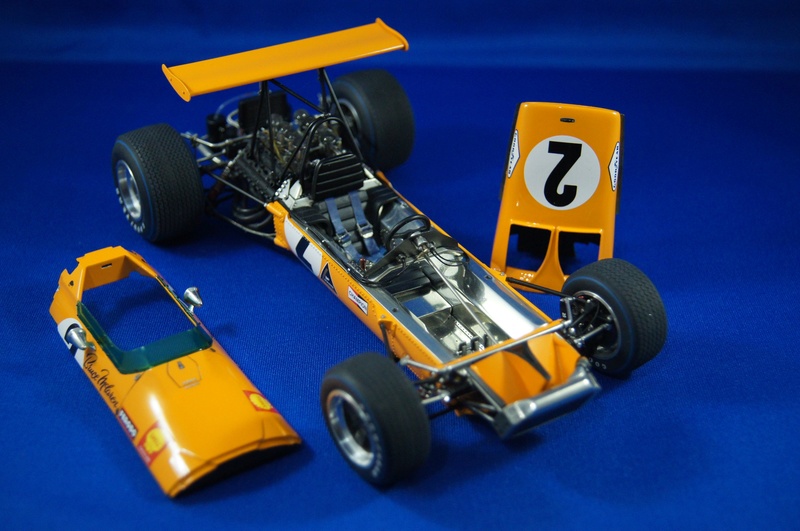
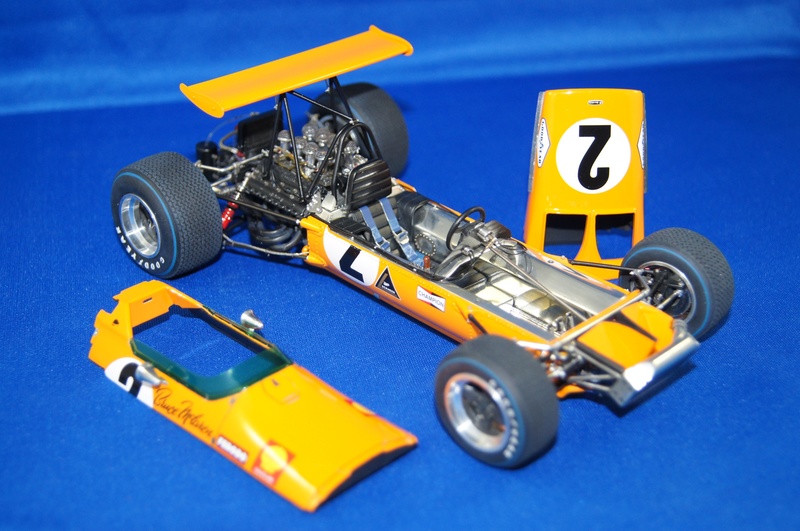
And others with "clothes"!
I hope this wip was plesant for you.
As usual, comments and remarks are welcome.
Pascal
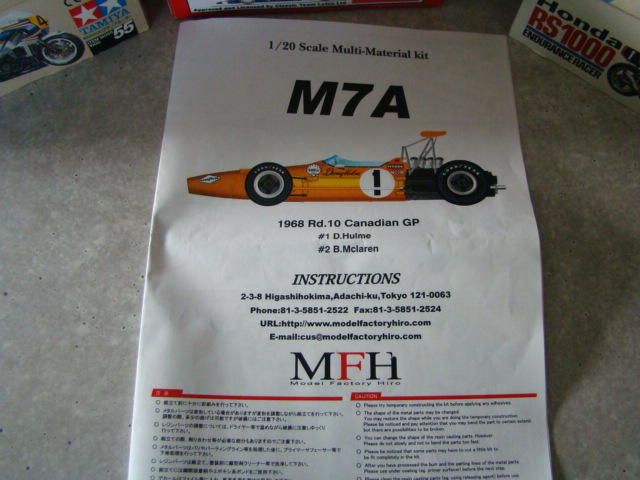
Time for the Gorgeous 1968 McLaren M7A!
This is of course the beautiful kit from Model Factory Hiro, 1/20.
The first step of the post will not be a building phase, but a quick Kit Review .
The Box:
The plastic box:
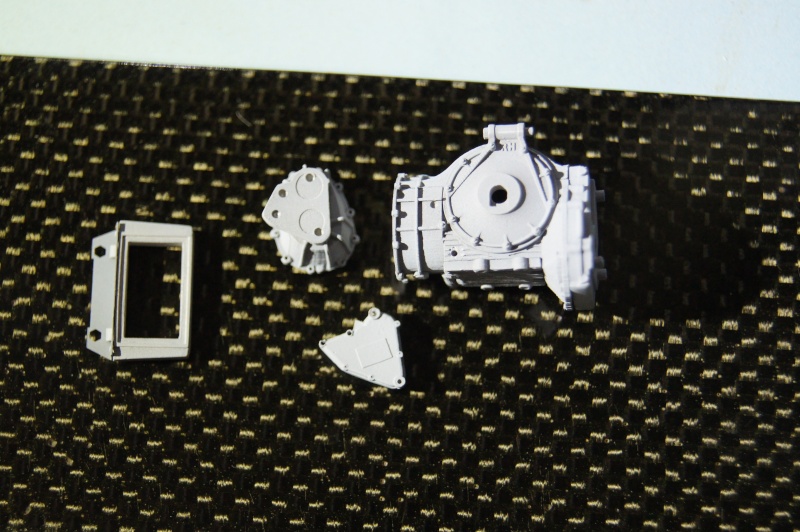
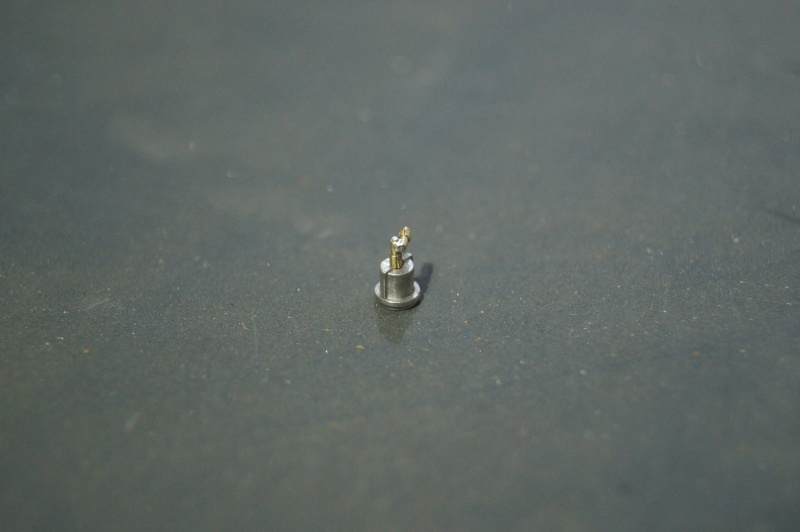
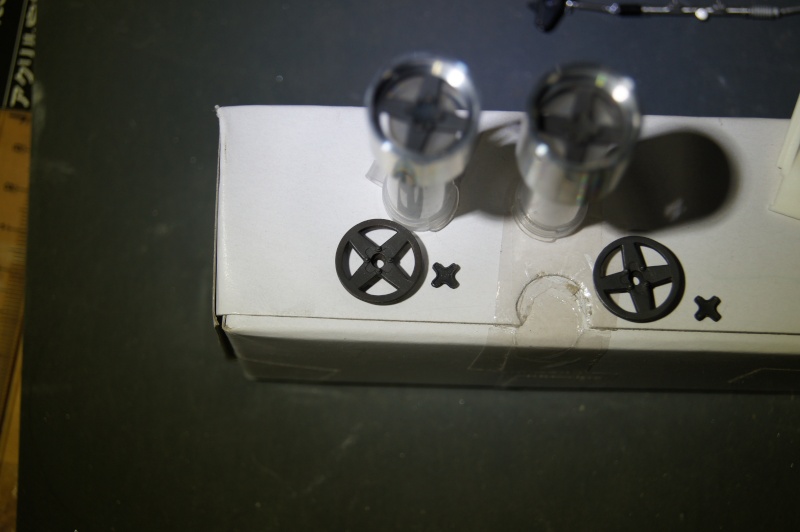
White Metal:
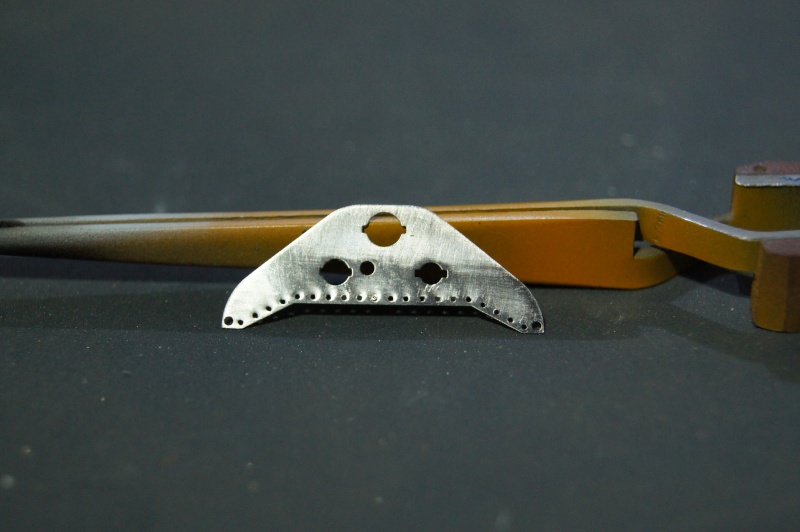
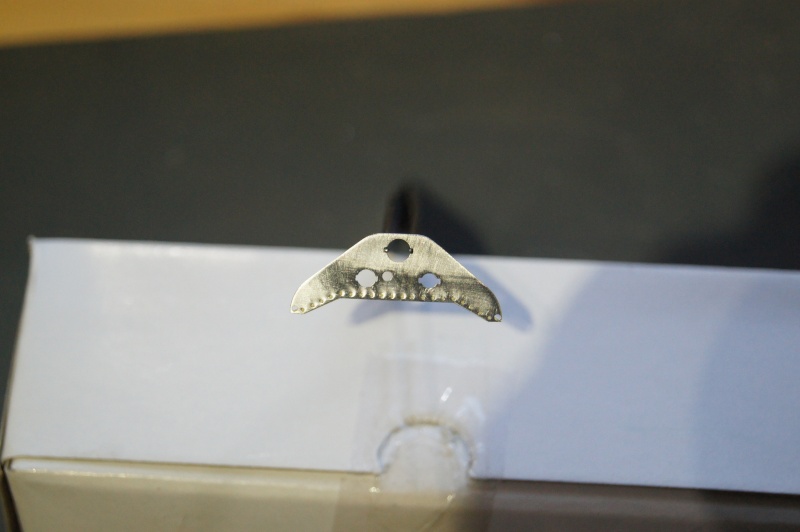
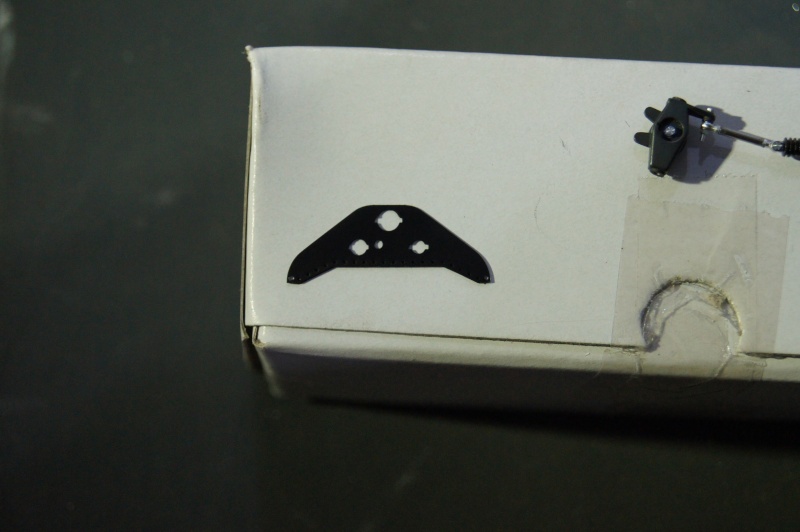
Other parts:
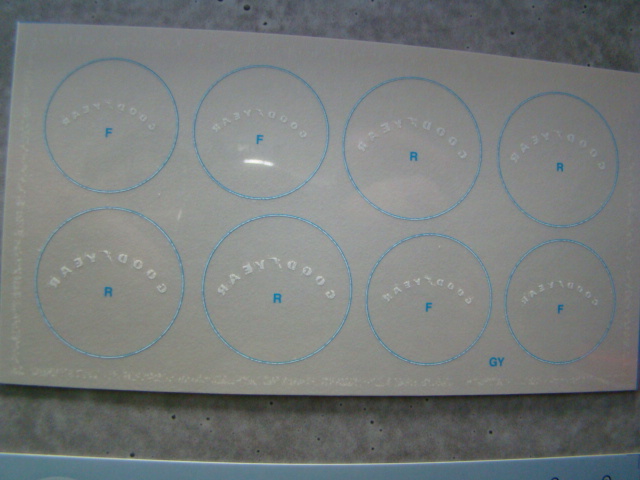
Decals:
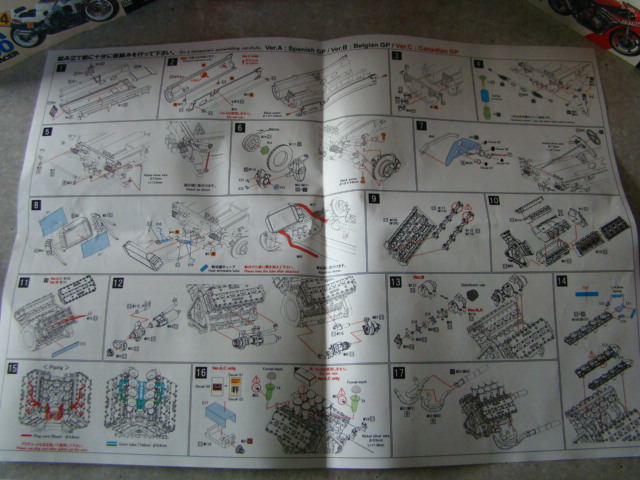
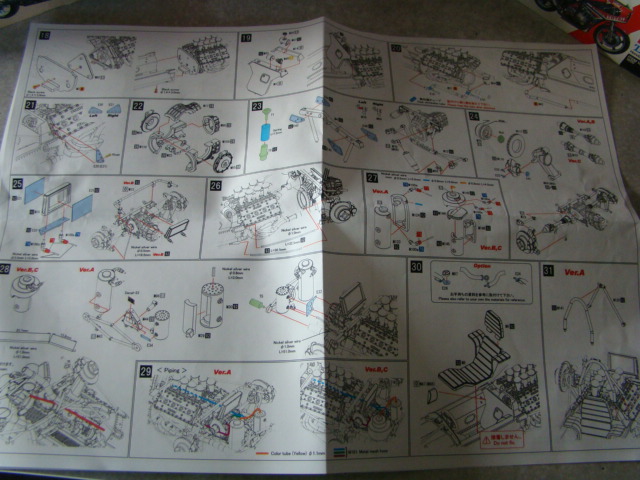
Instruction shhets:
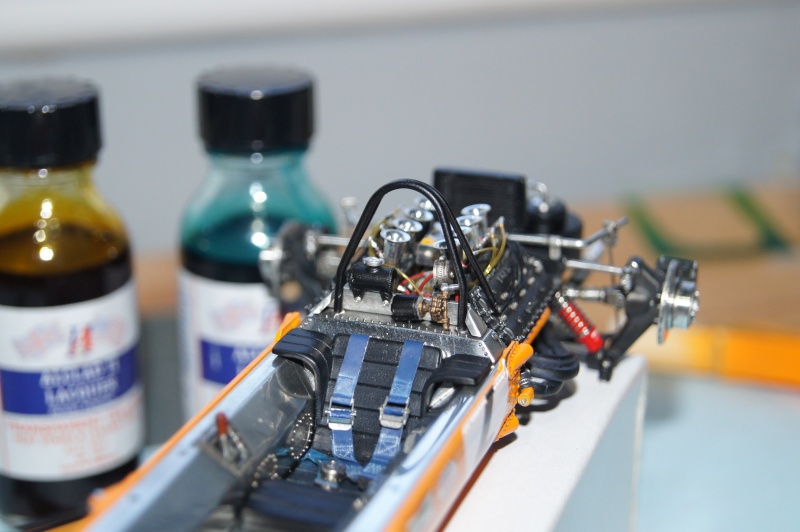
This is one of my favourite Formula one!
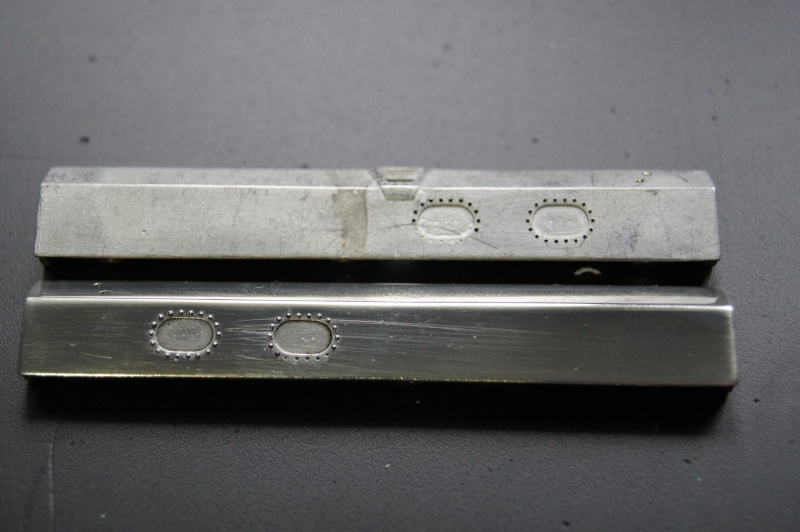
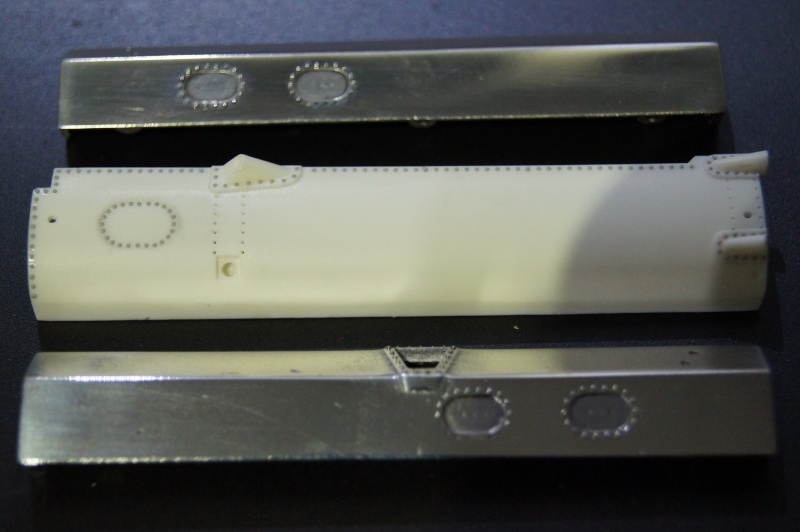
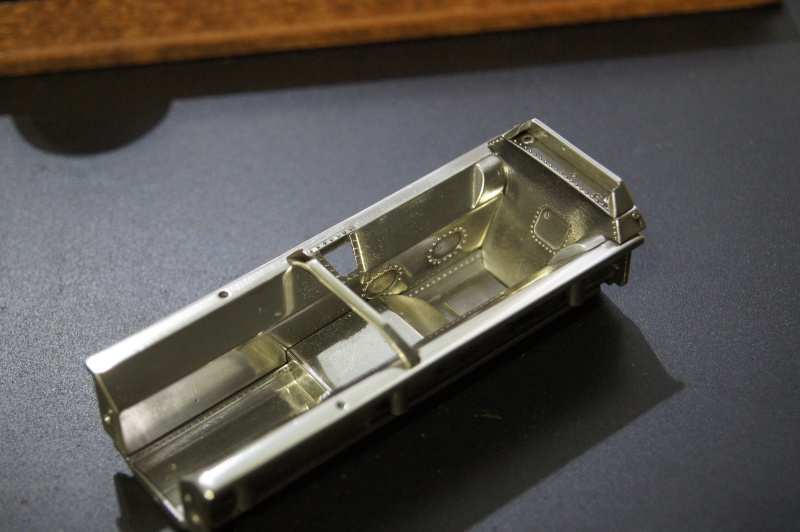
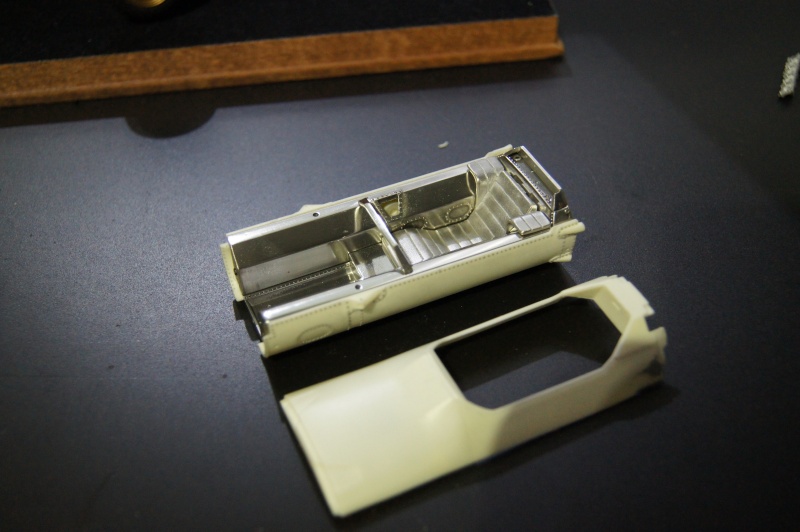
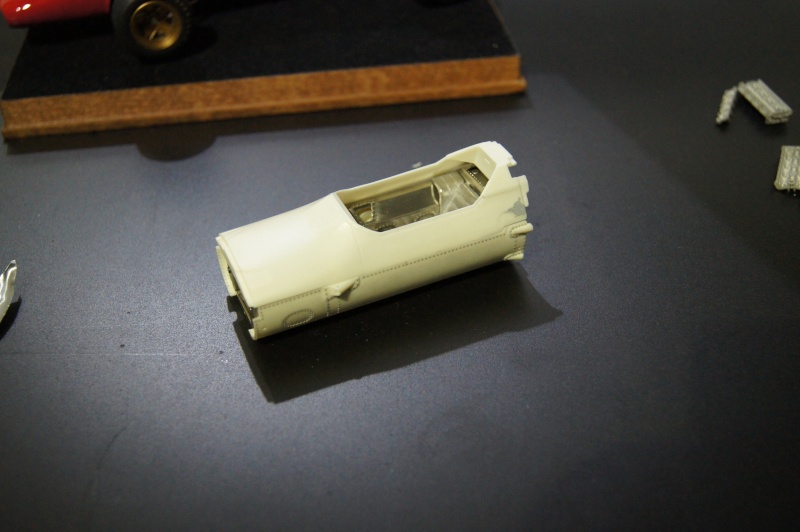
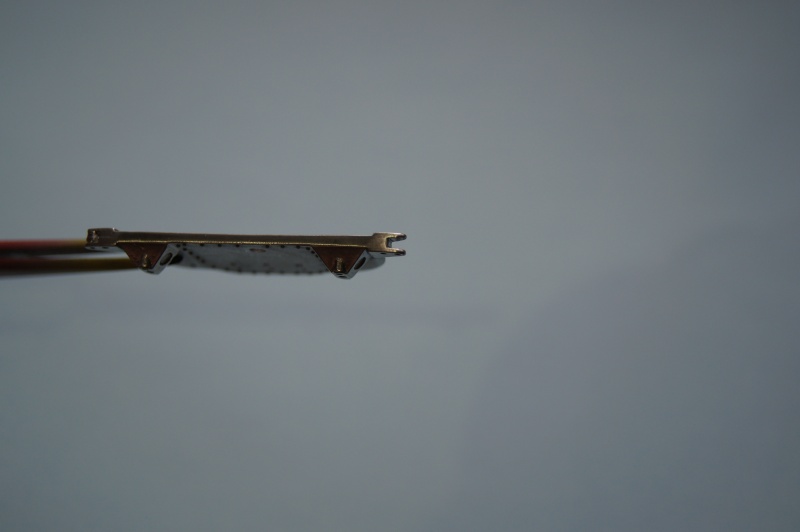
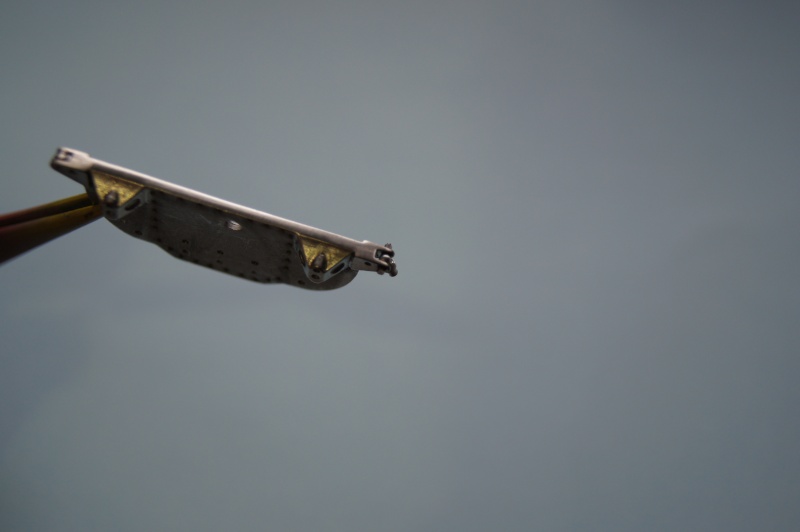
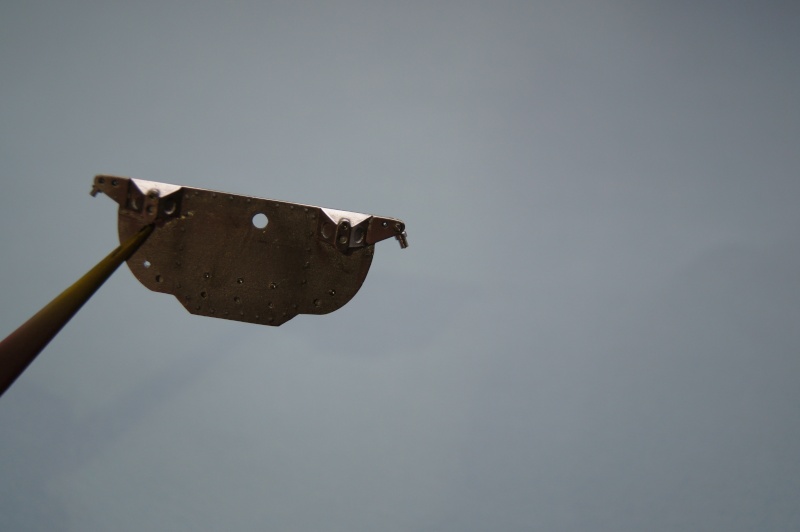
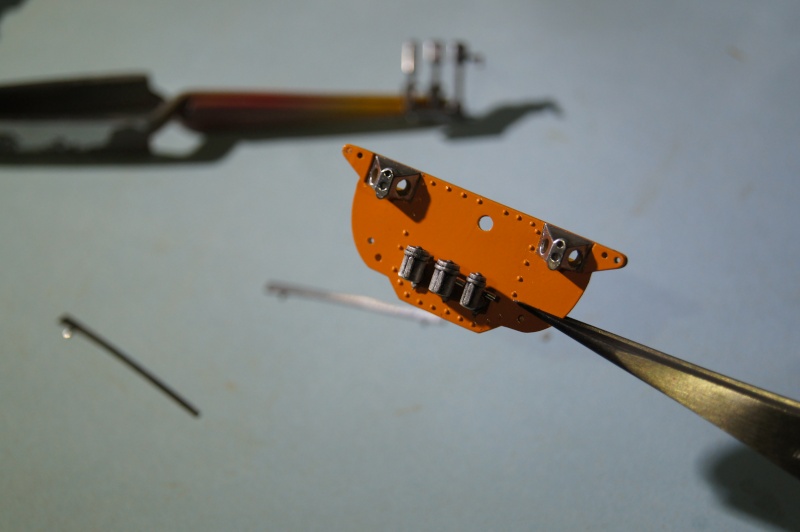
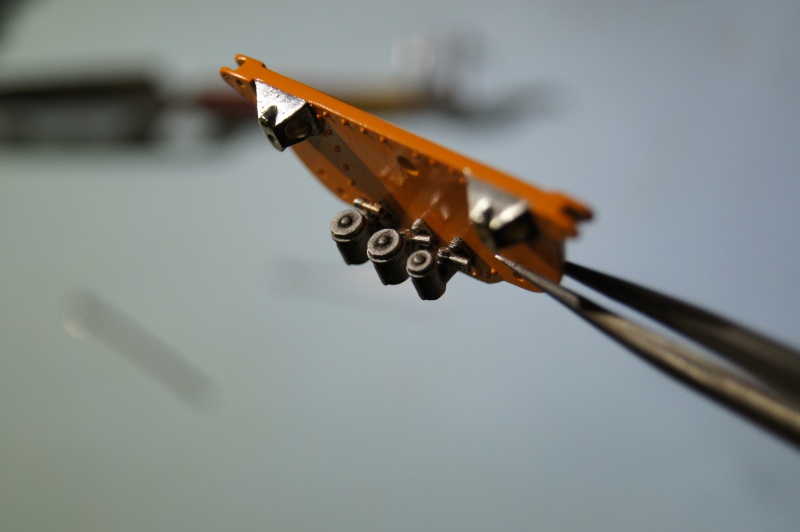
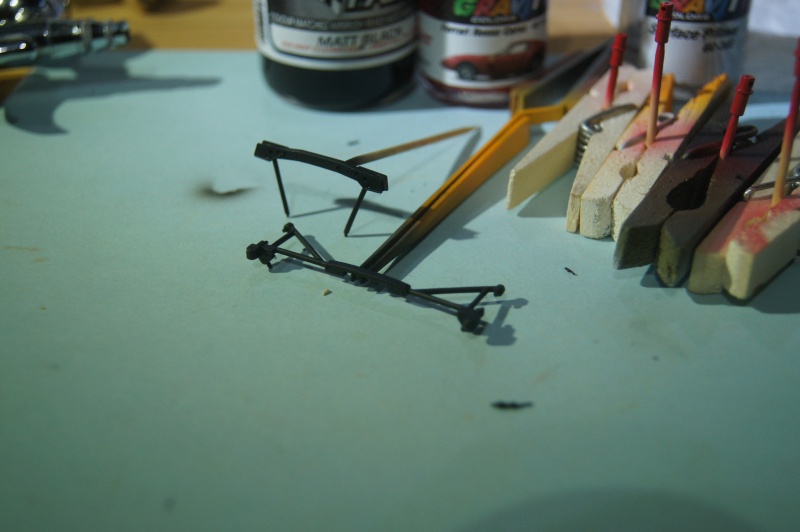
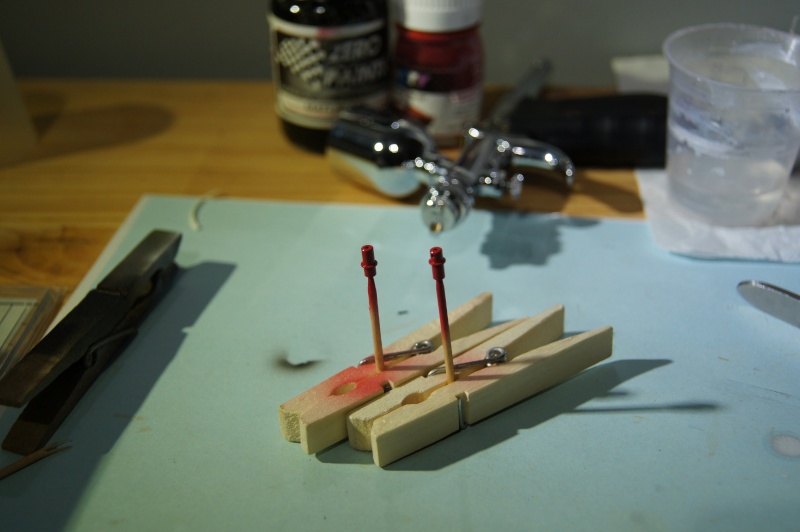
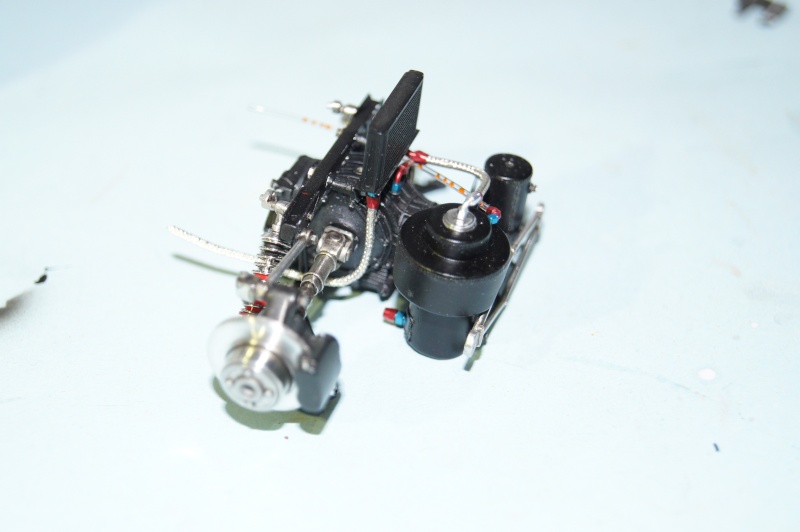
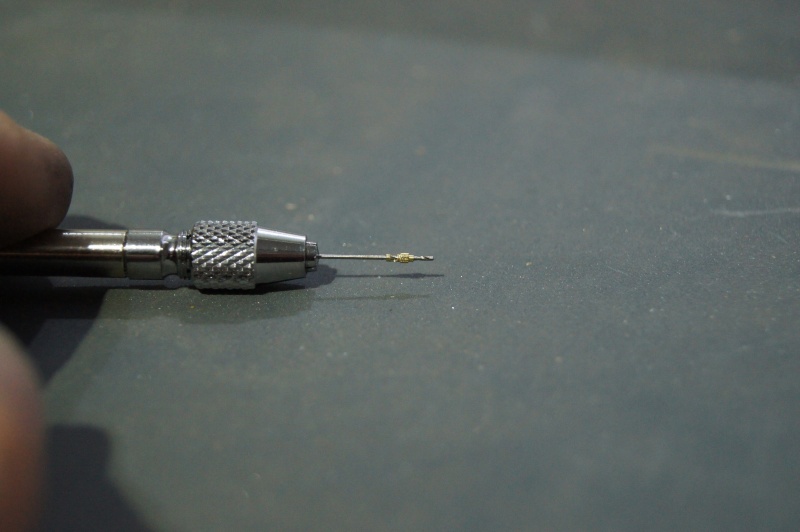
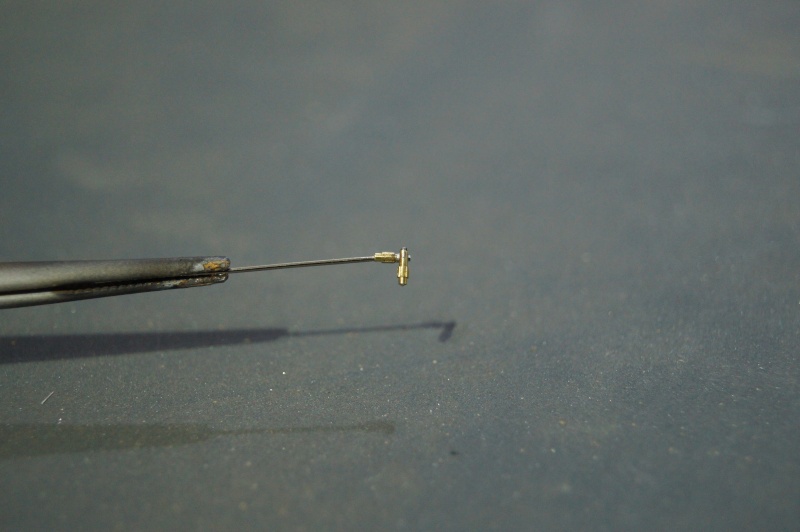
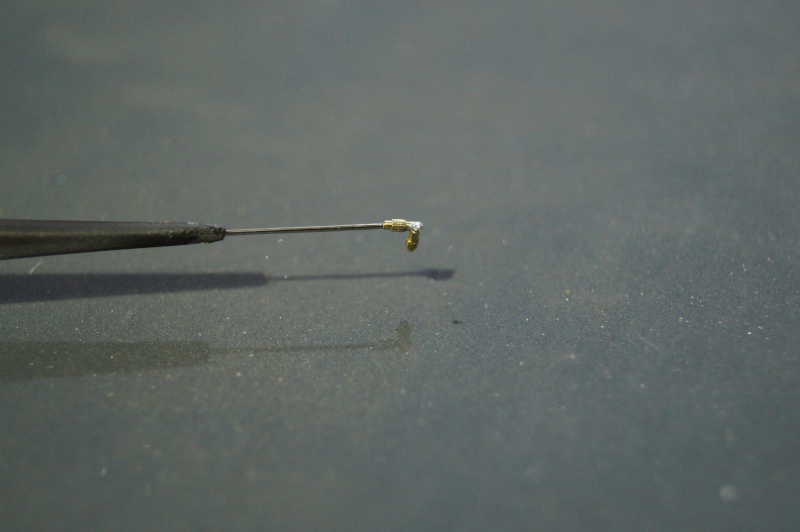
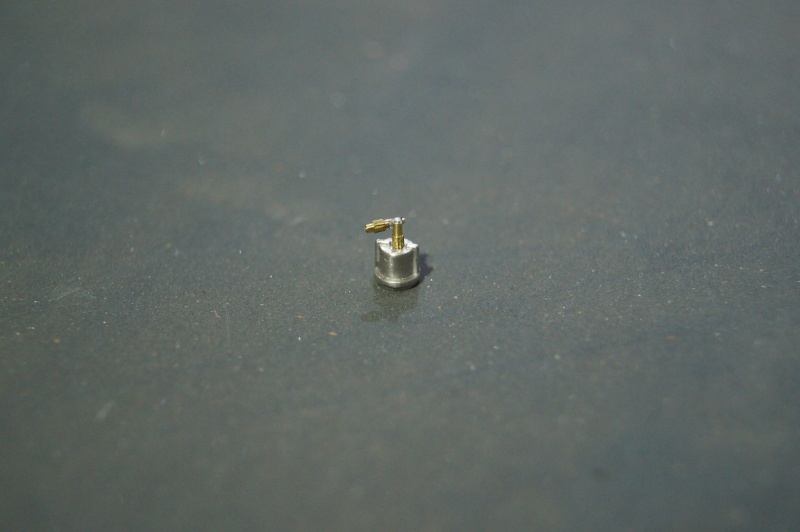
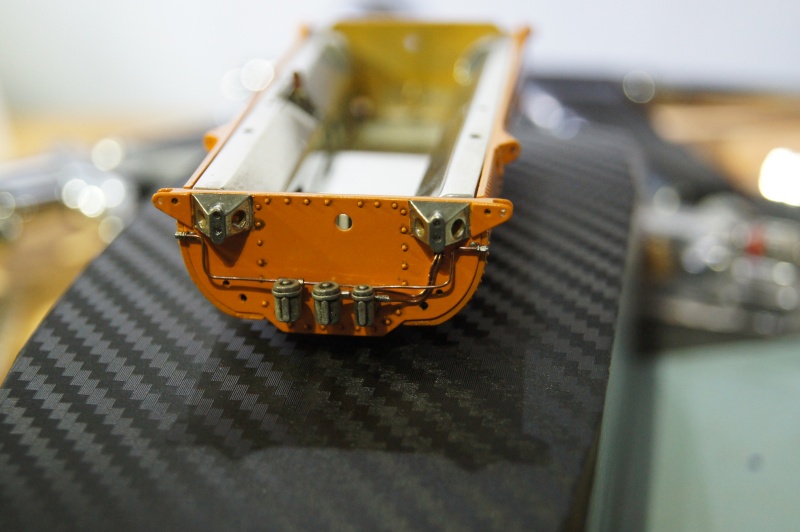
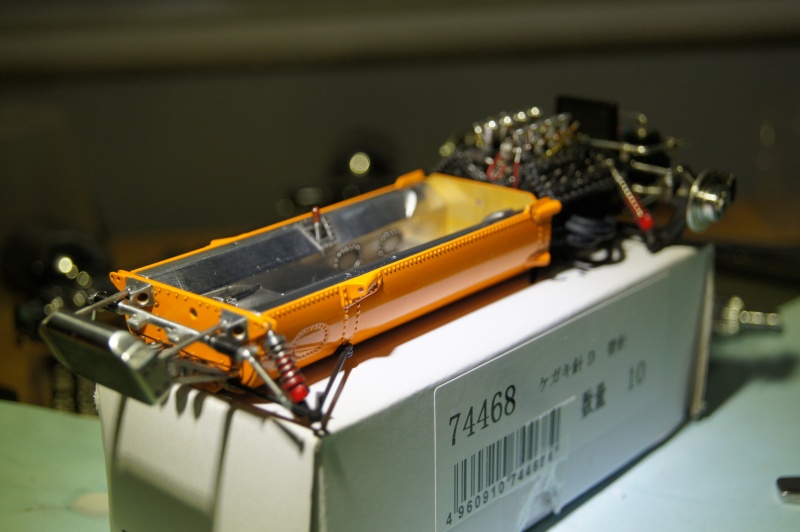
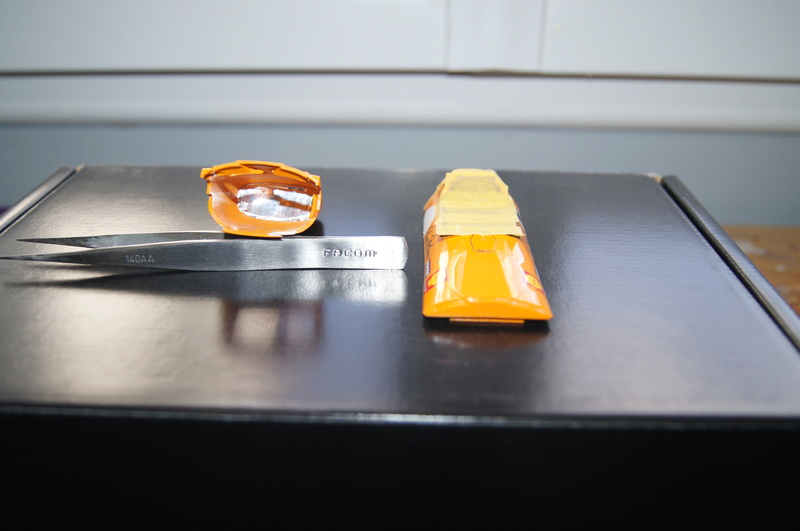
Test fit, holes and... rivets!
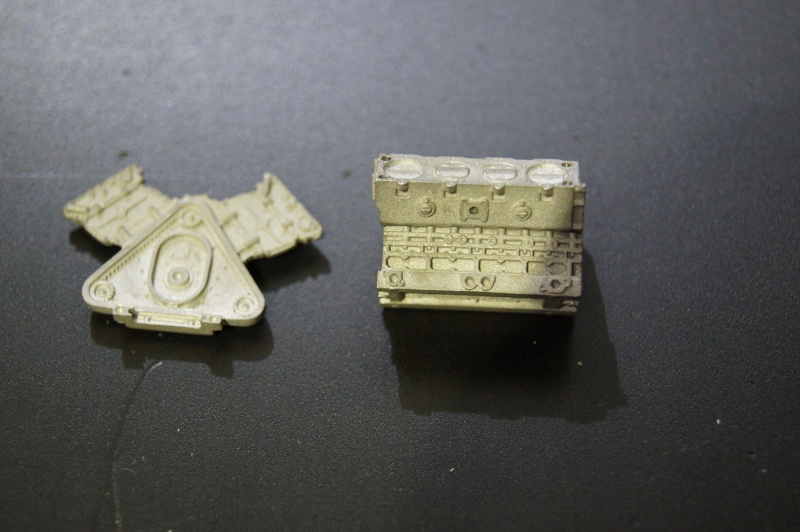
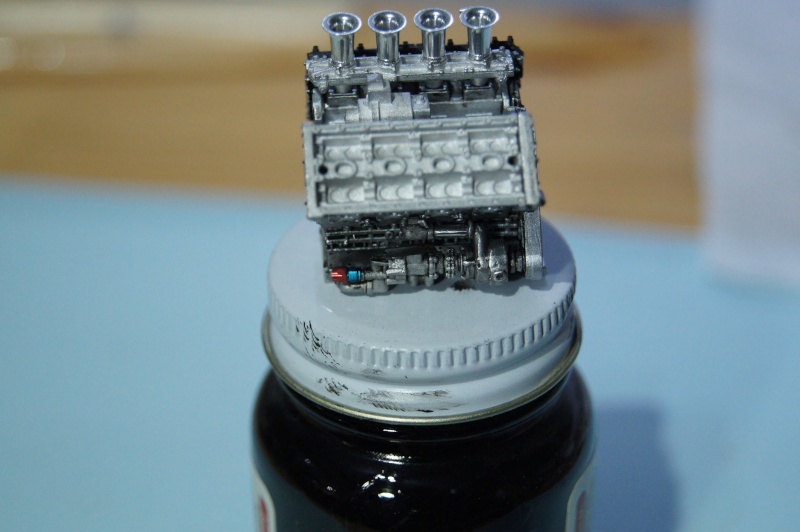
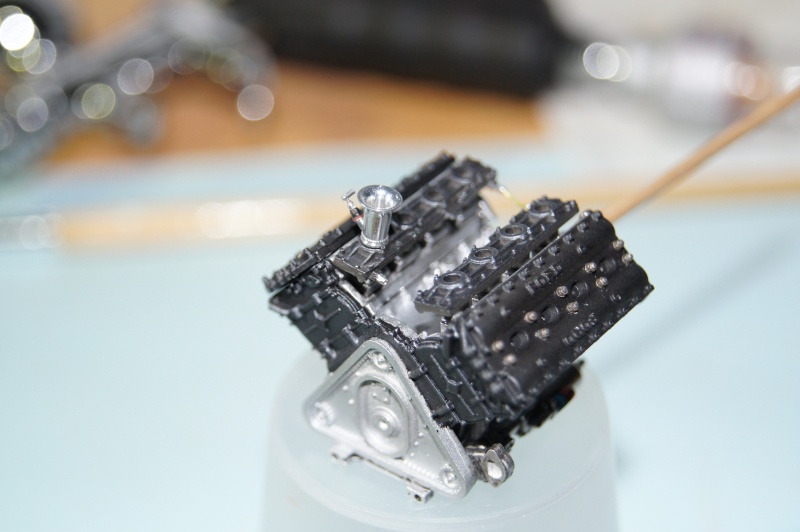
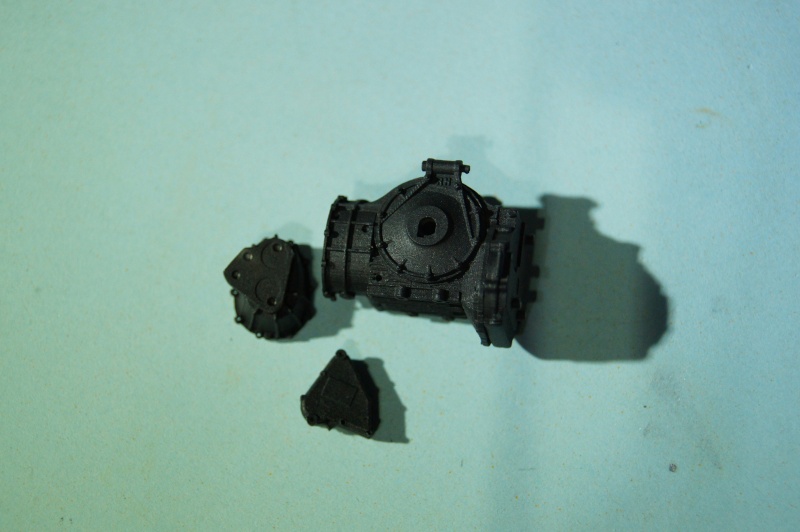
Some parts of the engine were sanded:
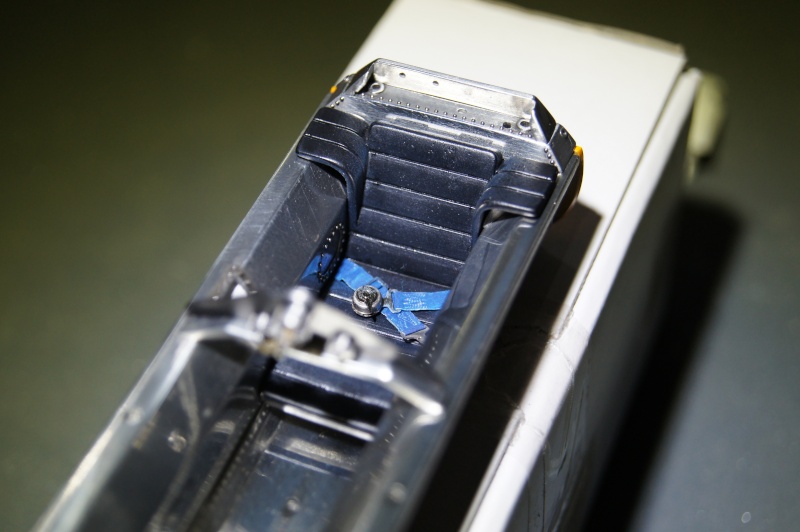
Cockpit parts prepared, drilled and riveted using ss rivets, pre assembled but not yet polished:
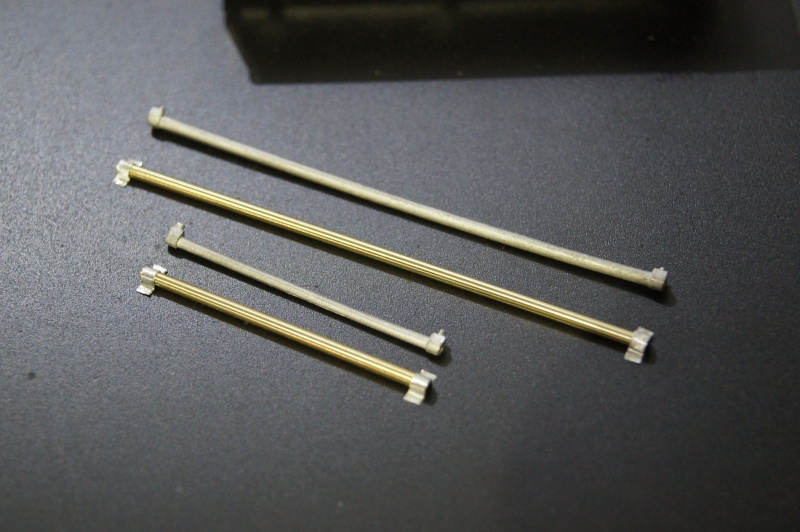
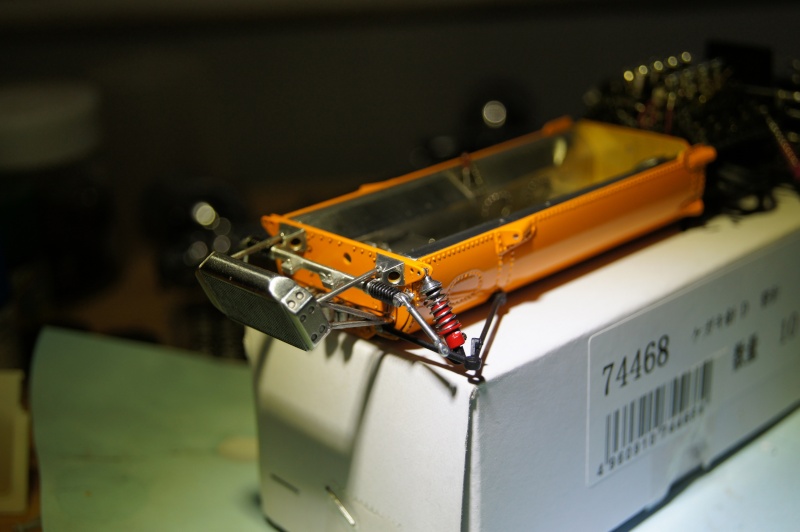
The white metal side water pipes replaced by brass pipes and alu holders.
Edi did the same on his build.
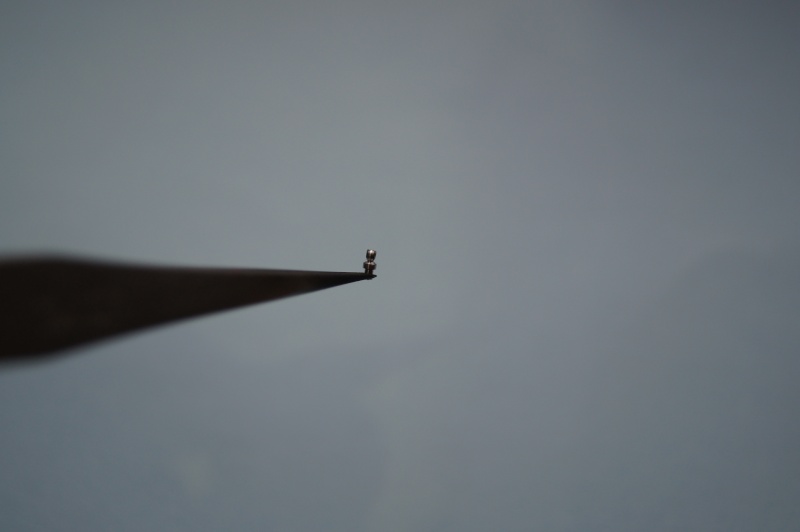
Rivets ok.
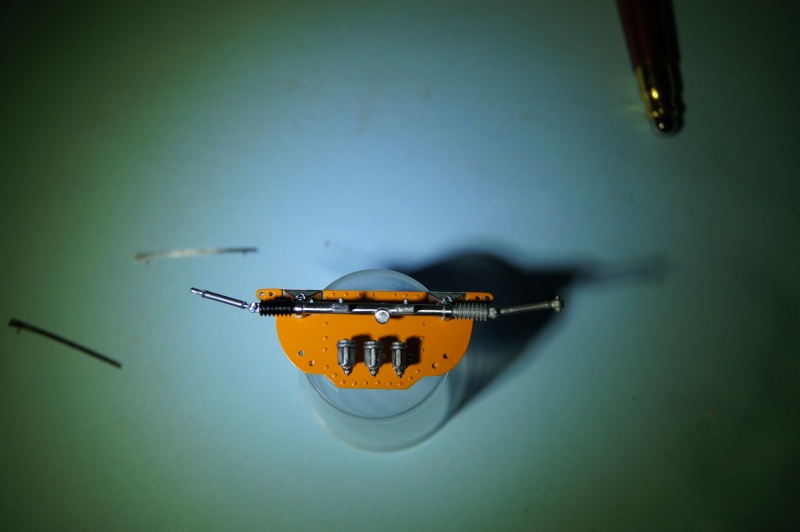
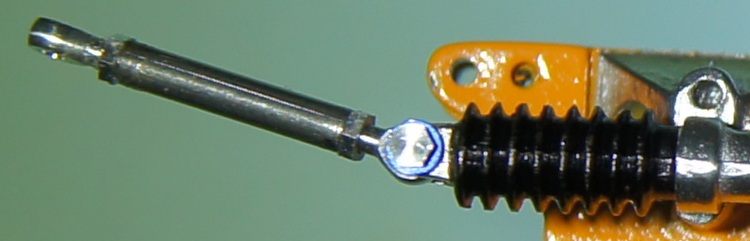
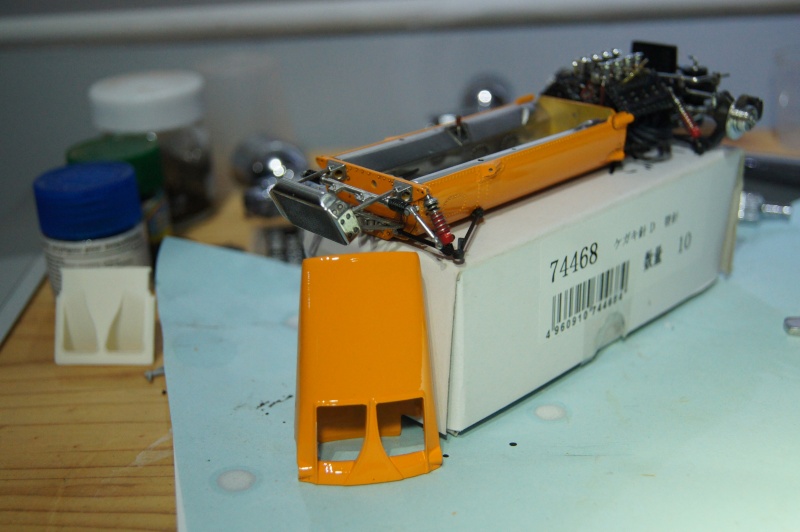
Test fitting with screws:
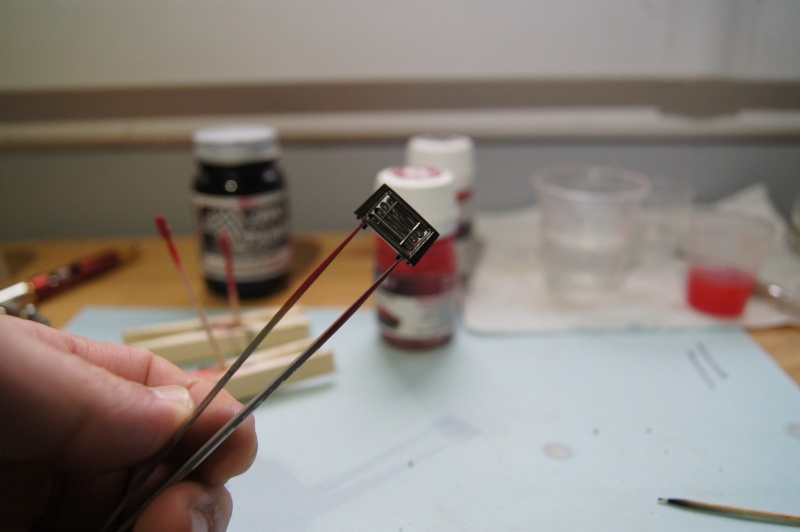
Primer:
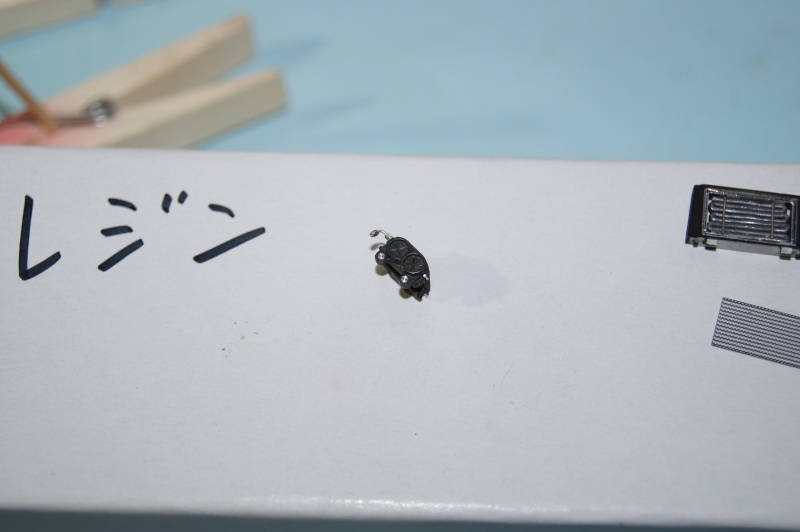
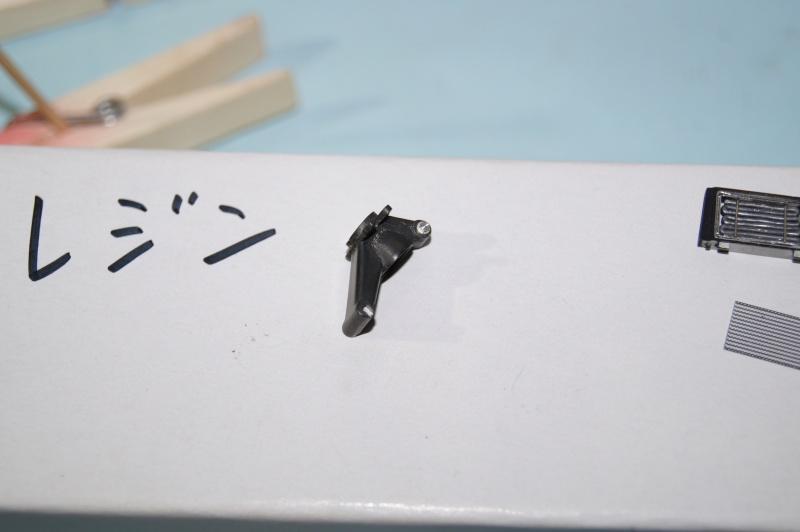
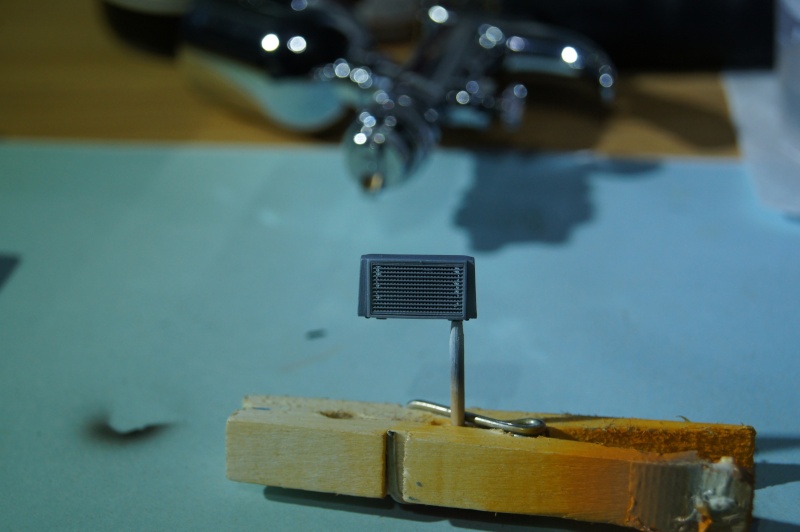
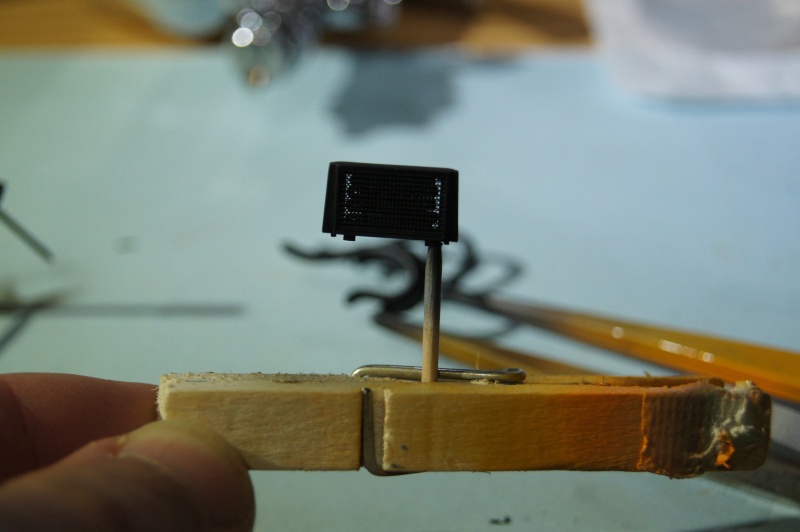
Black is black:
This is the black I use to paint the propellers at the air club.
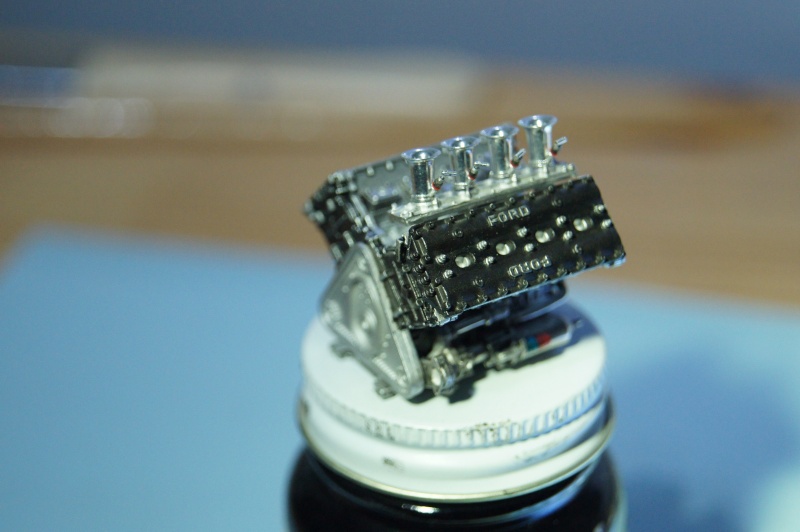
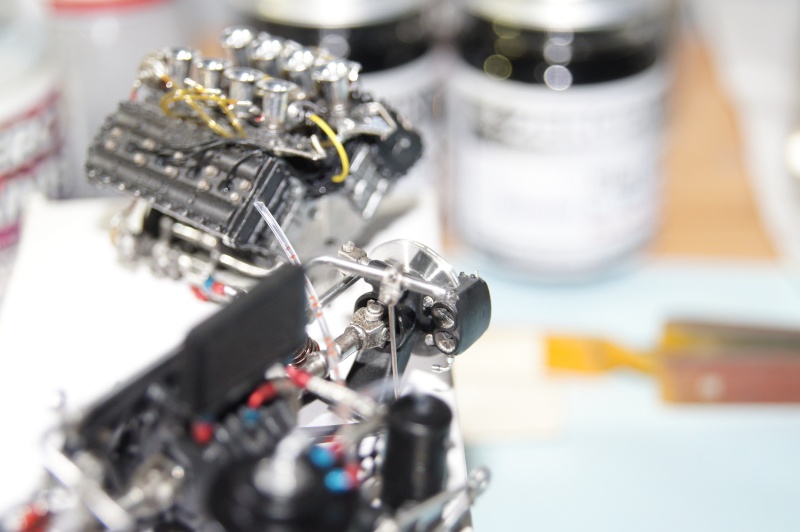
The stunning Widia (Bosica) Vellocity stacks for V8 DFV:
... What else?!
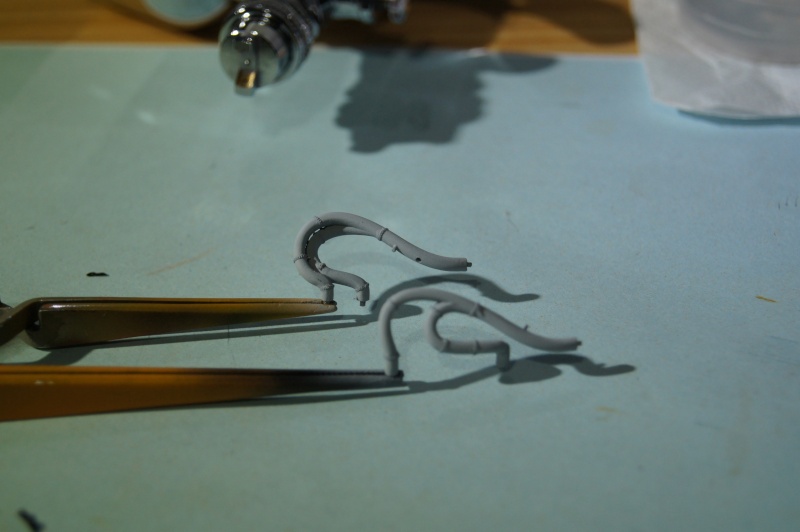
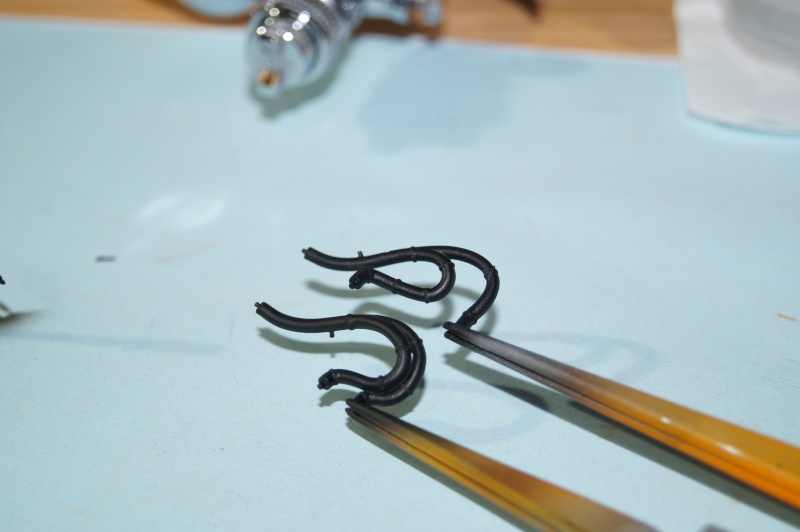
A/N fittings from the kit:
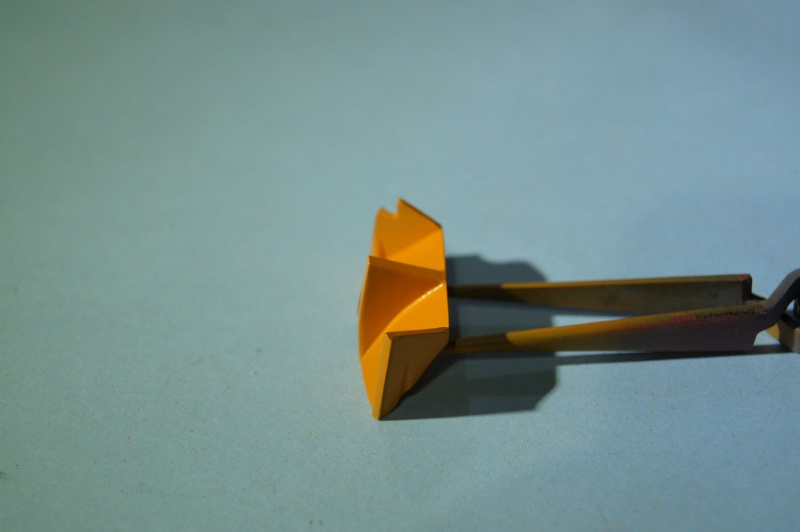
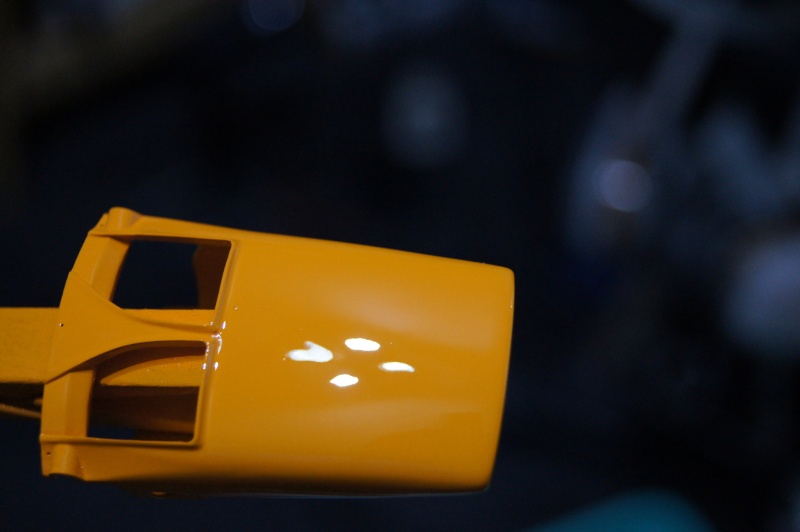
Orange!!
McLaren Orange from GC: I love it!!
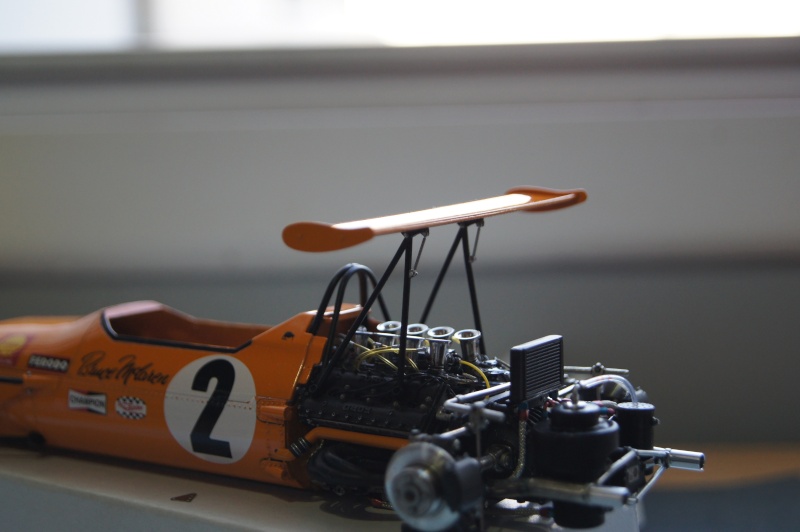
Nose (sorry for the horrible picture...) with tiny PE moustache installed and rear wing ready for primer
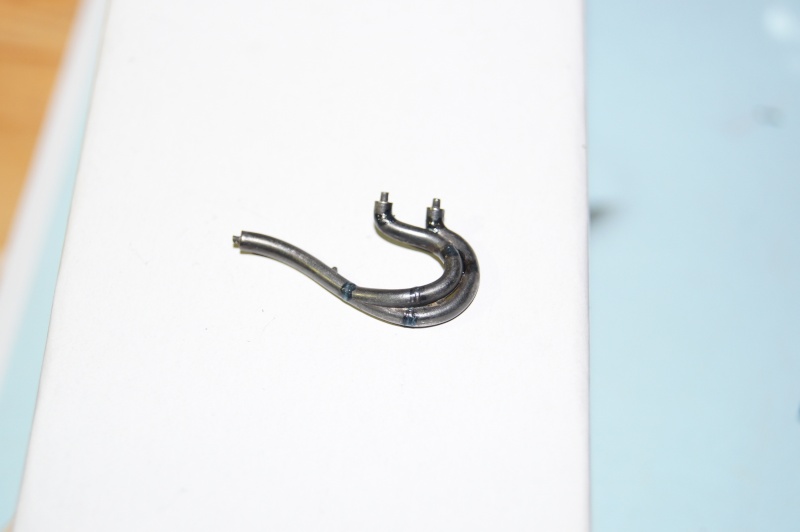
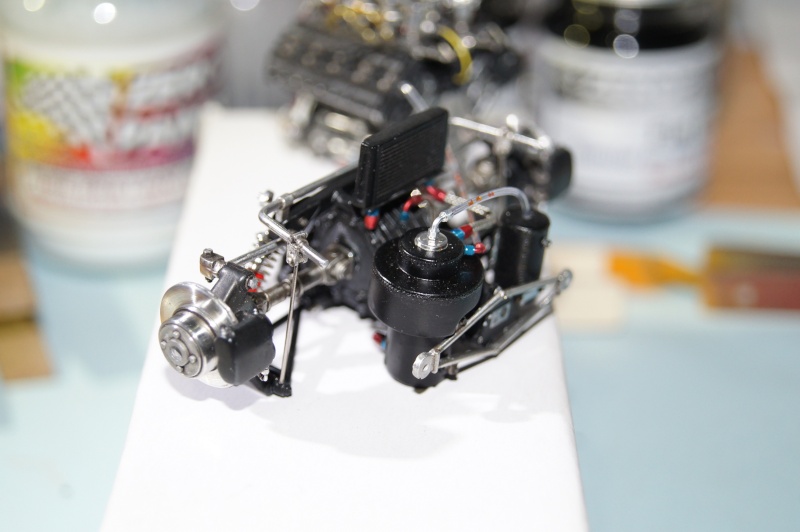
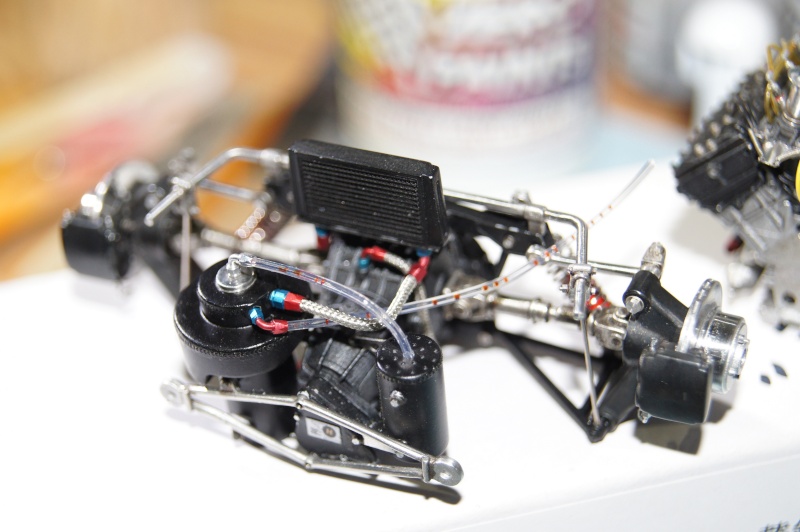
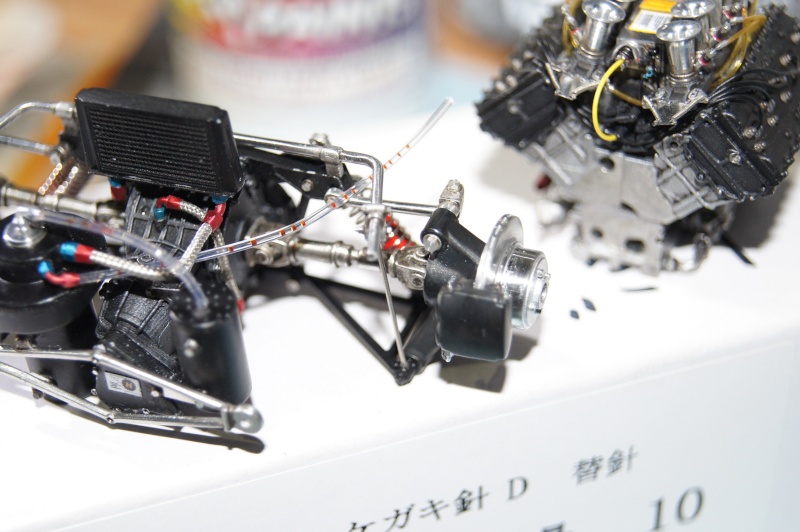
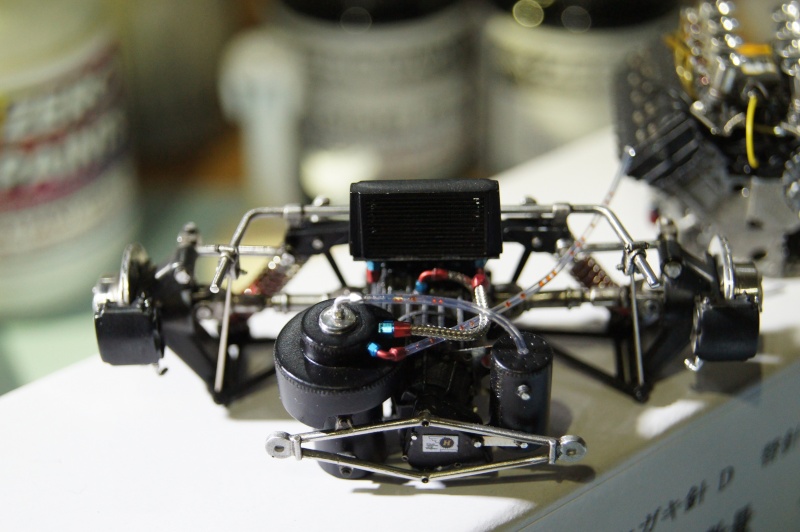
Oil tank with weld lines and test fit of the stunning RB Motion anodized A/N fittings:
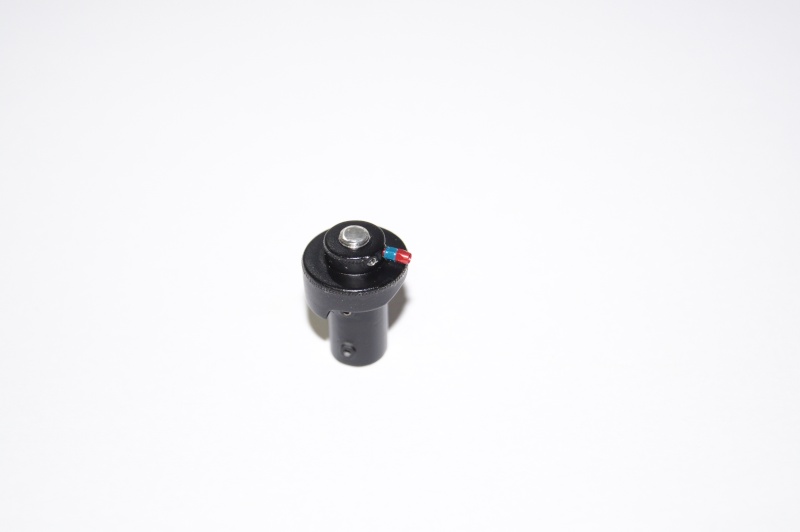
Quick "fill" of the inside of the radiator with lead wire.
Enough once both front and rear grids will be placed.
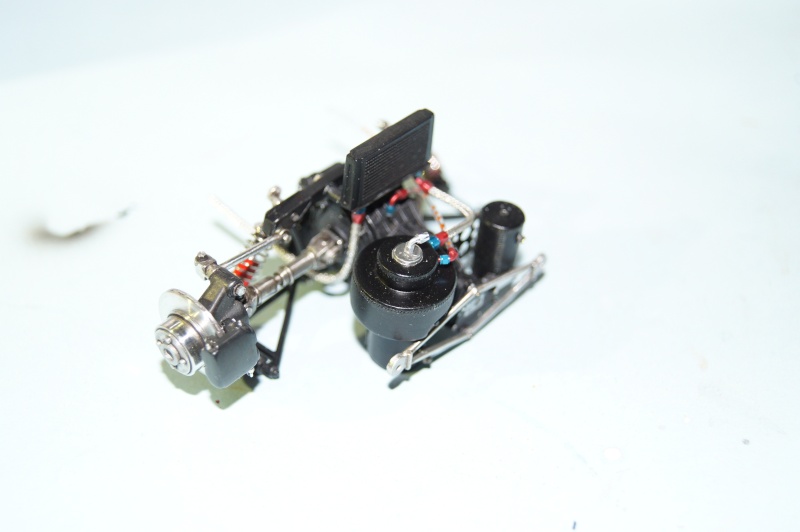
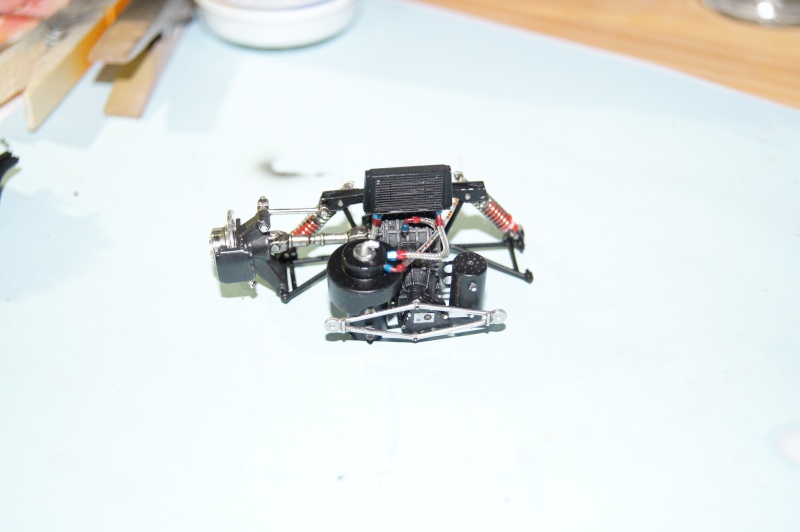
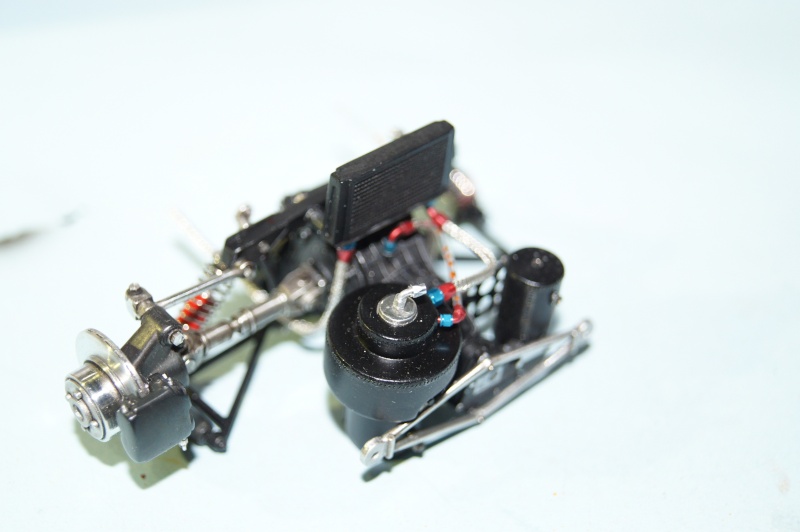
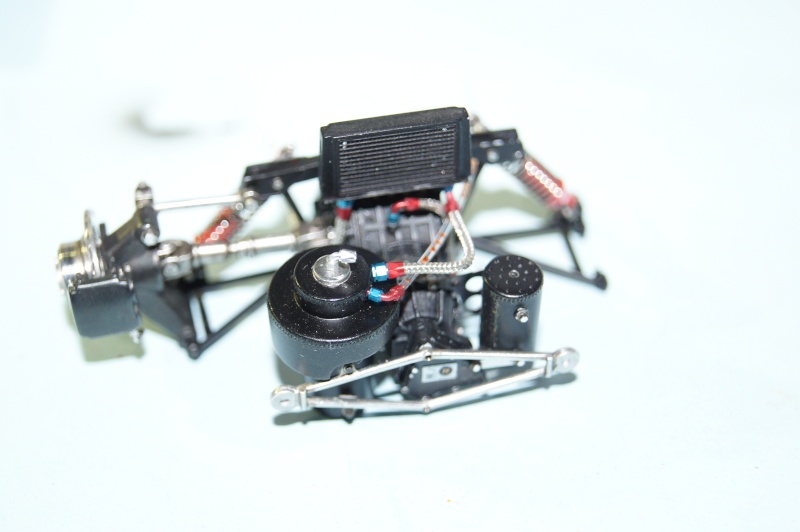
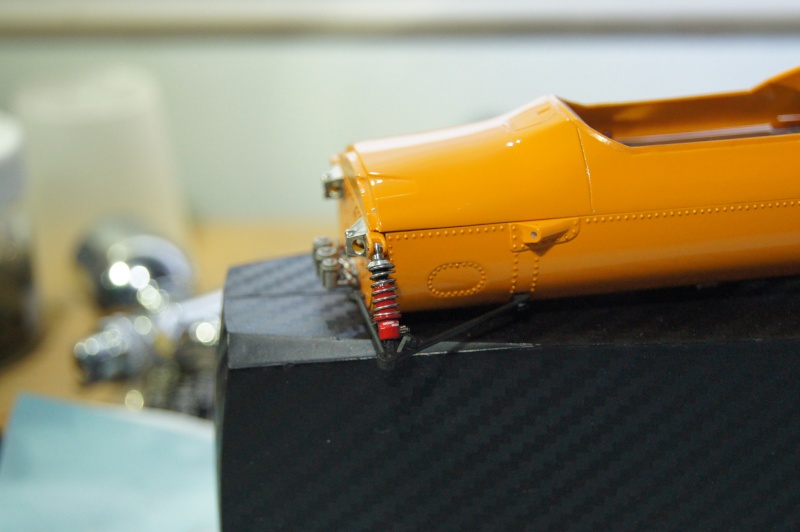
Almost finished:
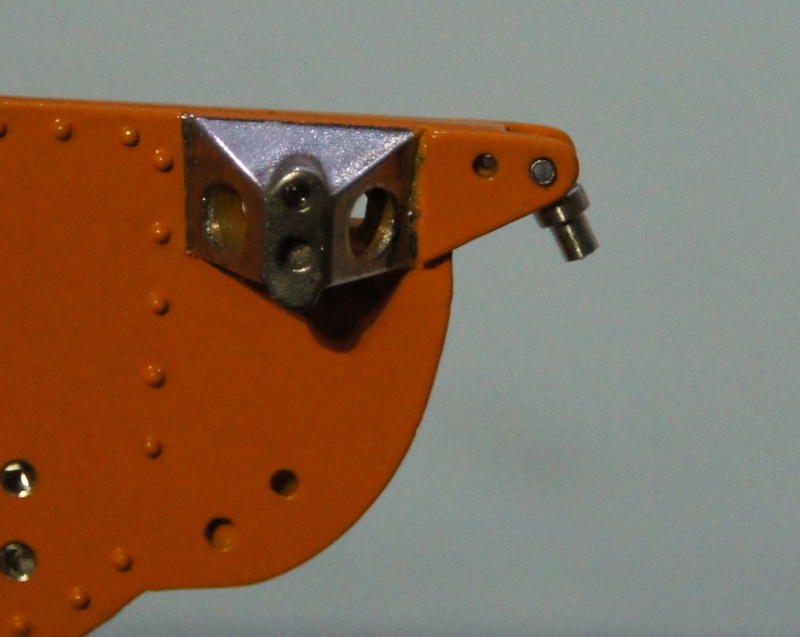
Front bulkhead riveted and modified.
New mount using once again Rob's parts instead of the molded white metal.
test:
J'ai enfin modifier le corps de l'amorto pour l'adapter à la nouvelle tête usinée:
Nose ready for primer:
Holes opened :
Primer from Gravity:
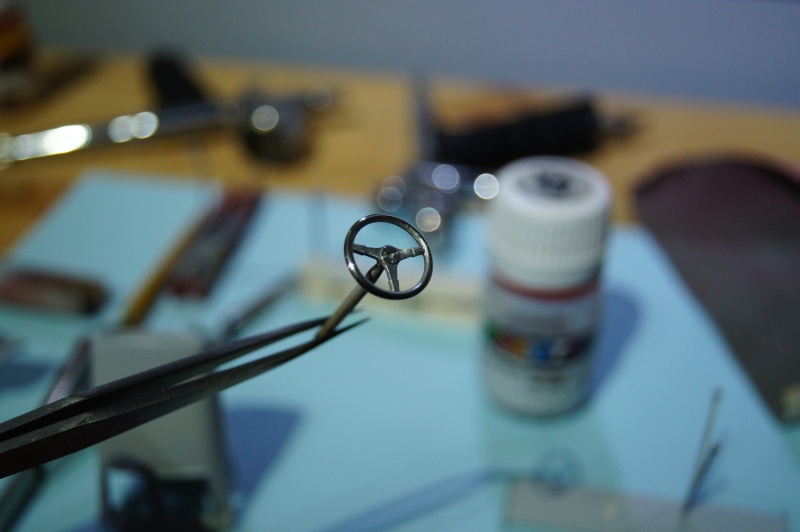
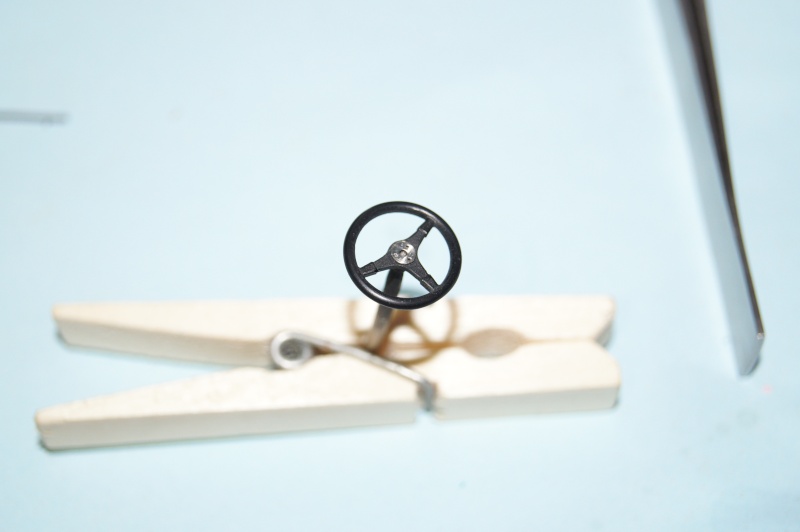
Steering wheel prepared and masked:
Family picture:
Test on the other version of the windshield.
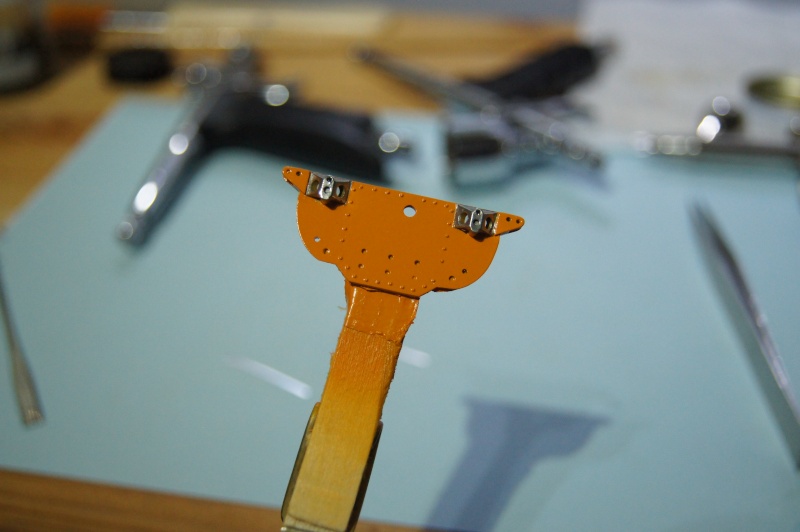
Front bulkhead unmasked and ready for completion:
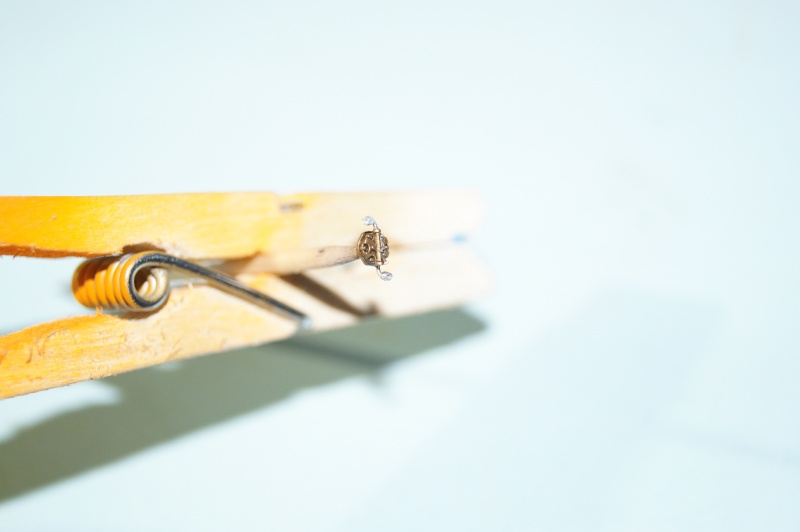
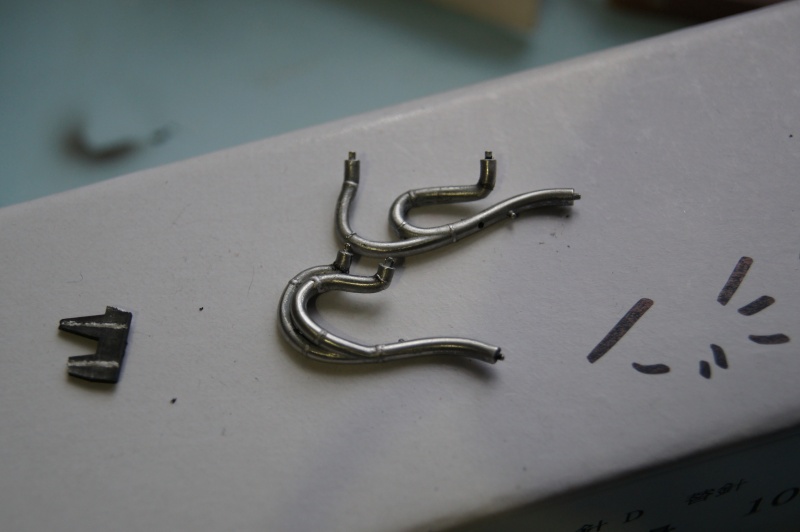
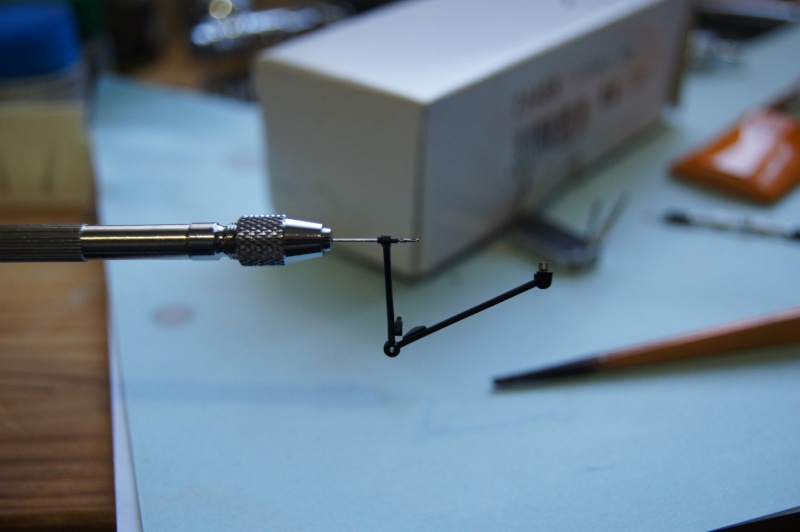
A small "T" fitting is quickly done.
New modification for the upper part of the damper and the upper triangle:
Steering wheel is almost done and waiting for oils:
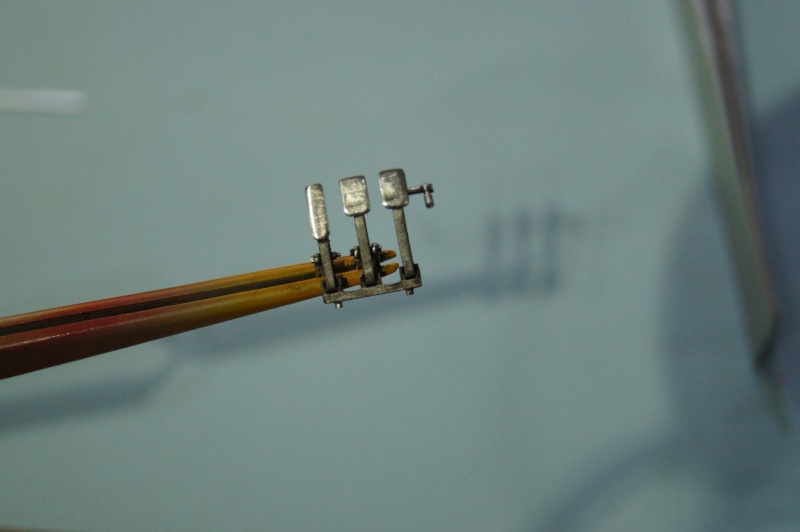
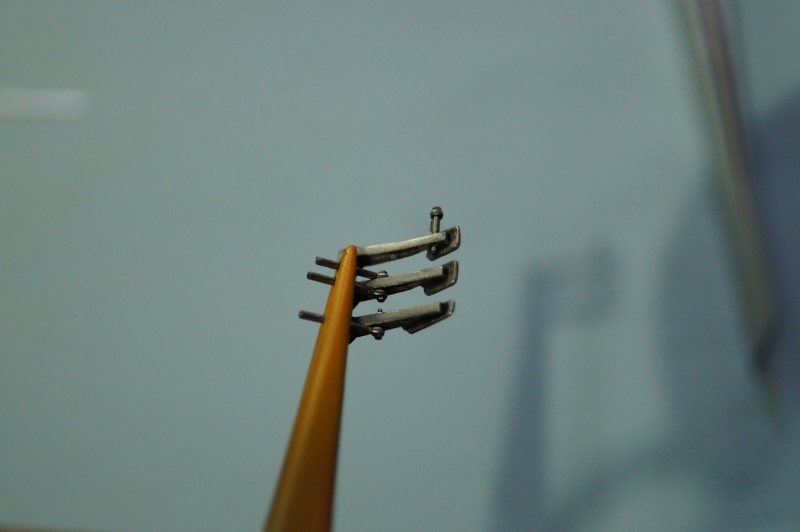
Small details added on the pedals:
Brake fluid bottles detailed and installed.
Adding few details on the steering box:
The Roooaaaring Papaya is still progressing!
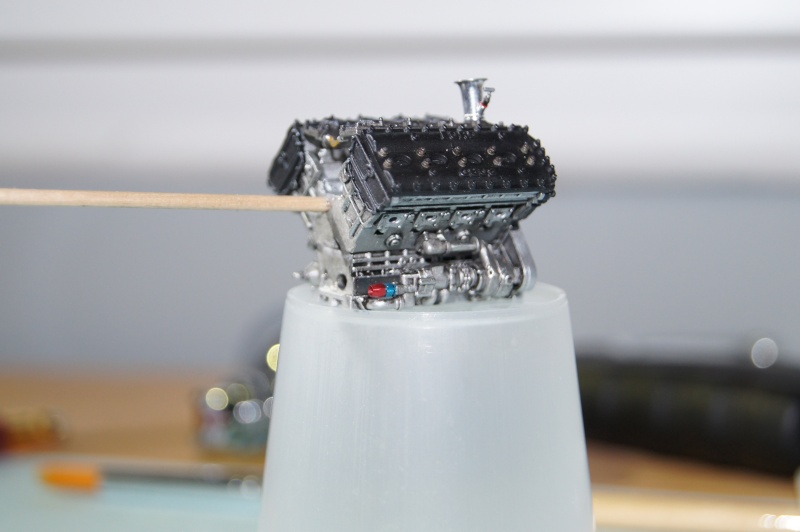
Velocity stacks are finished.
I was not that happy with the cam covers...
So I replaced the white metal molded ones by some 0.8 Calibre 35 made from resin:
McLaren Papaya Orange for the front extractor... I forgot.
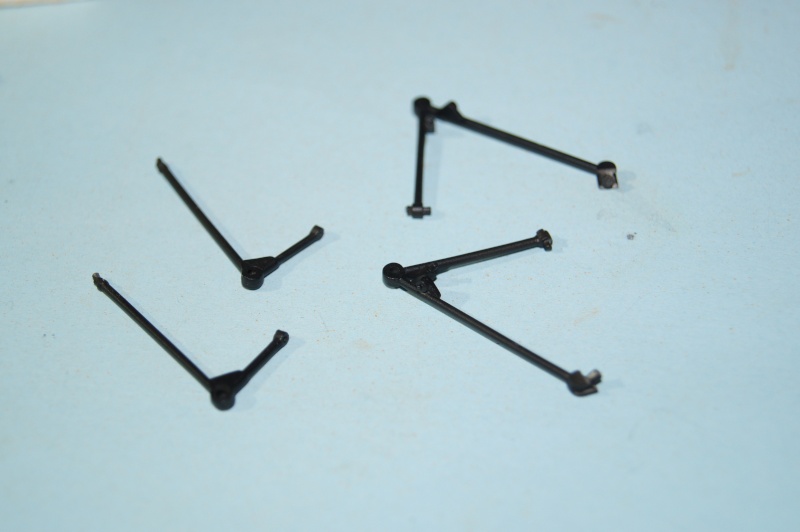
Forward triangles ready:
Fuel pumps ready :
Studying how I will put the harness.
Hardware from F1 Specialties, T3B.
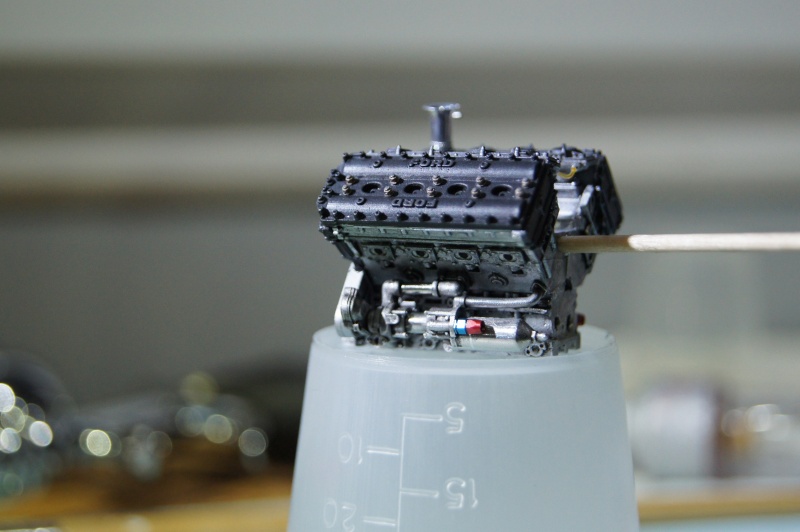
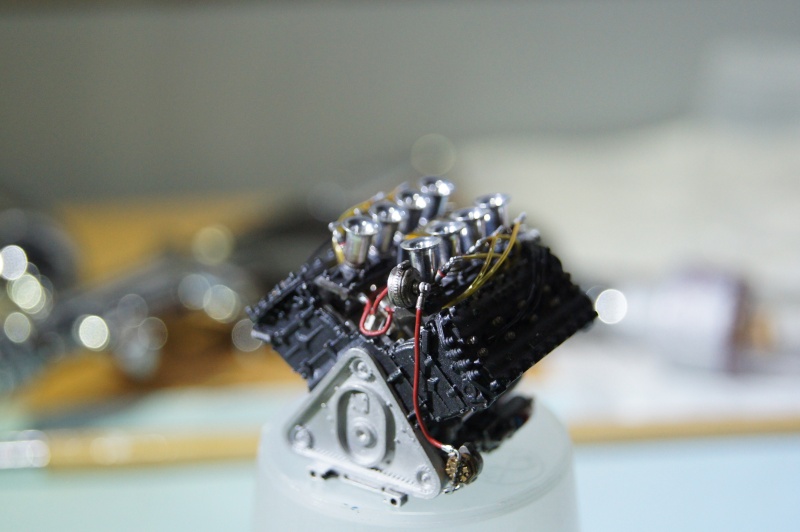
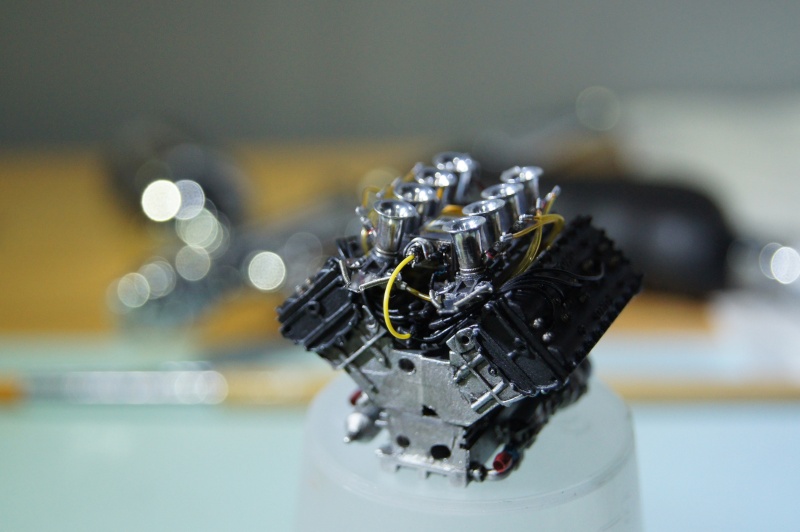
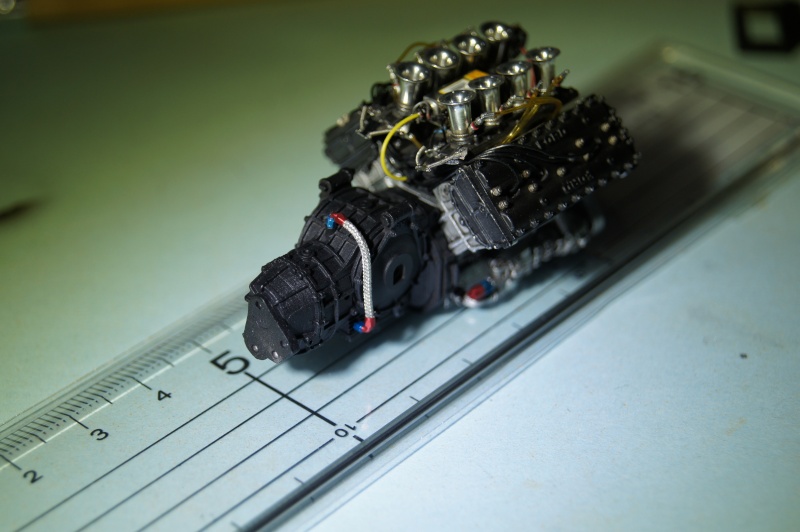
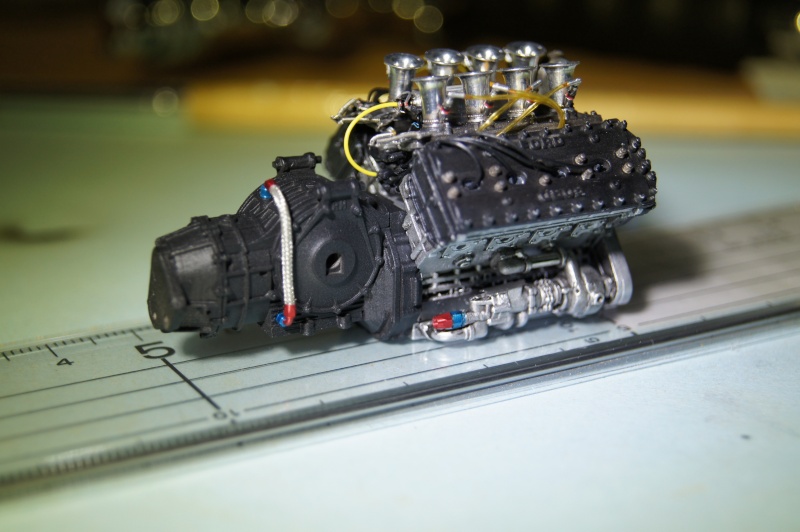
Hairy DFV!
details added on the "electronic" box:
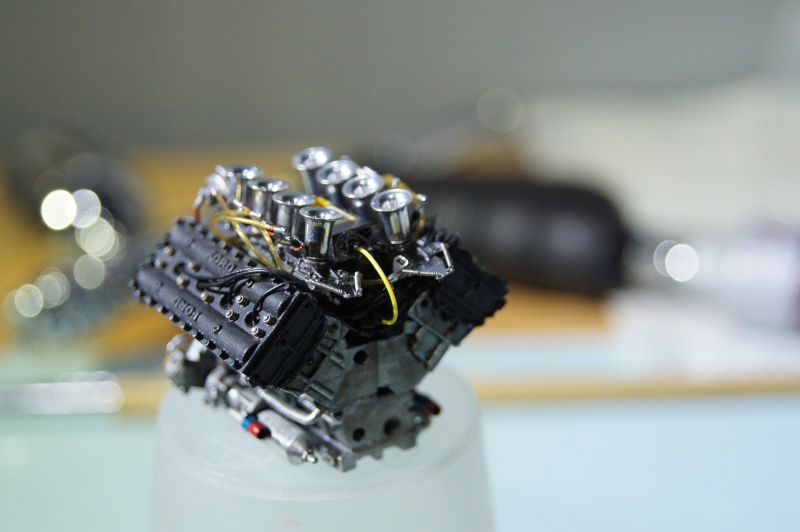
And on the admission ramps:
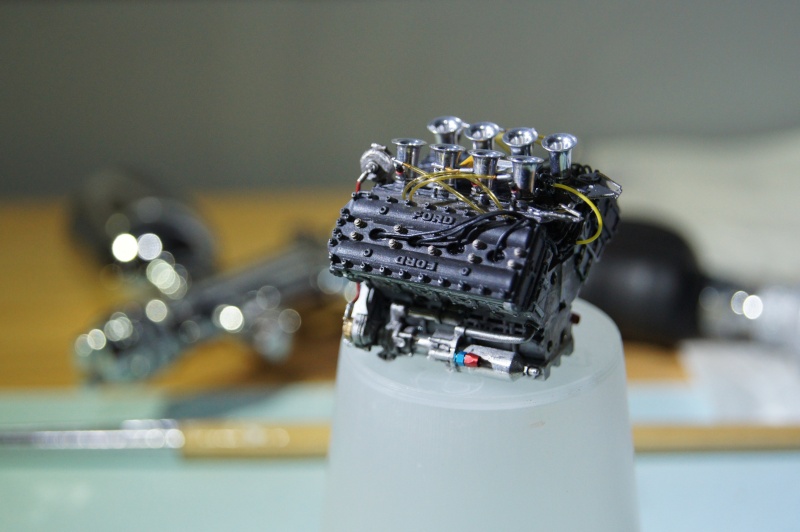
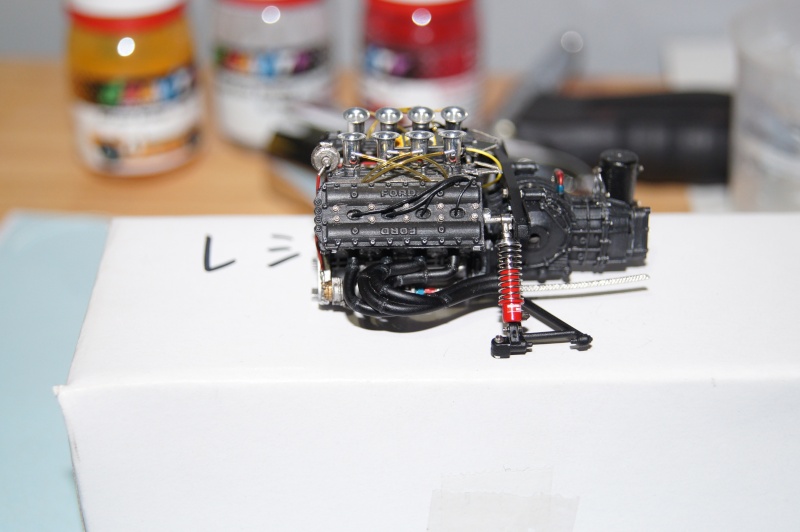
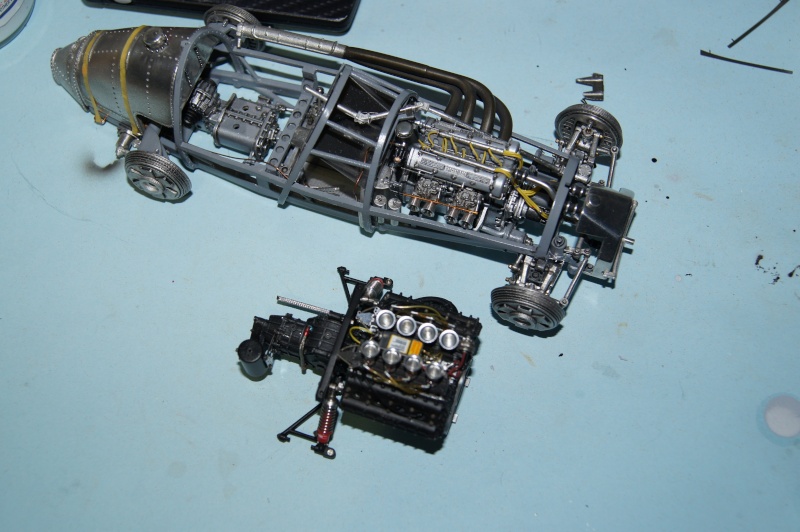
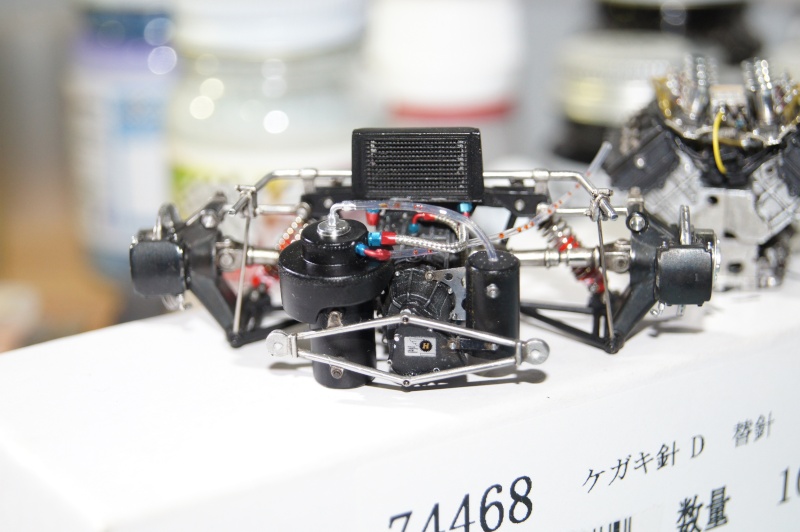
Pics of the Cosworth with the sub assemblies installed and few details:
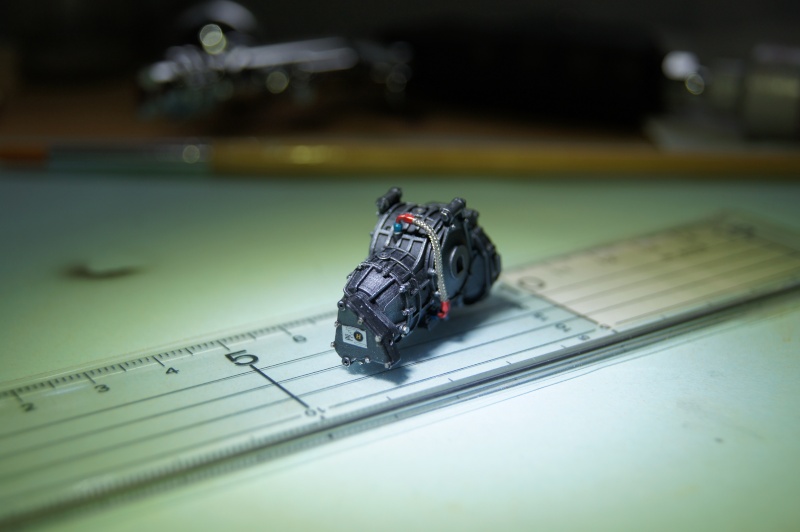
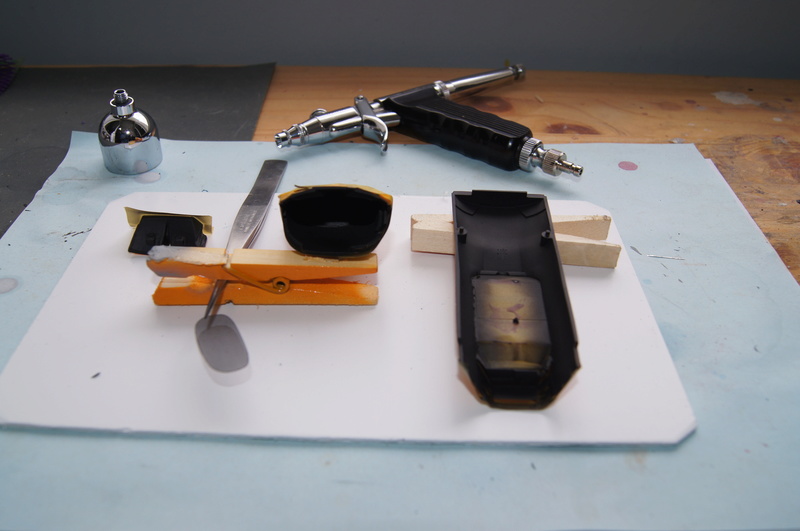
Time to work on the Hewland Gearbox.
Parts were already sand blasted then primed with GC light grey primer... sorry for the picture!
Parts drilled where I'd add some details.
The A/N line is ready.
Black quickly sprayed.
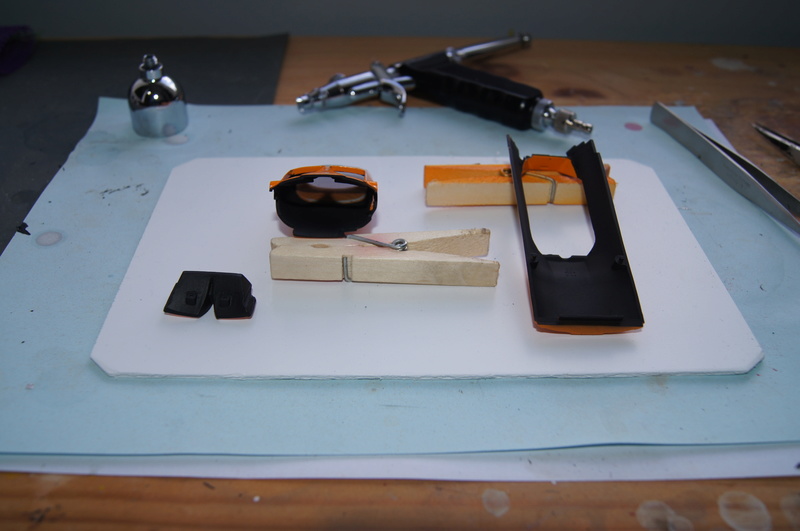
Test fitting:
Washes , dry brushes, oils accessories and more soon.
Dry bushes with Polished Steel , Polished Alu from chez Humbrol Metal Cote.
Oil job with Rembrandt (Extra fine) Sépia and W&N Artists Ivory Black, Gris de Payne et Outremer.
Of course RB Motion bolts and washers were used.
Pics will tell more:
Brake calipers and the stub axle (?) were chemically burnished.
Brake calipers were "stolen" to the M19 in order to replace those supplied in the kit.
rear axle parts are prepared and drilled... too much drilled!
I had to play with the low temp solder in order to fill the hole in the lower part, then sand, but now it's ok.
Brass knobs for the dampers.
Same method than those done for the Ferrari 312F1.
They will be burnished.
Primer and paint for everybody:
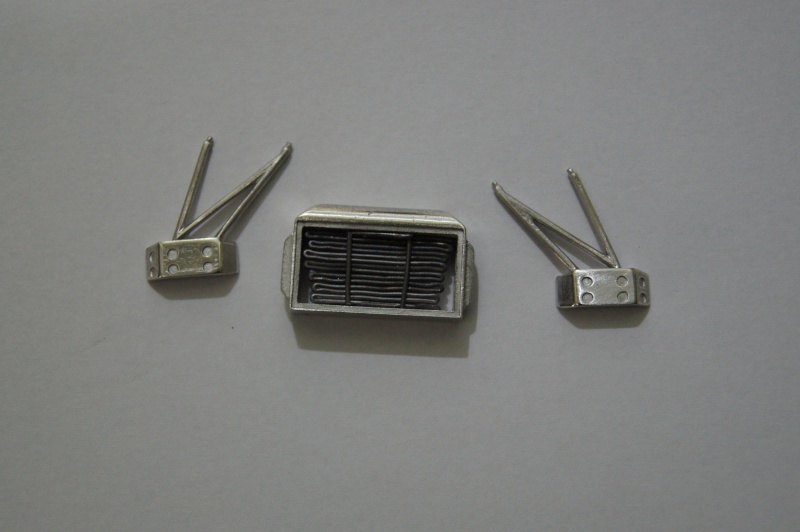
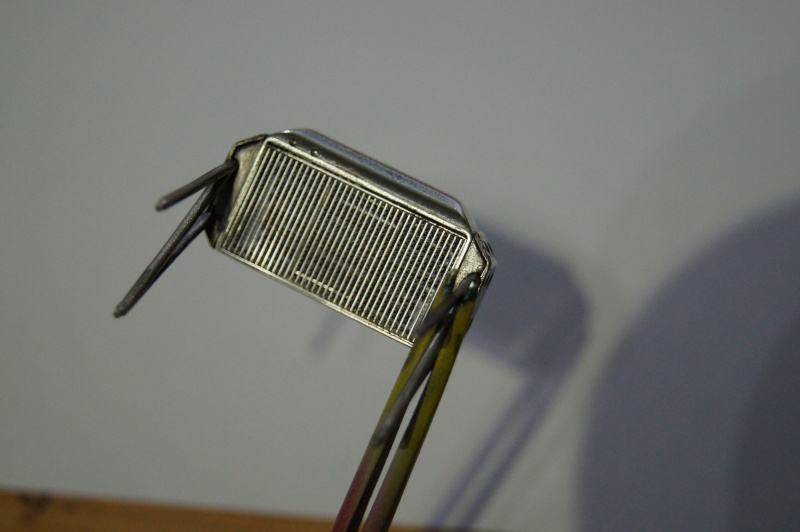
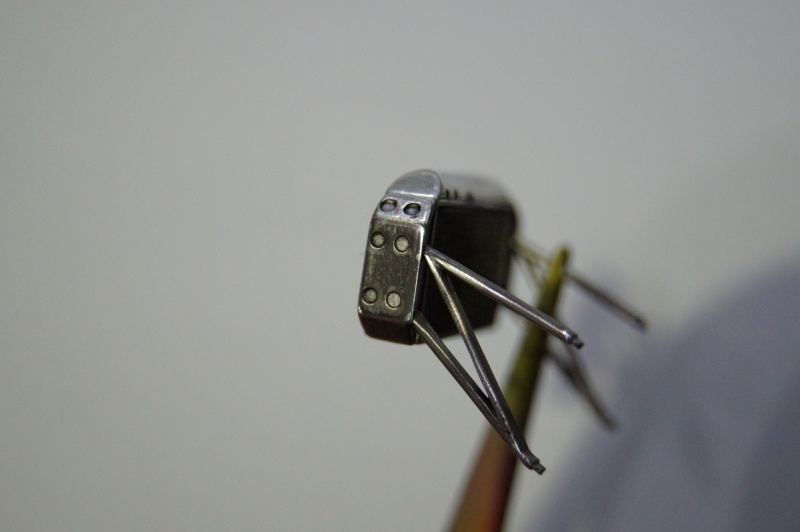
As usual, radiator is filled.
Better pics than those from yesterday:
Weld lines added.
It's a bit rude for now, but with primer and flat black it should be ok.
If not... I'll undo it and will make the weld lines with the iron as it was tested initially.
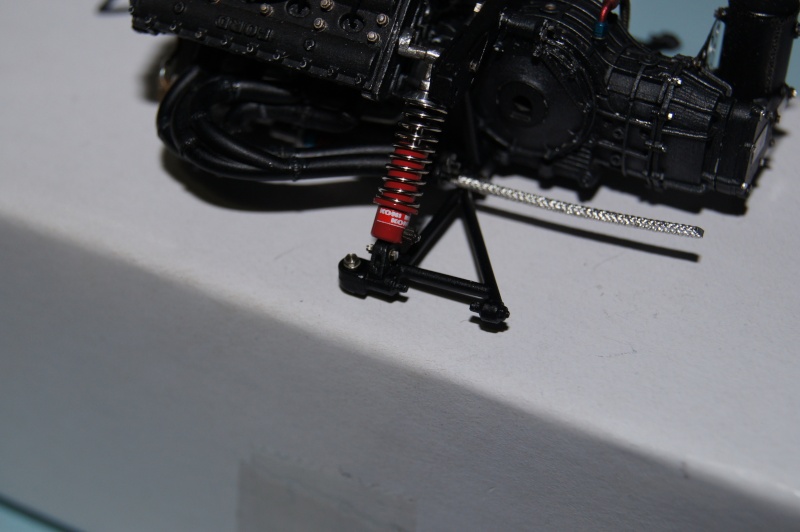
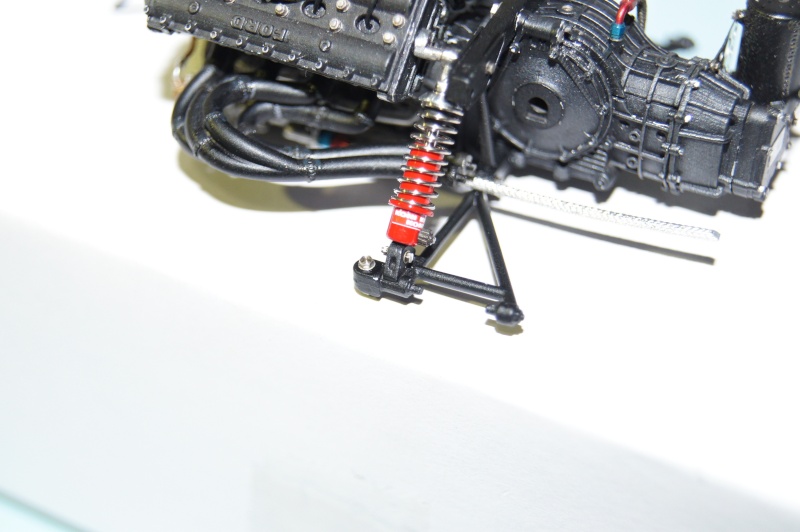
Dampers almost finished.
A Koni stucker was added...
Just now need a light oil wash.
Weld lines are pretty easy to work with.
Those ones are metal type from Top Studio and those seen earlier in the WIP and on the 67' Ferrari 312 F1 were from Archer.
Primer and paint session .
Front dampers clear coated:
Not that happy with the weld lines I find pretty rude and out of scale...
I will decide what to do after "weathering" job on this side exhaust.
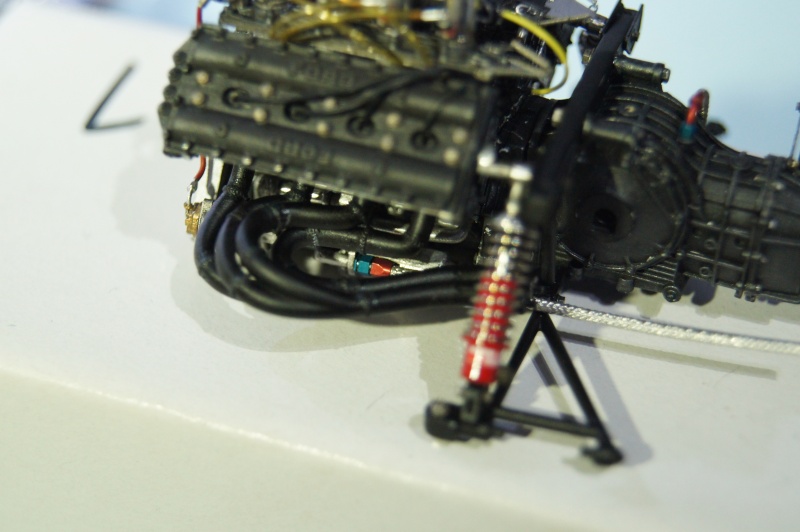
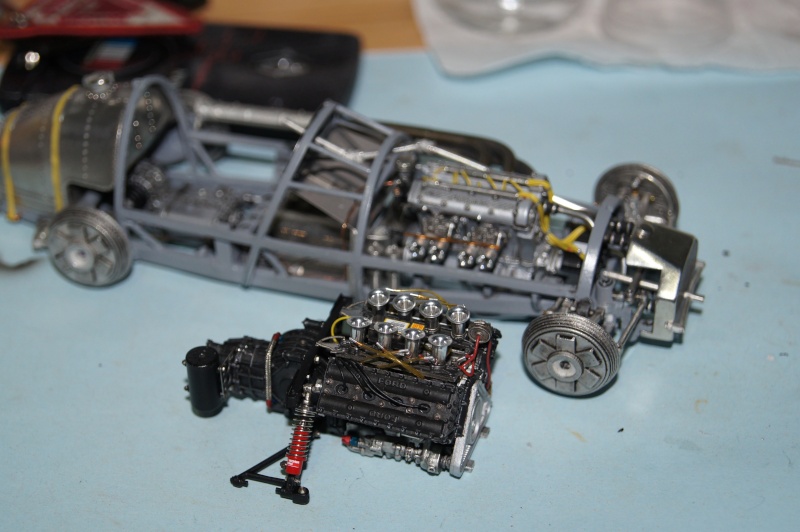
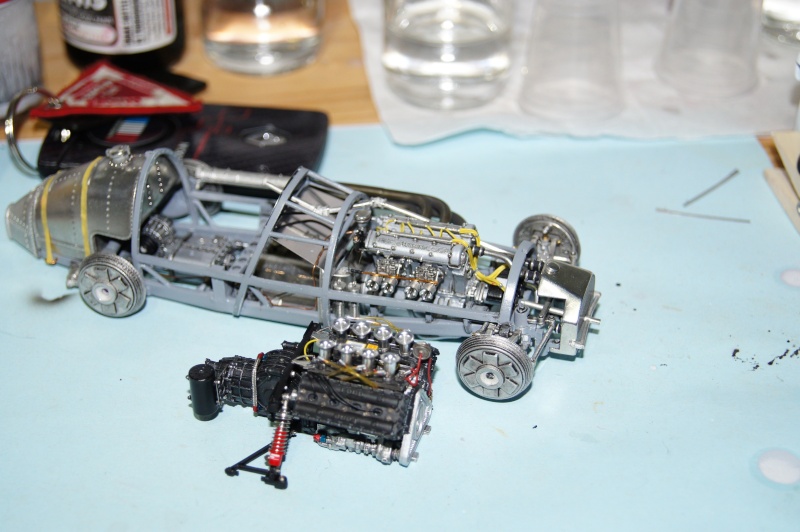
Update on the Gearbox/Engine assembly and test fit: cooool!
Time for pictures:
Maybe I will do something like that for the weld lines:
This is the other solution regarding the exhaust weld lines.
I made a real flat weld line with low temp solder.
It was then masked with liquid mask and treated with burnishing product.
A mask a bit larger was then done before shooting primer and mat black
I think I will add few accessories:
Not that happy with the former result: Plouf! gone to swim in the cellulose thinner.
New black layer sprayed
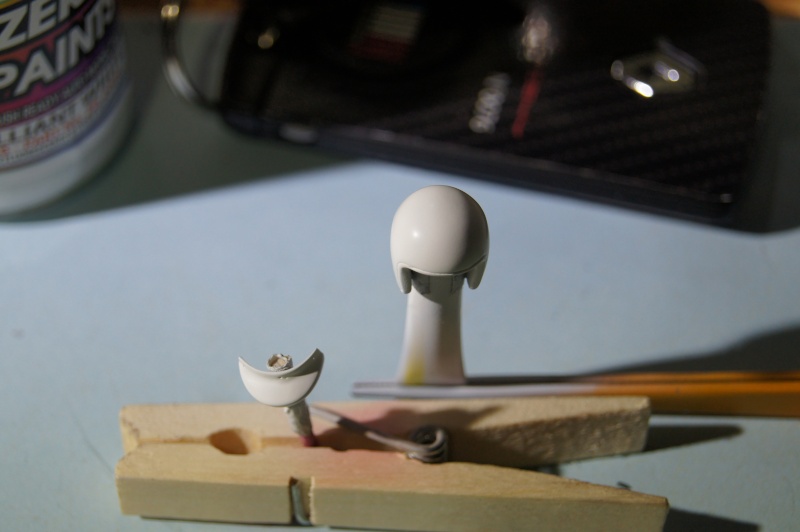
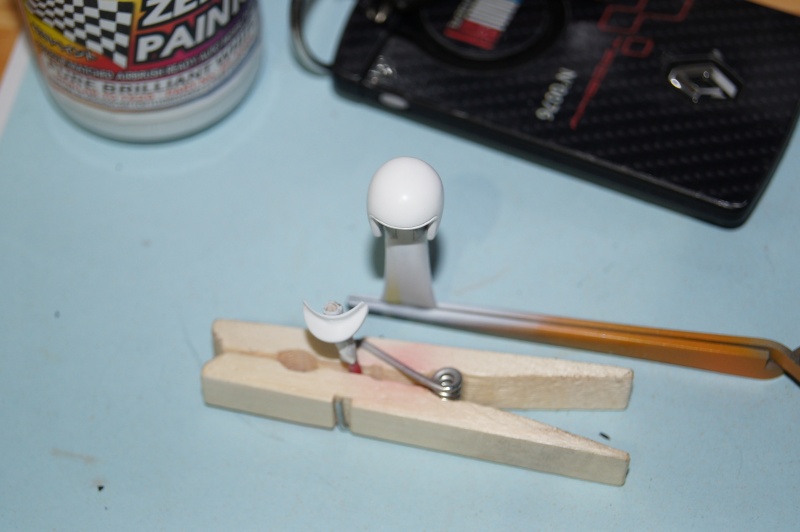
ZP Black on the gloves too:
... and Pure White on the helmet:
Maskol off, ZP Translucent blue and W&N Ivory black wash down on the weld lines area:
Not decided yet...
Couldn't resist to compare the DFV with the 500 F2 engine!
Should have done the same with the Tipo 218 V12 of the312F1...
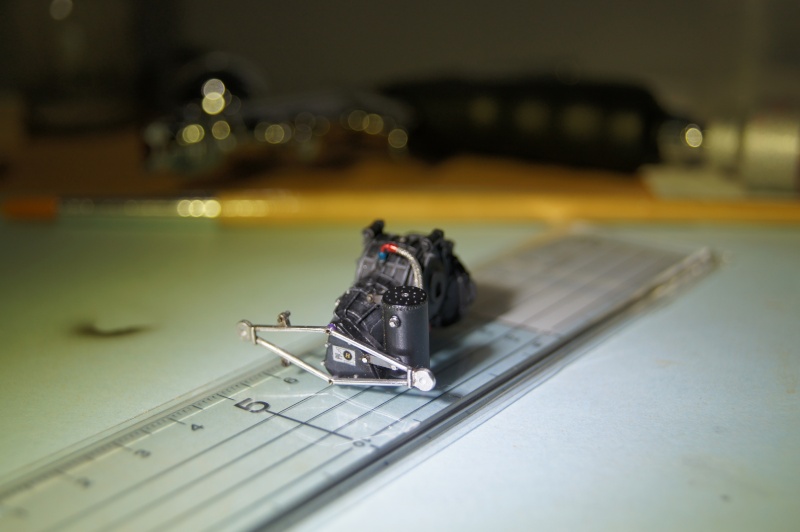
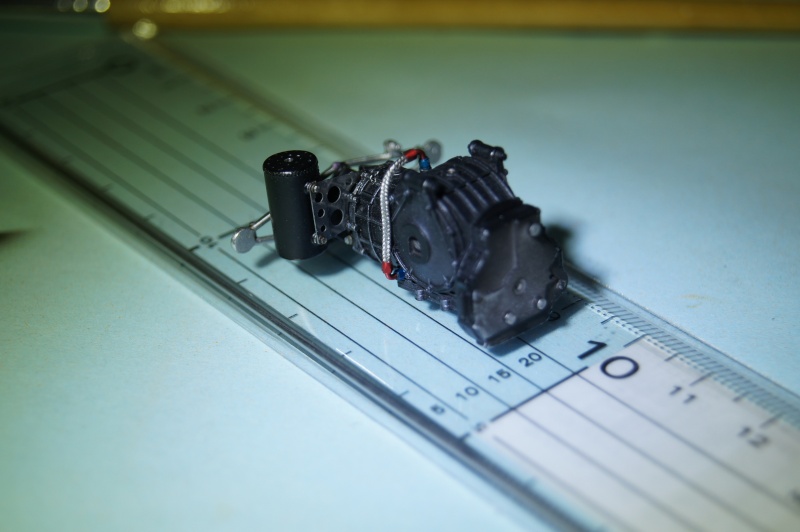
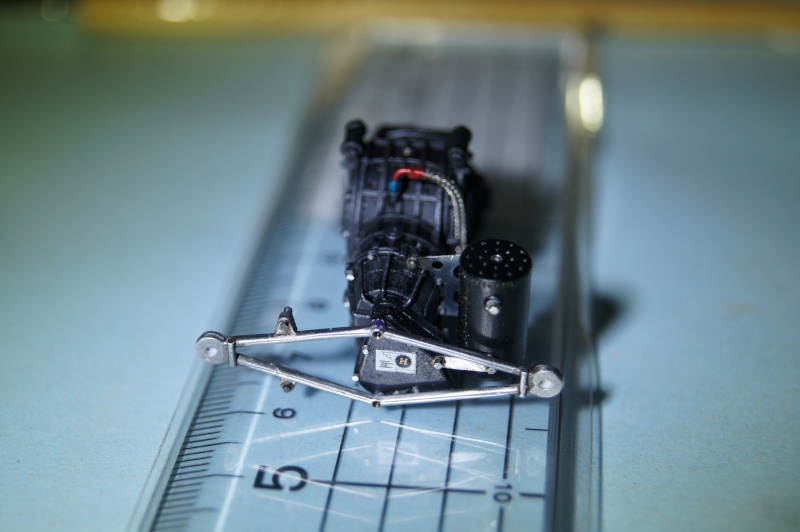
Transmission progress:
Oil coooooler; A/N fittings & braided line!
Transmission is now almost done.
Once the exhaust finished, engine and gearbox can be assembled, then fasten to the rear bulkhead.
Weld lines are finished on the right side of the exhaust and left was redone.
Few heat stains added.
Weld lines are also made on the 2 in 1 tube.
Pics of the sub assembly:
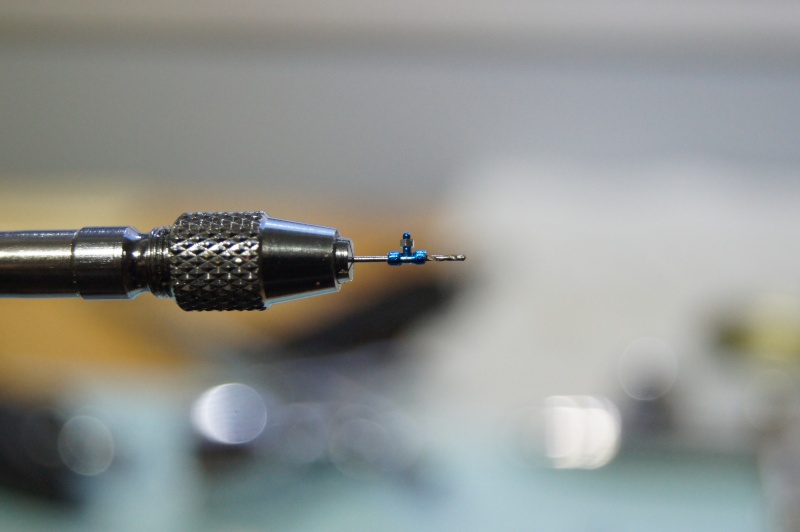
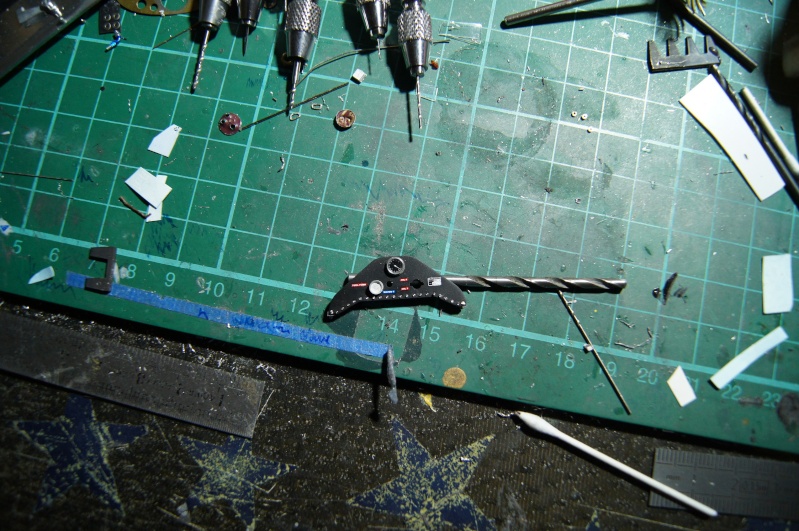
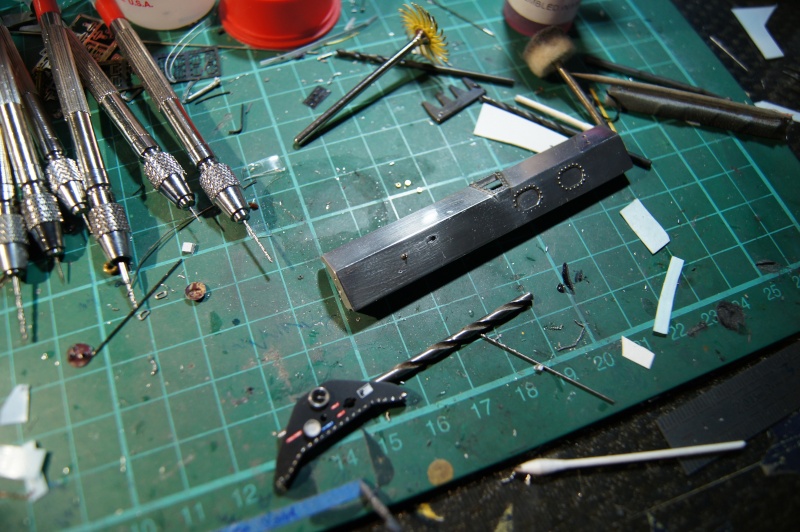
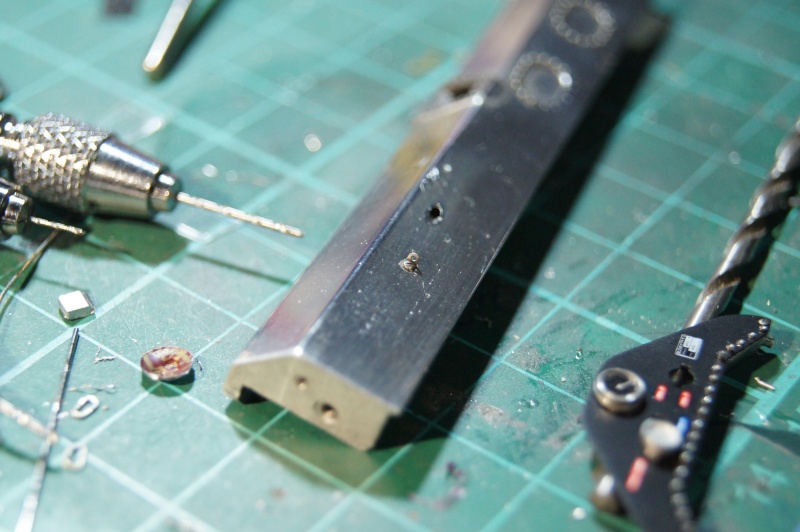
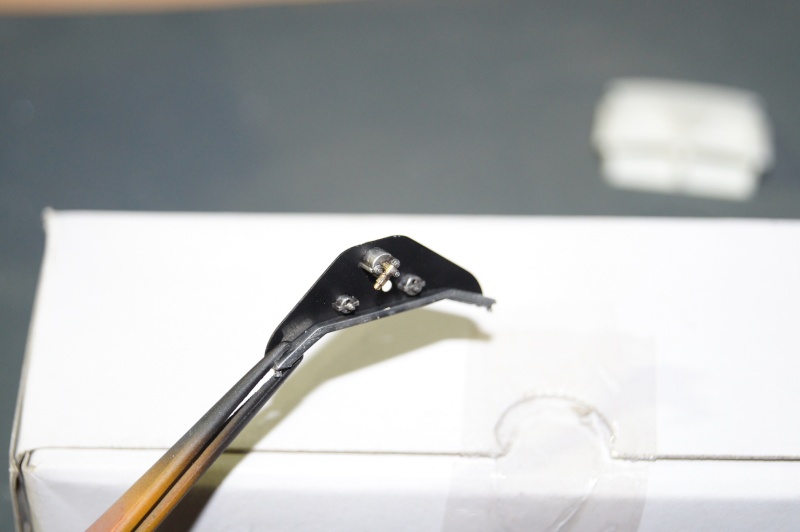
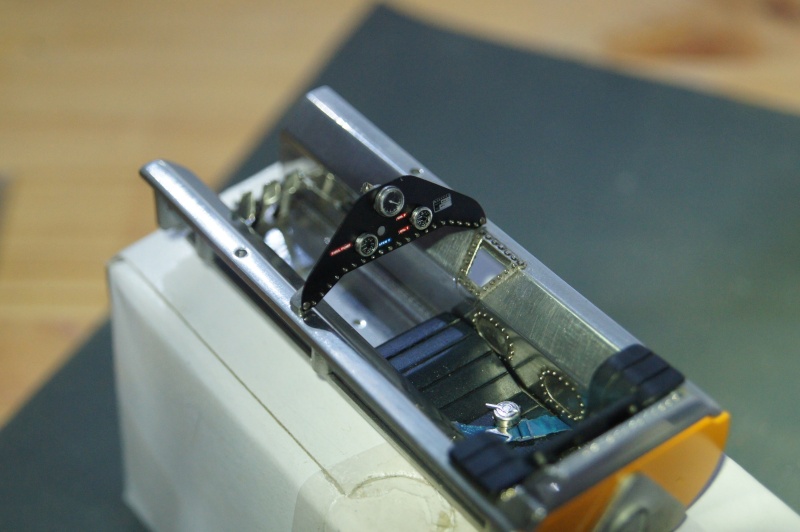
Started to work on the instrument panel and tachometer/tacho connection.
Angle gear is made of 2 parts of brass connectors, filed down and soldered.
Not the best, but not too bad due to the fact that the part diameter is 0.7.
The genuine hole in the tachometer is drilled with 0.5 bit, then filled with 0.5 lead wire.
Dash board painted with Flat Black ZP:
Front dampers done:
Stub axle modified:
... then burnished:
Same for the center of the wheels:
Stainless steel pop rivets cut and installed.
A little square bracket is fastened to the right side in order to hold the accelerator cable.
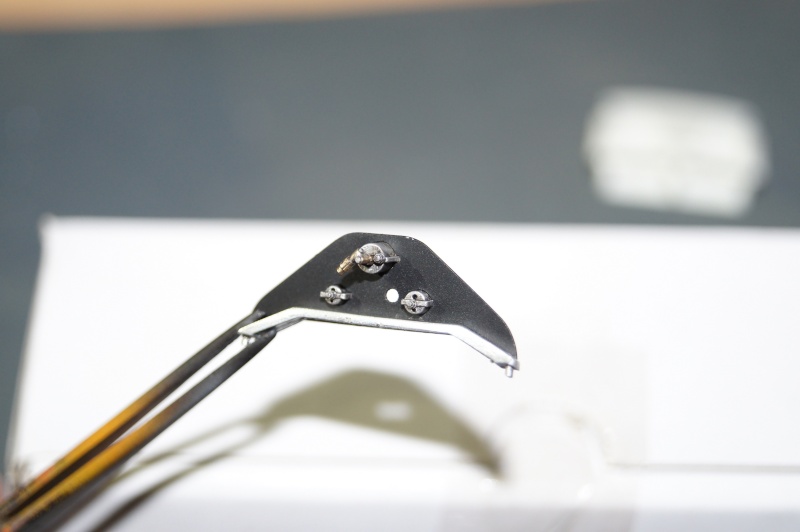
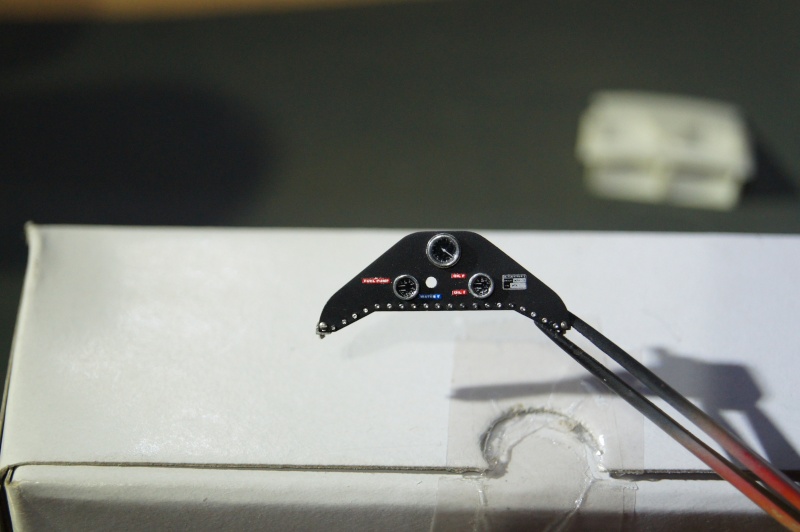
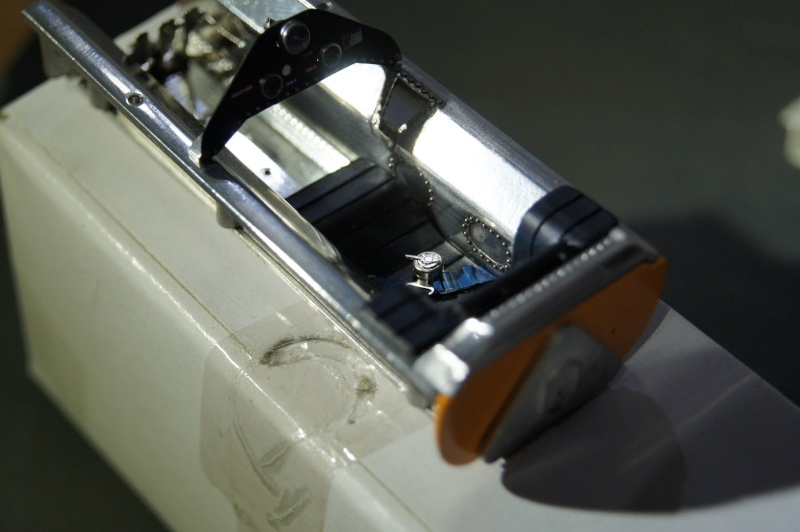
Dashboard is finished and instruments are installed:
Accelerator OK:
I've tried to do the stitching by myself instead of applying decals:
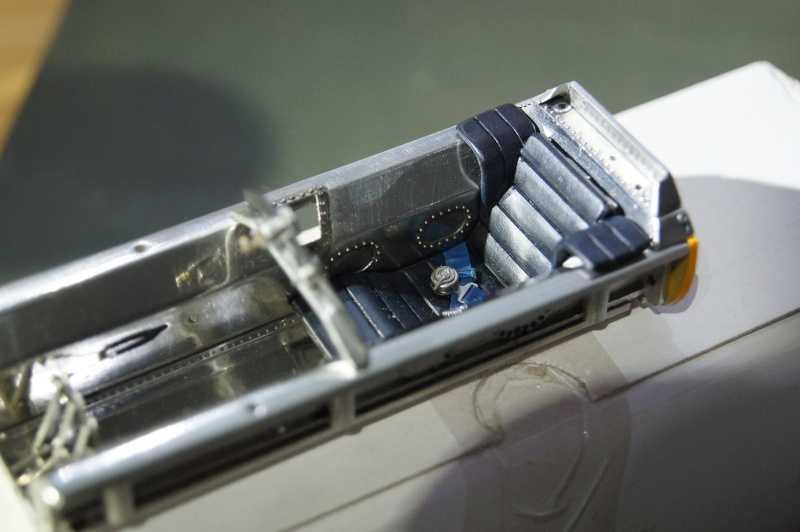
In the cockpit. A light weathering is started on the seat:
Dry fitting:
Time for the clear coat:
Modification for the wing support:
Shoulder straps done too:
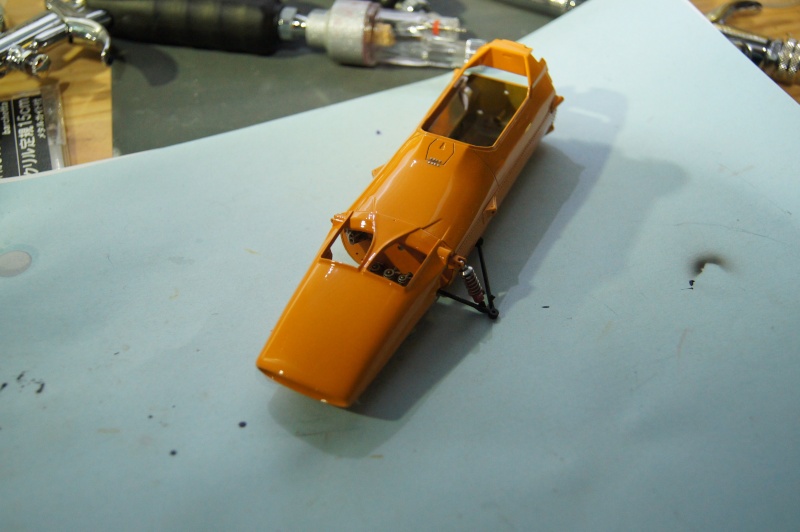
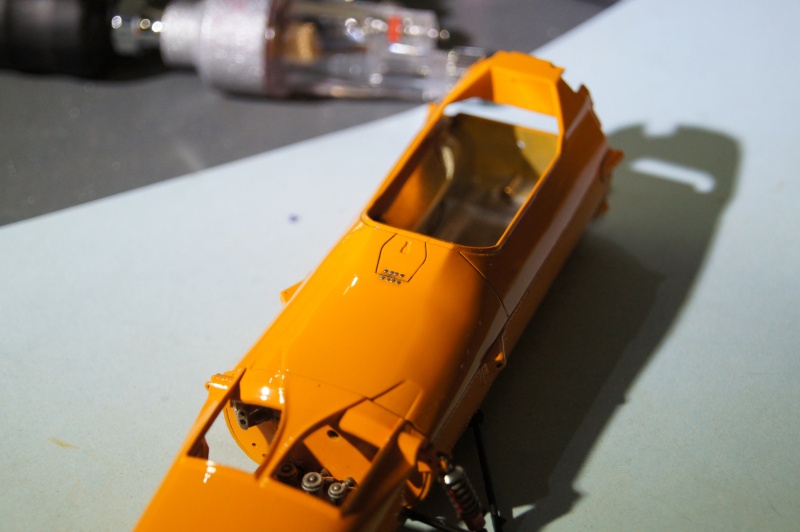
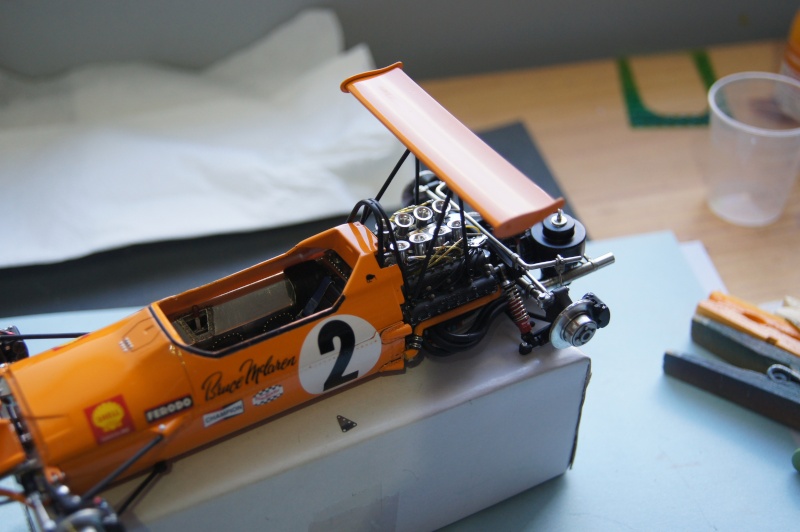
Small progress with the body installed and some work on the pipes with rubber connections and clamps.
bracket for the brakes fittings
Few details for the calipers (from the MFH M19).
Test fit
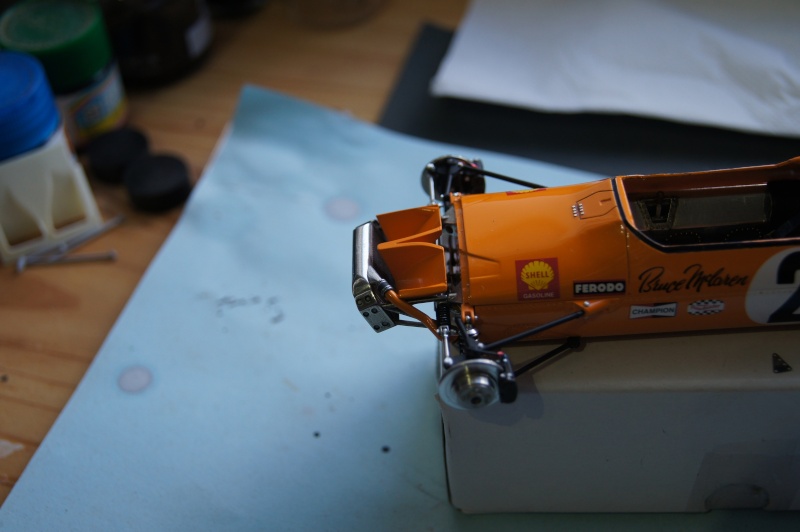
Front end of the McLaren is still progressing and almost done.
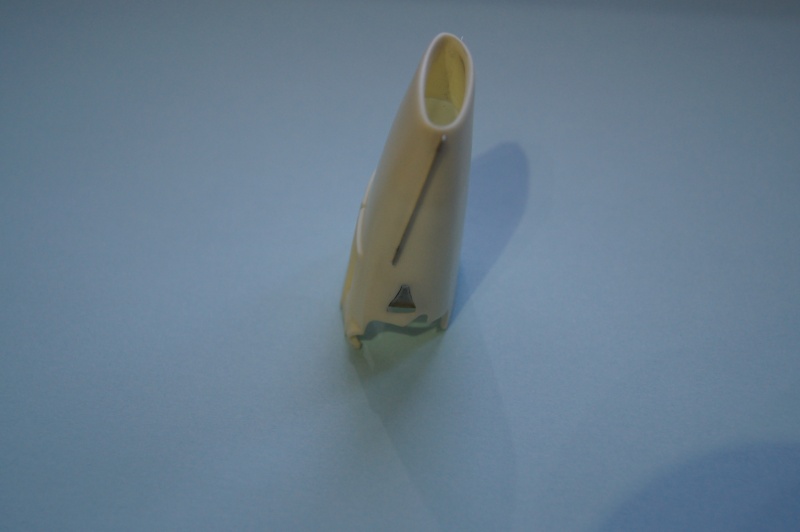
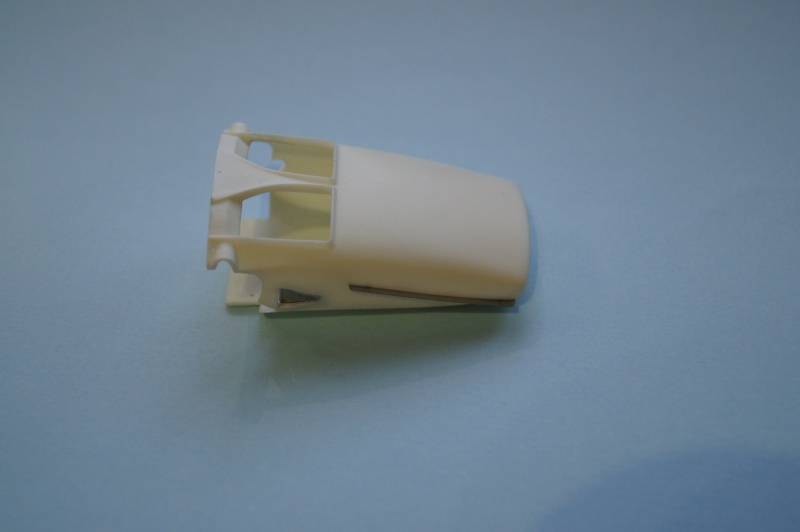
Work on the rhodoïd windshield of the M7A:
- cut,
- drilled,
- Black gasket painted
and a color test
RROOAAAARING Papaya
Few progress on the M7A of the Boss.
Prep, primer and ZP SG Black.
details added:
I forgot this part... so Orange is out.
Need to clear coat... or not...
new color test...
...PGo for this one:
Details on the masts with the linkage bracket:
New parts made:
A bit disappointed due to the fact I din't have enough nuts to make a better detailing...
test fitting:
Cooling duct connected.
Alu tape having fun into a bath of MEK :
I spent a loooong time to find a solution and to succeed in modifying the rear tie rods: I didn't like that much the original ones.
I also added the brake lines .
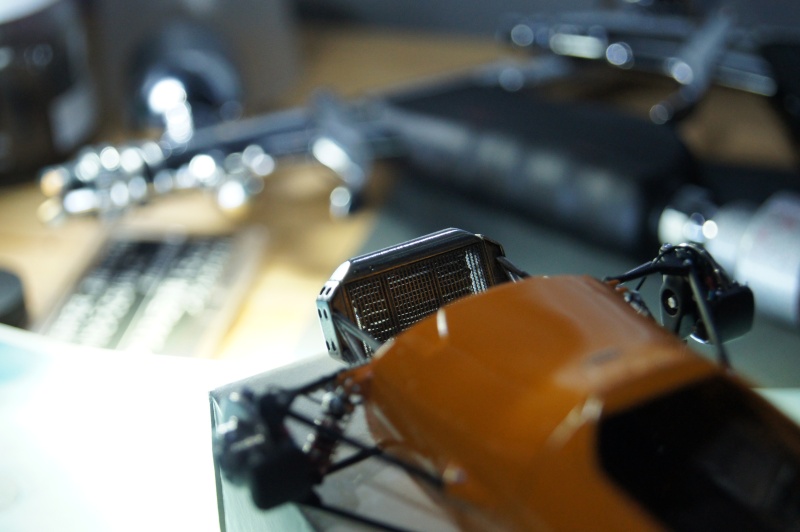
As the build is on a good way, I took some pictures of the M7 next to the 312 and the body of a Lotus 49...
First, coolant pipe. The one which is running under the right side of the Body.
Masked, primed, painted and quickly clear coated with brush and Klear.
Installed and connected to the water pump on the engine side and to the radiator on the front end.
Same thing on the left side.
Stabilizing bar and rear view mirrors polished:
The intake trumpets are made of brass and need another color.
As usual with that kind of part, I prefer a chemical traetment.
So, the mesh is burnished with a blackening agent and slightly dry brushed with Metal Cote Polished Steel.
Then a thin aluminum band is installed around the base of the mesh.
An example on the MFH Lotus 49 DFV intakes, then on the AWESOME Widia velocity stacks of the McLaren.
Fuel pump, expansion bowl (?...) and wing mounts installed.
The engine mounting plates are rebuilt and installed with RBMotion hardware.
Time for the Papaya to have wheels.
Central seam line is sanded.
The blue ring is a mix of US Navy paints from Model Master Acryl.
Tires are airbrushed thru the MFH tool.
A last look on the caliper and its details...
Shoes or socks on!
Nose on:
with her red friend:
already thinking to the next one...
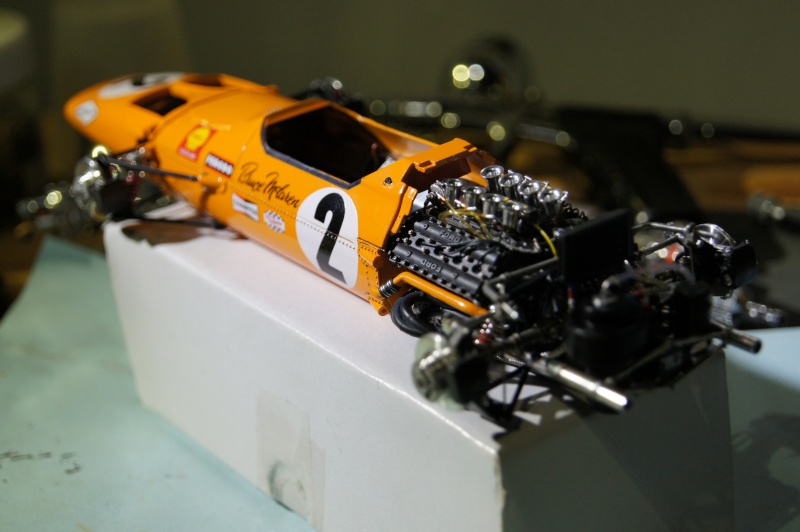
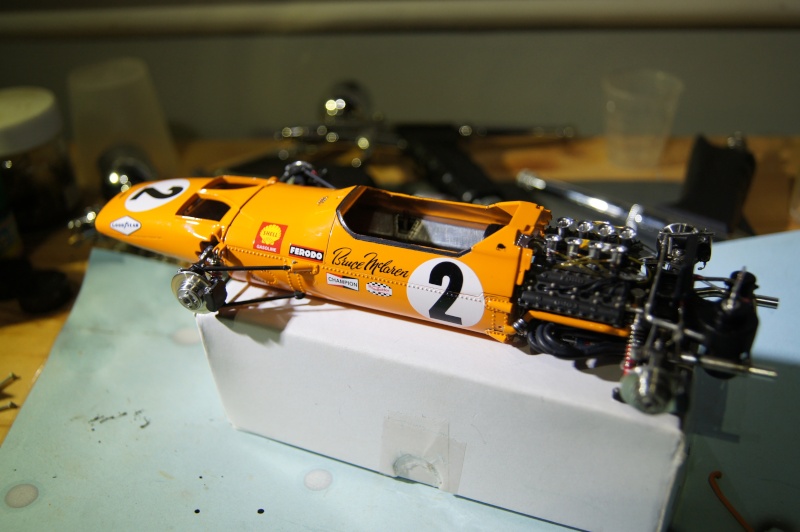
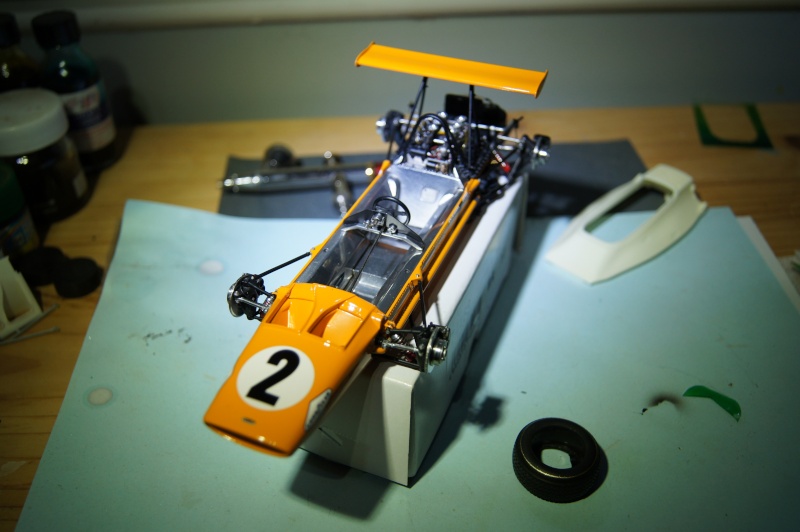
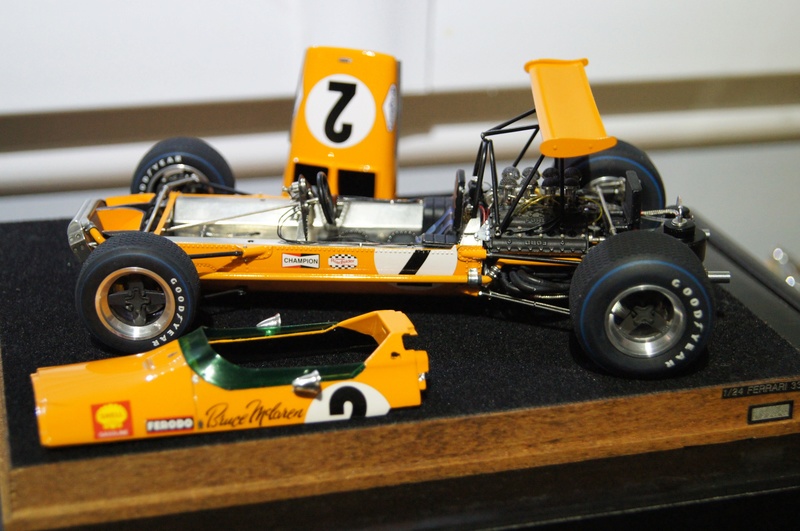
Here we are!
The Roaring Papaya is finished.
Mat black after masking:
Windshield is installed with 0.7 resin rivets. Mirrors, Dzus and metal rivets of the front hatch are also now done.
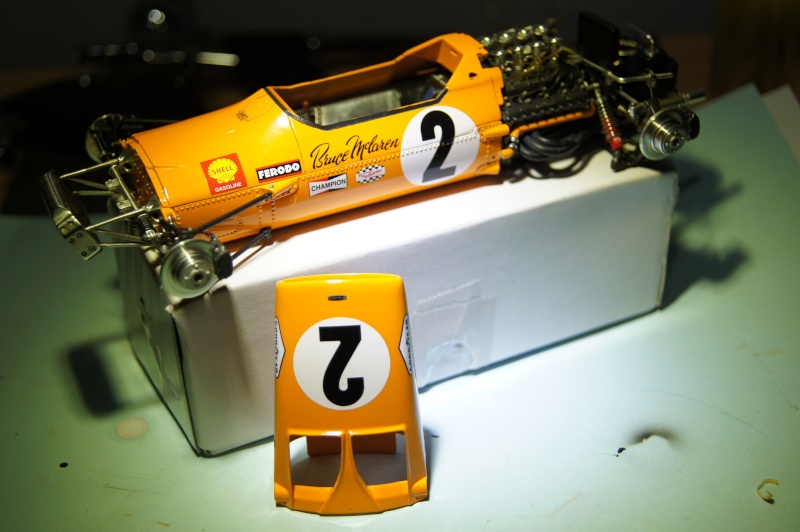
.
Undressed.
And others with "clothes"!
I hope this wip was plesant for you.
As usual, comments and remarks are welcome.
Pascal


