|
|
Post by Boreham on Jan 15, 2021 12:14:17 GMT -8
These initial posts are months being but I'll update over the next week or 2 until its nearly "live" to the current status. Here in Ireland and in the UK "Hotrod racing" in it's historic category is a stripped out saloon or hatchback with a cage, glass removed completely. There are regulations but as motorsport goes they're relatively free. Anyway,I got 2 partial kits in a joblot I bought on ebay. They appear to be profil24 Lotus talbot sunbeam rally car kits. They're engine, glass, Decals,wheels etc we're all missing. All that was there is body, chassis and back axle and front suspension. 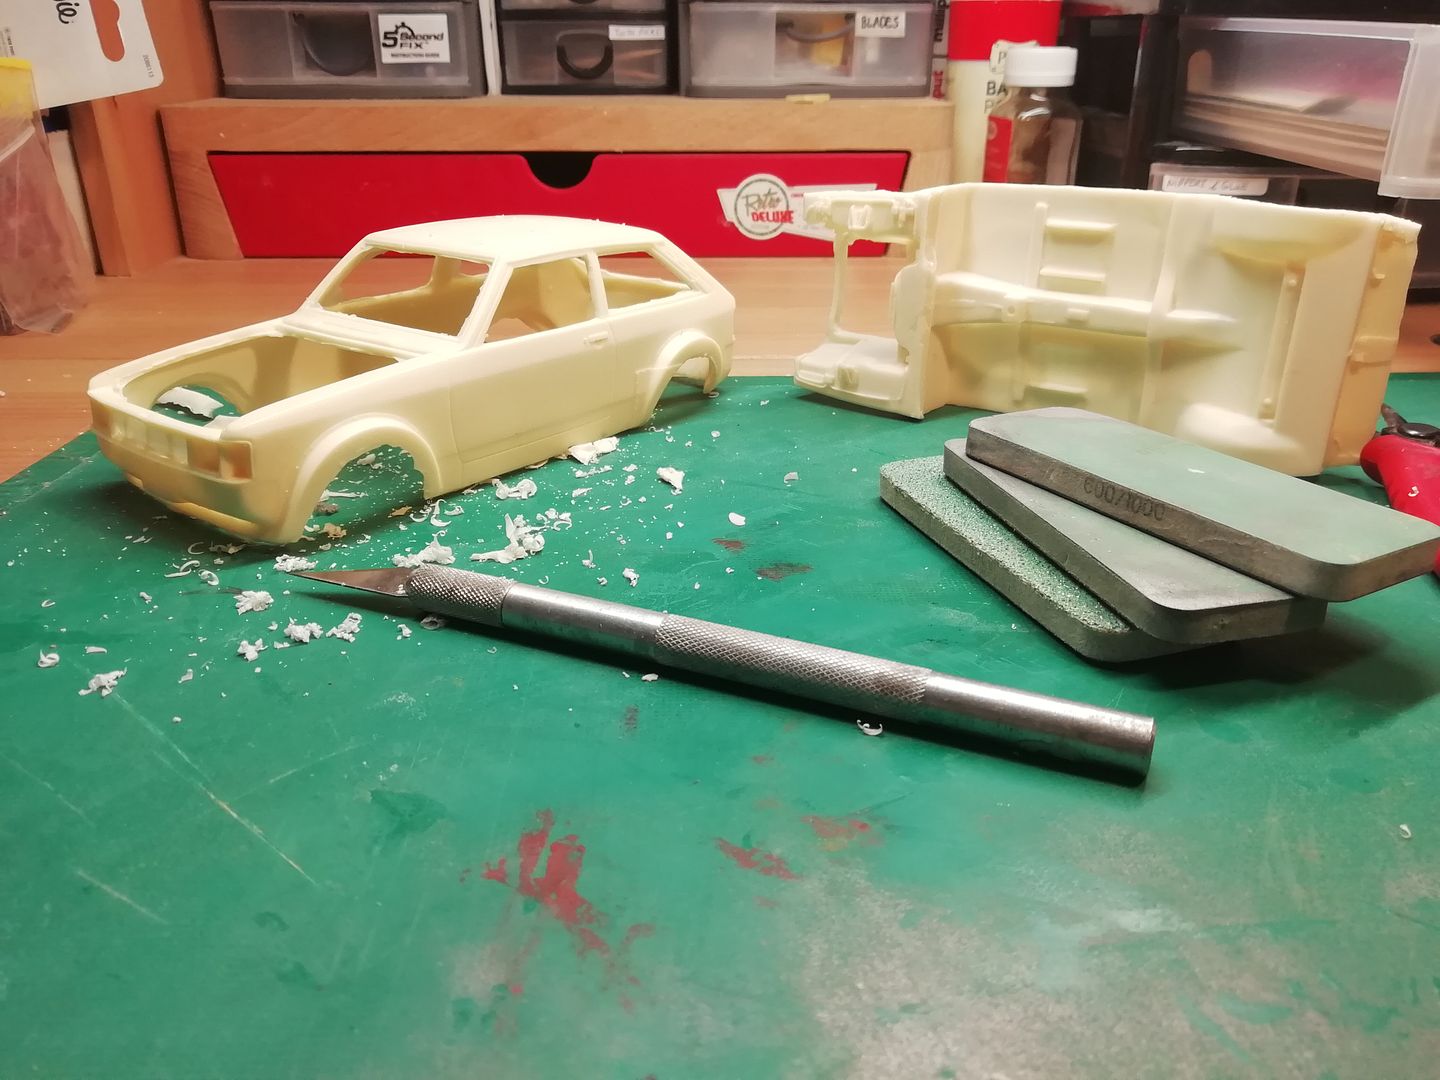 Initially I was disappointed with the body proportions. I decided to open up the windows and removed all the molded in "rubber" 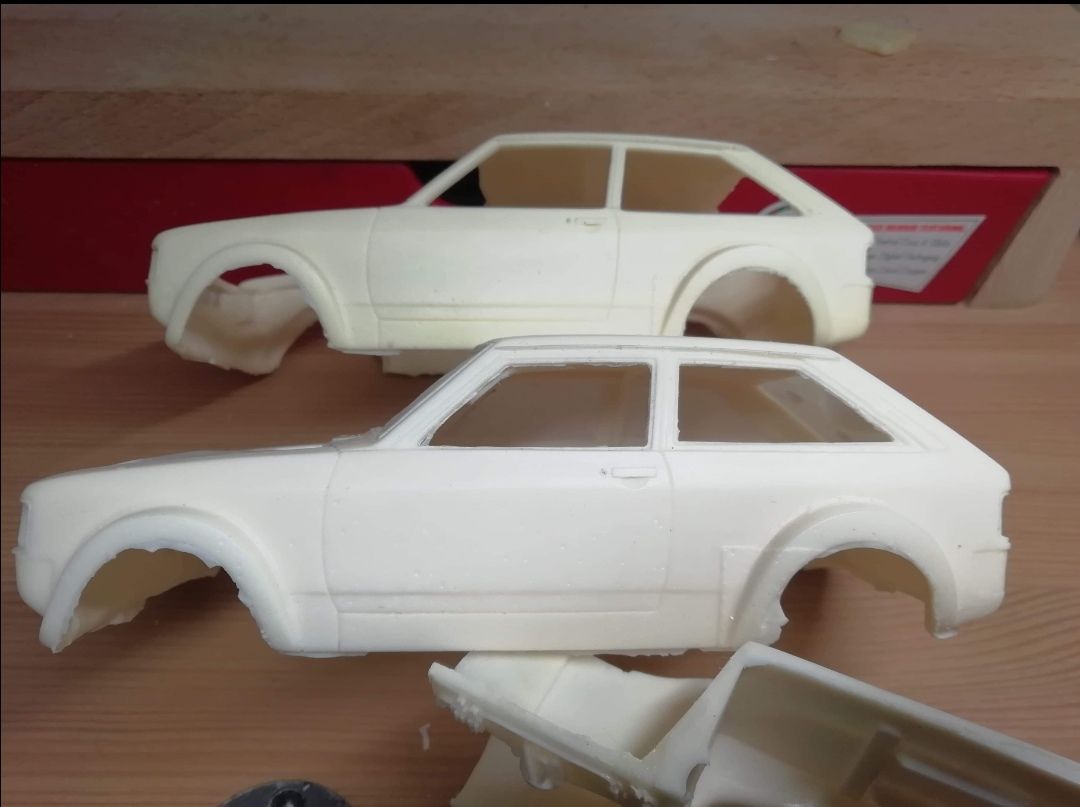 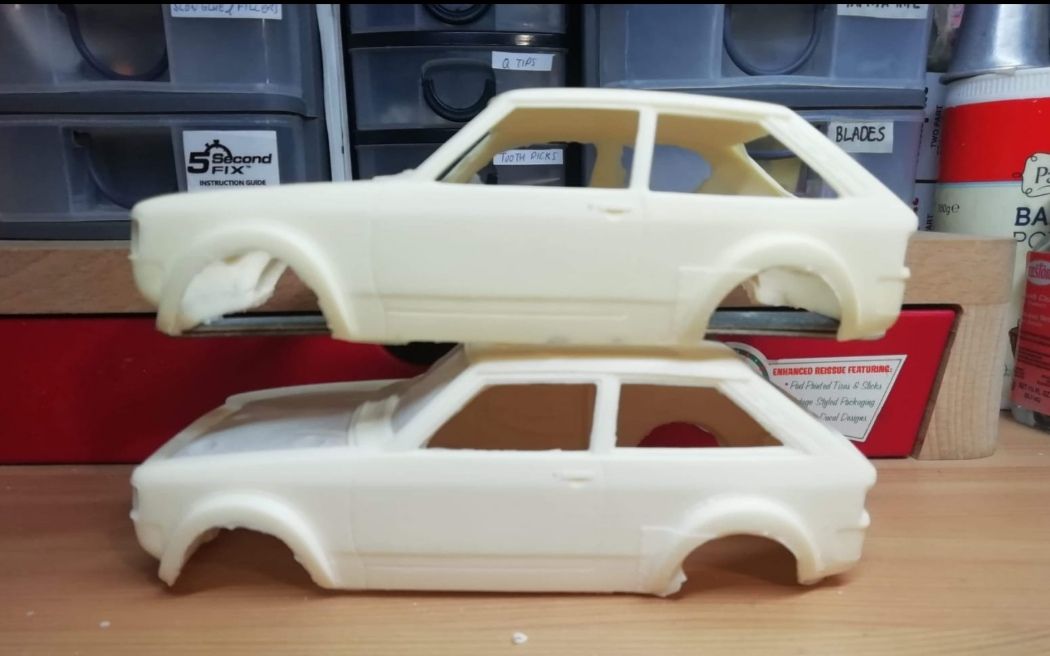 In am effort to reduced the slab sided look of the doors and sill (rocker panel / US ) to proportions closer to the 50/50 look of the original car. It could be argued that its not accurate but I'm attempting to improve a poorly proportioned body.  I'll remove the arch aera under the sill later. |
|
|
|
Post by arcticwolf on Jan 15, 2021 14:46:29 GMT -8
Following with interest, I'm liking this so far
|
|
|
|
Post by afx on Jan 15, 2021 18:26:25 GMT -8
Wasn't aware of this car being available in 1/24 scale. Anxious to get caught up on all your progress.
|
|
|
|
Post by Boreham on Jan 16, 2021 2:13:11 GMT -8
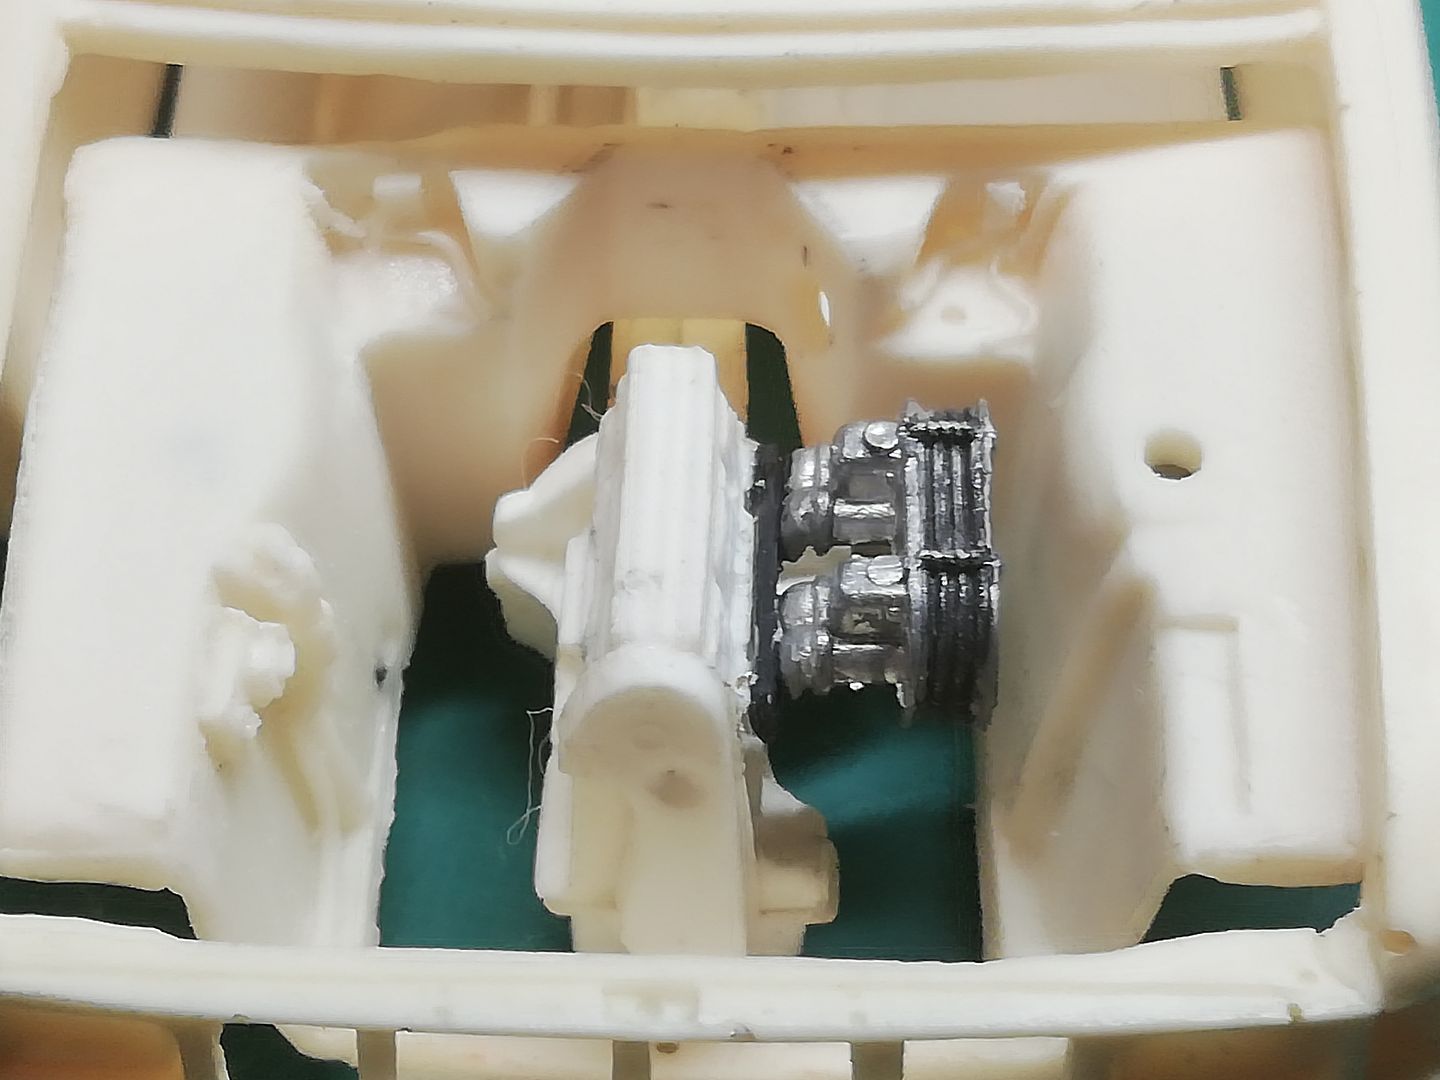
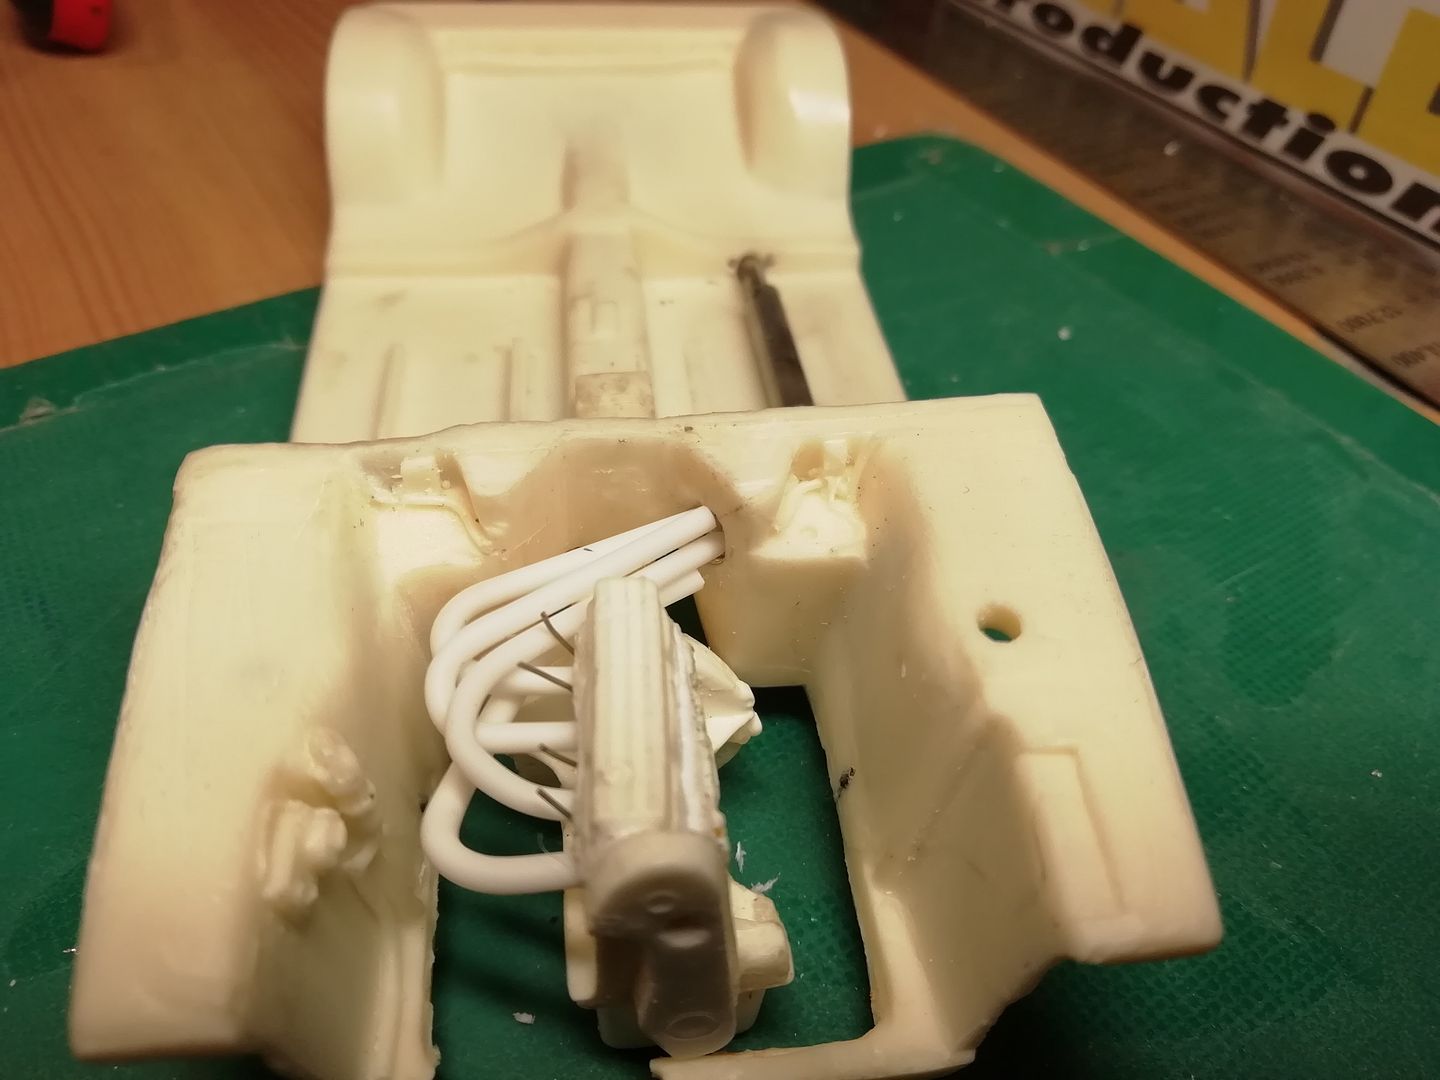
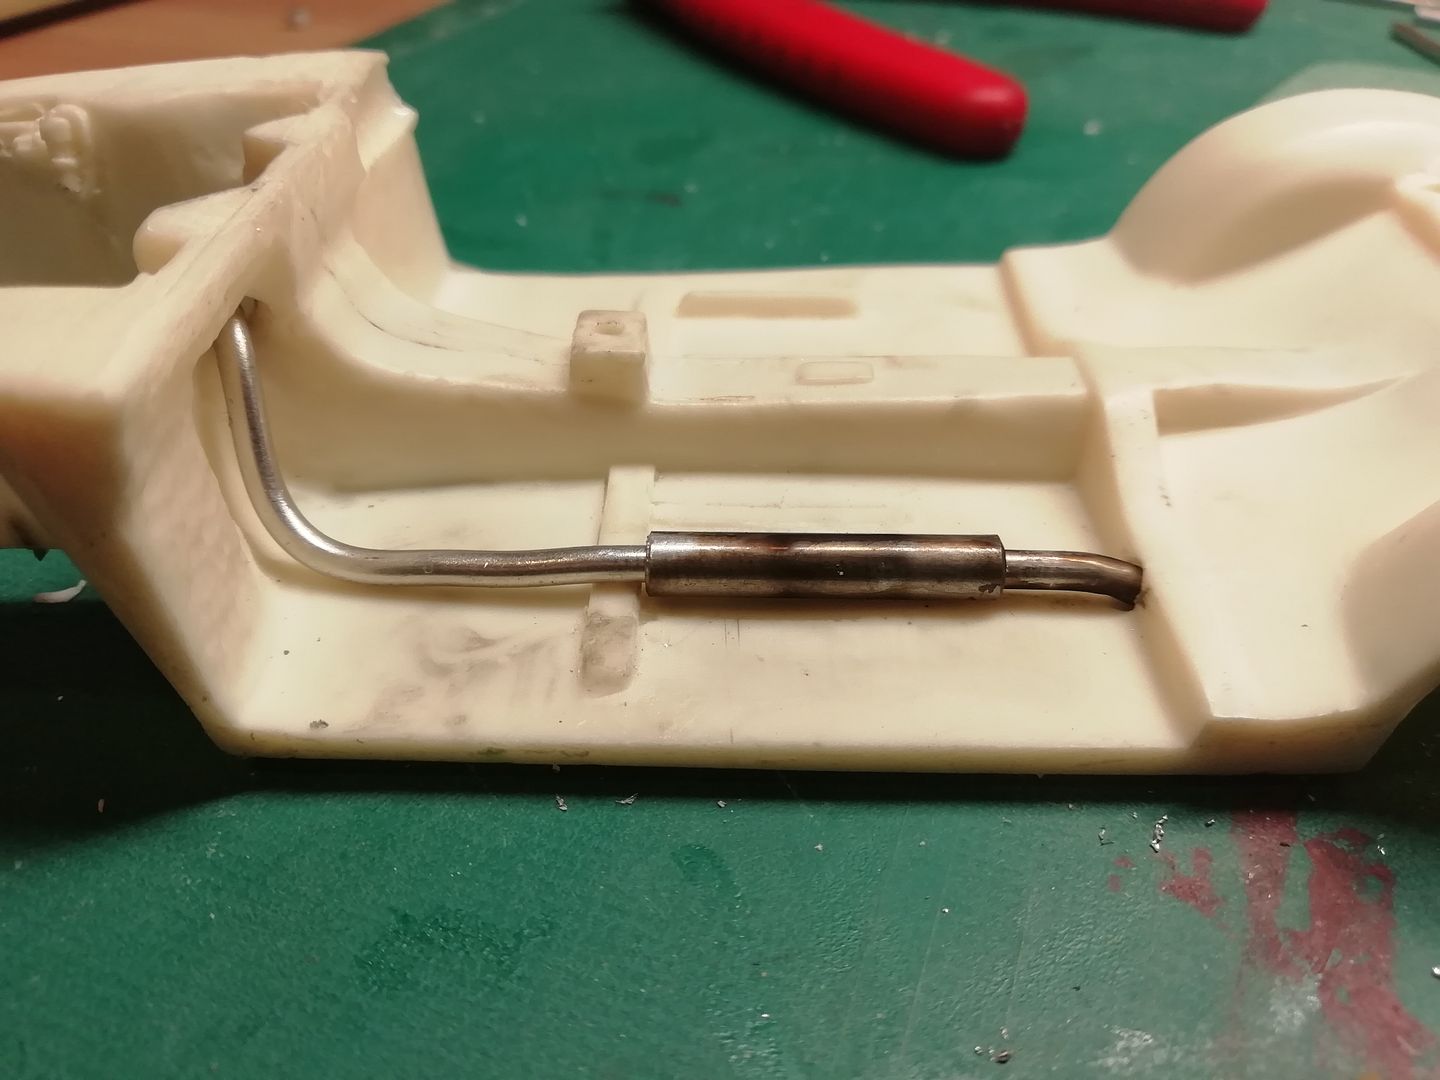
After some further clean up of the body and scoring out the door shut lines, I needed to get the chassis in place and both ends were short of the body by 3mm + Firstly I had to get some reference and decided that the back axle location was my primary datum as I could locate the chassis relative to the rear arch. 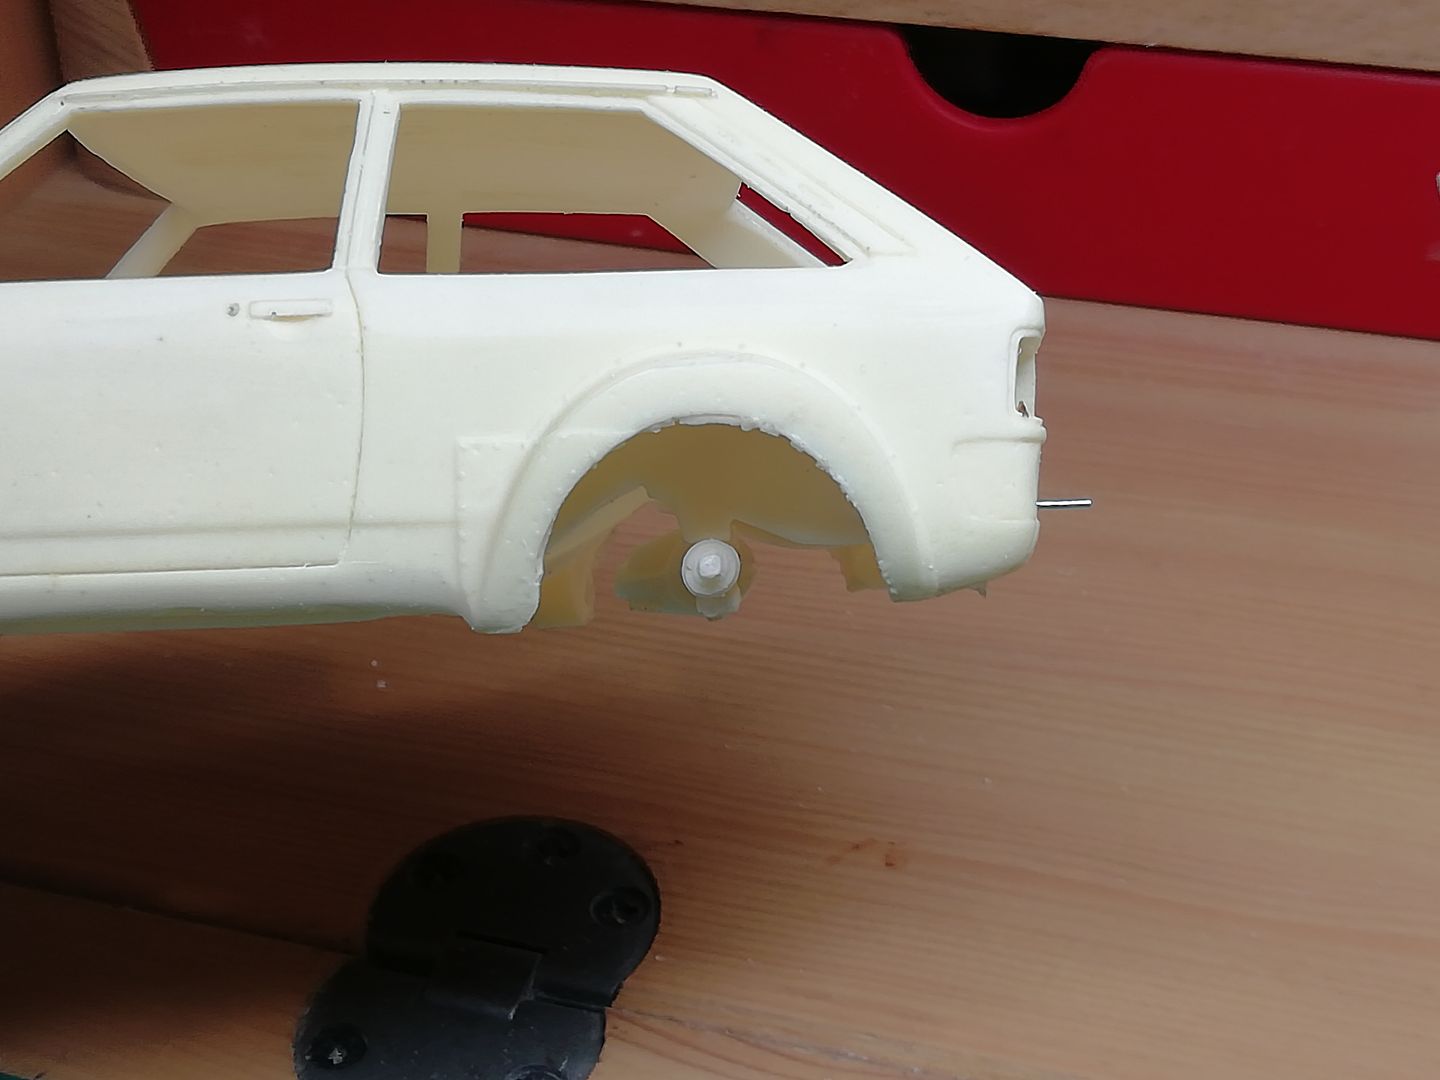 I marked the rear panel after eyeballing the approximate location to where I felt the chassis legs would line up. I used 0.8mm aluminium wire that was disgaurded at work after a machine installation I got 3 meters x 60+ strands. It's very handy and easy to bend. 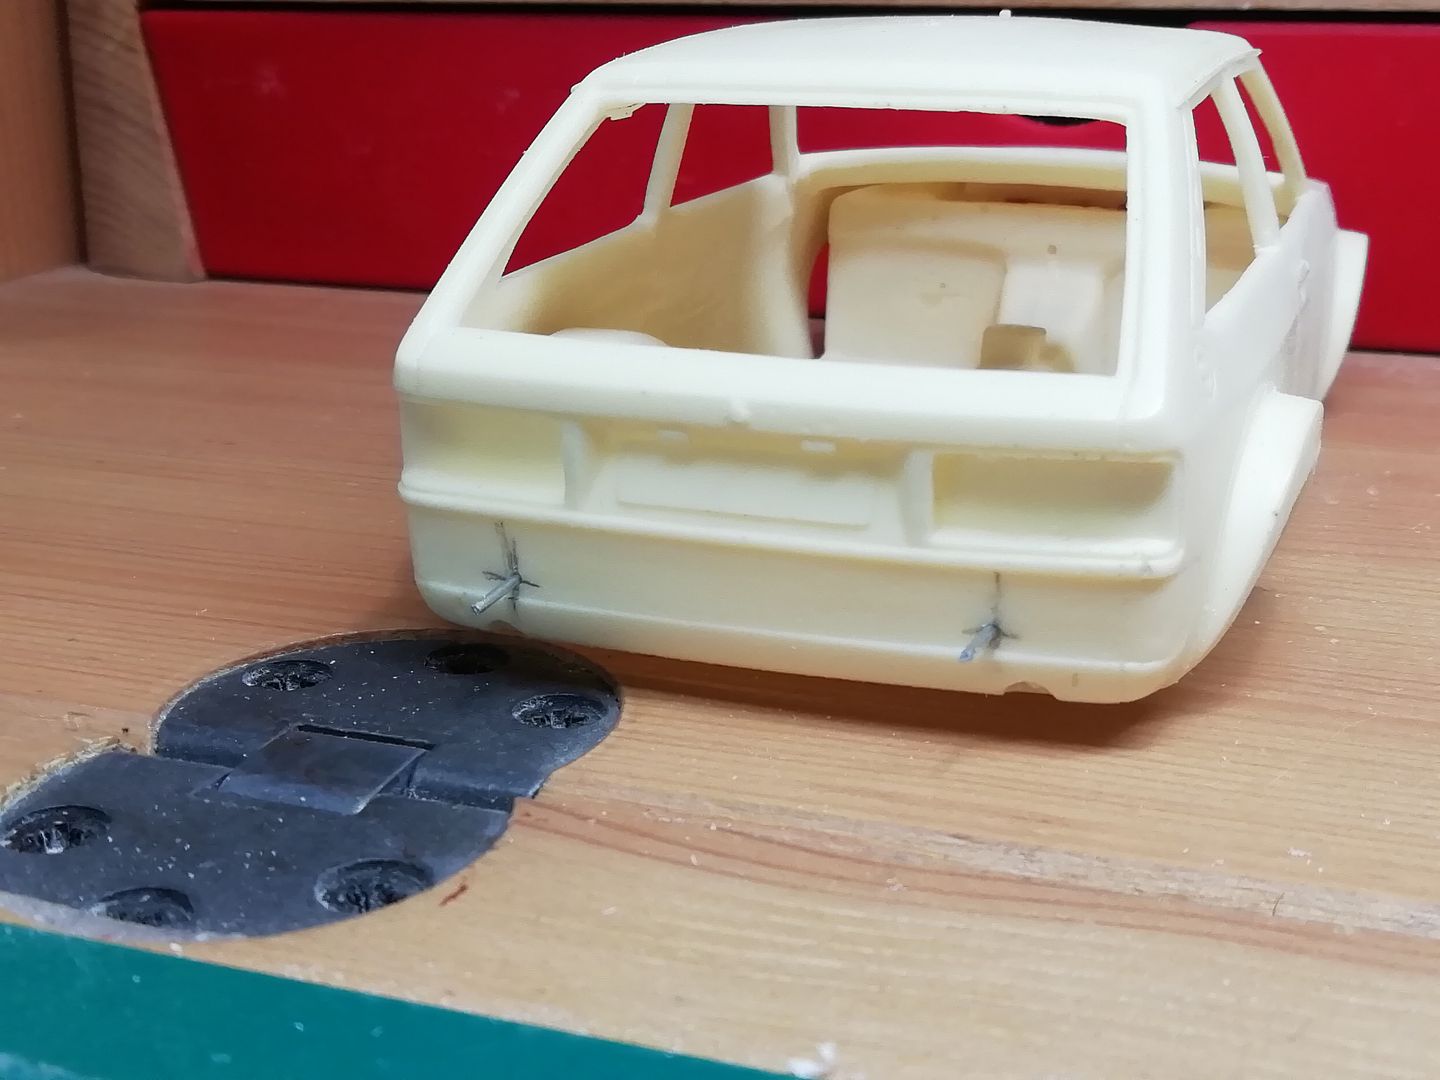 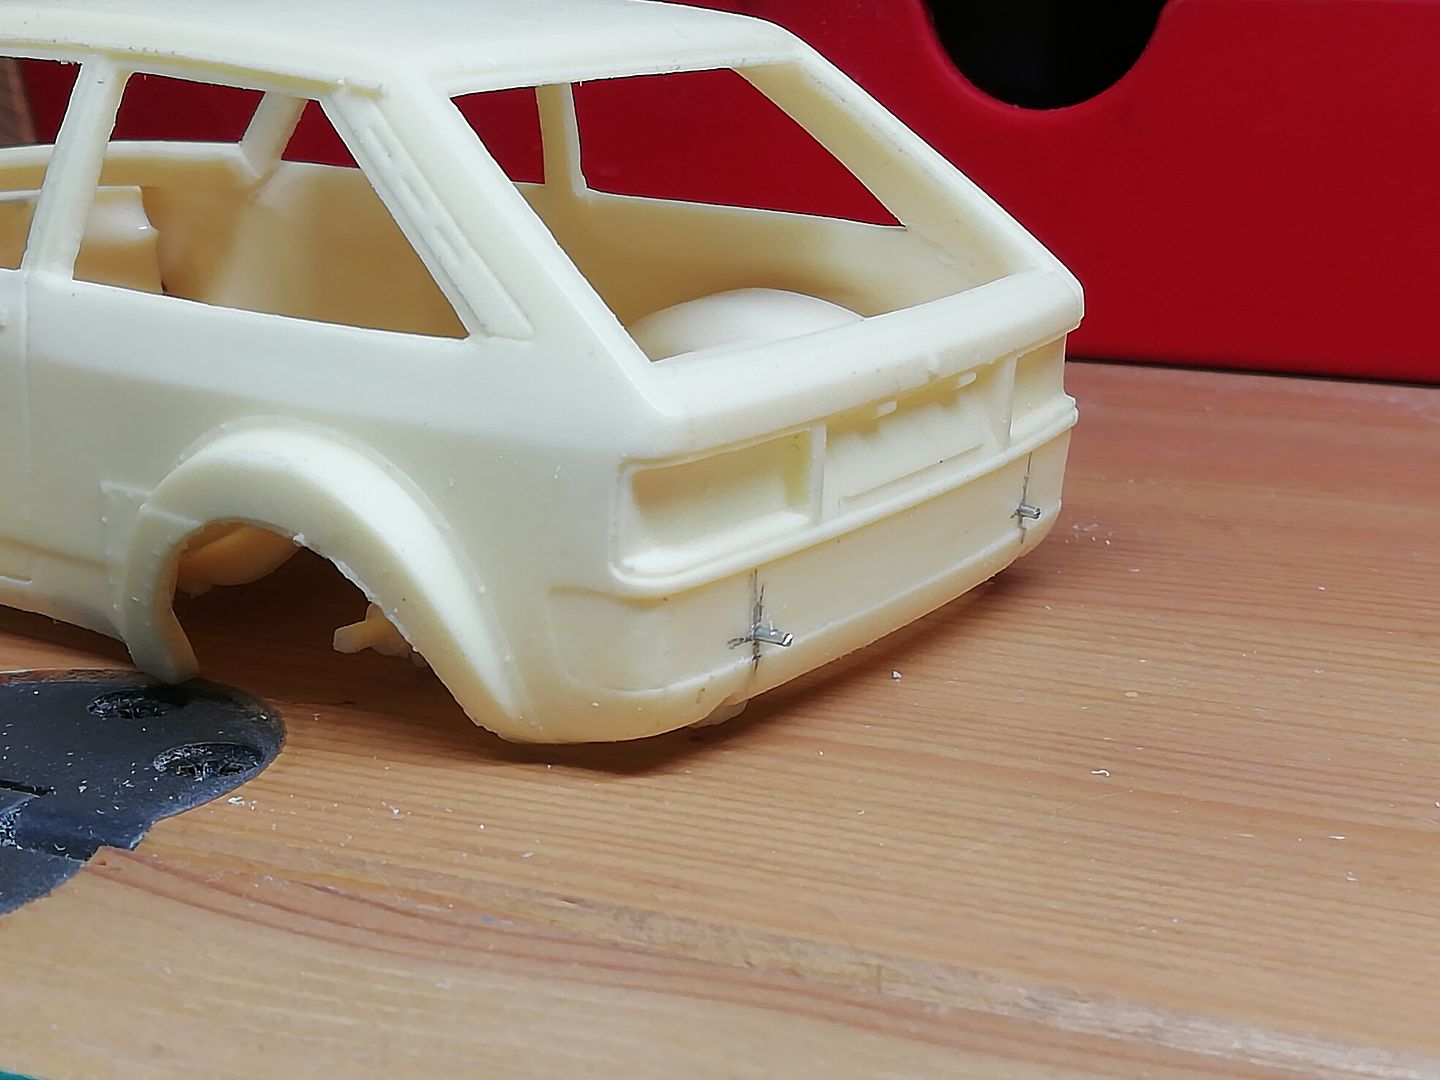 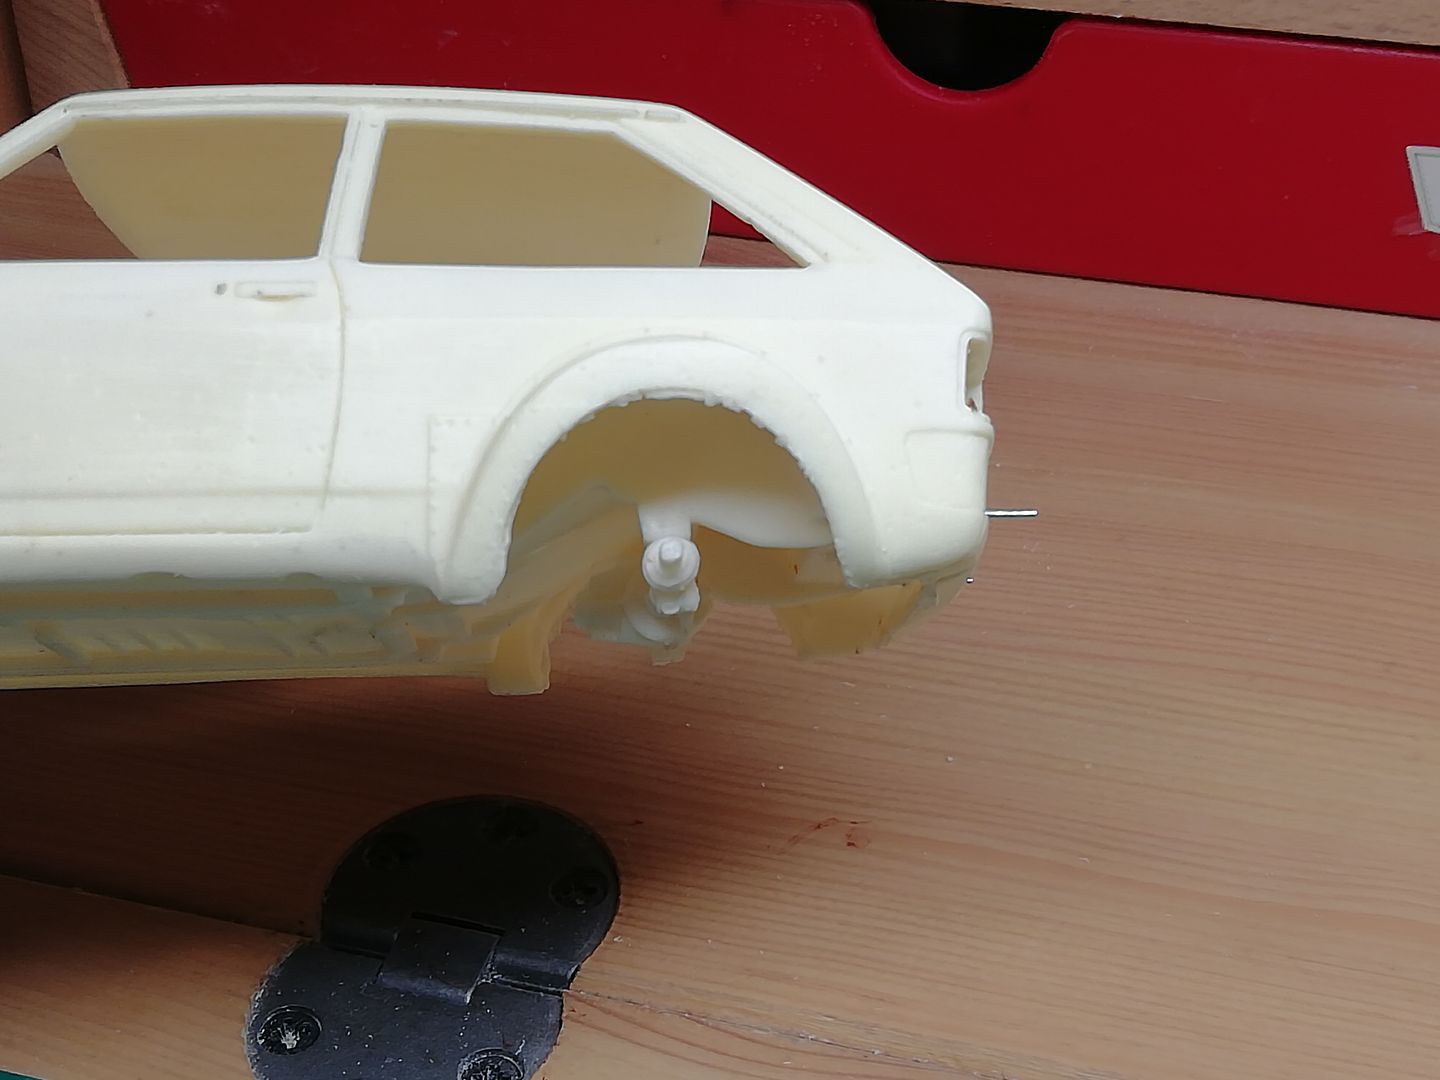 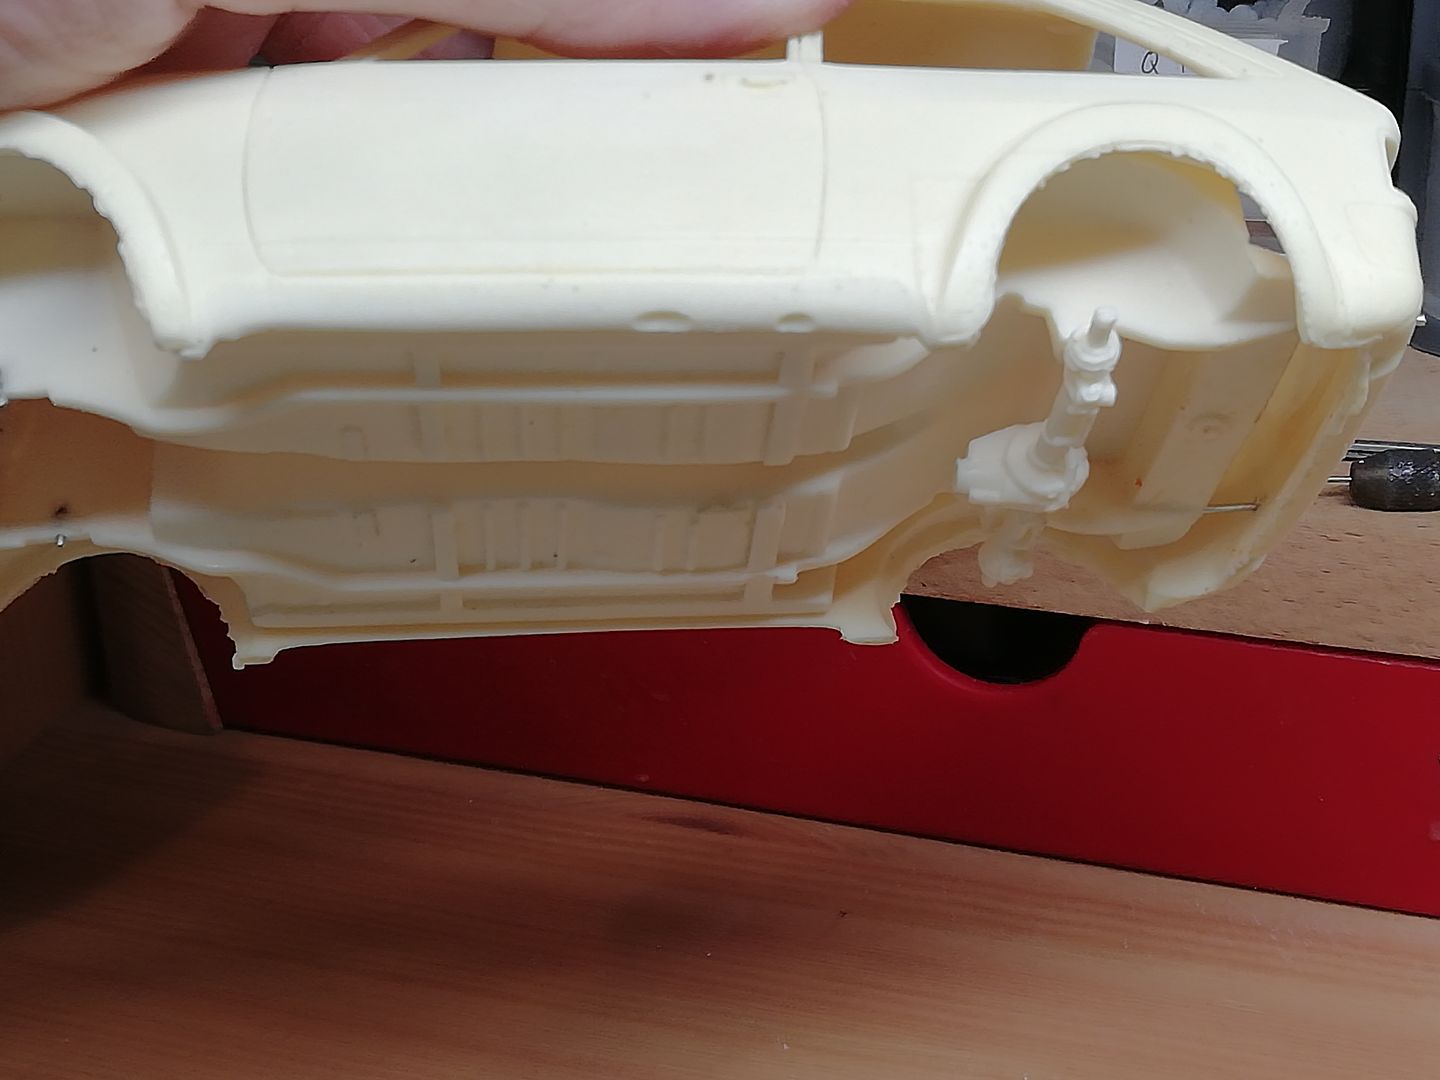 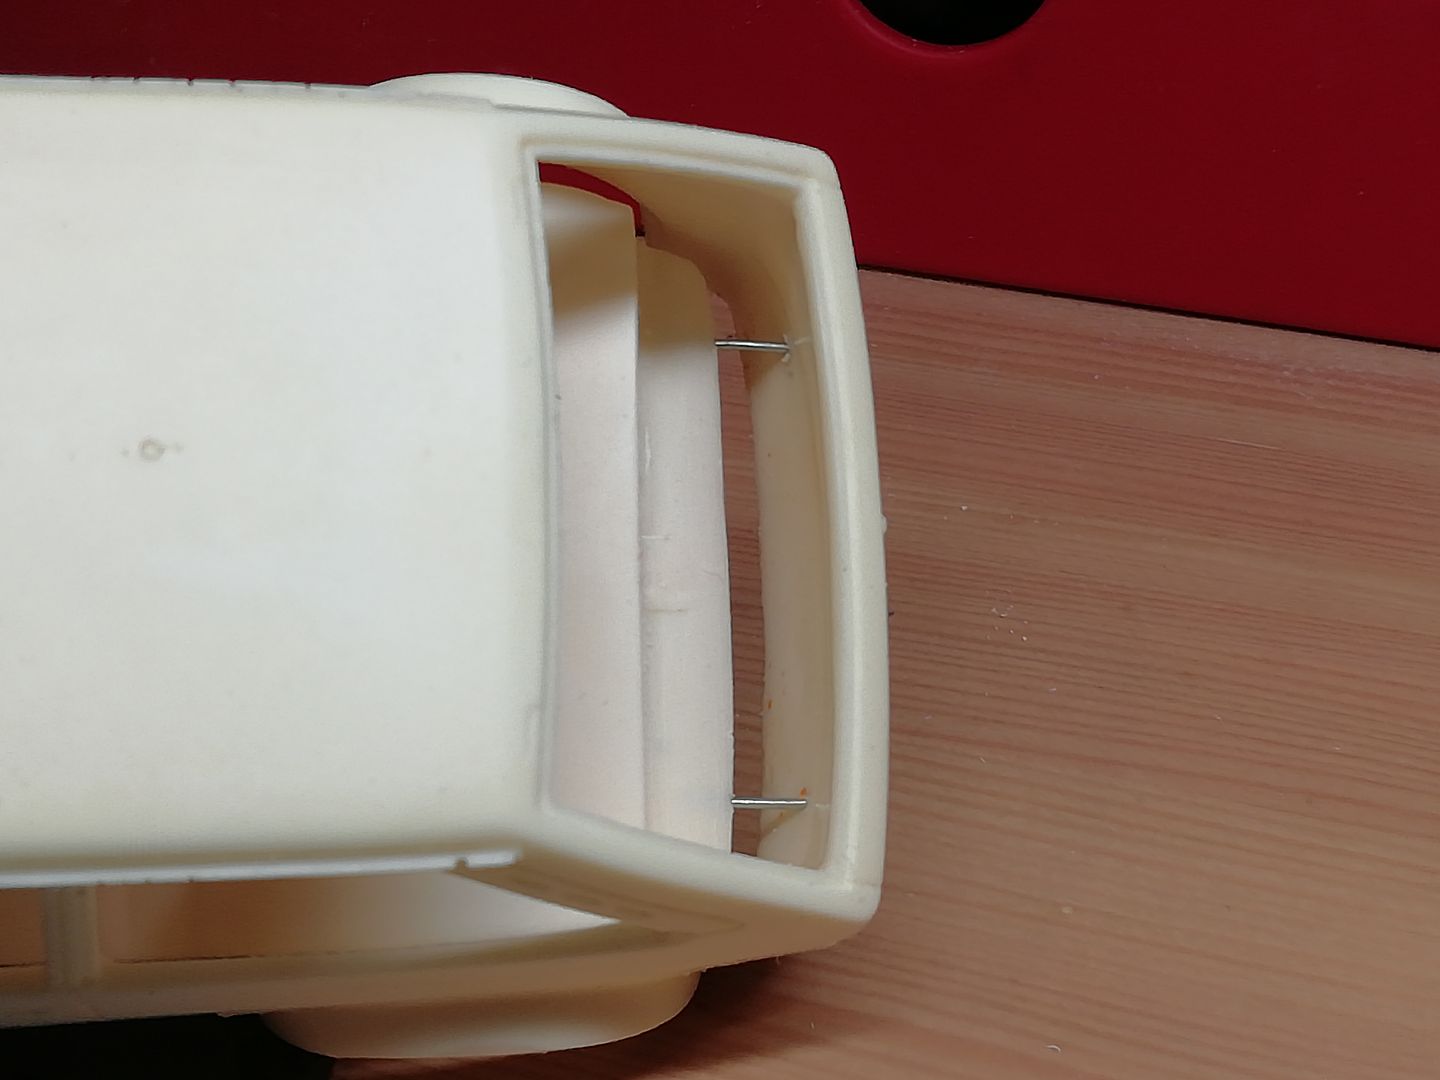 Loose mock up using Esci escort minilight 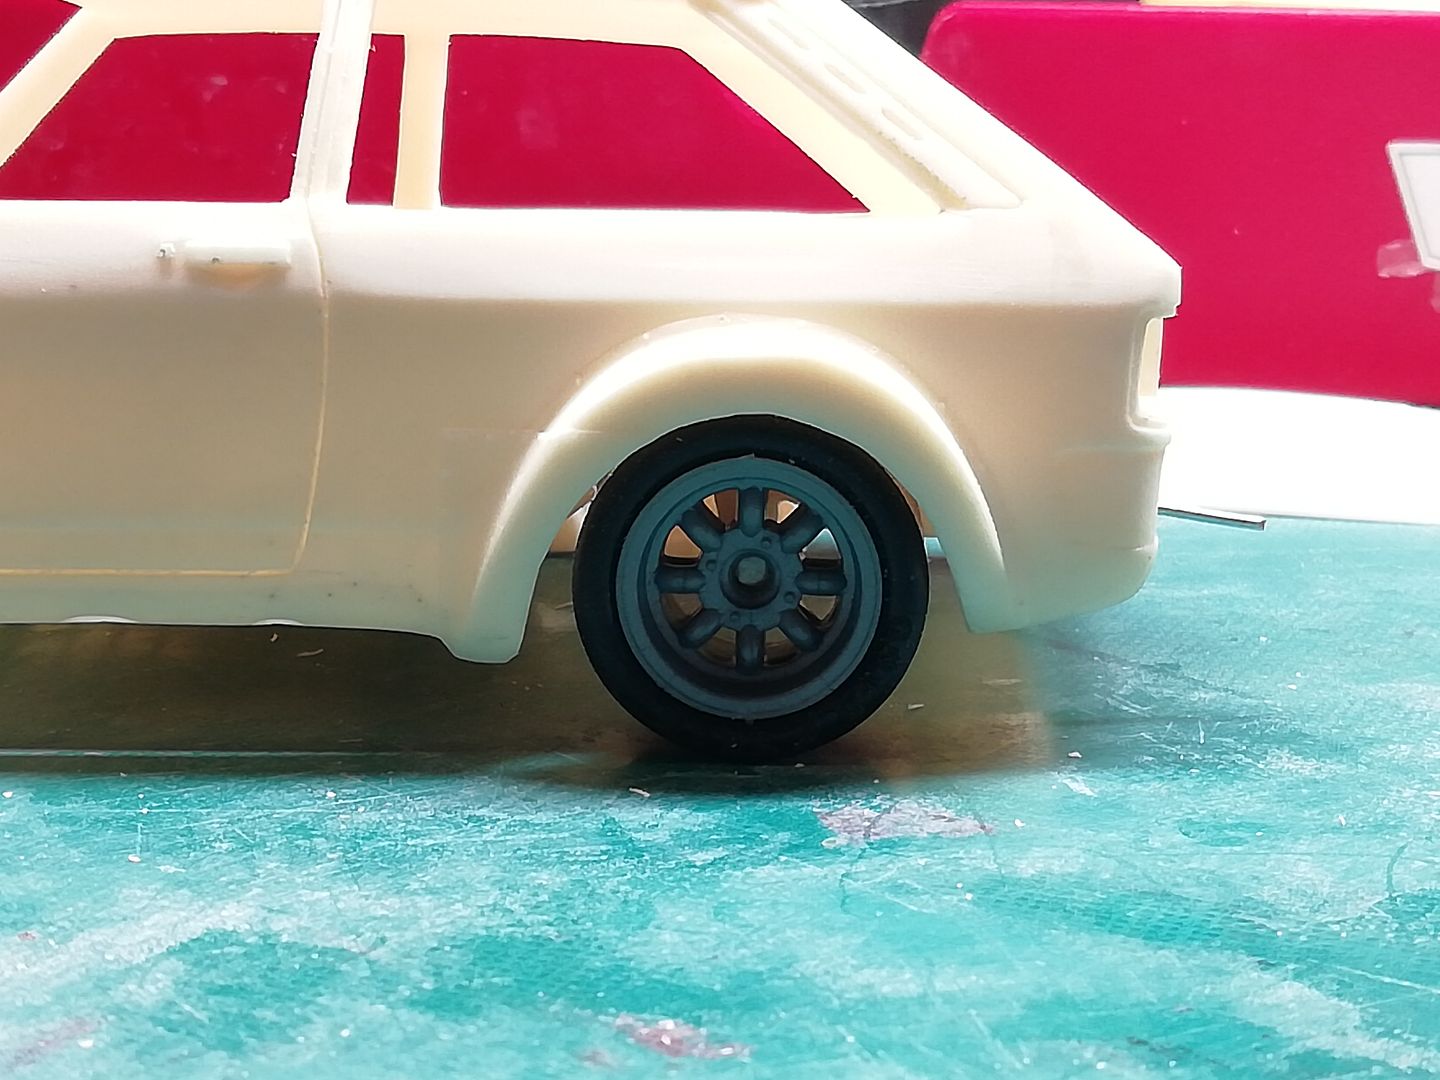 [/URL] Next was the front end. I decided not to use the resin engine crossmenber as it was poor and decided to use an Escort cross member instead. Later on during the build a friend on Facebook directed me to a friend of his who was involved in building the actual car. He gave me a great insight into the build of this particular car and the whole hotrod scene It turned out they used a Capri crossmenber in the actual build of the car, which is very similar to the Escort one but with longer TCAs. In my mock up I could see the TCAs will need to be lengthened to fit the wheels underneath which was a coincidence 😎 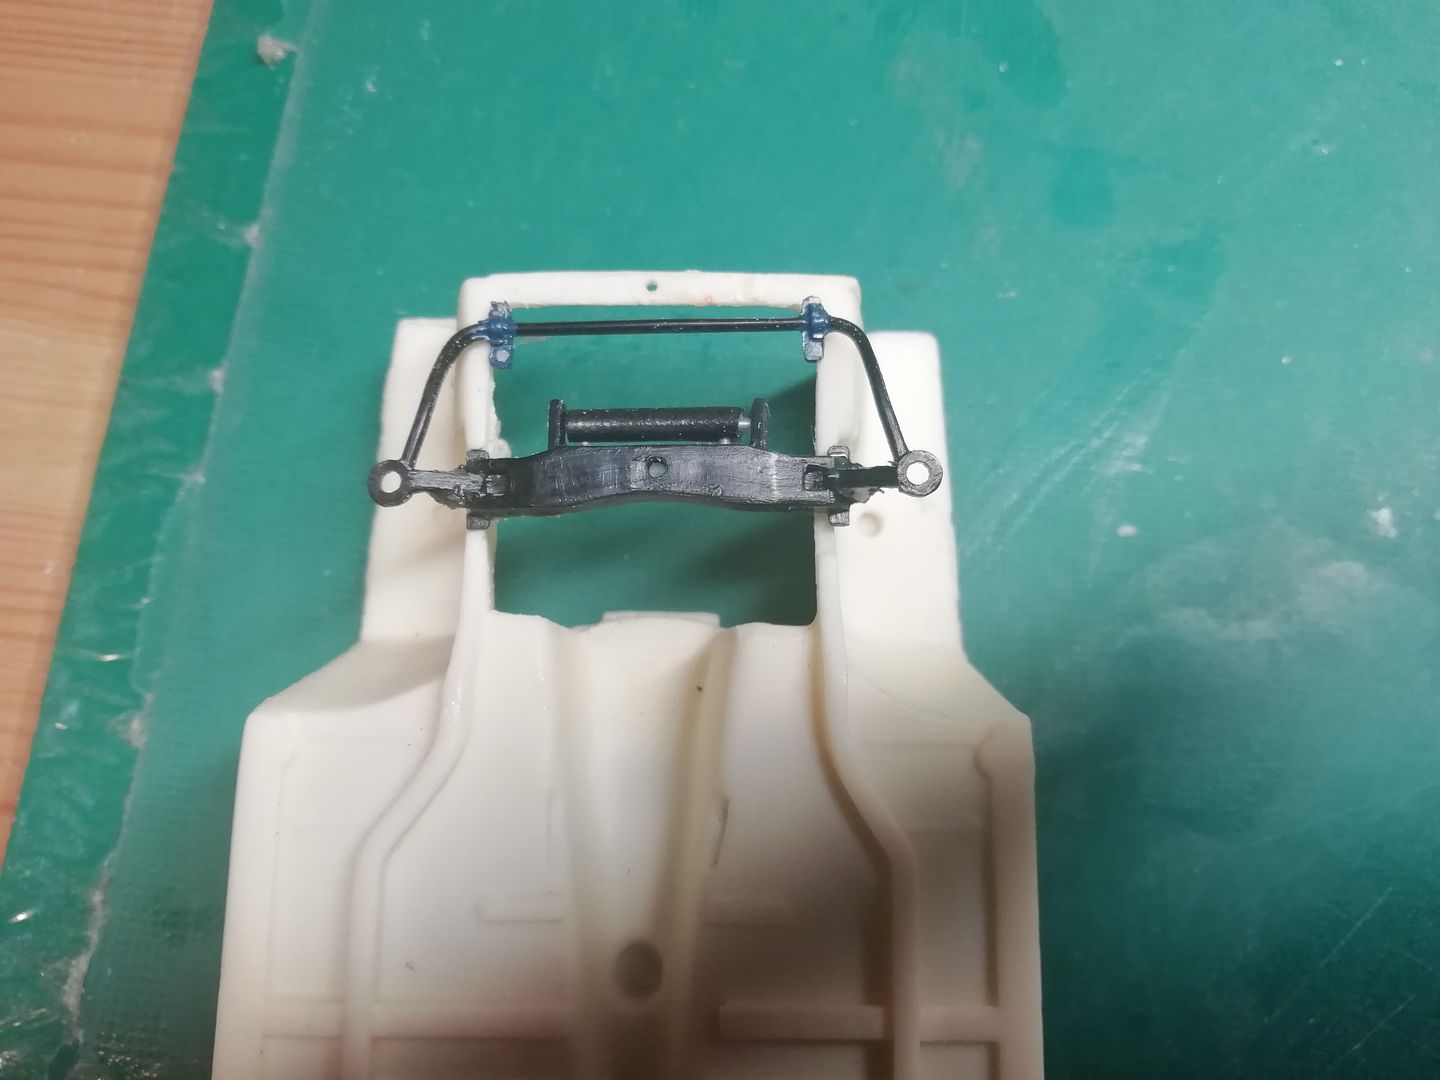 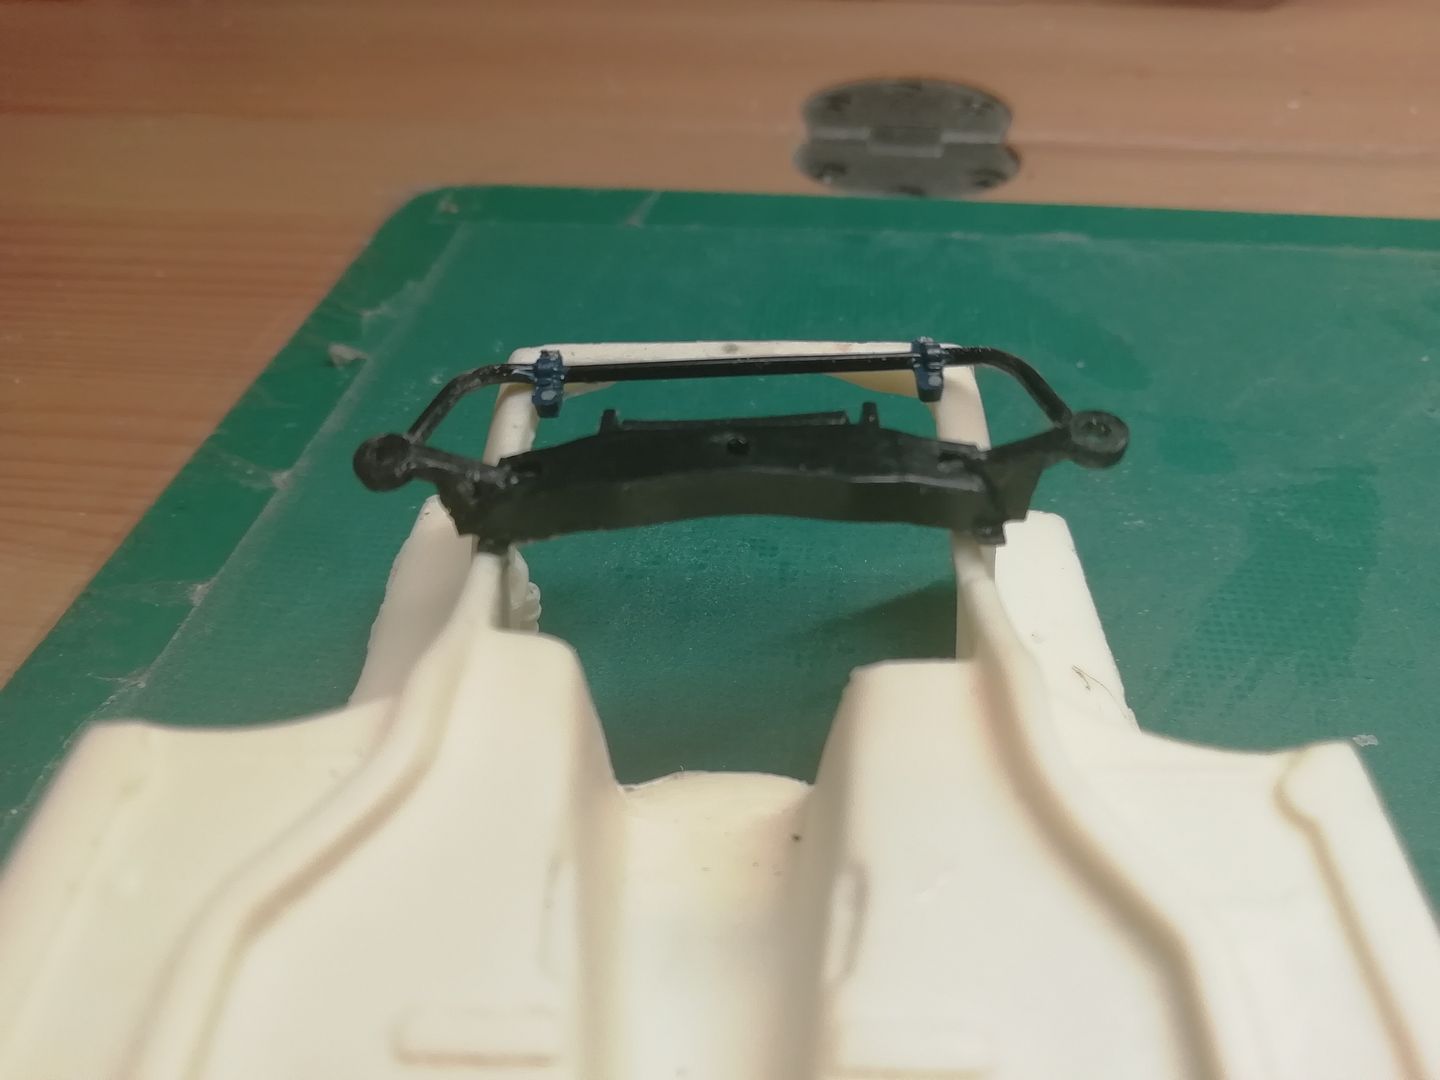 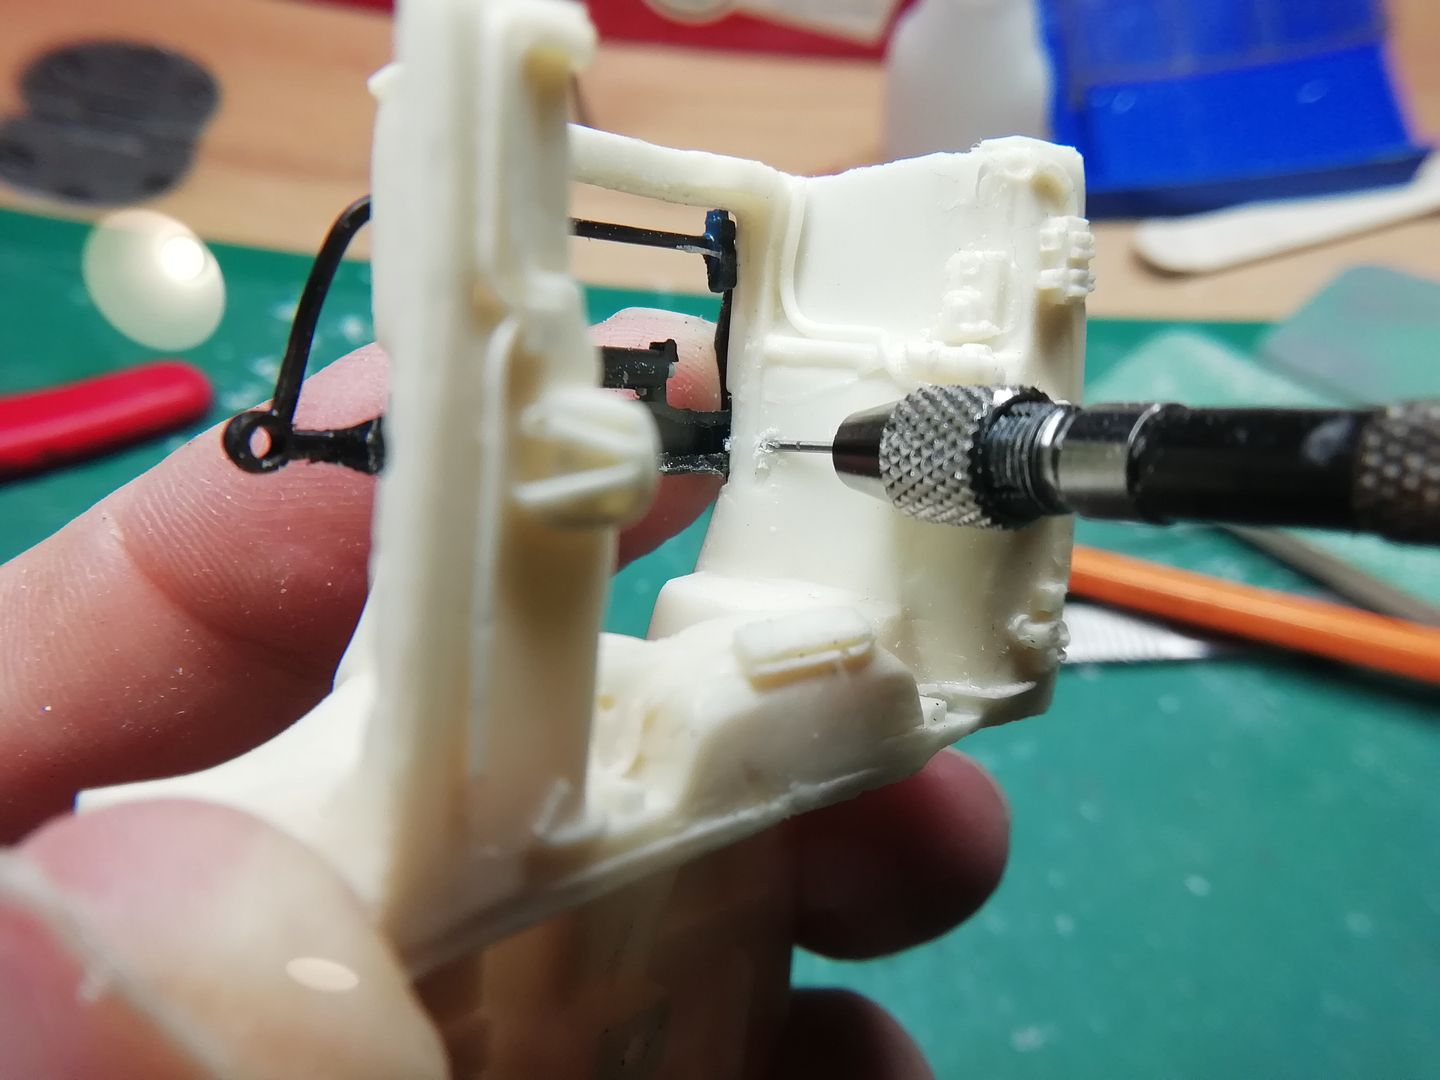 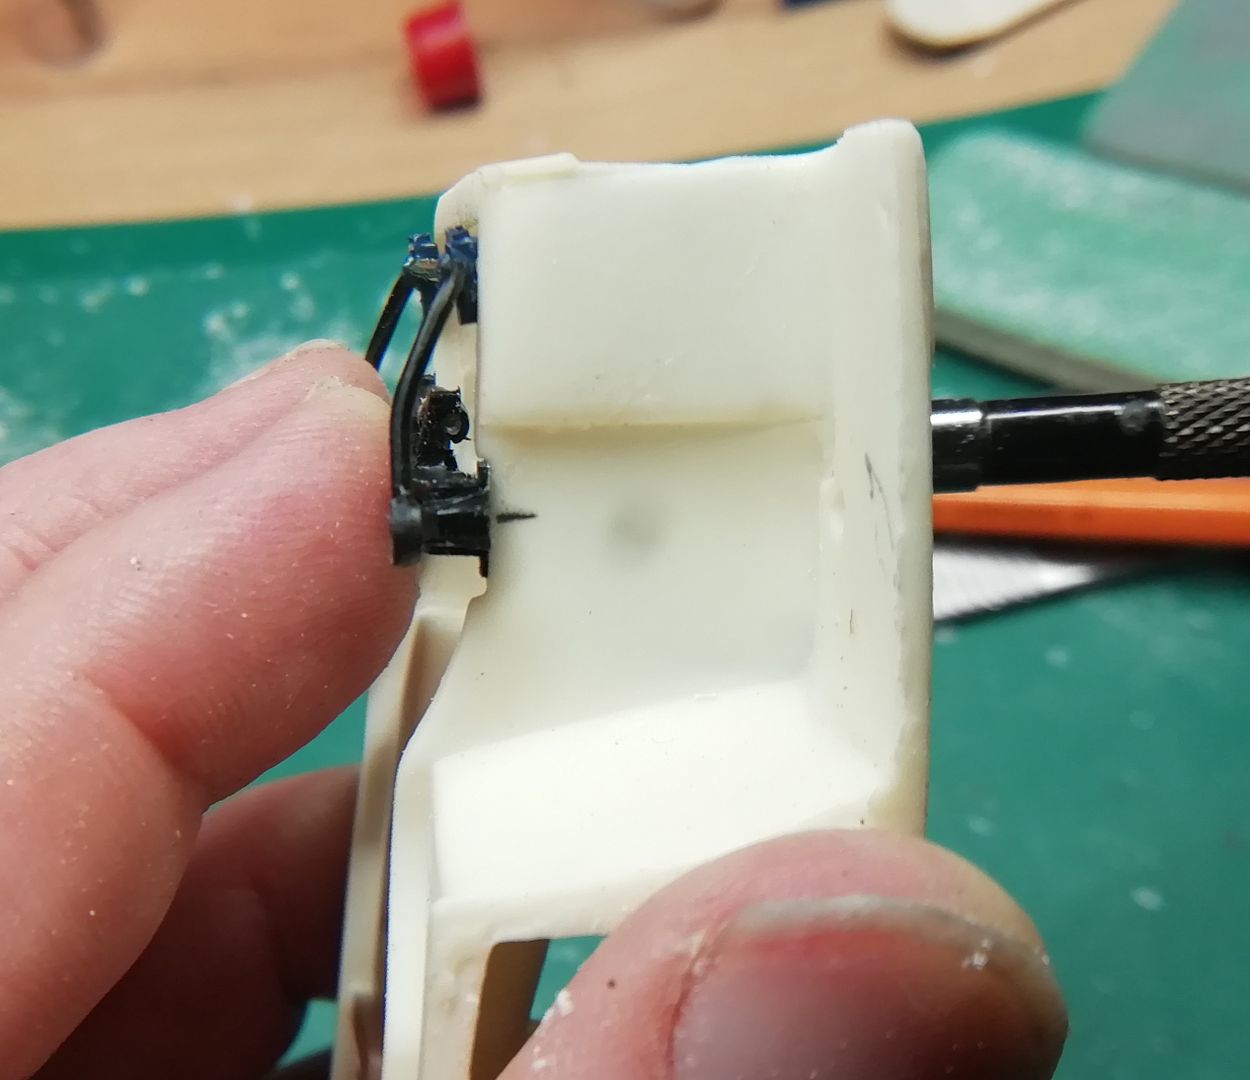 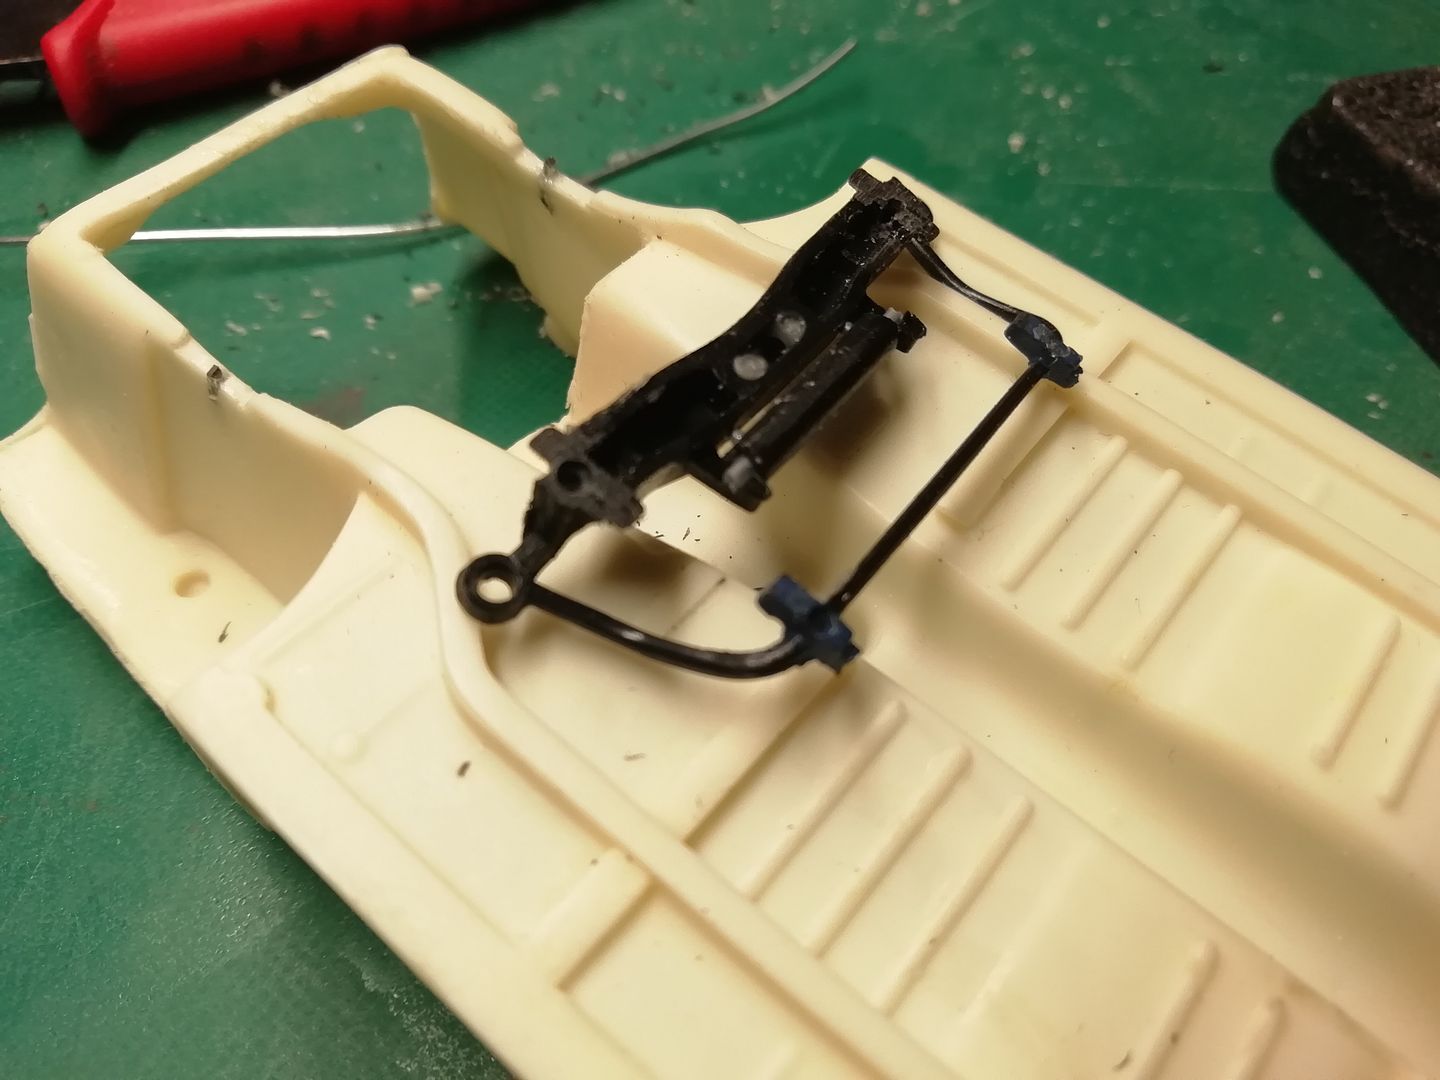 |
|
|
|
Post by afx on Jan 16, 2021 3:55:40 GMT -8
The quality of the resin casting is rather poor but I suspect you will be up to the challenge based on what I have seen so far.
|
|
|
|
Post by garydavis on Jan 25, 2021 20:03:17 GMT -8
Boreham...man...This does not look like Profile24 resin to me. I've got at least 5 kits from them and they are excellent in casting. It looks like you might have a fairly good pirating of that car. I really like what you're doing with what you got....it's GREAT!!! Here's a link to the very car from Profile24. www.profil24-models.com/model-kits-modeles-reduits/en/1-24-rally-car/31-talbot-sunbeam-lotus-1981.htmlIt has a lot of the stuff offered that you don't have. It is a little spendy for the kit though... but...you're doing your own car...that's so cool...you've got me on board for sure!!! |
|
|
|
Post by Boreham on Jan 28, 2021 8:07:39 GMT -8
|
|
|
|
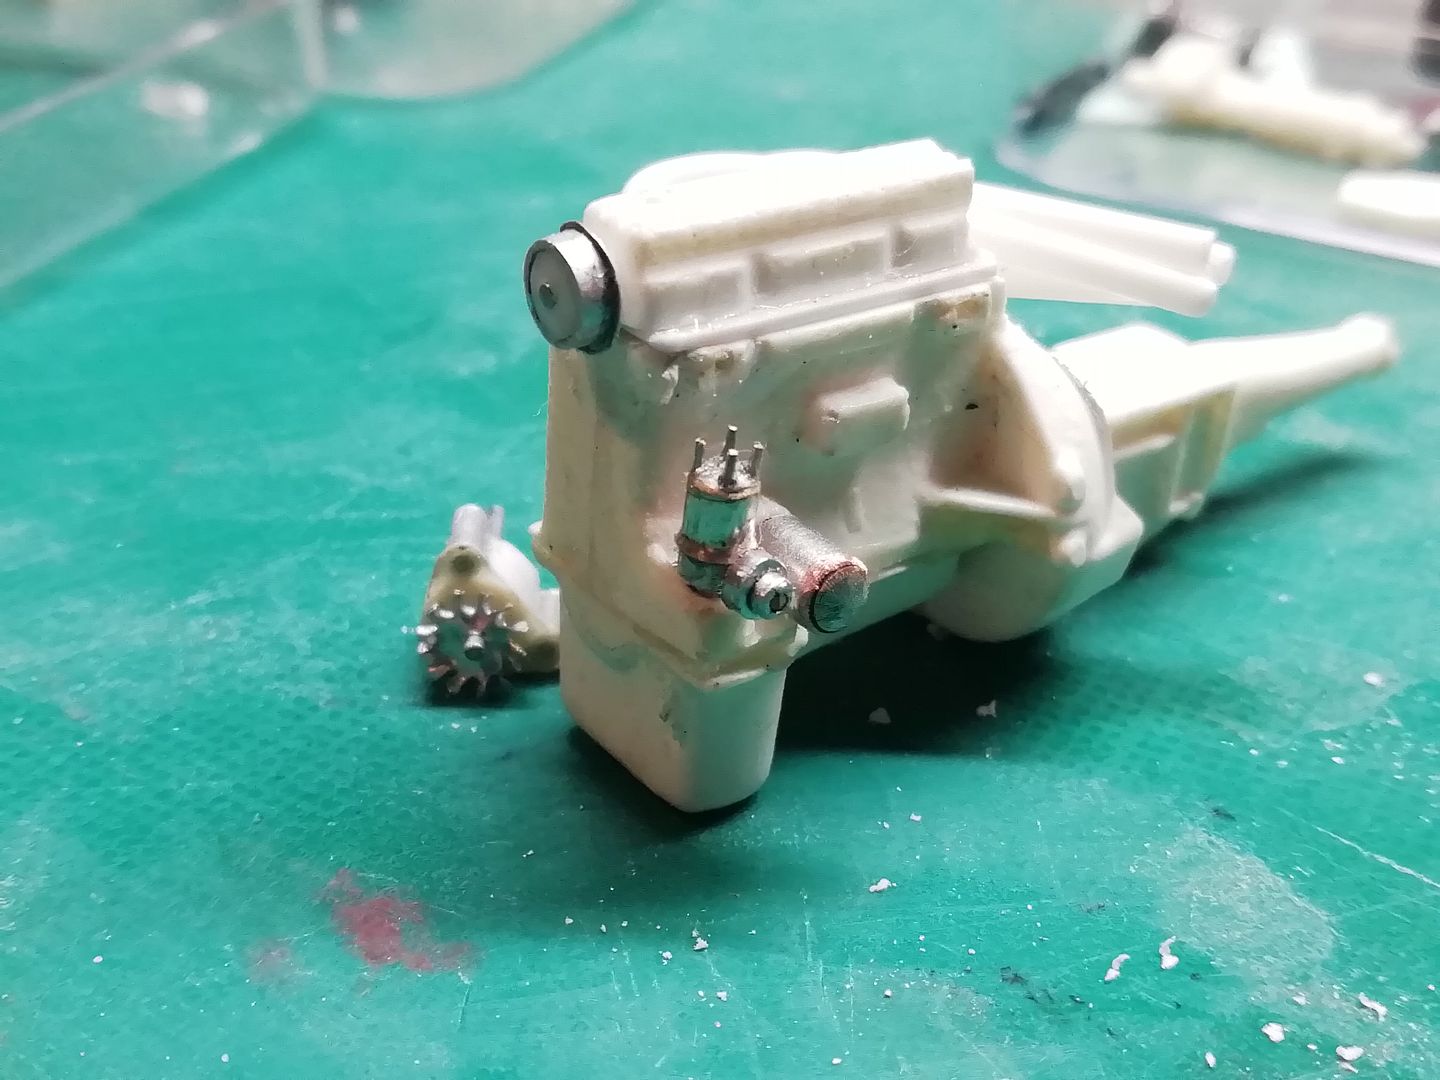
Post by afx on Jan 28, 2021 10:00:45 GMT -8
Nice update! I like the 180 degree headers.
|
|
|
|
Post by garydavis on Feb 1, 2021 20:21:55 GMT -8
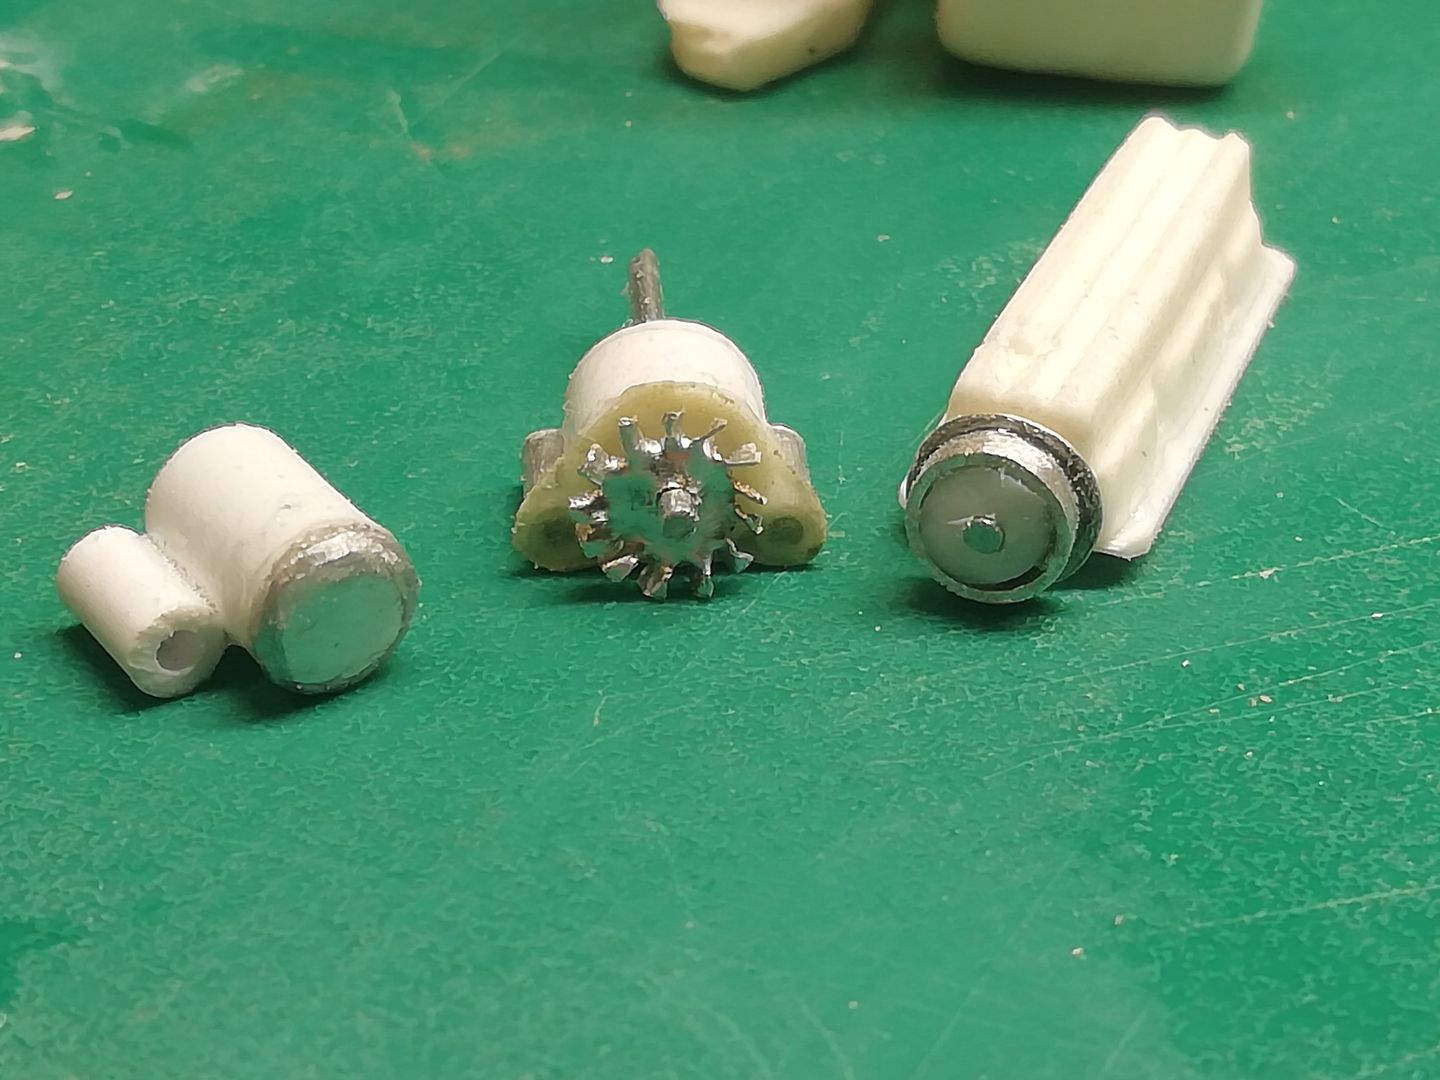
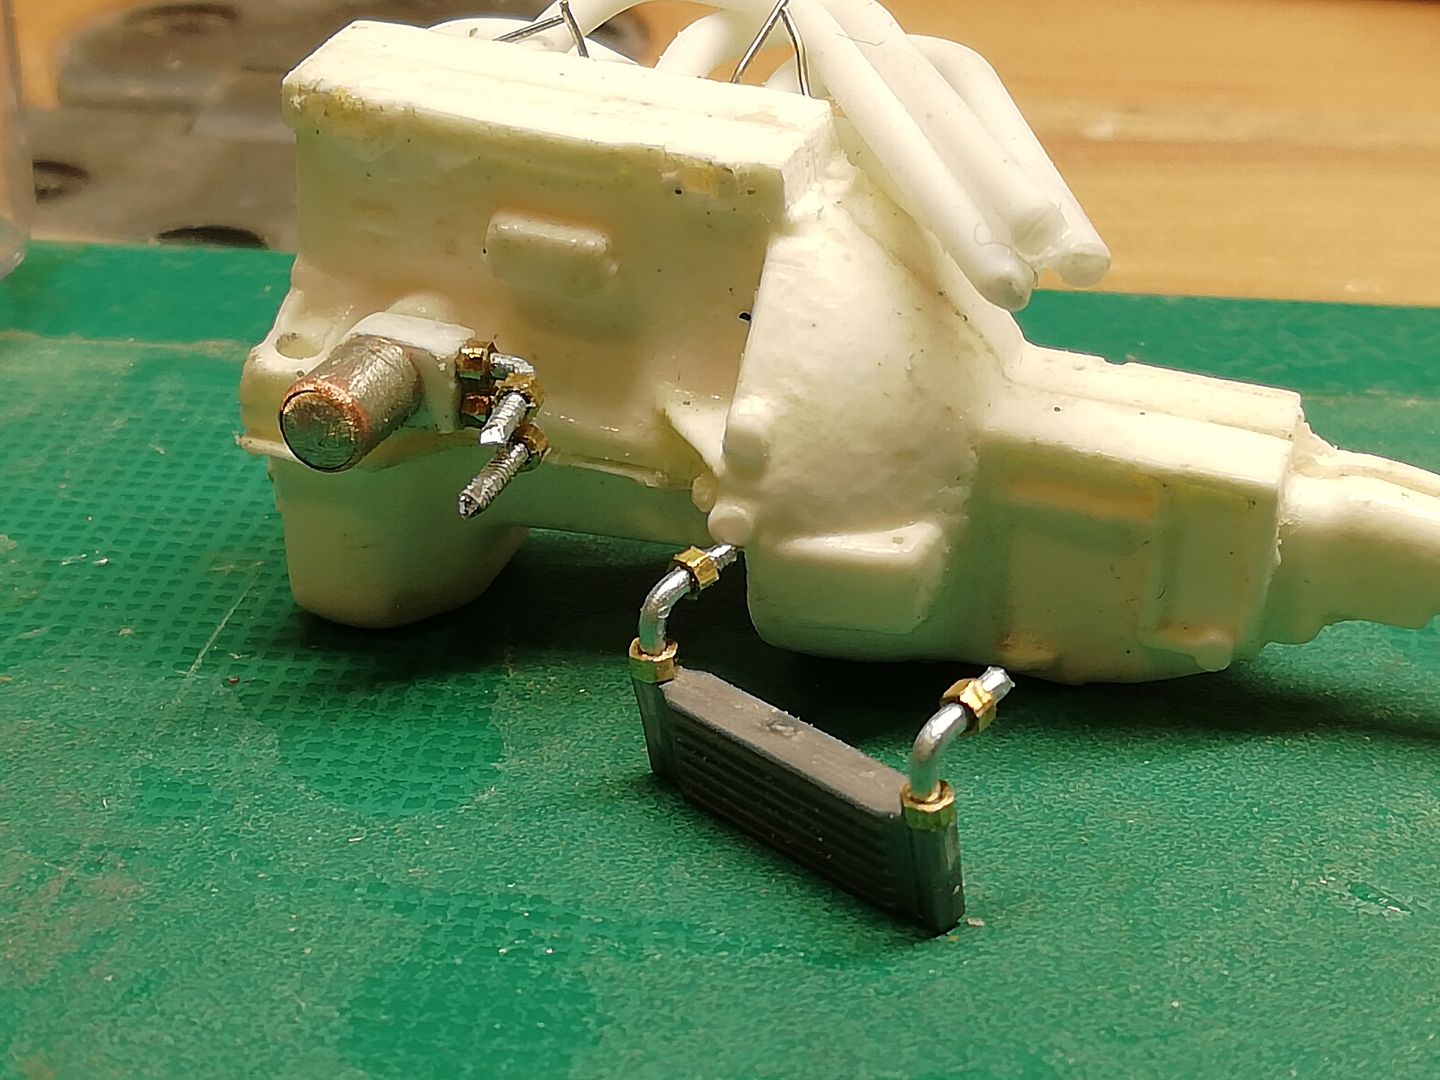
Man...you're doing some mighty fine fab work here. That Alternator looks way good!! Looking forward to the next update...
|
|
|
|
Post by Boreham on Feb 5, 2021 12:33:45 GMT -8
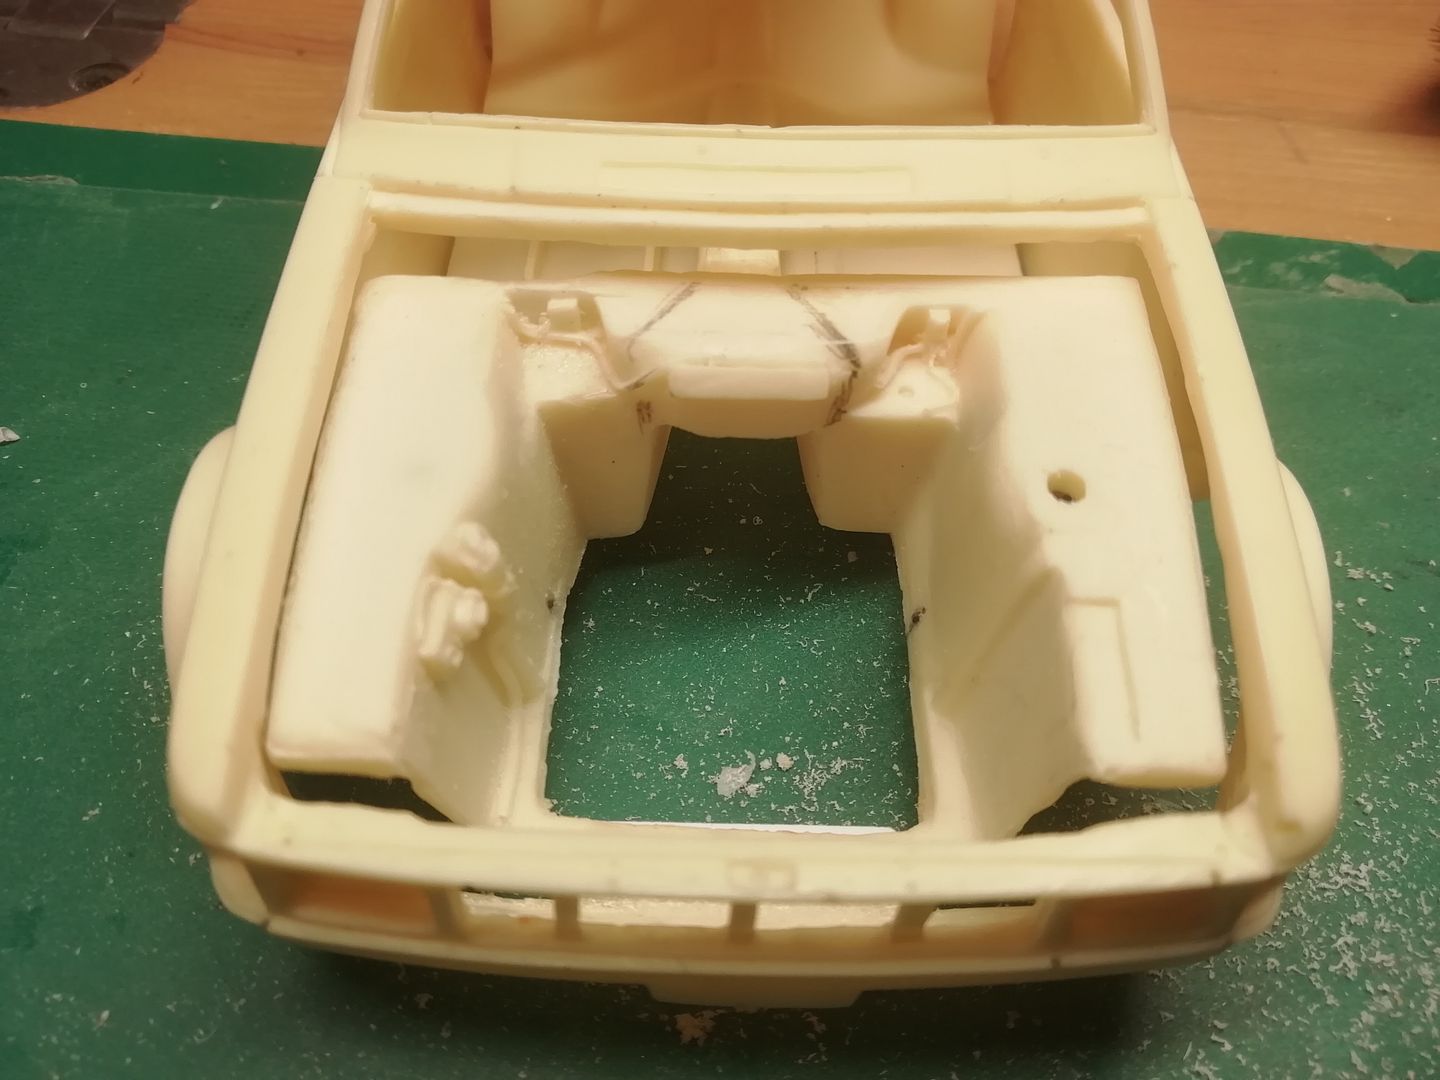
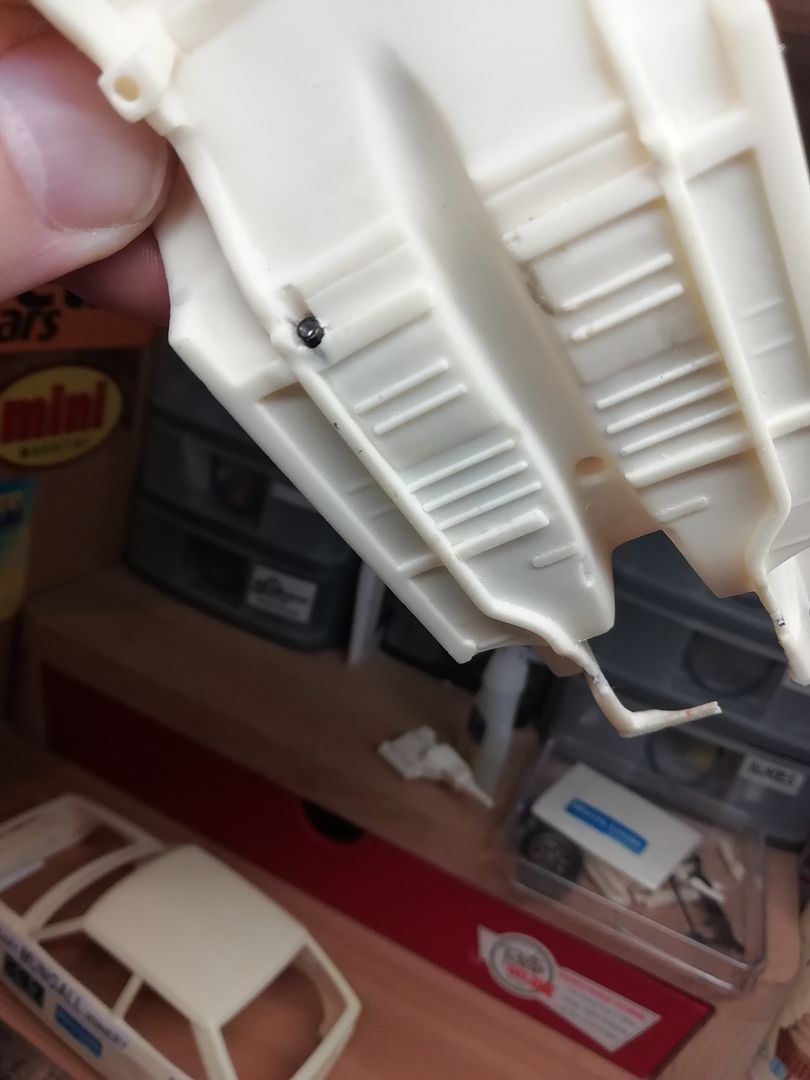
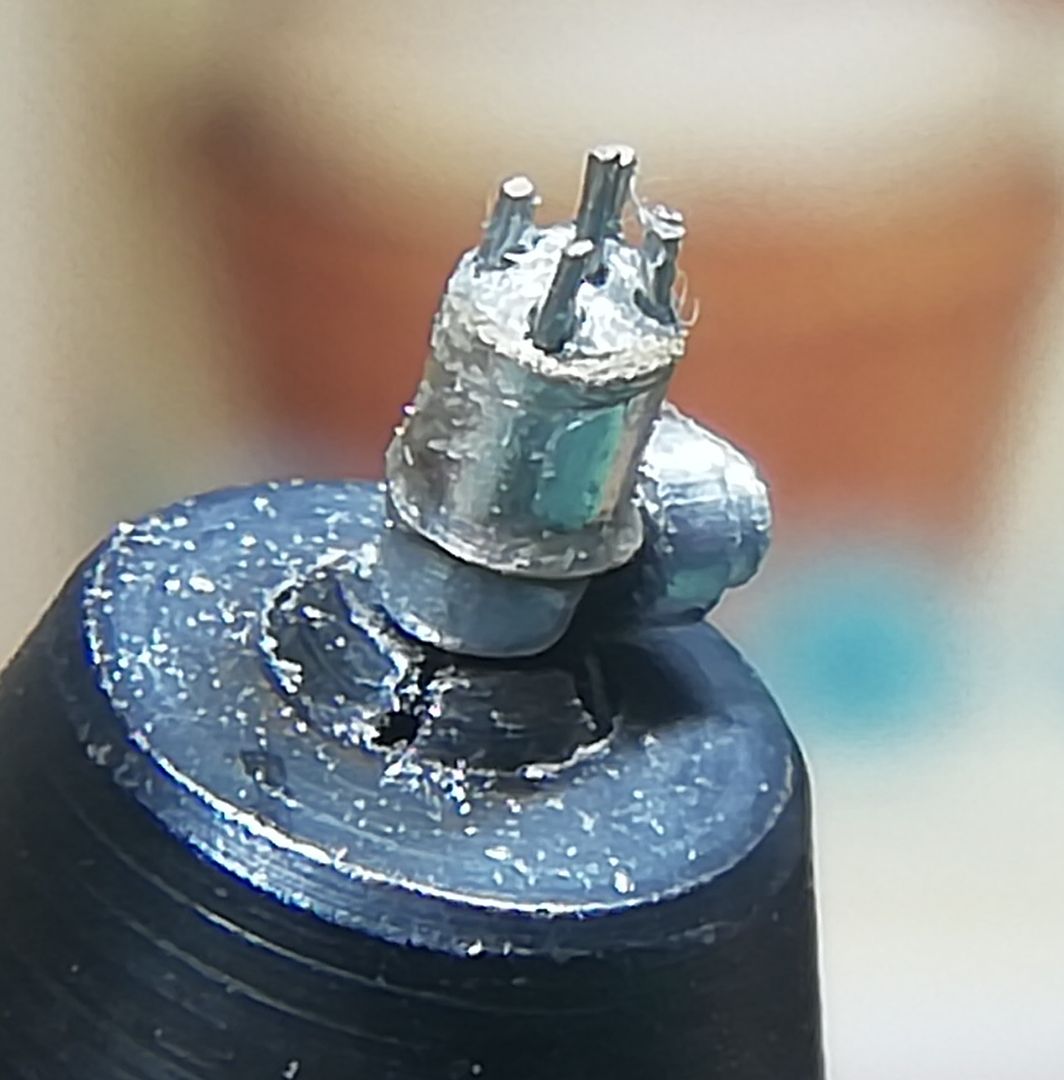
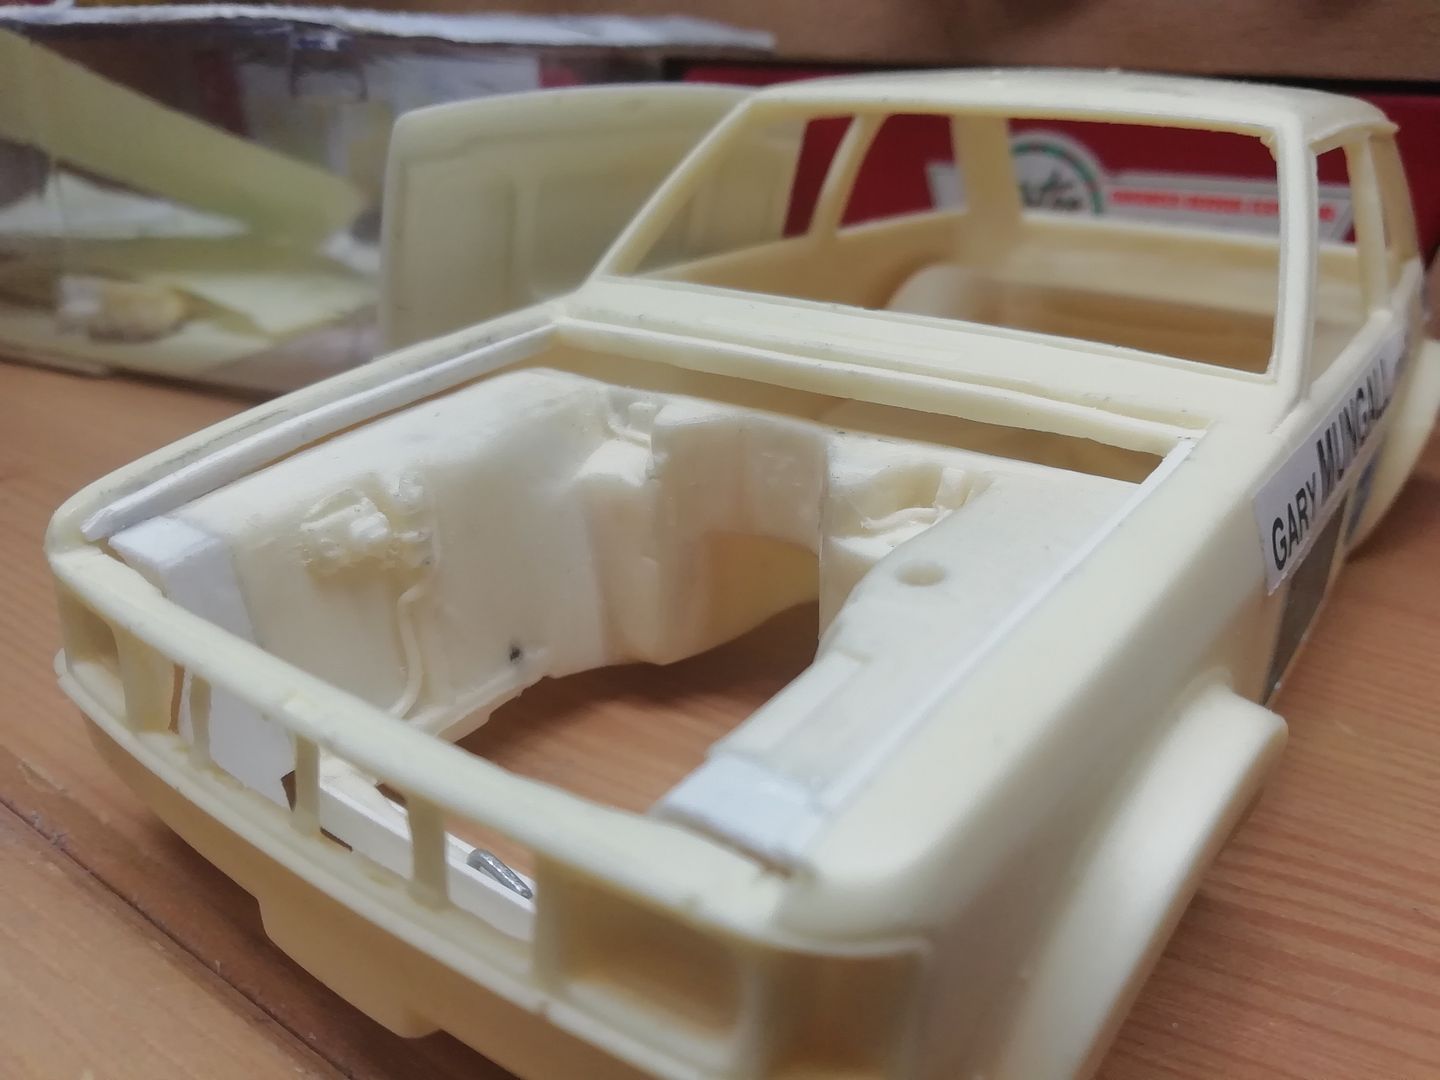
I'm slowly improving different aeras on the shell. But like a 1:1 build cutting out the rot(lack of detail or omitted details in the case of this model ) and getting it repaired as I go. This bodyshell will require further "normal body prep" so excuse the rough appearance. The front lower valance needed attention. It has a depression under the bumper aera, 3 air vents and 2 bumper slots. The Hotrod won't have bumpers. I initially drilled and cut out the 3 rectangular air vents... Roughly to size. Chain drilled the bumper slots .jpg) .jpg) Once the panel was cut out using the back of a #10 blade I thinned it down from 2.0mm to 1.0 mm approximately. 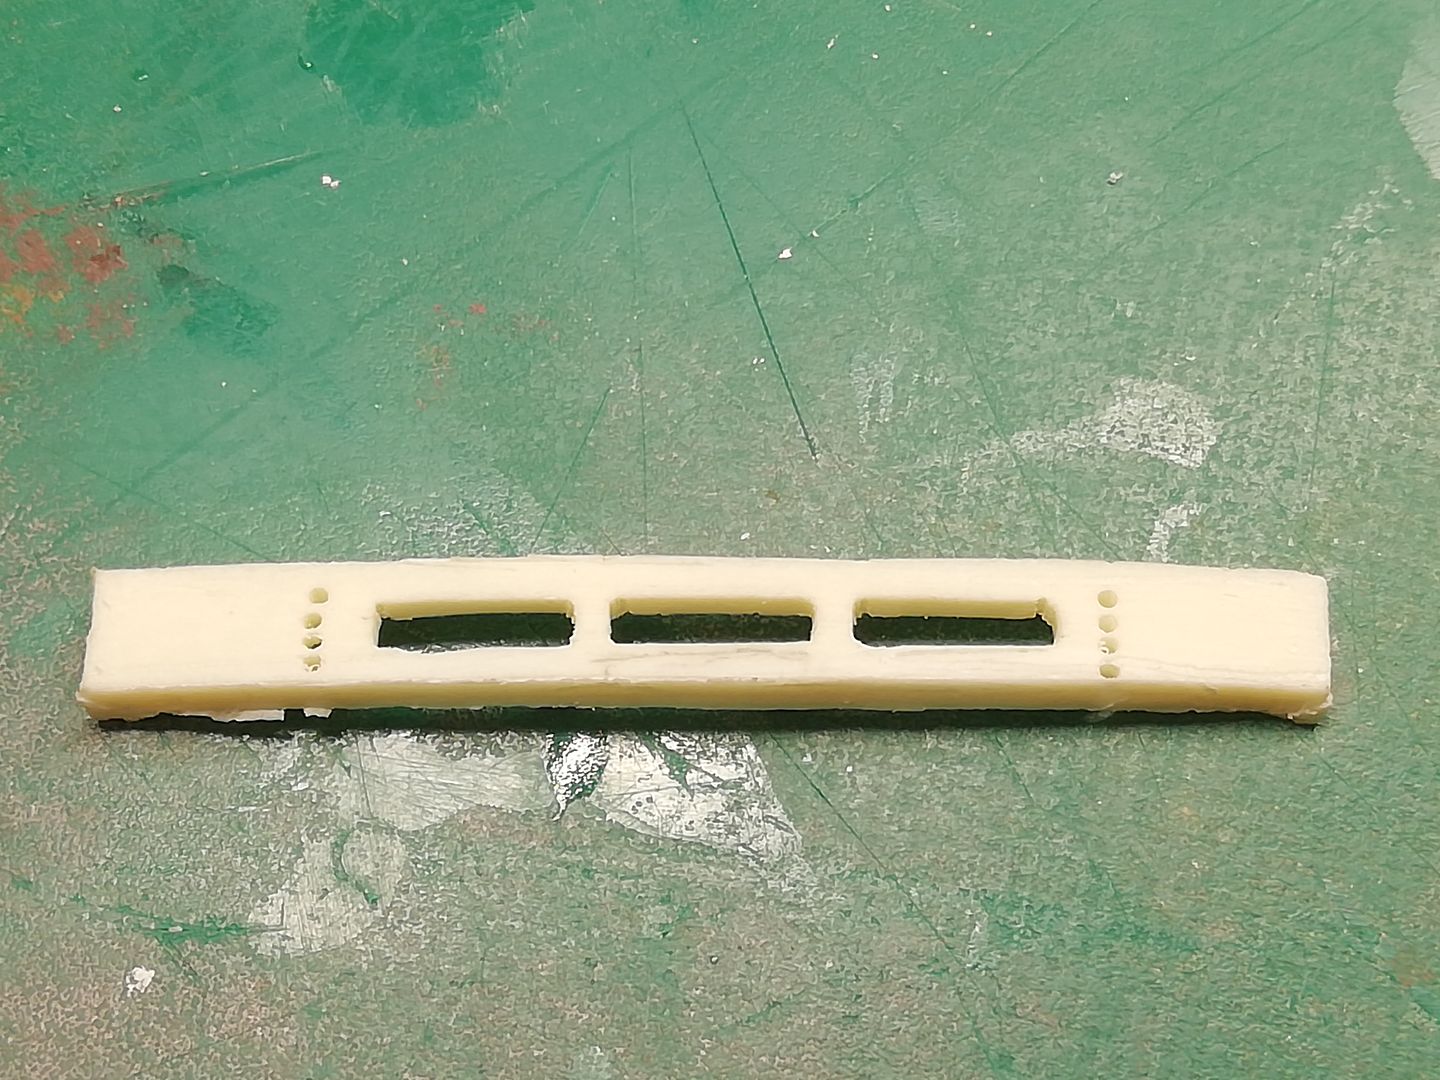 Glued in place with the gap at the bottom where there's a lead in swage, which I wanted to fill with milliput. .jpg) .jpg) 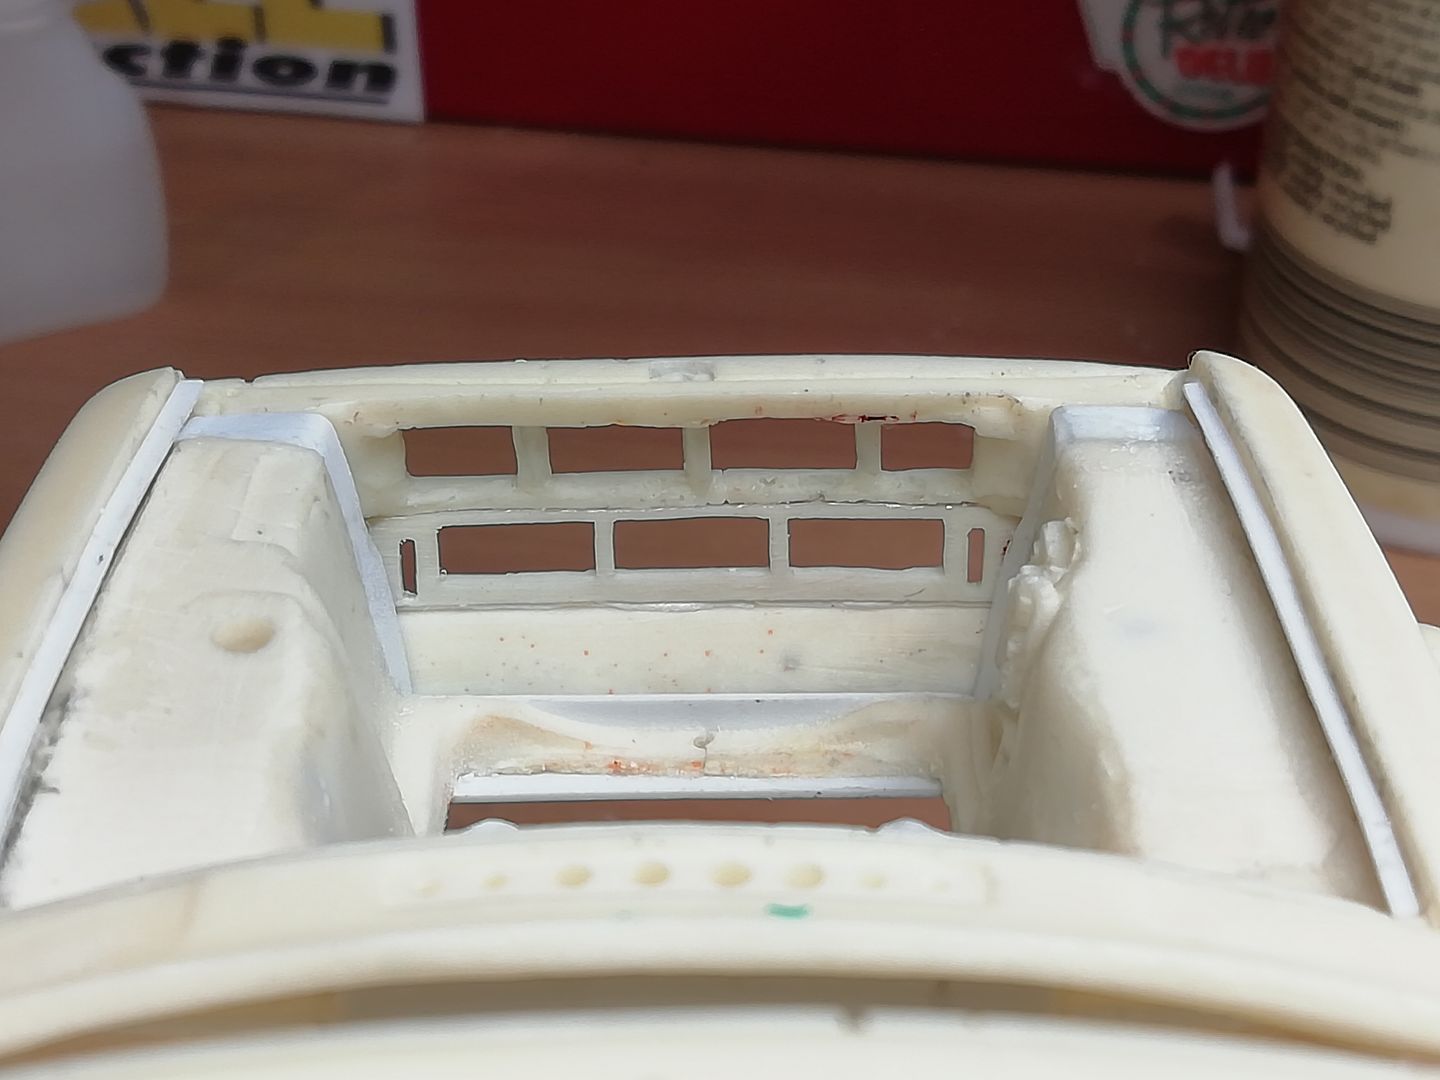 Once the milliput had set I proceeded to open up the slots and the bumper slots. 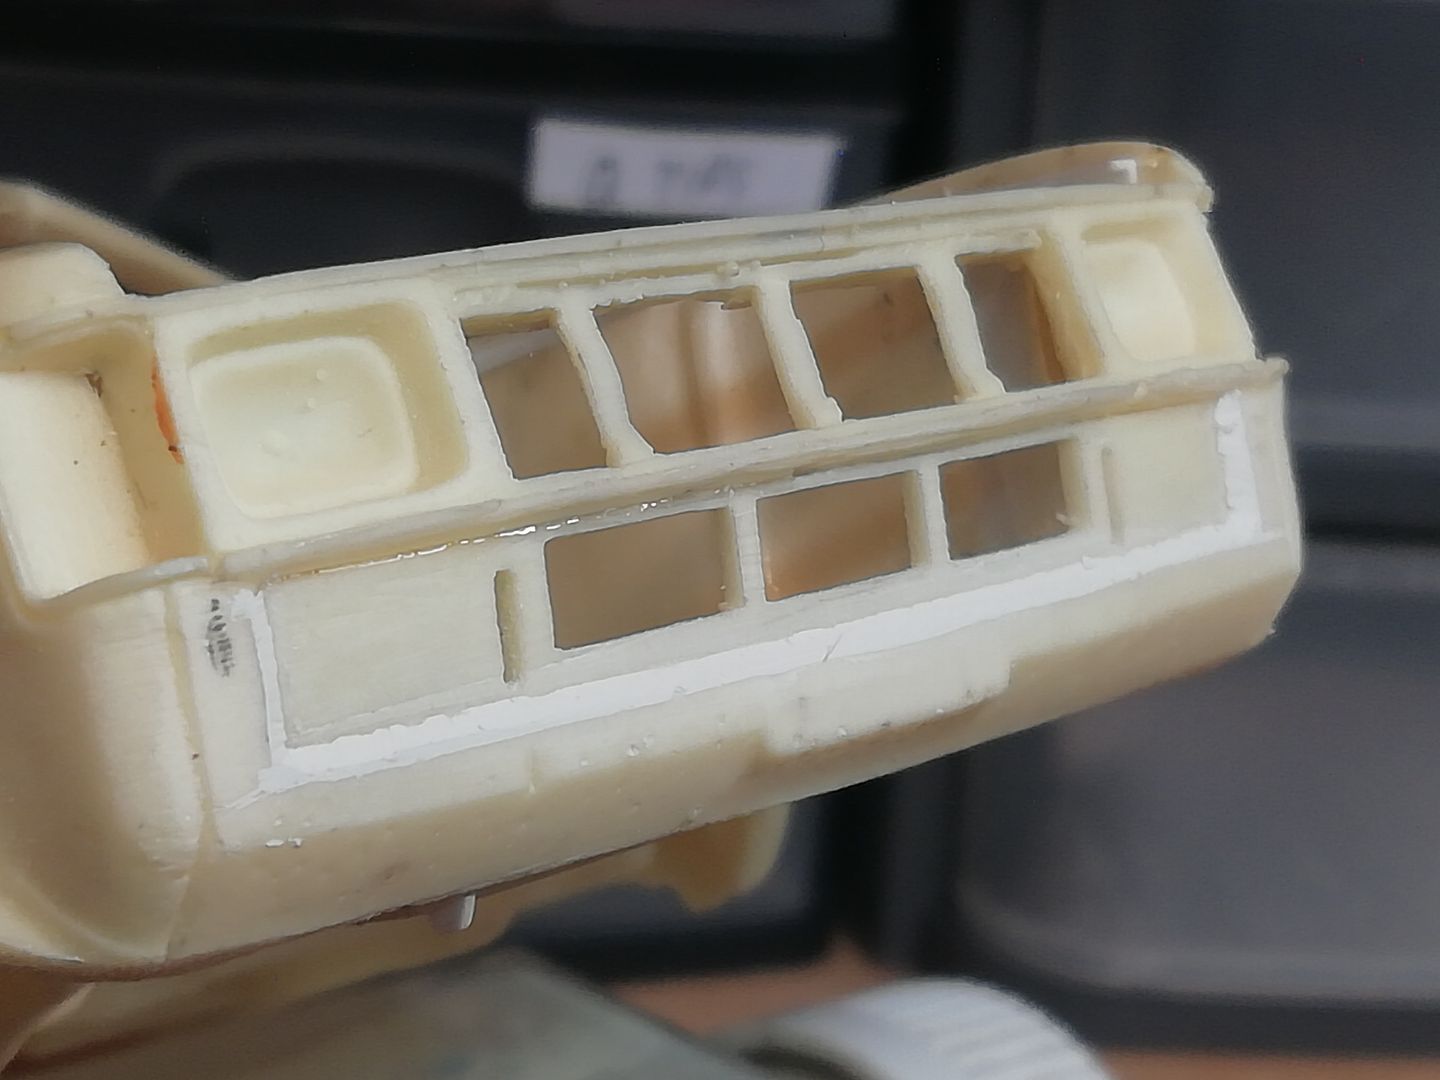 That will do for now 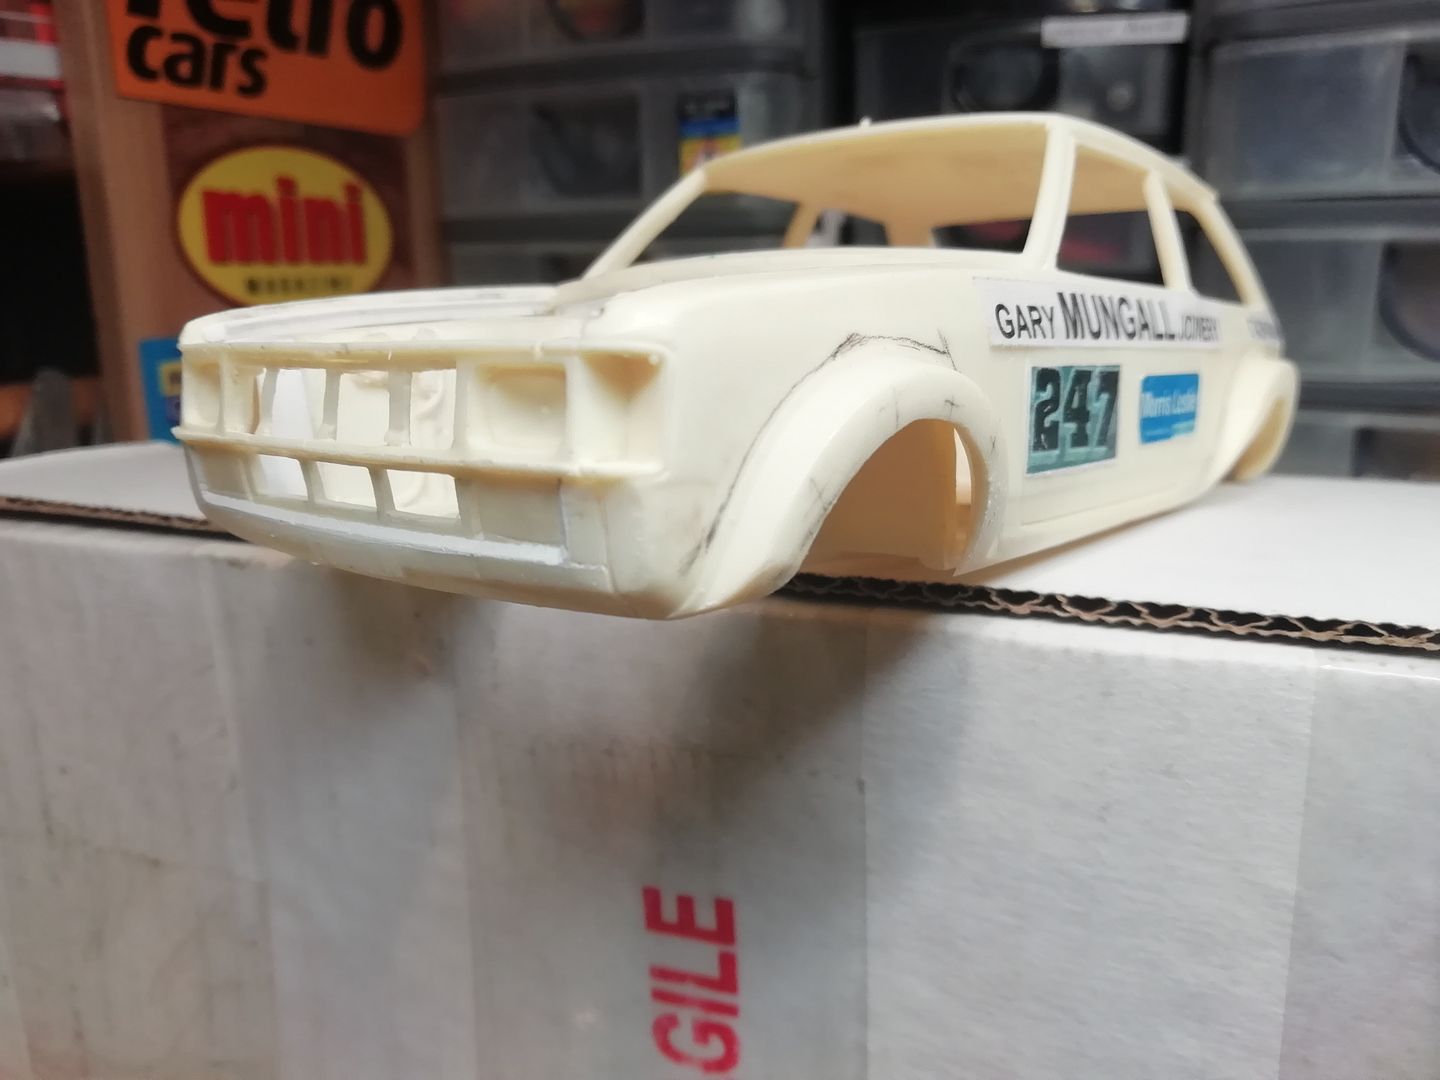 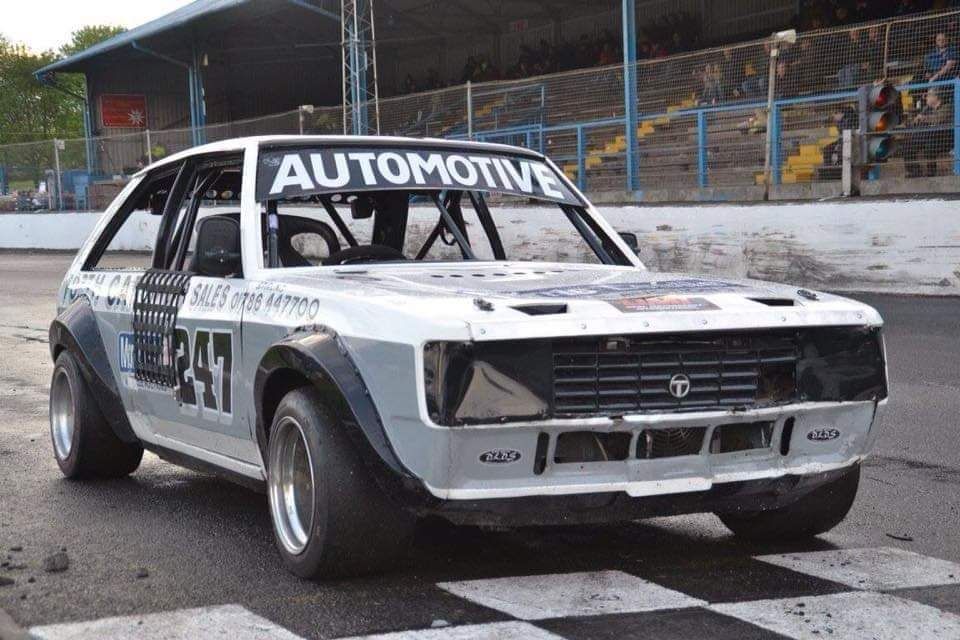 |
|
|
|
Post by afx on Feb 6, 2021 5:37:48 GMT -8
Nice sculpting Proinnsias. The 1:1 hot rod looks great.
|
|
|
|
Post by garydavis on Apr 4, 2021 11:36:22 GMT -8
Hey Boreham...how's it going on this cool car? Your work on the scale car looks dead on.
|
|
|
|
Post by afx on Dec 20, 2021 3:20:27 GMT -8
Any update on this build Punch?
|
|
|
|
Post by Boreham on Jan 10, 2022 3:03:54 GMT -8
insert code here![]()
Little done on this JC.
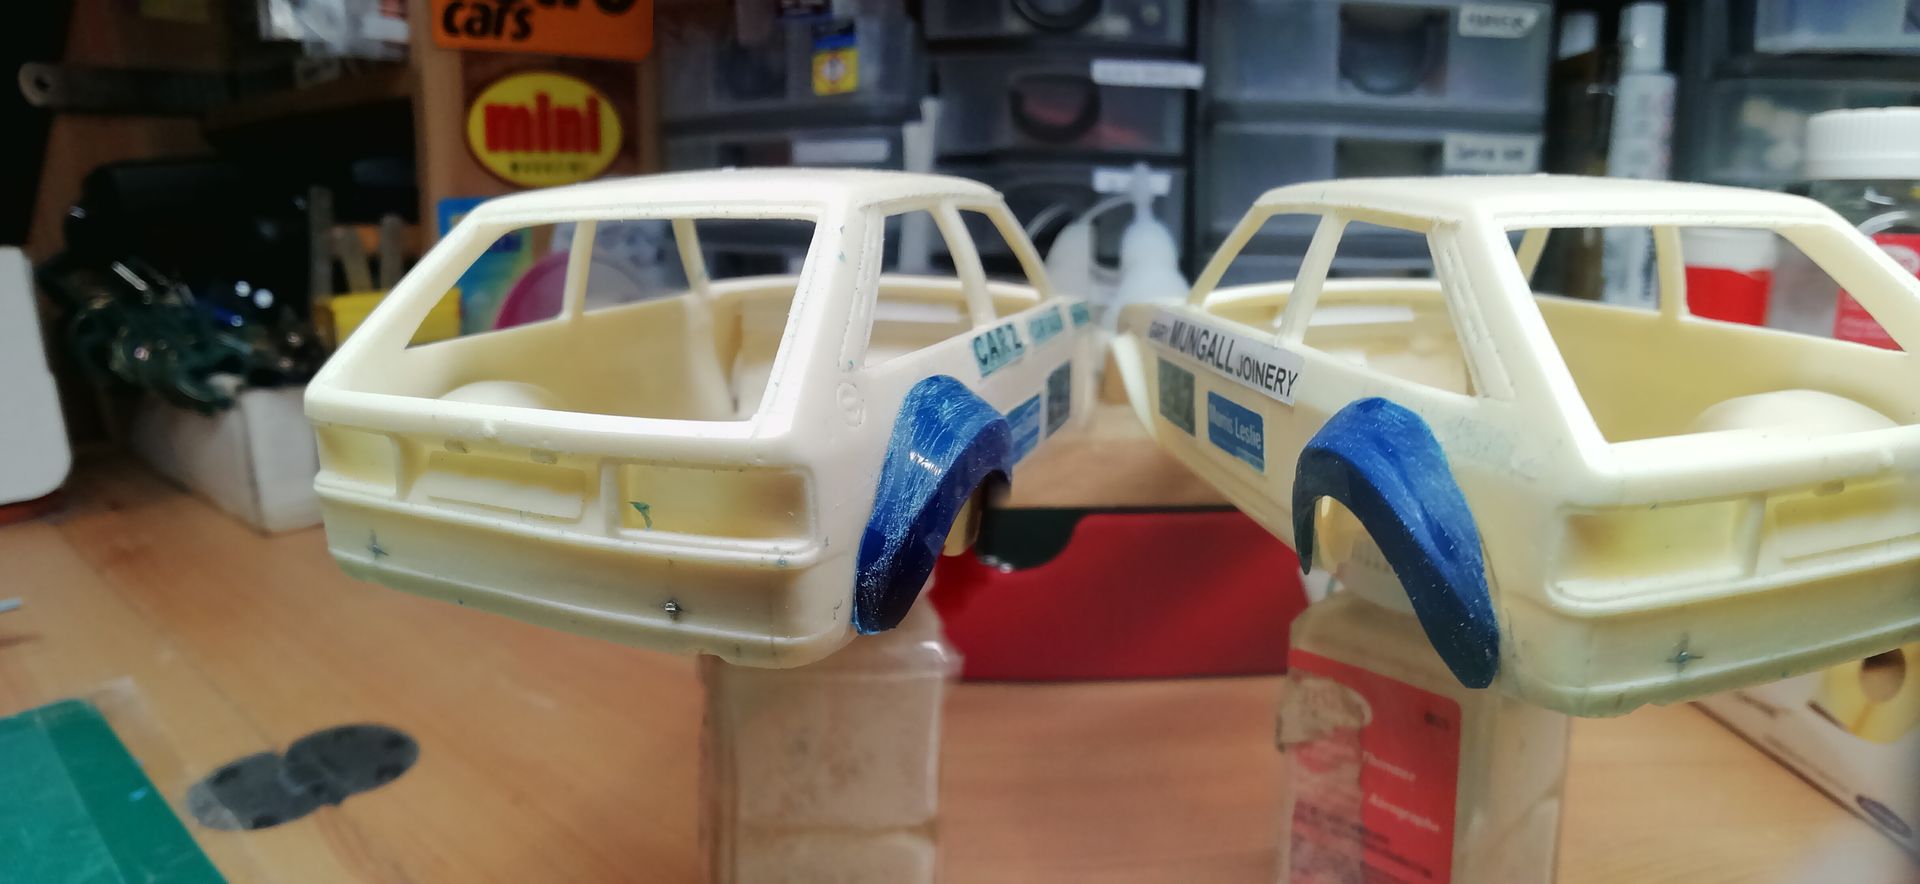
I've grafted on esci/revell Escort RS1800 rear arches and as we know they're terrible to being with but they're a starting point as the original car had Mk2 Grp4 rear arches. I've been reshaping them and tacking them on with CA to see how they look.
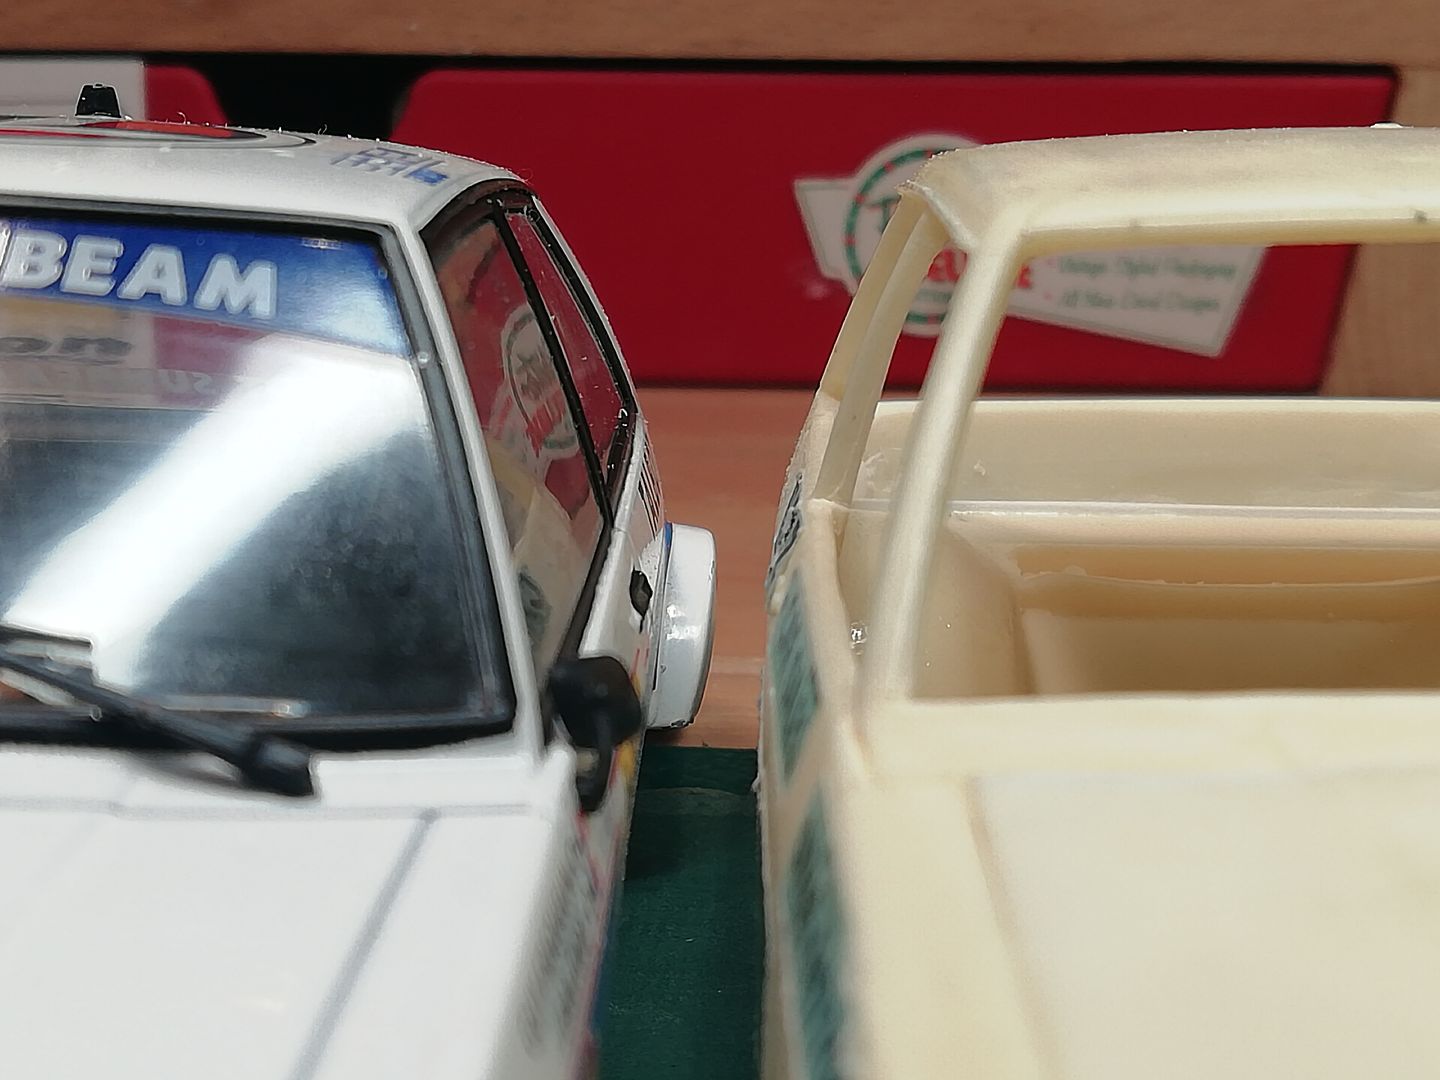
I bought a 1/24th Diecast from IXO which was sold as part of a WRC magazine in Mediterranean countries.
The bodyshell is much more accurate and I've done some mods to improve the appearance of the resin body.
I need to cut the roof down the middle now and remove 2mm approx which with further improve the roof and eliminate some of the vertical line of the A, B & C pillars.
It's all a learning curve but getting bogged down in it can be demoralising for a novice like myself.
Photos to follow (PHOTOS now added)
messing with the phone I was able to get both sides of the model with the arches fitted side by side in this photo. the arches are way to big in both height and width . ..but this was a handy way to both sides together.
This is the IXO 1/24 diecast Talbot Sunbeam rally car on the left and the resin on the right. You can see the Roof thickness on the resin needs to be reduced and this will also help the proportions of the over all roof which have been a big issue all along with this . The IXO Talbot is very helpfull at this stage to confirm my initaly concerns with the roof.
front view without any adjustments 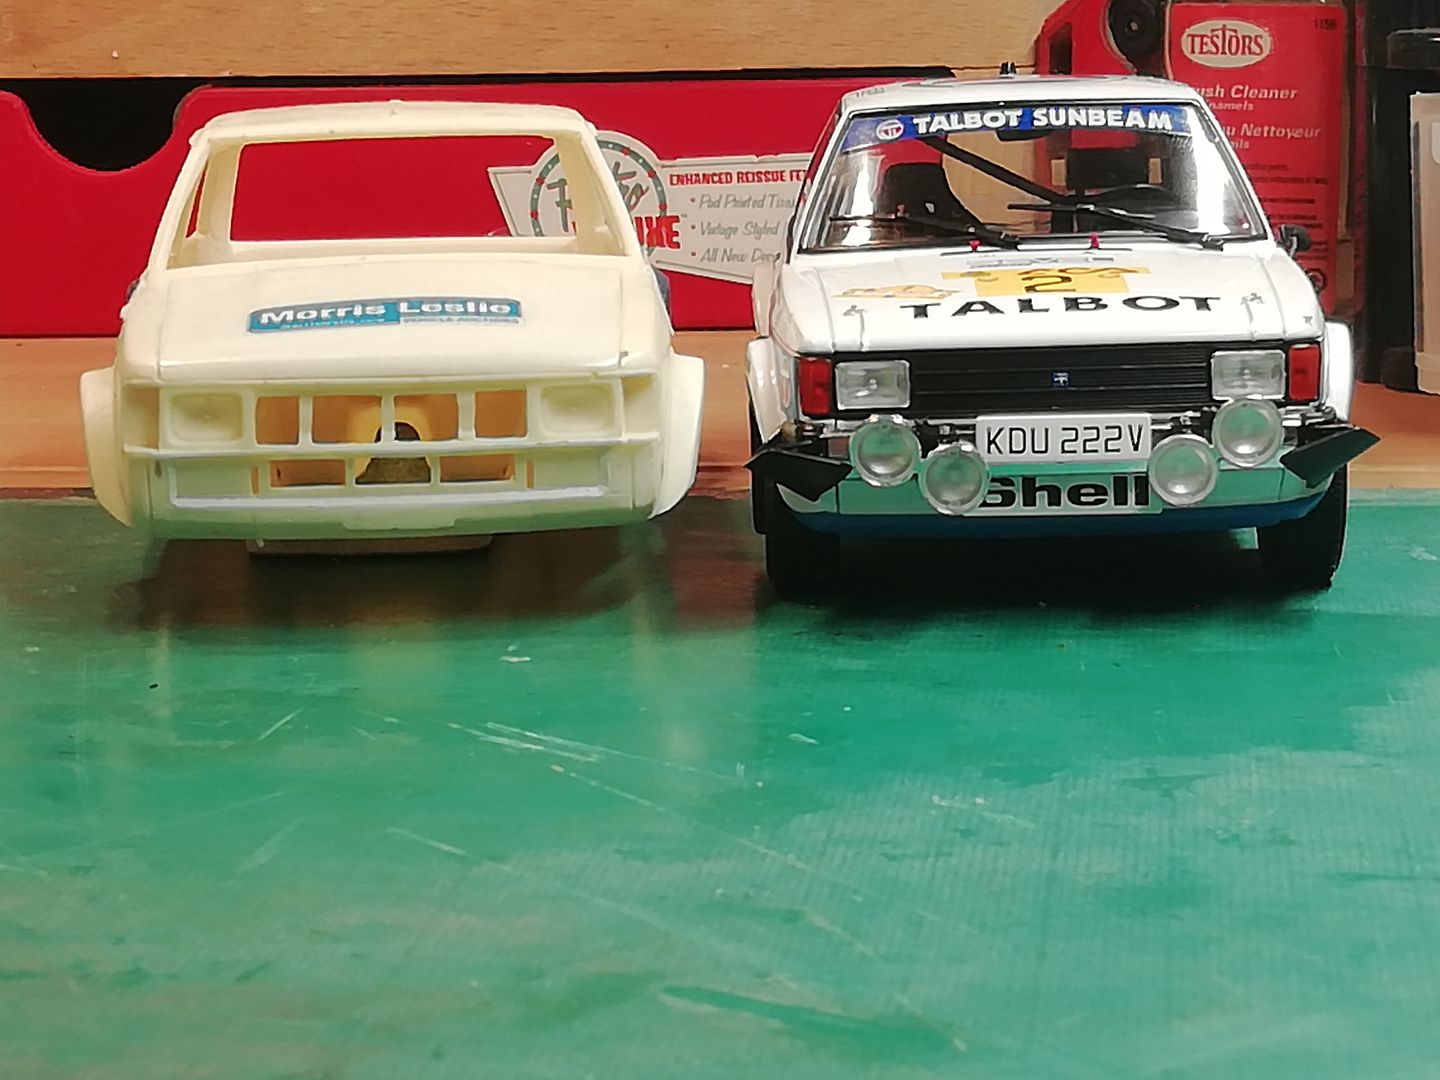
rear view without adjustments to the roof upper. 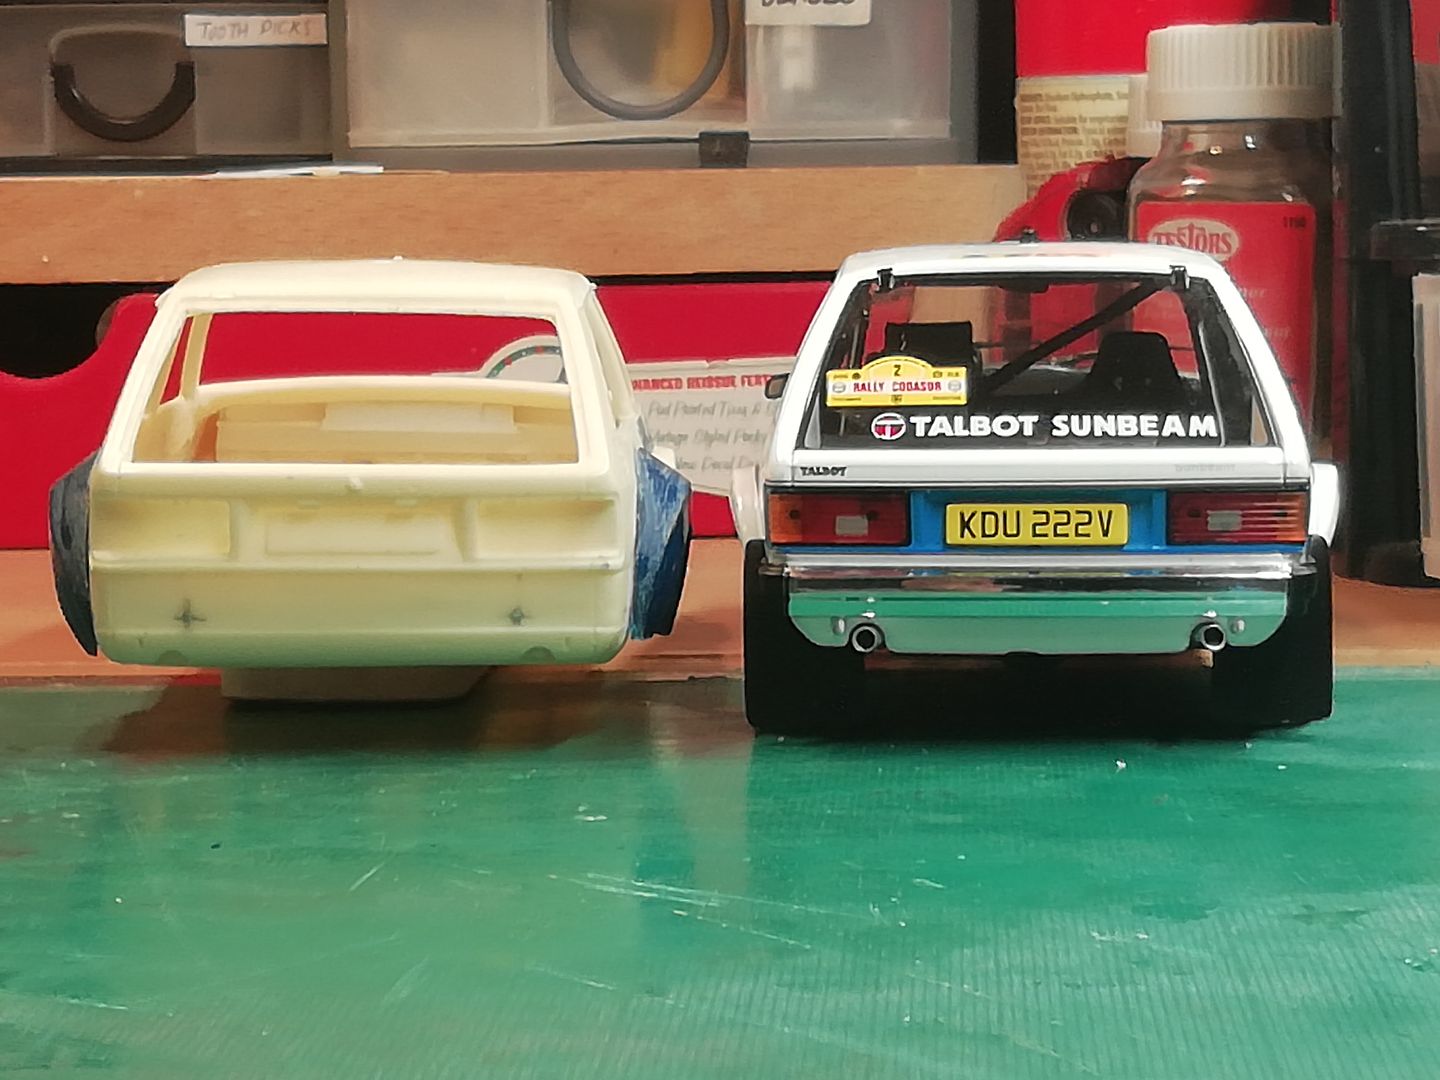
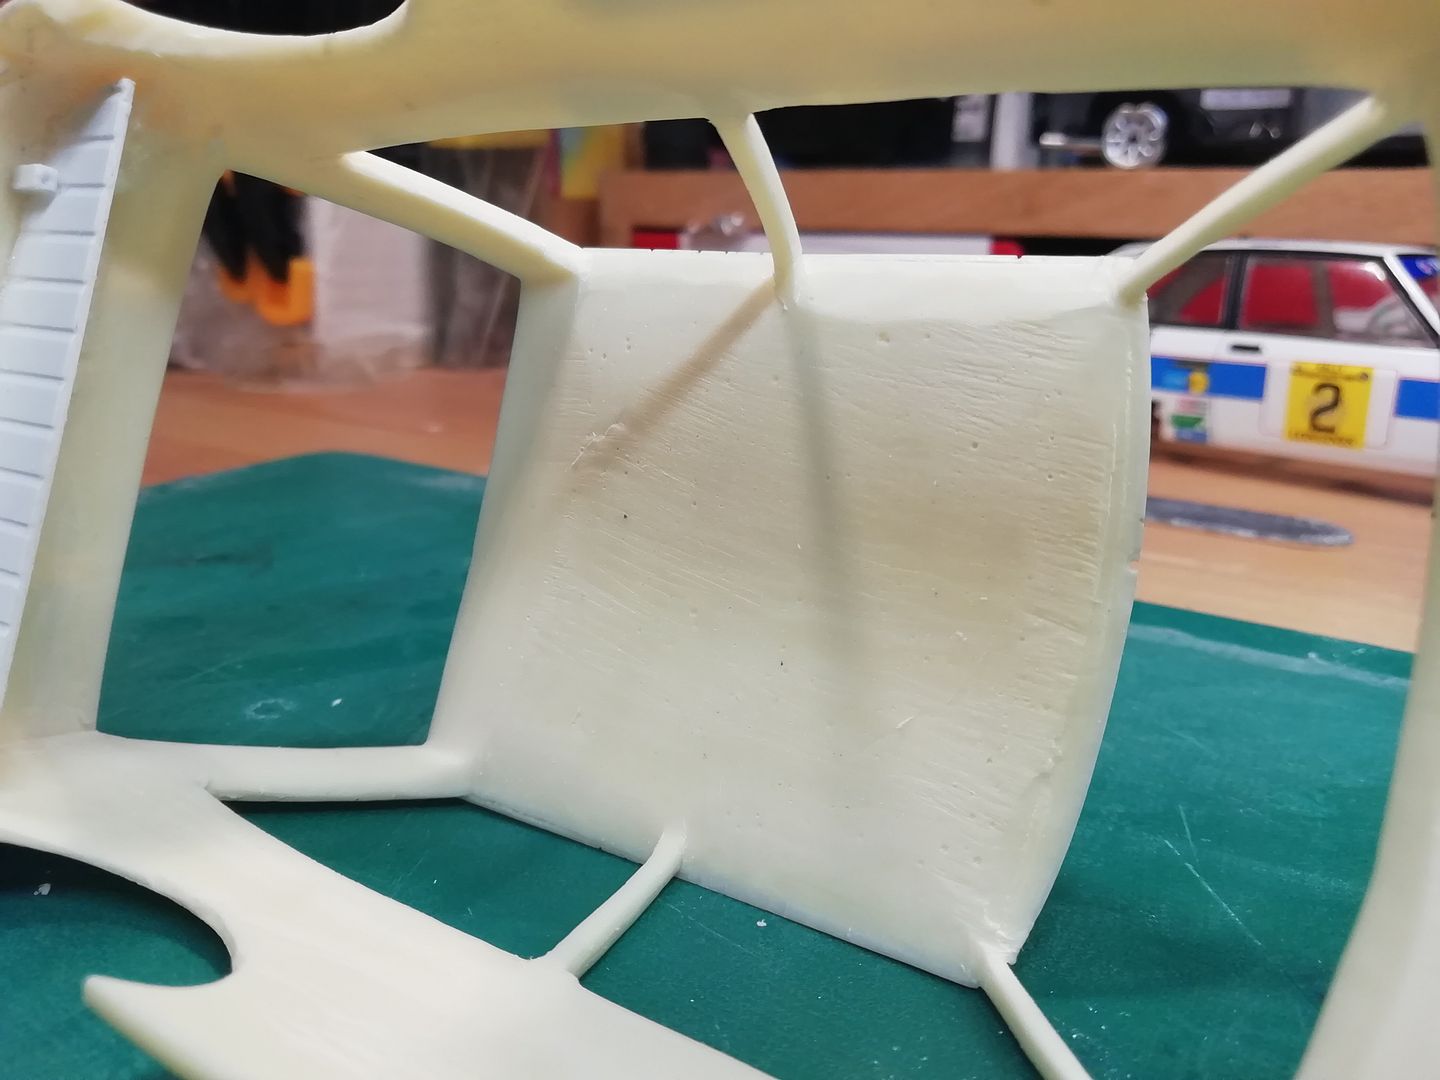
roof underside thinned out and raised up to improve the overall appearance. Grp arches removed for handling purposed as the were only tacked on with CA for visual reference. 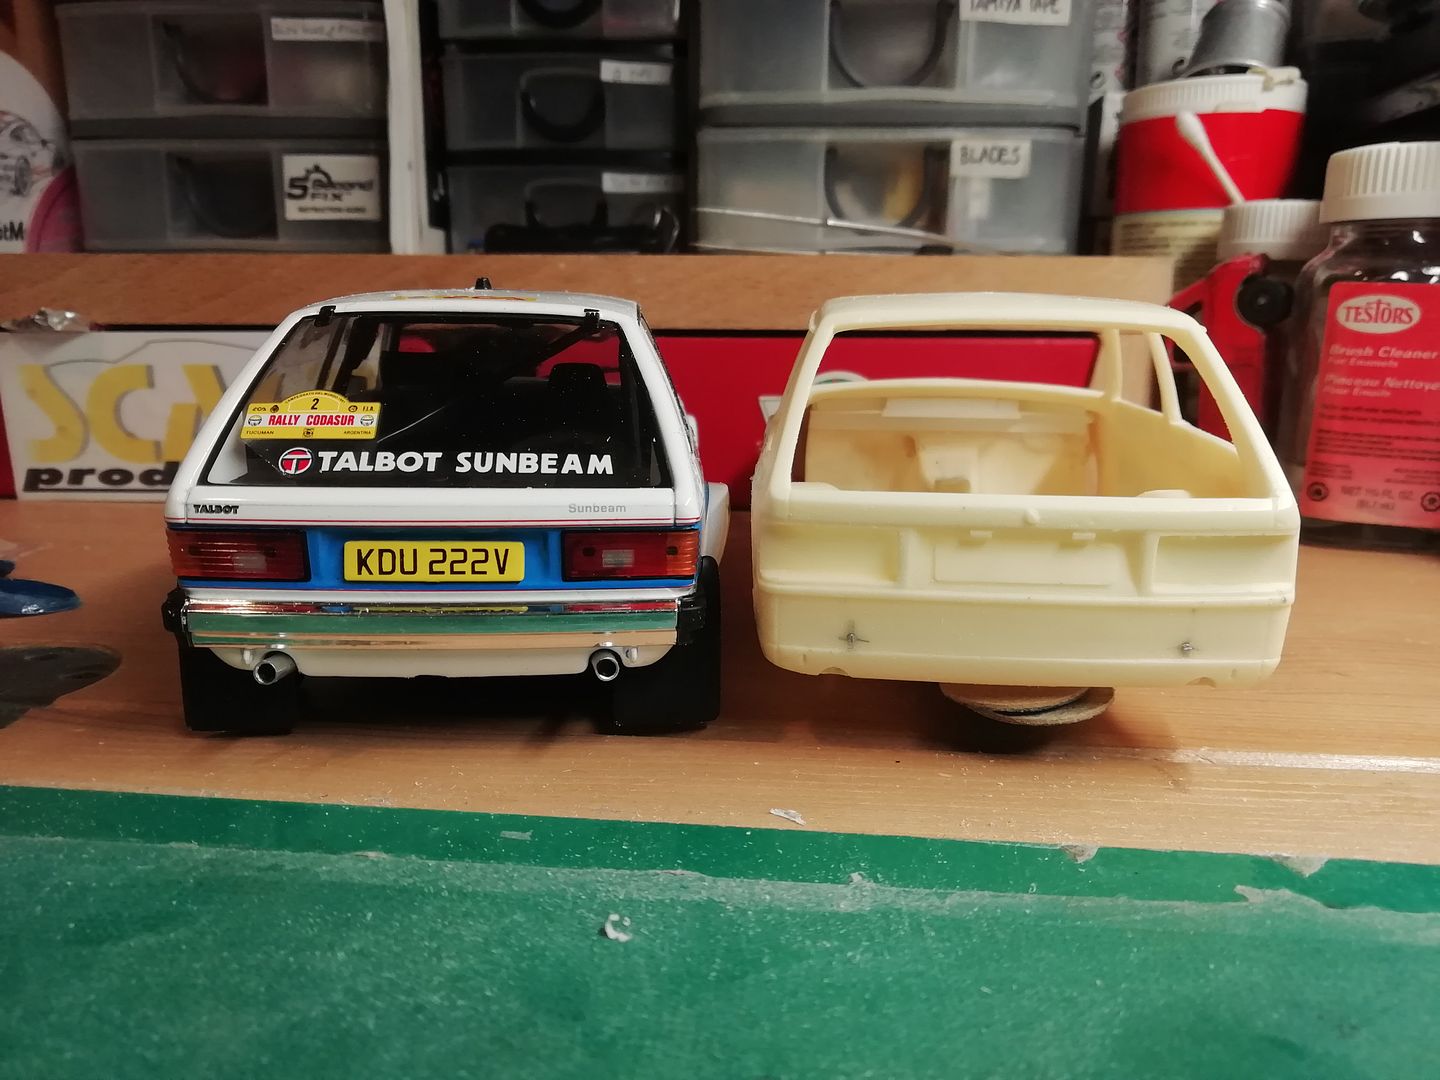
thinned roof view from underside.
side by side with rear opening being observed in this photo. 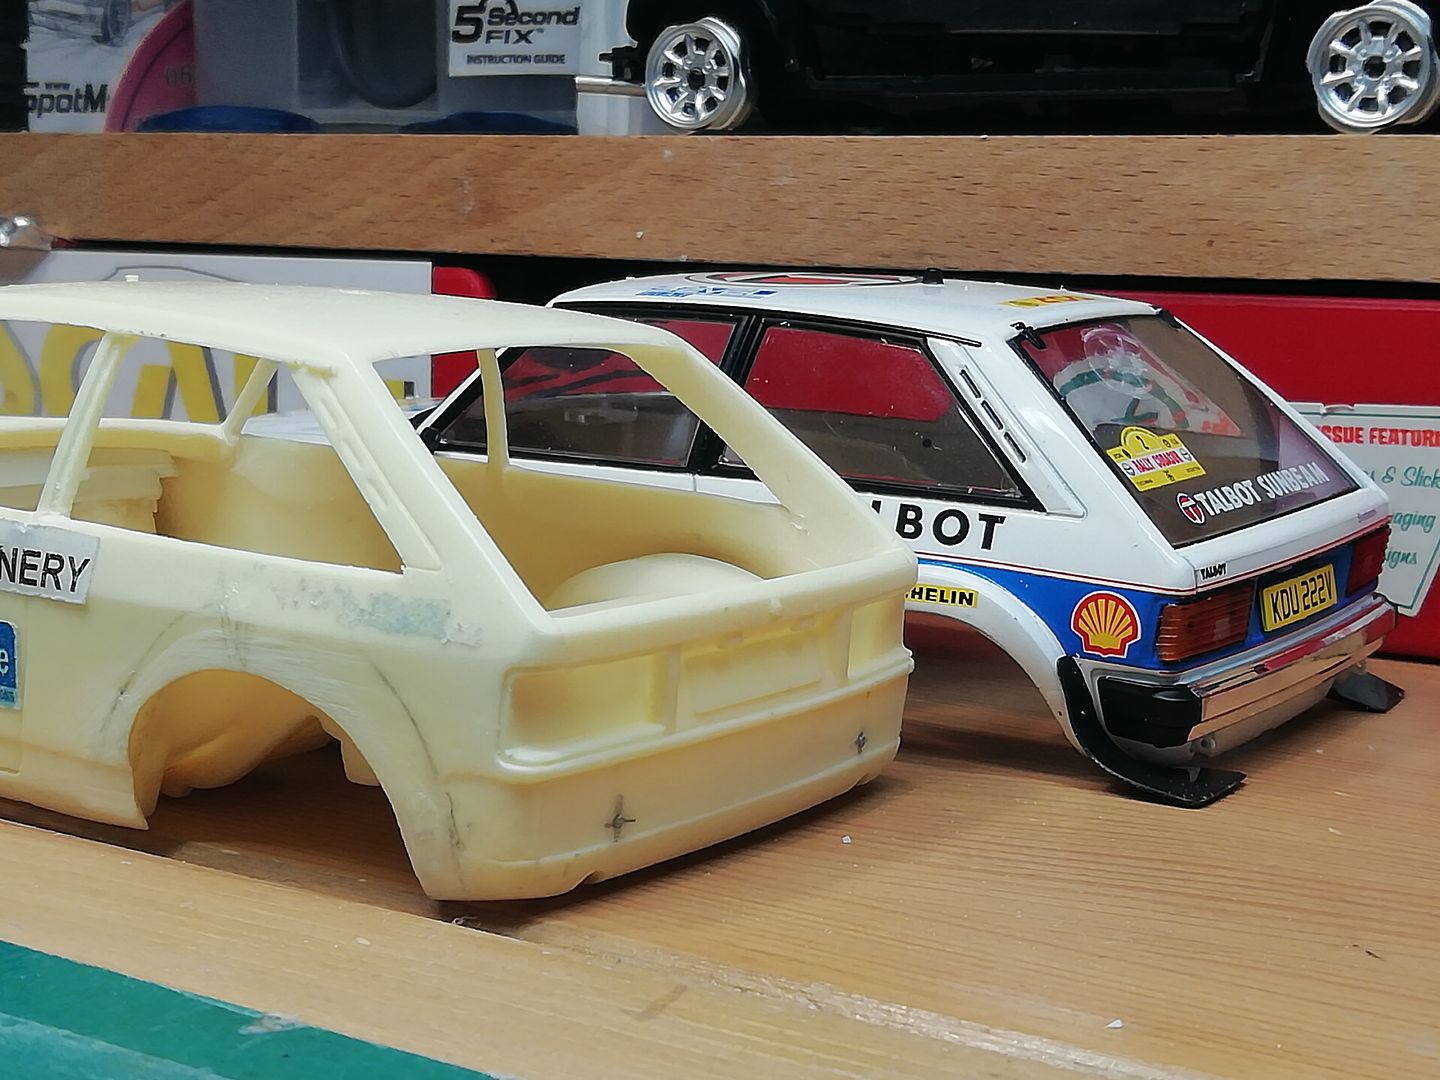
actual car for reference. There will be a boot shade (with AUTOPOINT writting on here) later which will hide some of the work down to the roof, but I felt I had to get it right 1st before it was covered. .jpg)
|
|
|
|
Post by mustang1989 on Jan 10, 2022 3:26:03 GMT -8
I just went through what build progress you have here and you're definitely putting some good work into it. Great concept and execution of it. Looking forward to more......
|
|