|
|
Post by Joel_W on Feb 1, 2021 14:36:06 GMT -8
Ismael,
Thanks for the thumbs up. It's greatly appreciated.
And I owe you for pointing me in the direction of ScaleFinishes. His paints are fantastic.
joel
|
|
|
|
Post by Ben_B on Feb 1, 2021 15:50:37 GMT -8
Looking great!! I’ll have to give Scale Finishes a try sometime.
Ben
|
|
|
|
Post by Joel_W on Feb 1, 2021 16:20:07 GMT -8
Ben,
Much appreciated my friend.
Try the paints once, and you'll be hooked for sure.
Joel
|
|
|
|
Post by pnance26 on Feb 11, 2021 6:06:20 GMT -8
Joel,
Speak to me of the alcohol bath prior to priming your car. I have used just soapy water previously and never had an issue... until now. I washed, rinsed, dried, then primed the Ford tub with Tamiya white. When I applied the Pearl Blue via rattle can (also Tamiya), it came out blotchy even with mist coats and then a wet coat. I'll post photos over in that thread tomorrow.
Probably going back into a stripper and then redone.
Any advice?
Patrick
|
|
|
|
Post by Joel_W on Feb 12, 2021 9:17:09 GMT -8
Patrick,
Sorry to hear the issues with priming. Better to have to strip now then after the 1st color coats.
I'm not a fan of a soapy water bath to clean plastic, as I had issues with some kits that still had some residue left that caused similar issues that you've encountered. Could also have been some soap solution that managed to make it past the rinse water stage.
The last step of my paint prep work is an Alcohol bath or rub. I use the cheapest store brand I can find of 70% Iso Alcohol. I use a bath to clean the parts, then I wipe down the surfaces Cosmetic swabs not Qtips soaked in clean Iso, then into a drying bin and cover. I've never had any issues, and the parts dry way faster then water does.
If the Iso looks clean, I transfer the bath Iso back to the bottle for another use.
Joel
|
|
|
|
Post by Joel_W on Feb 12, 2021 10:53:10 GMT -8
Not all that much time the last week or so for modeling even though I’m retired. But I still was able to work in several sessions and get the decaling done. I started off with my usual very lite wet rub with a piece of Tamiya 3,000 sponge, then a few water washes to remove any residue left on the body. The paint is now smooth enough for decaling without any clear gloss coat even though the paint is a Matt finish at his point. Decals for the body are by Indy Cals:  As usual the entire sheet is one big decal, so every decal needs to be cut and trimmed, which takes a ton of time, but the end result makes it more then worth it. 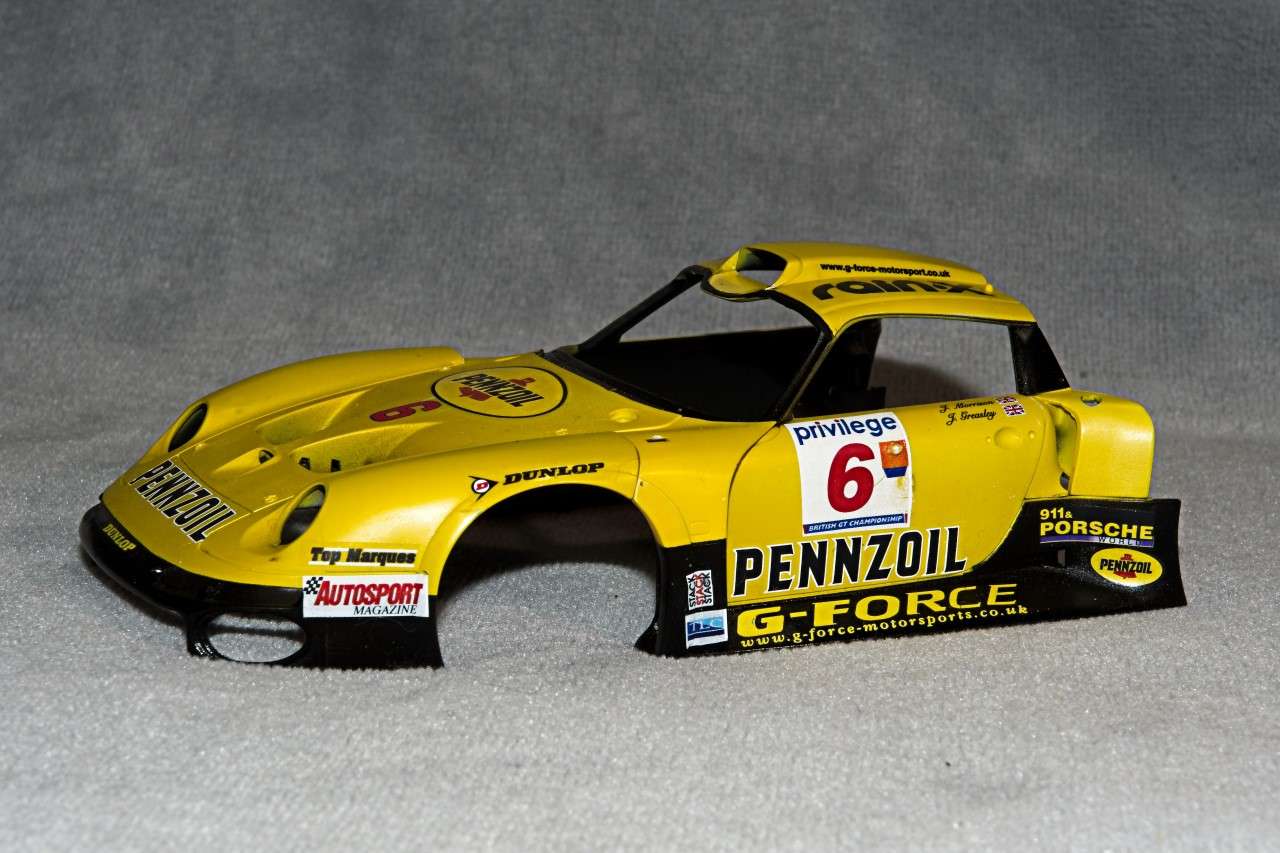 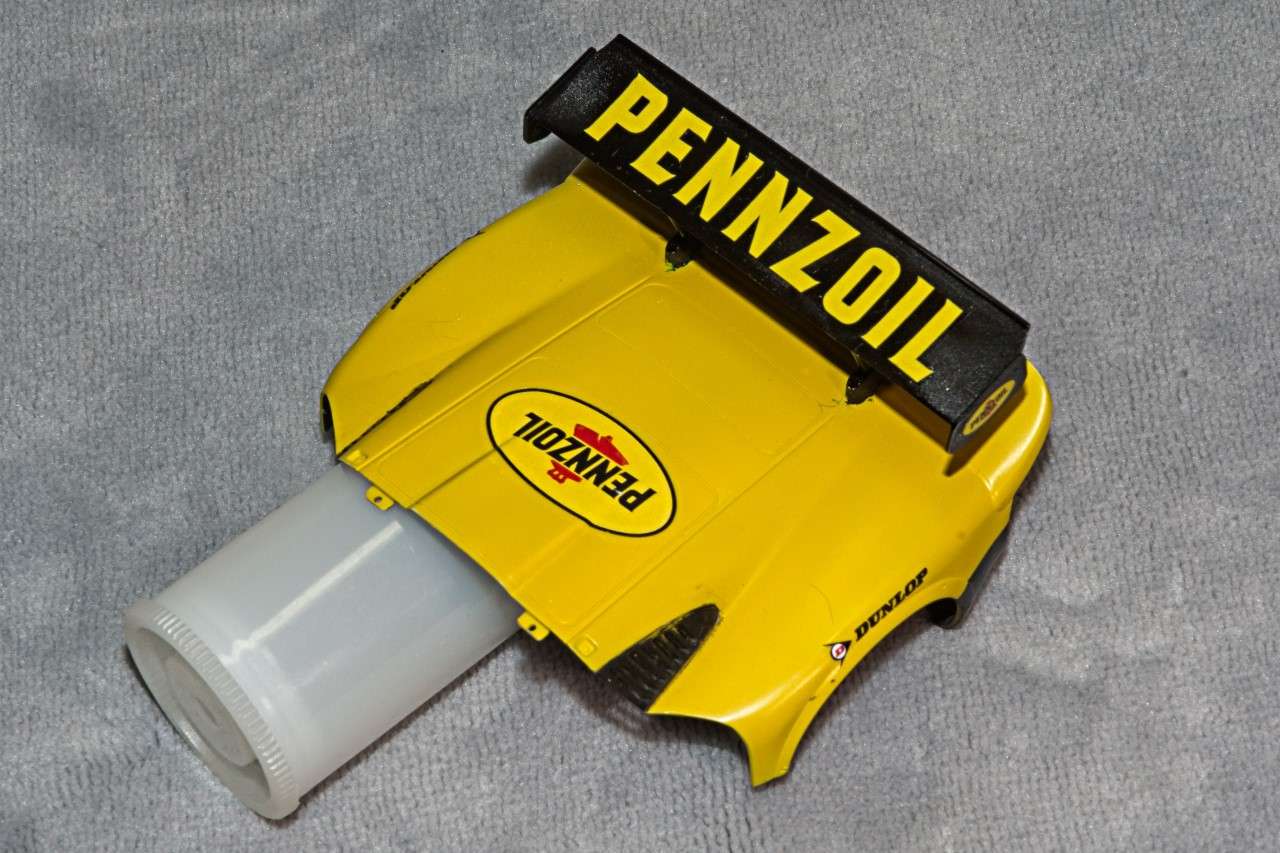 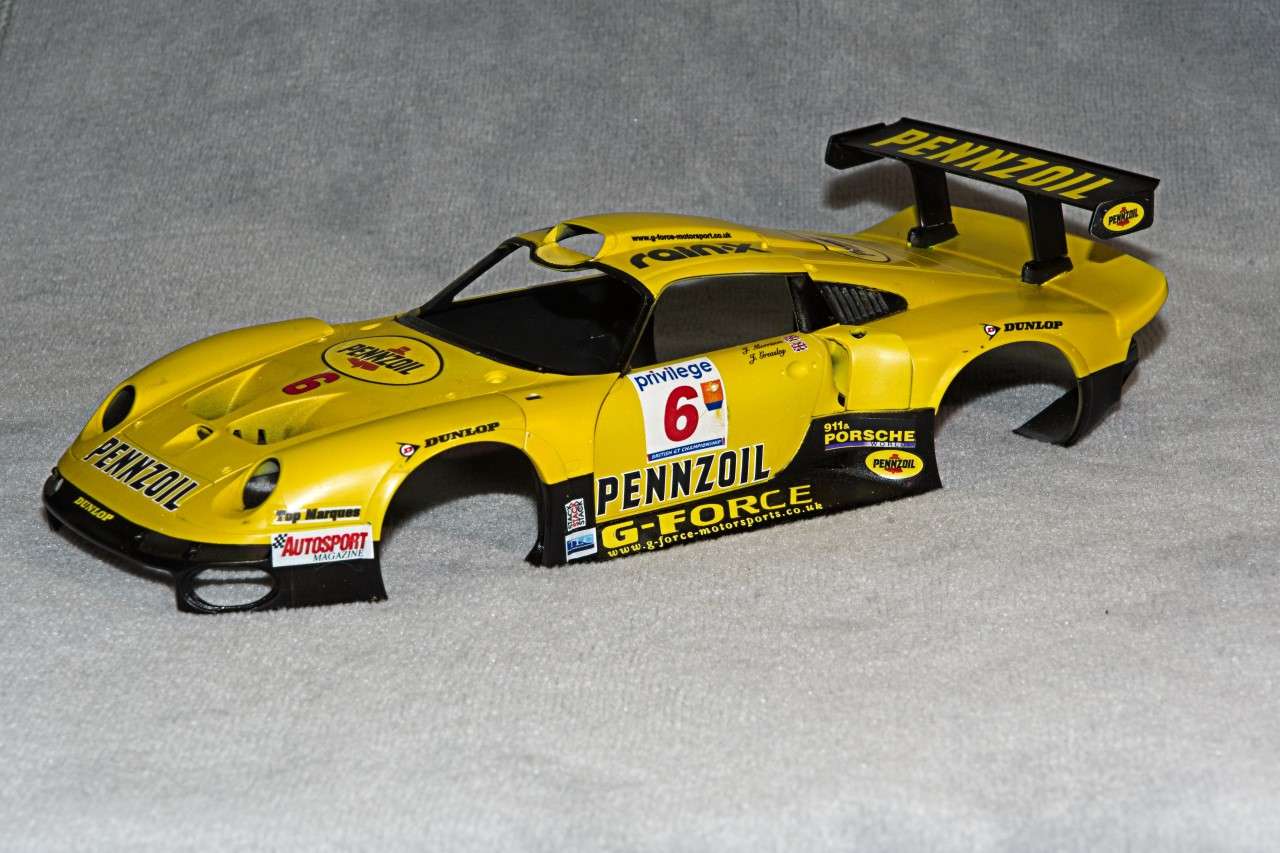 These close up pictures do show several paint issues I’ll try to deal with, but honestly guys, I do really struggle with any close up work due to my poor eyesight, so at times I have to settle for what once would have been a no brainer gotta fix. Joel |
|
|
|
Post by Ben_B on Feb 12, 2021 11:32:57 GMT -8
I’m certainly not seeing any flaws in your build, Joel. It’s looking great! I guess I’m off to eBay to find a GT1 kit. Yours has made it too hard to resist.  Ben |
|
|
|
Post by tatocorvette on Feb 12, 2021 11:47:33 GMT -8
Joel,
Great job so far! That is looking really sweet. A great looking car in a great looking livery is hard to beat.
Thanks,
Ismael
|
|
|
|
Post by arcticwolf on Feb 12, 2021 20:55:57 GMT -8
Other than that it looks like an angry wasp, the paint looks fine to me. 
cheers Paul  |
|
|
|
Post by Joel_W on Feb 14, 2021 8:26:12 GMT -8
Ben,
Believe me there's flaws a plenty. Two that I found weren't flaws but rather stupid mistakes on my part. What I thought was poor masking on the rear of the front wheel wells, turned out to be two little pcs of Tamiya 2mm tape that I missed when removing all the masking. The stuff is thin & only 2mm, so I missed it. Once removed those issues were gone. Other goofs are slight bleed through in the corners of the black windshield framing and the base of the rear wing supports. Most have been retouched up the best I can. but around the drivers compartment into scoop I did the best I can, but it still has a lot of little issues. Just can't see well enough no matter what to do better then what you see.
joel
|
|
|
|
Post by Joel_W on Feb 14, 2021 8:31:18 GMT -8
Ismael,
Thanks buddy for the thumbs up.
I've got one question for you. For a Clear gloss I've been using Mr. Color's C46 cut 50/50 with their #400 thinner/leveler. When I went to clearcoat every one of the 12 bottles in my stock was half empty!. these are sealed 6 packs from Sprue Brothers as they got them from Gunze. Needless to say I wasn't very happy. Even after thinning to what I thought was the correct consistency, the end results weren't what I expected. So I'm going to move on to another lacquer based Clear Gloss. Just to concerned about vapor issues of 2K and shelf life to go that route.
My 1st stop was ScaleFinishes as I just loved their paints, but for pre-thinned 2 oz bottle of lacquer Clear Gloss, $10 is kind of on the expensive side, as I'd most likely use nearly the full bottle. Do you think that it's worth the cost?
Joel
|
|
|
|
Post by Joel_W on Feb 19, 2021 10:25:17 GMT -8
Slowly but surely making progress as I’m inching along with the build. Before I turn my attention to the engine/trans/rear suspension compartment, I wanted to get the body shells ready, and then rubbed out and waxed. So I installed the front wheel wells brake and tire exhaust air shrouds, and the front hood air deflectors. I left off the door handles and mirrors as I’m 101% sure I’d knock them off as many times as I attached them, so they’ll wait for installation till the very end of the build. I still have all the lights, light receptacles, lenses, and all the glass to go, but those will be added to the build further down the road. Honestly, I haven’t even air brushed on the rubber insulation as yet on each piece of plexiglass. I’m still using the 3 part Gravity polishing set, as well as their wax, so that’s what I concentrated on if for no other reason then to protect the paint and decals from my constant rough handling. After the final step of waxing was done I left the shells to dry for a day or so, so that I could actually see the wax build up in all the recessed lines. I approached the removal with a dampened sharpened toothpick, then a stiff flat brush and water. I was pretty sure that I got most of the residue, but after looking at my pictures it’s evident that I did a horrid job of it, and will have to go to my Plan B: air brushing plain water along all the recess panel lines. Hopefully that will really help. Here’s a few pictures of where the Porsche is in my build. Joel 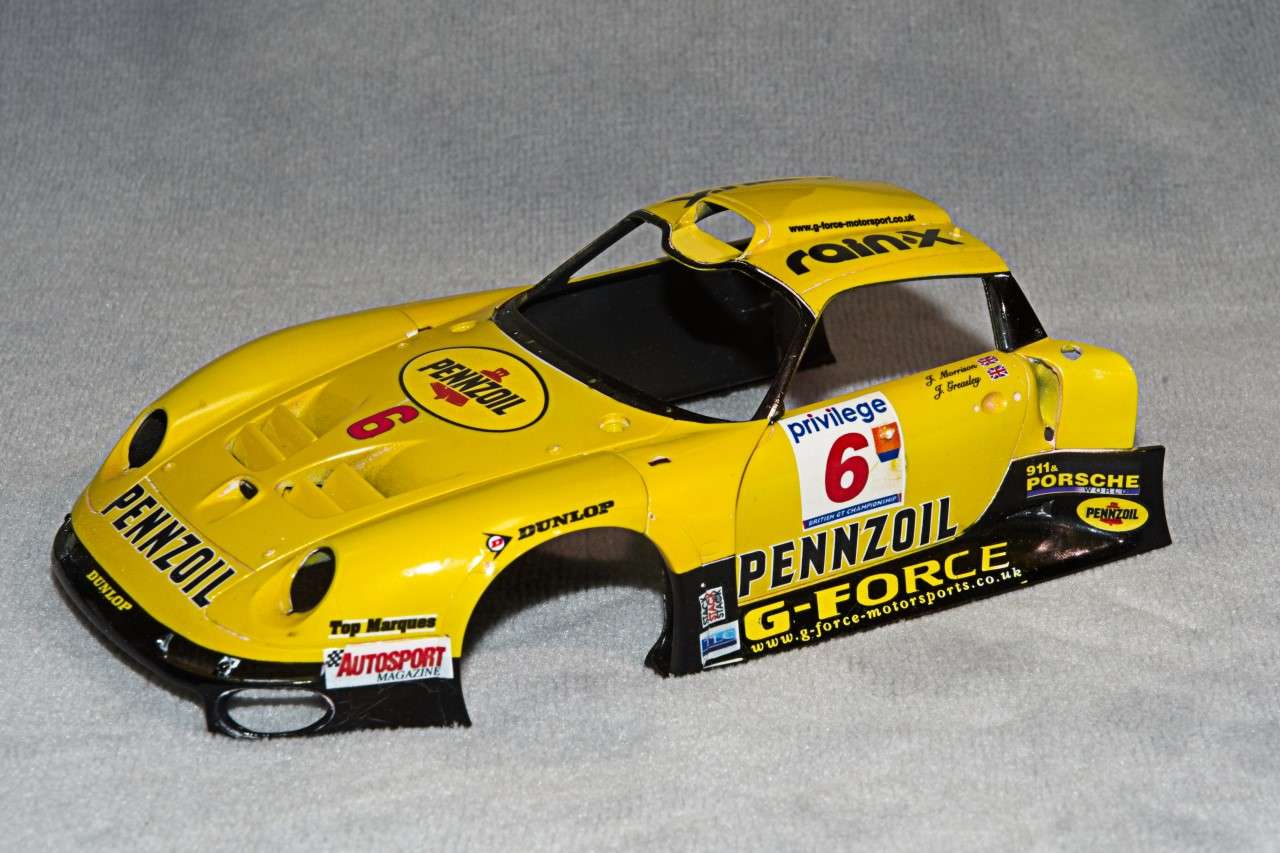 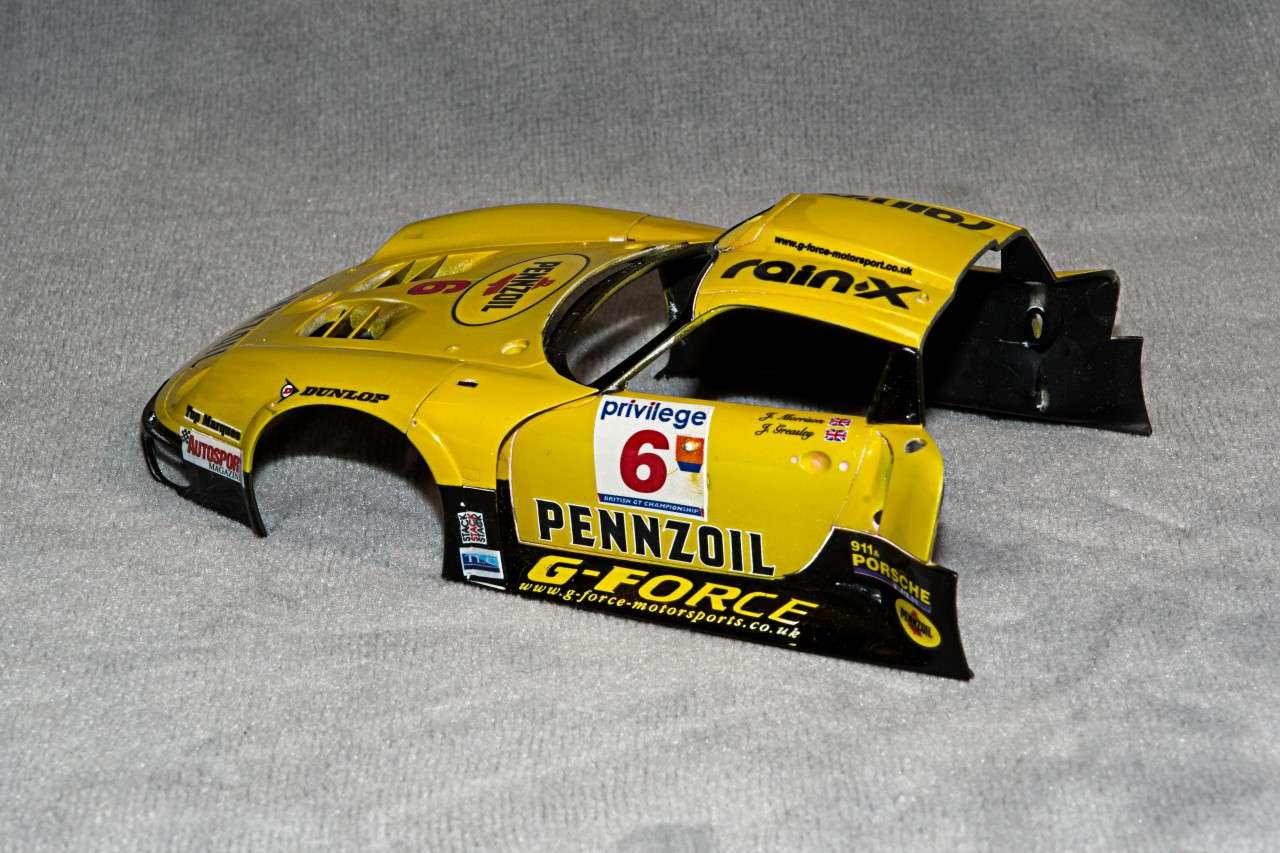 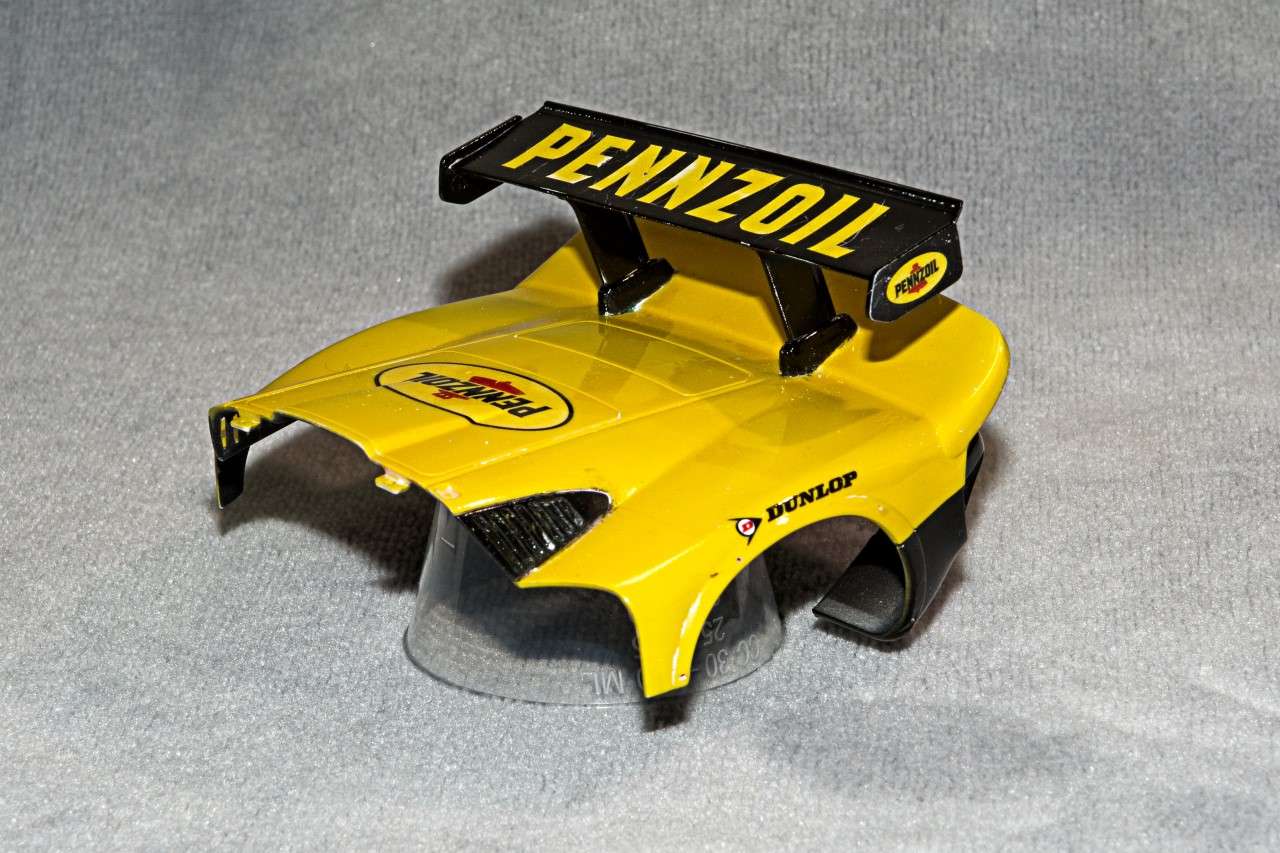 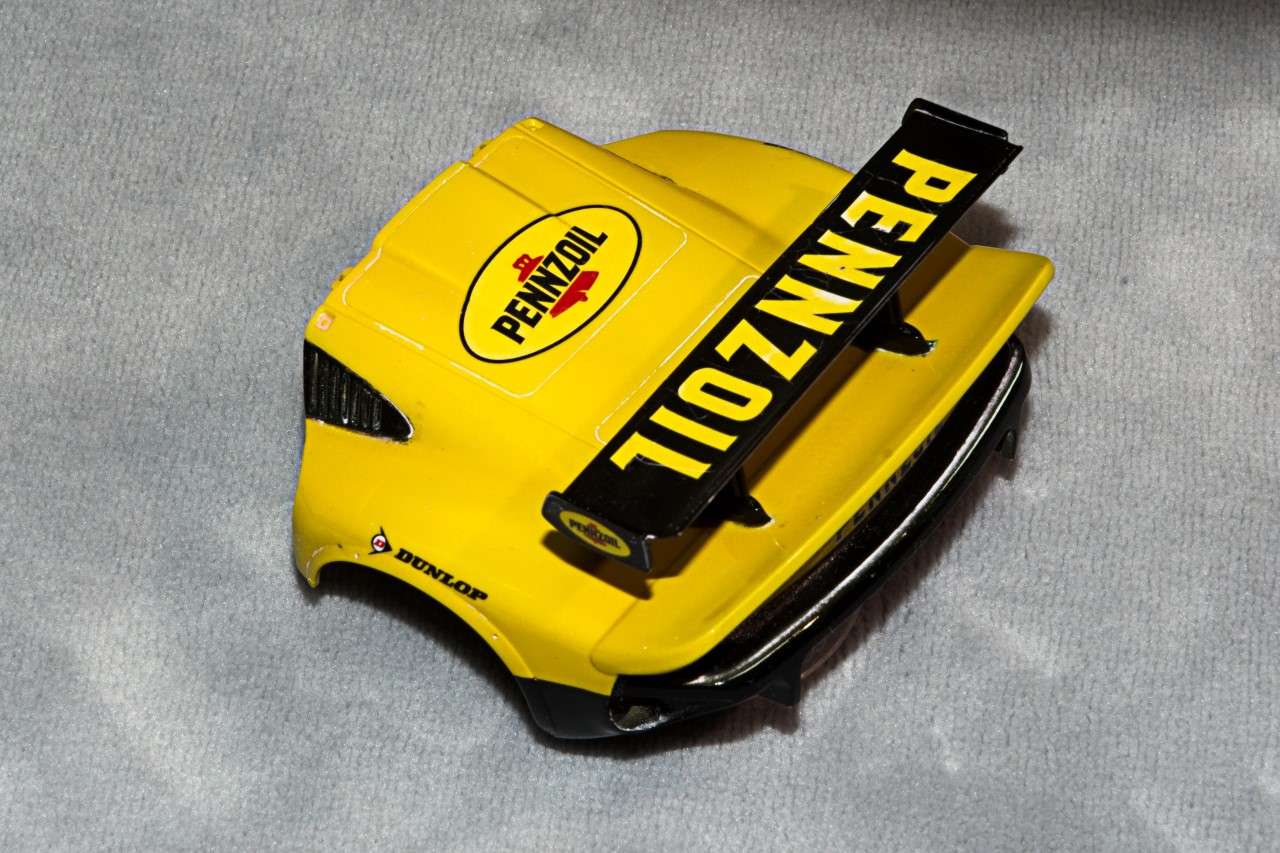 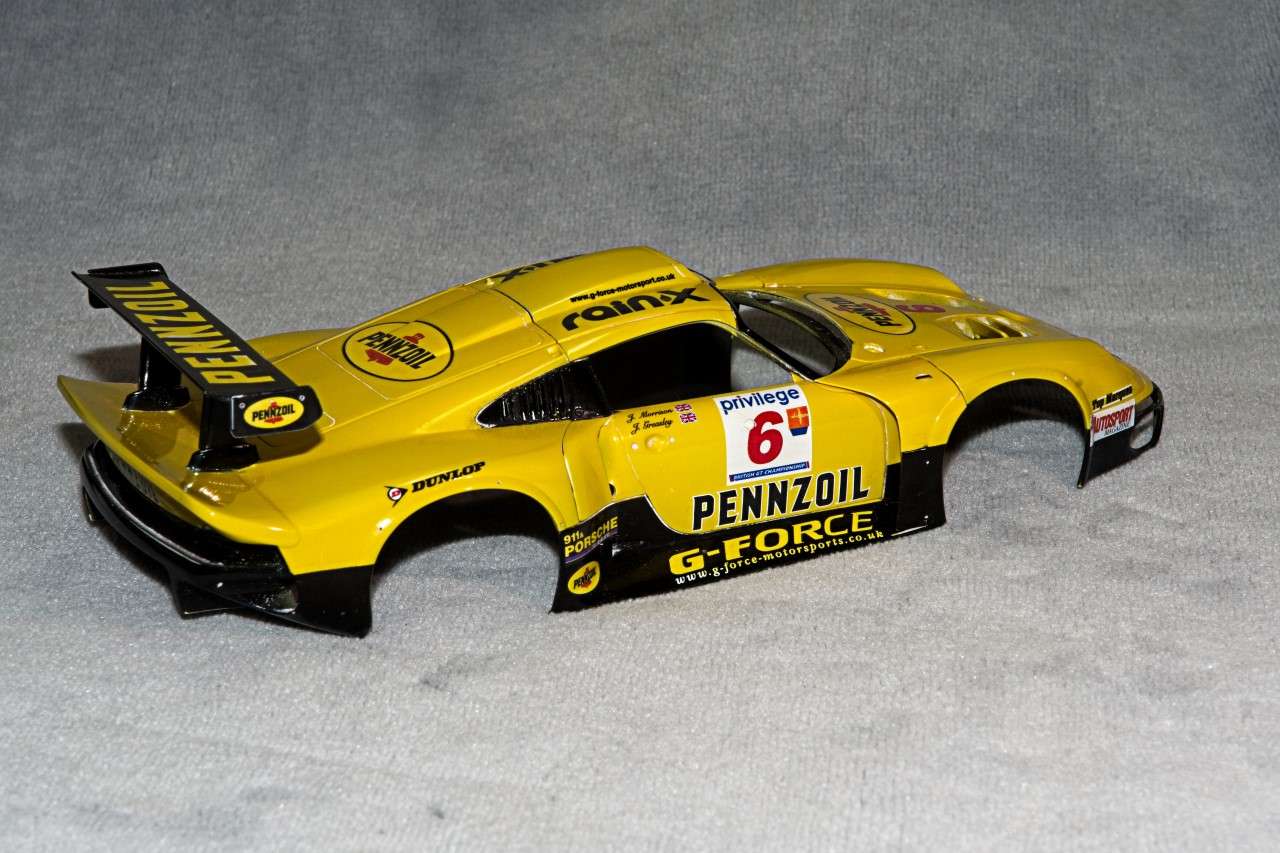 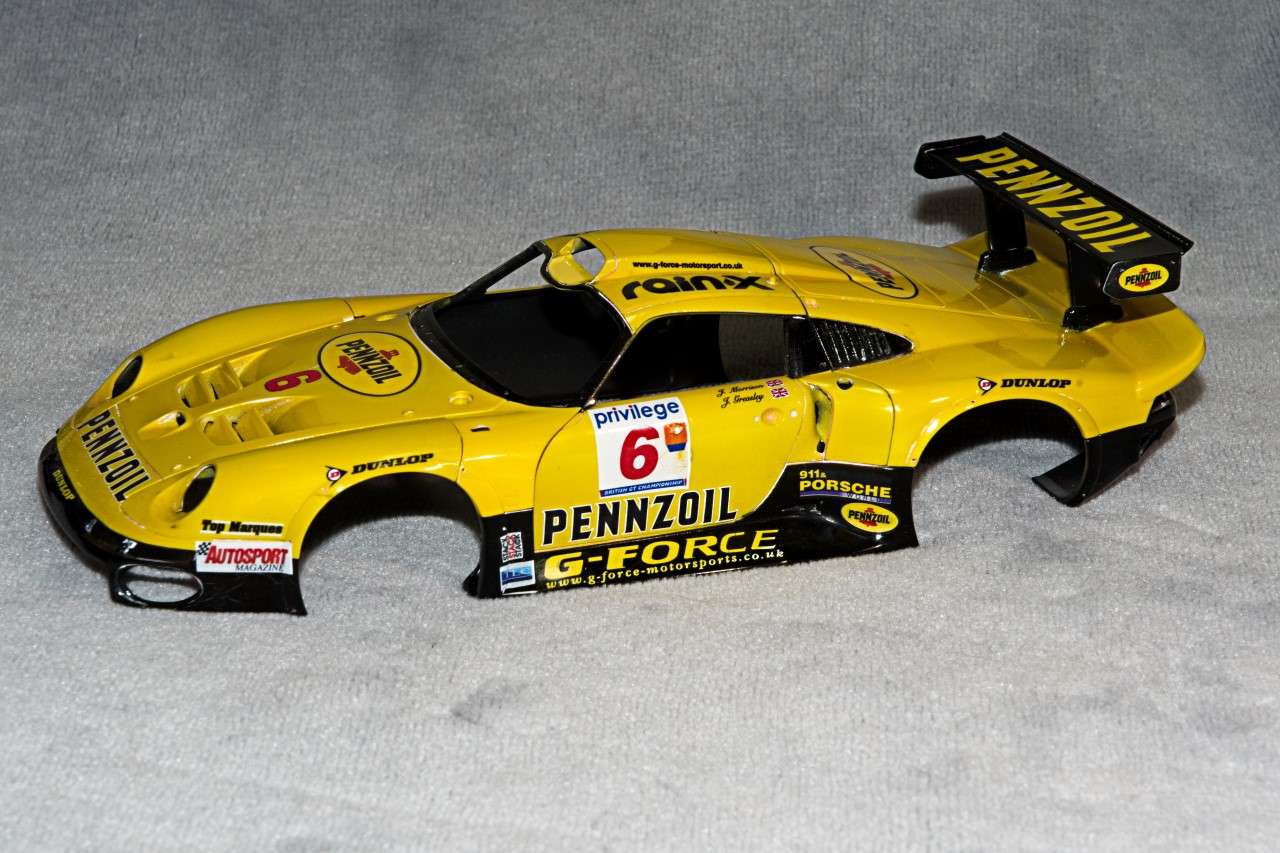 |
|
|
|
Post by afx on Feb 19, 2021 11:05:45 GMT -8
I like the livery Joel.
|
|
|
|
Post by Joel_W on Feb 20, 2021 6:45:13 GMT -8
JC,
Thanks for the thumbs up, it's always much appreciated.
joel
|
|
|
|
Post by tatocorvette on Feb 20, 2021 9:32:00 GMT -8
Looking good Joel!
Sorry I missed your question before. Scalefinishes has a few clear options. I like the 500 series single stage clear. I can do 2 and maybe push 3 cars with a 2oz bottle.
I struck out with 2K urethane so I'm back to my comfort zone of single stage clear and gobs of elbow grease.
Thanks,
Ismael
|
|