|
|
Post by tatocorvette on Mar 23, 2021 11:53:07 GMT -8
Looking really good Joel! Ain't masking fun? Especially when you mask for hours to paint and remove in minutes  |
|
|
|
Post by Joel_W on Mar 24, 2021 4:30:01 GMT -8
Ismael,
Thanks for stopping by. It really much appreciated.
Yep, masking is slowly turning into my favorite part of model building.
joel
|
|
|
|
Post by Joel_W on Apr 3, 2021 11:13:56 GMT -8
Time for another update. I’ve been working on finishing up the front suspension clip, then just decided to switch gears and tackle the wheels and tires, so that’s what this update is all about. As usual, the chrome plated wheels look pretty good as to scale appearance, and the chrome plating is actually what I’d have tried to duplicate if I stripped the wheels and went with Alcad2 Chrome, so I decided to use the wheels as they are. 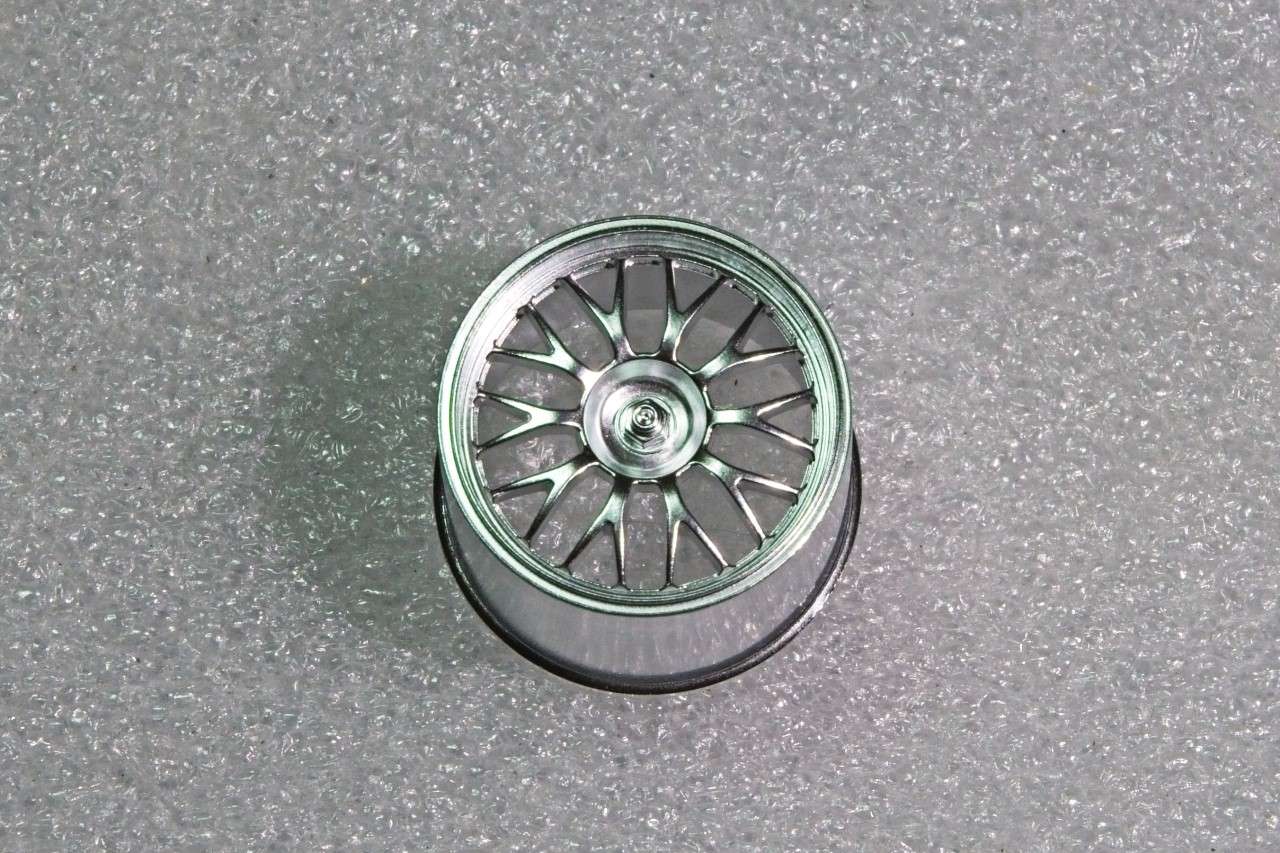 With that being said, the insert of the wheels are painted semi gloss gold. So the wheels needed to be masked. I used 2mm Tamiya tape to tape off the inside lip above the insert , then 10 mm Tamiya tape around the outside of the wheel as well as creating a slight channel to run a layer of Mr. Hobby masking Sol to protect the top of the Chrome wheel. 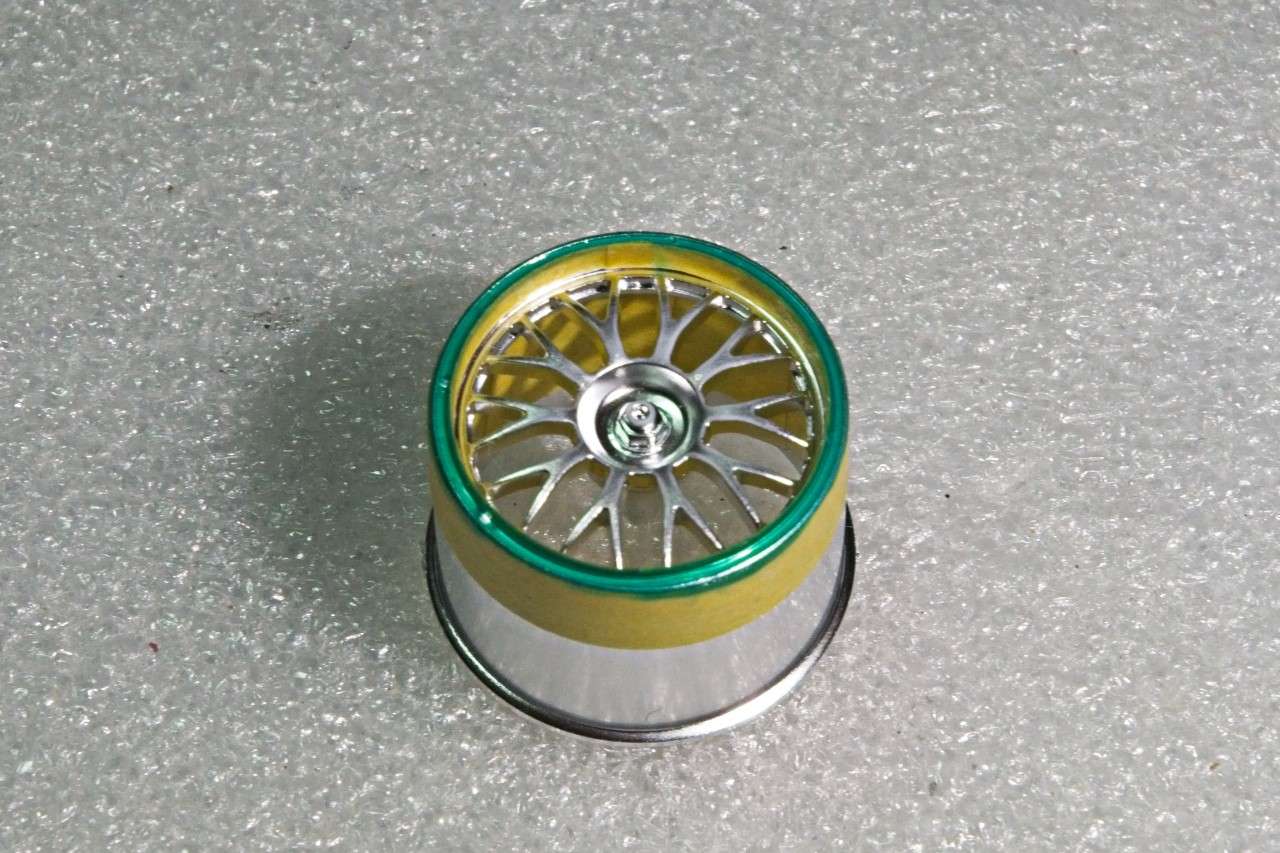 I then used pcs of tape to cover the inside of the wheel from any over spray that naturally would find a way inside. 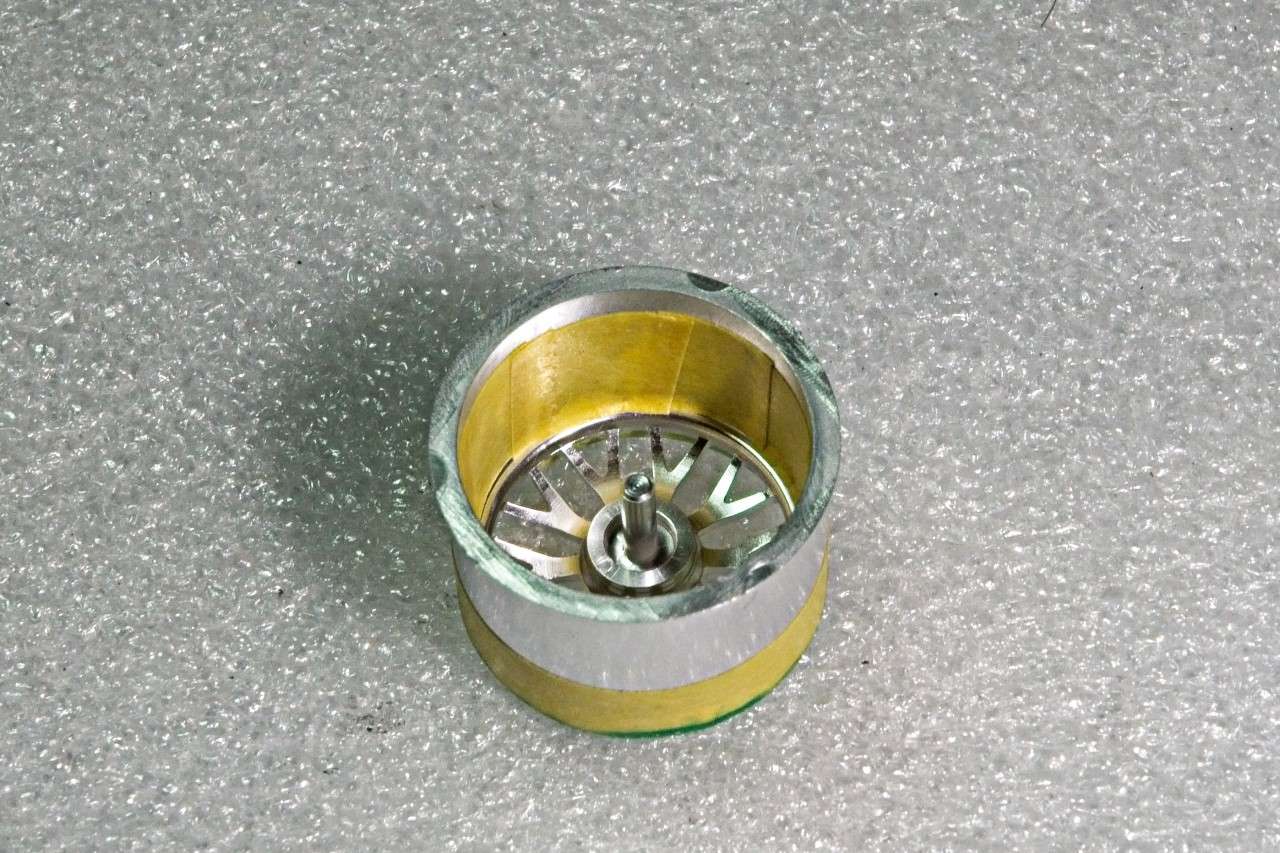 I then repeated this process on the other 3 wheels. 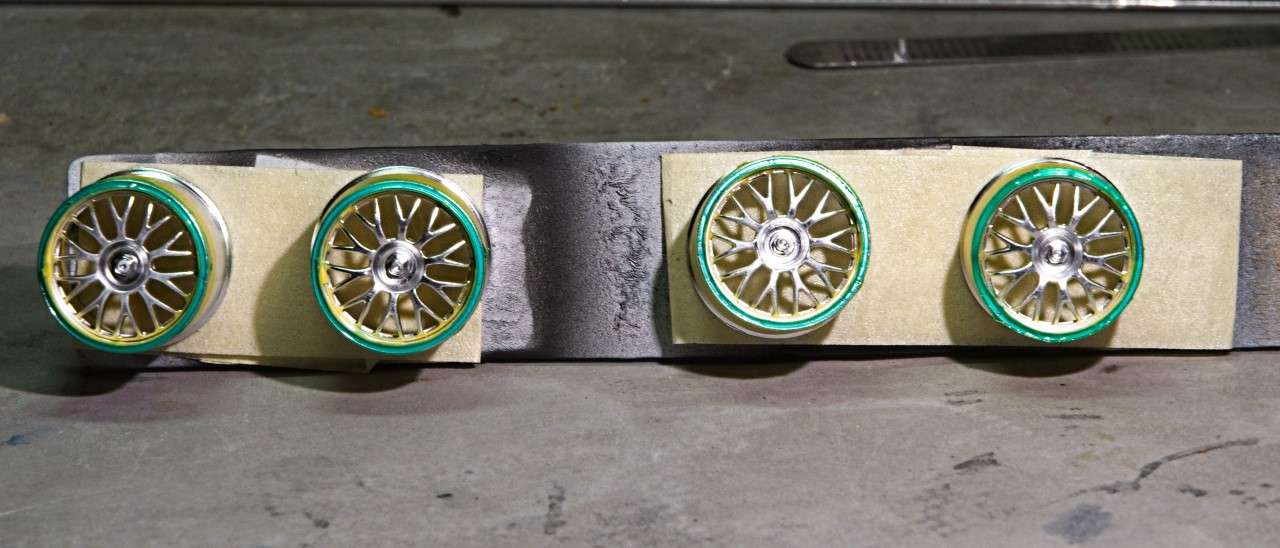 I air brushed on Mig by Ammo Acrylic Gold straight from the tube @ 18 psi and the results were perfect. No thinning necessary which did kind of surprise me. What took a good few days of tedious masking, took all of 5 min to strip it all off the 4 wheels. 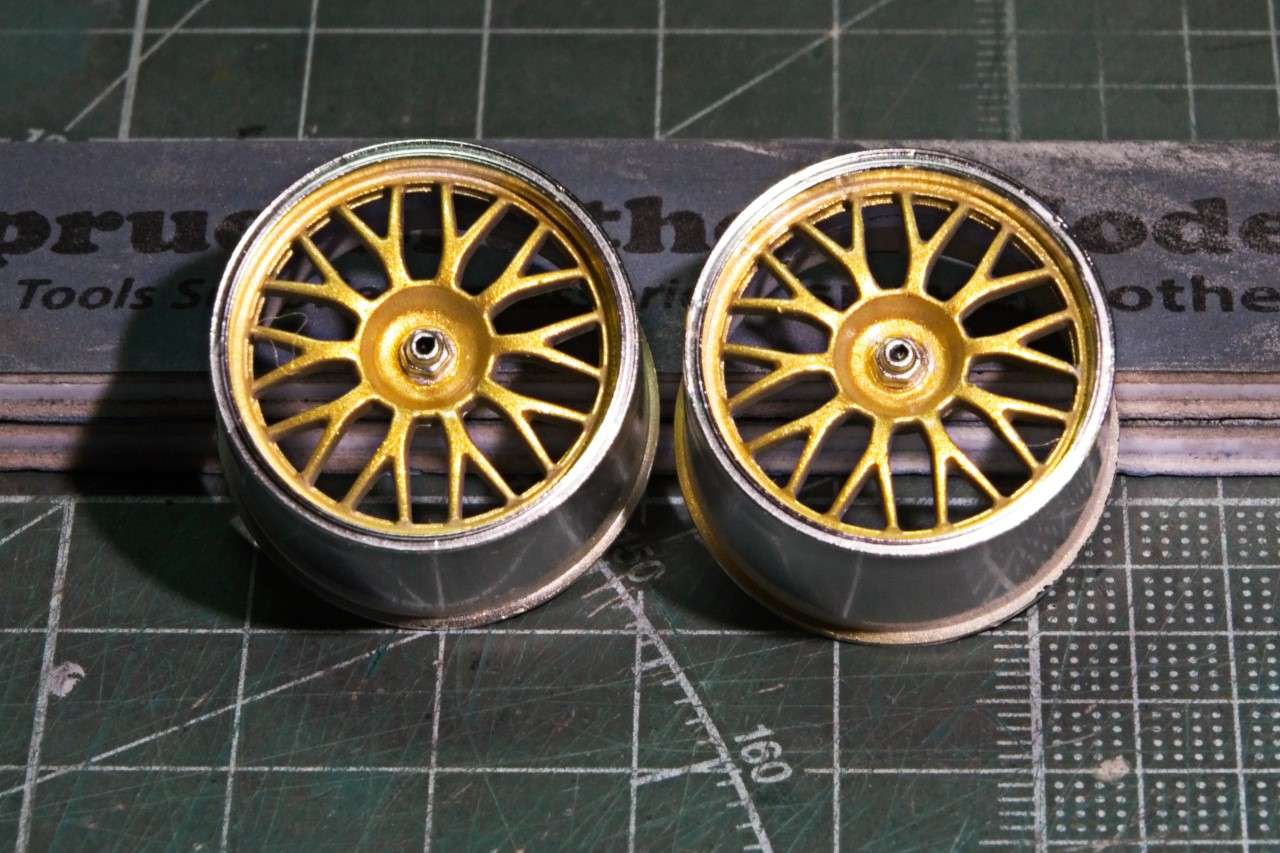 I also painted the wheel nuts steel. I mounted the tires after sanding the surface to remove the molding centerline. 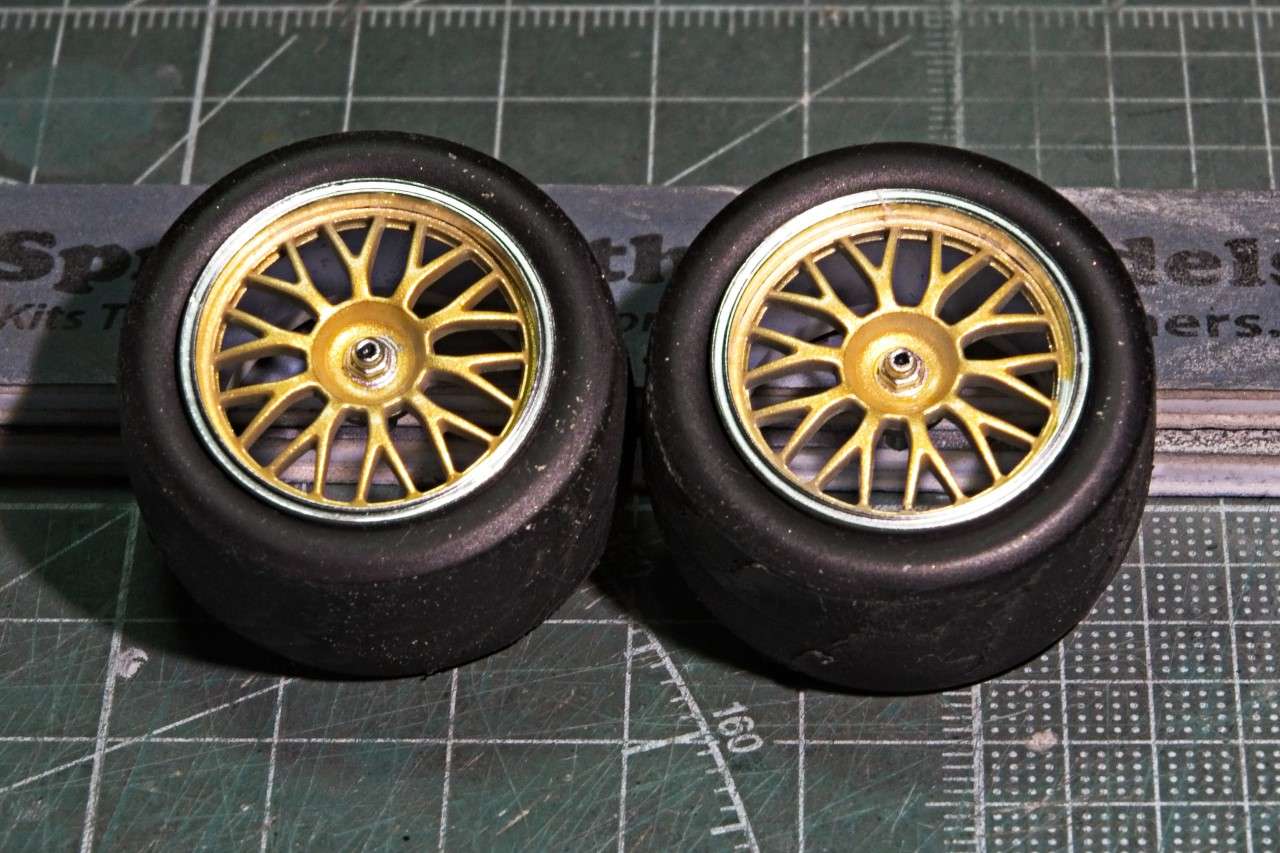 Since I don’t have the proper tire markings from any of the AM decal companies, I decided to try the reverse wet decals that Tamiya supplies. Now I’ve never had any luck applying them, or for that matter even understanding the process, but Ben's post with pictures made a ton of sense to me as he went over the entire process, so I had the confidence to give it a go. To my utter surprise, they came out darn near perfect. The next day I cut out masks to mat coat the white decals and help to blend them in with Acrylic Micro Mat and one drop of Gray acrylic paint. So a special thanks to Ben for taking the time and effort to help me out. It's much appreciated. Masks applied but not coated: 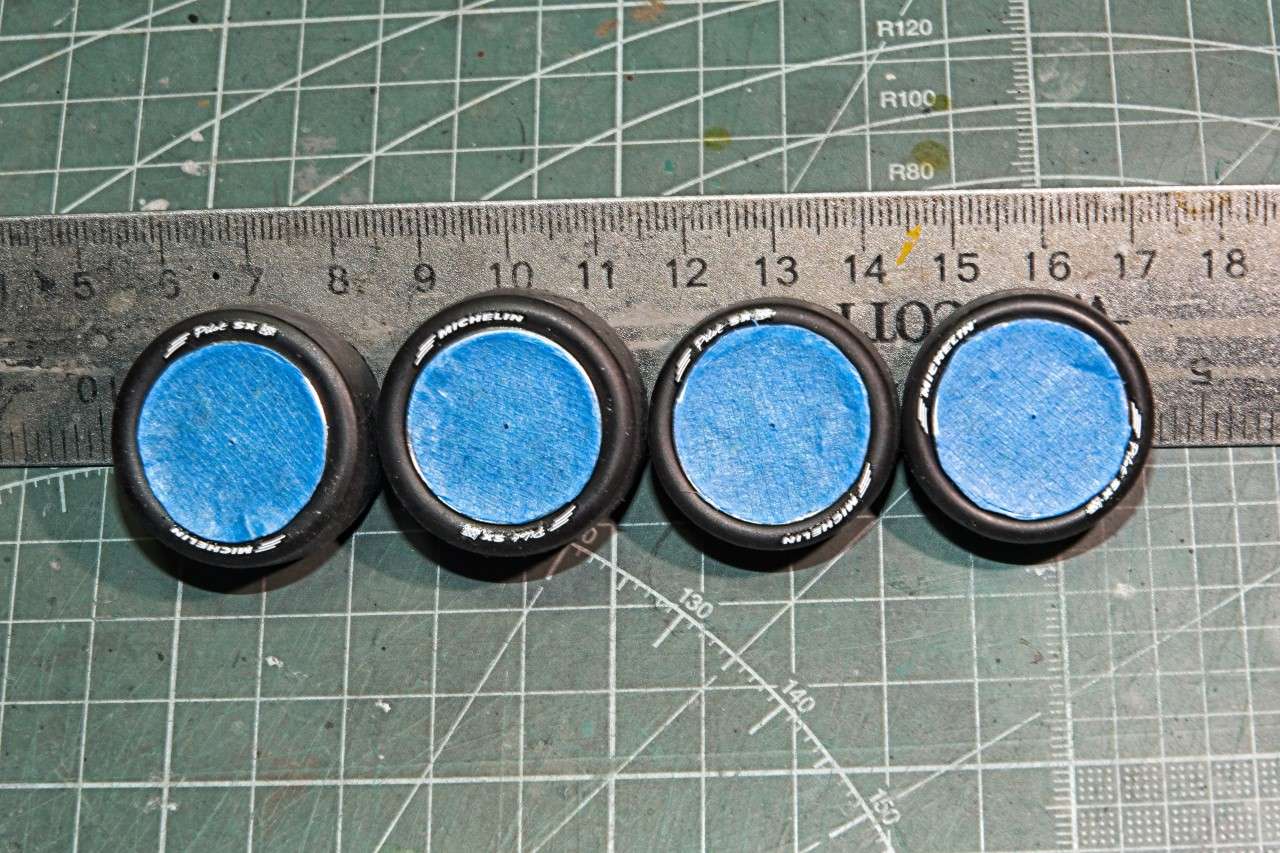 Mat coat applied and masks removed: 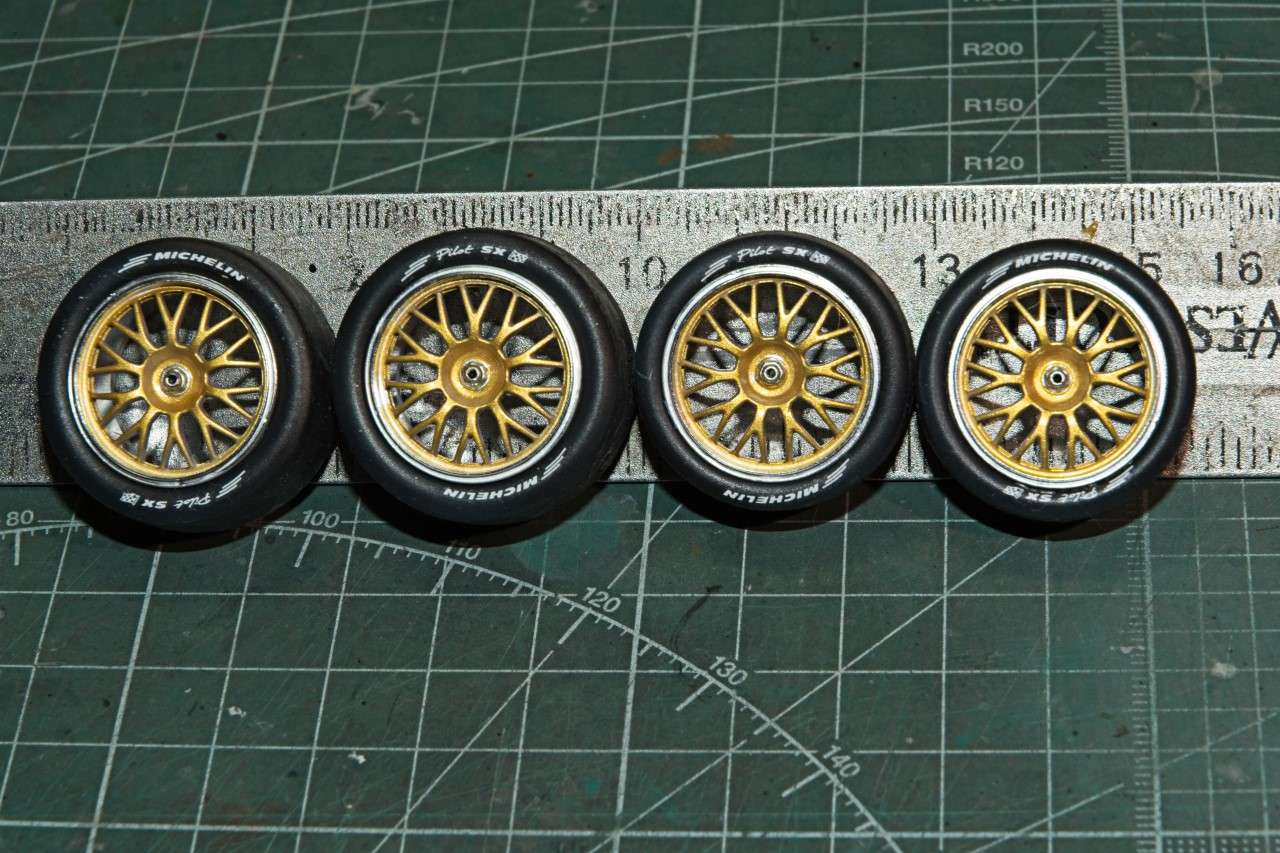 I’d say that the tire lettering turned out just fine. Now it’s back to the front clip, then onto the interior. joel |
|
|
|
Post by arcticwolf on Apr 3, 2021 13:27:09 GMT -8
It looks terrific Joel. I'm glad you like masking, that makes one of us.
|
|
|
|
Post by Joel_W on Apr 3, 2021 13:44:16 GMT -8
Thanks Paul for stopping by and your thumbs up. it's always greatly appreciated.
masking is usually pretty easy, but screw ups are no big deal, as I'm an expert in having to do the same job over and over and over again.
joel
|
|
|
|
Post by tatocorvette on Apr 3, 2021 18:06:30 GMT -8
Joel,
Those wheels and tires look absolutely GREAT!
Thanks,
Ismael
|
|
|
|
Post by Joel_W on Apr 4, 2021 5:25:24 GMT -8
Joel, Those wheels and tires look absolutely GREAT! Thanks, Ismael Ismael, Thanks for stopping by, as it's much appreciated. joel |
|
|
|
Post by Ben_B on Apr 4, 2021 7:30:54 GMT -8
Those turned out great, Joel!
Ben
|
|
|
|
Post by Joel_W on Apr 4, 2021 7:56:23 GMT -8
Agreed. And only because of your excellent tutorial I might add.
joel
|
|
|
|
Post by Joel_W on Apr 11, 2021 10:59:24 GMT -8
I’ve been focusing all this past week on finishing up the drivers compartment. Worked started on both the door card and attached sections of the roll cage. Just to make things a little more interesting, Porsche had painted the roll cage White like most of the interior compartment, but the actual door cards a semi gloss Black. I primed the doors and roll cage sections with my Tamiya Gray/White primer mixture. When dry I air brushed on Mr. Color Flat White, let that dry, then masked out the body shell around the doors, and air brushed the door cards Mr. Color Semi Gloss Black. 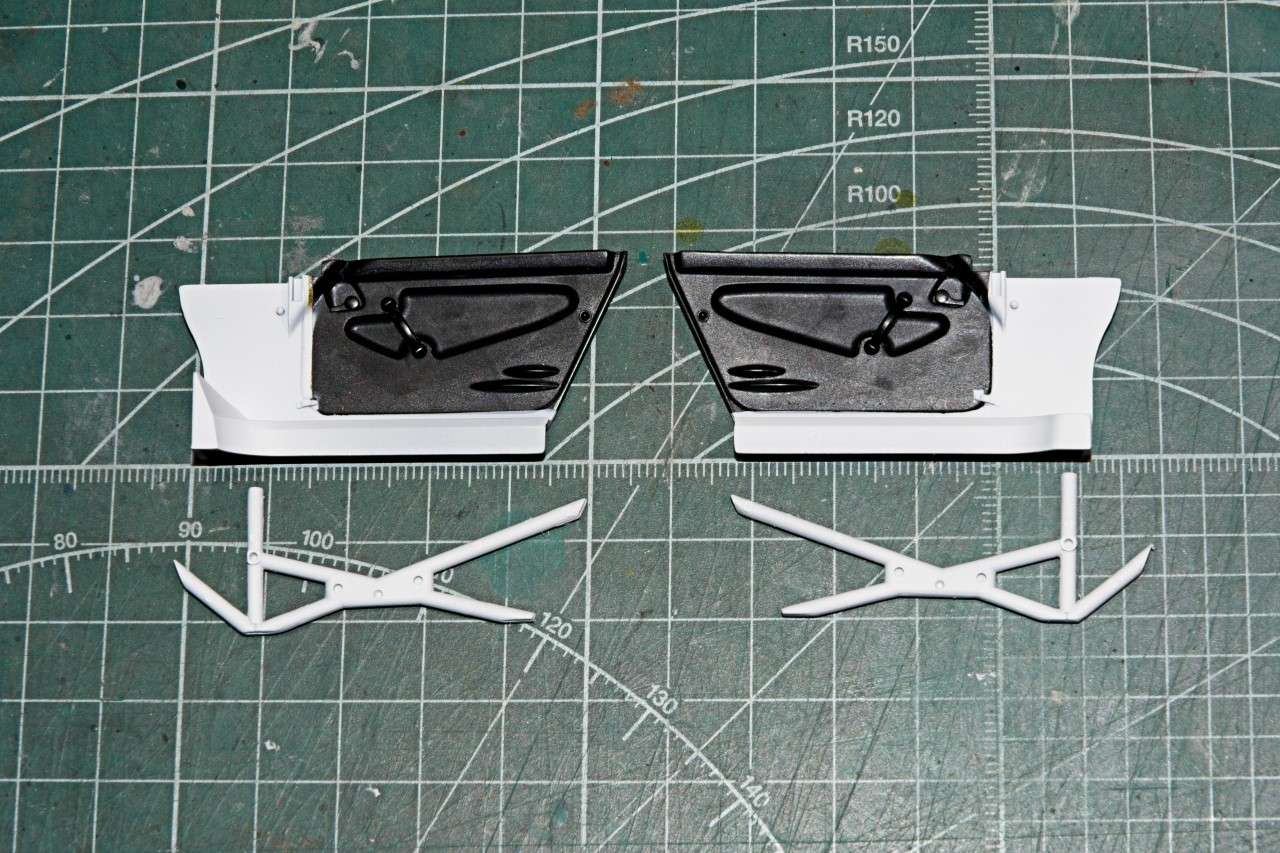 Then glued the roll cage door sections into place. 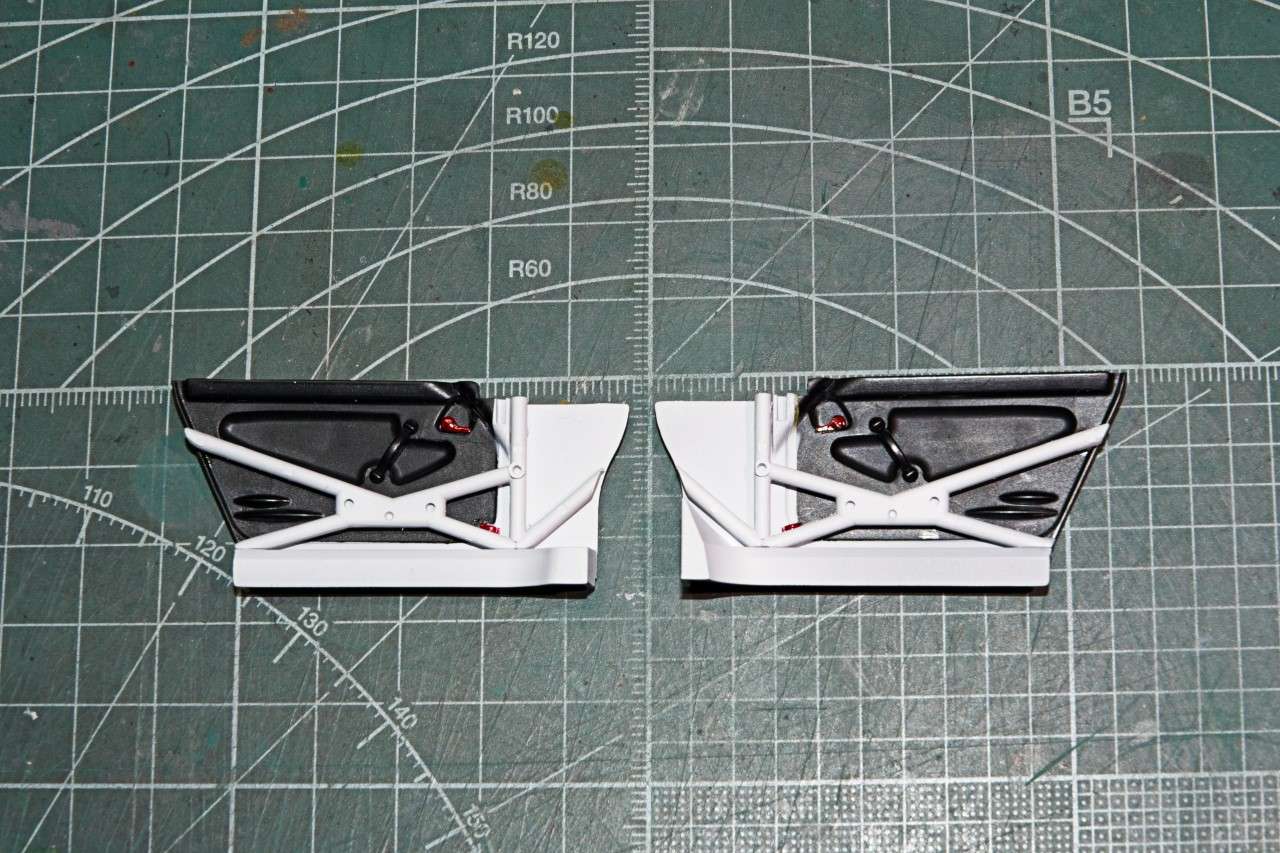 I previously painted the dash white for the lower section, and the upper section Tamiya Nato Black, then added the instrument decal, and then glued it in place. The drivers compartment minus the seat was now complete 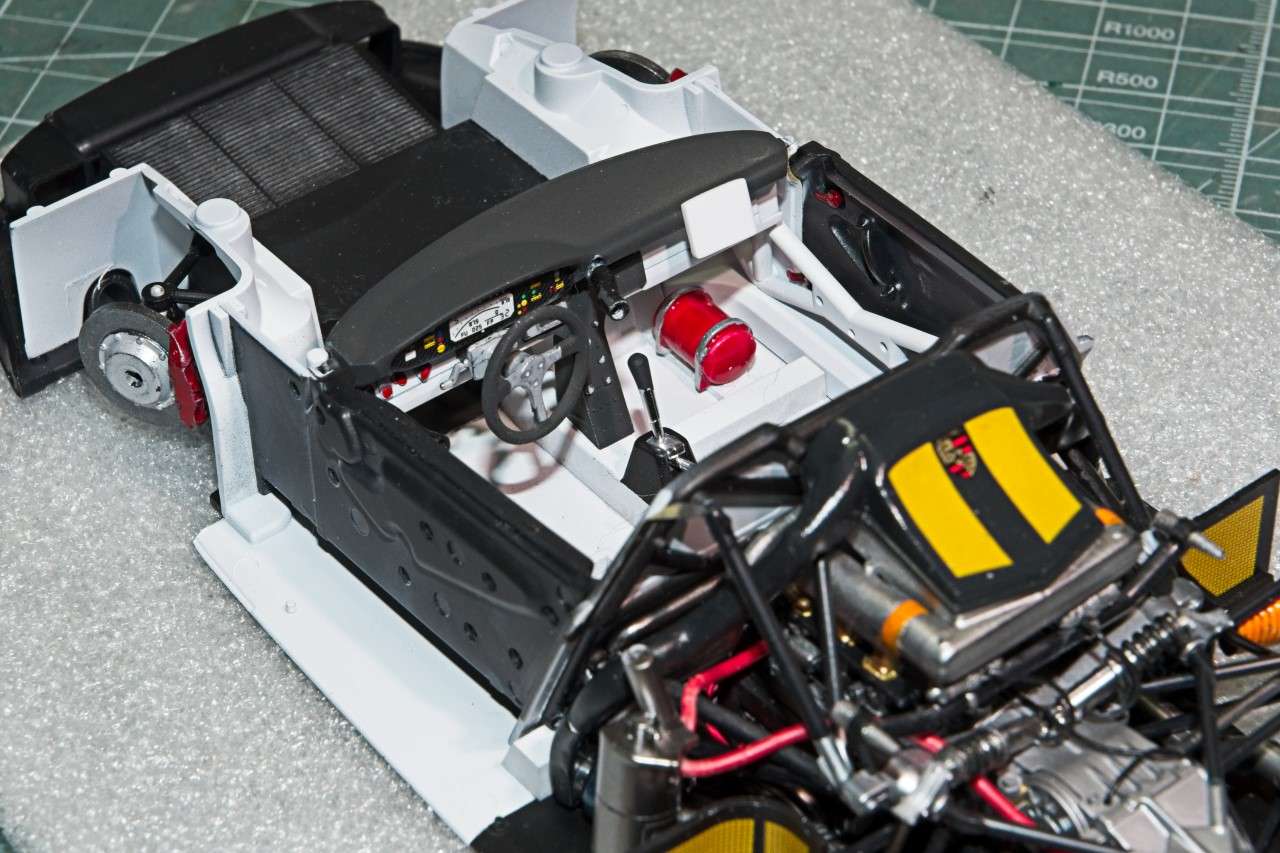  Time to work on the driver’s seat. Pictures showed that the right side of the top of the headrest had the insert cut out, while the kit seat didn’t. So I carefully opened it up. 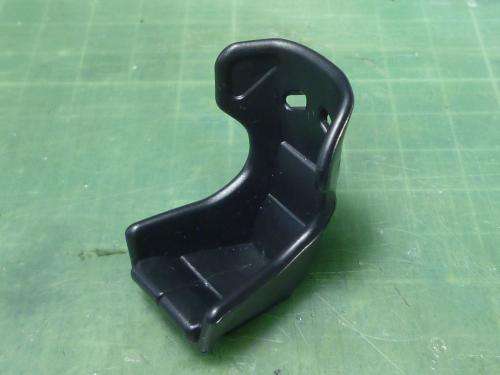 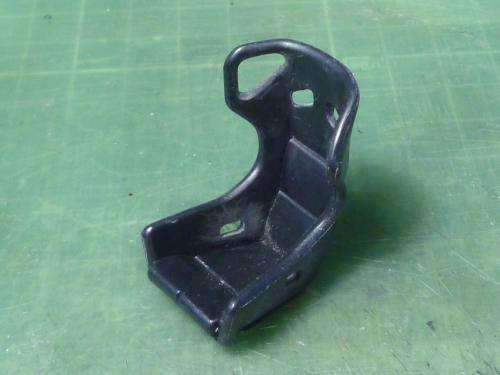 I painted the cushion and arm rests of the seat Tamiya Nato Black and the seat sides plain Jane Flat Black. Now comes the 5 way seat harness that I was dreading. Simply put, my eyesight isn’t up to the task of working with all those little PE buckles and snaps, but since I had a Eduard pre-painted set I decided I’d give it a shot. Honestly, it was a huge struggle that took nearly 16 hrs over 3 days. At this point I’m seriously considering going to decals for Tin Tops even though it will leave a lot to be desired. So please excuse the many mistakes I made. I did the best I could. 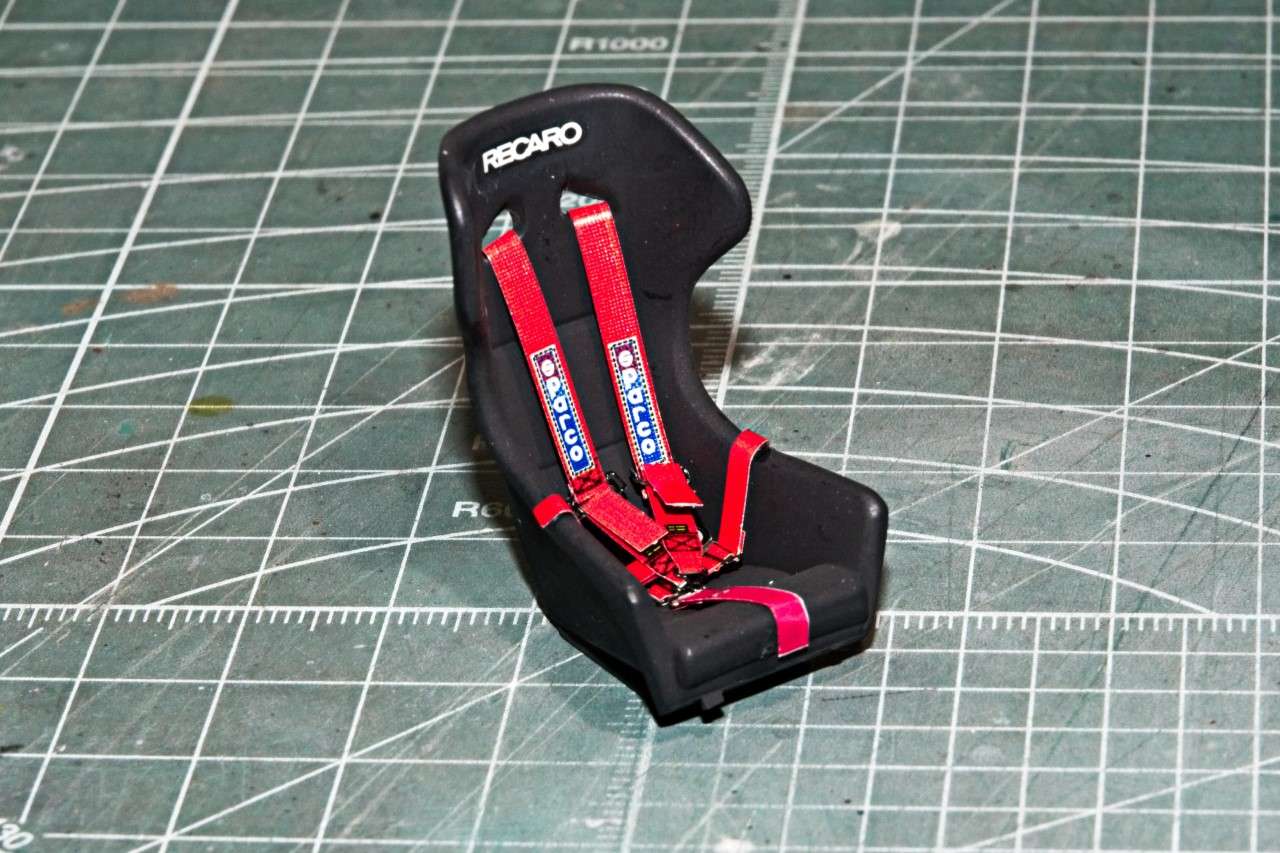 Then I glued the seat into position 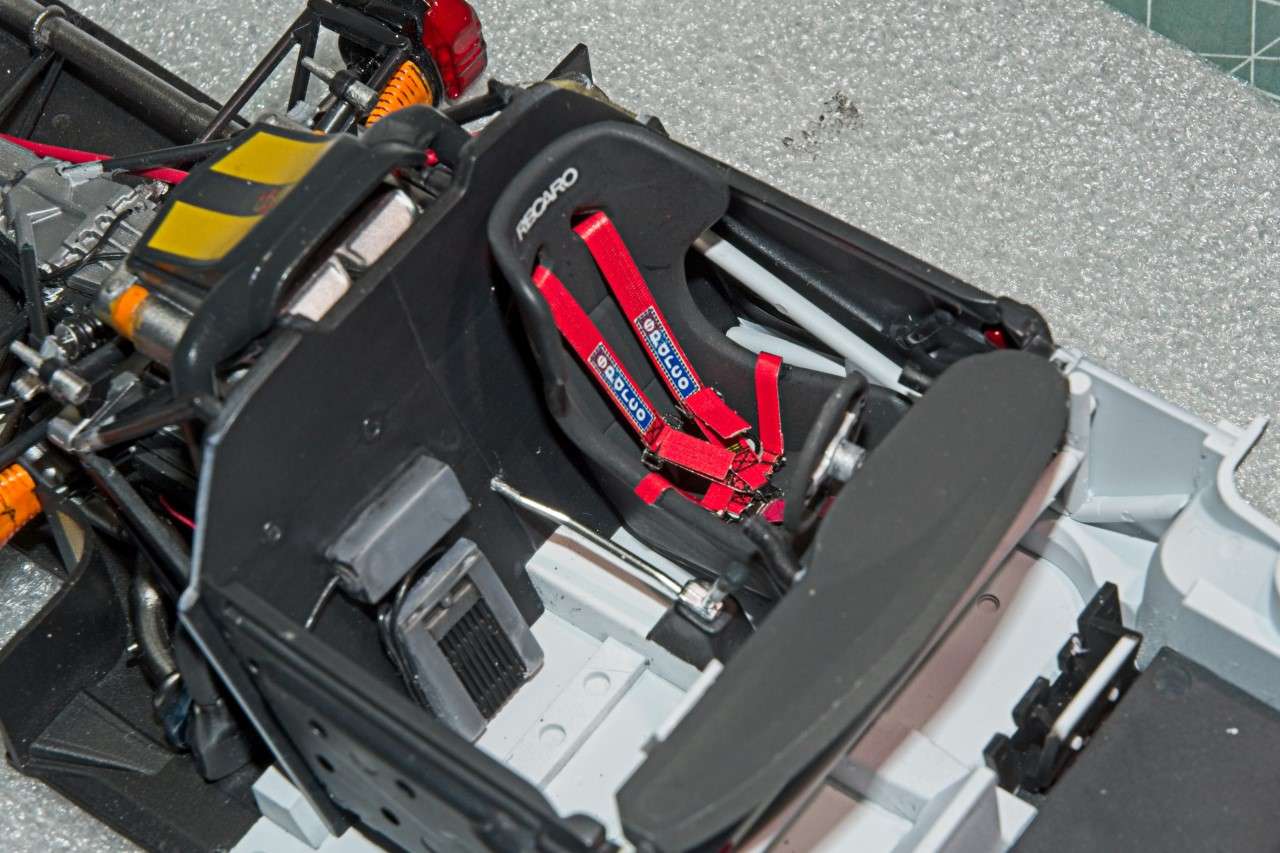 And the driver’s compartment is finally done. Now came the part of the build I’ve been waiting for, the installation of the Tires & Wheels, so she’s standing on her own legs. Always a major accomplishment in any of my builds. 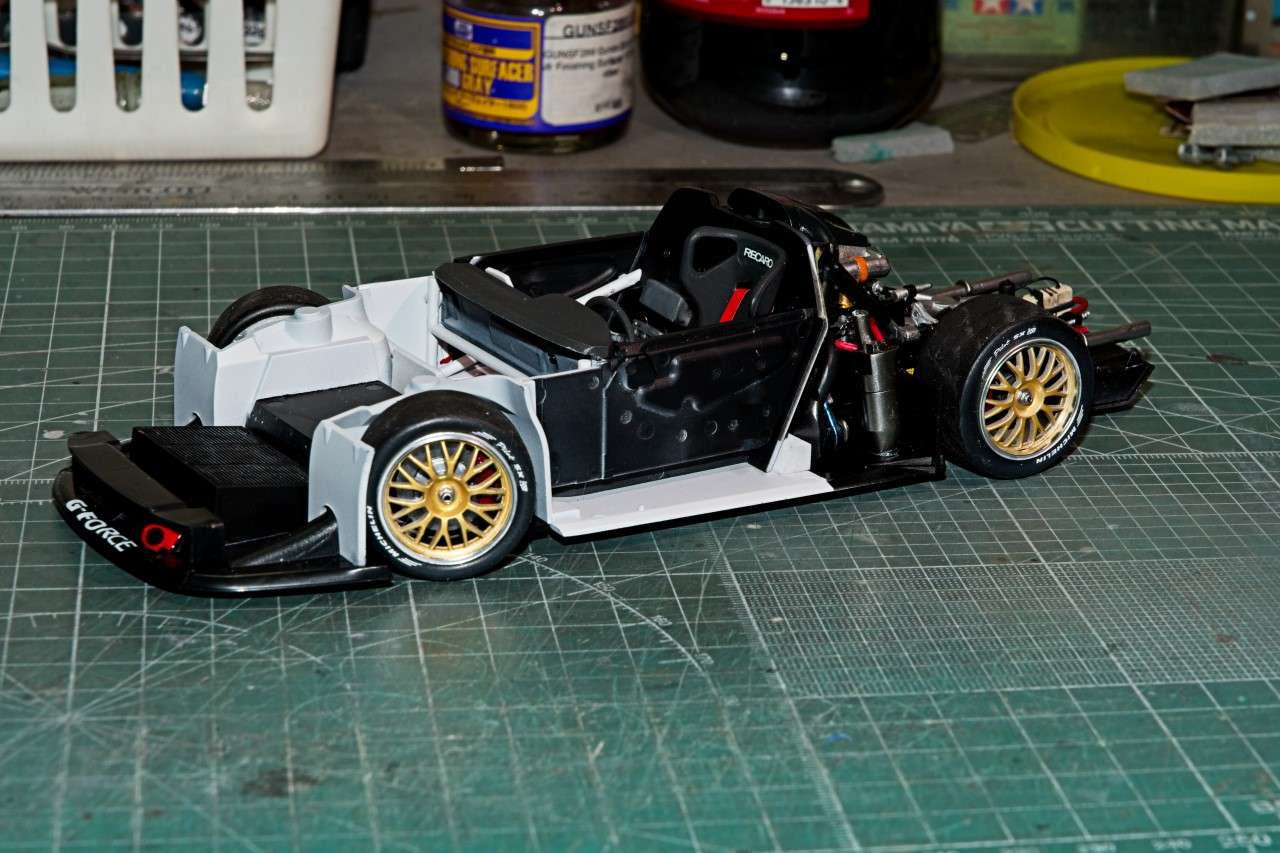 All that’s left now is to finish up the body sections. Lots to do, but the finish line is finally coming into sight. joel |
|
|
|
Post by Ben_B on Apr 11, 2021 11:10:21 GMT -8
Joel, that's coming together nicely! I feel the same way about seat belts. Probably my least favorite part of a build. I use painted medical tape with my PE hardware, so I can just fake it by sticking the parts to the tape. I hate threading belts through the hardware! I once duplicated all of the harnesses on the seats for two 1/48 Phantoms using Waldron photo etched parts (remember them?). That's probably why I hate doing them to this day!  Ben |
|
|
|
Post by tatocorvette on Apr 11, 2021 11:22:23 GMT -8
Joel,
I was wondering last night if there was any progress on this project. Glad to see it standing in all 4 wheels. Getting close to the finish line. The interior looks great!
My only suggestion if it is not too late is to hit the belts in that gorgeous harness with a little dullcoat from a small brush to kill the shine.
Thanks,
Ismael
|
|
|
|
Post by Joel_W on Apr 12, 2021 4:50:31 GMT -8
Joel, that's coming together nicely! I feel the same way about seat belts. Probably my least favorite part of a build. I use painted medical tape with my PE hardware, so I can just fake it by sticking the parts to the tape. I hate threading belts through the hardware! I once duplicated all of the harnesses on the seats for two 1/48 Phantoms using Waldron photo etched parts (remember them?). That's probably why I hate doing them to this day!  Ben Ben, I still have nightmare's about those 1/48 scale aircraft pilot's flight harnesses. I never could get them to look anything like they should. It got so bad that I just bought the correct AM resin ejector seats with the harnesses and painted the best I could. Never thought about using Medical tape to stick the PE to. I was going to use it for the belts with some of the hardware I bought without ribbon. joel |
|
|
|
Post by Joel_W on Apr 12, 2021 4:52:56 GMT -8
Joel, I was wondering last night if there was any progress on this project. Glad to see it standing in all 4 wheels. Getting close to the finish line. The interior looks great! My only suggestion if it is not too late is to hit the belts in that gorgeous harness with a little dullcoat from a small brush to kill the shine. Thanks, Ismael Ismael, Thanks for checking out my build to date. Some times it takes me weeks to get enough done for an update. I didn't realize that the harness assembly was that shiny, so I'll brush on some Micro Matt thinned as it's acrylic based. Wouldn't want to chance brushing on any Lacquer based with all that paint near by. joel |
|
|
|
Post by pnance26 on Apr 13, 2021 6:53:33 GMT -8
Seatbelts are always a bane but they look good when finished! Still...  |
|