|
|
Post by Chris K. Hale on May 5, 2021 9:50:07 GMT -8
  These two pics show the Hoses that connect to the Scoops pretty well , just a straight down 3in + hose connected to the brake housing. I can probably find more if needed.. Chris |
|
johnny
Full Time Ride

Posts: 129
|
Post by johnny on May 5, 2021 9:54:52 GMT -8
Here's the matte red paint. Note how it's picked up all the track muck ,whilst the blue stayed relatively clean. Attachments:
|
|
|
|
Post by pnance26 on May 5, 2021 10:09:30 GMT -8
I used a piece of plastic card to fill the depression in the door roof. Can't remember the thickness (0.75mm-ish.) Just enough to stand proud so that you can sand and blend it. I used the Gurney bump provided as guide to cut the sheet. Note that the roof does have dip/sink around some of the oval shape so I still needed a bit of filler to blend it. It's quite a large area for filler and I try to avoid it if I can. Use a good old fashioned Revell cement and the plastic sheet part should weld together onto the roof nicely. I'm sure I will do the same thing.
Not sure about the chassis colour at the moment. It seems to change in many photos. I'm toying with the new Tamiya lacquers (LP41 Mica blue) but I like the dullness of the blue used on the no:55 GT40 1:1 build on Pistonheads. It's duller and matter than most. Possibly a light mist of something like a matt US Navy colour to take the edge off. Tamiya do the colour, but its number escapes me now! I used the Tamiya Pearl Blue for mine. I think all the dust, etc. will help knock some of that back. I am also not being really picky about dust etc because my build is going to be a race used, very dirty, dusty build. It is not going to be a "museum quality restoration" depiction. I want to do the racer's tape around the lower lamps and a lot of dust and grime on the car because I've never done that before!
For the Ford blue bodywork I'm going to use Zero's specific shade made for this model. Unsure about the red scallops at the moment. I've think it was matter than the overall body paint. I have a colour pic somewhere and it shows signs of dirt from servicing and looks patchy. I quite like the idea of the contrast between the two finishes. I do know it was chucked on last minute before the race, so they probably just picked up the nearest can of household paint! I ordered the Zero and it was out of stock, so I ordered the Model Car World (MCW) blue which is a bit lighter than the Zero. I also ordered the "neon" red which goes over a white gloss (not a base but regular color). They have their own line of primers and of clear but according to Mike, it goes down so smooth and glossy you don't need the clear. We shall see. It also claims to be pre-thinned but I am adding MLT to it to get the correct coverage.
By the way, a week or so ago, the Zero paints showed up on my door, so I may use them on the second kit if I don't do the body in that red #3!
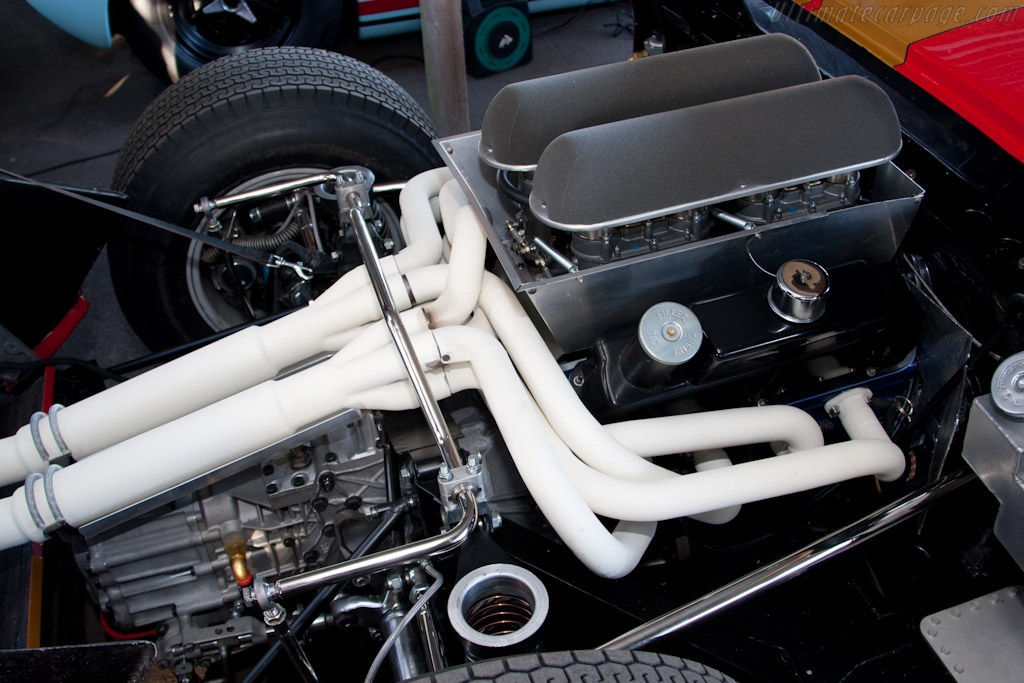
I think the snorkels hooked up with the Y shaped parts in the kit (B2-B3) feeding from the back. Not sure were the front feed came from? This part would connect with the vertical pipe you see in engine bay shots that had the foam seal around the lip. I guess this then headed down to the hubs. Will scout round for reference! I haven't gotten to the rear snorkel connections yet but you are exactly correct about the fronts that are molded plastic on the G tree... I have the KA upgrade so those will go to PE eventually.
I did learn that there are some things that should have stayed with the kit chrome such as the headers which Molotow just doesn't quite replicate. I also had to use the kit bulkheads on the read of the fuel pods as the PE didn't fit correctly. I also might have left some of the suspension chromed in the kit. That is one of the reasons I am glad I am getting a second kit. I plan on building the engine using straight kit parts and since it is only held in with two screws, I might make them interchangable right down to the rear trays holding on the pipes! That way I can decide how I want the finished product to look. I will redo the distributor with wiring now that I know how that works.
Glad you are here and look forward to all your input!
Johnny
|
|
johnny
Full Time Ride
Posts: 129
|
Post by johnny on May 5, 2021 10:26:59 GMT -8
I used a piece of plastic card to fill the depression in the door roof. Can't remember the thickness (0.75mm-ish.) Just enough to stand proud so that you can sand and blend it. I used the Gurney bump provided as guide to cut the sheet. Note that the roof does have dip/sink around some of the oval shape so I still needed a bit of filler to blend it. It's quite a large area for filler and I try to avoid it if I can. Use a good old fashioned Revell cement and the plastic sheet part should weld together onto the roof nicely. I'm sure I will do the same thing.Not sure about the chassis colour at the moment. It seems to change in many photos. I'm toying with the new Tamiya lacquers (LP41 Mica blue) but I like the dullness of the blue used on the no:55 GT40 1:1 build on Pistonheads. It's duller and matter than most. Possibly a light mist of something like a matt US Navy colour to take the edge off. Tamiya do the colour, but its number escapes me now! I used the Tamiya Pearl Blue for mine. I think all the dust, etc. will help knock some of that back. I am also not being really picky about dust etc because my build is going to be a race used, very dirty, dusty build. It is not going to be a "museum quality restoration" depiction. I want to do the racer's tape around the lower lamps and a lot of dust and grime on the car because I've never done that before!For the Ford blue bodywork I'm going to use Zero's specific shade made for this model. Unsure about the red scallops at the moment. I've think it was matter than the overall body paint. I have a colour pic somewhere and it shows signs of dirt from servicing and looks patchy. I quite like the idea of the contrast between the two finishes. I do know it was chucked on last minute before the race, so they probably just picked up the nearest can of household paint! I ordered the Zero and it was out of stock, so I ordered the Model Car World (MCW) blue which is a bit lighter than the Zero. I also ordered the "neon" red which goes over a white gloss (not a base but regular color). They have their own line of primers and of clear but according to Mike, it goes down so smooth and glossy you don't need the clear. We shall see. It also claims to be pre-thinned but I am adding MLT to it to get the correct coverage.
By the way, a week or so ago, the Zero paints showed up on my door, so I may use them on the second kit if I don't do the body in that red #3!I think the snorkels hooked up with the Y shaped parts in the kit (B2-B3) feeding from the back. Not sure were the front feed came from? This part would connect with the vertical pipe you see in engine bay shots that had the foam seal around the lip. I guess this then headed down to the hubs. Will scout round for reference! I haven't gotten to the rear snorkel connections yet but you are exactly correct about the fronts that are molded plastic on the G tree... I have the KA upgrade so those will go to PE eventually.
I did learn that there are some things that should have stayed with the kit chrome such as the headers which Molotow just doesn't quite replicate. I also had to use the kit bulkheads on the read of the fuel pods as the PE didn't fit correctly. I also might have left some of the suspension chromed in the kit. That is one of the reasons I am glad I am getting a second kit. I plan on building the engine using straight kit parts and since it is only held in with two screws, I might make them interchangable right down to the rear trays holding on the pipes! That way I can decide how I want the finished product to look. I will redo the distributor with wiring now that I know how that works.
Glad you are here and look forward to all your input!
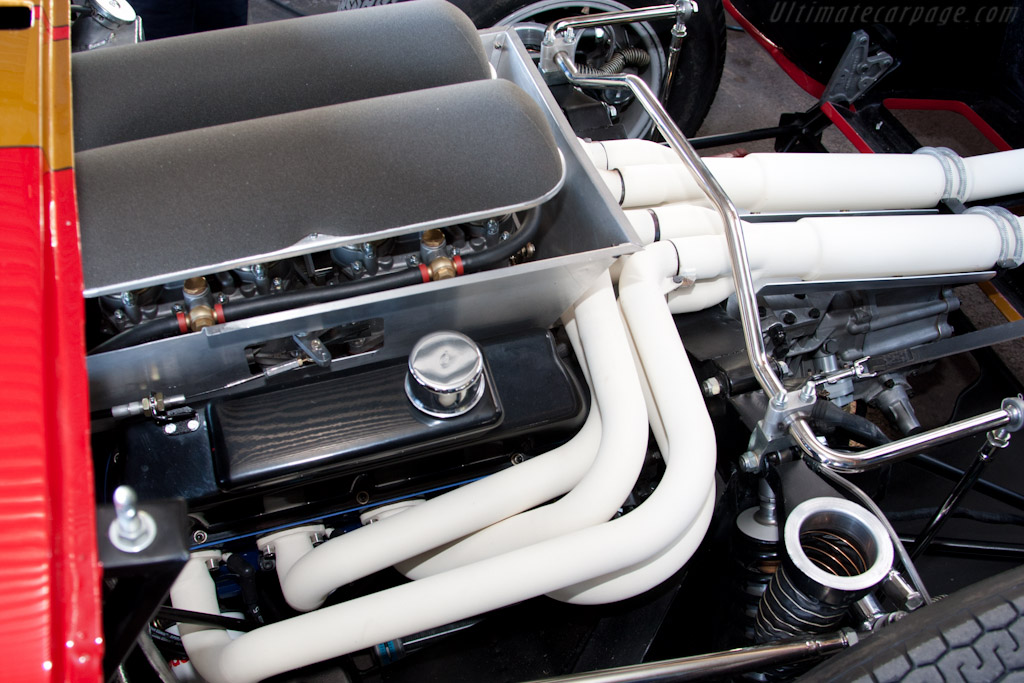
Johnny Sounds great! Bare in mind the car was filthy by morning and the taped covers were torn off by night time! I like it at the end of the race where it had been in a rain storm leaving those great aerodynamic streaks of filth! BTW, I've seen the Trumpeter exhausts criticised in various forums over their clunkyness and thickness. When I measured them they are spot diameter for scale 2.25" headers! 👍🏿 |
|
|
|
johnny
Full Time Ride
Posts: 129
|
Post by johnny on May 8, 2021 3:41:43 GMT -8
Frankenstein time for the lower duct. Lower duct pie sliced and each strip recontoured, then reglued. The lower bulge is now more blended into the wheel arch. |
|
|
|
Post by pnance26 on May 8, 2021 18:06:35 GMT -8
Nice work! Not sure I understand the technique...
|
|
johnny
Full Time Ride
Posts: 129
|
Post by johnny on May 9, 2021 5:22:43 GMT -8
Nice work! Not sure I understand the technique... Patrick, I've still got the other side to do, so I'll try to photograph the technique. Basically I cut a slot horizontally along the blue tape at the bottom, then cut a series of near vertical fingers up from the cut. I then bend the desired flatter curve of the fingers to lessen the profile of the bulge. I go through each one doing the same until they are flush against each other with no low or high spots. If you bend then correctly they should stay in place without needing tape etc. This is a good way of bending compound curves without stressing the plastic. When you're happy with the shape, smear cyano over the cuts and you have a strong part without adding to the thickness of the part. Also reduces the need for filler. Wish I'd made the bulge it a little more flatter, but it's a good starting point. It's a very subtle tweak for sure. Johnny |
|
|
|
Post by pnance26 on May 9, 2021 6:19:36 GMT -8
Are you cutting all the way through on the vertical slices?
|
|
johnny
Full Time Ride
Posts: 129
|
Post by johnny on May 9, 2021 7:04:31 GMT -8
Are you cutting all the way through on the vertical slices? Patrick,yes, all the way through with a jeweller's saw. Dreadful pic of the right side. All the cuts have been made and I'm reshaping the nearest finger profile until I'm happy with the look. Then I'll proceed to the next ones and match them. This also gives you the opportunity to eyeball the shape before committing to glue. The bottom cut is really messy! Had to twist the saw blade 90 degrees for the saw frame to clear. Attachments:

|
|
|
|
Post by Joel_W on May 9, 2021 11:15:00 GMT -8
Johnny,
Your recontouring of both lower rear intake ducks turned out great. Your method does send a chill down my modeling spine as it takes a good deal of skill to end up with the proper contours.
joel
|
|
johnny
Full Time Ride
Posts: 129
|
Post by johnny on May 9, 2021 14:27:09 GMT -8
Johnny, Your recontouring of both lower rear intake ducks turned out great. Your method does send a chill down my modeling spine as it takes a good deal of skill to end up with the proper contours. joel Many thanks Joel! Not easy with my sausages fingers!  Having seen your cracking 911 GT1 build tonight I'll take that as a compliment! I was lucky enough to see the works cars win Le Mans 20 odd years ago! Johnny |
|
|
|
Post by Joel_W on May 9, 2021 15:29:38 GMT -8
Johnny,
Thanks so much for those most kind words. I've never been over to the other side of the pond, so the only Endurance races I've seen are the Sebring 12 hrs, and the 6 hrs at the Glen.
joel
|
|
|
|
Post by pnance26 on May 10, 2021 5:41:08 GMT -8
Are you building the MENG or the Trumpeter/Magnifier?
And I have decided, that, even though I admire your work toward accuracy, it is not something I want to attempt. Just reshaping the doors scares me a bit and I know how badly I screwed up the wheel wells. I have traded for a second kit and am considering that Trumpeter has gotten in touch with a price for replacement of that single piece.
But please, continue on with your great work! It is inspiring!
|
|
johnny
Full Time Ride
Posts: 129
|
Post by johnny on May 10, 2021 11:11:17 GMT -8
Are you building the MENG or the Trumpeter/Magnifier? And I have decided, that, even though I admire your work toward accuracy, it is not something I want to attempt. Just reshaping the doors scares me a bit and I know how badly I screwed up the wheel wells. I have traded for a second kit and am considering that Trumpeter has gotten in touch with a price for replacement of that single piece. But please, continue on with your great work! It is inspiring! I'm building the Magnifier, Patrick. I had a look at what you did with the rear arches tonight. Not sure what you did as I could only see the mock up with the wheel photo. Did you round out the top of the arch by sanding? Out of interest are Derek's resin tyres the same diameter as the kit ones? If they are slightly bigger it may give you some arch shape issues. If you could move the drive train back 1-2mm I think it would look balanced - guess you have to modify linkages, suspension mounts etc. I'd be looking at just adding a 2mm strip of plastic along the arch back edge and then reshaping the curve. Wouldn't be too tricky a job if you use material thicker than the kit part. This allows you to sand the front and back faces to match and blend the original part. It would also allow you to put a little rolled corner at the back edge of the arch. Have a look at the photo! Attachments:
|
|


