johnny
Full Time Ride

Posts: 129
|
Post by johnny on Jun 17, 2021 6:36:58 GMT -8
Welcome to the new thread. My contributions will be mainly chassis P/1015 centric, but feel free to pile in on this or the other chassis'. Firstly, I've just found this very handy shot. Note, the black pad over the steering wheel boss. This has been replaced during the restoration of the number 2 car. I'll probably miss it out after machining the boss! ;-) Note also, the wind deflector strip sits right on the door aperture line. On the Trumpeter kit it overhangs the edge slightly. Johnny Attachments:
|
|
johnny
Full Time Ride
Posts: 129
|
Post by johnny on Jun 17, 2021 8:45:59 GMT -8
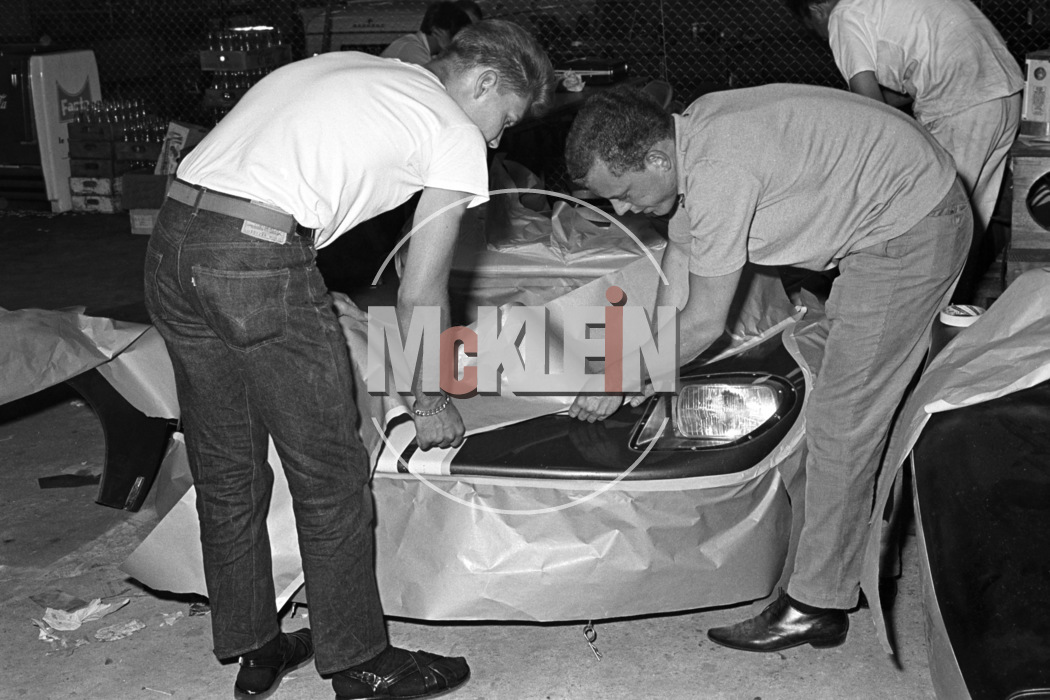
Does anyone have a decent shot of the left fuel filler blanking plate for P/1015? Looking at reference I have for P/1046, the plate should be a flat sheet of alloy bolted down rather than the flanged item on the Trumpeter (and Meng) kit. P/1015.Note the fuel feed pipe is installed, even though the tank was capped.  Johnny Attachments:

|
|
johnny
Full Time Ride
Posts: 129
|
Post by johnny on Jun 24, 2021 15:07:07 GMT -8
Hello Folks,
The weekend's coming and hope you all get some decent modelling time! Just studying the above Denny Hulme cockpit shot again and missed a detailing blinder! Check out the 4 point harness. The right lower part of the harness is attached to the sill with a bungee. Look again and you can see a bungee on the lower left side heading off to the left dashboard area. There's another bungee on the left shoulder area of the harness though not in this photo. However, you can see it in the cockpit in various on track photos. Assume this pulls the harness out of the way to enable fast driver changes during the race. Check out the 1" wide screen sealant across the roofline too. Enjoy!
Johnny
|
|
johnny
Full Time Ride
Posts: 129
|
Post by johnny on Jun 24, 2021 15:19:50 GMT -8
You can see the bungee by his shoulder here. Note also, the lines of rivets across the front access panel. Not seen on the restored car. Attachments:
|
|
johnny
Full Time Ride
Posts: 129
|
Post by johnny on Jun 25, 2021 15:55:21 GMT -8
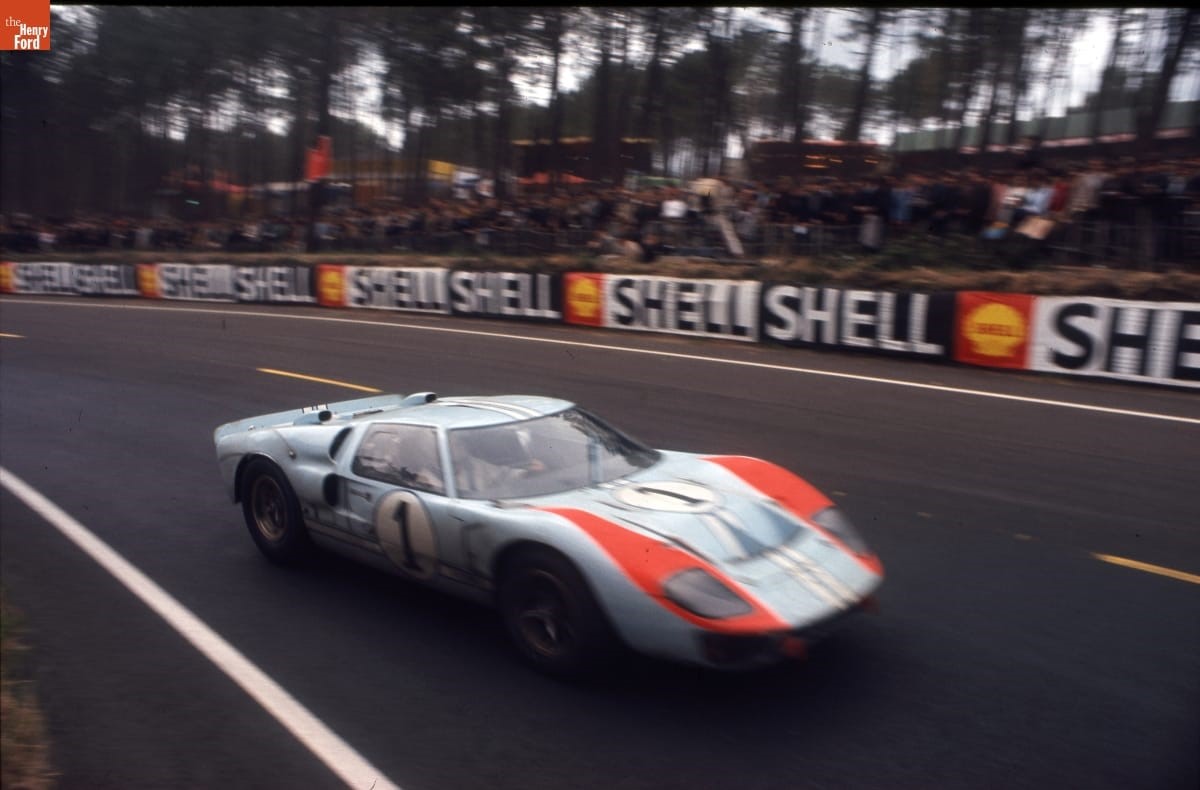
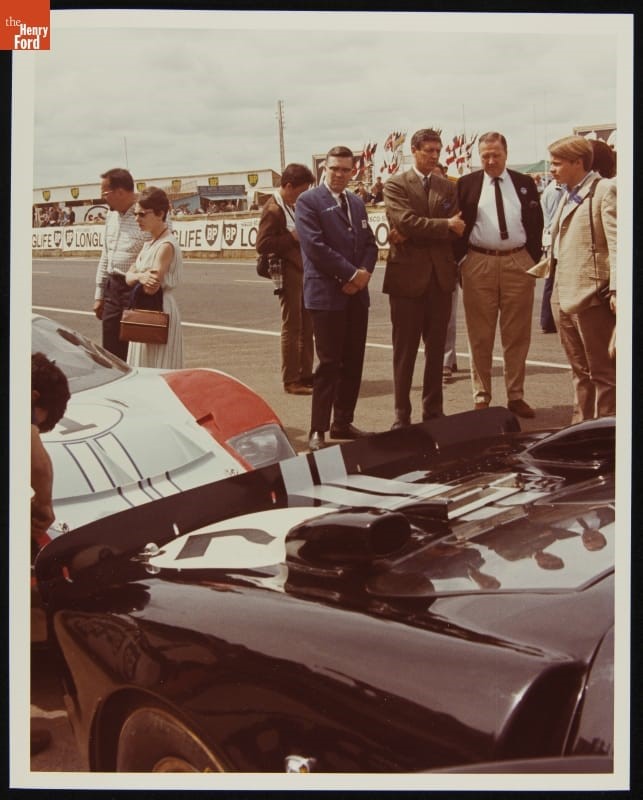
One more spot tonight before I go to bed and leave you all in peace. Chassis P/1015 ran polished alloy trim strips on the very top of the rear arch lips. Only noticed it today and it's in all the LM'66 photo's (when you know what to look for.) Johnny Attachments:
|
|
|
|
Post by martinb on Jun 26, 2021 0:38:58 GMT -8
Chassis P/1015 ran polished alloy trim strips on the very top of the rear arch lips. Only noticed it today and it's in all the LM'66 photo's (when you know what to look for.) Probably a better pic:  |
|
darylh
Full Time Ride
Posts: 126
|
Post by darylh on Jul 1, 2021 9:36:16 GMT -8
Good stuff Johnny! I'd not noticed the rear wheel arch strips. I'd suspect that some French official decided that the the rear tires weren't completely covered. The driver picsshow the silver heat blanket insulation that was mounted behind the seats.
|
|
darylh
Full Time Ride
Posts: 126
|
Post by darylh on Aug 30, 2021 9:18:52 GMT -8
|
|
|
|
Post by tartan54 on Aug 31, 2021 6:55:34 GMT -8
|
|
|
|
Post by pnance26 on Aug 31, 2021 12:32:39 GMT -8
There's that cardboard again on the lower light lenses on the #5! Even though they were at the start of the race, I think those are definitely going on my #1 since I have racer's tape for that purpose.
Also, just talked with Mike at MCW and he is advising a larger needle (.5) as the solution for the cotton candy appearance with the primer. So I am in search of a .5 needle for my Badger which seems to be an unpopular brand of airbrush now!
Mike also told me that the Vermillion neon is a flat color and that I don't need to do anything with the finish of the blue or the red. He did advise experimenting with the color process but doesn't think a primer/white/blue/red shots should be an issue. So it will be primer, then the white gloss for under the red to make the neon pop, mask the white, shoot the blue, then mask the blue (reverse mask) and then shoot the red. It should work out that way! (I am going to copy this over to my thread as well...)
All this might be happening this weekend. I know I can get the blue on the back deck lid (I am swearing off calling it a "clamshell". I just don't like that name!) so that is my aim this weekend.
|
|
|
|
Post by tartan54 on Aug 31, 2021 12:39:03 GMT -8
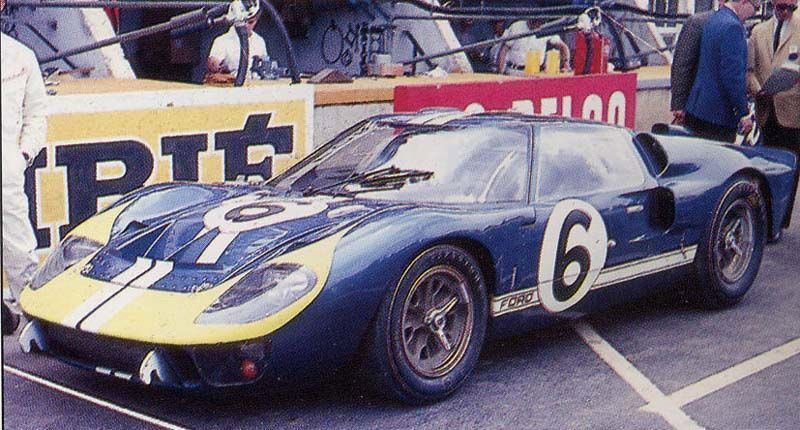
Johnny said "Note also, the lines of rivets across the front access panel. Not seen on the restored car."
I just noticed those on the #6 car that I'm going to do as well, interesting.
Dave
|
|
|
|
Post by Chris K. Hale on Aug 31, 2021 14:22:01 GMT -8
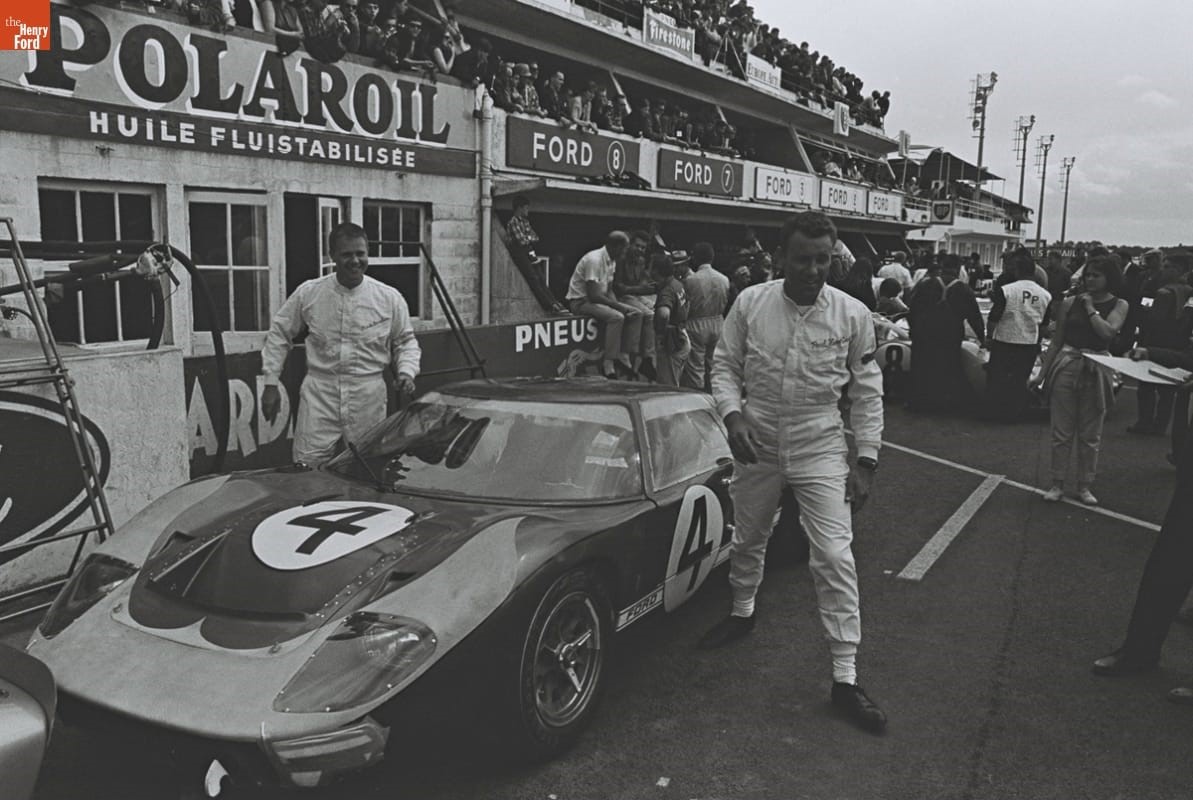
Dave, I see those rivets and the Archer rivet decals would work perfect, I have to think this was pre-race testing because this is a different radiator duct than most GT40's ran. I know there was the open type and the more common type with the splitter down the middle. , seeing the unfished paint around this area I have to guess the were testing this splitter. I didnt have a copy pic of the race version of the #4 car during the race. I might suggest a bit more research, or as I do often " Artistic Rules Reign!" The choice is yours, I will see what I can find and let you know... Chris
|
|
johnny
Full Time Ride
Posts: 129
|
Post by johnny on Aug 31, 2021 15:27:10 GMT -8
Dave, I see those rivets and the Archer rivet decals would work perfect, I have to think this was pre-race testing because this is a different radiator duct than most GT40's ran. I know there was the open type and the more common type with the splitter down the middle. , seeing the unfished paint around this area I have to guess the were testing this splitter. I didnt have a copy pic of the race version of the #4 car during the race. I might suggest a bit more research, or as I do often " Artistic Rules Reign!" The choice is yours, I will see what I can find and let you know... Chris Interesting theory about the splitter ducted panel, Chris. There's a line of rivets along the centre aligned to the splitter between the stripes. Note, there are more darn rivets along both edges and a line of spaced out rivets where the stripes meet the roundel. I can only think they must have held an inner skin to strengthen the panel and/or improve airflow under it? Great pics too Dave, keep 'em coming! Johnny |
|
|
|
Post by pnance26 on Aug 31, 2021 15:40:20 GMT -8
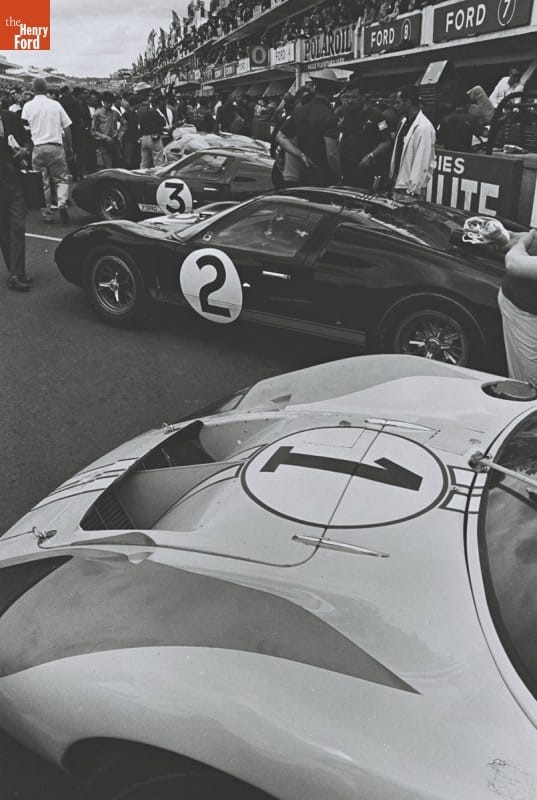
I haven't paid any attention as to the splitter in the panel until now... let me look at the instruction sheet... okay it's there for the #1 car. So if I give you all a drawing of that sheet can you tell me exactly where to put the rivets. I have sheets of them! You can buy sheets of rivets from MicroMark. I used them on my 312B Ferrari and they look great!  Feel free to copy and put into draw and just indicate where the line of rivets should go, please. Also in the BW photo of the hood of the #1, you can very clearly see the strakes for the hood on each side. |
|
|
|
Post by martinb on Sept 2, 2021 2:00:22 GMT -8
Regarding the rivets, I found this pic the other day on this nice write-up on the No.4 car. www.motortrend.com/vehicle-genres/12q4-1966-ford-gt-mark-iiAs Chris mentioned before, this may be an experimental duct as it is sans splitter; so may not be 100% accurate in regard to rivet positioning etc for the No.2...  |
|