|
|
Post by wardsmodelbuilder on Jul 31, 2019 8:59:19 GMT -8
Here is my latest commission project, this one is a 1/18 scale Tron Ferrari 512 BB 1978 LeMans resin kit. 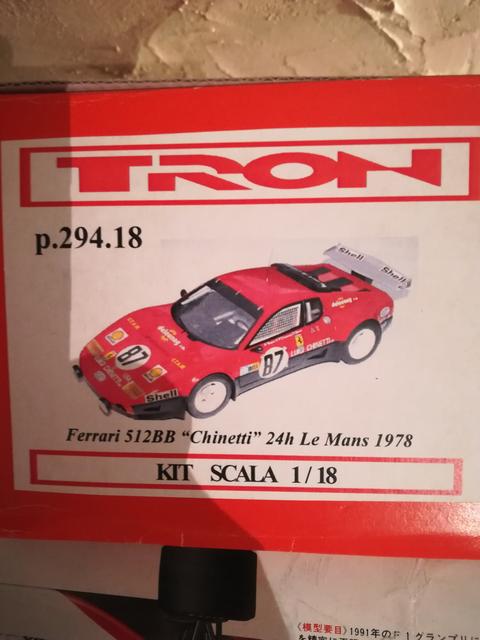 It is going to be built straight out of the box as the customer doesn't want any extra detail work adding. With it being a curbside body there isn't much that could be added anyway other then maybe some extra work around the dash and seats. 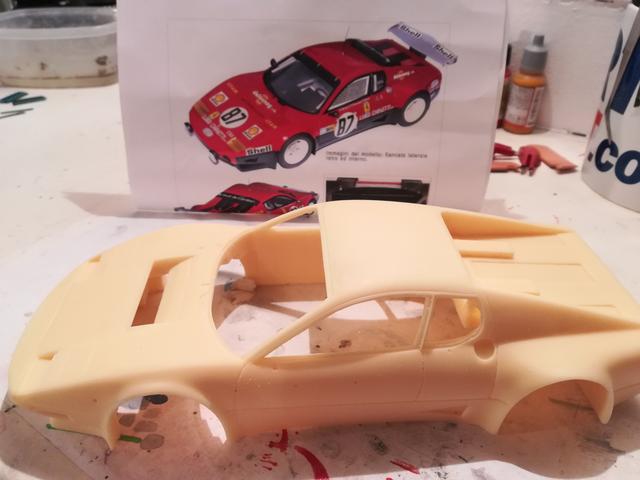 The resin mould is pretty good, i've seen better but after a little bit of tidying up its just about ready for paint. As is pretty standard with my builds I will be using the Zero paints brand on this build. 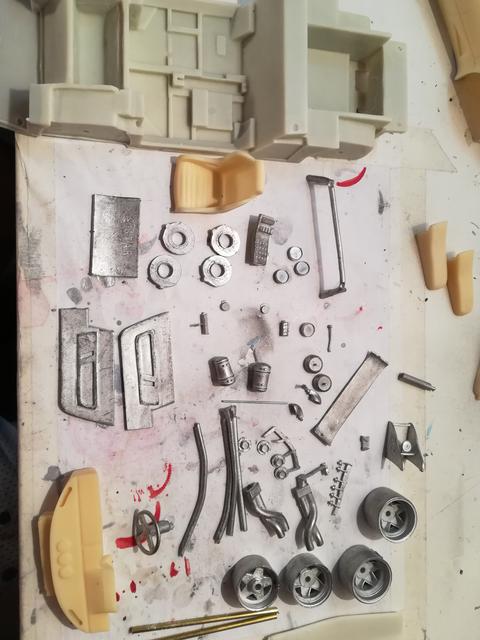 Everything else is pretty standard for a multimedia kit, parts have a good level of detail on them and after some cleaning up should produce a nice model. Thanks Chris www.wardsmodelbuilder.comwardsmodelbuilder@outlook.com |
|
|
|
Post by Oldtimer on Aug 1, 2019 4:49:04 GMT -8
Going to watch this one. I do more kitbashing than kits, so will be interested in your approach and techniques.
|
|
|
|
Post by Chris K. Hale on Aug 1, 2019 5:14:36 GMT -8
Tron is an excellent company in my book, I have a 1/43 Ferrari 312B3 "Spaz" kit (OOP) that had destroyed decals, so I wrote them a letter and the owner replied with a fresh set of decals at no cost to me and Thanked me for choosing their products.. Dont hear that too often, I am impressed and didnt even know they made 1/18 resin kits... Good Stuff, Chris!
|
|
|
|
Post by Joel_W on Aug 3, 2019 5:57:09 GMT -8
Chris,
Looking forward to following your build, as I've never seen this kit before.
Joel
|
|
|
|
Post by wardsmodelbuilder on Sept 24, 2019 8:02:38 GMT -8
An update on the progress, After a lot of sanding and priming I was finally happy with the quality of the bodywork. The body panels on this kit were not either smooth of level but once that was sorted the red went on very well, and makes the effort worth it. 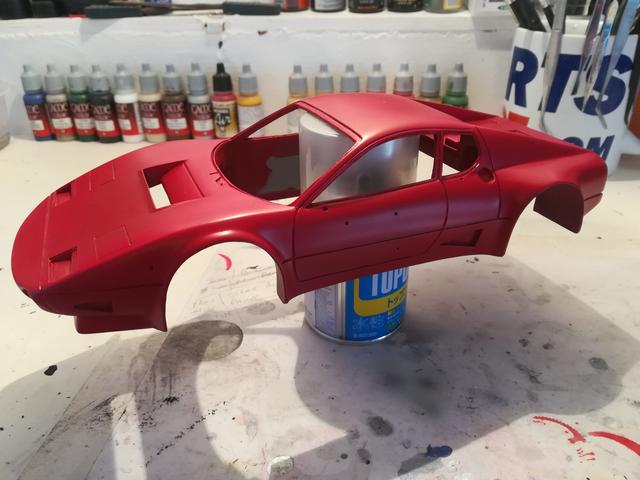 Once that was fully dried I was able to mask off for the lower half black sections. 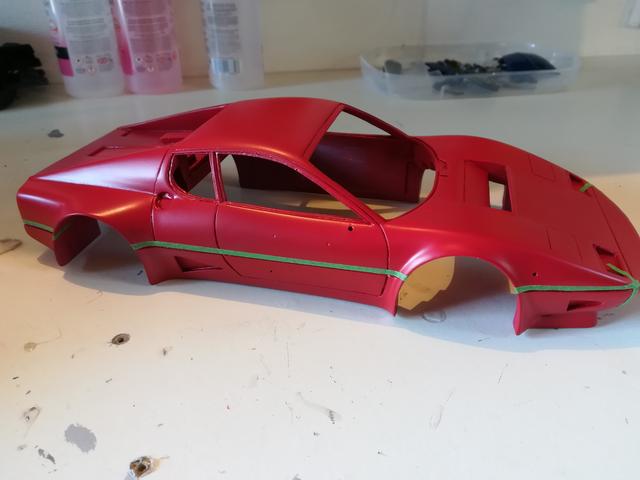 and paint them black, 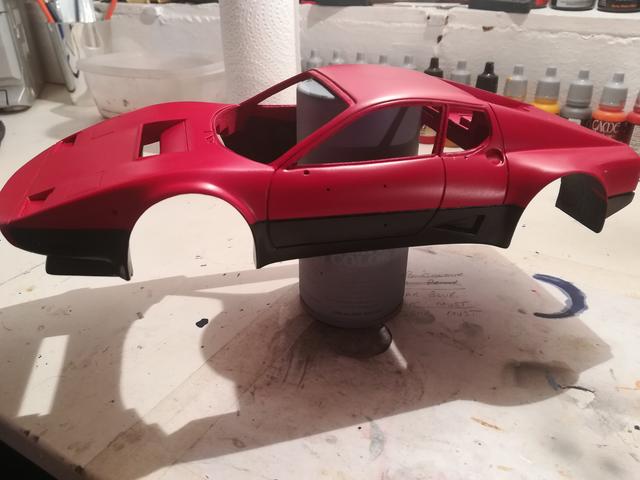 I have now added all the bodywork decals as the lacquer on this build is going over them. 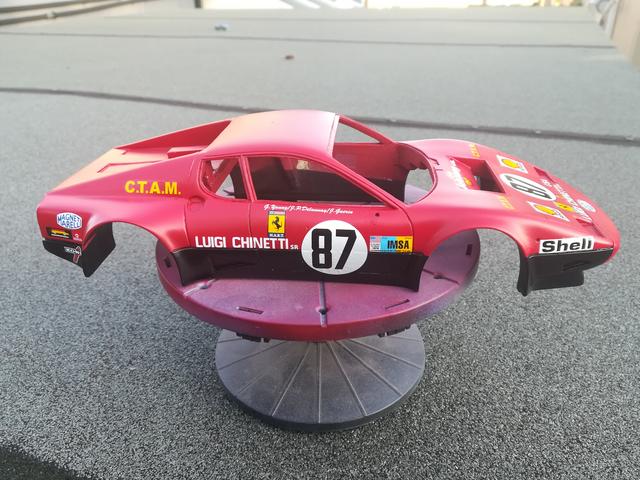 So far, so good. I have also been working on the interior which I will cover in the next update whilst the clear on the body is drying. Thanks Chris www.wardsmodelbuilder.comwardsmodelbuilder@outlook.com |
|
|
|
Post by Joel_W on Sept 25, 2019 6:07:24 GMT -8
Chris,
The body with paint and decals really looks quite good.
Just one question from a Resin newbie, what grades of paper do you sand and polish the shell with to get to the primer stage? What I thought was smooth enough on my 1st resin build looked horrendous after primer.
Joel
|
|
|
|
Post by clowncar on Sept 25, 2019 16:44:56 GMT -8
Just one question from a Resin newbie, what grades of paper do you sand and polish the shell with to get to the primer stage? What I thought was smooth enough on my 1st resin build looked horrendous after primer. Great question! Had the exact same experience. |
|
|
|
Post by wardsmodelbuilder on Oct 11, 2019 9:07:26 GMT -8
Chris, The body with paint and decals really looks quite good. Just one question from a Resin newbie, what grades of paper do you sand and polish the shell with to get to the primer stage? What I thought was smooth enough on my 1st resin build looked horrendous after primer. Joel it really all depends on the resin. This one was very bad in terms of the smoothness of the panels. I probably used a 400 grit on the really bad areas to something like 1200 on the main panels. I then primed and resanded, and reprimed. I might do this several times before im happy with the finish prior to paint. |
|
|
|
Post by wardsmodelbuilder on Oct 11, 2019 9:07:47 GMT -8
Here is what will probably be the last update before this one is finished. The body has now been clear coated and the decals have held up very well with no damage. It has been drying for over a week so should be ready for sanding out the imperfections now. 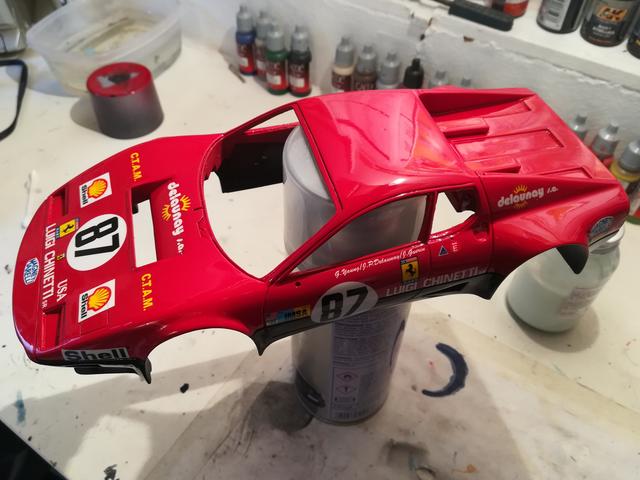 The customer decided he wanted something added to busy up the interior a little, so I have added a little wiring and plumbing bits. 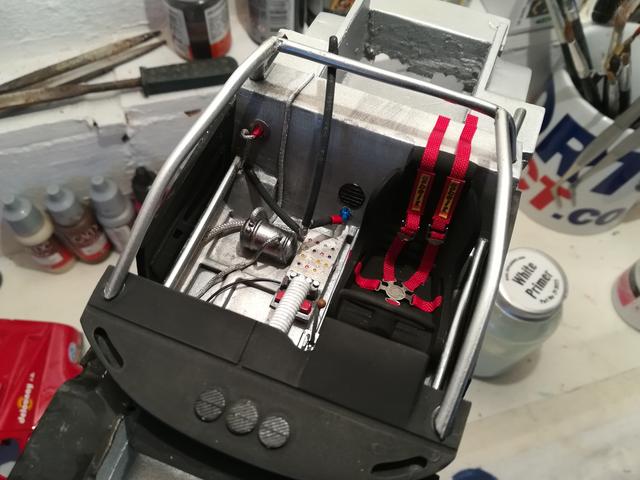 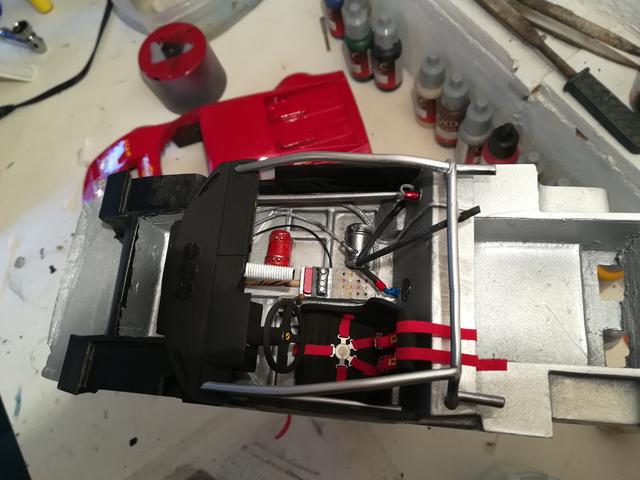 I think this will add a nice finish to the model, which has turned out to be a very enjoyable build. The kit isn't as polished as a Studio 27 kit however it still makes a very solid model. Once the bodywork is sanded and polished I will finish up by adding the exterior fittings, and bringing the two halves together. Chris www.wardsmodelbuilder.comwardsmodelbuilder@outlook.com |
|
|
|
Post by Joel_W on Oct 11, 2019 14:15:07 GMT -8
Chris,
The clearcoat just brings that shell to life. Just super impressive.
Joel
|
|
|
|
Post by wardsmodelbuilder on Oct 28, 2019 4:09:43 GMT -8
Here are a few photos of the finished model.  Everything went together quite easily but I did have some issue with the windows that, to be truthful just aren't very good in this kit. 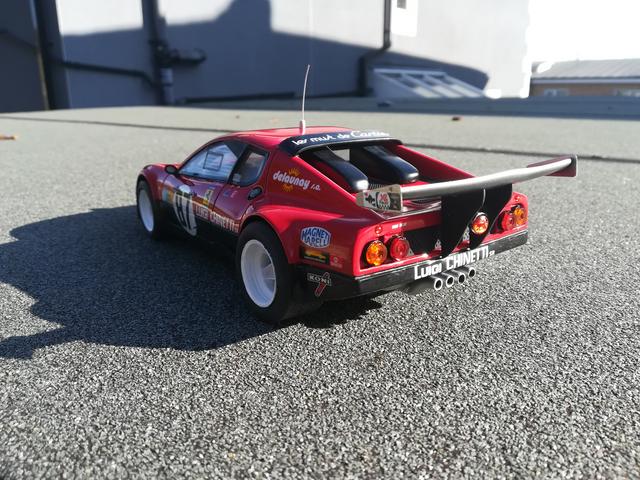 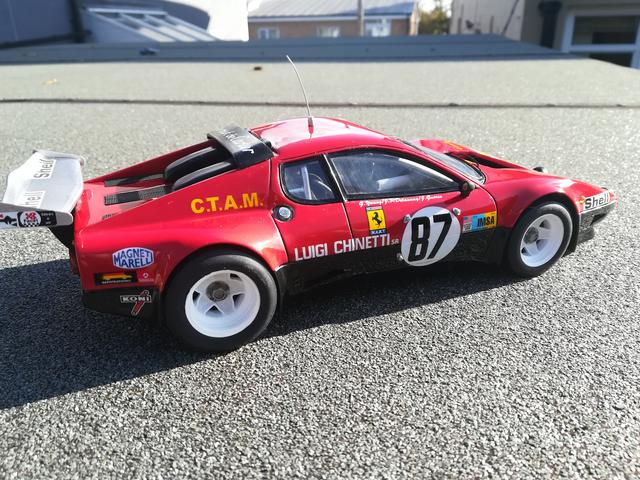 Other than the windows, all the other parts fitted together very well, and the additional detail pieces such as the side number lights and windscreen clips are a nice touch (included in the kit). 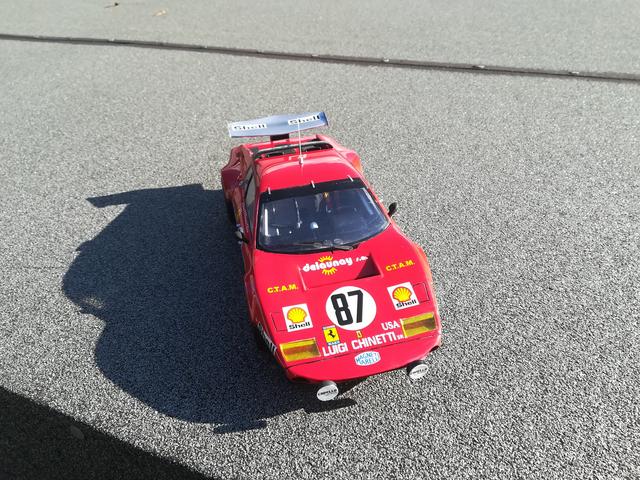  Turned out pretty well, for a stock build, which is all the customer wanted for this one. Thanks Chris www.wardsmodelbuilder.comwardsmodelbuilder@outlook.com |
|
|
|
Post by Joel_W on Oct 28, 2019 4:47:53 GMT -8
Chris,
Very nicely done. I'd say for sure that the customer will be more then happy with your build.
Joel
|
|


