|
|
Post by 2whl on Jun 12, 2020 9:58:42 GMT -8
Thanks Joel and Chris. But I'm far from a master. Case in point..... One step forward and one step back. I detailed the brake reservoirs and bracket and installed it along with the lines. Then I added the side pieces to close out the front framework. But when I went to add in the oil cooler that sits right at the front of the chassis, it would not fit through the opening. So I had to de-bond the front of the rails I had just CA'd in. I used a cotton bud dipped in acetone and kept the joint moist until it released.  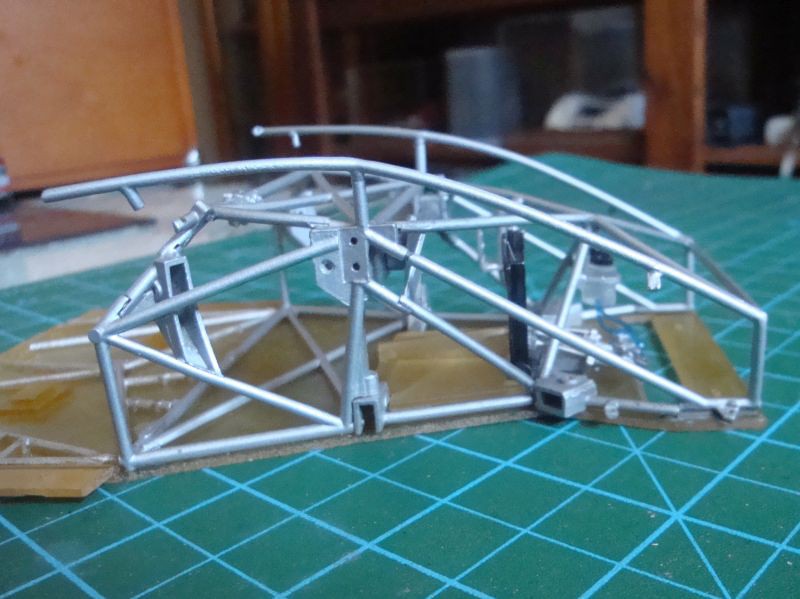  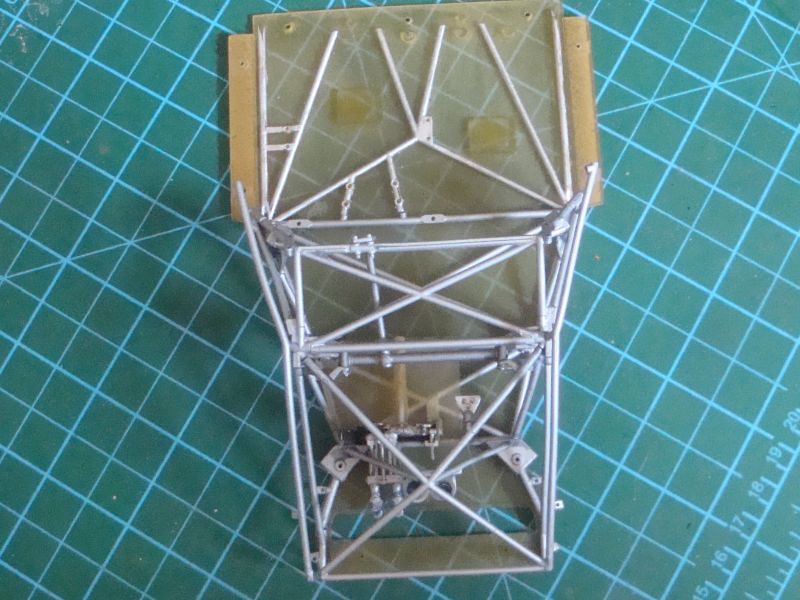 2216 |
|
|
|
Post by chrissmith on Jun 12, 2020 10:38:32 GMT -8
Just remember the rebellion had to blow up 2 Death Stars!
|
|
|
|
Post by 2whl on Jun 12, 2020 16:09:11 GMT -8
Just remember the rebellion had to blow up 2 Death Stars! Yeah, but since we're on the dark side, I'm hoping they don't show up to blow this up.....LOL I managed to fix my snafu and get the oil cooler installed. The fittings in the cooler were included in the kit, but not the lines.  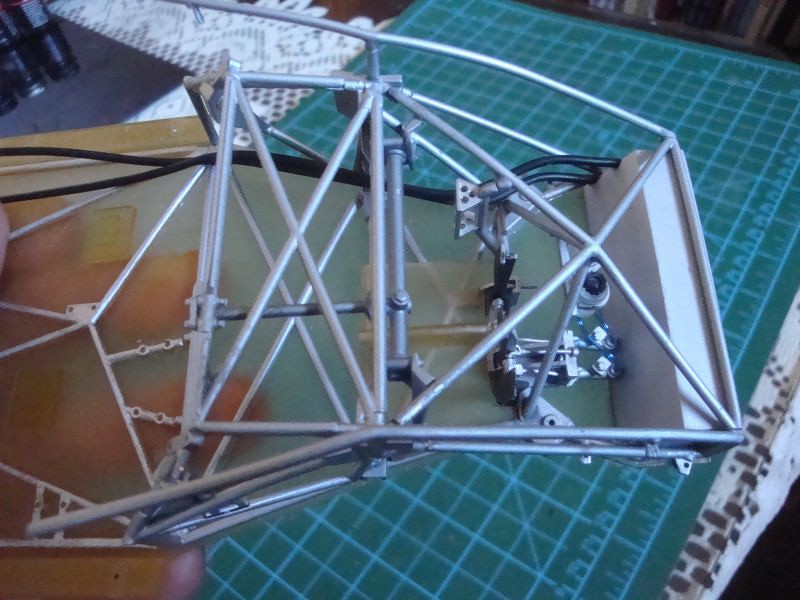 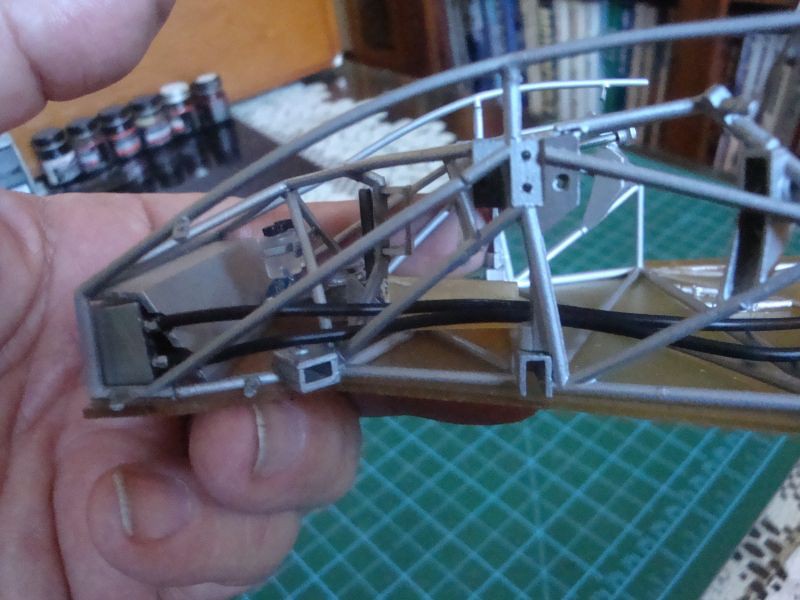 2238 |
|
|
|
Post by chrissmith on Jun 12, 2020 18:36:20 GMT -8
Very impressive, not to mention cool, so where do the cooler lines attach to on the other end?
|
|
|
|
Post by 2whl on Jun 12, 2020 18:48:37 GMT -8
Very impressive, not to mention cool, so where do the cooler lines attach to on the other end? Chris, since they didn't show on the plans, I'll have to go thru my reference pictures. I'm thinking one goes to the engine and the other to (possibly) an oil tank |
|
|
|
Post by tatocorvette on Jun 12, 2020 19:04:03 GMT -8
How fun is it to plumb a radiator on an air cooled engine?  I know, just been silly. |
|
|
|
Post by Joel_W on Jun 13, 2020 9:59:40 GMT -8
Boy does that front clip look good. And thanks for the tip about using Acetone to debond CA glue. I've been buying those rather expensive Debonders which don't work all that good.
joel
|
|
|
|
Post by 2whl on Jun 13, 2020 10:03:26 GMT -8
Thanks Joel Boy does that front clip look good. And thanks for the tip about using Acetone to debond CA glue. I've been buying those rather expensive Debonders which don't work all that good. joel You could also use your wife's nail polish remover. Very inexpensive...for you...lol |
|
|
|
Post by 2whl on Jun 14, 2020 16:42:52 GMT -8
Here's a mock-up to check how the chassis is looking. 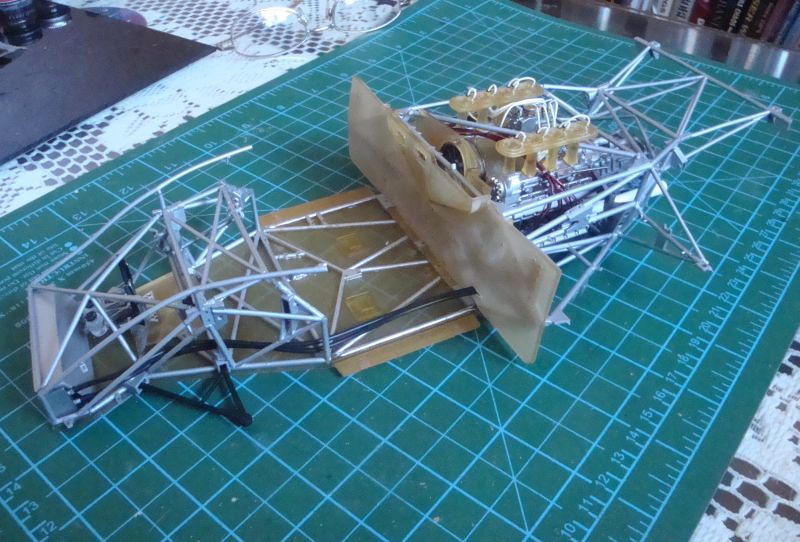 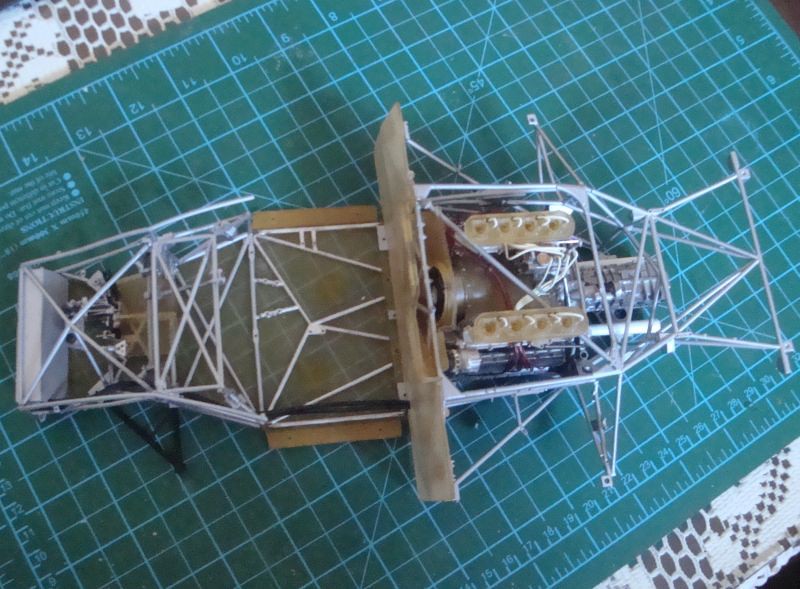 This may seem like a small step forward, but installing the lower arms and side panels required a bit of fitting and trimming. 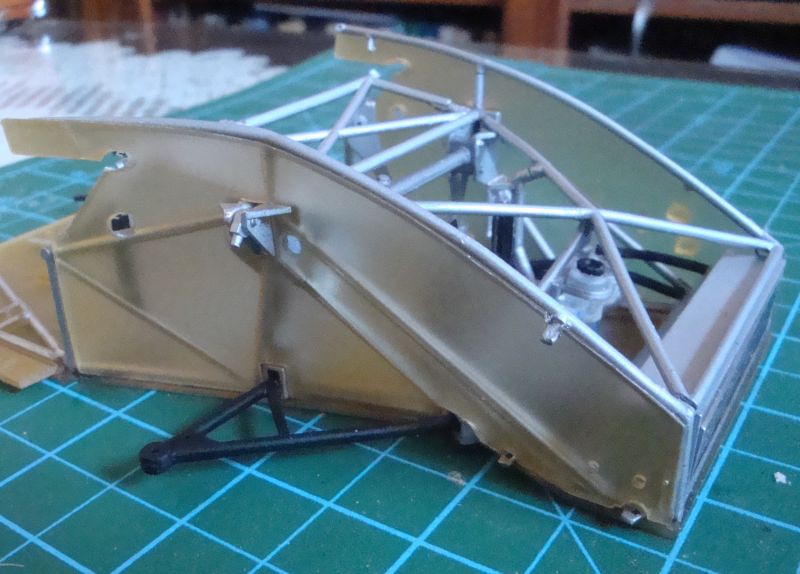 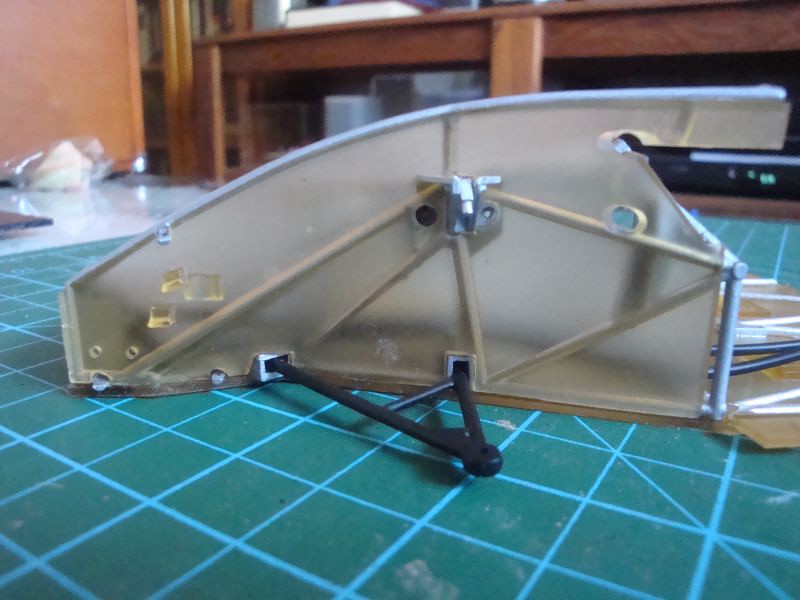 2319 |
|
|
|
Post by chrissmith on Jun 14, 2020 17:27:35 GMT -8
Looking good sir, thank you for the advice. Every thing seems to fit pretty well. Are you about ready to blow it apart to paint?
|
|
|
|
Post by Joel_W on Jun 15, 2020 4:35:41 GMT -8
Paul,
The test fit looks fantastic. One would never know that the lower A arms were anything but a perfect fit. As usual looking forward to your next update.
Joel
|
|
|
|
Post by decal1411 on Jun 17, 2020 9:05:56 GMT -8
Thanks Joel and Chris. But I'm far from a master. Case in point..... One step forward and one step back. I detailed the brake reservoirs and bracket and installed it along with the lines. Then I added the side pieces to close out the front framework. But when I went to add in the oil cooler that sits right at the front of the chassis, it would not fit through the opening. So I had to de-bond the front of the rails I had just CA'd in. I used a cotton bud dipped in acetone and kept the joint moist until it released. 2216 |
|
|
|
Post by decal1411 on Jun 17, 2020 9:13:32 GMT -8
I have never posted before so I hope that this works! I am at a very similar stage with a build of the same model and was also surprised that the radiator oil lines are not included. In terms of location I believe that the oil is carried in the chassis tubes through the seating area so there would be couplings below the dashboard. If someone can tell me how I will post an image.
|
|
|
|
Post by afx on Jun 17, 2020 9:16:37 GMT -8
I have never posted before so I hope that this works! I am at a very similar stage with a build of the same model and was also surprised that the radiator oil lines are not included. In terms of location I believe that the oil is carried in the chassis tubes through the seating area so there would be couplings below the dashboard. If someone can tell me how I will post an image. Inserting a photo: www.proboards.com/user-guide/posting/inserting-images |
|
|
|
Post by decal1411 on Jun 17, 2020 9:30:00 GMT -8
I am at a similar stage with my own build of this kit. I was also surprised at the lack of oil lines and have also added my own. I believe that the flexible lines should be coupled to the chassis below the dashboard with the oil being carried to the engine via the chassis tubes.
|
|


