Fujimi 1/24 scale 1970 Gulf Wyer Porsche 917K
Mar 13, 2022 10:30:09 GMT -8
2whl and mustangrex like this
Post by Joel_W on Mar 13, 2022 10:30:09 GMT -8
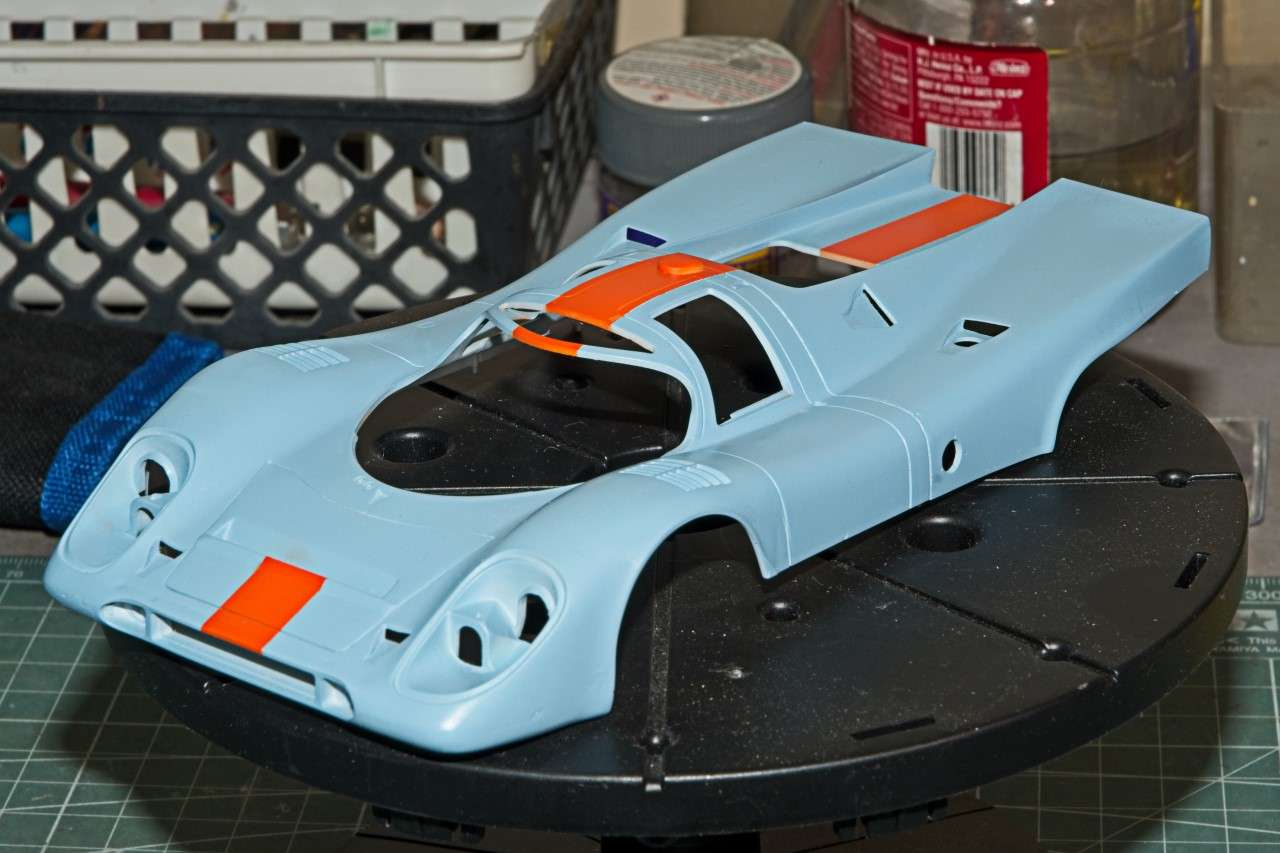
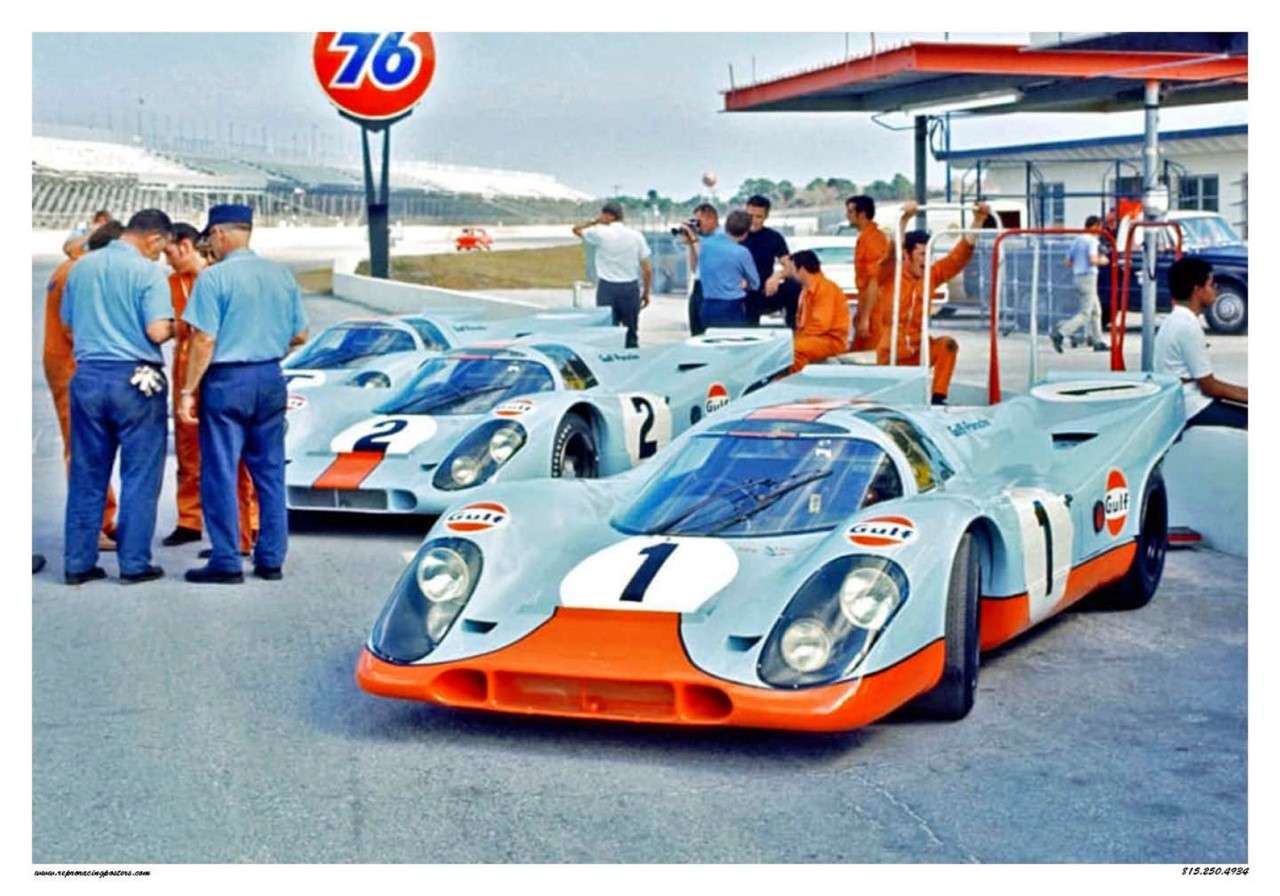
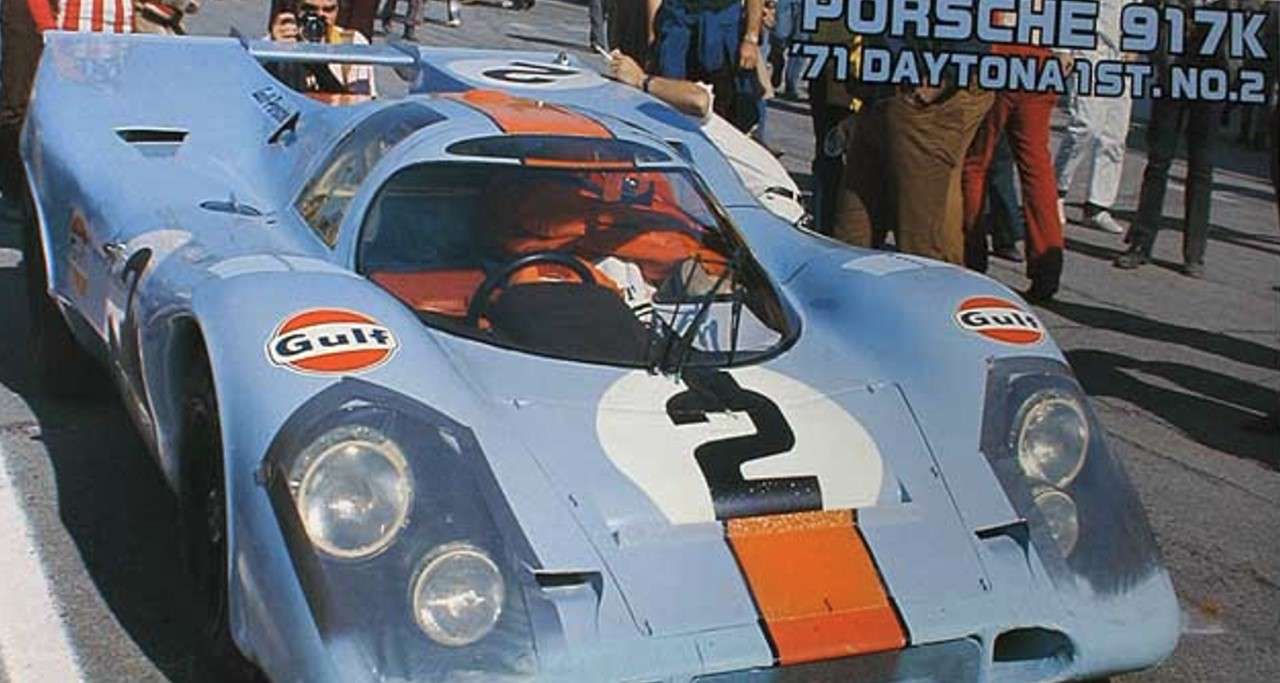
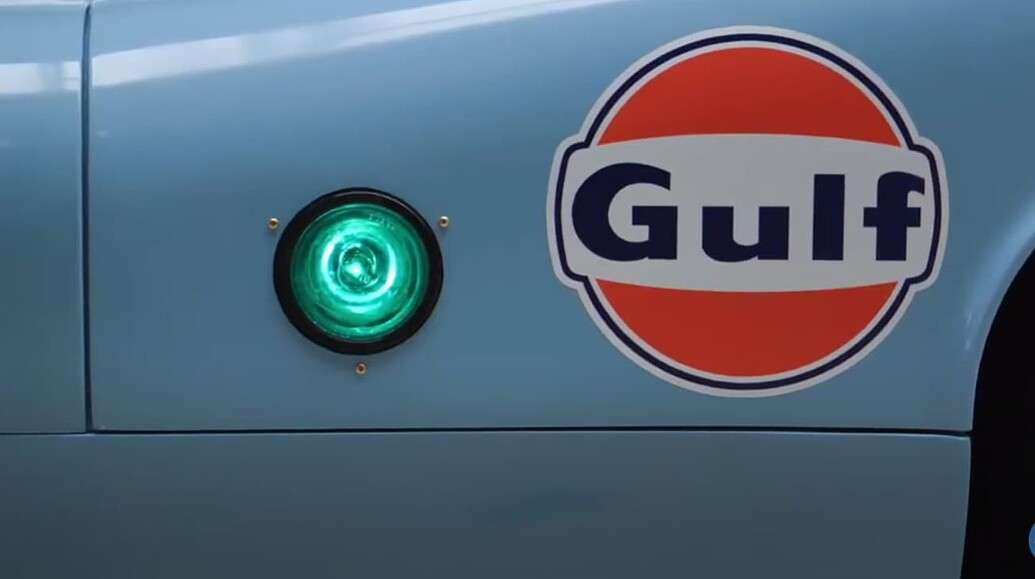
My current race car build is once again another Porsche, so what else is new? This time it’s the Fujimi 1/24 scale Porsche 917K that raced at the 1970 24 hours of LeMans. Instead I decided to make the small corrections needed to convert it into the #2 winning John Wyer Automotive Gulf Winning Porsche 917K at the 1970 Daytona 24 hours. The JWA Gulf 3 car Porsche 917K team placed 1st and 2nd. Here’s the winning car pre and post race. One thing is for sure, it took quite a beating over the 24 hour

For the most part the major difference was leaving off the small spoiler/wing at the rear of the engine deck.
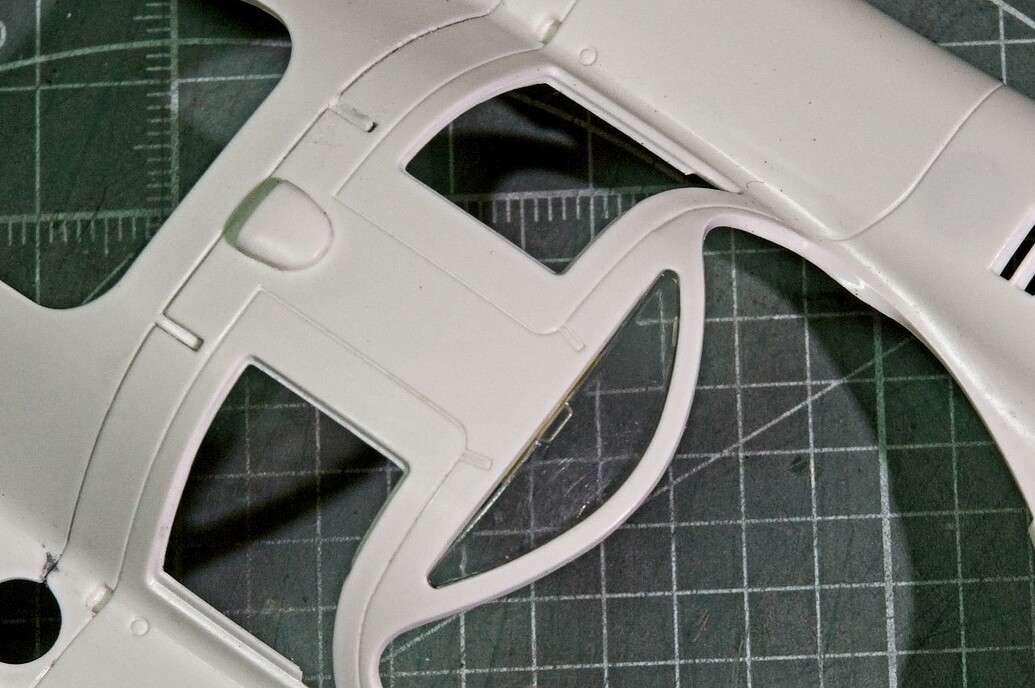
I studied pics of numerous 917Ks, there’s a few differences whether the Daytona winning car actually had the right side ID light installed, which it did, and just how was it installed. Fujimi just gives you a lens and placement guide, but that’s incorrect. The actual light is in a light receptacle attached to the inside of the engine cover, and just the lens is on the outside.
So I drilled a hole in the proper place, then using a few parts from my spares box, and some sheet plastic, made the light fixture. Here’s the part and how it looks just temp tacked in place. I won’t paint and glue it in place till after the body is completely painted, decaled, and glossed.
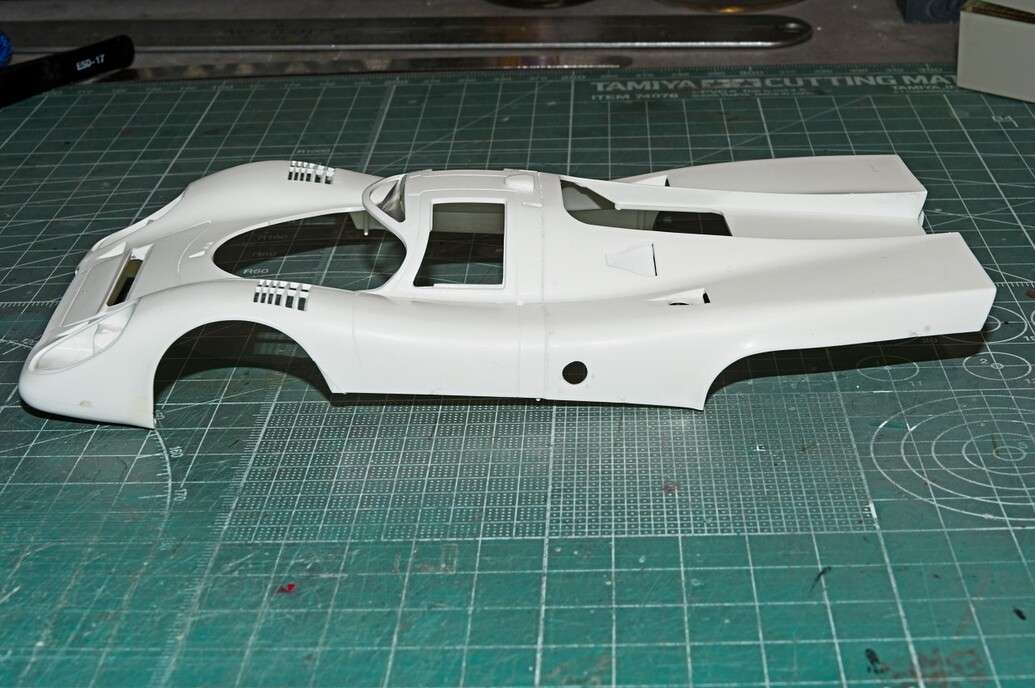


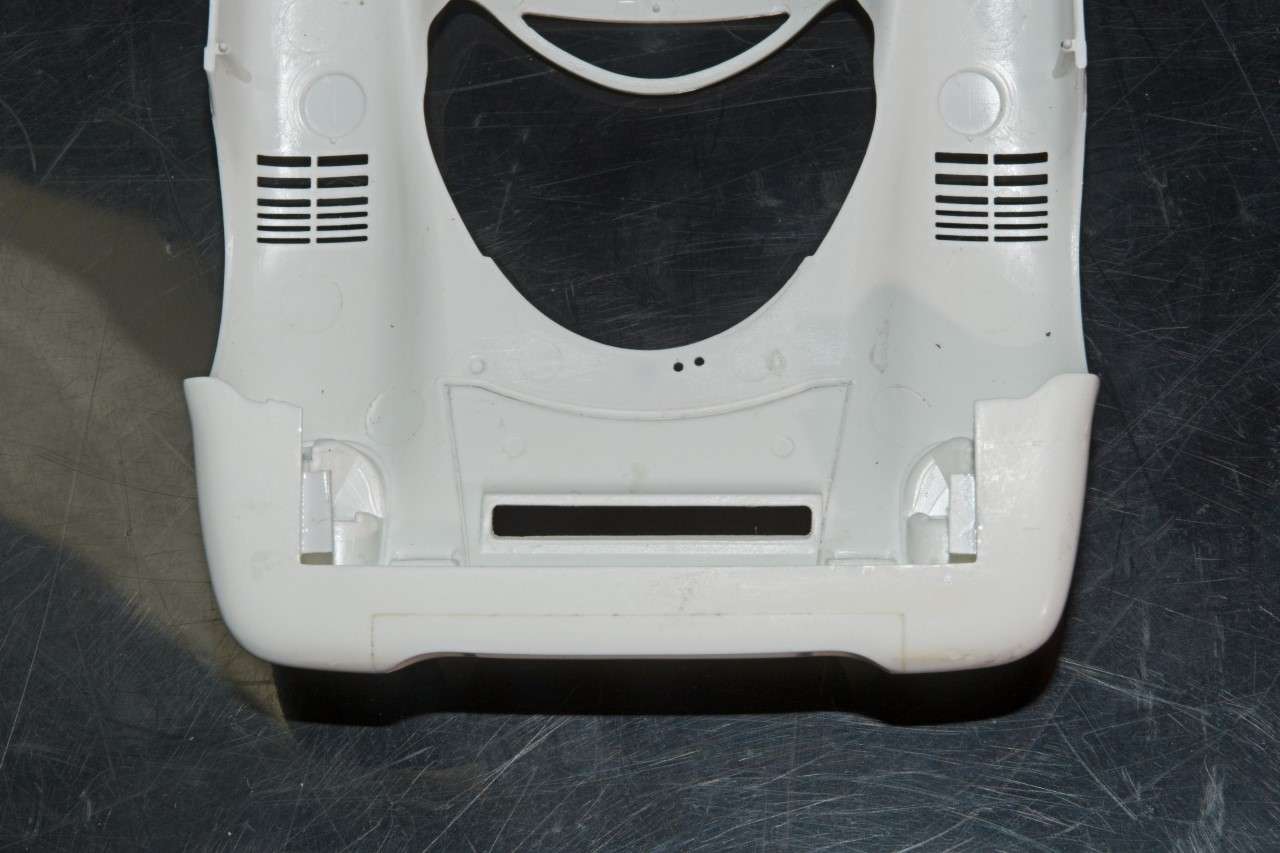
I started the body shell by gluing the front lower nose section to the cockpit section. The fit was ok, but needed contour sanding to blend it in so that it looks like one piece. The front compartment that houses the steering linkage, brake, and clutch Reservoir cover was warped and just way to thick. So it never fit correctly despite my best efforts. I glued it into place, and sanded it down so that it fit correctly. I also removed the 8 fasteners that on the real cars secures it in place as they unfortunately looked like plastic blobs and nothing more. I’ll come up with either some Indy Cal decals to represent them, or PE, but gluing them on after paint and polish isn’t one of my stronger points, and I just could create a major issue 8 times over. I also thinned out the spoiler on the cover as the molded one was just way to thick and chunky looking. Sorry that the pic really doesn’t show it correctly.

I also decided to glue the engine deck in place as there’s no engine included with this boxing.
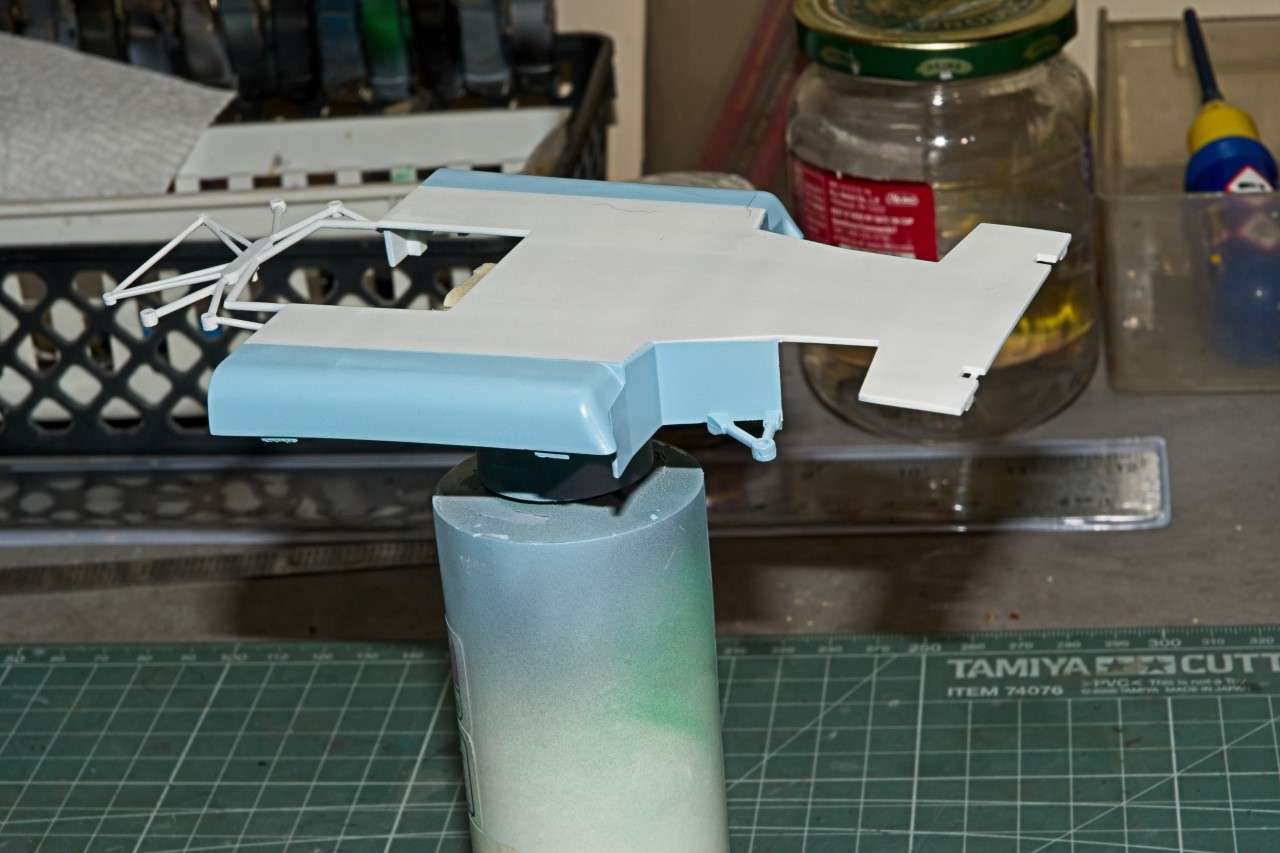
The Gulf Porsches all had that top window rather then a solid roof. Test fitting was a little rough but it was easy enough to get it to fit, but not 100% flush. Pictures do show that it’s that way on the real car as it looks liked a bead of caulk was applied all the way around. So I’m going to leave it off till after the body is finished. Hopefully I won’t screw it up installing it.

The last issue I needed to figure out is why some 917Ks have what is actually an electrical outlet to plug in an extension cord to supply electricity. Turns out that it’s for a heater pad that is on the bottom of the oil pan to heat the engine oil as well as the oil in the oil tank. Some cars have it on the outside of the engine deck while others have it attached to the frame. Doesn’t really make any difference as once the oil is heated up, the engine cover needs to be opened up so that Brake fluid can be added to each velocity stack to fire the engine up. So I won’t be using the decal that Fujimi supplies to represent the housing on the on the outside of the engine cover as none of the 3 Wyler Gulf cars had them.

Fujimi does supply a decal to represent it, but it’s square not round. And while I have several pictures of different shapes, none are a box shape.
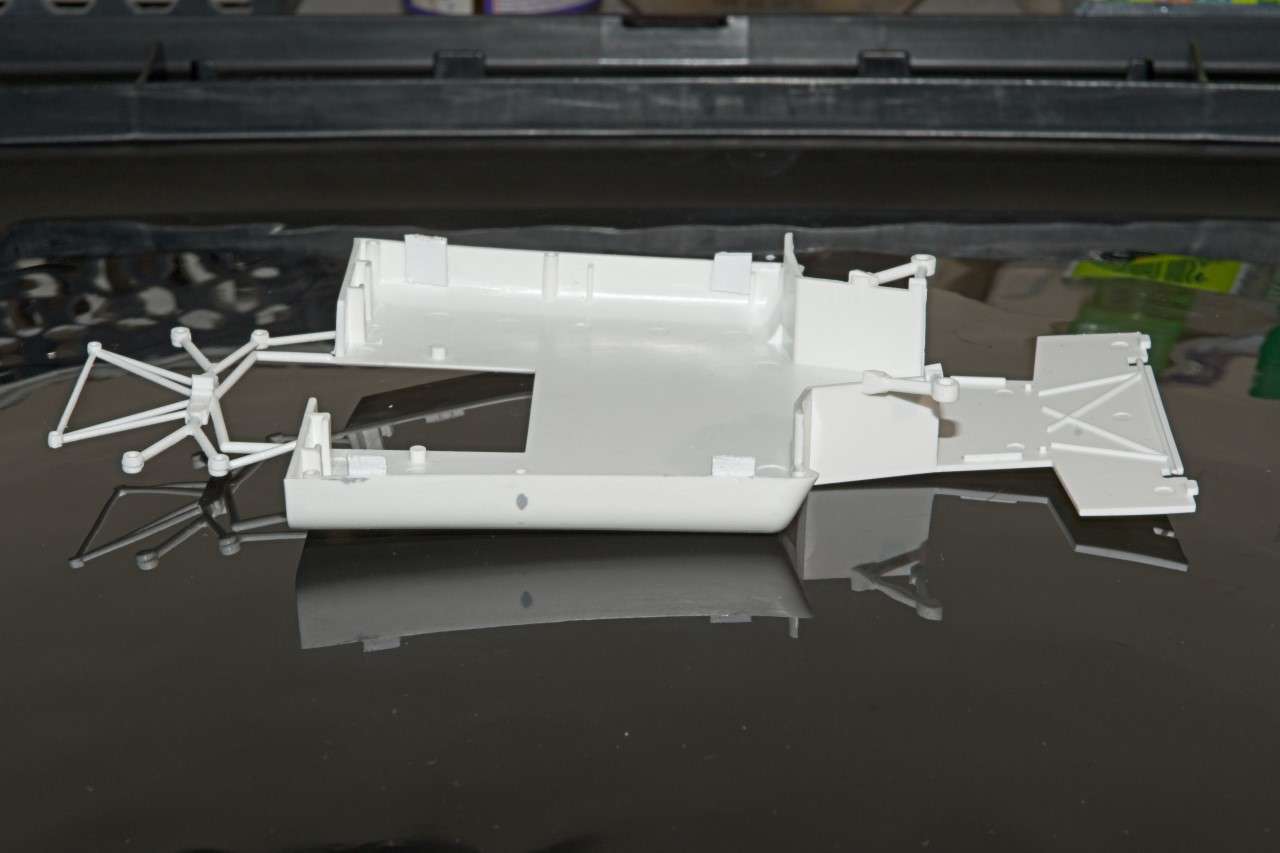
Work has very slowly continued due to my personal medical issues, but hopefully they’re behind me now. All of the flash, molding seams, etc have been taken care of over several days as what seemed like every strut and rod had two seams to remove and then polish out.
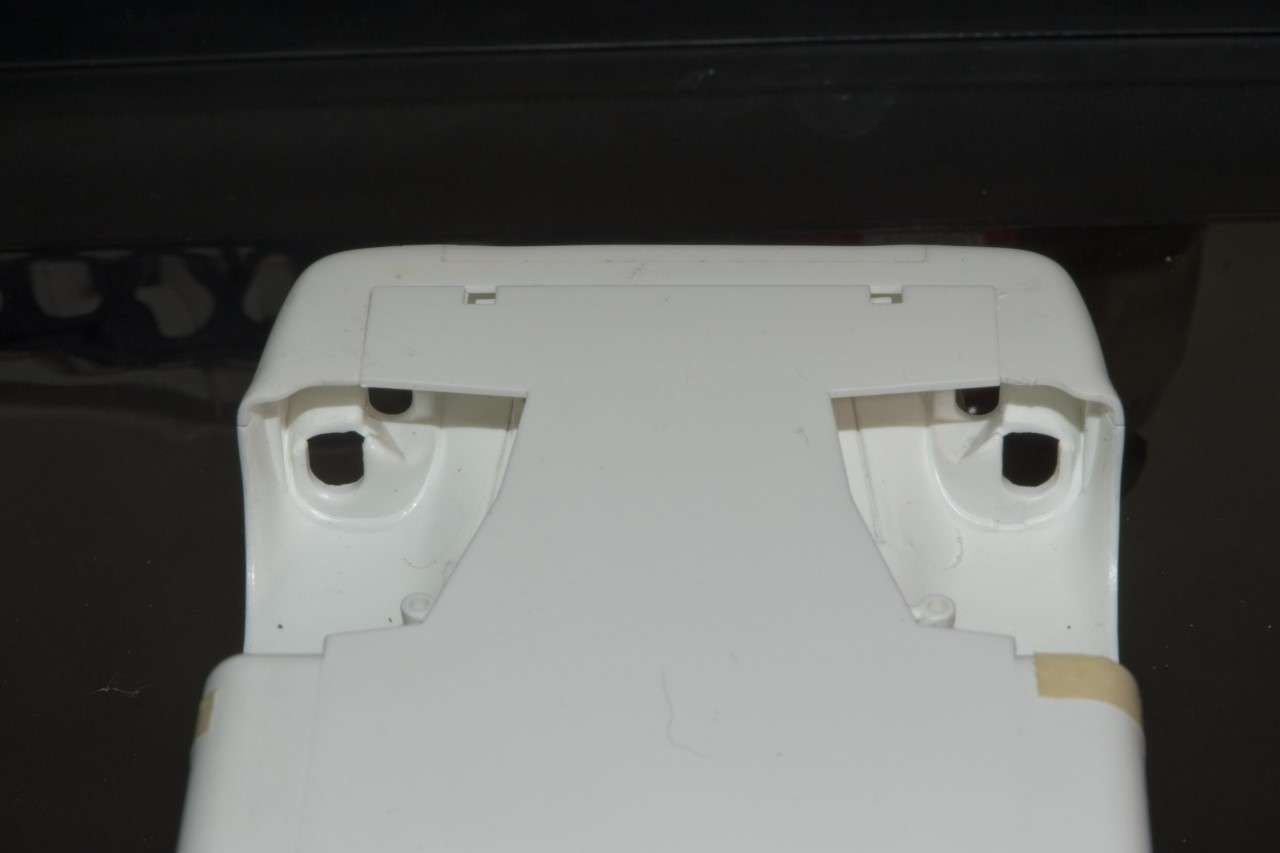
Up next was dry fitting the top body shell to the lower body shell. Unfortunately this not being Horse Shoes, close doesn’t count. The 1st issue is that unlike nearly all of the Tin Tops I’ve built where the body encloses the chassis, making mounting and gluing if necessary easy and little to no chance of getting glue on the lower side surfaces. Proto type cars like the 917 K are basically a clam shell with the seam between upper and lower being about 2/3 the way down the sides. My eyesight is way to poor to chance laying down drops of CCA glue along the edge surfaces without a major screw up, so I fashioned 4 mounting tab; two on each side of the lower shell. But the sides aren’t straight as they curve in on the way down as well as up. So I had to fiddle with rolling the plastic tabs till the dry fitting was as best as I could it get with no pressure needed to seat the top to the body sections.
The major issue was that the front of the lower shell when fitted to the upper shell was both slightly warped and twisted.

I gently twisted the front chassis till it was as good as it was going to get, and then did the same for the warping. But as I said, close just isn’t good enough. So I once again glued 2 mounting tapes to the inside of the front fenders which shouldn’t interfere with the radiator assembly.
When dry, a test fit that was about as close as I could hope to get it.
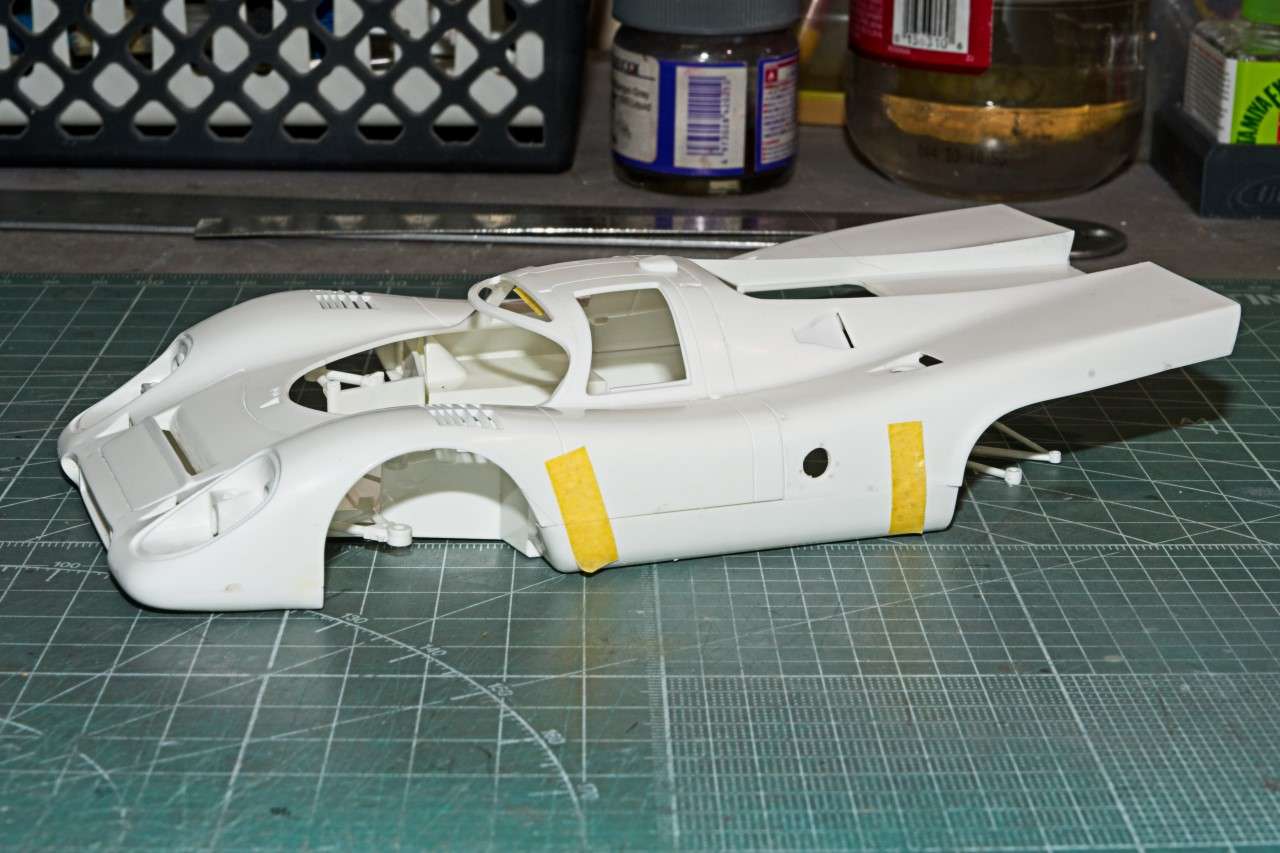
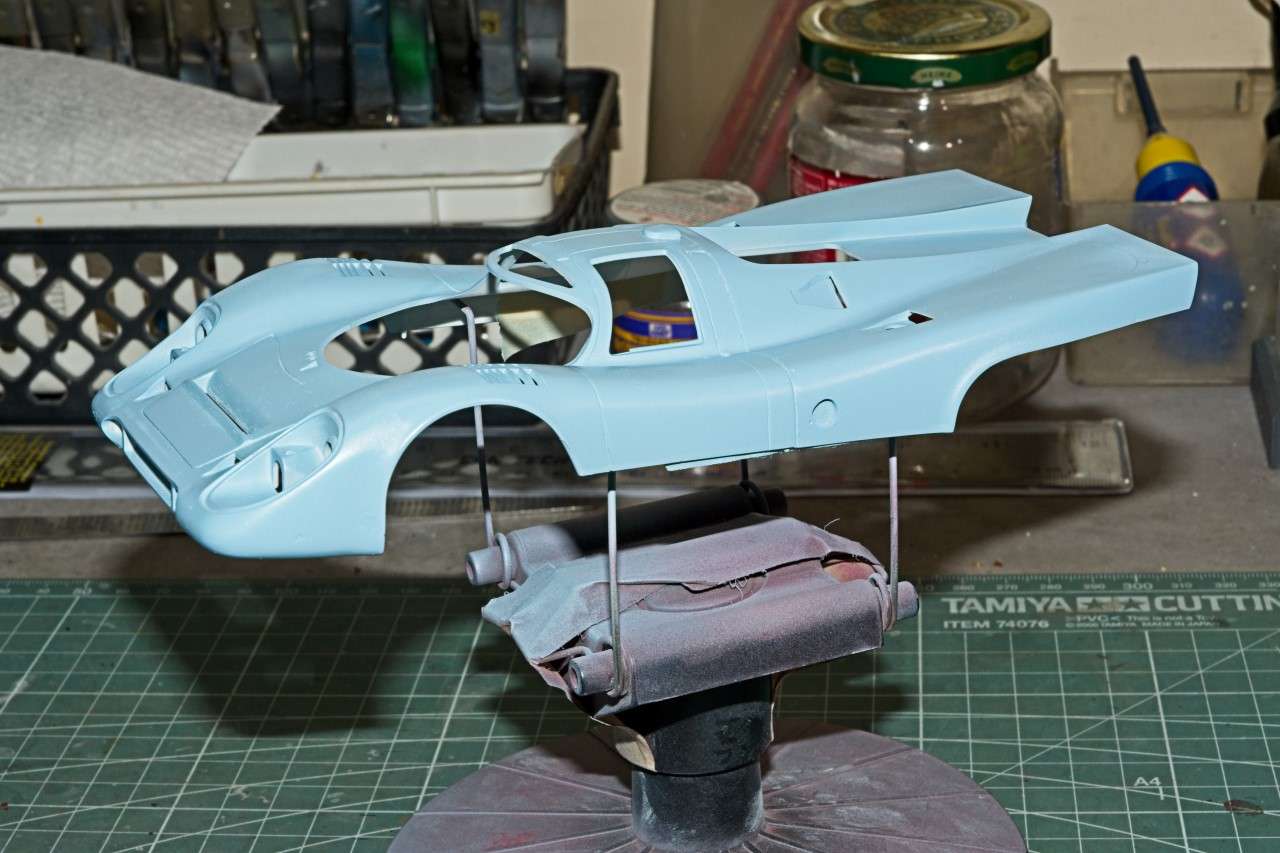
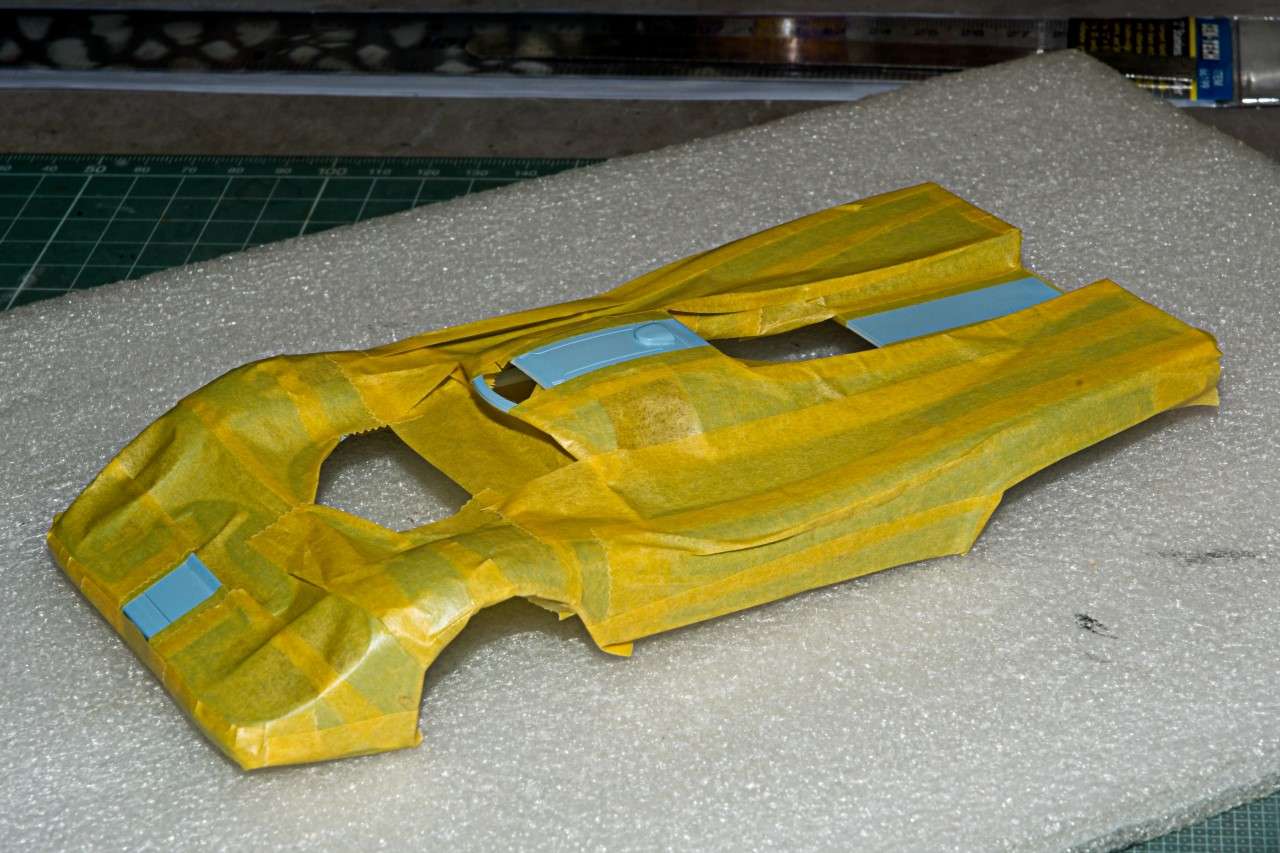
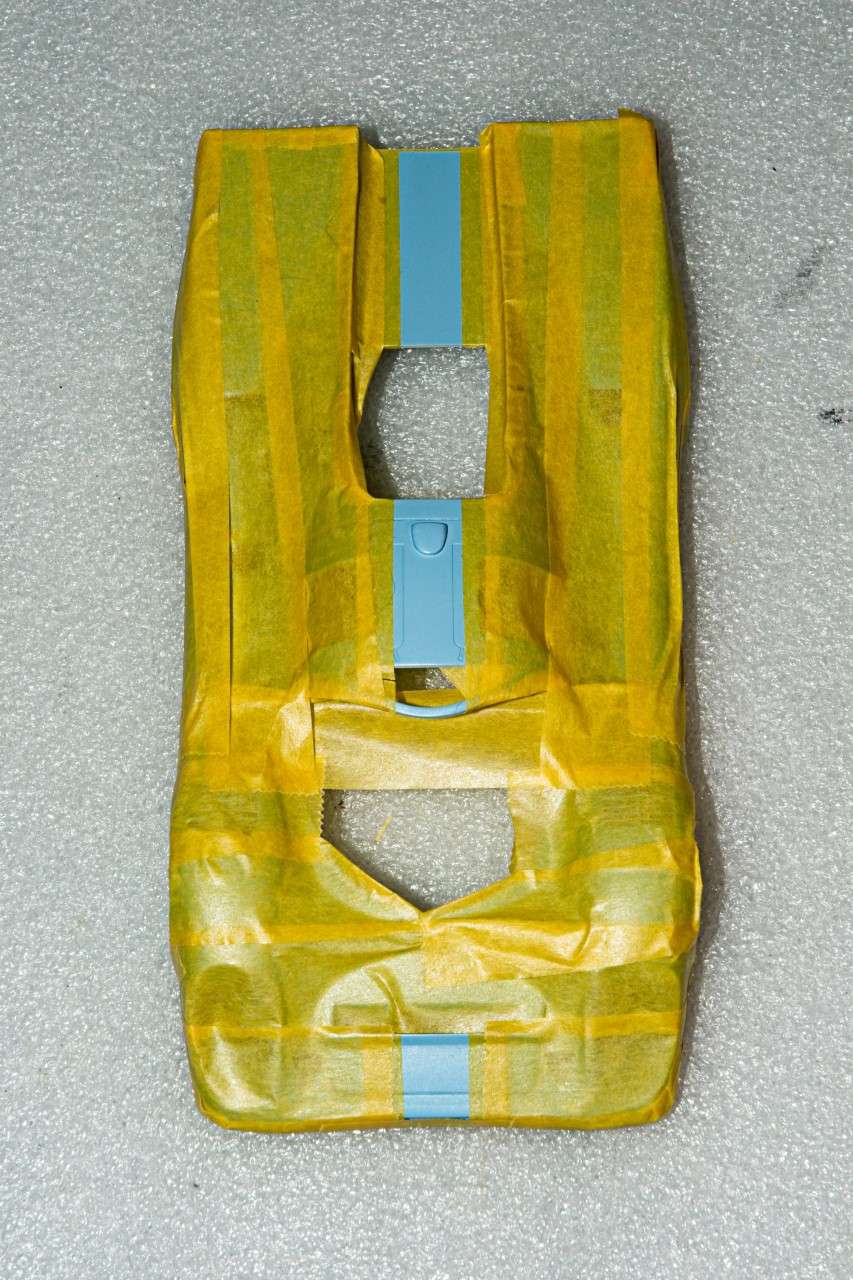
A little final sanding and polishing with a Tamiya #3000 sponge to prep for Priming. And finally my 1st stop at the paint booth.
joel
For the most part the major difference was leaving off the small spoiler/wing at the rear of the engine deck.
I studied pics of numerous 917Ks, there’s a few differences whether the Daytona winning car actually had the right side ID light installed, which it did, and just how was it installed. Fujimi just gives you a lens and placement guide, but that’s incorrect. The actual light is in a light receptacle attached to the inside of the engine cover, and just the lens is on the outside.
So I drilled a hole in the proper place, then using a few parts from my spares box, and some sheet plastic, made the light fixture. Here’s the part and how it looks just temp tacked in place. I won’t paint and glue it in place till after the body is completely painted, decaled, and glossed.
I started the body shell by gluing the front lower nose section to the cockpit section. The fit was ok, but needed contour sanding to blend it in so that it looks like one piece. The front compartment that houses the steering linkage, brake, and clutch Reservoir cover was warped and just way to thick. So it never fit correctly despite my best efforts. I glued it into place, and sanded it down so that it fit correctly. I also removed the 8 fasteners that on the real cars secures it in place as they unfortunately looked like plastic blobs and nothing more. I’ll come up with either some Indy Cal decals to represent them, or PE, but gluing them on after paint and polish isn’t one of my stronger points, and I just could create a major issue 8 times over. I also thinned out the spoiler on the cover as the molded one was just way to thick and chunky looking. Sorry that the pic really doesn’t show it correctly.
I also decided to glue the engine deck in place as there’s no engine included with this boxing.
The Gulf Porsches all had that top window rather then a solid roof. Test fitting was a little rough but it was easy enough to get it to fit, but not 100% flush. Pictures do show that it’s that way on the real car as it looks liked a bead of caulk was applied all the way around. So I’m going to leave it off till after the body is finished. Hopefully I won’t screw it up installing it.
The last issue I needed to figure out is why some 917Ks have what is actually an electrical outlet to plug in an extension cord to supply electricity. Turns out that it’s for a heater pad that is on the bottom of the oil pan to heat the engine oil as well as the oil in the oil tank. Some cars have it on the outside of the engine deck while others have it attached to the frame. Doesn’t really make any difference as once the oil is heated up, the engine cover needs to be opened up so that Brake fluid can be added to each velocity stack to fire the engine up. So I won’t be using the decal that Fujimi supplies to represent the housing on the on the outside of the engine cover as none of the 3 Wyler Gulf cars had them.
Fujimi does supply a decal to represent it, but it’s square not round. And while I have several pictures of different shapes, none are a box shape.
Work has very slowly continued due to my personal medical issues, but hopefully they’re behind me now. All of the flash, molding seams, etc have been taken care of over several days as what seemed like every strut and rod had two seams to remove and then polish out.
Up next was dry fitting the top body shell to the lower body shell. Unfortunately this not being Horse Shoes, close doesn’t count. The 1st issue is that unlike nearly all of the Tin Tops I’ve built where the body encloses the chassis, making mounting and gluing if necessary easy and little to no chance of getting glue on the lower side surfaces. Proto type cars like the 917 K are basically a clam shell with the seam between upper and lower being about 2/3 the way down the sides. My eyesight is way to poor to chance laying down drops of CCA glue along the edge surfaces without a major screw up, so I fashioned 4 mounting tab; two on each side of the lower shell. But the sides aren’t straight as they curve in on the way down as well as up. So I had to fiddle with rolling the plastic tabs till the dry fitting was as best as I could it get with no pressure needed to seat the top to the body sections.
The major issue was that the front of the lower shell when fitted to the upper shell was both slightly warped and twisted.
I gently twisted the front chassis till it was as good as it was going to get, and then did the same for the warping. But as I said, close just isn’t good enough. So I once again glued 2 mounting tapes to the inside of the front fenders which shouldn’t interfere with the radiator assembly.
When dry, a test fit that was about as close as I could hope to get it.
A little final sanding and polishing with a Tamiya #3000 sponge to prep for Priming. And finally my 1st stop at the paint booth.
joel