|
|
Post by Joel_W on Sept 10, 2020 15:30:14 GMT -8
Ismael,
With my eyes, I'd say that the paint and CF looks darn good to me.
The only idea that I can think of that is causing the finish to be harder to work with then plastic to achieve the same results, is the metal's raw finish. Is is as smooth as a plastic body? Does the primer completely seal the metal from the paint?
Joel
|
|
|
|
Post by tatocorvette on Sept 10, 2020 18:34:09 GMT -8
I SAID DON'T ASK ME!   Thinking about it, I think it may be related to the handling. Because these diecast weight so much much more than plastic, they are not that easy to manipulate. In this case, looking at the pics, paint was smooth as glass. So it was the clear that did not turn perfect as expected. In the Viper, paint started to chip while polishing indicating the primer did not really bonded that well. So I am more careful than with a plastic body where I go all the way do or die. But the truth is, this will never leave my house so... Thanks, Ismael |
|
|
|
Post by Joel_W on Sept 11, 2020 4:57:32 GMT -8
Ismael,
I can't remember what primer you used. Was it specifically for metal, or our usual plastic type primer? I'm assuming that there's a difference in the two so that they each bond correctly to the designated type of surface.
Joel
|
|
|
|
Post by tatocorvette on Sept 11, 2020 5:51:01 GMT -8
That is the funny part. It is primer for metal that we force to work on plastic. T235 lacquer primer. However, real cars are usually steel or in some cases aluminum, but these diecasts are probably a slush mixture of zamac (zinc and aluminum), steel, brass, tin, soda cans, melted rebars, pawn shop engagement rings, demolished building wiring, crushed confiscated ATVs, hurricane blown metal roofing and traffic signs, old radiators and who knows what else  |
|
|
|
Post by tatocorvette on Sept 11, 2020 9:59:25 GMT -8
Hello, Alright, bear with me. By now there should be absolutely no doubt about me not been normal. After the ordeal of stripping an orange car to repaint in ... orange, it should be a matter of putting it back together, right? WRONG! The car came with an unusable toy rear spoiler that supposedly represents option ZTK (High Downforce aero package). That package also includes additional aero parts in the front splitter As you can see in this picture of the untouched model out of the package. 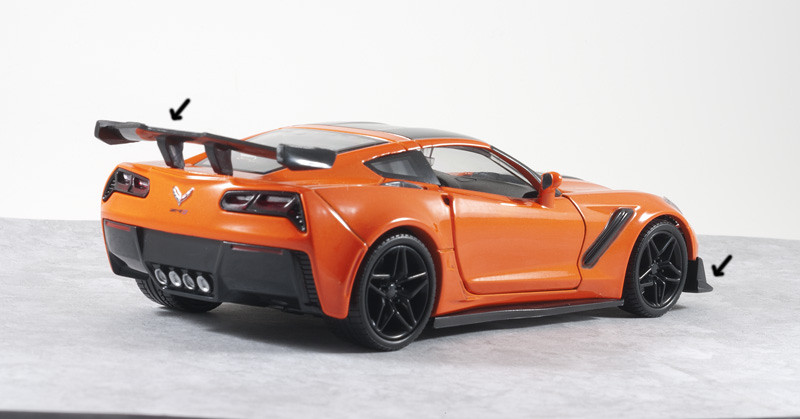 This has 2 problems: First, No way I'm using that spoiler, Second (and here is the trouble) I want my ZR1 with the low downforce package for higher top speed. Not the ZTK High wing that reduces top speed from 212MPH to a mundane 202 MPH. So I need to make my own Low Wing rear spoiler. No idea yet on how to do that. But in order to make it a lower downforce kit, the front splitter needs to be modified. Those aero fences must go. Problem is everything is molded in and very thick. I Also found out too late the body has notches to accomodate this. So here we go: I made 2 filler panels to address the notches in the body. Having I noticed this earlier I would have blended them before painting but these will do. 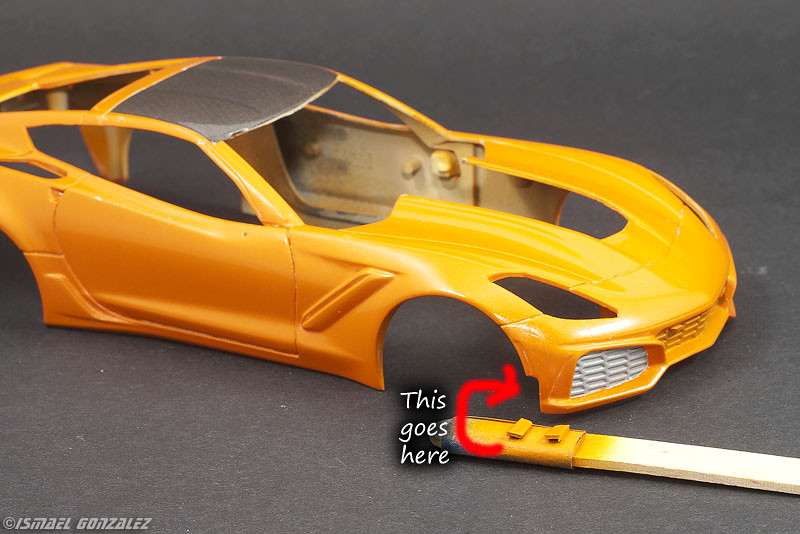 The splitter was severly modified and now look like this: 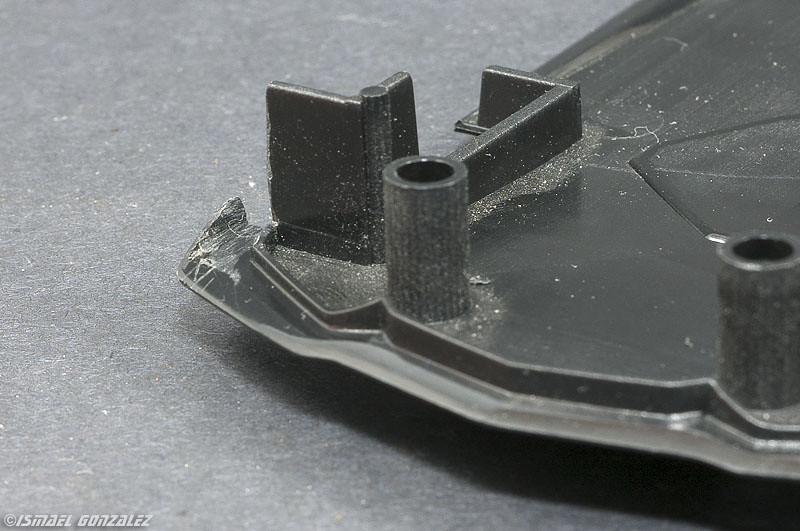 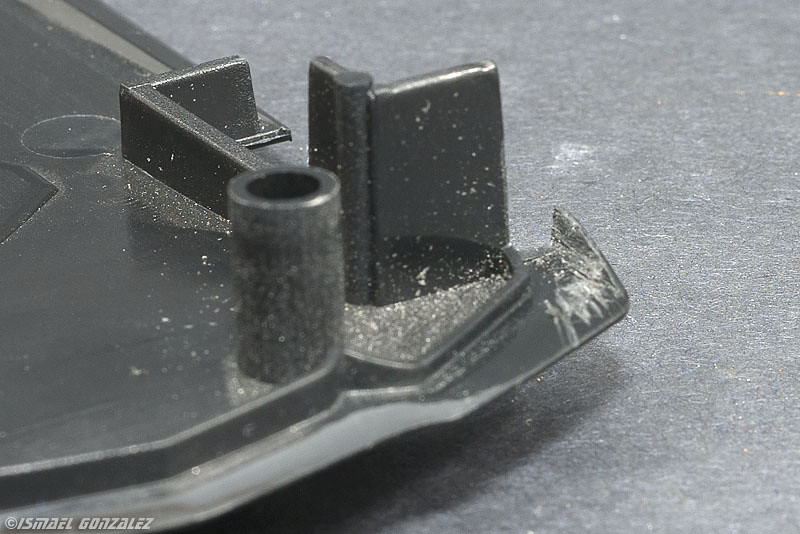 I also opened the molded exhaust. 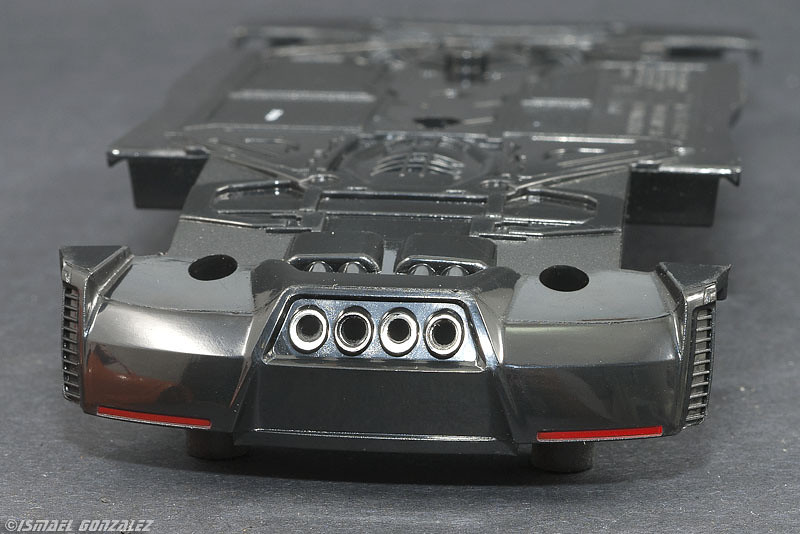 The interior is beyond hope. Everything is molded in one piece and the seats are nowhere near what they should be. It will all be black to hide it. There is a HUGE hole behind the seats. I made a paper template and transferred to sheet plastic. Will be painted black. 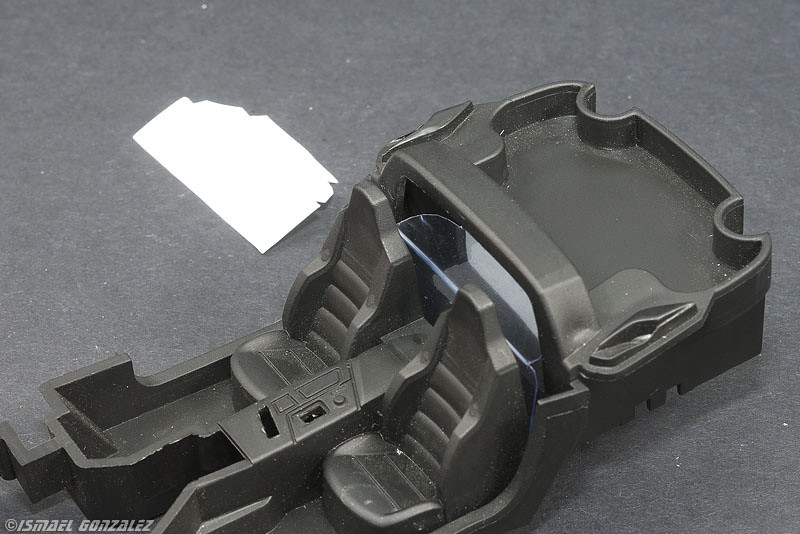 Thanks, Ismael |
|
|
|
Post by Joel_W on Sept 14, 2020 5:22:16 GMT -8
Ismael,
As usual I more then just impressed. Your research & subject knowledge, combined with your advanced modeling skills and mantra of not moving on to another step until the current step is as perfect as you can get it, is clearly visible on this build to date. As usual, I'm looking forward to your next update and all that it contains.
Joel
|
|
|
|
Post by tatocorvette on Sept 27, 2020 15:58:55 GMT -8
Hello, A little more progress. I am not a big fan of black wheels. So I painted them. Painted the brakes to simulate the carbon ceramic rotors and red calipers. Still pending detailing the wheels. Already drilled the valve stem location. 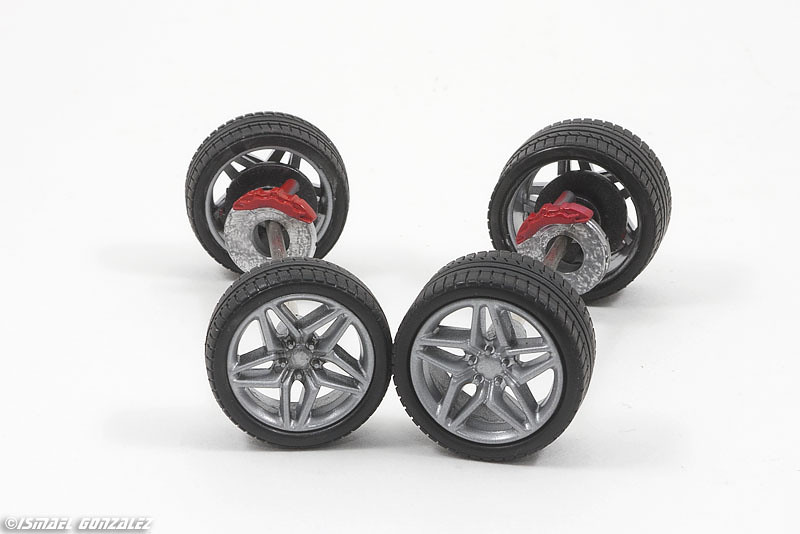 Sanded and scuffed the tires. These tires are really bad, but so is this whole thing. As previously mentioned, the interior is a lost cause. Added the seatbelts without hardware as it will not be seen against the door. Printed my own displays for both the center screen and the main display. Detail painted the horrible steering wheel and tried to sand it down to less horrible look. 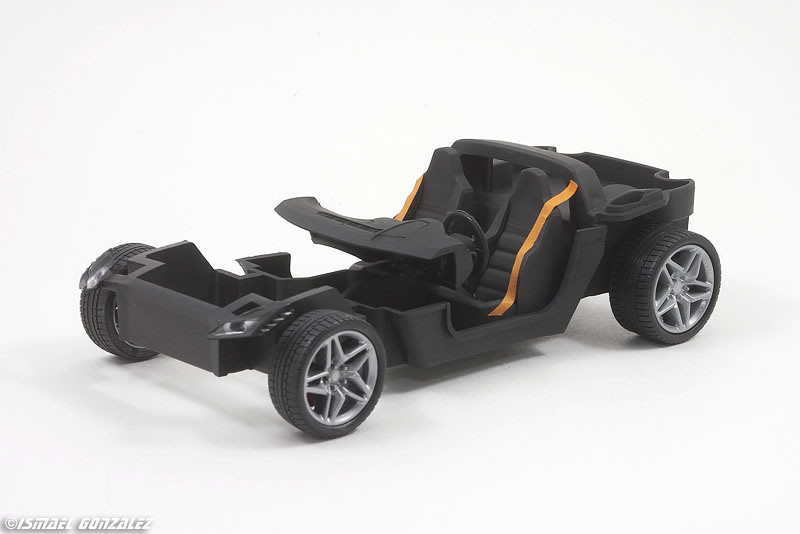 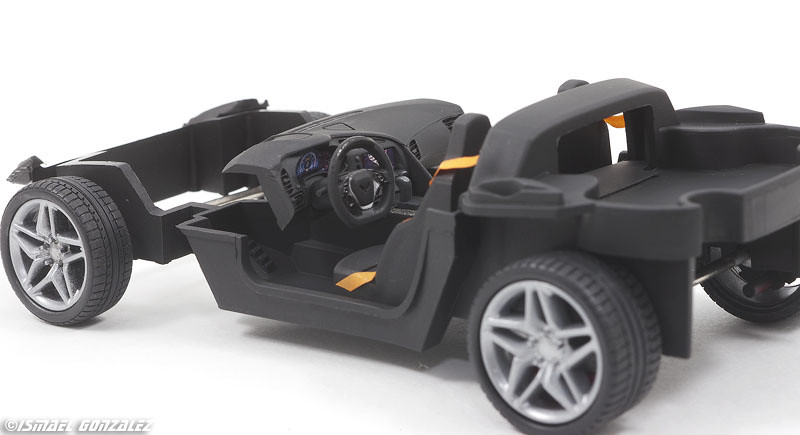 Yeah, I keep asking myself, why? Thanks, Ismael |
|
|
|
Post by tatocorvette on Oct 19, 2020 16:15:56 GMT -8
Hello again, First workbench time in about a month. Why on EARTH do I keep wasting time and effort in this turd is beyond me... Wheels, tires and brakes are done. Notice added valve stems, carbon fiber center caps, etc. 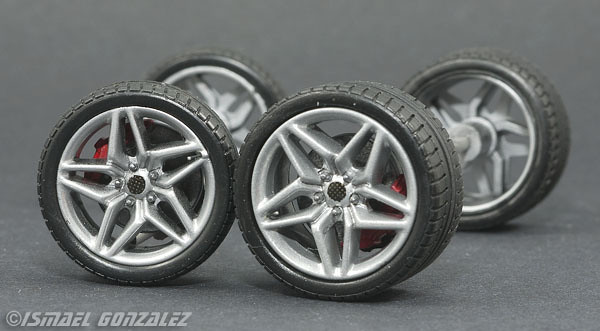 The interior is so bad I fade-tinted the windshield and back glass so almost nothing can be seen. 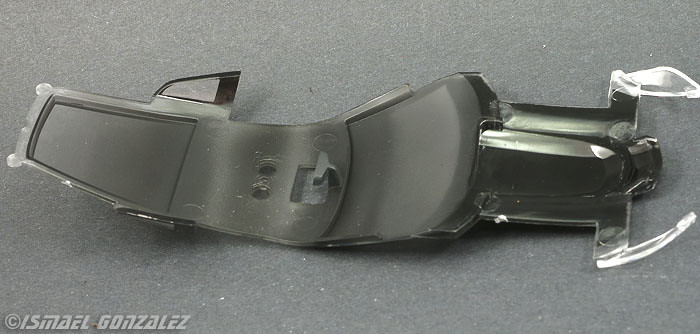 and I just completed one of my biggest challenges in a long time: Carbon Fiber decals over the supercharger. 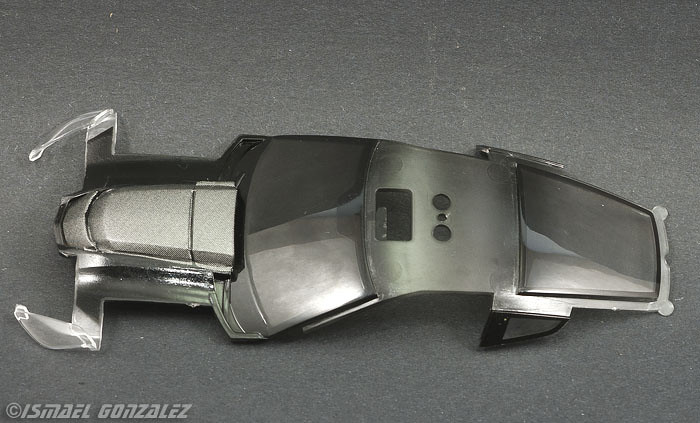 You are looking at 3 major pieces of decals, a few hours and tons of Micro Sol. I made masking tape templates and cut the decals to fit. This was quite a challenge due to the compound curves of the engine covers. Just a little touch up and it will be done. 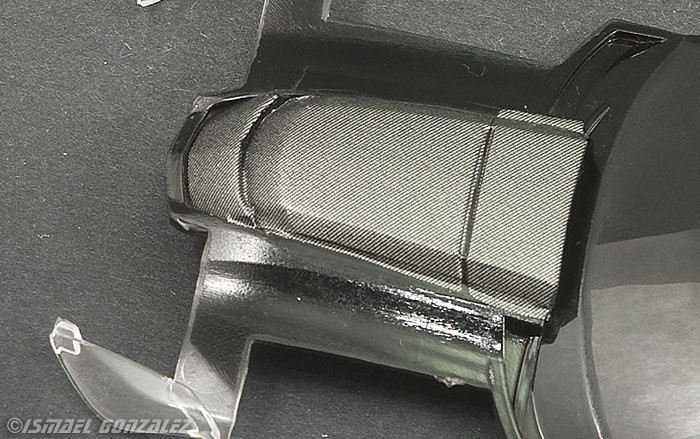 Thanks, Ismael |
|
|
|
Post by tatocorvette on Oct 20, 2020 16:17:31 GMT -8
Hello again, Glass installed and wheels mockup. 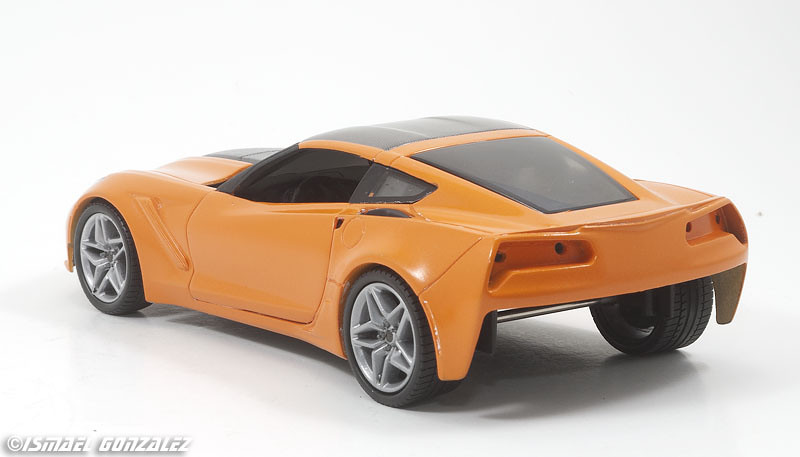 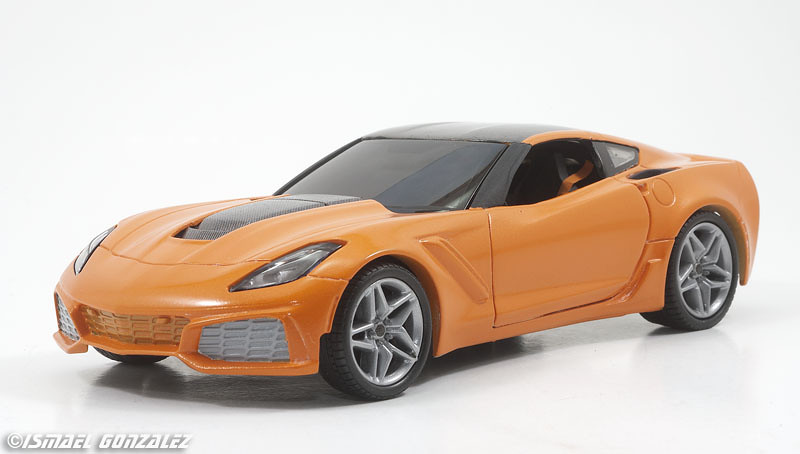 Thanks, Ismael |
|
|
|
Post by arcticwolf on Oct 20, 2020 18:01:05 GMT -8
Just a thought Ismael, but have you ever tried Krylon primer and paint on these metal nightmares? I've had some success with it (sometimes).
|
|
|
|
Post by Joel_W on Oct 21, 2020 5:38:19 GMT -8
Ismael,
No matter how bad the diecast is that you start with, you manage to turn it into one spectacular display piece. Great idea with the dark tinted windows as I'm sure that tip will come in handy for me down the road so I don't have to keep on banging my head against the wall on some of these really old kits I have in my stash. The Carbon Fiber decaling came out perfect. Way better then I could have done. Honestly, I don't even attempt that detailing both for the cost of the decals, and the skills needed to be successful. But I do have a few ideas that might work when I have no options but to create that CF look.
Joel
|
|
|
|
Post by tatocorvette on Oct 21, 2020 9:32:37 GMT -8
Thank you guys!
Wolf, it's been years since I tried Krylon. Not easy to find around here and can't be mailed. May try again if found.
Joel, Thanks my friend! That CF decal sheet is over 12 years old. I coated it with lacquer clear before even attempting to use it.
Thanks,
Ismael
|
|
|
|
Post by tatocorvette on Jan 23, 2021 7:20:35 GMT -8
Hello gang, After 4 months, look who's creeping back into the workbench! 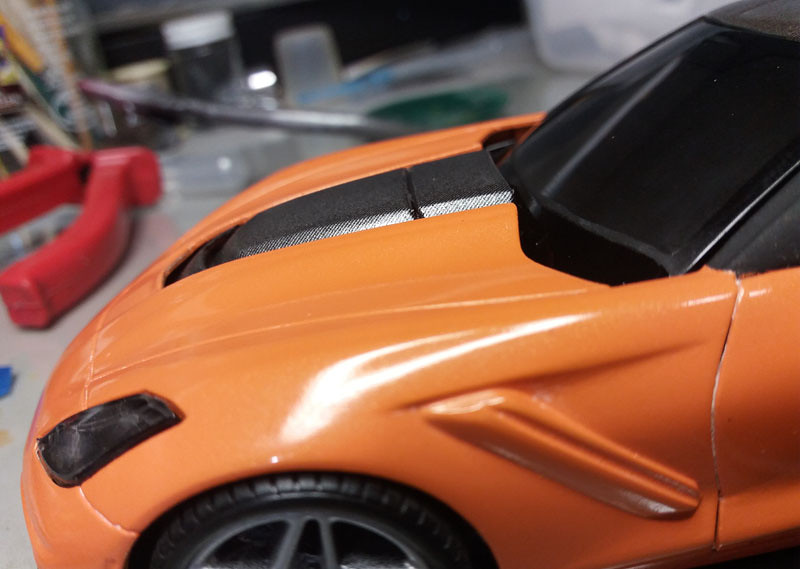 Thanks, Ismael |
|
|
|
Post by Joel_W on Jan 23, 2021 9:51:05 GMT -8
Nice to see the Vette once again making an appearance. But even more important is that you're back among us.
Joel
|
|
|
|
Post by tatocorvette on Jan 24, 2021 9:58:30 GMT -8
Hello, So that toy spoiler will not cut it as mentioned before. And I want the car with the lower downforce package for top speed. That means the less aggressive low wing. This was part of the reason why this project was put away months ago. So after several tries, I finally scratchbuilt by own. Based on pictures of the real thing, I did some "eyeballing engineering". The design was drawn in paper, then transferred to sheet styrene. Shaped and tweaked. Then painted and finally covered in carbon fiber decal. 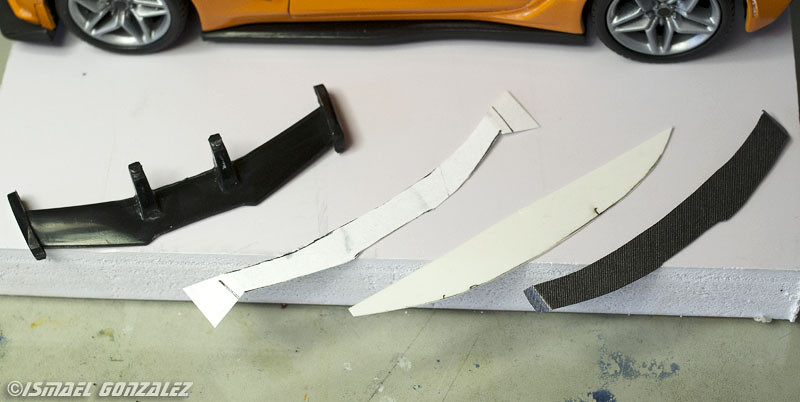 Now started working the supports 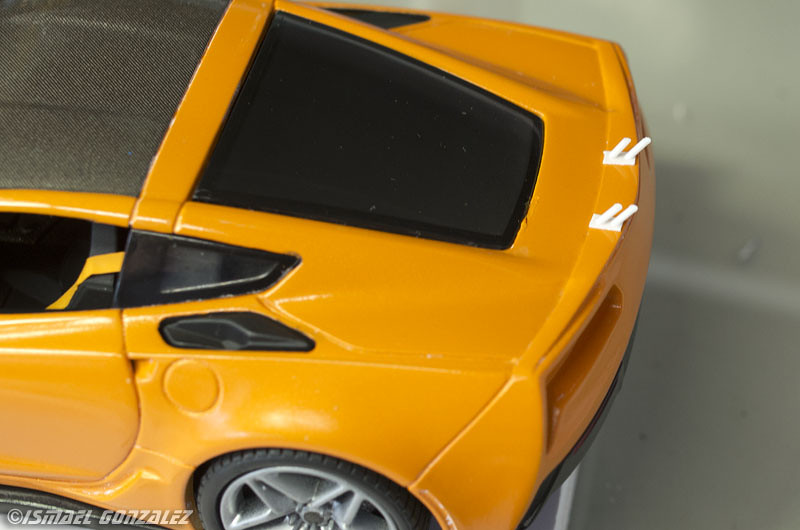 Without supports, just to check shape and width. 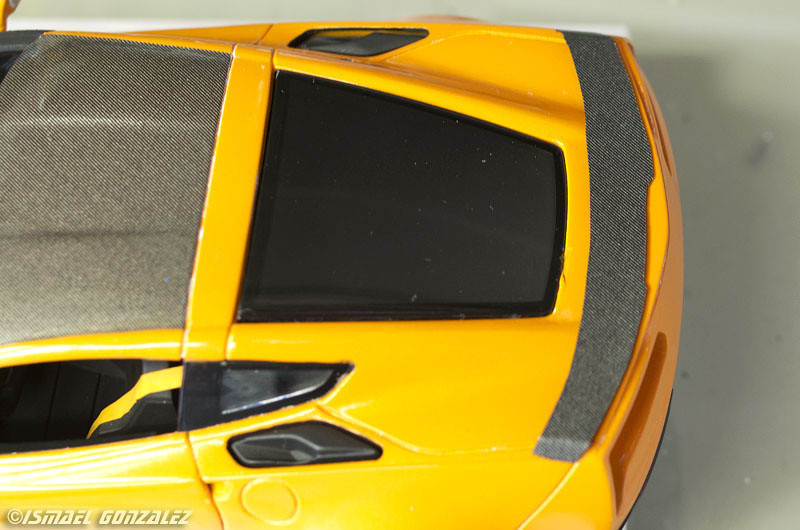 Don't wait for anybody. If you want something, you do it yourself. Thanks, |
|


