|
|
Post by Joel_W on May 20, 2021 11:15:16 GMT -8
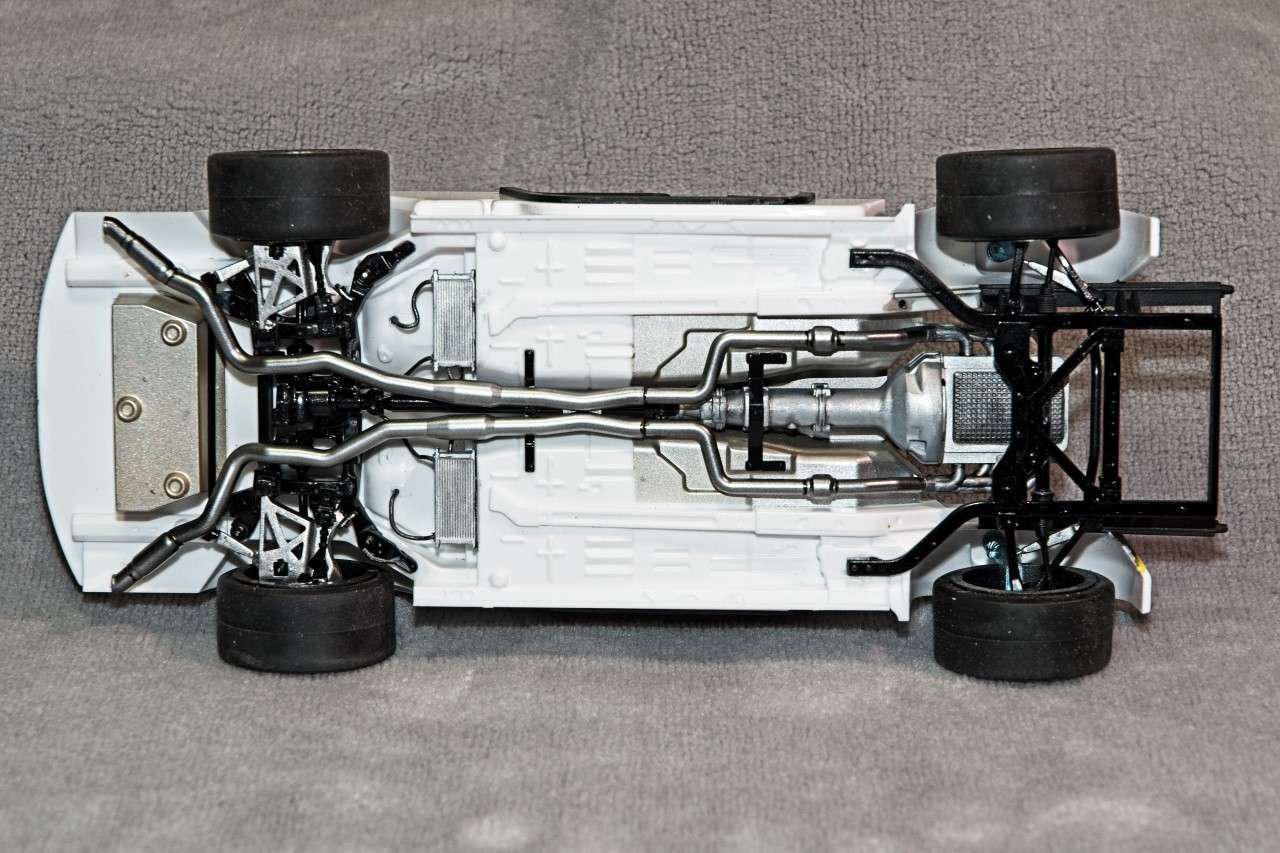
Nice underside! Do you know if that transmission represents a specific racing unit? It looks different. Thanks, Ismael Ismael, Welcome back. Ben's answer seems to be right if you ask me. And speaking of Ben, I've been driving myself nuts trying to paint those rear light lenses Clear Red with Black framing. I've painted them twice so far, and stripped them just as quickly. How did you go about painting them? I'm really completely lost on a decent way to accomplish the job. joel |
|
|
|
Post by Ben_B on May 20, 2021 13:05:52 GMT -8
Yeah, those lights were the only really frustrating part of the build. I think I stripped mine at least three times. I ended up painting the backs of them Tamiya clear red. I airbrushed the entire outside of each light Tamiya gloss black. You can barely see the outlines where the red is supposed to show through, and I used a toothpick to scrape the paint off there. Tedious, but it worked. The shape of the lights makes them impossible to mask. I like to use acrylics for work like that, because it’s easy to go back and start over when I screw up. Windex does a great job of stripping Tamiya paint.
Ben
|
|
|
|
Post by Joel_W on May 21, 2021 4:44:13 GMT -8
Ben,
Thanks for your input. Last night I did strip #2 as I was in a full Anti Tamiya "cuss" session. For a kit that's over engineered to the point of the exhaust twin pair of exhaust pipe tips being two pcs when one would have been so much easier to deal with as they're chromed, those two rear end lights are the exact opposite. They should have been two pcs, the clear lens and the black frame. We most likely wouldn't have to do any painting, but Tamiya decided to make this their special little gift of frustration as the rest of the build just fell together in a super logical manner.
I feel a whole lot better that you were still one strip job ahead of me, and that my next attempt was pretty close to what worked for you. I was going Tamiya Clear Red air brushed not hand painted this time as it ends up way to thick and sort of soft forever, or at least as long as I was willing to wait. Then a final quick AB coat of Silver as the black trunk area makes the Red way to darkish. I was going to hand paint the black frame with either Ammo/Mig or Tamiya but go flat not semi gloss for the best paint grip possible. then toothpick the edges.
With my eyesight I've had a nearly impossible time trying to figure out just where the demarcation line is between the black frame and the lens.
joel
|
|
|
|
Post by tatocorvette on May 21, 2021 4:46:45 GMT -8
Have you tried a black Sharpie? I use it on clear parts edges.
Thanks,
Ismael
|
|
|
|
Post by Joel_W on May 22, 2021 7:52:45 GMT -8
Ismael,
As a matter of fact, I just tried a Black marker after paint job #3, but it had a weird Redish sheen to it, so I scrapped it off and went with the smallest paint brush I have and Ammo by Mig Mat Black. 1st side came out darn good, now to try and get the other side that good or close to it. Just glad to move on from this part already.
joel
|
|
|
|
Post by Chris K. Hale on May 22, 2021 9:40:16 GMT -8
Joel, Sharpies can be removed with Alcohol pads, my wife uses them for her Diabetes tester and I tried them with great success, beats scrapping it off on nice paint.. Chris
|
|
|
|
Post by Joel_W on May 22, 2021 13:05:44 GMT -8
Chris,
Thanks for the tip, it's greatly appreciated.
joel
|
|
|
|
Post by Joel_W on May 24, 2021 12:43:51 GMT -8
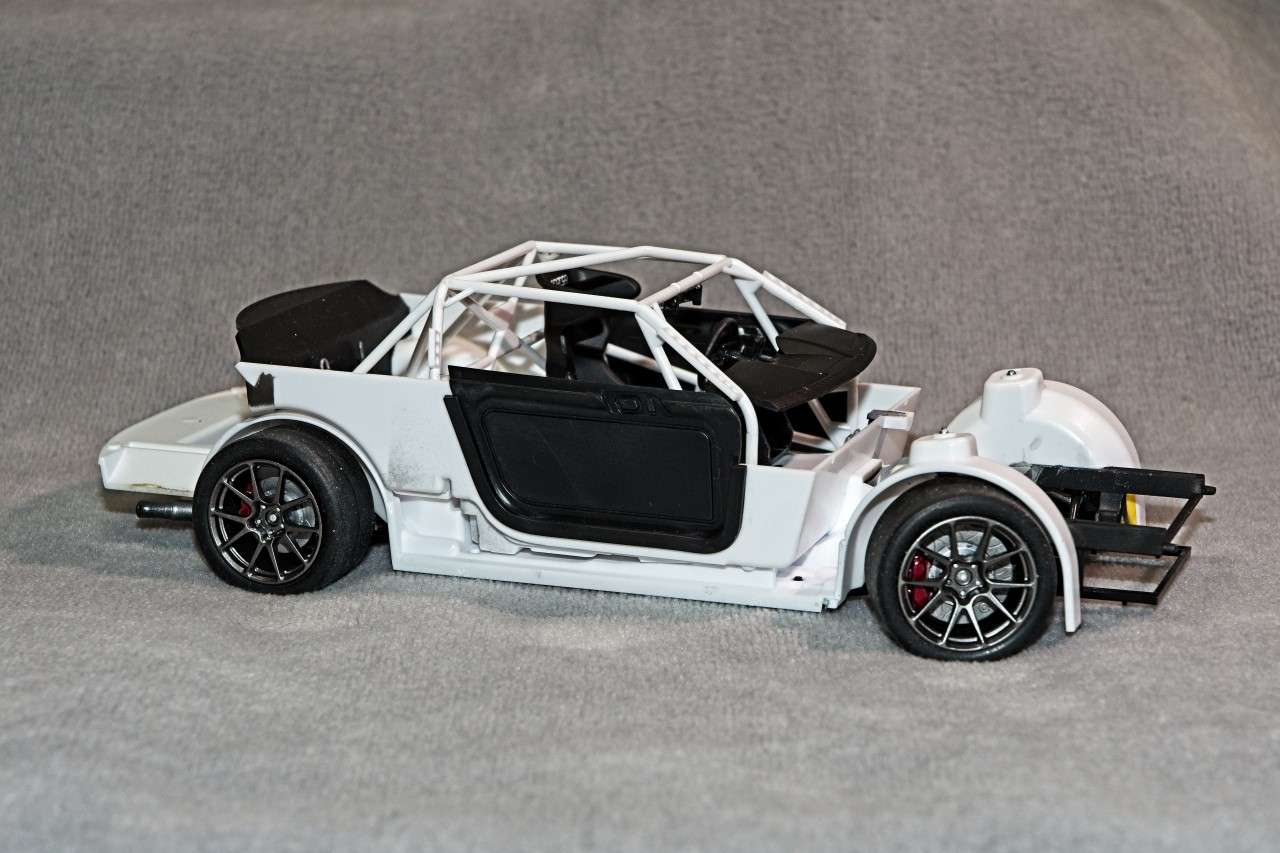
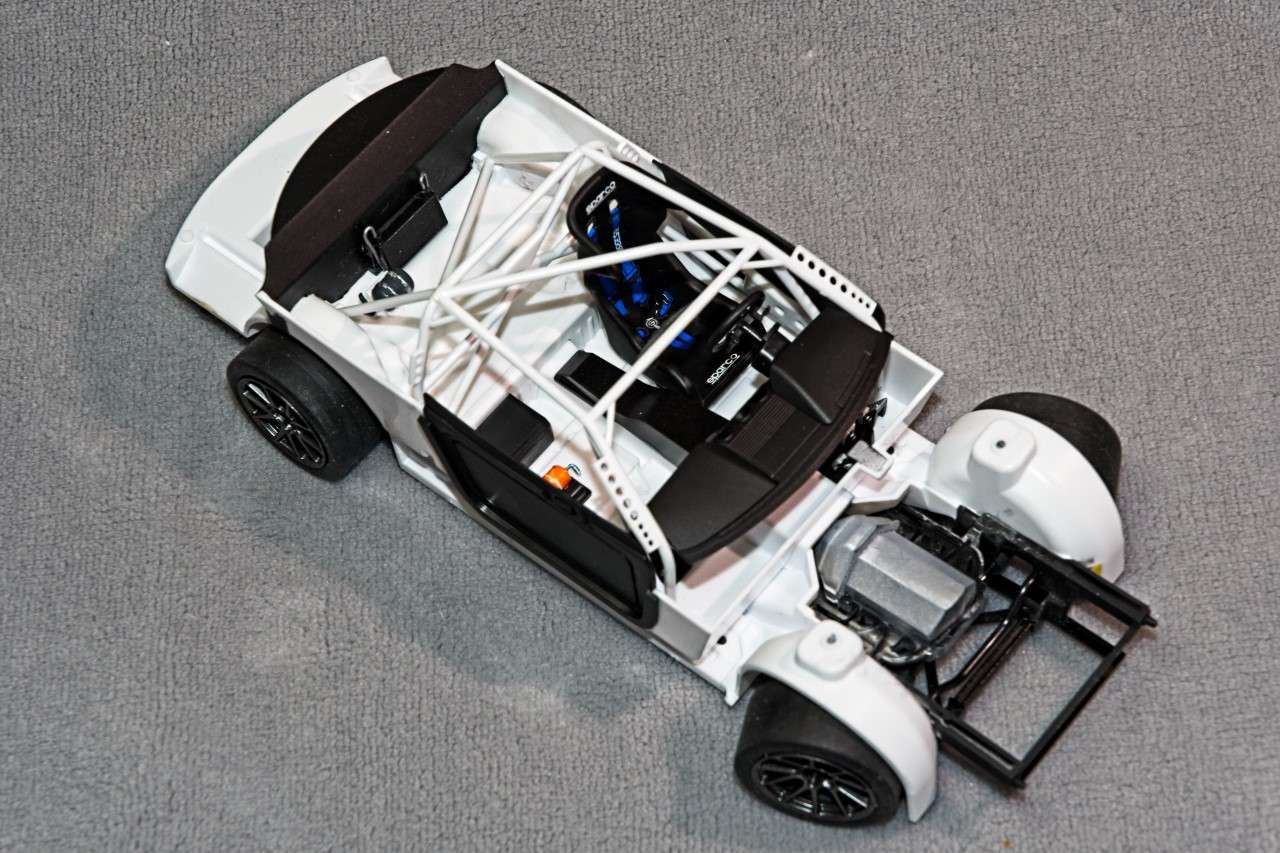
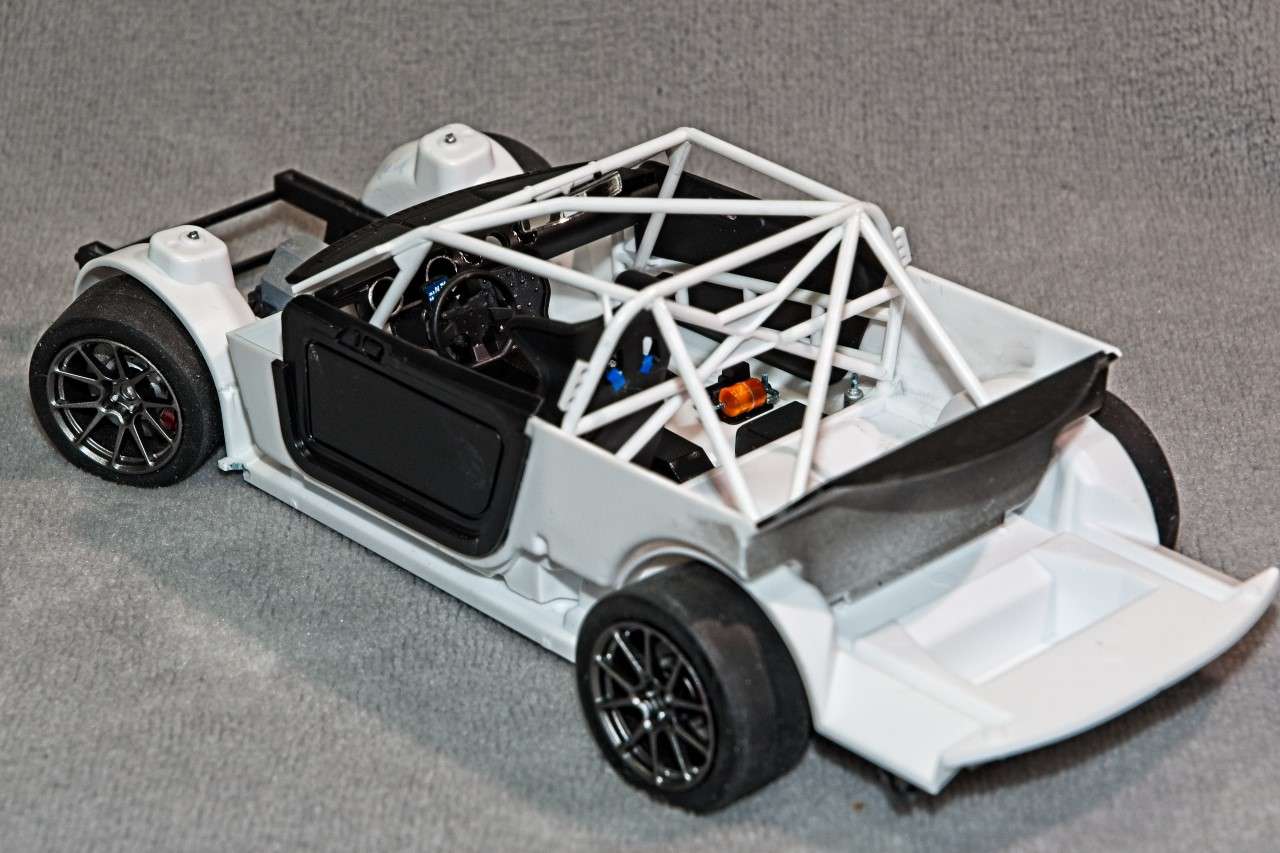
After another week of work, I finally finished the chassis with the addition of the tires & wheels. The alloy wheels were painted Tamiya Gun Metal which is a pretty close match to how they look in real life. the tires were sanded to give the the treadless surface a worn look, but leave the centerline molding seam as I’ve seen it that way in real life. One decision I seem to make on nearly all my builds is to paint the brake calibers Gloss Red as they add just that little bit of color that is really needed with the the brakes being just several different shades of Metallic Alloys. The only things missing is the tire company logos which should be Continental which I found on a Powerslide sheet and ordered, but am still waiting for them. They’re 1/25 scale, so I hope that they look ok as the model is 1/24 scale.  Next up I painted all the interior parts that should be Carbon Fiber either Tamiya Nato Black or Mr. Color Dark German Gray. I decided to use the kit decals for the 5 way seat harness as a kind of experiment, and I do like the basic look. Bits and pieces were added to busy up the interior, then the roll cage was added. Perfect engineering by Tamiya as it literally fell together. Actually, everything piece for the interior fit perfectly.   And finally another shot of the bottom of the chassis with the wheels/tires added.  joel |
|
|
|
Post by Ben_B on May 24, 2021 13:06:46 GMT -8
Looks great, Joel!
Ben
|
|
|
|
Post by sylphide on May 24, 2021 15:22:11 GMT -8
Looking really good, love the exhaust coloring.
|
|
|
|
Post by Joel_W on May 25, 2021 5:02:32 GMT -8
Ben & Rookie,
Thanks guys for stopping by and checking out my build to date. So glad that you like my progress to date.
Hopefully, I should cross the finish line later this week and have another one in the books.
joel
|
|
|
|
Post by arcticwolf on May 25, 2021 9:23:28 GMT -8
That's quite the roll cage!
|
|
|
|
Post by Joel_W on May 25, 2021 9:58:26 GMT -8
Paul,
That's for sure, and with Tamiya engineering, it went together perfectly without a single issue.
joel
|
|
|
|
Post by Joel_W on May 28, 2021 10:04:16 GMT -8
|
|
|
|
Post by tatocorvette on May 28, 2021 12:12:19 GMT -8
Joel,
That looks great even without the tire decals! It has the right look and stance of a track warrior.
Thanks,
Ismael
|
|