Post by Joel_W on Apr 28, 2021 5:45:59 GMT -8
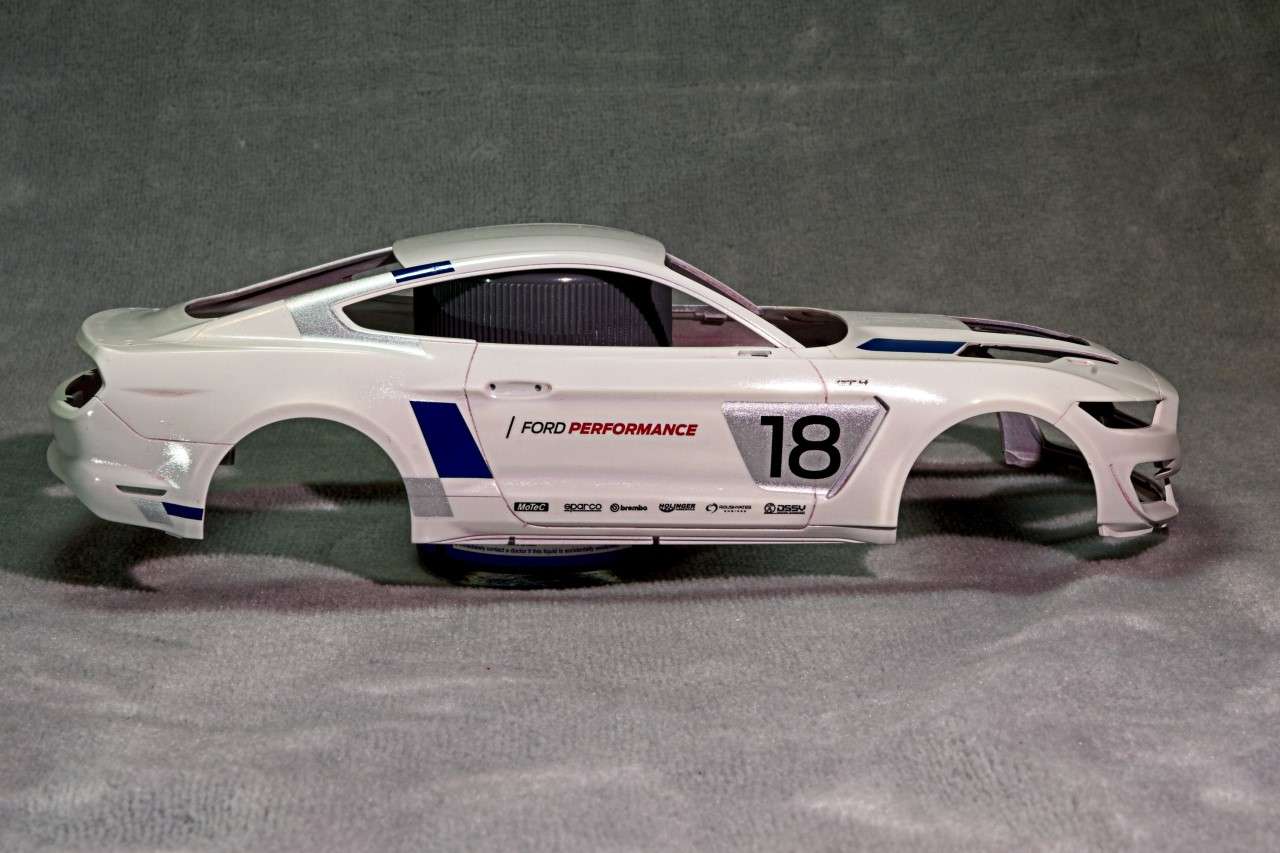
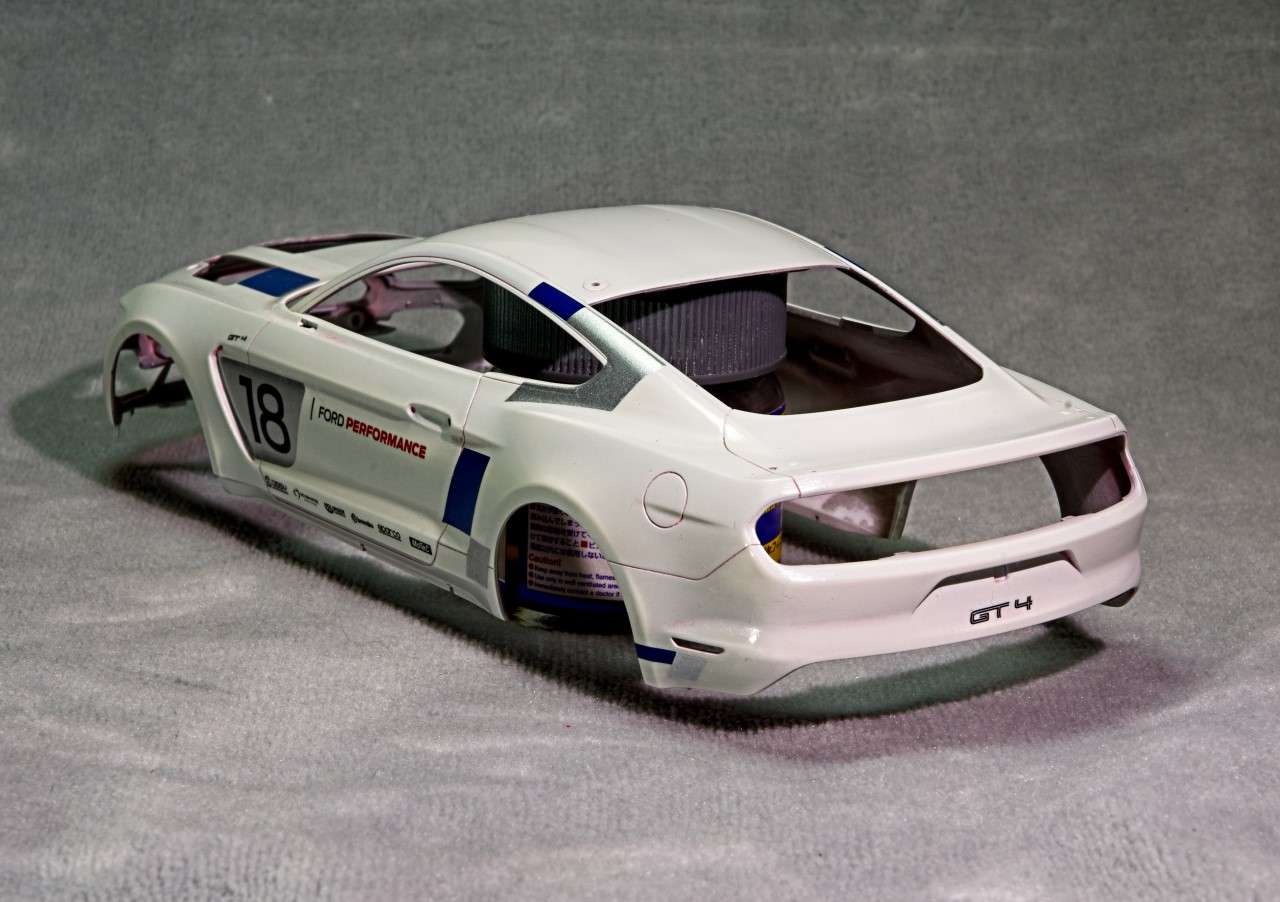
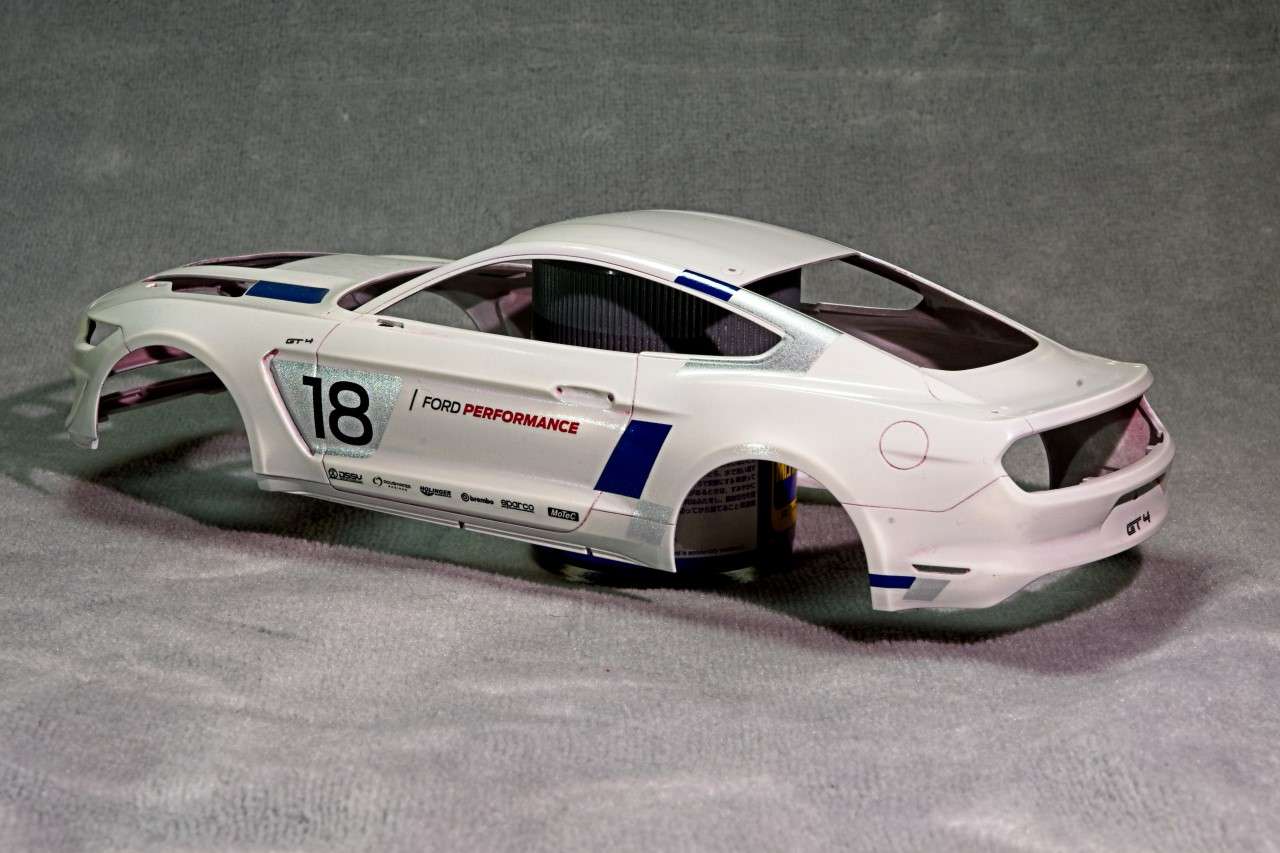
In my other auto modeling group, where heavy into Group builds, and the April to October GB has the theme of "The Heart of the Beast" the car, car manufacture, logo plate, or model has to be a Animal, which leaves a huge multitude of options for the members to choose from. Eventually I decided to go with the Tamiya 1/24 scale Ford Mustang GT4 car, which follows the current Asian trend: a curbside on Steroids. And honestly, unless I was going for a full blownout engine compartment and suspension, these type of kits are right up my alley since my main focus for quite some time is for a display model rather then a club or contest model.
Just as a little history on the car itself which is a little confusing if you ask me. It was jointly designed and engineered by the Ford Performance Div. and Multimatic Motorsports, with the inspiration coming from the current Ford Shelby GT350R-C GT4 car. The goal was to design and build a ready to race competitive GT4 race car right out of the box, that would race in the IMSA Continental GT4 Sportscar Challenge, as well as the Pirelli World Challenge GTS/GT4 series, both of which are North American based, as well as being legal for the multitude of European GT4 series.
Ford already had the 2015 GT350R-C Mustang racing in the GT4 IMSA categories, but for 2016 released the Ford Mustang GT4 in a full race version for $100,000+, (unfortunately, I still can't afford a proper competitive GT4 car), so you just go racing as it's already maxed out for both IMSA classes. Even the infamous weekend warriors reported just how easy it is to drive competitively.
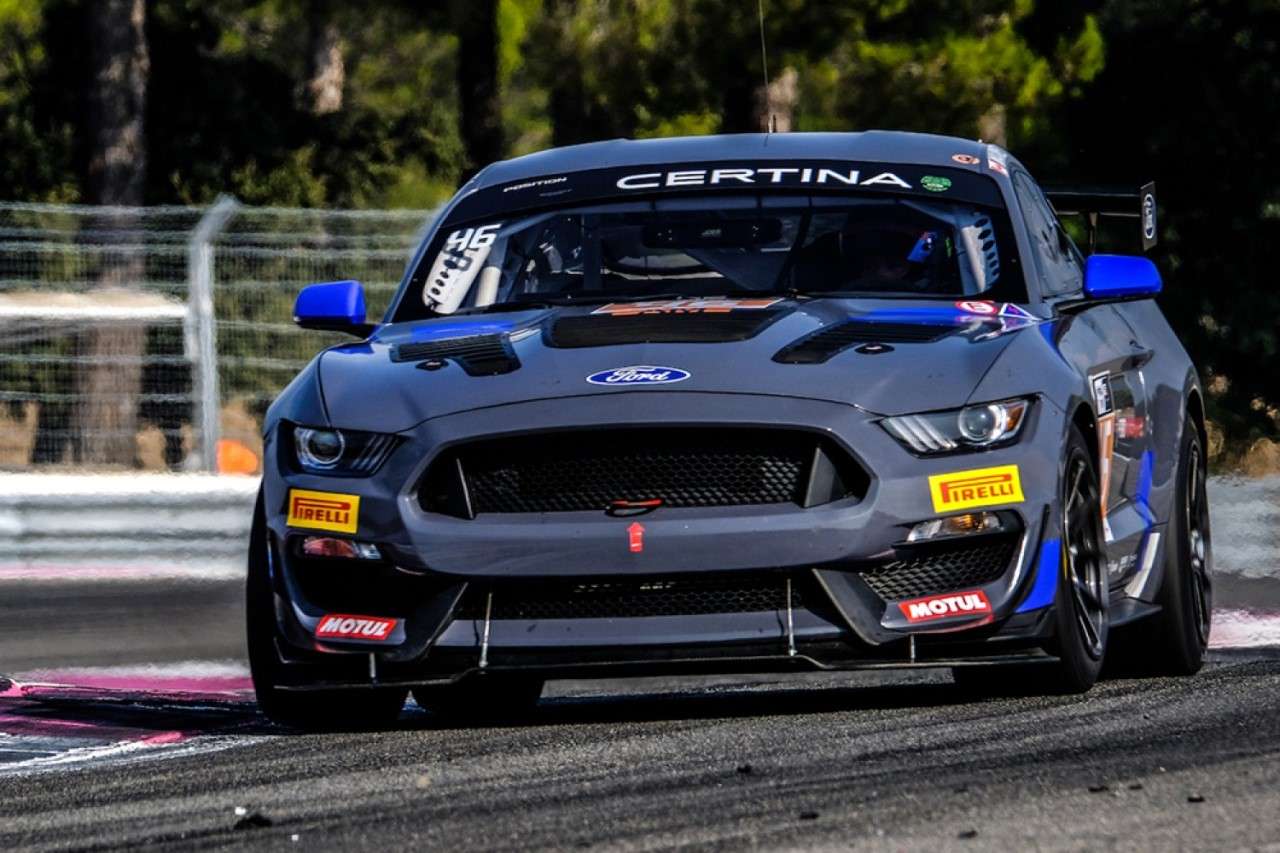
Tamiya produced a kit of the 2016 Multimatic Motorsports two team cars; one was painted gray and the other painted in white.
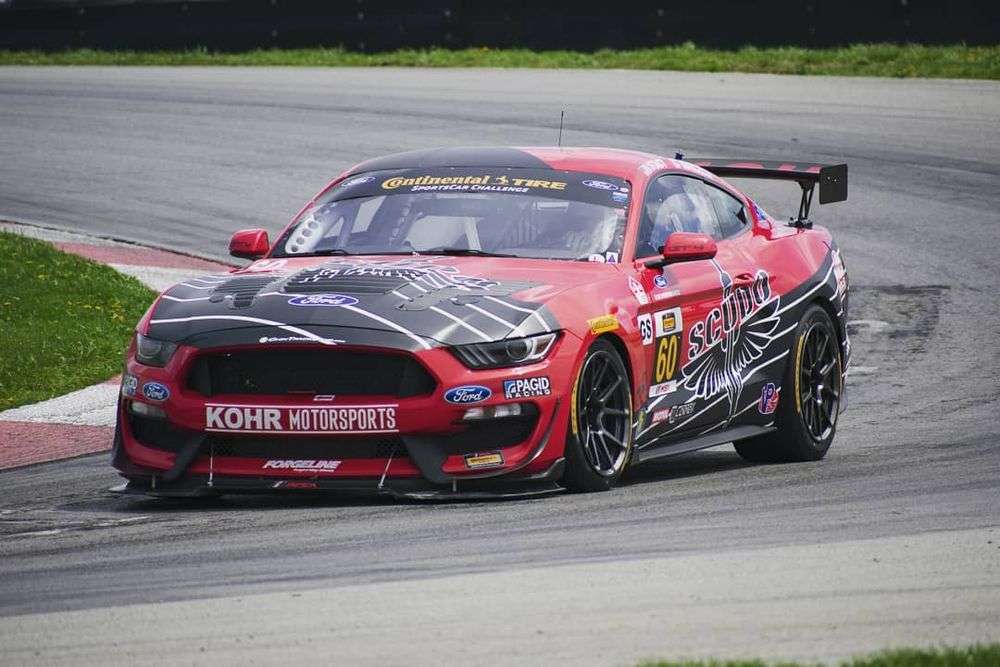
Originally, I was going to go with the 2016 Kohr Motorsports Scudo Mustang with the decals from Indy Cal, but more on that in a bit.
As my usual practice I started with the body assembly right through primer, paint, decaling, polish, & Wax.
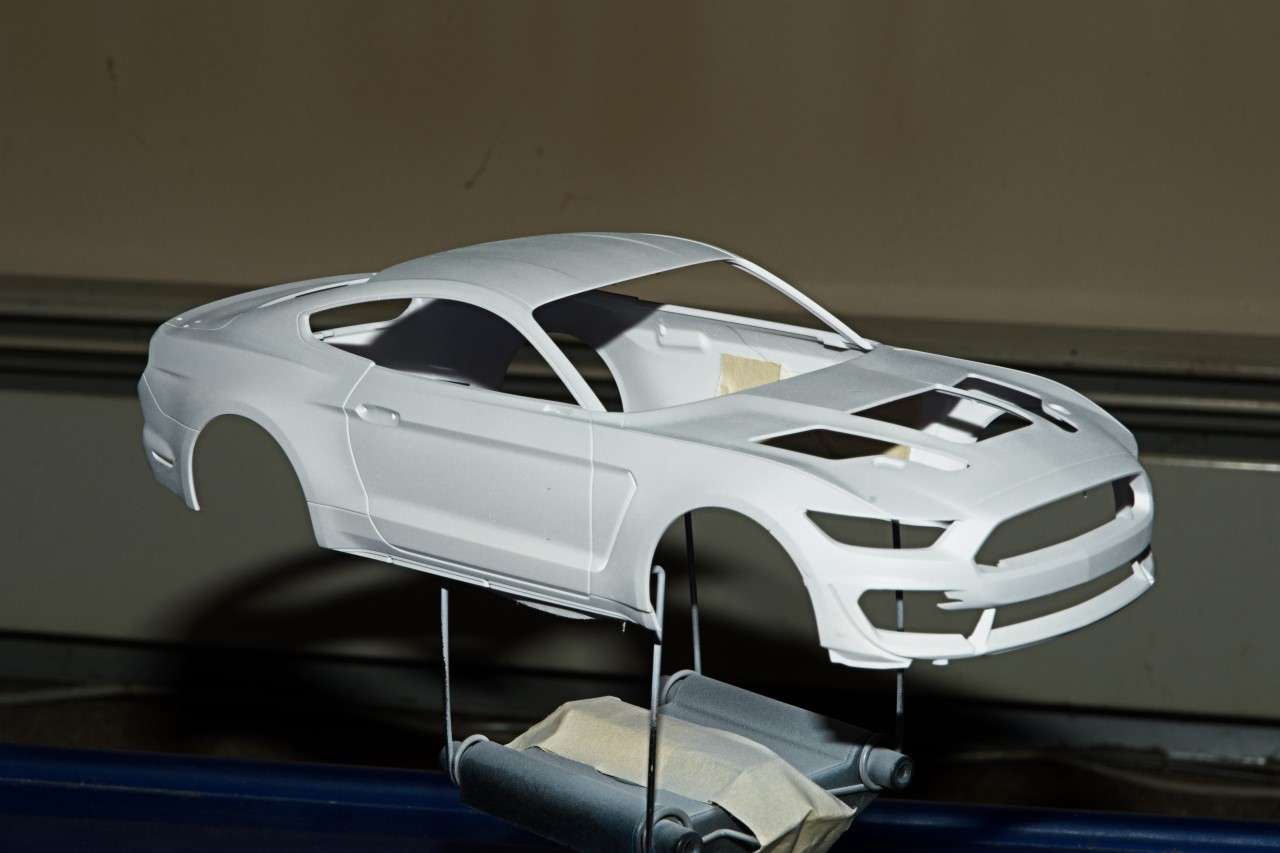
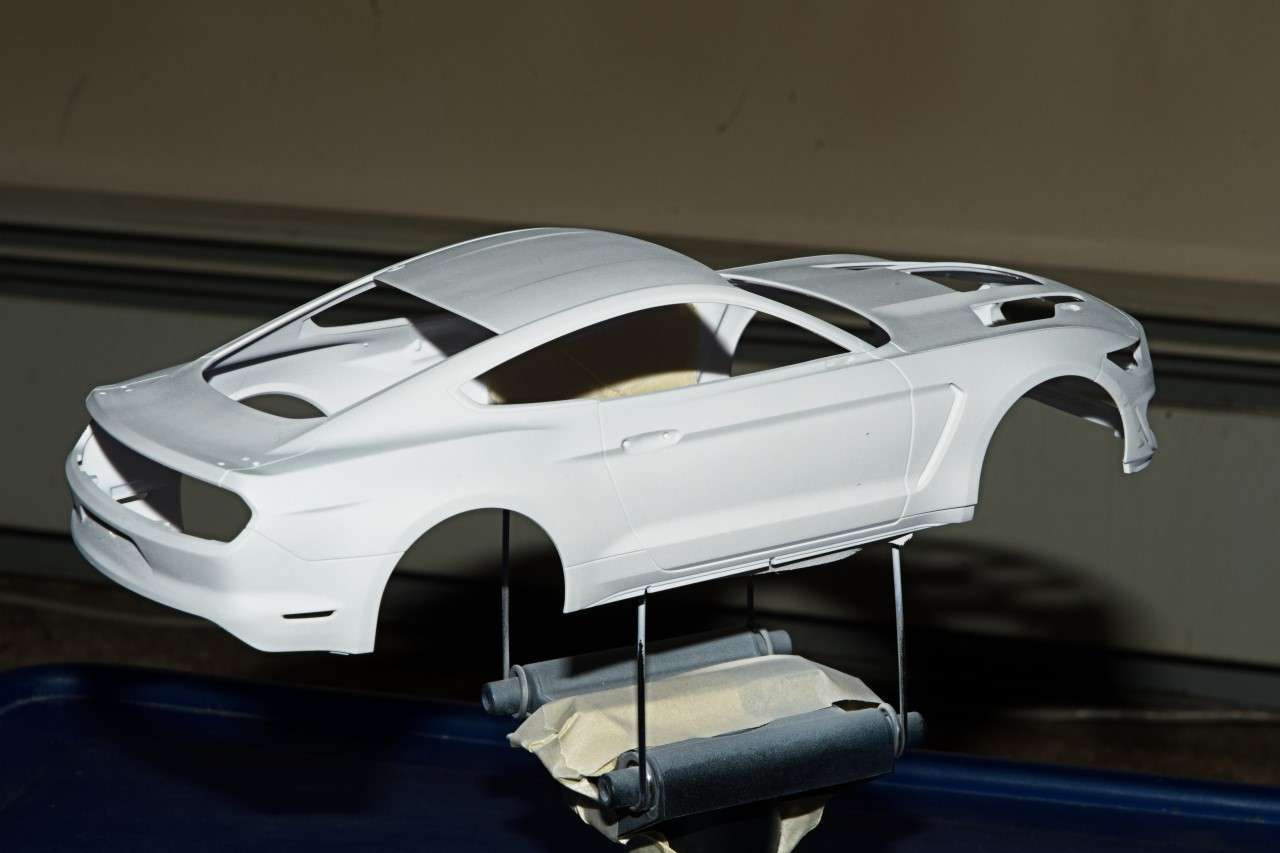
Once the body was ready for primer, which is still my own blend of Tamiya Gray & white lacquer primer fill cut 50/50 with Mr. Thinner's Leveler 400 thinner. I gave that a full day to cure, then a very light sanding with a Tamiya #3000 sponge, and it was color time.
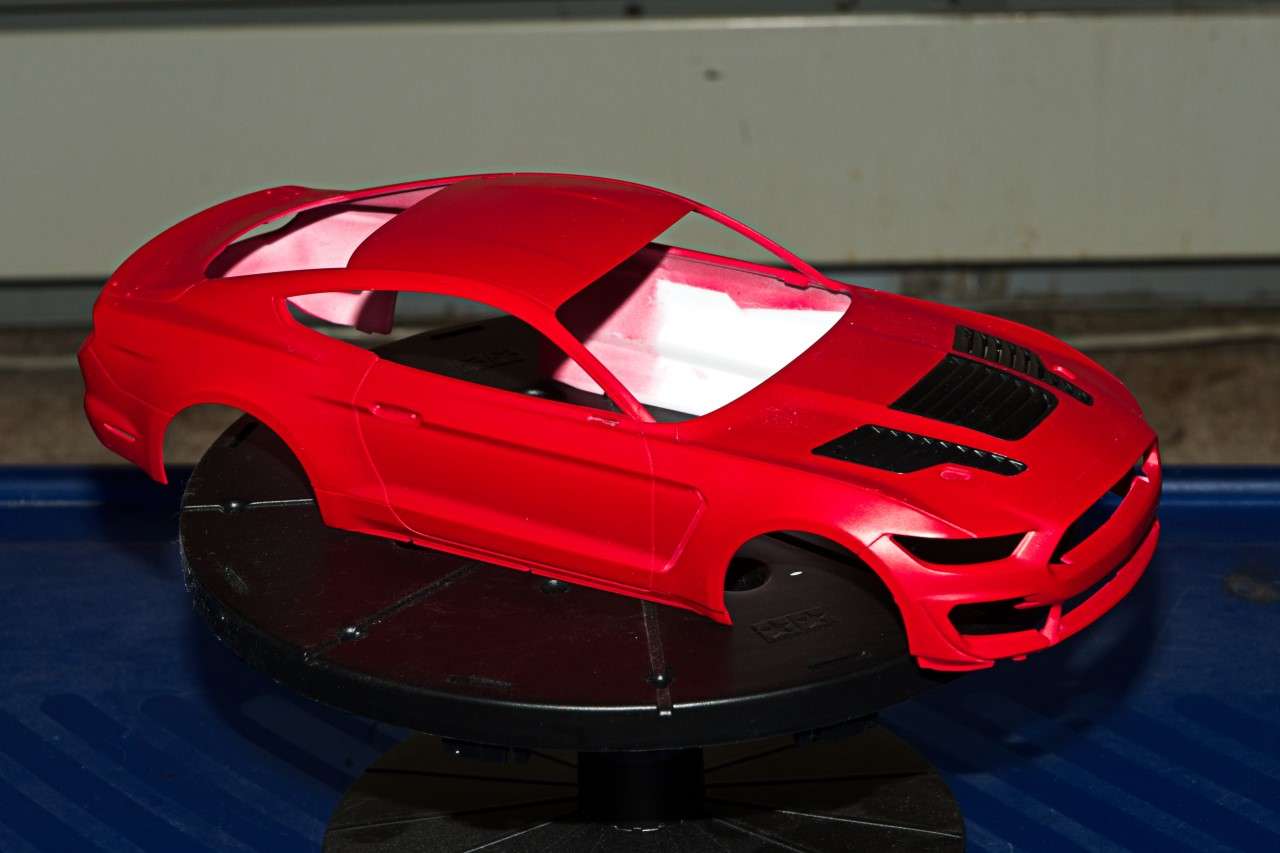
I switched from Gravity to ScaleFinishes for all new colors as well as their super Gloss. I must have a min of 6-9 different shades of Red from Gravity, but sitll wanted to try the Scale finishes Ford Racing Red lacquer paint that's also pre-thinned. It went on smooth as silk.

Gave the body a good 2 days to cure, then I polished the body with Micro Mesh 6,000, 8,000, & finally 12,000. Now it's decal time.

I've been using Indy Cal's decals for several years having gone from their Alps printers to their current printer system, making slight adjustments along the way. The quality of the print seemed better, but the decal sheet seemed to be more "stretchy" if that makes any sense. The decal sheet is in reality one giant decal, so you have to cut out each decal which can be very time consuming and tricky at times. I've also had issues with trying to cut out clear sections of their decals while they're still wet as they just stretch, but don't cut as many other decal manufactures decals do.
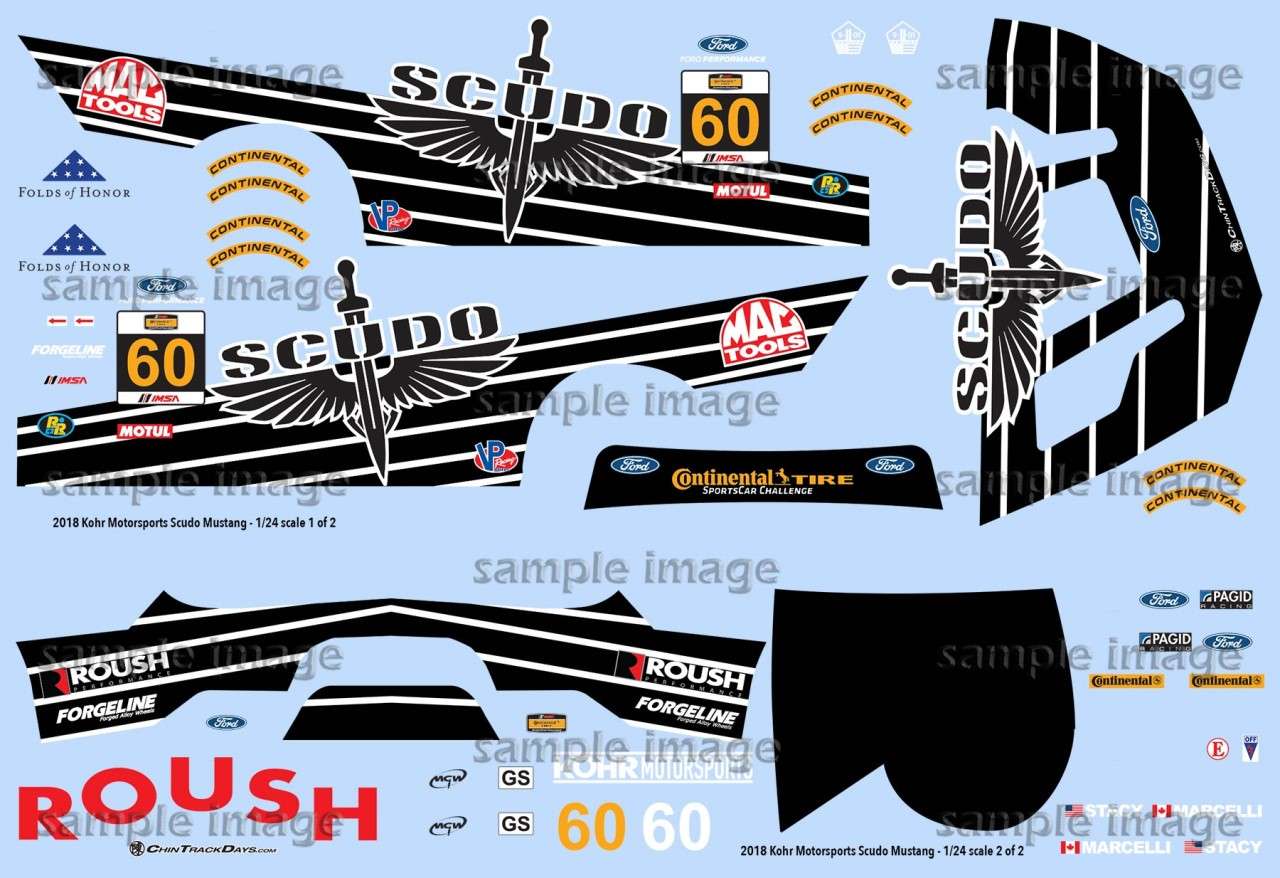
The decal I started with is the what I considered the hardest decal to apply, the hood decal with the sword. Since the sword will be over several louvers of the center vent, I installed all three hood vents before decaling which was a huge mistake on my part. I spent more then 45 min very carefully cutting away all the clear decal film for the vents, and planned on just laying down the sword over the center vent and when dry coming back cutting and slicing it one grill louver at a time. Unfortunately, the decal just wouldn't align properly with the spacing for the two side vents no matter what I tried while trying to keep the decal aligned on the top and left hand side using the hood lines as a guide. The issue after thinking aobut this for some time is that the decal just stretched out of shape, which is a something that I just didn't plan for. The decal was ruined, and needless to say I was kind of PO'd at myself. At this point I just threw in the towel as it wasn't working for me. I could have contacted Michael at Indy Cals, and he would have sent me a replacement decal via his Oops policy, but for the time being I decided not to as Michael just answered my email questions about the Orange color on the Gull GT40 Wyler cars. and sent me masks for painting them instead free of charge.
So once again I changed gears, and stripped the body down to bare plastic, and now reprimed.
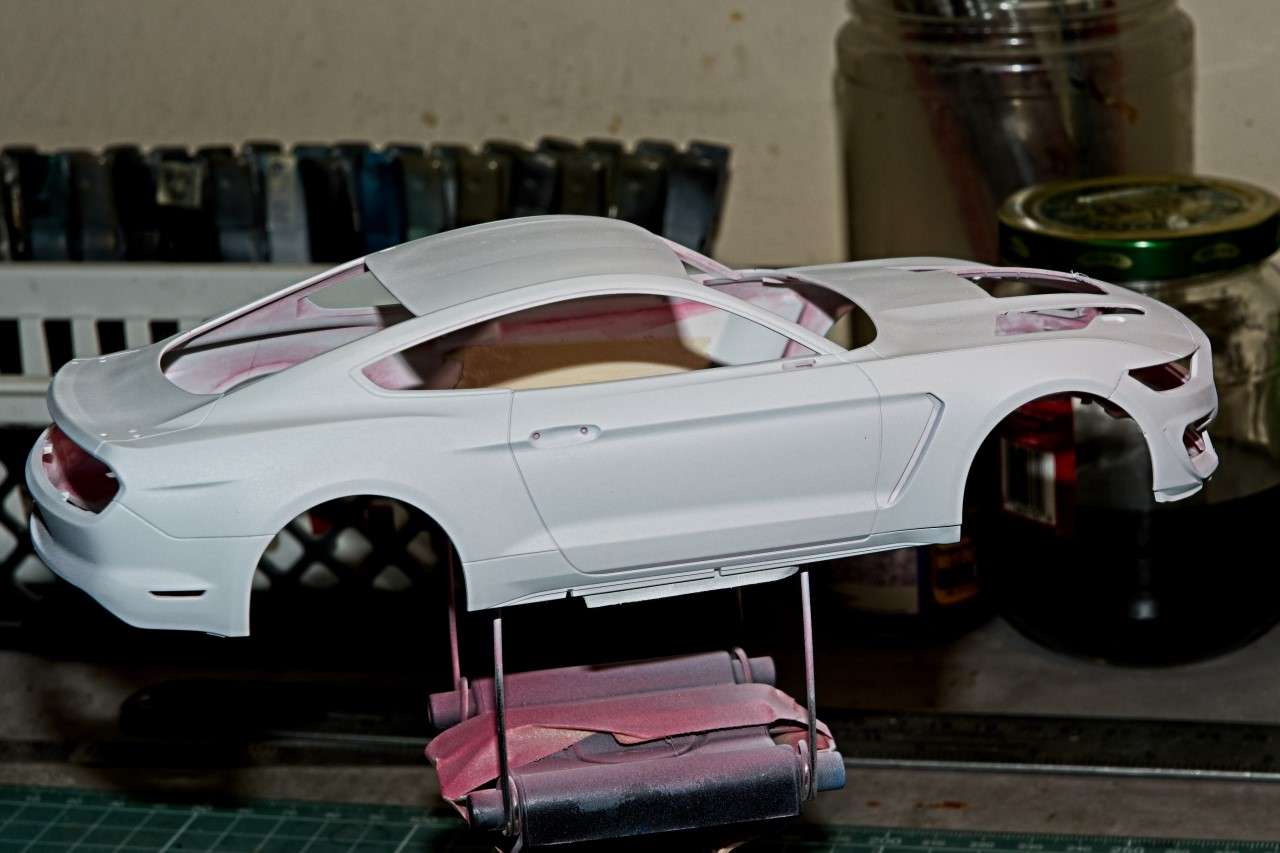
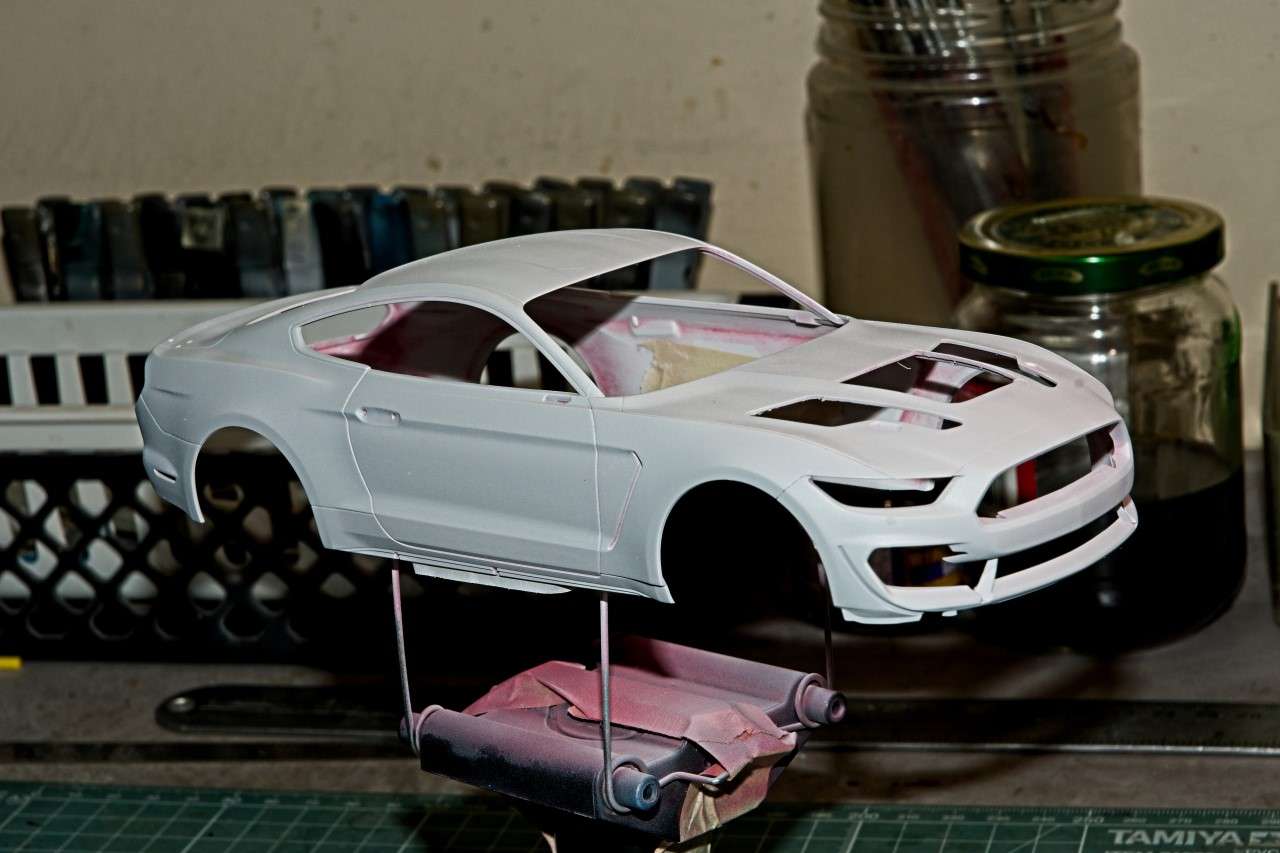
Instead I've opted to go with the Ford Dark Lead Foot Gray from Gravity Multimatic body car which is one of the two schemes offered by Tamiya. Hopefully, the Tamiya decals aren't to thick so I can deal with that issue.
joel
Just as a little history on the car itself which is a little confusing if you ask me. It was jointly designed and engineered by the Ford Performance Div. and Multimatic Motorsports, with the inspiration coming from the current Ford Shelby GT350R-C GT4 car. The goal was to design and build a ready to race competitive GT4 race car right out of the box, that would race in the IMSA Continental GT4 Sportscar Challenge, as well as the Pirelli World Challenge GTS/GT4 series, both of which are North American based, as well as being legal for the multitude of European GT4 series.
Ford already had the 2015 GT350R-C Mustang racing in the GT4 IMSA categories, but for 2016 released the Ford Mustang GT4 in a full race version for $100,000+, (unfortunately, I still can't afford a proper competitive GT4 car), so you just go racing as it's already maxed out for both IMSA classes. Even the infamous weekend warriors reported just how easy it is to drive competitively.

Tamiya produced a kit of the 2016 Multimatic Motorsports two team cars; one was painted gray and the other painted in white.
Originally, I was going to go with the 2016 Kohr Motorsports Scudo Mustang with the decals from Indy Cal, but more on that in a bit.

As my usual practice I started with the body assembly right through primer, paint, decaling, polish, & Wax.
Once the body was ready for primer, which is still my own blend of Tamiya Gray & white lacquer primer fill cut 50/50 with Mr. Thinner's Leveler 400 thinner. I gave that a full day to cure, then a very light sanding with a Tamiya #3000 sponge, and it was color time.


I switched from Gravity to ScaleFinishes for all new colors as well as their super Gloss. I must have a min of 6-9 different shades of Red from Gravity, but sitll wanted to try the Scale finishes Ford Racing Red lacquer paint that's also pre-thinned. It went on smooth as silk.

Gave the body a good 2 days to cure, then I polished the body with Micro Mesh 6,000, 8,000, & finally 12,000. Now it's decal time.


I've been using Indy Cal's decals for several years having gone from their Alps printers to their current printer system, making slight adjustments along the way. The quality of the print seemed better, but the decal sheet seemed to be more "stretchy" if that makes any sense. The decal sheet is in reality one giant decal, so you have to cut out each decal which can be very time consuming and tricky at times. I've also had issues with trying to cut out clear sections of their decals while they're still wet as they just stretch, but don't cut as many other decal manufactures decals do.

The decal I started with is the what I considered the hardest decal to apply, the hood decal with the sword. Since the sword will be over several louvers of the center vent, I installed all three hood vents before decaling which was a huge mistake on my part. I spent more then 45 min very carefully cutting away all the clear decal film for the vents, and planned on just laying down the sword over the center vent and when dry coming back cutting and slicing it one grill louver at a time. Unfortunately, the decal just wouldn't align properly with the spacing for the two side vents no matter what I tried while trying to keep the decal aligned on the top and left hand side using the hood lines as a guide. The issue after thinking aobut this for some time is that the decal just stretched out of shape, which is a something that I just didn't plan for. The decal was ruined, and needless to say I was kind of PO'd at myself. At this point I just threw in the towel as it wasn't working for me. I could have contacted Michael at Indy Cals, and he would have sent me a replacement decal via his Oops policy, but for the time being I decided not to as Michael just answered my email questions about the Orange color on the Gull GT40 Wyler cars. and sent me masks for painting them instead free of charge.
So once again I changed gears, and stripped the body down to bare plastic, and now reprimed.


Instead I've opted to go with the Ford Dark Lead Foot Gray from Gravity Multimatic body car which is one of the two schemes offered by Tamiya. Hopefully, the Tamiya decals aren't to thick so I can deal with that issue.
joel


