Post by Joel_W on Nov 5, 2018 9:56:46 GMT -8
Well, another week and time for my next update on the 330 P4.
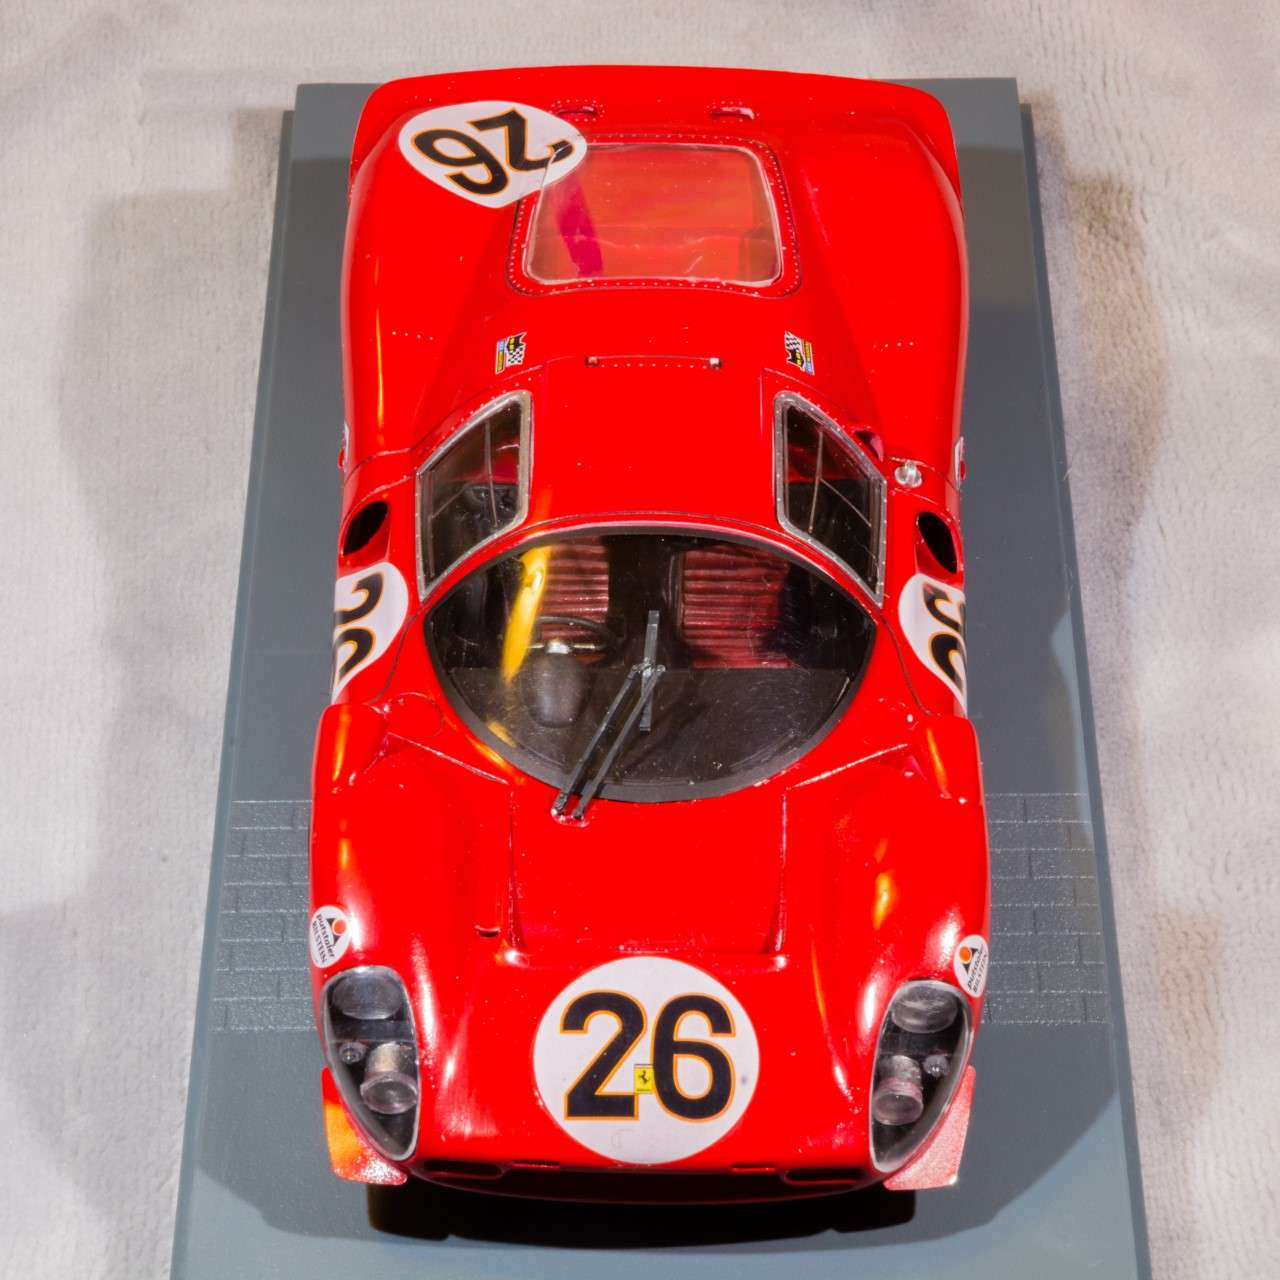
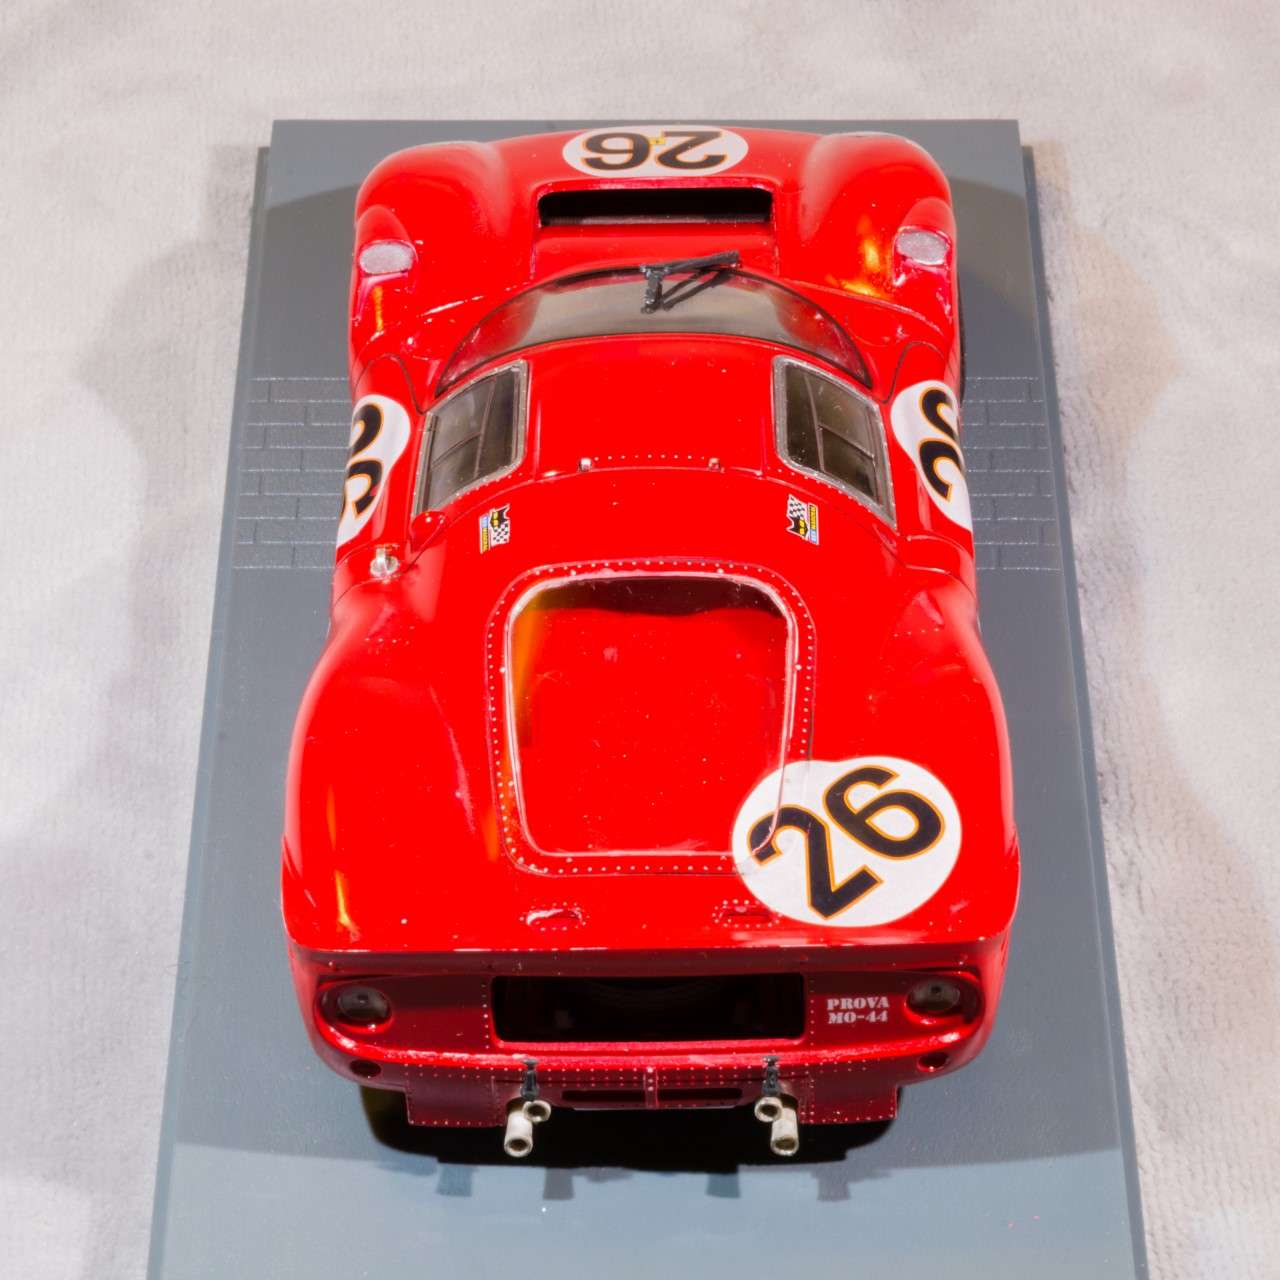
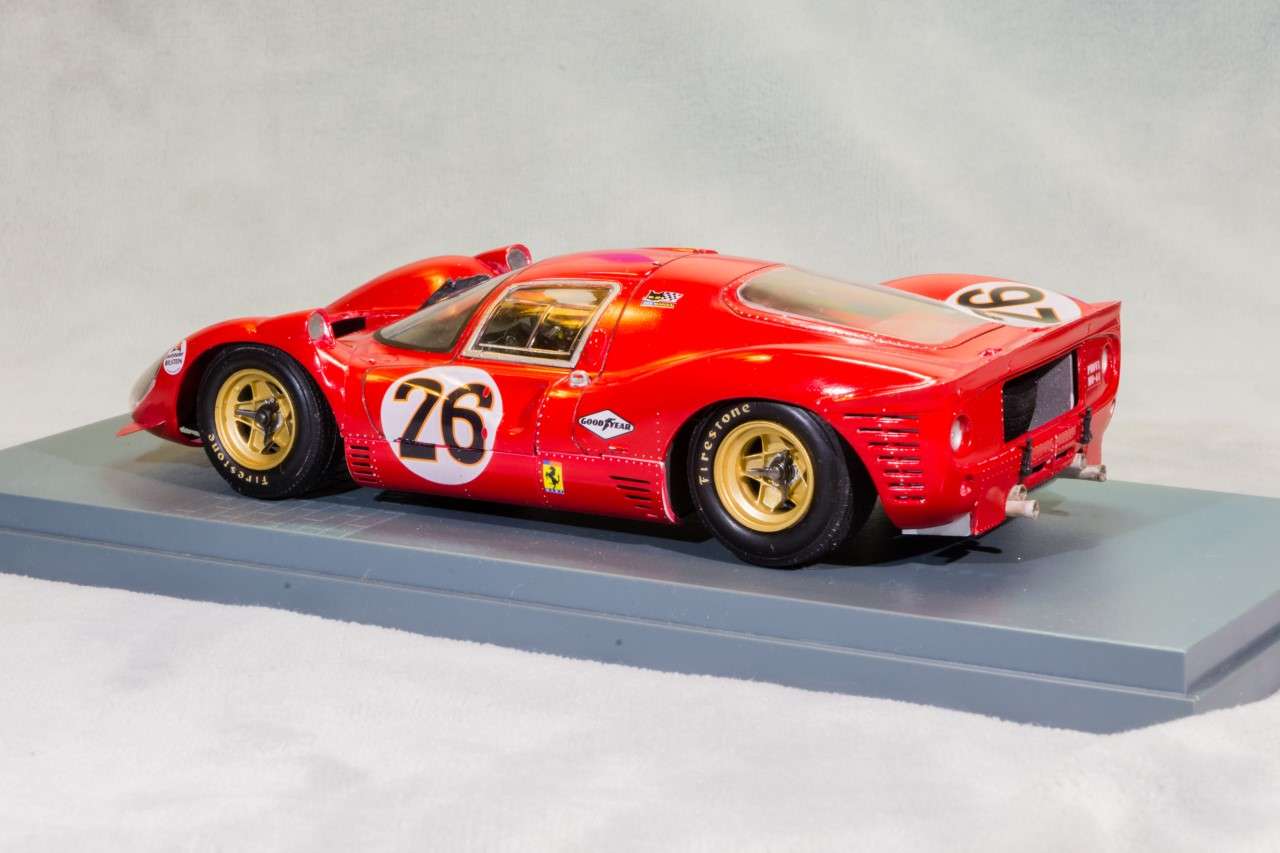
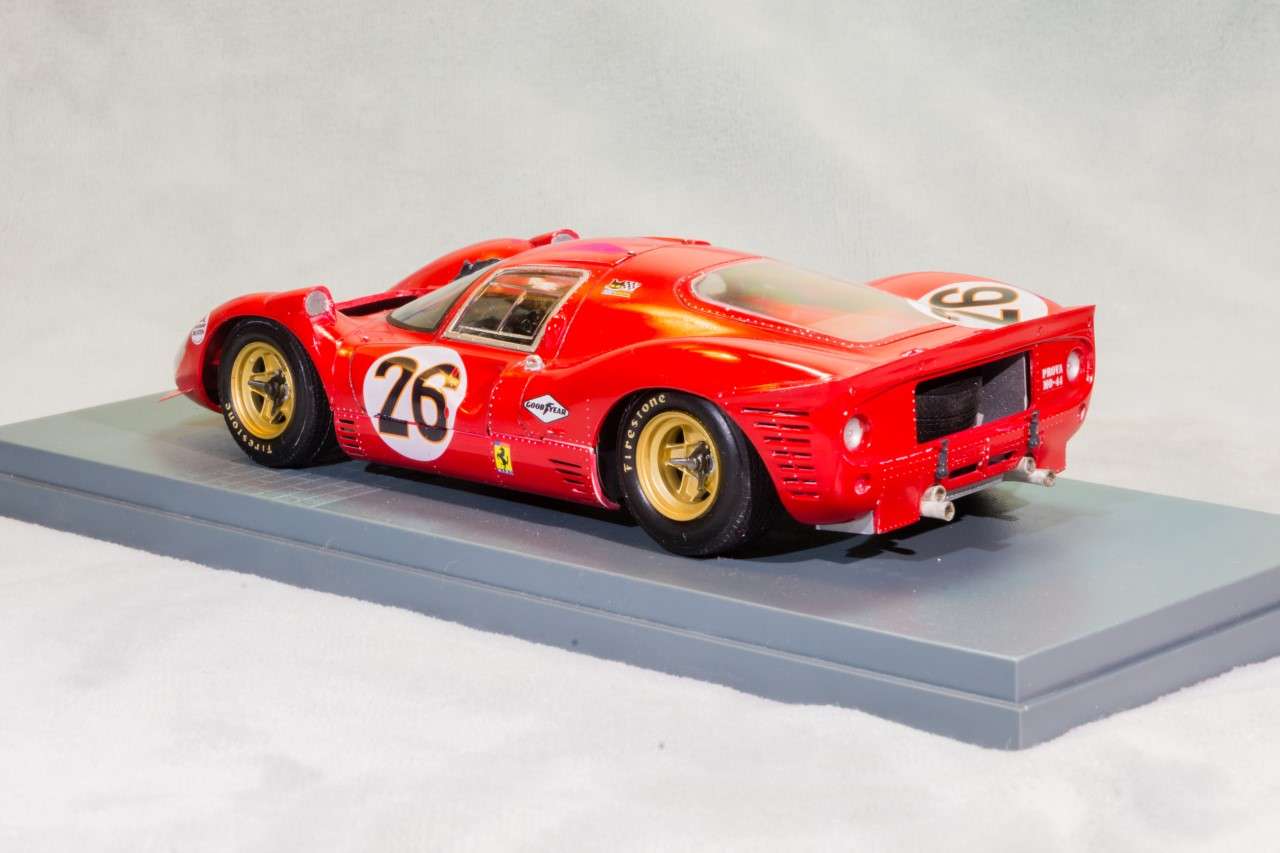
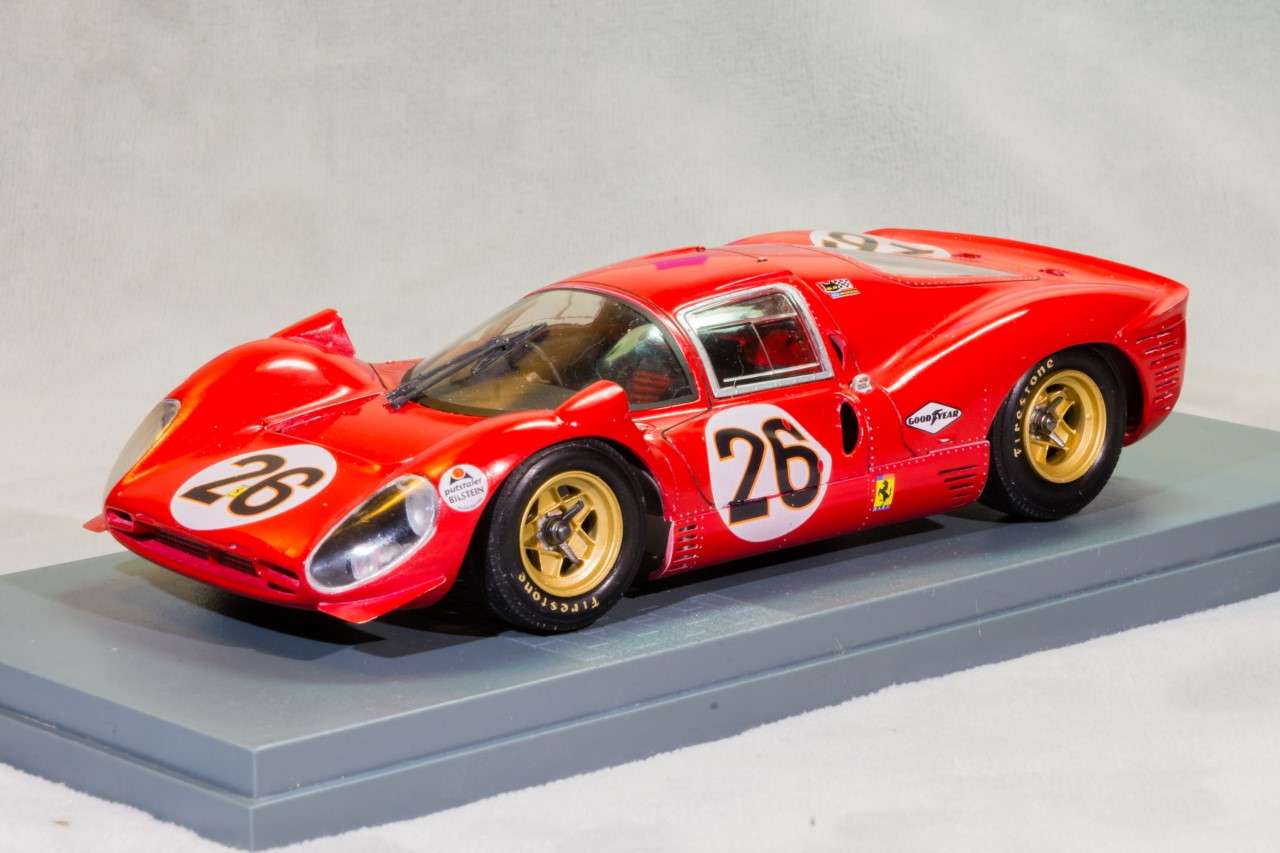
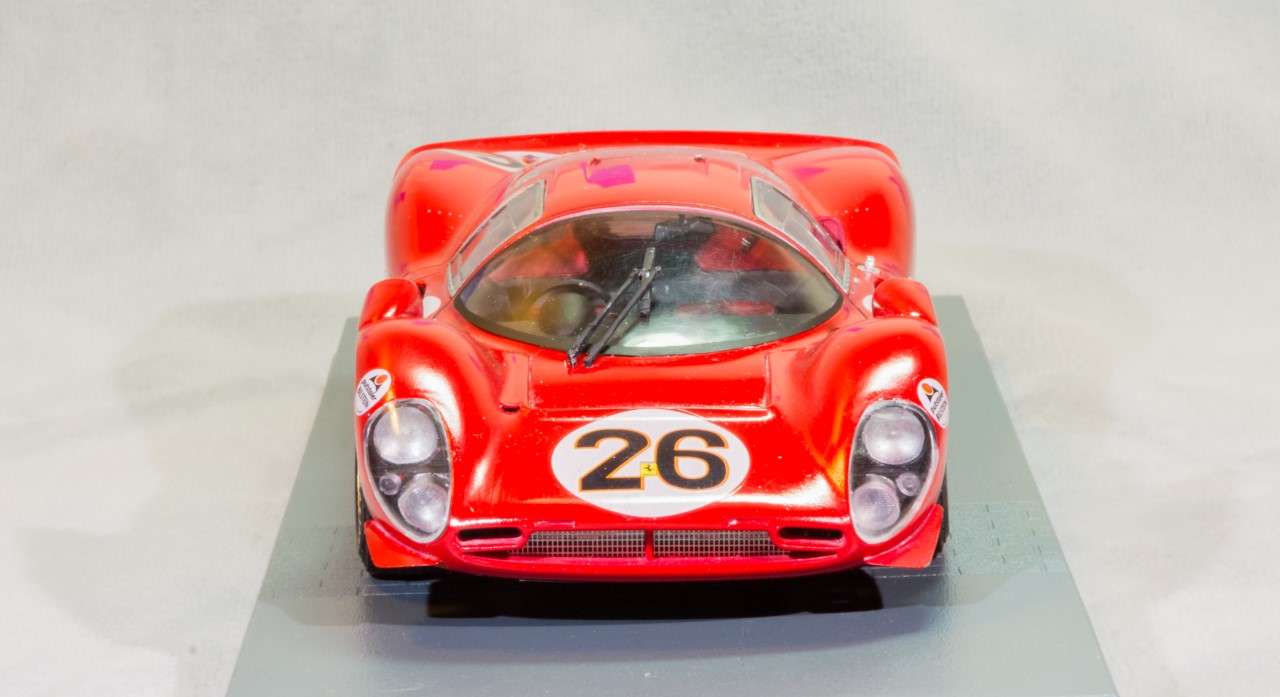
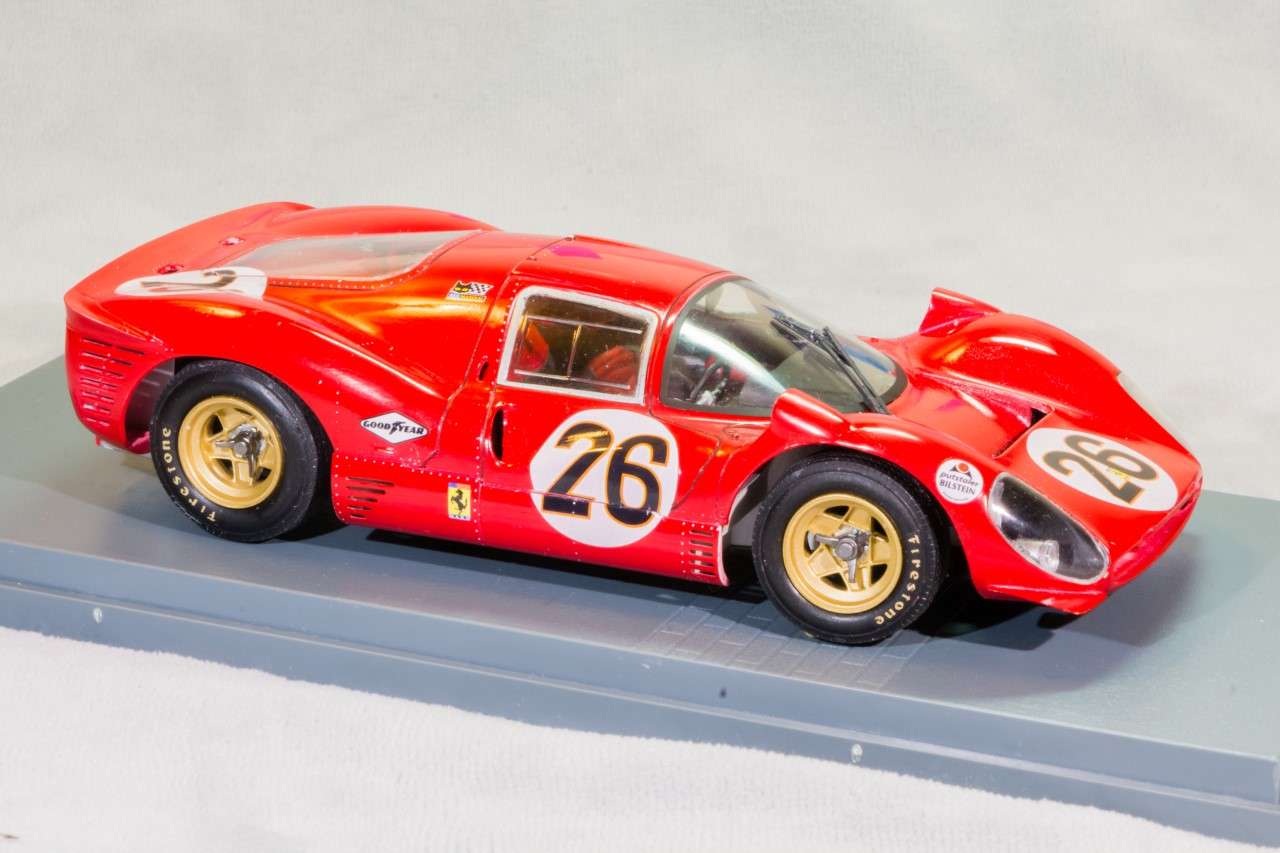
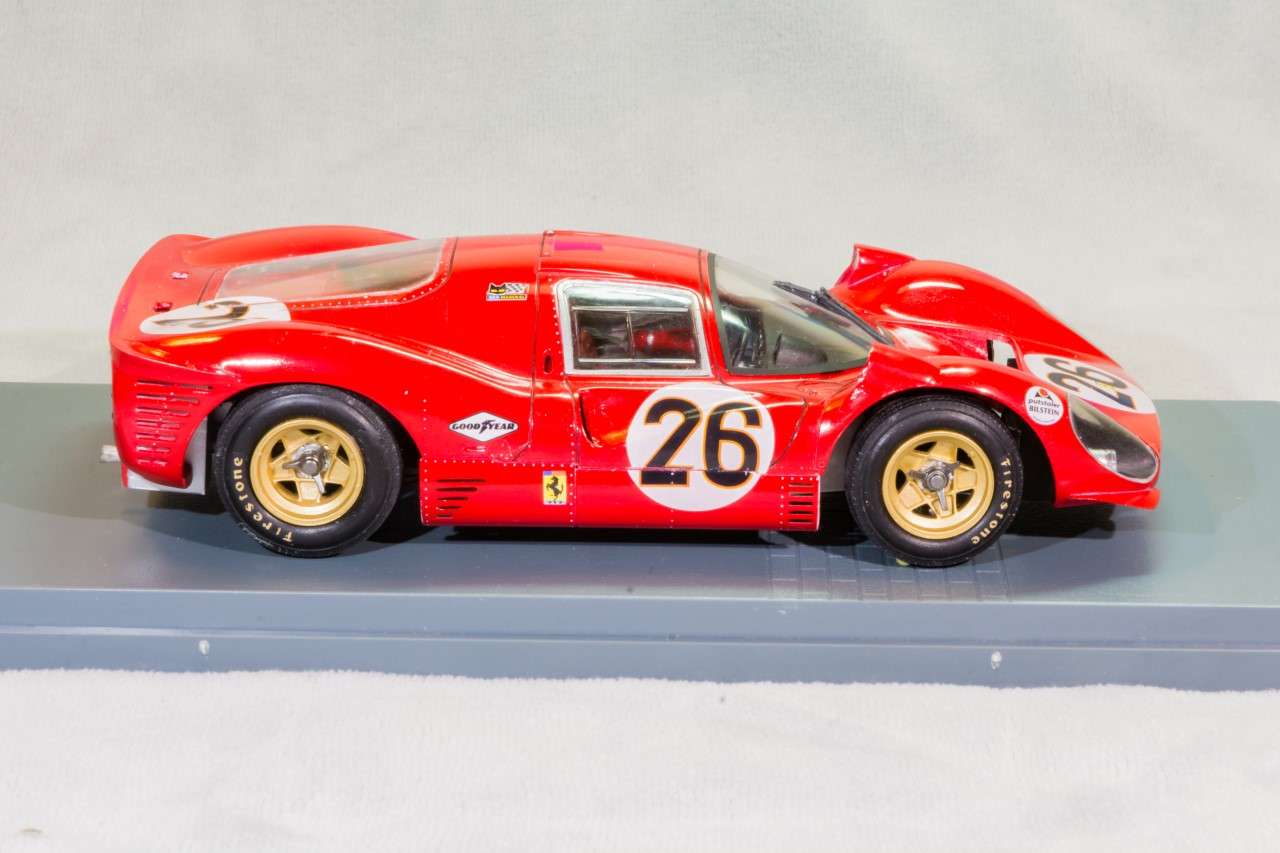
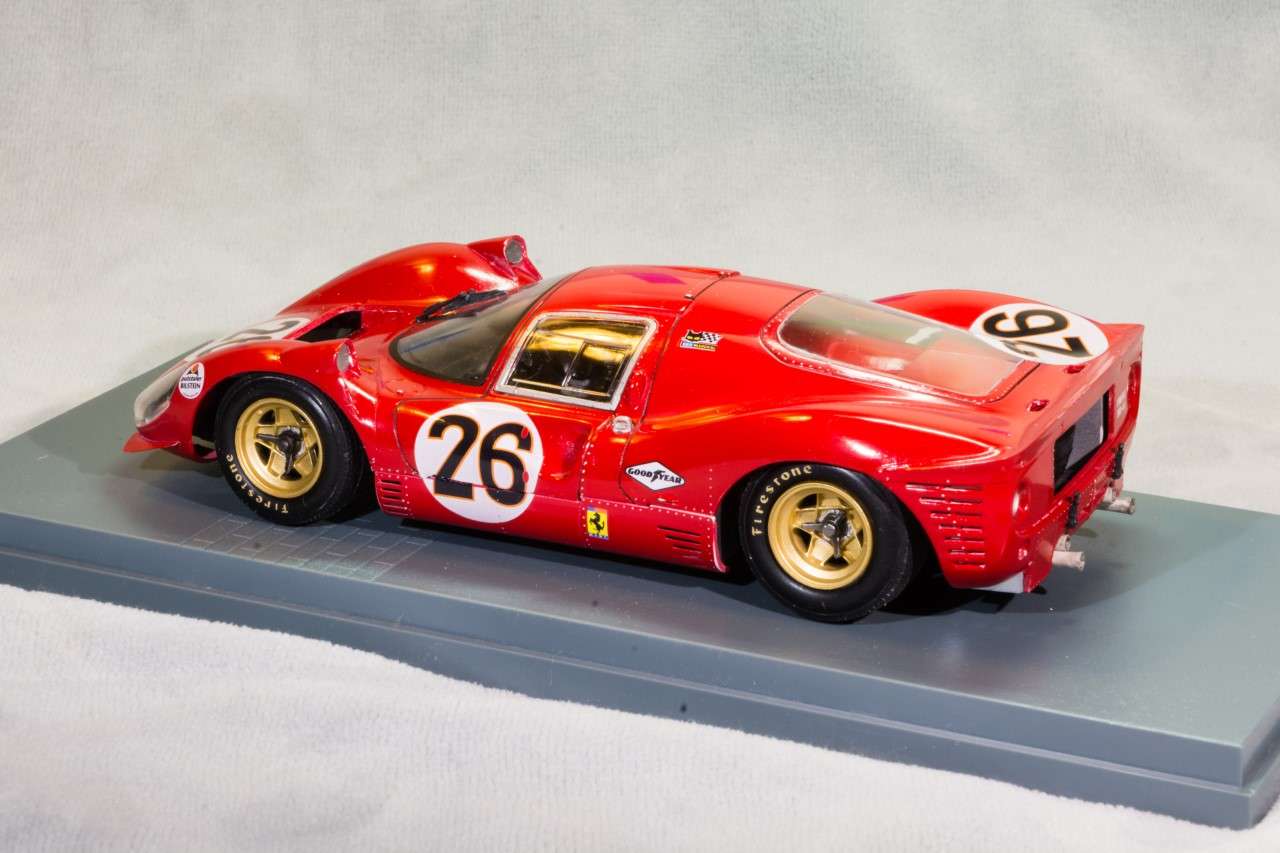
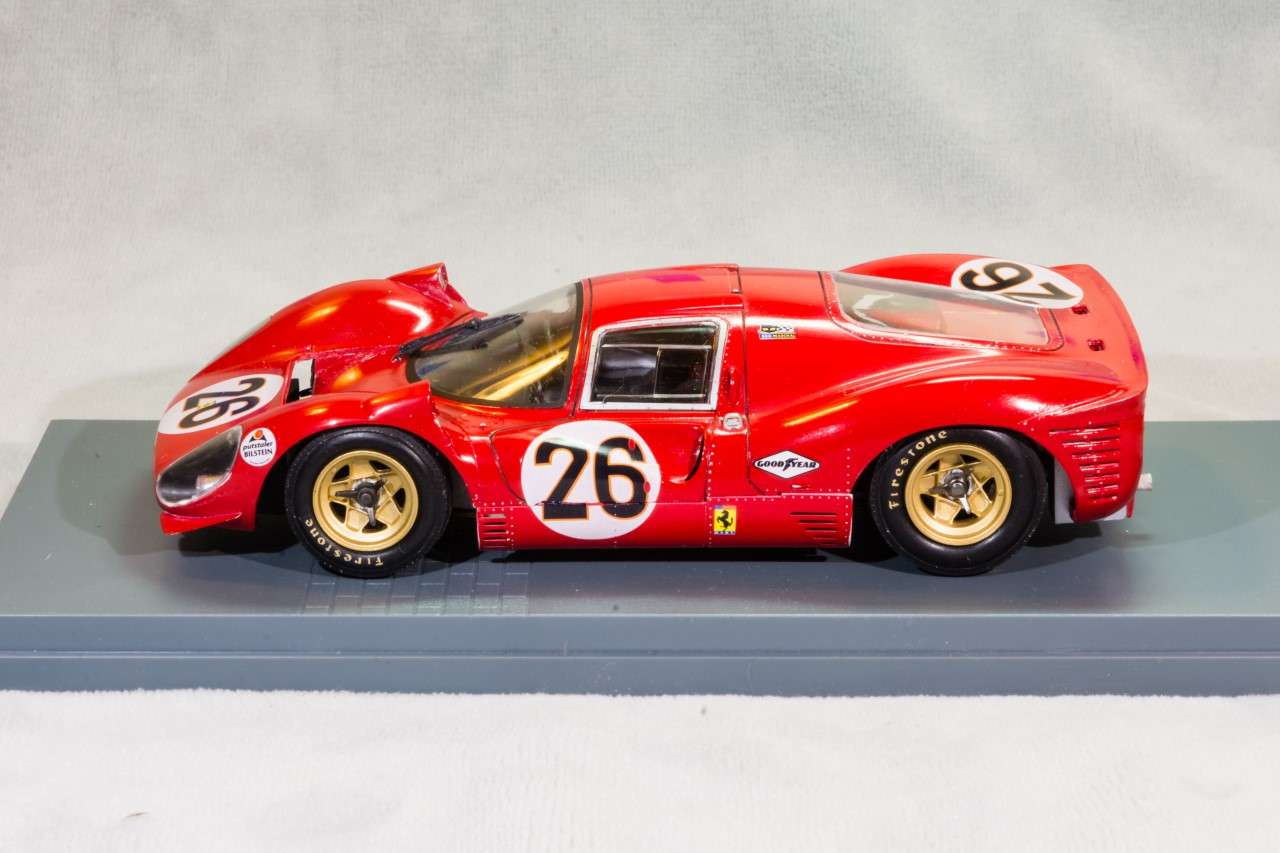
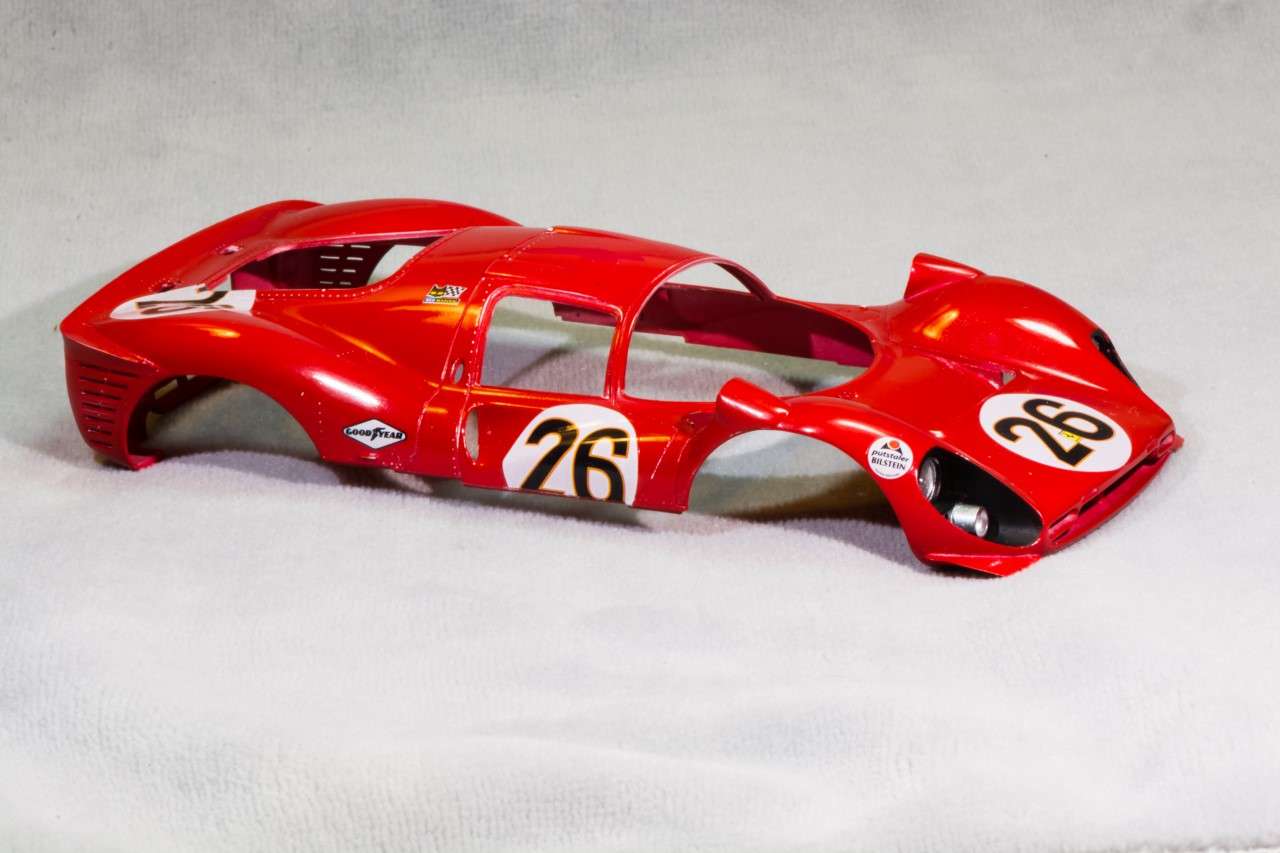
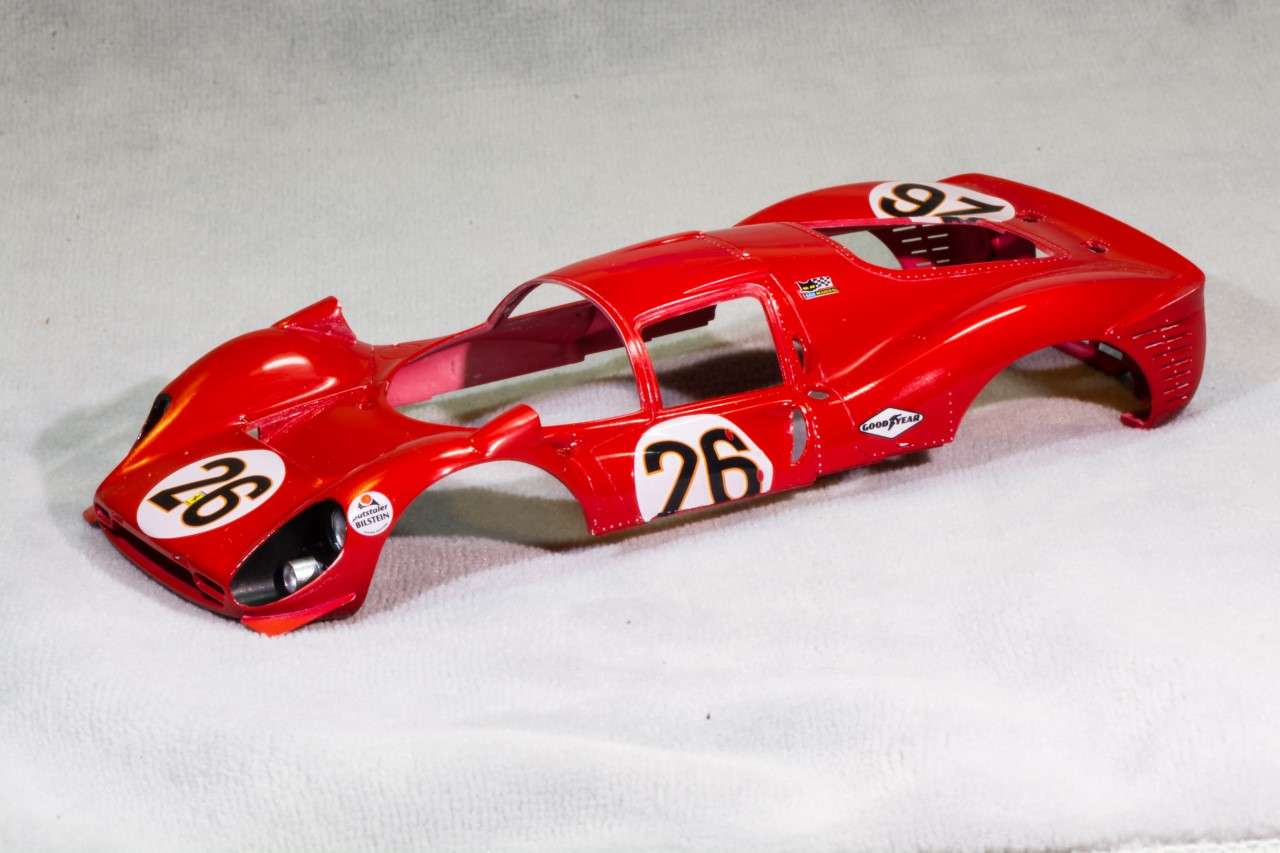
Since my last update where decaling was finally finished, and the Mr. Hobby/Mr. Color Clear Lacquer applied. I was really happy with how the clearcoat self leveled as I used their proprietary leveling thinner. As expected there is some slight Orange peel, and the shine wasn't as deep as I had wanted. So the final phase of the paint process was about to commence.
I very carefully with a lite touch, started to polish out the clearcoat with Tamiya 3,000 sponge wet, and washed off the residue as I went along. When I was finished with the wet sanding the decals looked more like they were painted on, but in all honesty, the IndyCal decals looked darn good before I wet sanded them.
Next up was the 3 part Gravity polishing system. When I was finally done, I just stared at the shell. I've never achieved a finish like this before.
But there's a lot of dried residue in the recessed panel lines, so I used a wet (with water only) Q-tip, but most of it still remained. So I got out my Iwata M1 AB, and simply air brushed close up those panel lines with plain old water. Cleaned all the recessed lines in two min. flat. the shell dried by the time I had cleaned the AB and put it ,as these days I use a pair of Grex ABs.
The Final step was the 1st of two coats of Gravity's synthetic wax. The end result was a shine even deeper then before.
The last coat & water rinse will be after the shell is installed on the chassis, but before the glass is glued into place.
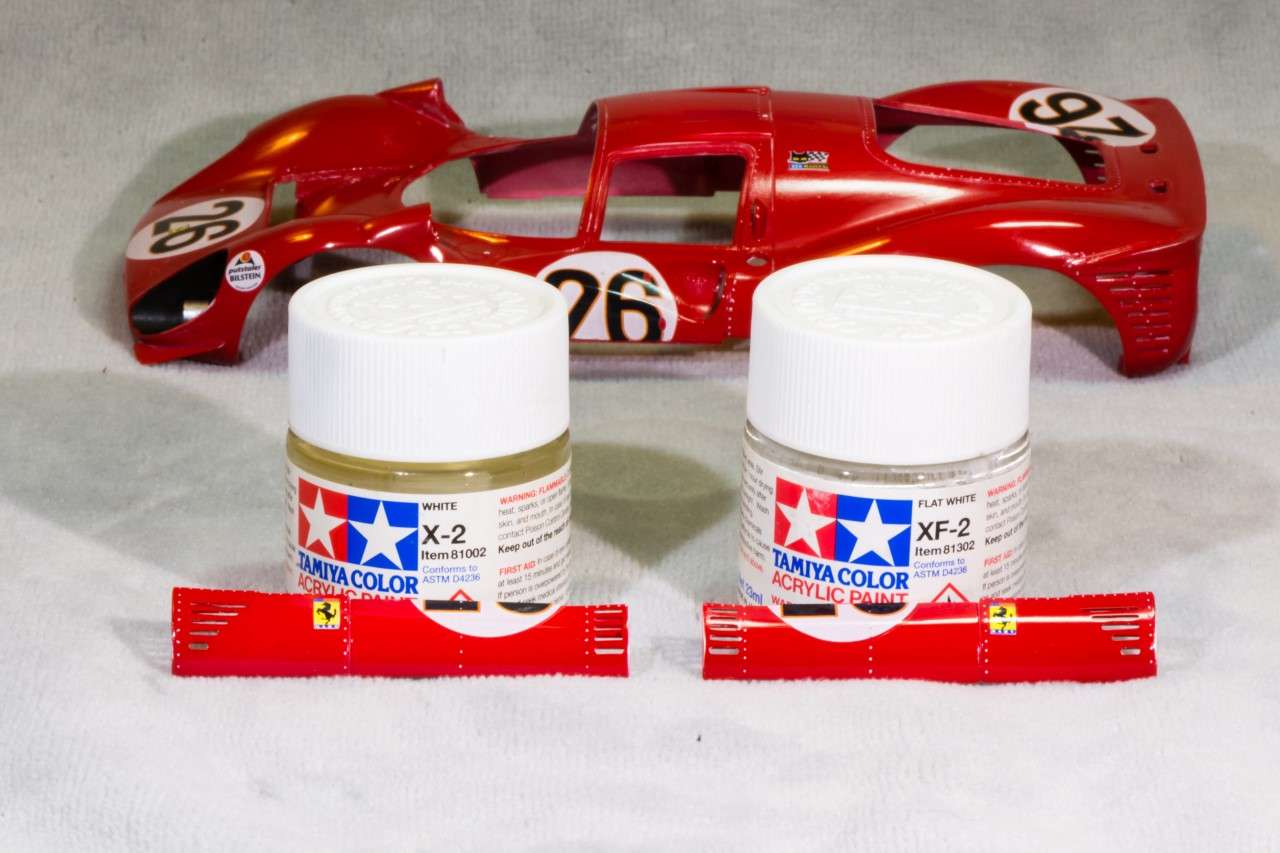
I do have some raise areas and edges that will need touch up with Red or aluminum paint. Those spots will be dealt with by using an artist's extra fine tip magic marker.
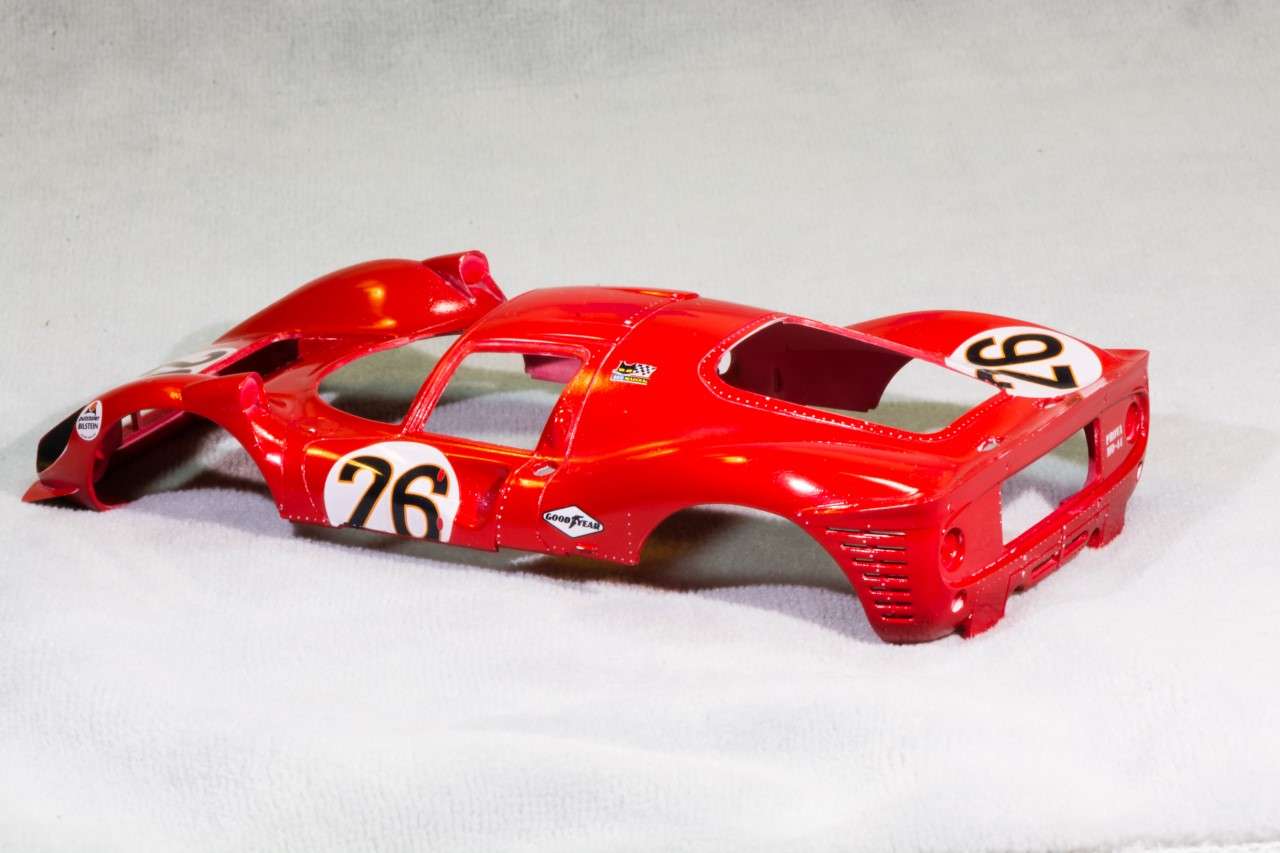
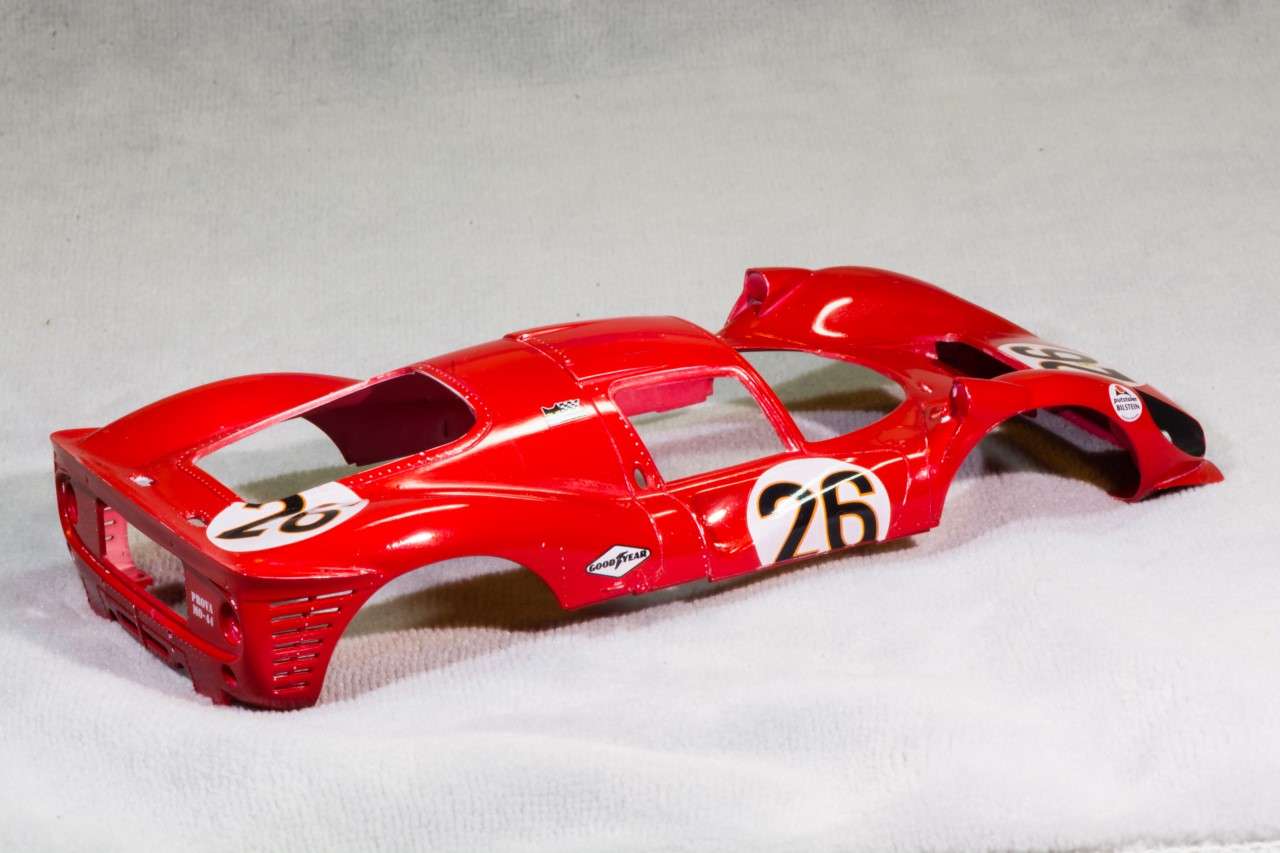
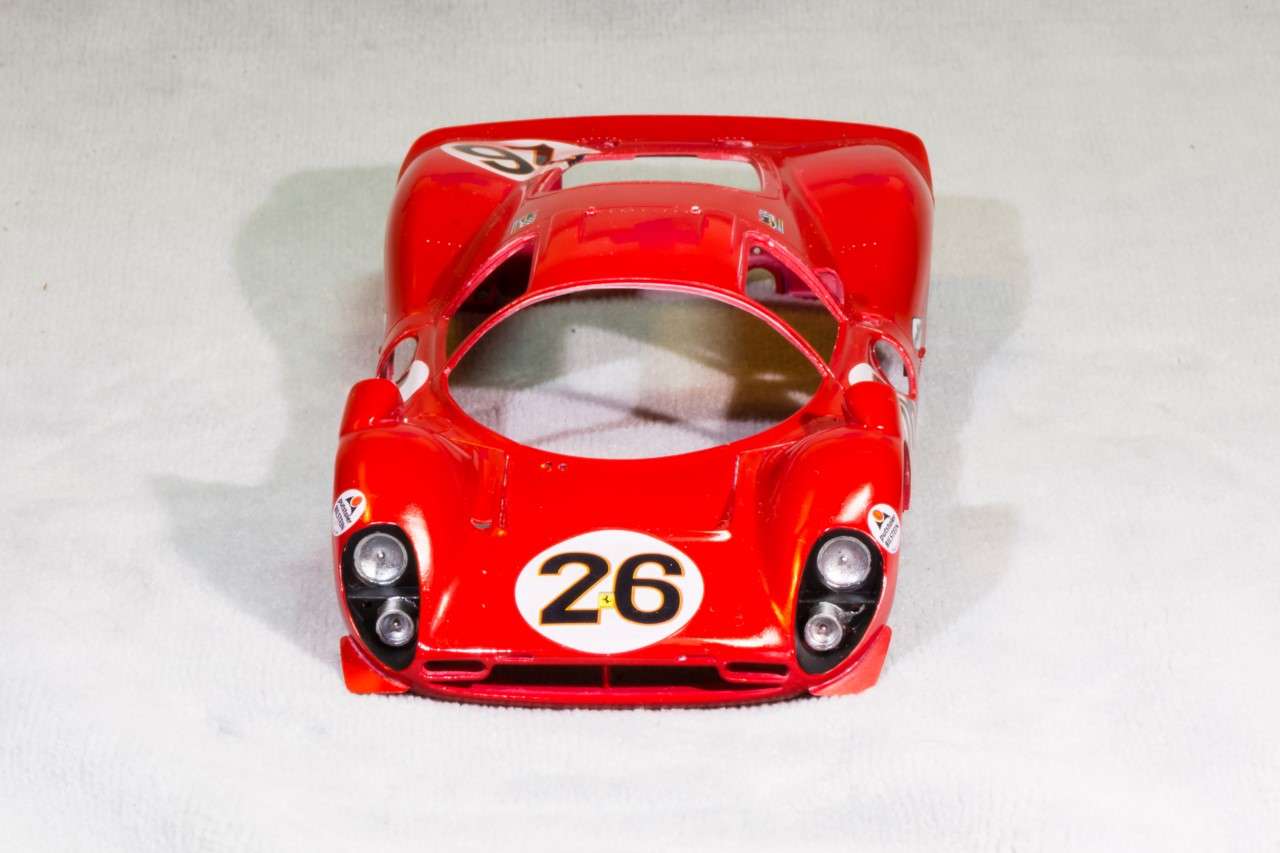
Here's a few pictures of where I'm at now.
Thanks for stopping by,
Joel

Since my last update where decaling was finally finished, and the Mr. Hobby/Mr. Color Clear Lacquer applied. I was really happy with how the clearcoat self leveled as I used their proprietary leveling thinner. As expected there is some slight Orange peel, and the shine wasn't as deep as I had wanted. So the final phase of the paint process was about to commence.
I very carefully with a lite touch, started to polish out the clearcoat with Tamiya 3,000 sponge wet, and washed off the residue as I went along. When I was finished with the wet sanding the decals looked more like they were painted on, but in all honesty, the IndyCal decals looked darn good before I wet sanded them.
Next up was the 3 part Gravity polishing system. When I was finally done, I just stared at the shell. I've never achieved a finish like this before.
But there's a lot of dried residue in the recessed panel lines, so I used a wet (with water only) Q-tip, but most of it still remained. So I got out my Iwata M1 AB, and simply air brushed close up those panel lines with plain old water. Cleaned all the recessed lines in two min. flat. the shell dried by the time I had cleaned the AB and put it ,as these days I use a pair of Grex ABs.
The Final step was the 1st of two coats of Gravity's synthetic wax. The end result was a shine even deeper then before.
The last coat & water rinse will be after the shell is installed on the chassis, but before the glass is glued into place.
I do have some raise areas and edges that will need touch up with Red or aluminum paint. Those spots will be dealt with by using an artist's extra fine tip magic marker.
Here's a few pictures of where I'm at now.
Thanks for stopping by,
Joel