Tamiya 1/20 scale Lotus 25 Coventry Climax
Jul 25, 2019 14:02:57 GMT -8
Chris K. Hale and Ben_B like this
Post by Joel_W on Jul 25, 2019 14:02:57 GMT -8
As I mentioned in my final update on the Porsche 935 K2 build, up next will be the out of production Tamiya 1/20 Lotus 25 Coventry Climax F1 car.
Tamiya originally released this kit back in 1998, and for some reason has never re-issued it, even though it's still a much sort after kit. Beleive me I know, as I spent several months checking ebay a few times per week for a new posted kit. And for a change I actually found one, an opened box, but sealed sprues and decals from right here on the East coast of the good old USA.
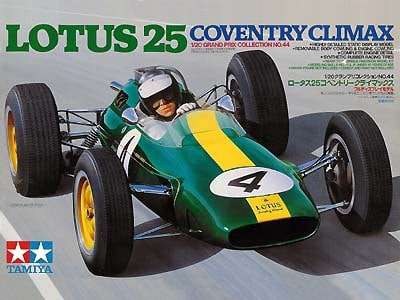
This build actually is about to some degree, not 1, not 2, but 3 F1 icons: Colin Chapman the designer of the Lotus cars, Jim Clark one of the greatest all time drivers, and the car itself.
All the existing Formula 1 Grand Prix car designs up to the early 1960's time frame were built around some form of a tube chassis, which then every part of the car was bolted to, and then covered with a open wheel cigar shaped fiberglass body shell.
For the 1092 season the governing body decreased the engine displacement to just 1.5 liters. Colin Chapman's 1962 Lotus 25 was designed around a 1.5 Liter normally aspirated Coventry Climax engine, and the car was a brand new design: A monocoque. The engine became a stressed member that supported the rear suspension and drive train. The whole assembly was then bolted to the the rear cockpit bulkhead. The front cockpit bulkhead supported the front suspension. There was no tube chassis what so ever. The resulting car was almost half the weight of a typical F1 car of the period, while being stiffer then a typical tube chassis. The result was a car that could out brake, out accelerate, and just plain out handle any other F1 car for the 1962 season.
The car was so successful that Jim Clark, his driver won the 1st time out at Spa in 1962, and almost won the Championship as well. The following season Clark in the Lotus 25 won 7 Grand Prix on his way to winning the 1963 F1 World Championship, as well as Lotus winning the F1 Constructor's Championship.
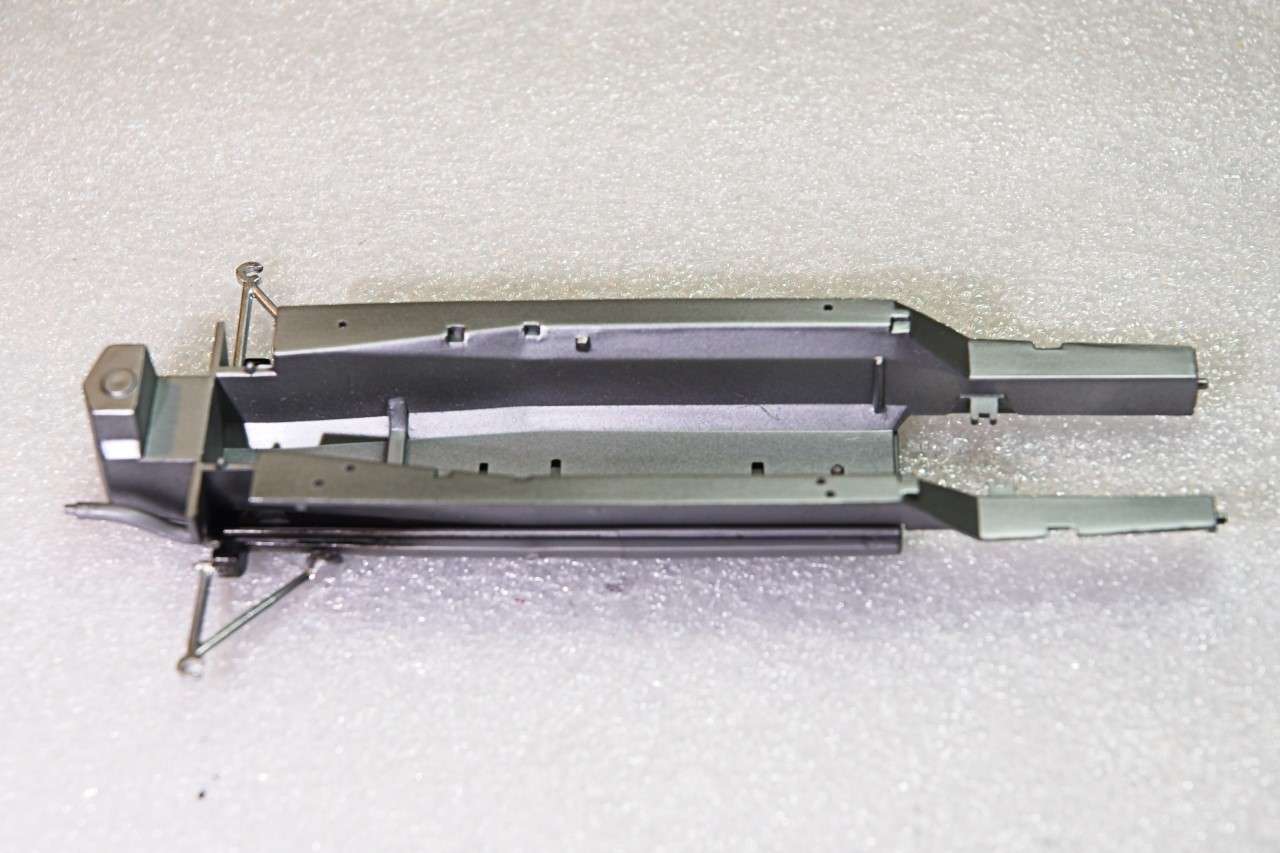
The tub is basically the floor pan with the lower end of the front suspension. What's unique about it is that the front lower arms slot into a opening in the side of the shell, while the back of the arm glues directly to the same body panel. That should really create a strong bond rather then the usual pinning of the suspension arms.

The pan had rather large swirl marks, so I sanded and polished it, then masked it out for a basecoat of Mr. Hobby 2500 Black Primer.
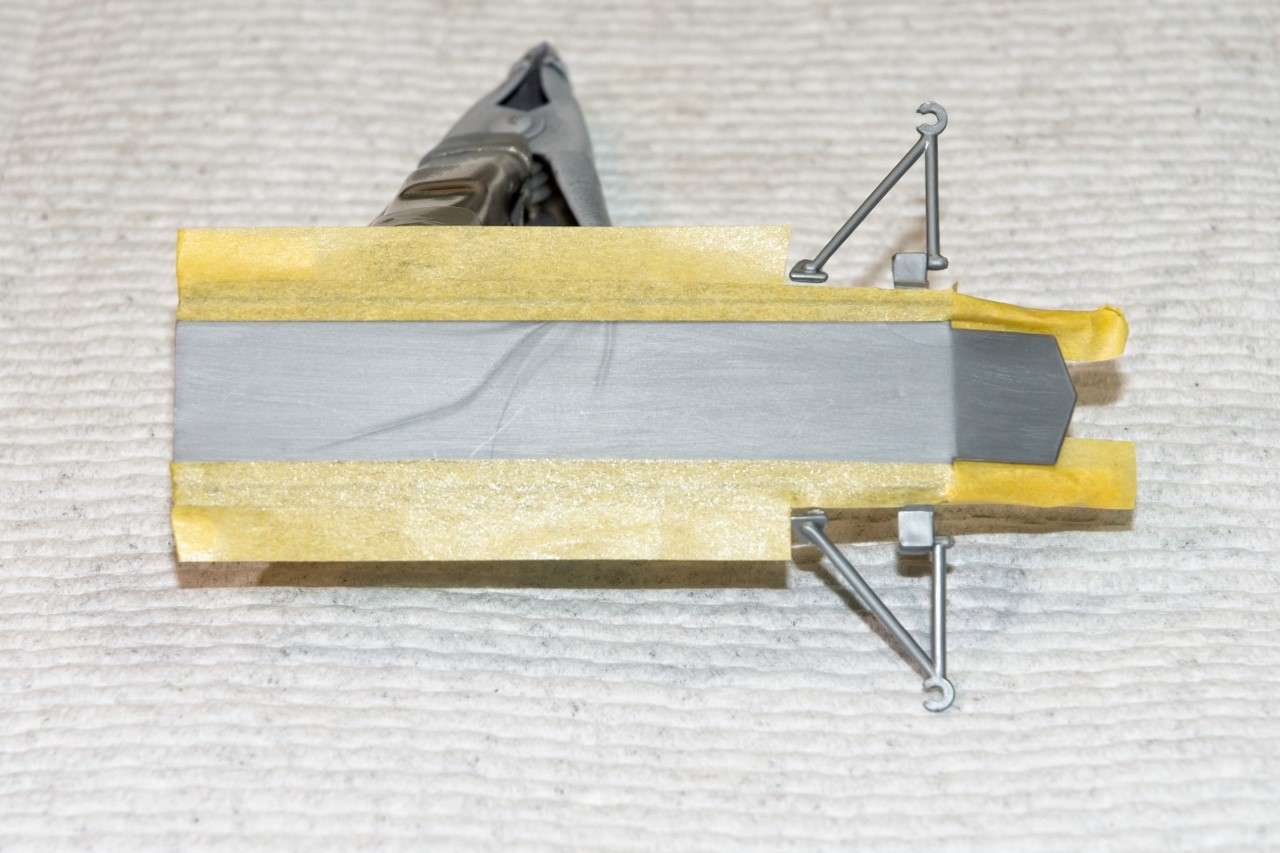
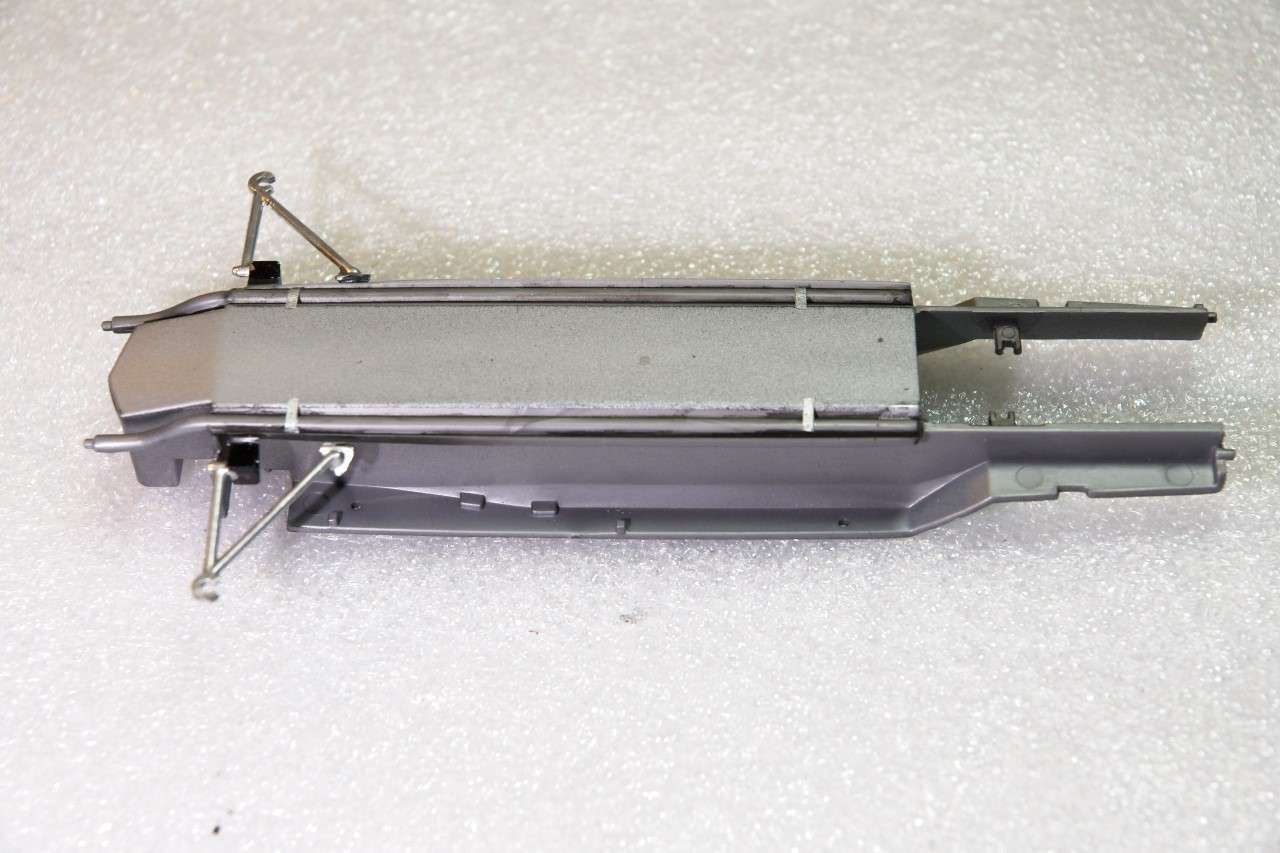
I opted not to go with a gloss Black undercoat as I wanted the Aluminum pan to have a more oxidized look to it. So I air brushed on Alcad II Aluminum ALC 101. Then I painted the suspension arms Tamiya X-11 Chrome Silver over a base coat of Tamiya X-1 Gloss Black. I let that dry for a full day, then lightly wet buffed the Alumimum pan with 6000, 8000, and 12,000 just to smooth it out a tad. I followed that up with Tamiya Black Panel line wash on both sides of both radiator pipes. Then I sealed everything with Alcad II ALC 312 Semi-Matt Kleer.
Looking at the pan I noticed that there are no brackets to hold those pipes in place. So they're actually just hanging from the radiator and the engine. Every bump, blimp of the engine, or what not must cause those pipes to vibrate & move. That just didn't seem right to me. I looked and looked but couldn't find any pictures of the bottom of the pan, so I just made 4 simple brackets out of tape, then painted Aluminum. I basically got the two back brackets aligned, but somehow I just plain old screwed up the front ones. So I'll move one later tonight.
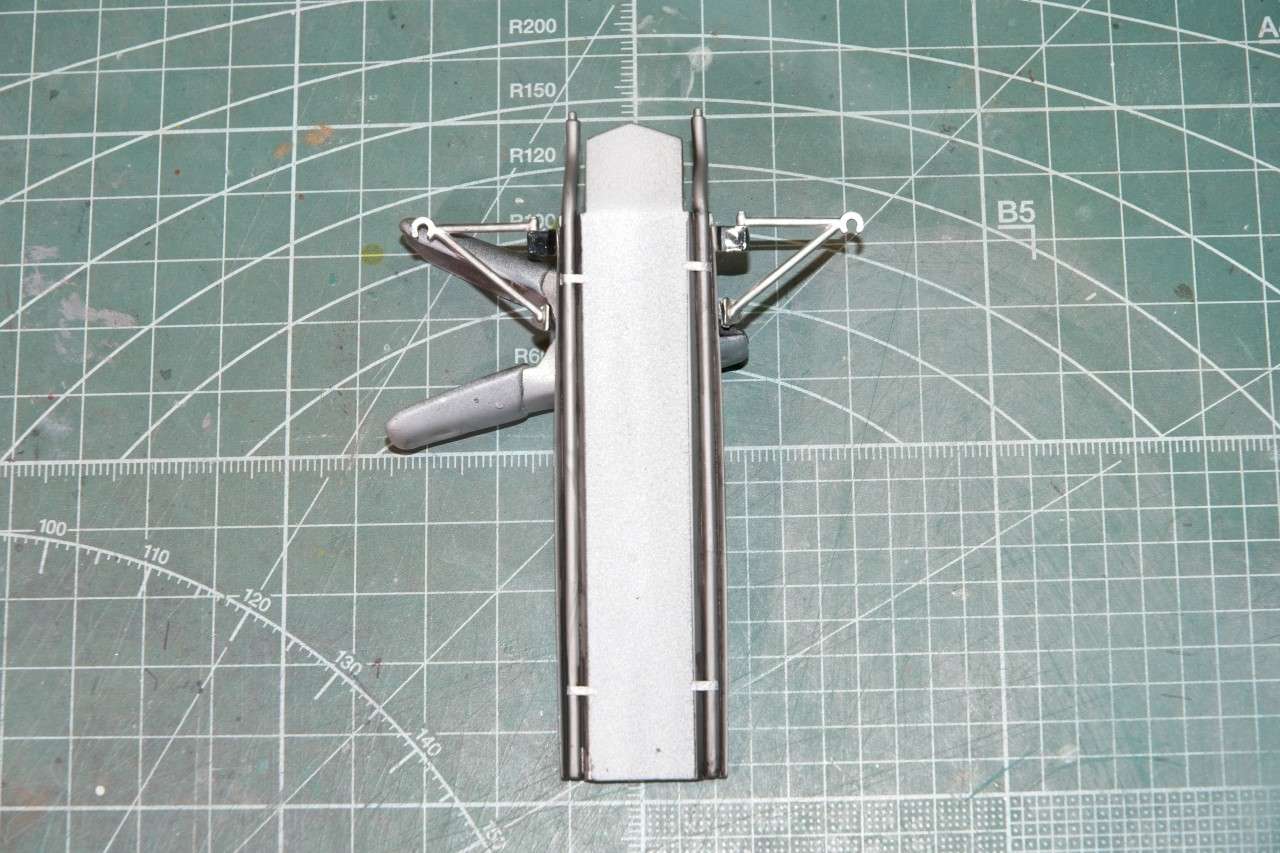
And finally I dry fitted the various body panels and engine cover just to see how good the fit is, and it's pretty good.

Thanks for stopping by and checking out my progress to date. As always, it's most appreciated.
Joel
Tamiya originally released this kit back in 1998, and for some reason has never re-issued it, even though it's still a much sort after kit. Beleive me I know, as I spent several months checking ebay a few times per week for a new posted kit. And for a change I actually found one, an opened box, but sealed sprues and decals from right here on the East coast of the good old USA.

This build actually is about to some degree, not 1, not 2, but 3 F1 icons: Colin Chapman the designer of the Lotus cars, Jim Clark one of the greatest all time drivers, and the car itself.
All the existing Formula 1 Grand Prix car designs up to the early 1960's time frame were built around some form of a tube chassis, which then every part of the car was bolted to, and then covered with a open wheel cigar shaped fiberglass body shell.
For the 1092 season the governing body decreased the engine displacement to just 1.5 liters. Colin Chapman's 1962 Lotus 25 was designed around a 1.5 Liter normally aspirated Coventry Climax engine, and the car was a brand new design: A monocoque. The engine became a stressed member that supported the rear suspension and drive train. The whole assembly was then bolted to the the rear cockpit bulkhead. The front cockpit bulkhead supported the front suspension. There was no tube chassis what so ever. The resulting car was almost half the weight of a typical F1 car of the period, while being stiffer then a typical tube chassis. The result was a car that could out brake, out accelerate, and just plain out handle any other F1 car for the 1962 season.
The car was so successful that Jim Clark, his driver won the 1st time out at Spa in 1962, and almost won the Championship as well. The following season Clark in the Lotus 25 won 7 Grand Prix on his way to winning the 1963 F1 World Championship, as well as Lotus winning the F1 Constructor's Championship.
The tub is basically the floor pan with the lower end of the front suspension. What's unique about it is that the front lower arms slot into a opening in the side of the shell, while the back of the arm glues directly to the same body panel. That should really create a strong bond rather then the usual pinning of the suspension arms.

The pan had rather large swirl marks, so I sanded and polished it, then masked it out for a basecoat of Mr. Hobby 2500 Black Primer.

I opted not to go with a gloss Black undercoat as I wanted the Aluminum pan to have a more oxidized look to it. So I air brushed on Alcad II Aluminum ALC 101. Then I painted the suspension arms Tamiya X-11 Chrome Silver over a base coat of Tamiya X-1 Gloss Black. I let that dry for a full day, then lightly wet buffed the Alumimum pan with 6000, 8000, and 12,000 just to smooth it out a tad. I followed that up with Tamiya Black Panel line wash on both sides of both radiator pipes. Then I sealed everything with Alcad II ALC 312 Semi-Matt Kleer.
Looking at the pan I noticed that there are no brackets to hold those pipes in place. So they're actually just hanging from the radiator and the engine. Every bump, blimp of the engine, or what not must cause those pipes to vibrate & move. That just didn't seem right to me. I looked and looked but couldn't find any pictures of the bottom of the pan, so I just made 4 simple brackets out of tape, then painted Aluminum. I basically got the two back brackets aligned, but somehow I just plain old screwed up the front ones. So I'll move one later tonight.

And finally I dry fitted the various body panels and engine cover just to see how good the fit is, and it's pretty good.

Thanks for stopping by and checking out my progress to date. As always, it's most appreciated.
Joel


