|
|
Post by pg265 on Feb 27, 2021 14:38:38 GMT -8
Good evening, With the Lotus 43 finished and tidy, it's the Bugatti's turn to reveal its finery ... and its undersides! So we start with the engine and some added details. A little solder to connect the 0.4 copper "tubes" with the 0.7 brass tube. The copper pipes are bent and matched to their connections on both sides of the motor. There are still a few to install. The exhaust manifolds are polished and burnished with Blacken’it. 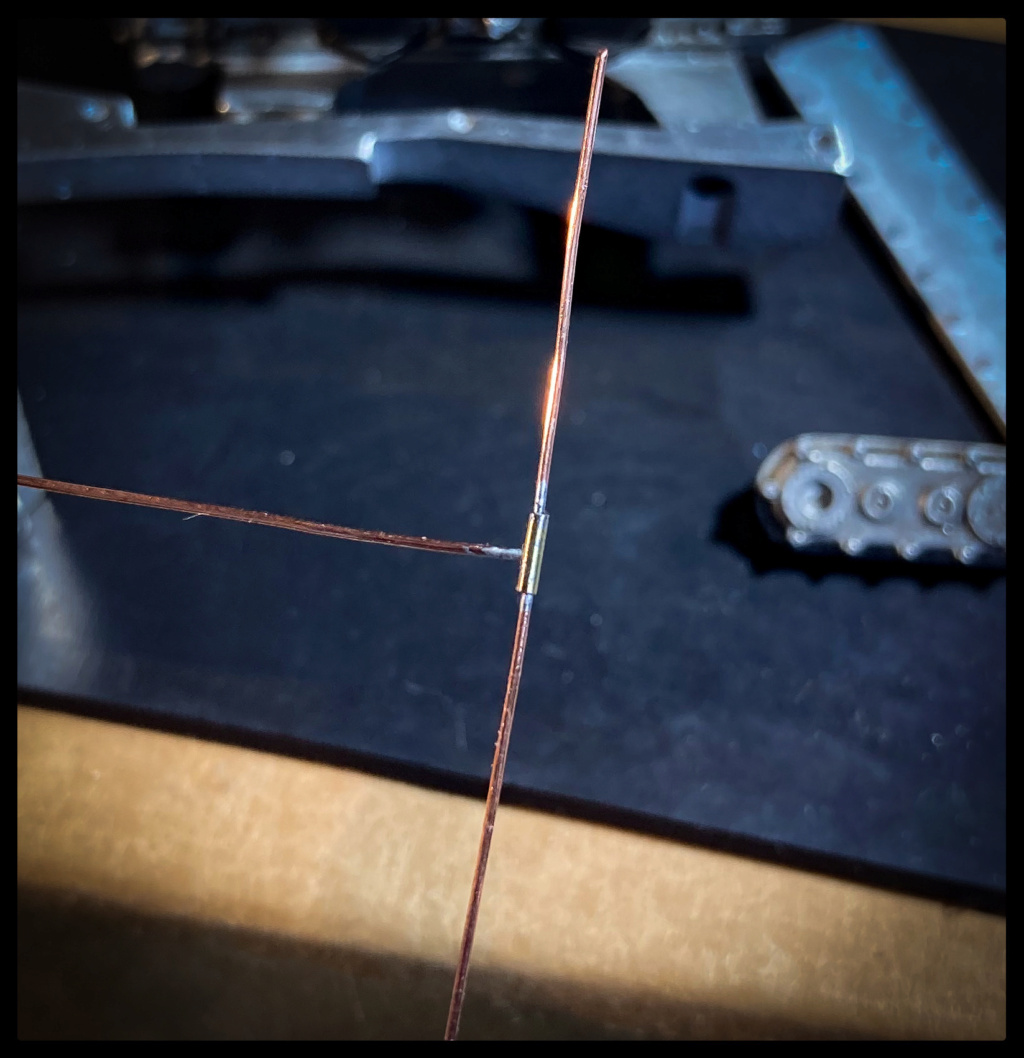  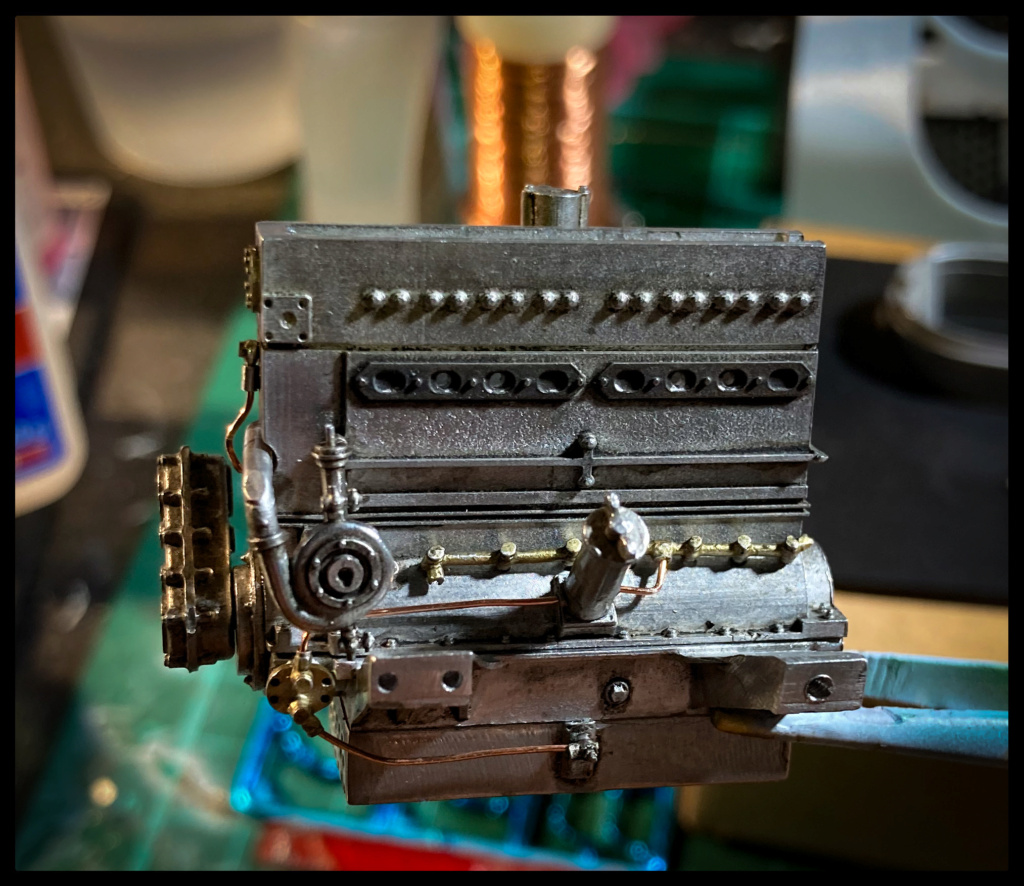 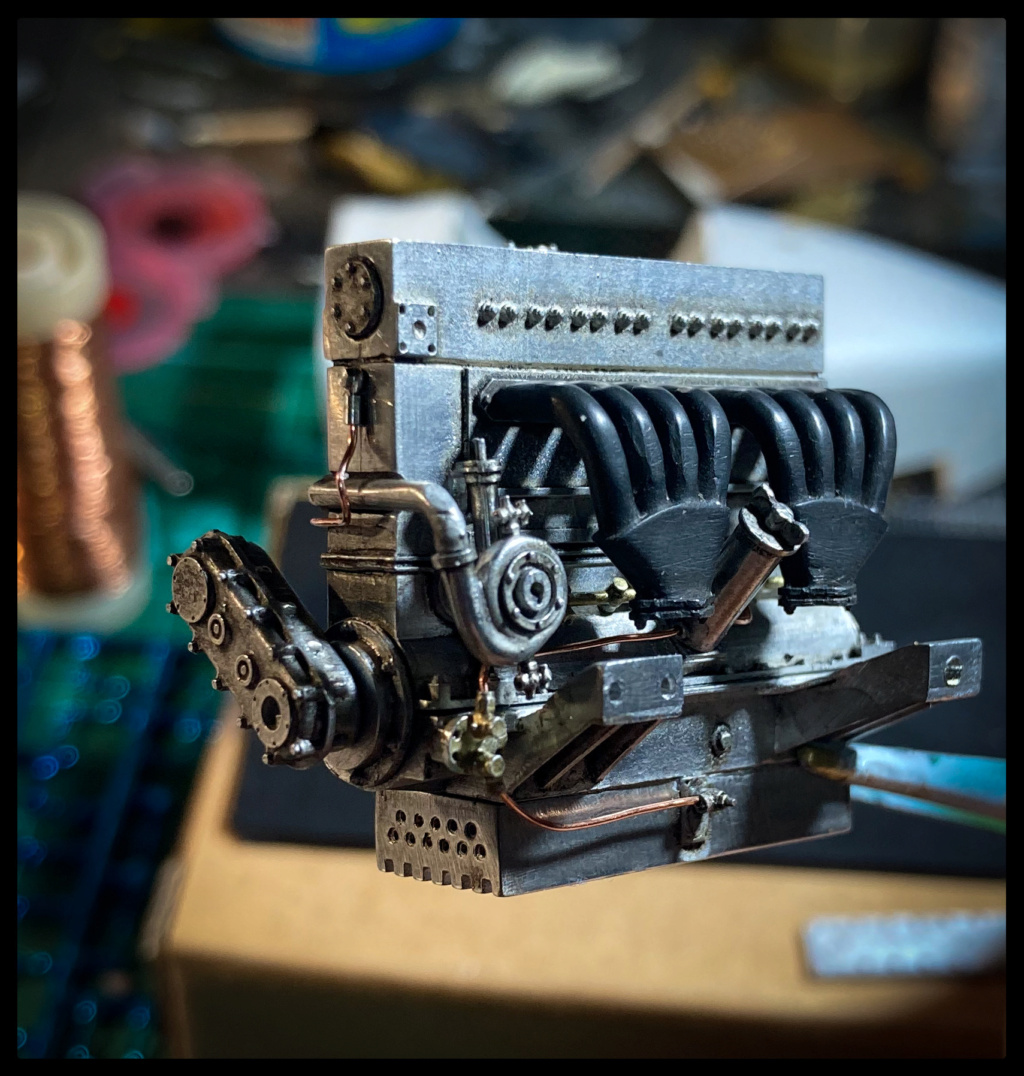 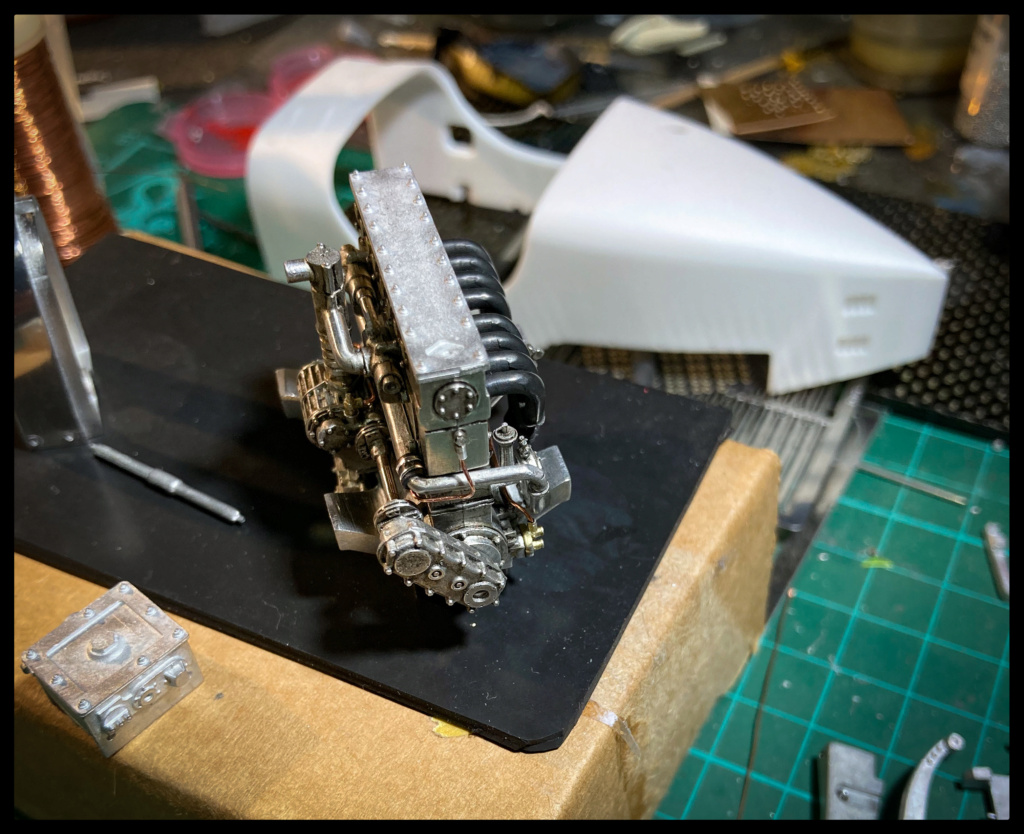 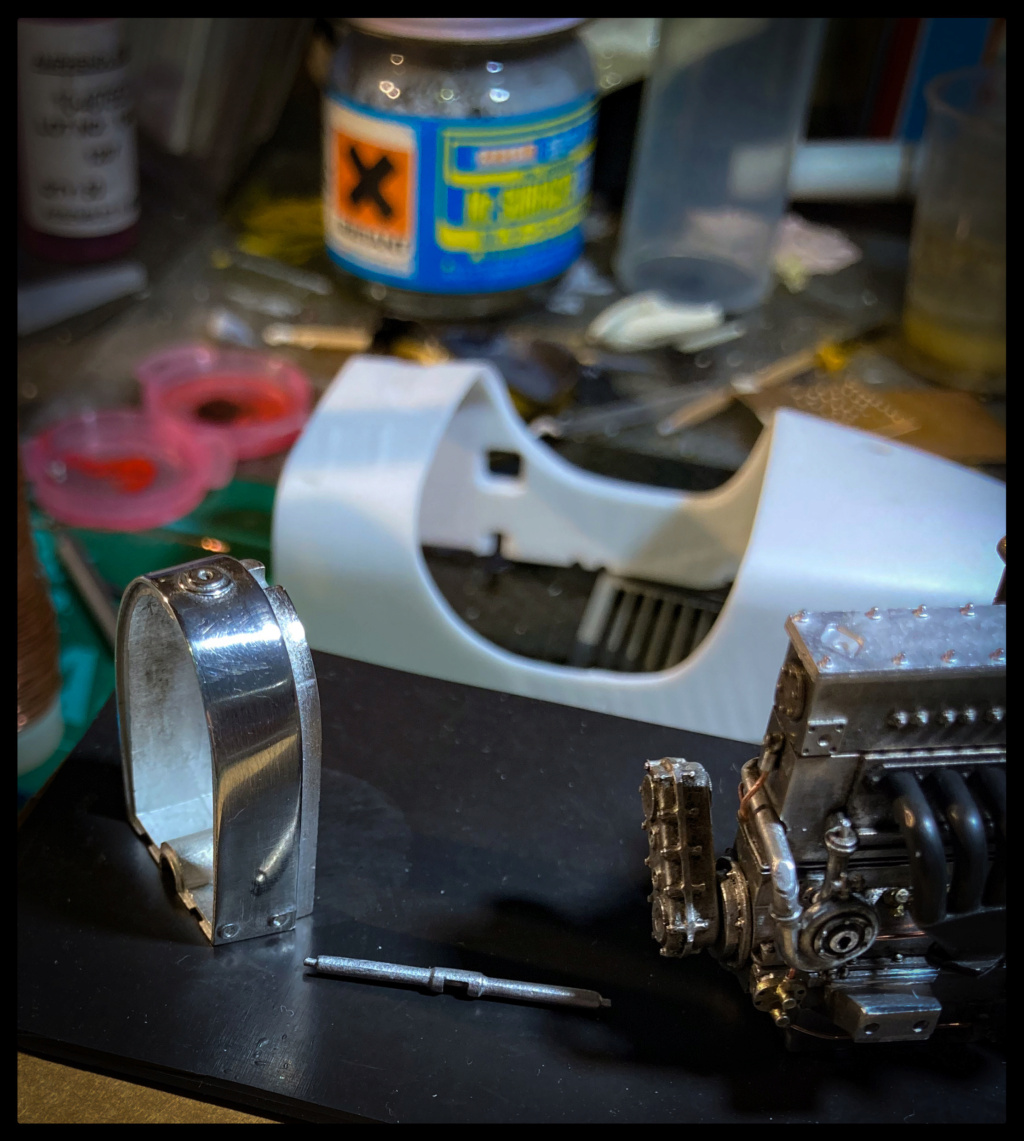 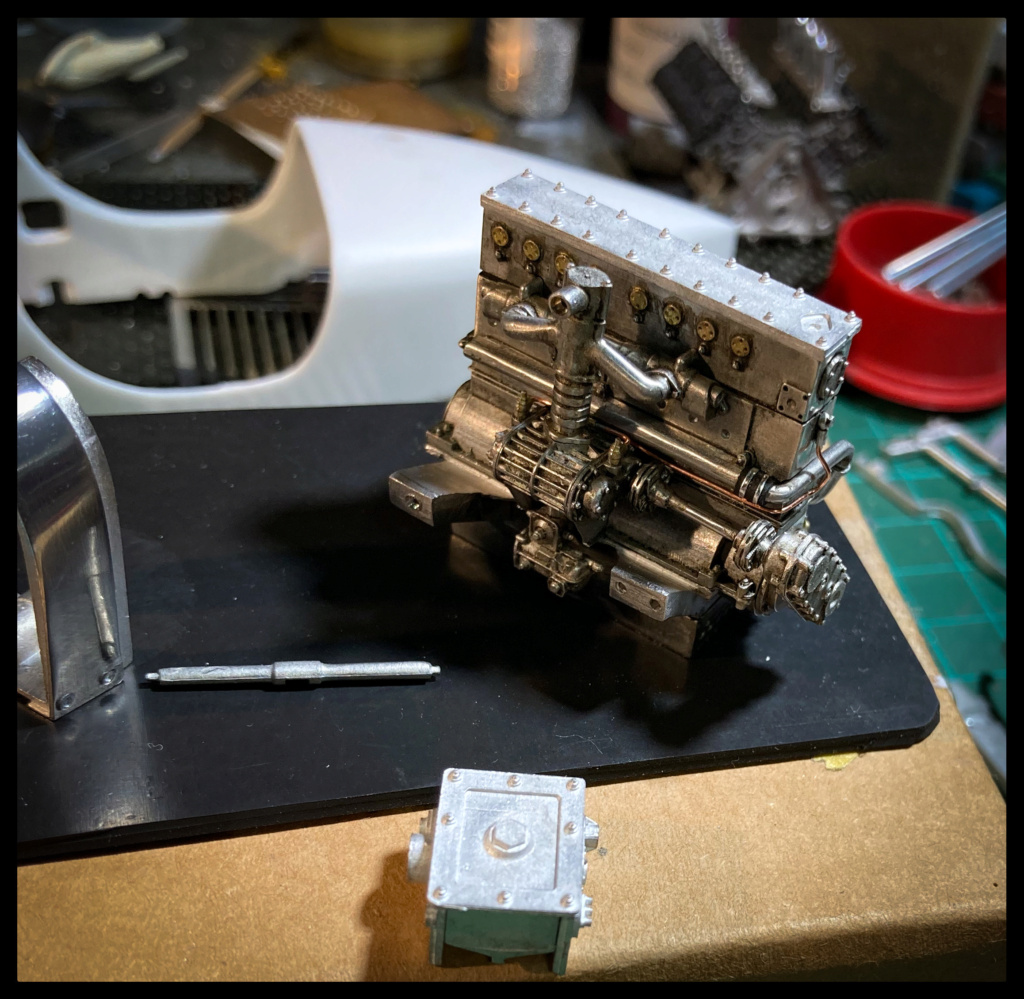 Pascal |
|
|
|
Post by tatocorvette on Feb 27, 2021 15:09:06 GMT -8
That looks really good!
|
|
|
|
Post by robhart on Feb 28, 2021 10:58:23 GMT -8
That engine could easily be mistaken for a real one.
|
|
|
|
Post by pg265 on Feb 28, 2021 11:13:18 GMT -8
Good evening, Thank you. New oil fittings are installed on the back of the block, so we had to make the piping and do some welding. Same as for the compressor: 0.4 copper and 0.7 brass tube then an iron and tin solder. Well... a weld. 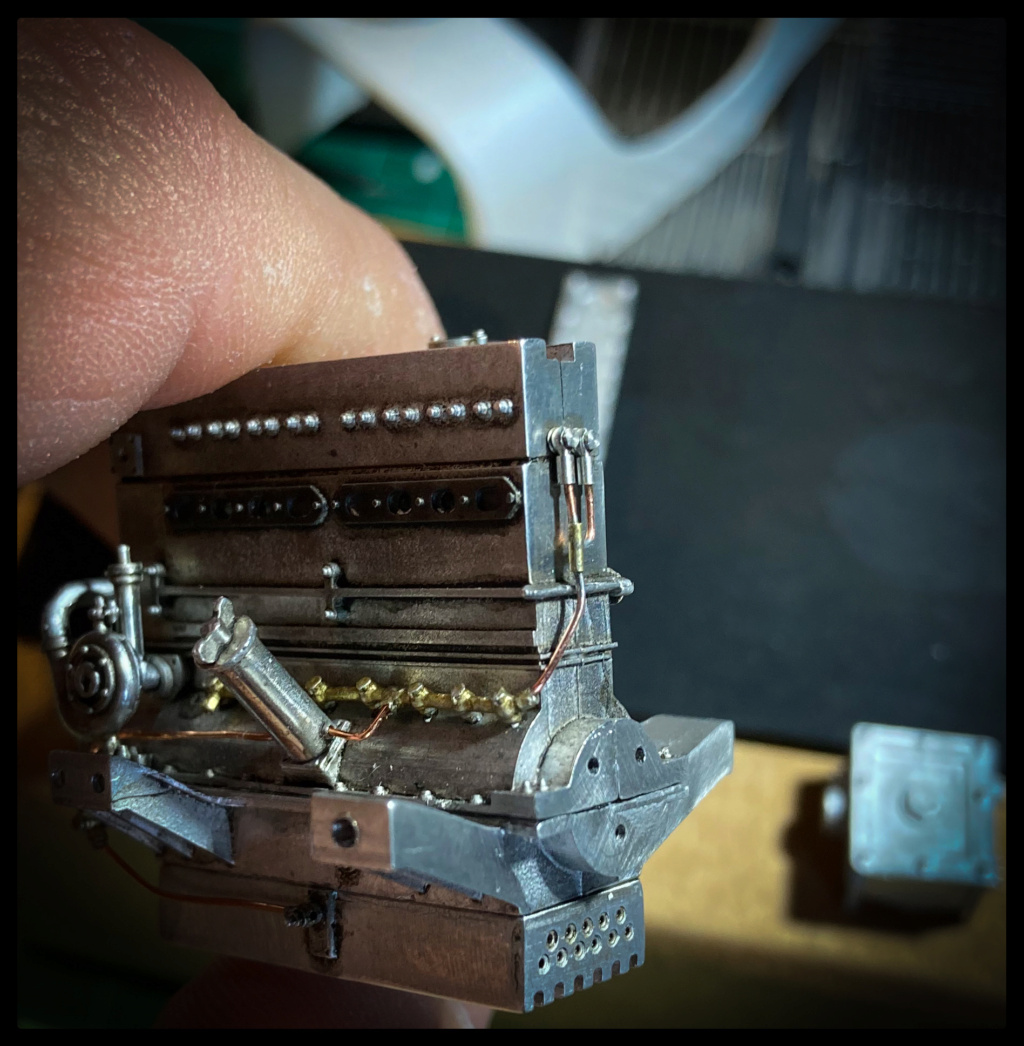  A large part of the chassis parts are prepared, primed and then painted with the famous Blue.   Some pictures of the gearbox. 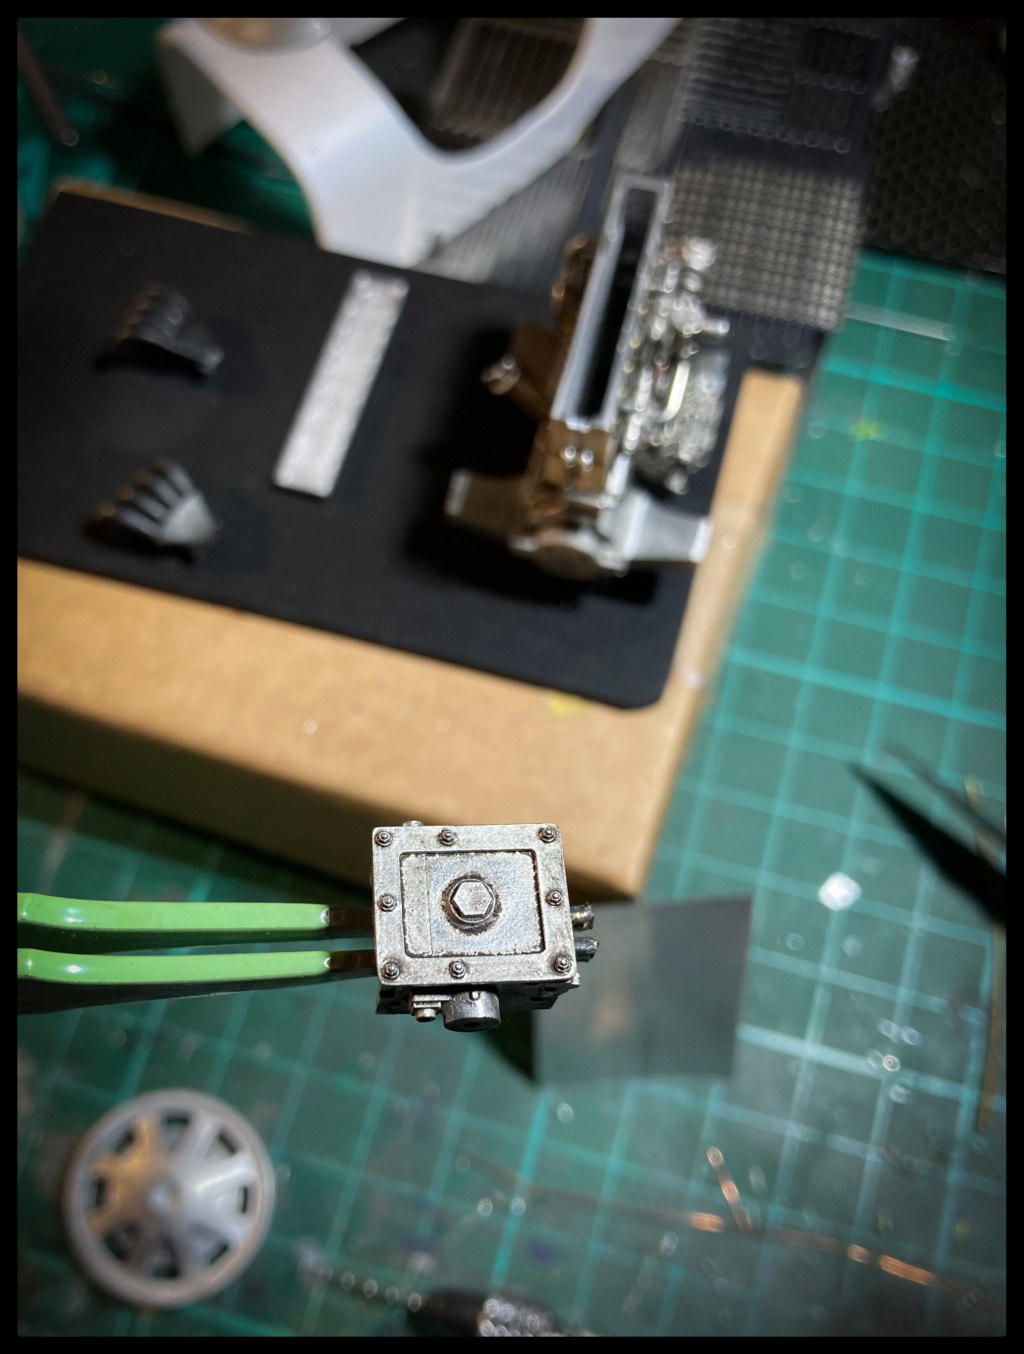   More soon. Pascal |
|
|
|
Post by Joel_W on Mar 1, 2021 8:42:24 GMT -8
Pascal,
Another classic build for sure. The engine detailing is as always, simply amazing.
As usual, I'll be following every update for sure.
joel
|
|
|
|
Post by pg265 on Mar 1, 2021 9:51:16 GMT -8
Hi, Thank you very much Joel! Glad you like this old Monster  Pascal |
|
|
|
Post by Chris K. Hale on Mar 1, 2021 16:56:39 GMT -8
A tip on The Engine turned finish Bugatti used on most of its Heads, Cam covers, Firewalls and dash boards, Take a pencil with a new eraser use a sanding stick to turn the diameter desired then chuck it in a variable speed drill and use the flat end of the eraser to create the " Engine Turning Look " He did this on a couple of Bugatti models he built on both aluminum and white metal and the result Blew me away!! Chris
|
|
|
|
Post by Chris K. Hale on Mar 1, 2021 17:00:56 GMT -8
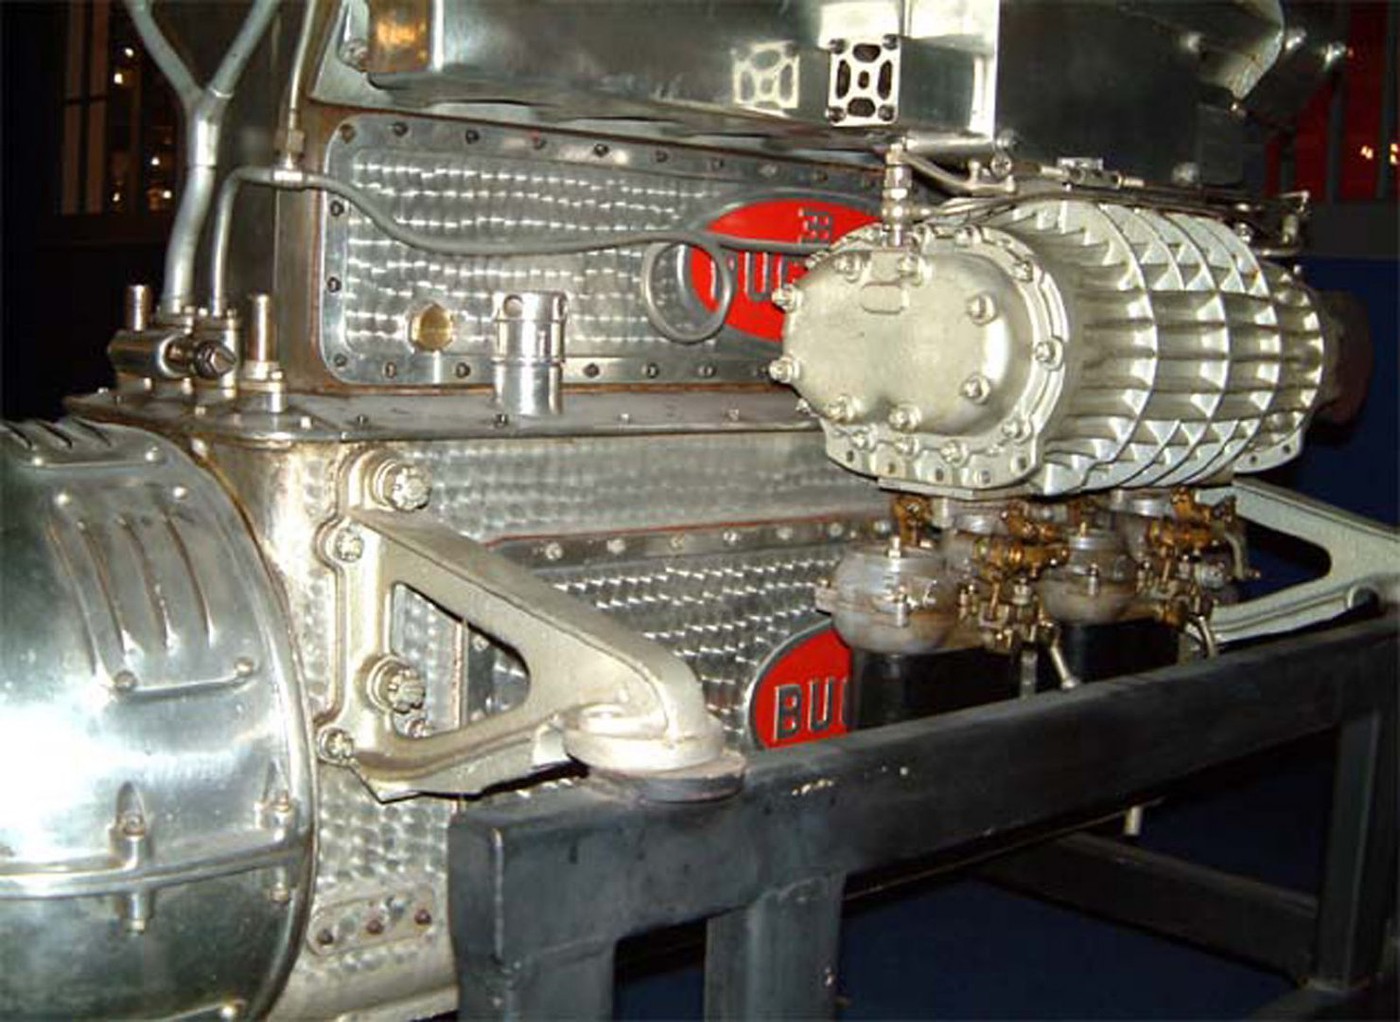 Example of Engine Turning on Bugatti engine.. |
|
|
|
Post by arcticwolf on Mar 1, 2021 17:48:37 GMT -8
Watching what some of you guys can do makes me feel like I'm back in school.
Hell, I am back in school!!
I love this place.
|
|
|
|
Post by Chris K. Hale on Mar 2, 2021 6:12:55 GMT -8
That photo of the Bugatti engine is a 1/8th scale model, I forgot to add that! I also forgot to say, Very Nice Work Pascal, having spent much of my youth around these cars, this going to be a Great Model.. Chris
|
|
|
|
Post by pg265 on Mar 2, 2021 11:53:03 GMT -8
Good evening, Thank you  The engine is a Bugatti 50T I think. I built one a long time ago... and would love to build another Pocher kit. The circular markings called “bouchonnage”, as it was done with a turning cork (Bouchon in French), was applied on some parts of the Bugatti type 35... but not on the engine. Only rebuild cars have an engine block “bouchonné”. However, I punched some 1mm discs in 3M 9000 Finesse-it, glue them on a wooden toothpick and made some tests on the back side of the dashboard. Need some training and alignment... 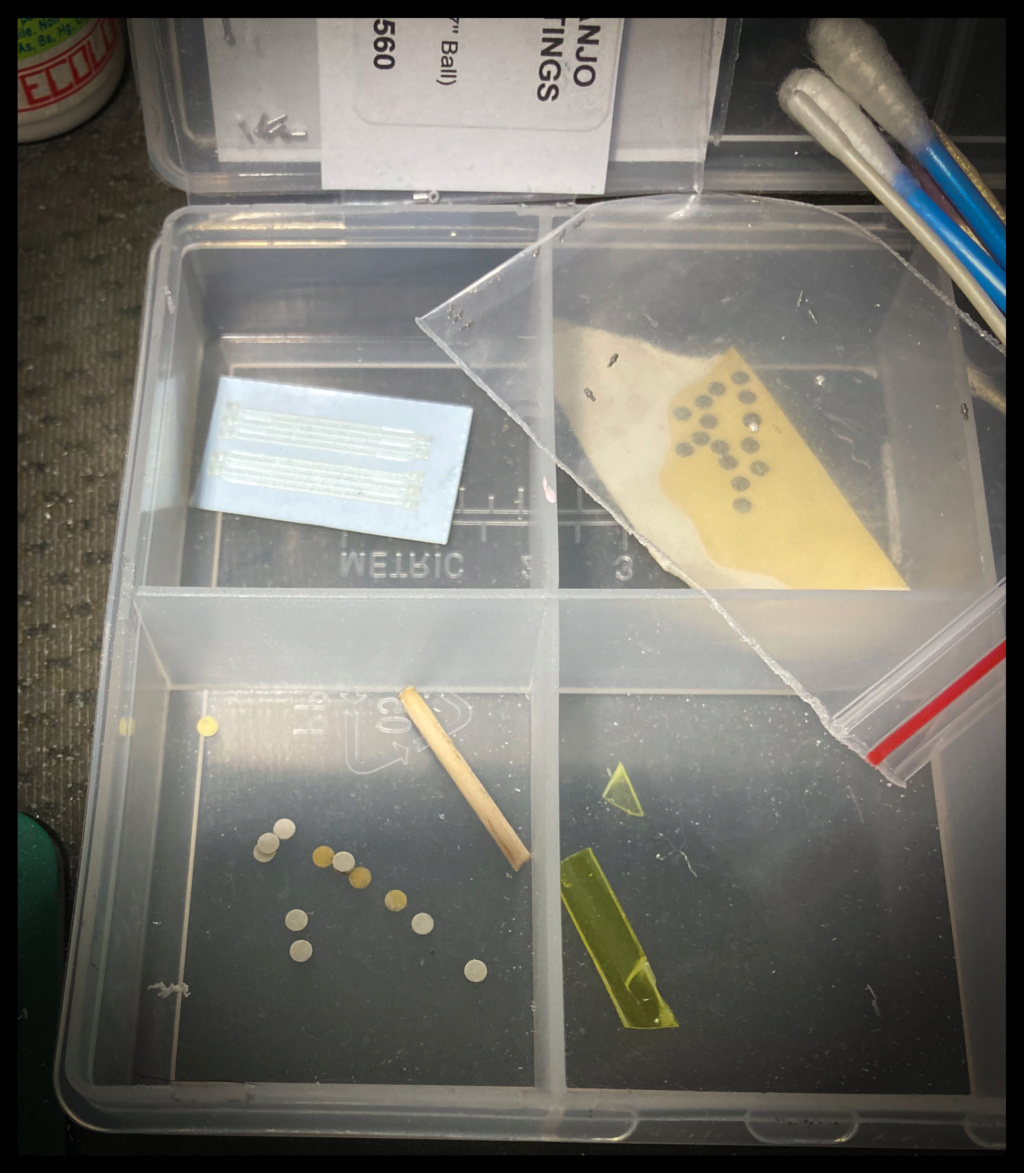 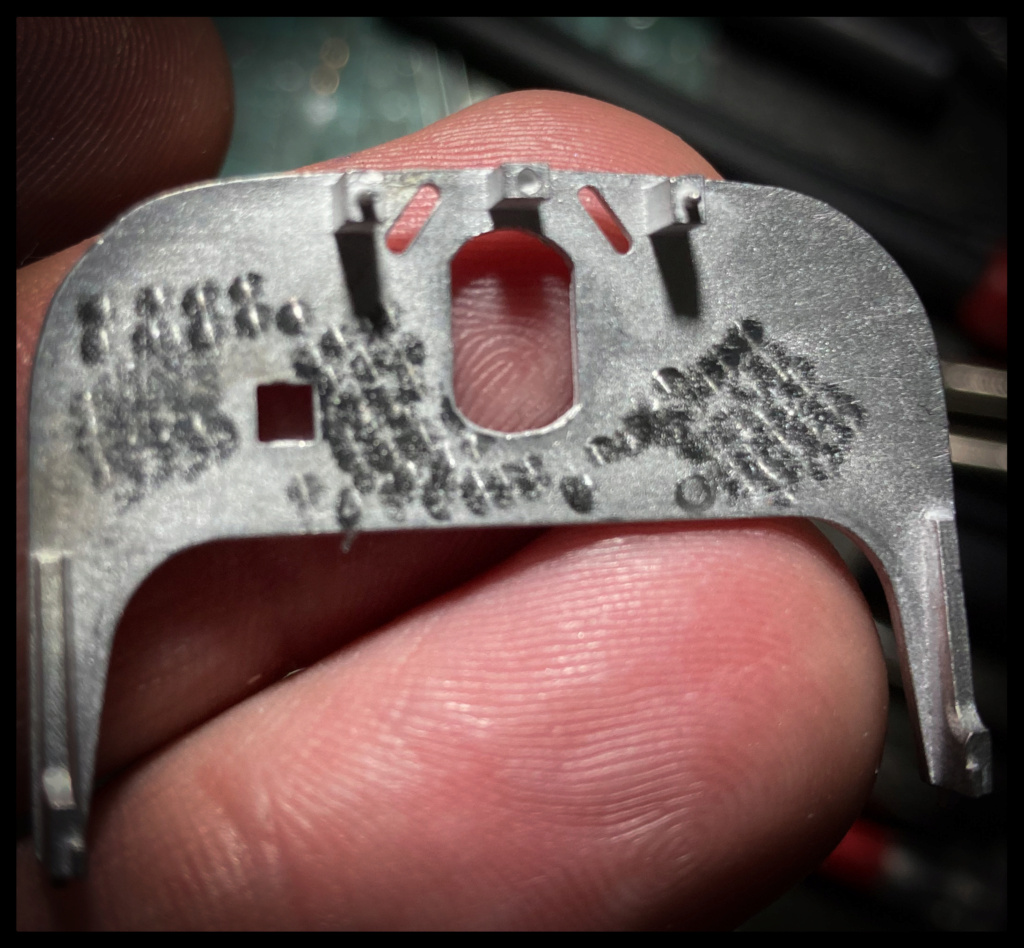 Pascal |
|
|
|
Post by Chris K. Hale on Mar 3, 2021 12:39:06 GMT -8
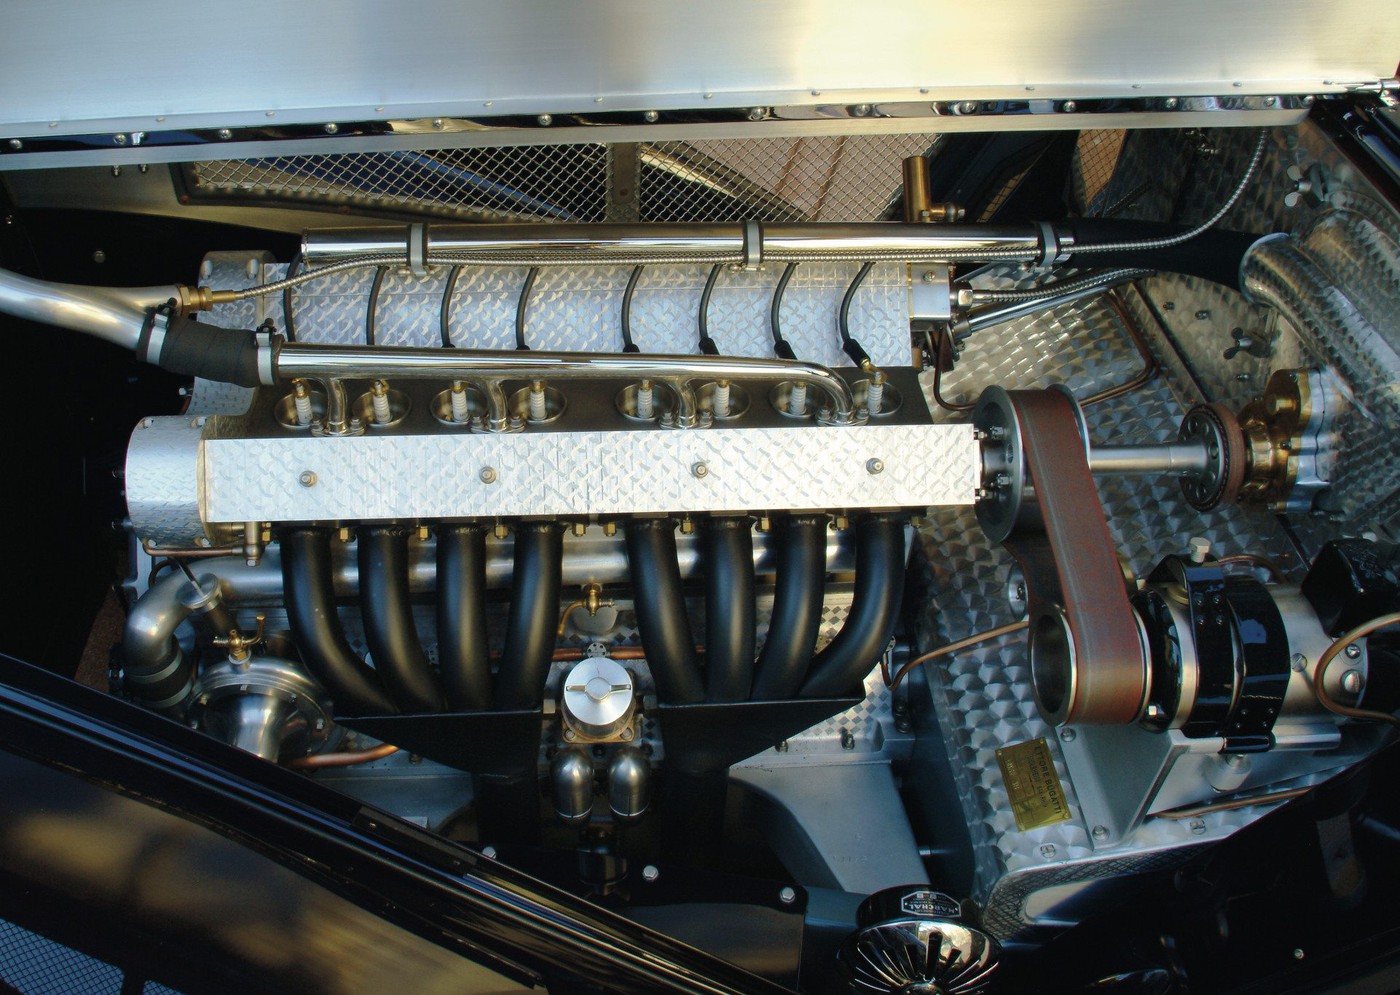 Engine turning was indeed used on engines as early as the Type 35 , the Bugatti book states, " Most of the workers at the factory were poor farmers and had learned Engine turning as a inexpensive way to dress up engines dash boards and other metal parts on the car like the T35 , T50 and T51. 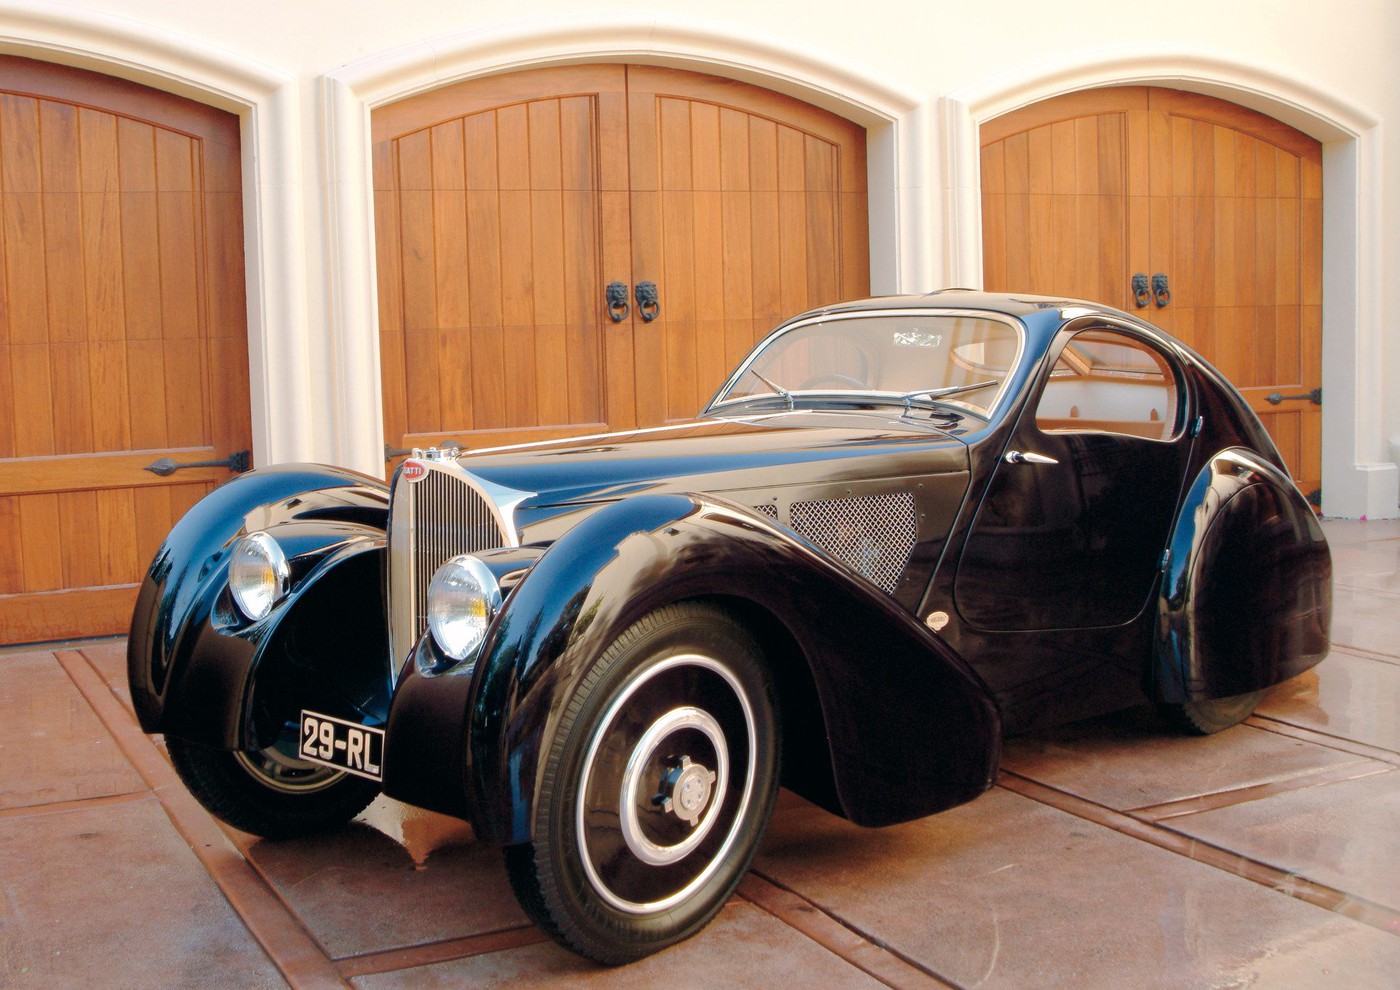 When I would spend a day at Briggs Cuninghams Museum He let me get in the Bugatti Napoleon such a rare car but an unbelievable machine. 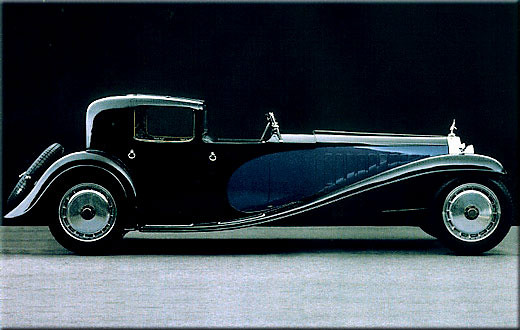 This car if you have never seen one is one of the longest and most beautiful cars of all time..Chris |
|
|
|
Post by pg265 on Mar 6, 2021 15:05:58 GMT -8
Good evening, Thank you Mates and thank you Chris for comments and the great pics!  The build continues quietly. The chassis parts are varnished, then assembled. Engine assembly for test fit.    Suspension and rear drivetrain are done and in place. The shaft is chemically burnished after being polished. The blades must be assembled one by one and care must be taken in their alignment. The two halves of the tank are welded, sanded and then polished. The sides are added and the whole is treated with oils. 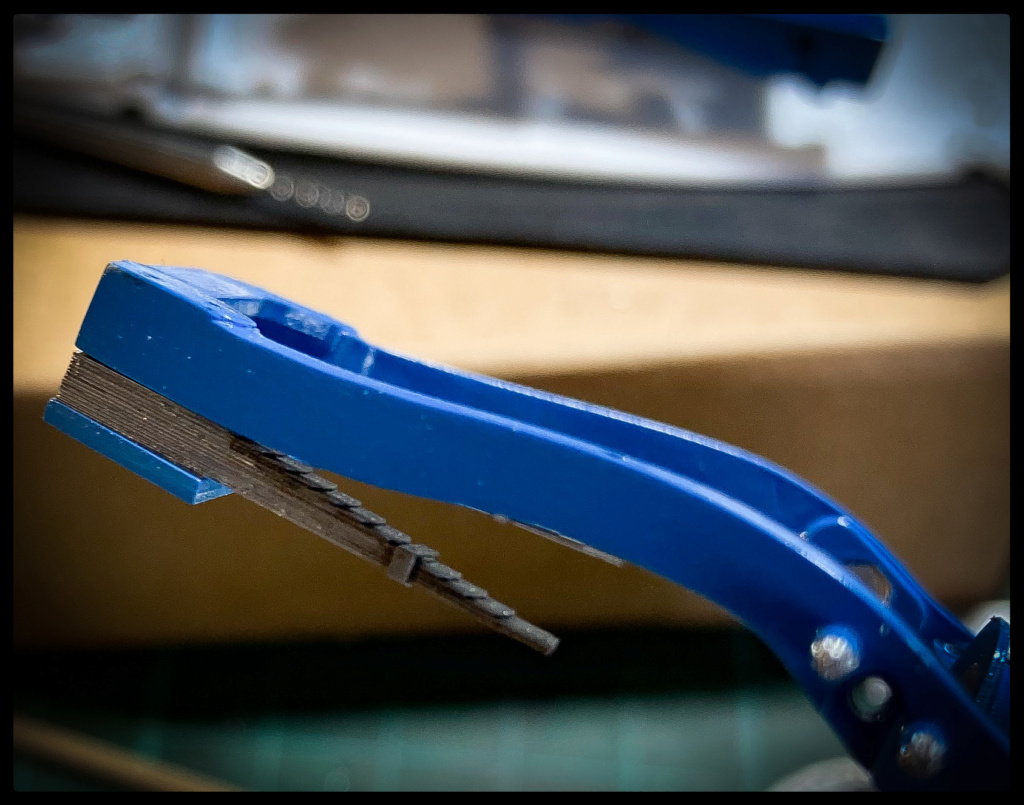  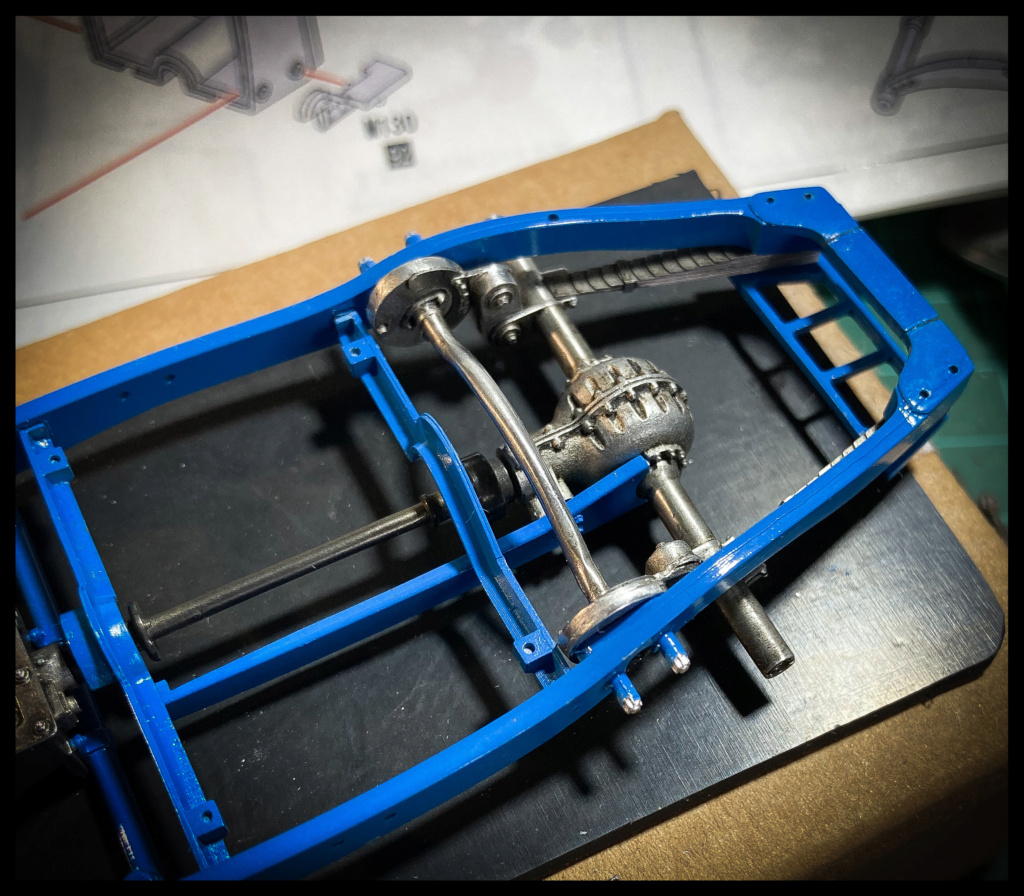    Okay, that's cool, but everything will disappear behind the seat and under the body parts; nothing will be visible anymore ... but it's there! The gearbox control is installed as well as the crankset.    The radiator supports are prepared, passed to the burnisher and installed in order to validate its positioning.   That's it for tonight. Pascal |
|
|
|
Post by tatocorvette on Mar 6, 2021 20:27:31 GMT -8
Beautiful work as usual. I admit I am not usually a fan of that scale but I really enjoy your updates. What paint are you using to represent the French racing blue?
By the way, I envy this guy:
Thanks,
Ismael
|
|
|
|
Post by Joel_W on Mar 7, 2021 6:32:30 GMT -8
Pascal,
As usual your skills are beyond what someone like me could possibly duplicate. those rear springs look as perfect as one can get them in scale to look, and I'd have guessed that they were cast that way, yet you built them leaf by leaf. Just amazing.
the chassis is coming along quite nicely with your typical attention to the smallest of details. Agreed, that it will be shame that some of it will be covered up once the body is installed on the chassis, but since the chassis is open on the bottom, maybe displaying the Bugatti on a mirror would be a viable option.
joel
|
|