|
|
Post by pnance26 on Mar 20, 2022 20:10:13 GMT -8
Pasquale,
Does it help to mount all the sleeves around the rim first?
|
|
|
|
Post by pg265 on Mar 21, 2022 7:32:48 GMT -8
Pasquale, Does it help to mount all the sleeves around the rim first? Hi, I think it’s easier and safer to install sleeves with the spokes. Proceeding this way, you don’t have to move again the spokes while inserting the sleeves. Of course, it would have been far better to have bent spokes to install on the hub, straight, with no angle… more realistic, more beautiful and stronger. Pascal |
|
|
|
Post by pnance26 on Mar 21, 2022 8:25:45 GMT -8
Not sure I understand “bent spoke” remark…
Bent on which end?
Thanks in advance.
|
|
|
|
Post by pg265 on Mar 21, 2022 8:56:07 GMT -8
Bent on the hub side.
|
|
|
|
Post by pg265 on Mar 21, 2022 11:55:16 GMT -8
Good evening, Thank you very much for your comments Joel! Really appreciate.  The base of the vermiculated paint of the camshaft covers is done. The other stages of painting will not be long in coming. 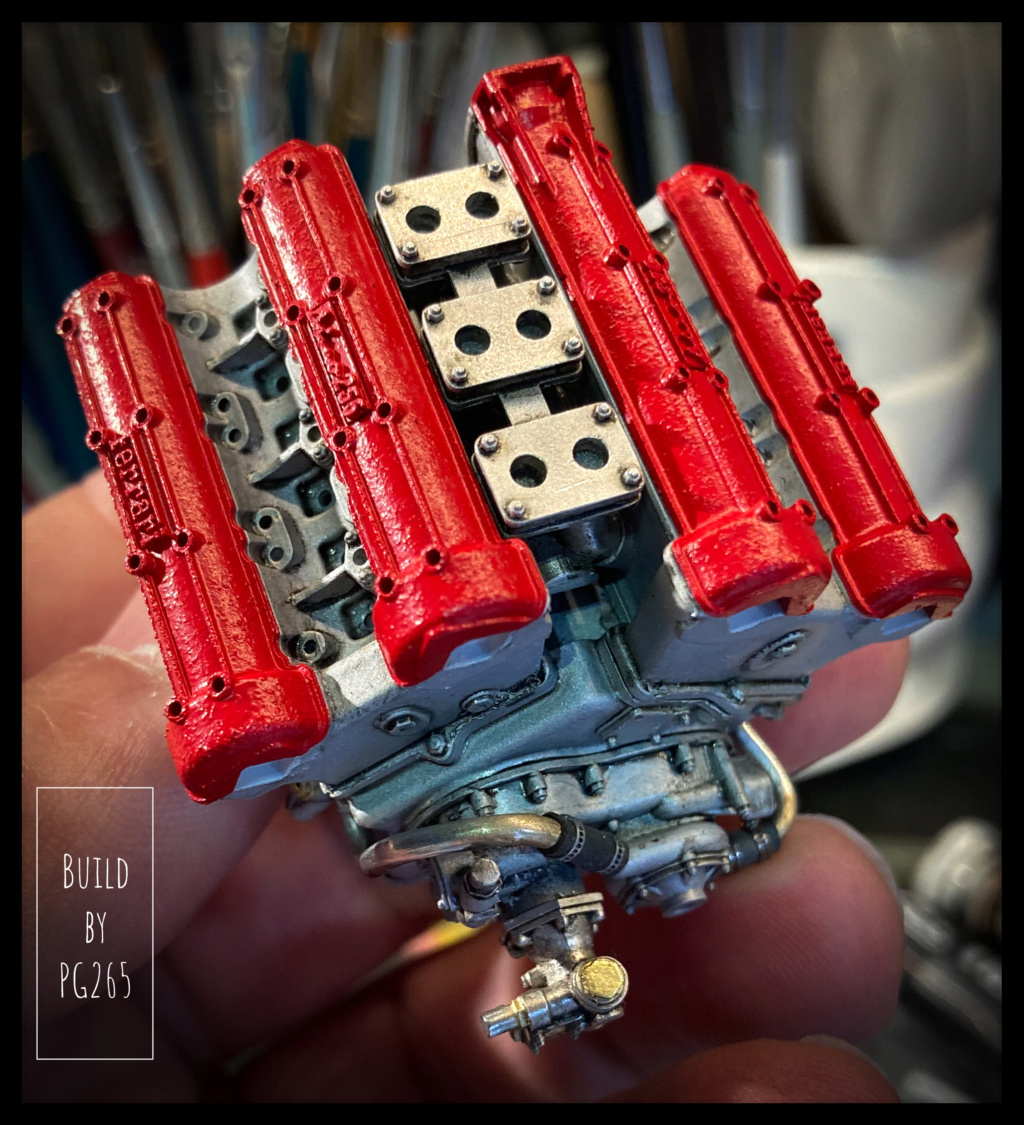 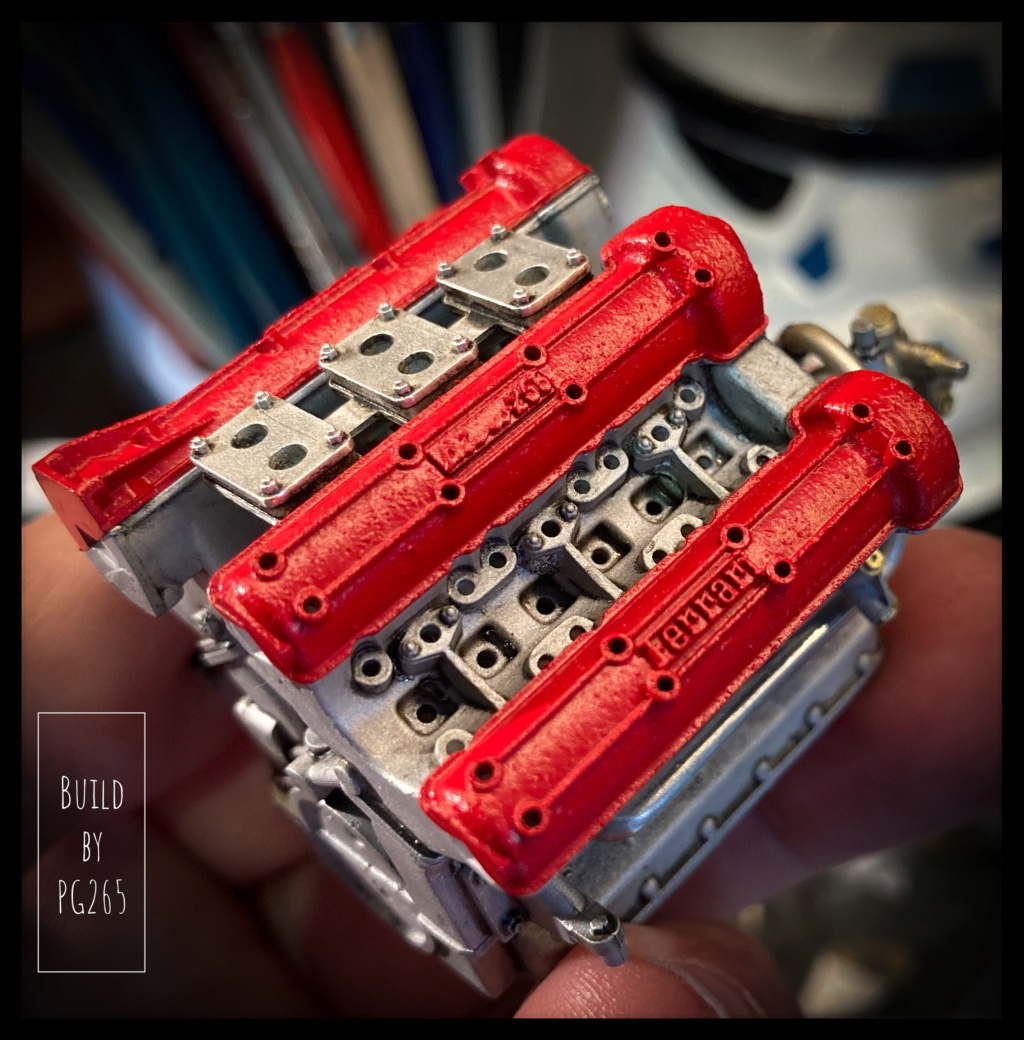 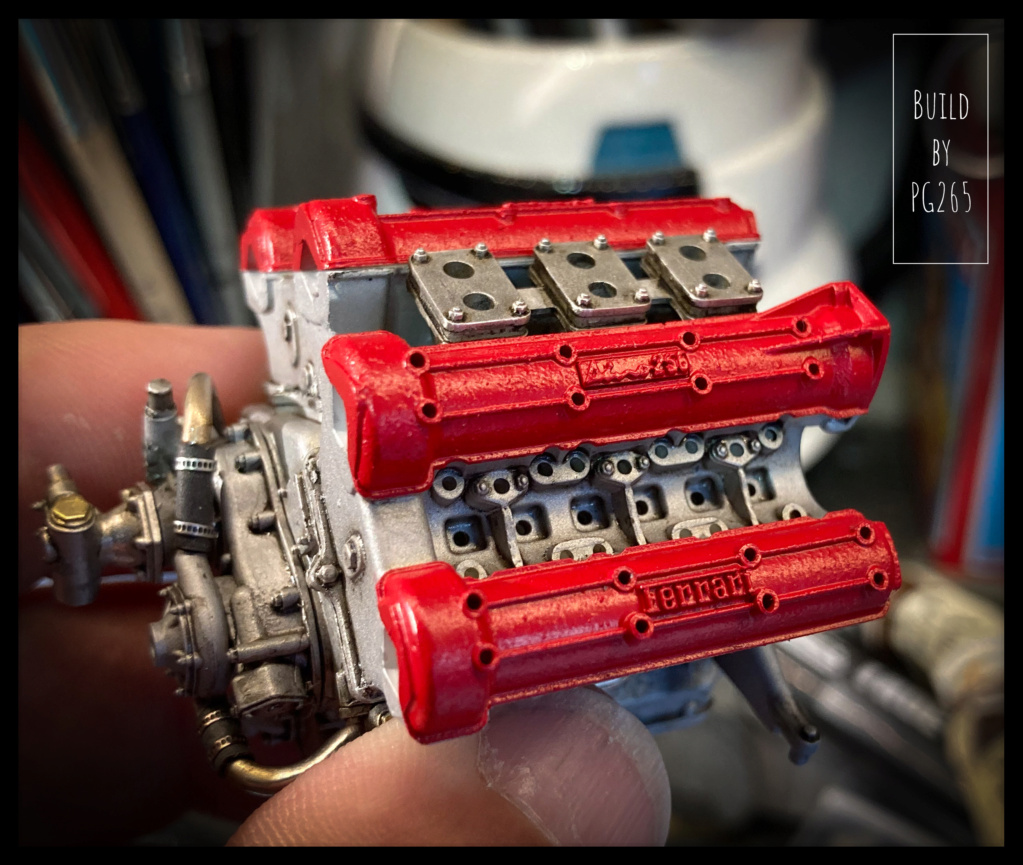 In the meantime, the hardware is in preparation. Next soon. Pascal |
|
|
|
Post by pg265 on Mar 22, 2022 12:22:24 GMT -8
Good evening, The shaft covers are lightly retouched with Sennelier and Humbrol reds before being matt varnished with Aeromaster. 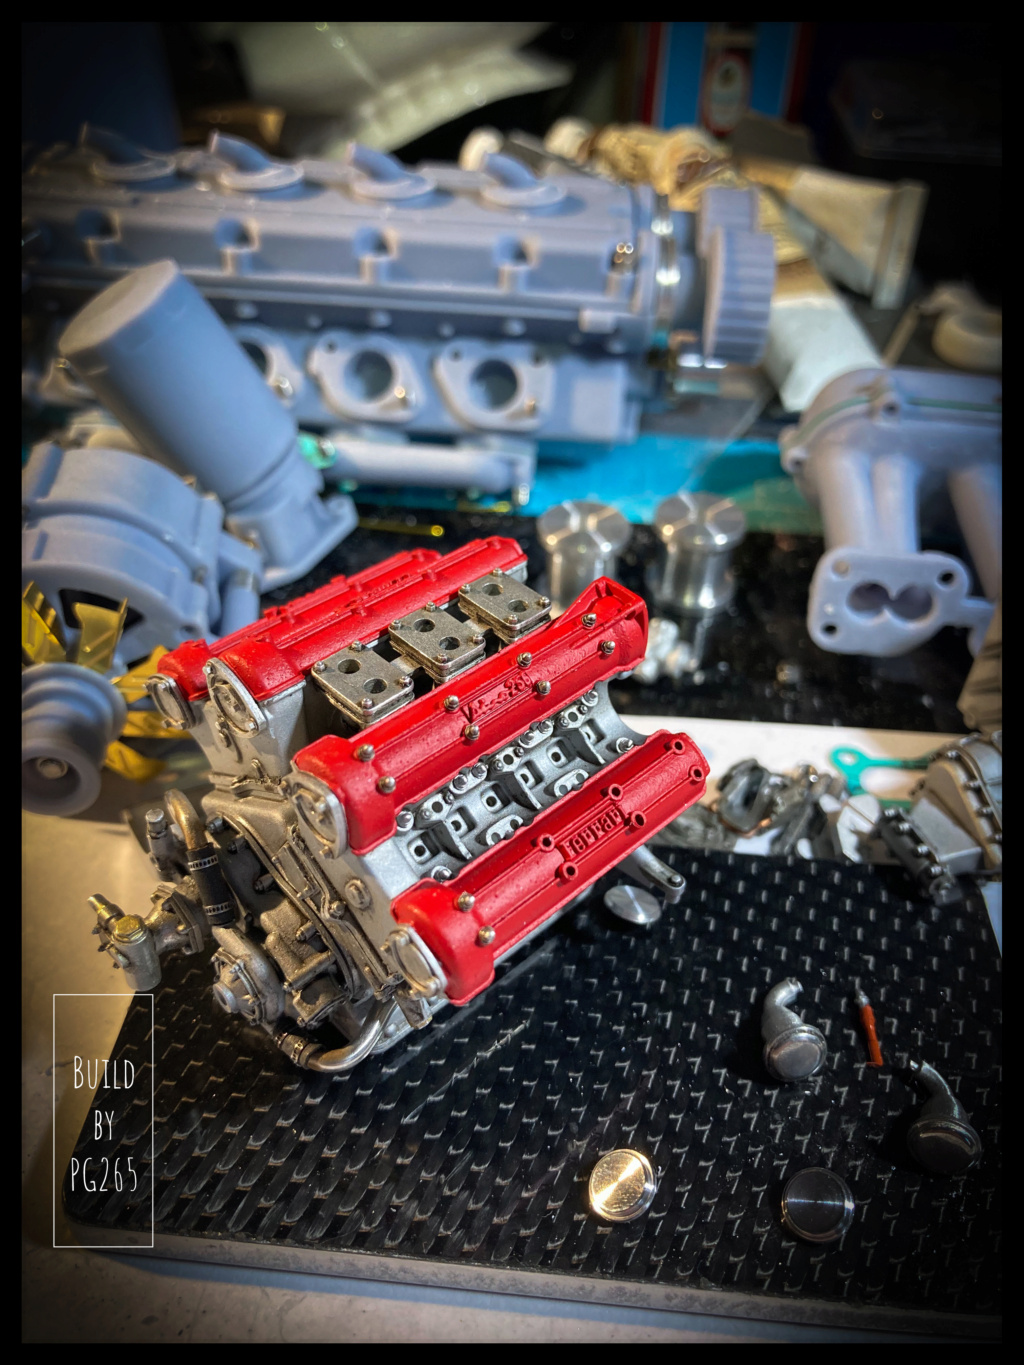 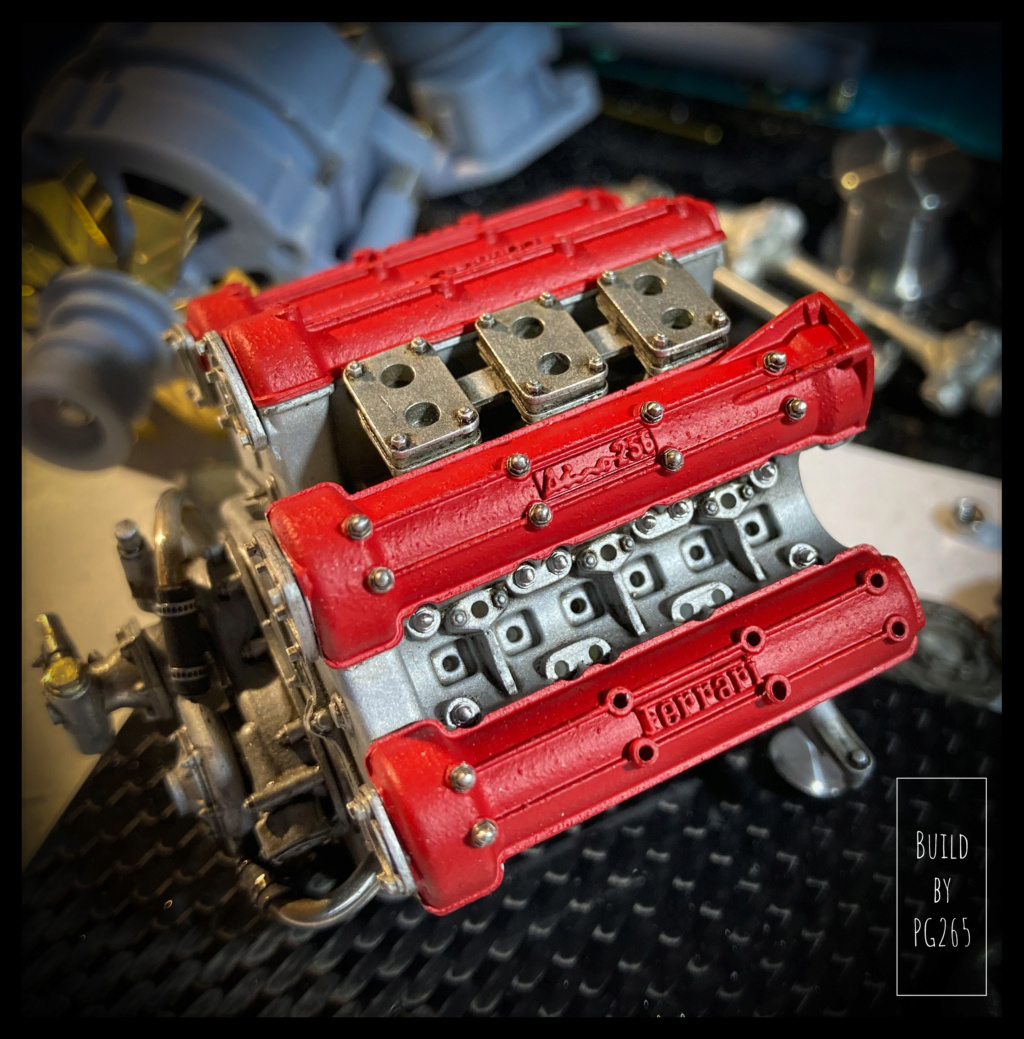 They are installed and fitted with ACT bearing covers. 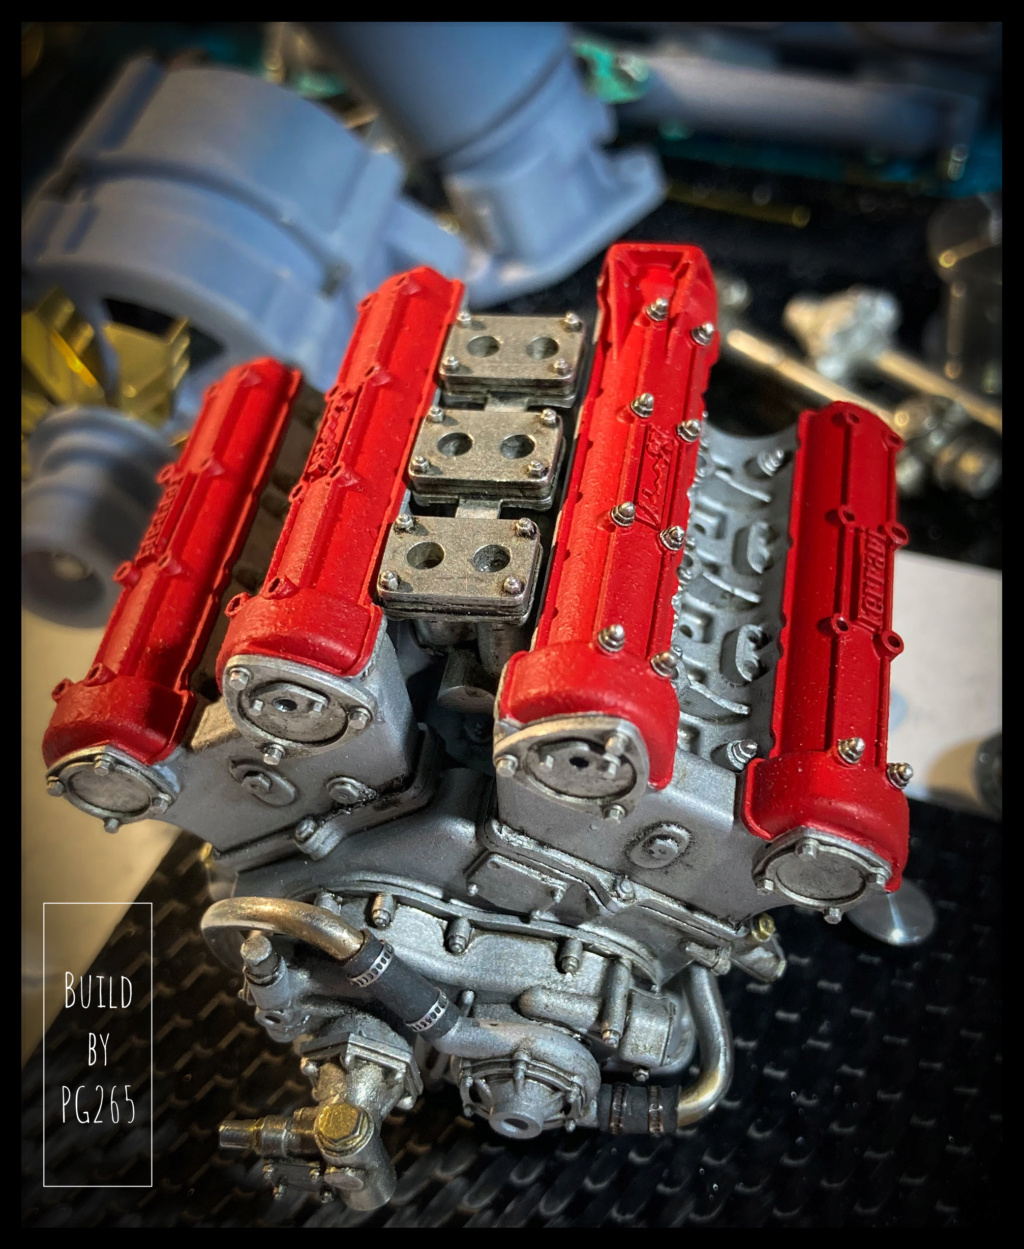 I turned new caps for the oil filler, but I'm not sure yet to use them... 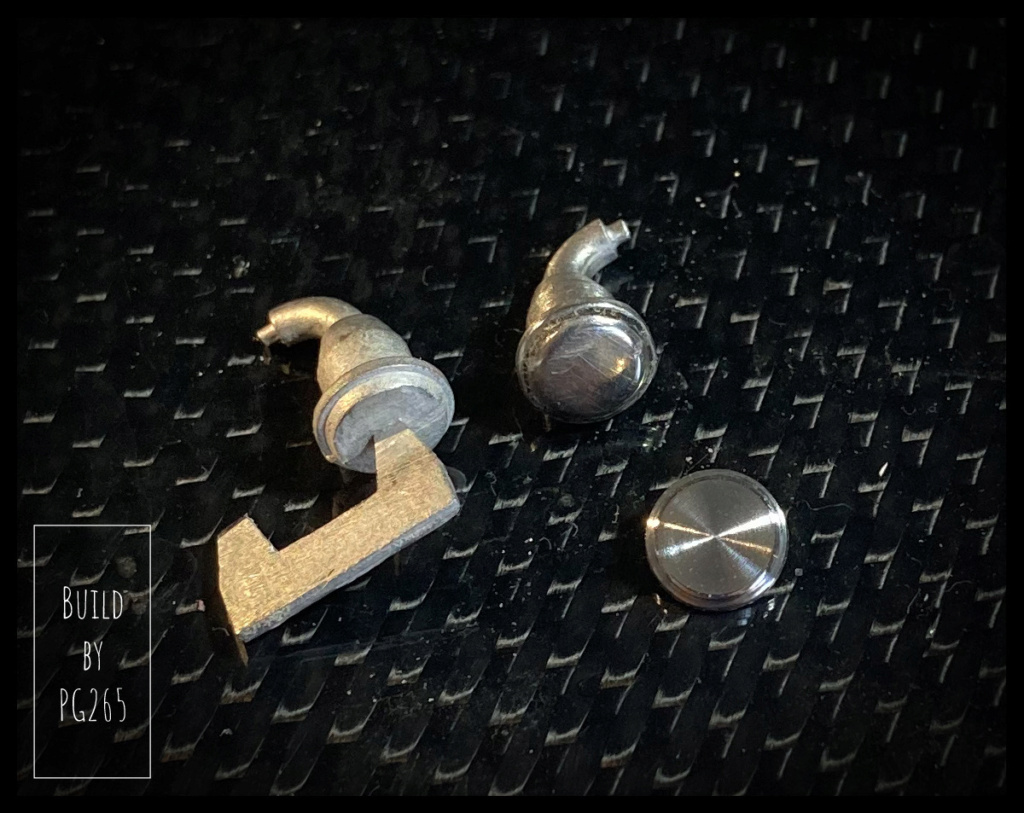 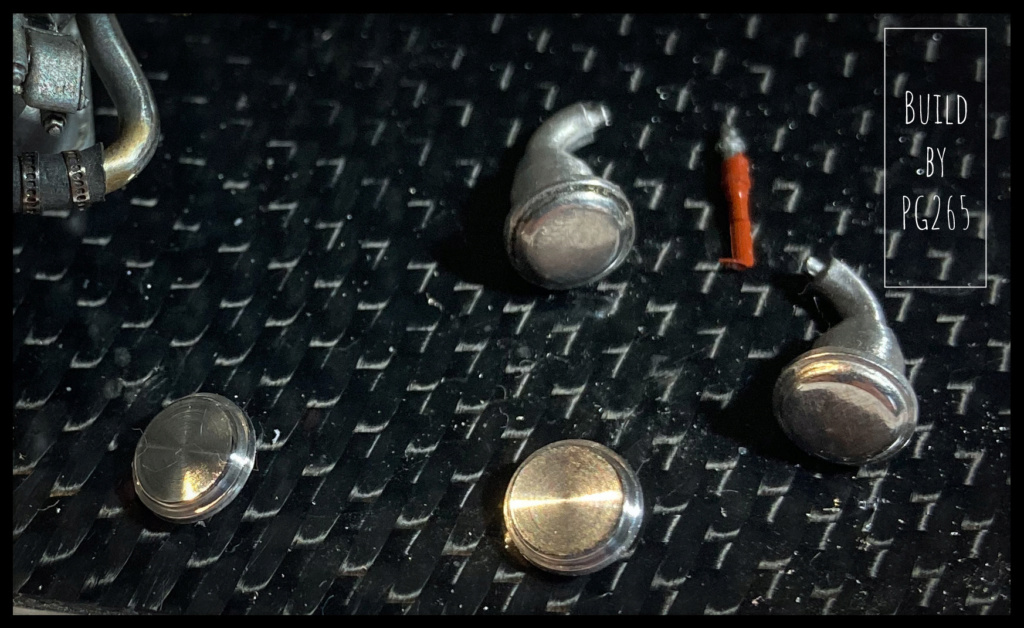 This is also an opportunity to start installing the bolts. That's all. Pascal |
|
|
|
Post by Joel_W on Mar 22, 2022 16:09:42 GMT -8
Pascal,
Those Cam covers came out looking fantastic. the effort you put into them really paid off.
joel
|
|
|
|
Post by pg265 on Mar 23, 2022 11:54:41 GMT -8
Good evening, Thank you Joel! Some progress today, but a lot of preparation, painting… and compressors to repair and maintain! A little work on the exhaust manifolds to start. They are passed under different grits and then lightly polished. 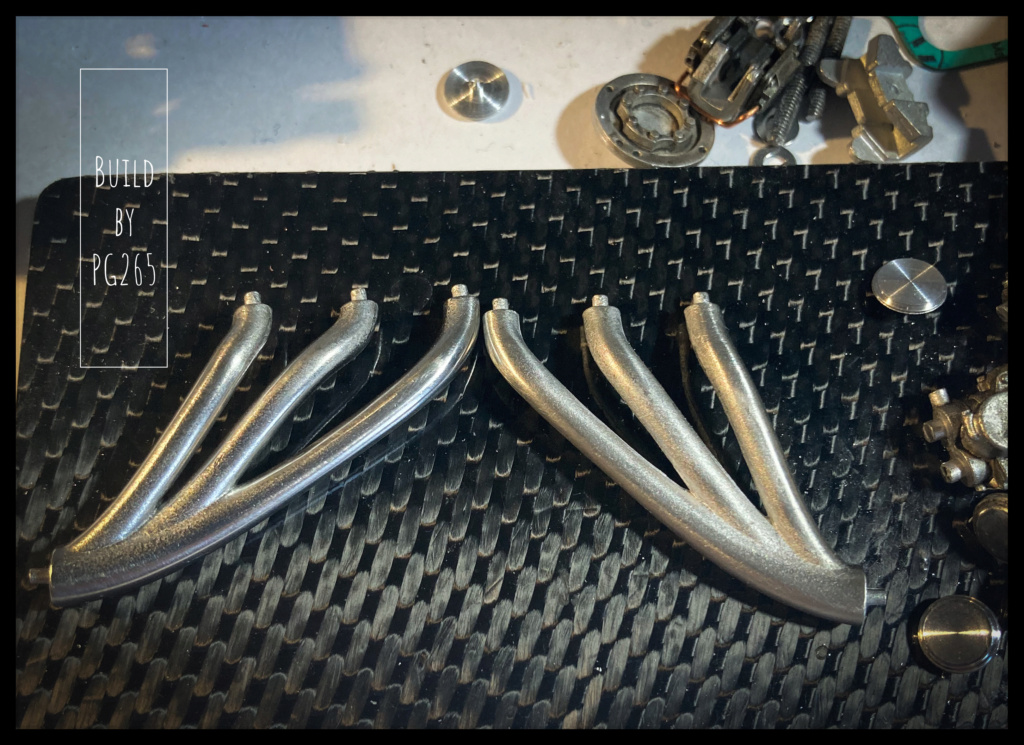 A small bath in Blacken'it to burnish the exhaust tubes and a bath in water to stop the reaction. 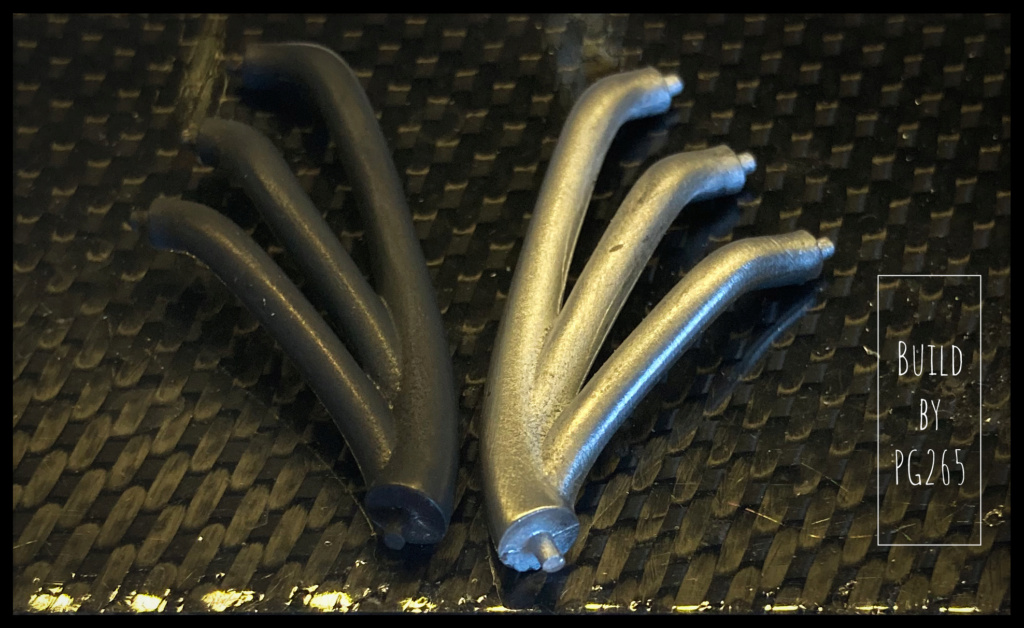 Then suick wipe with a soft cloth to shine a little 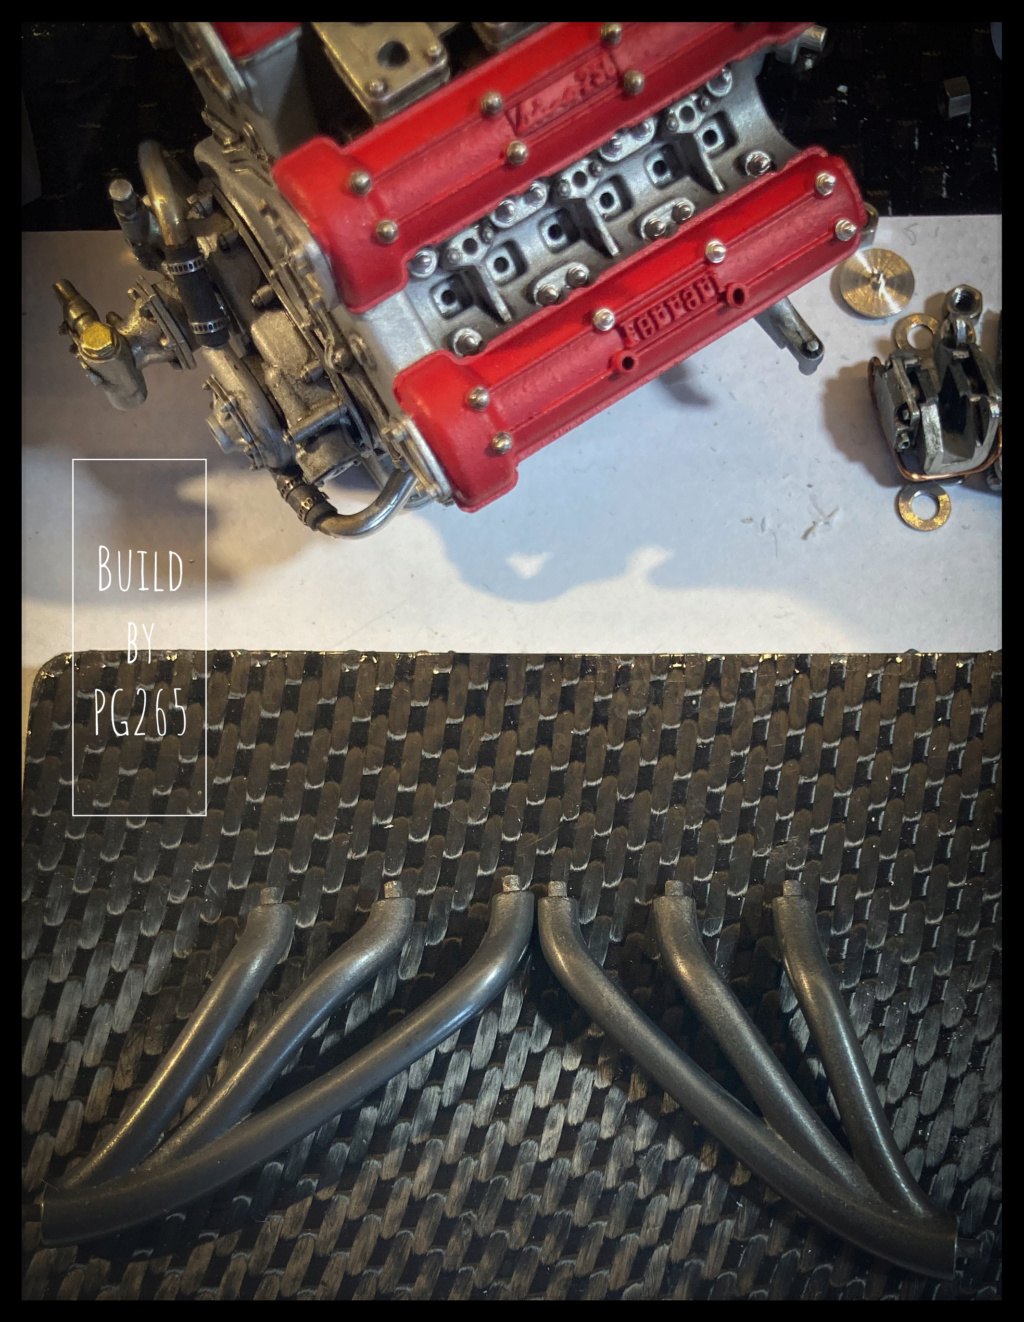 The purpose of the operation is to give a slightly used appearance due to the heat by flaking the paint while having tubes marked by the heat. We dab a bit of liquid mask using a foam pad, then comes a coat of well-diluted matte black paint; here some Tamiya matt black. After passing a brush with medium bristles, I get the result I was looking for. 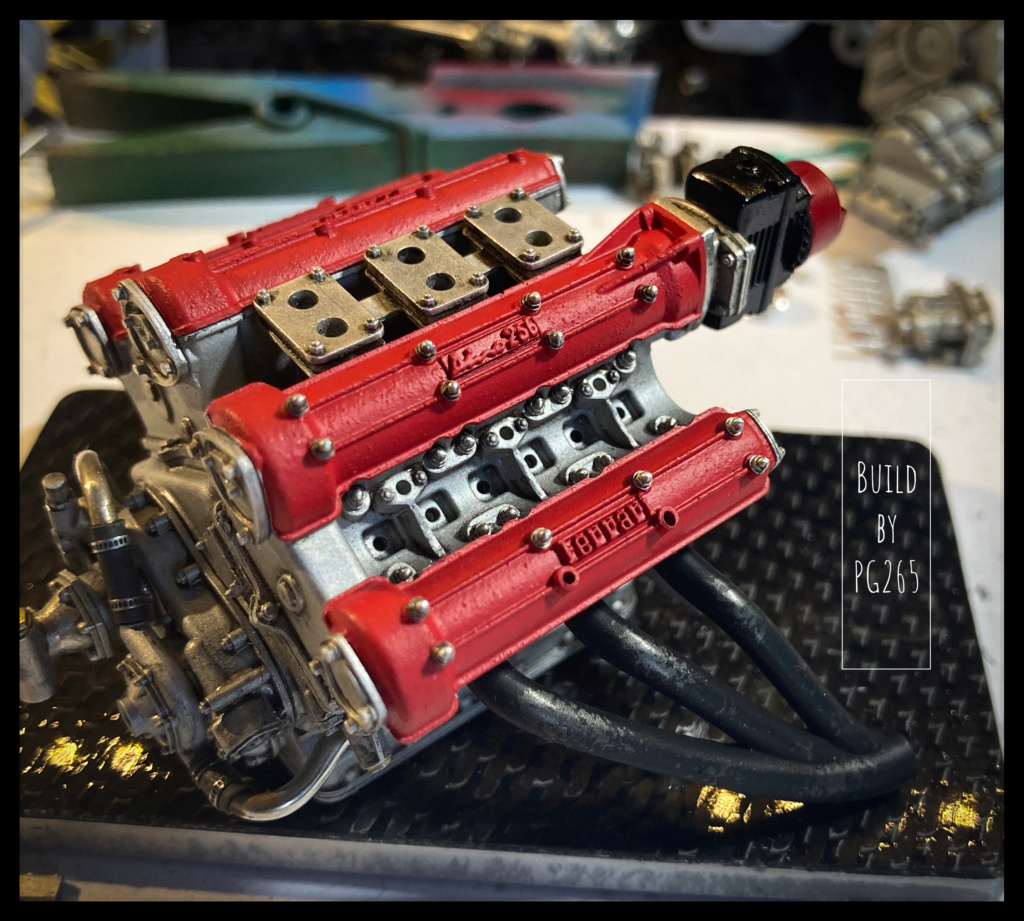 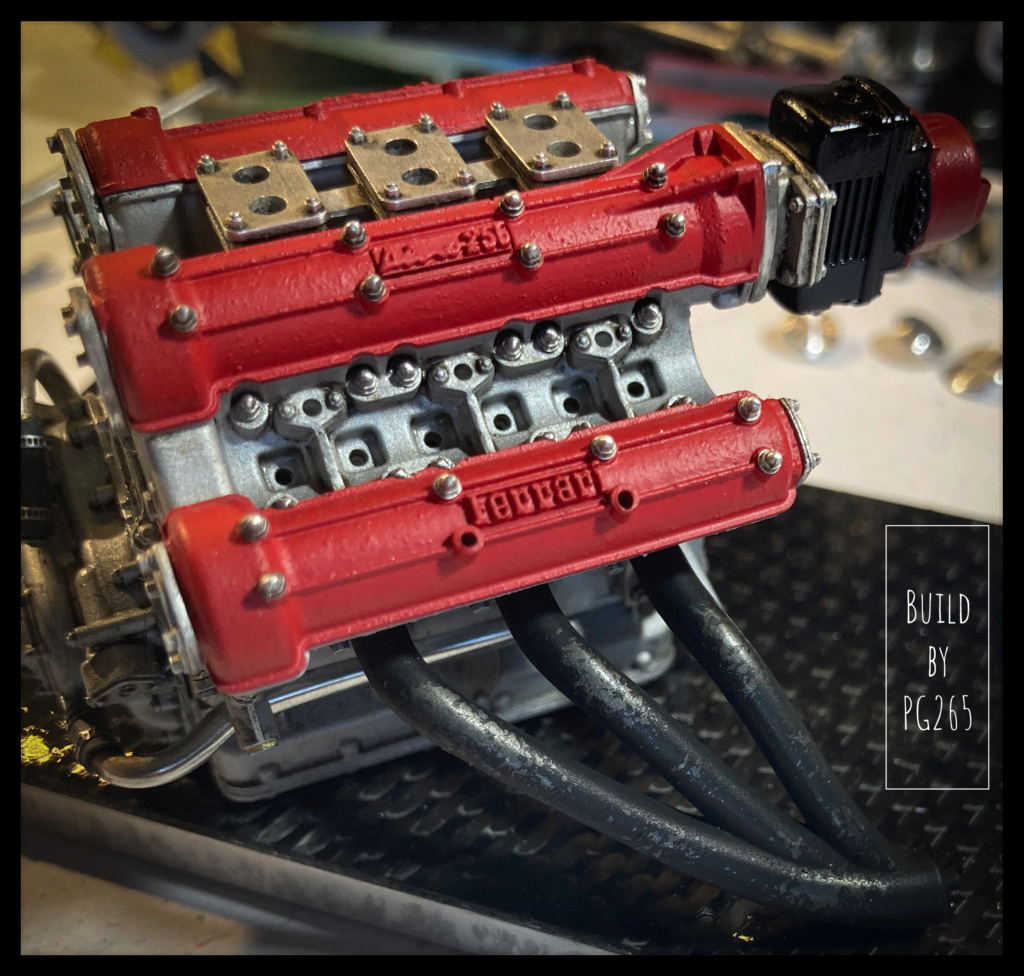 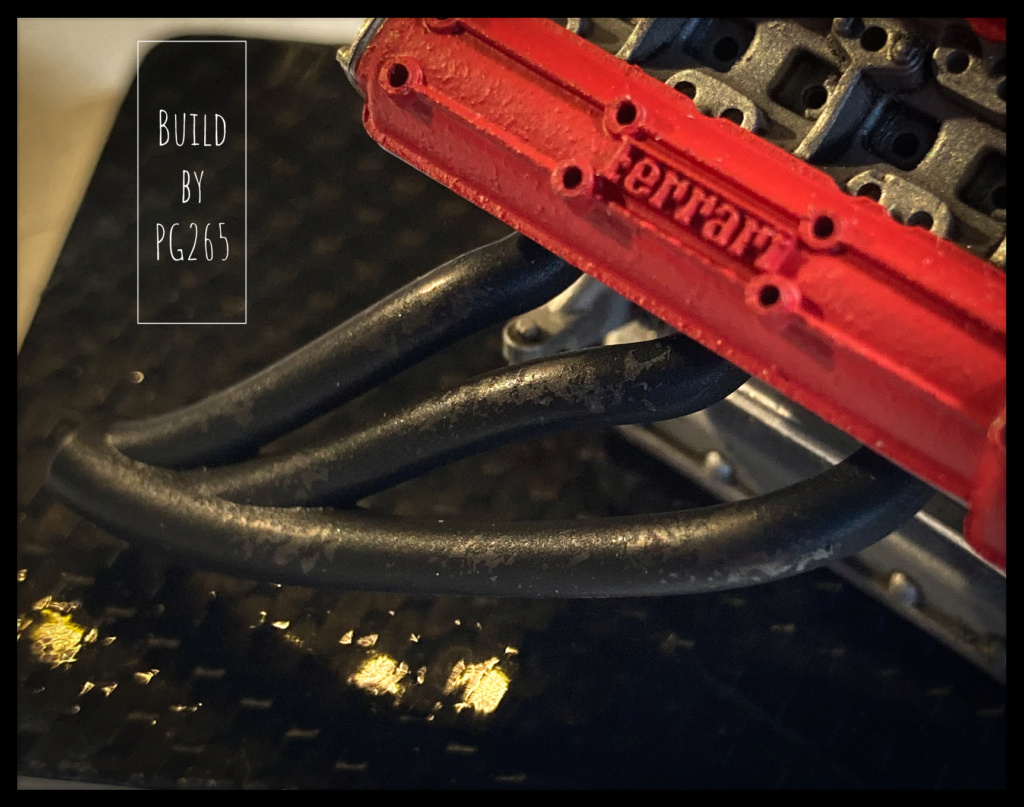  The magneto is painted and installed, the distributor head drilled. The rear of the engine is fitted with covers. 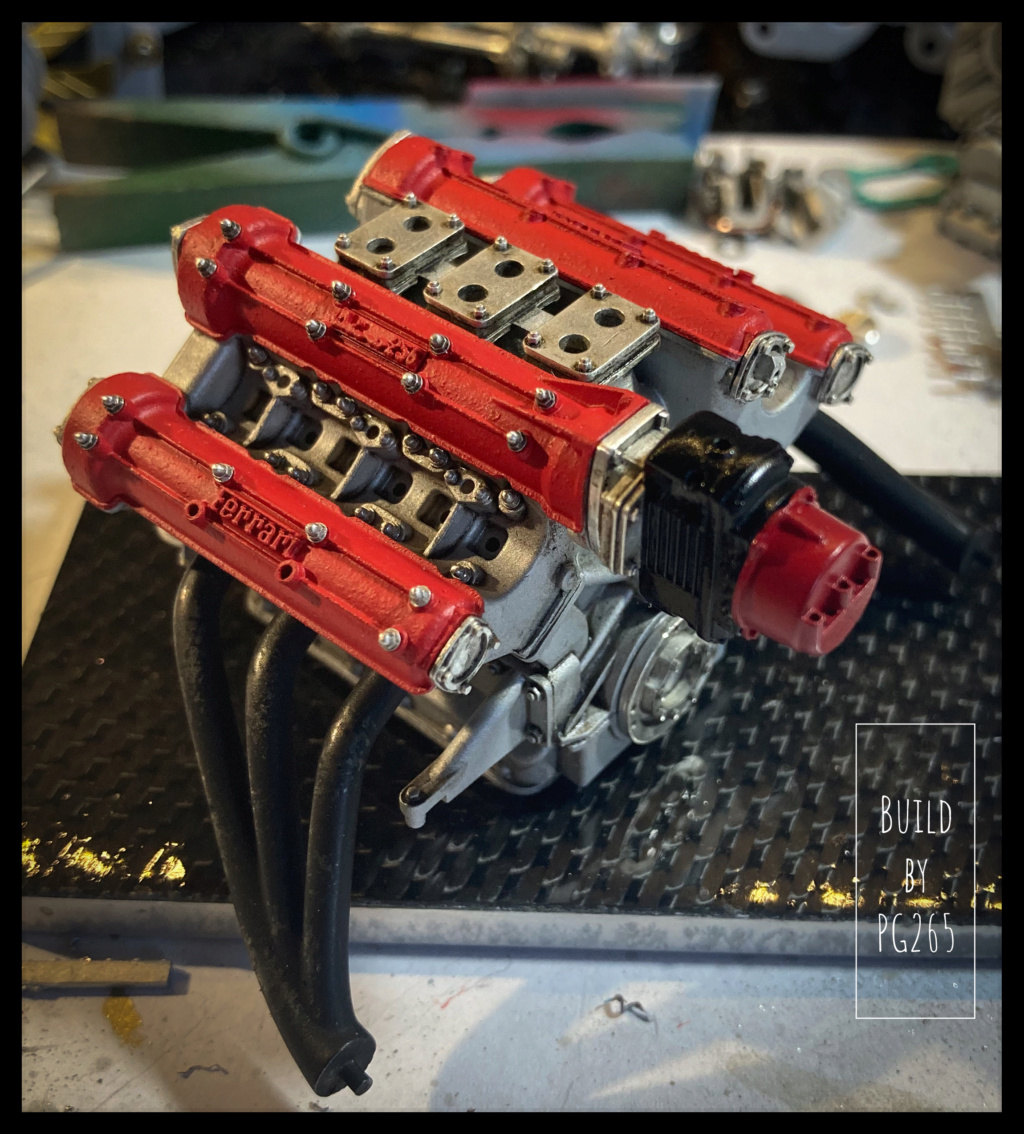 Working on the carbs, linkage and fuel supply, stacks...   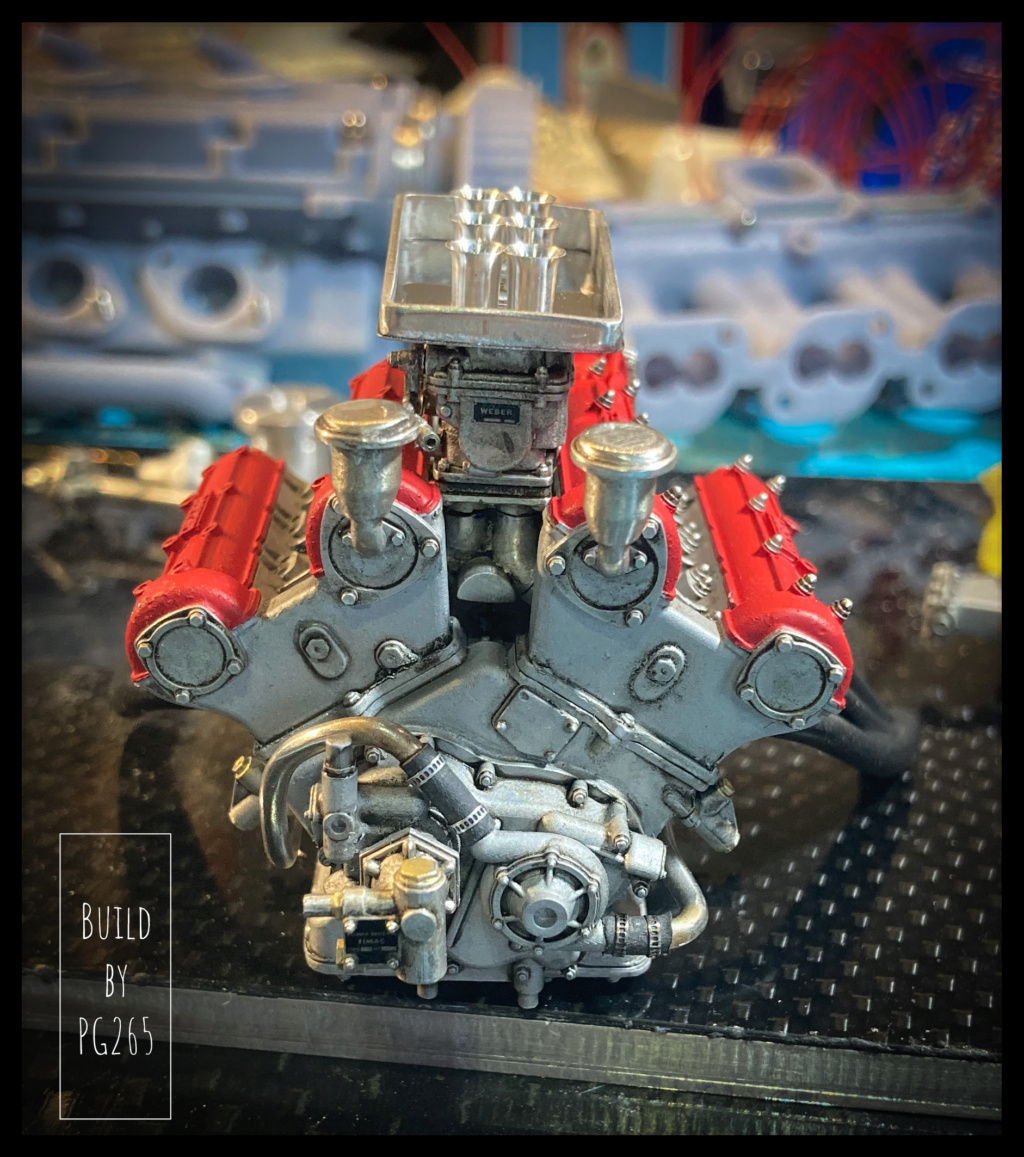 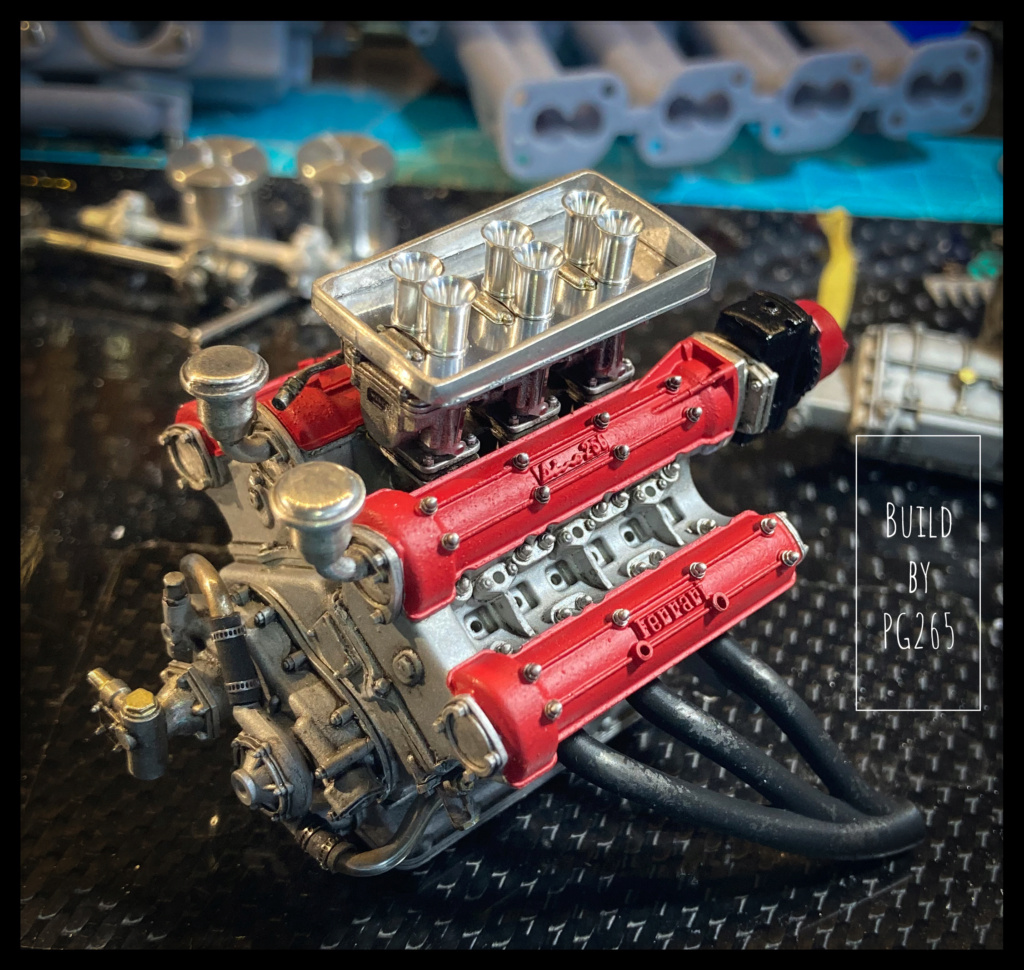 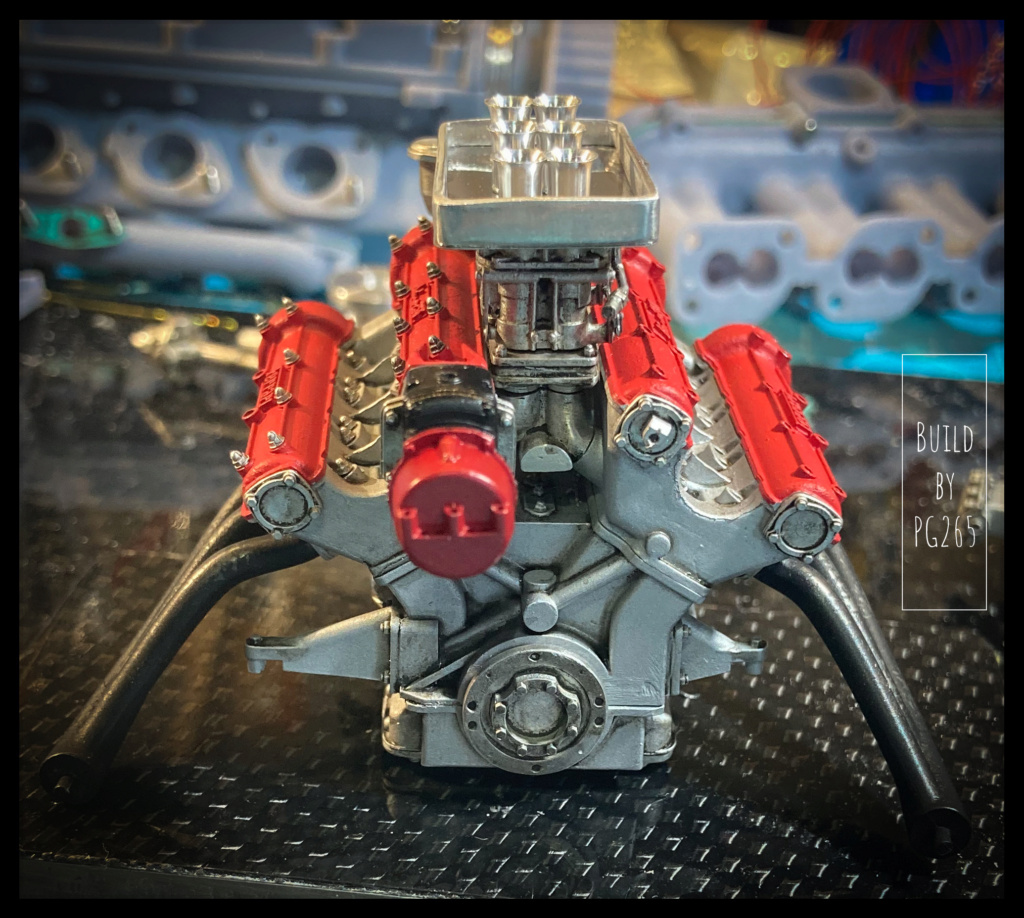 In the end, I did not use the corks that I had turned yesterday. More soon. Pascal |
|
|
|
Post by pg265 on Mar 25, 2022 23:59:55 GMT -8
Good morning all, Alright, it got hot today! I tackled the cabin and the chassis. As usual, my preference goes for welding the parts supporting a certain constraint. Let's take the iron, the LTS, the flux, the files, the with parallel jaws pliers… all the stuff. 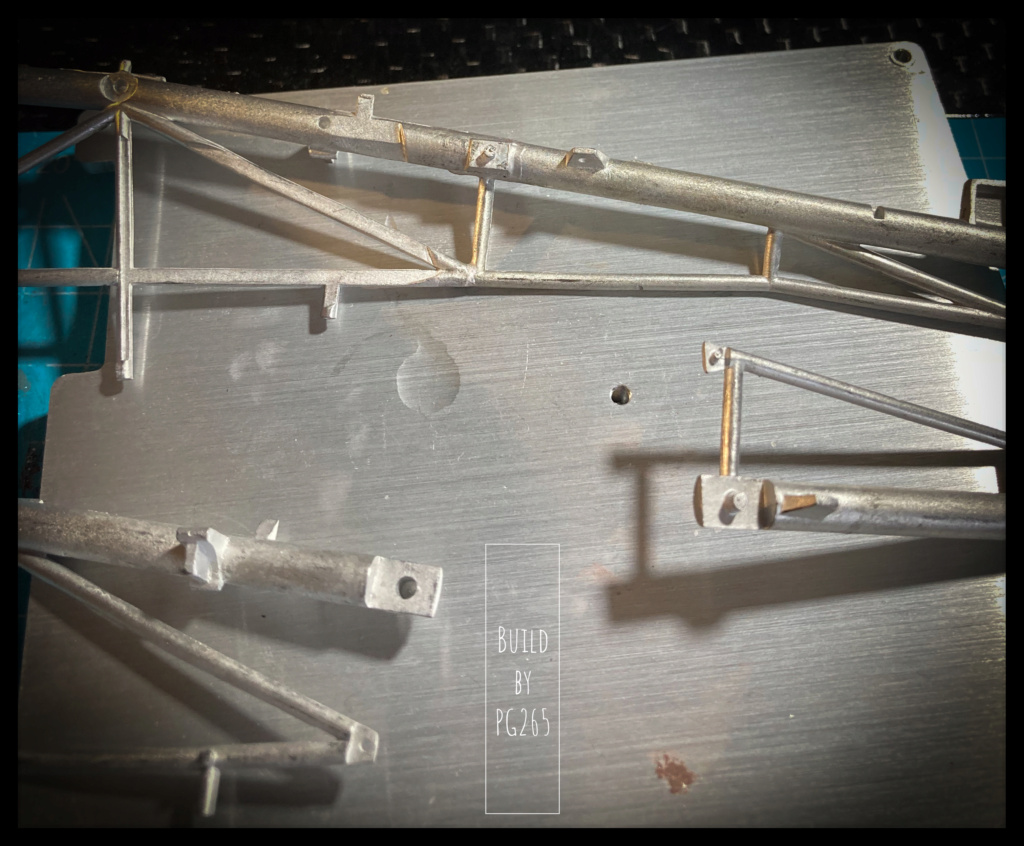  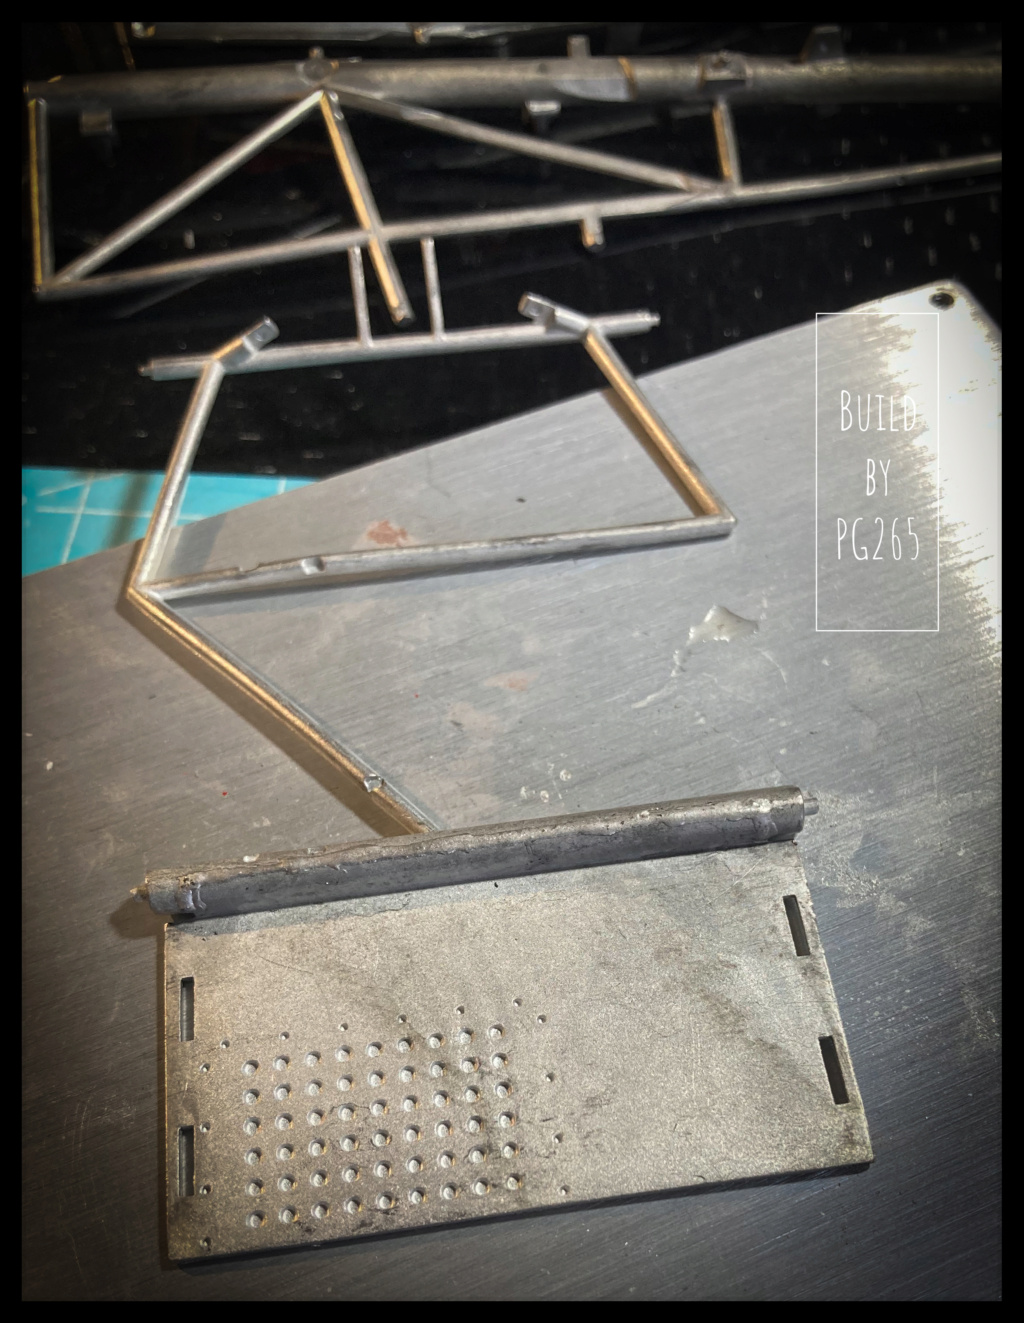 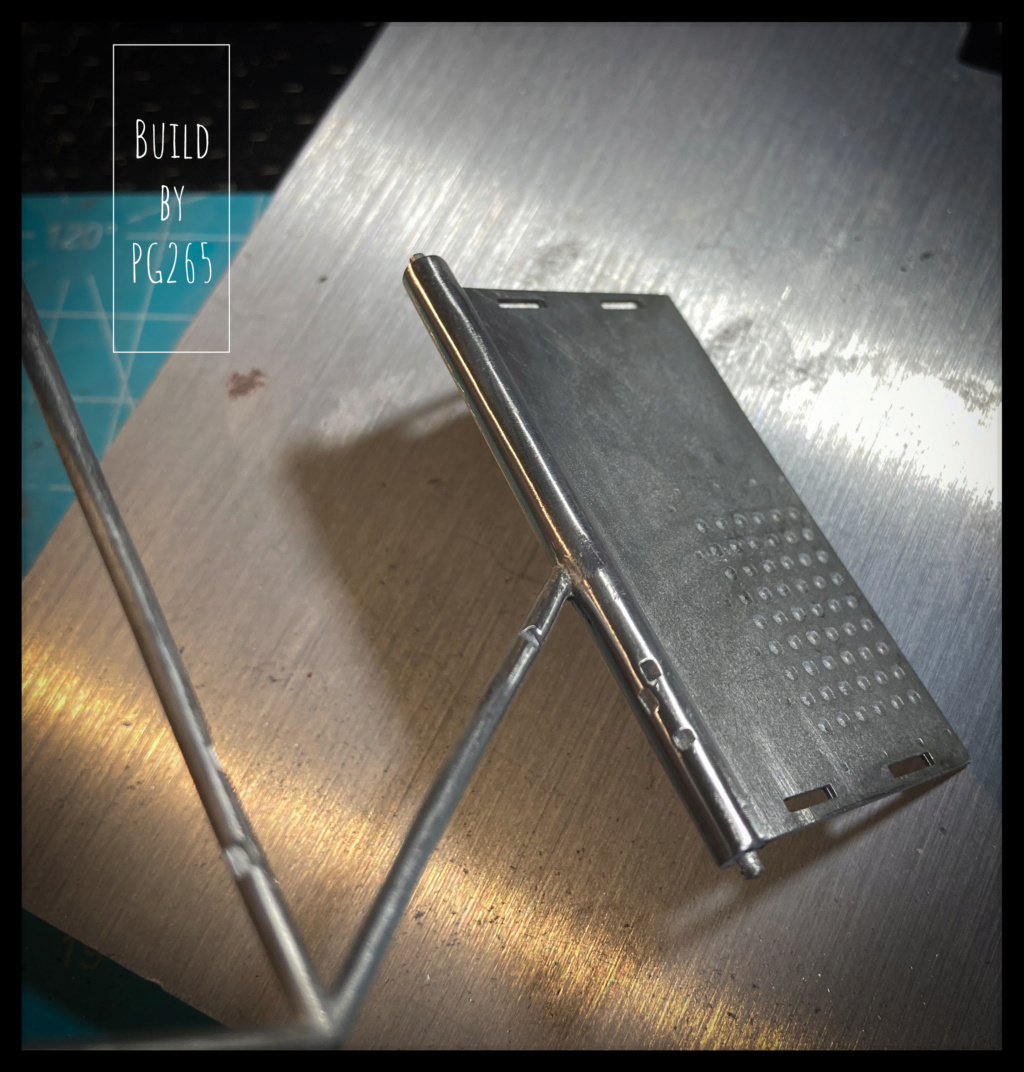 There is a lot of work to be done on the chassis tubes. I still don't know if I'll leave it natural metal or if I paint it grey... Surely grey. All elements of the cabin are also welded. The pedals are installed and improved a bit. 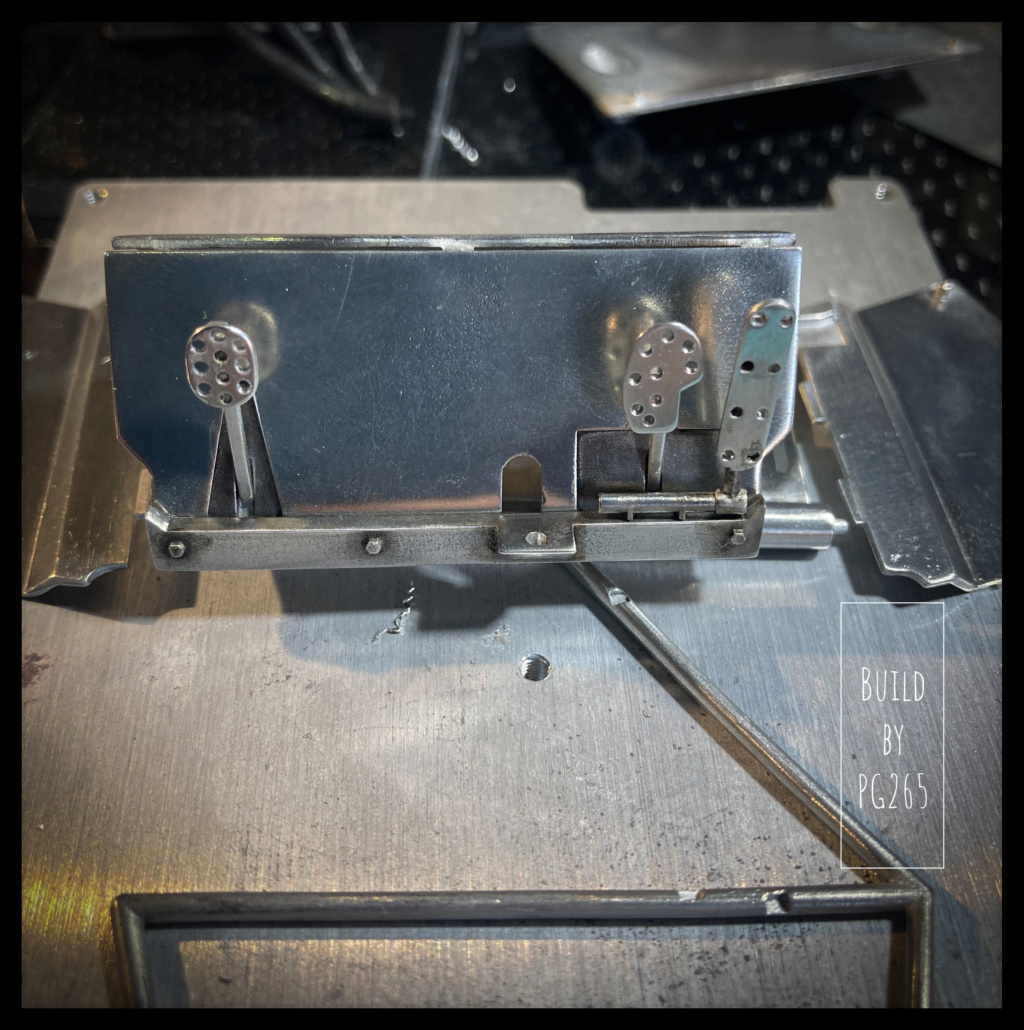 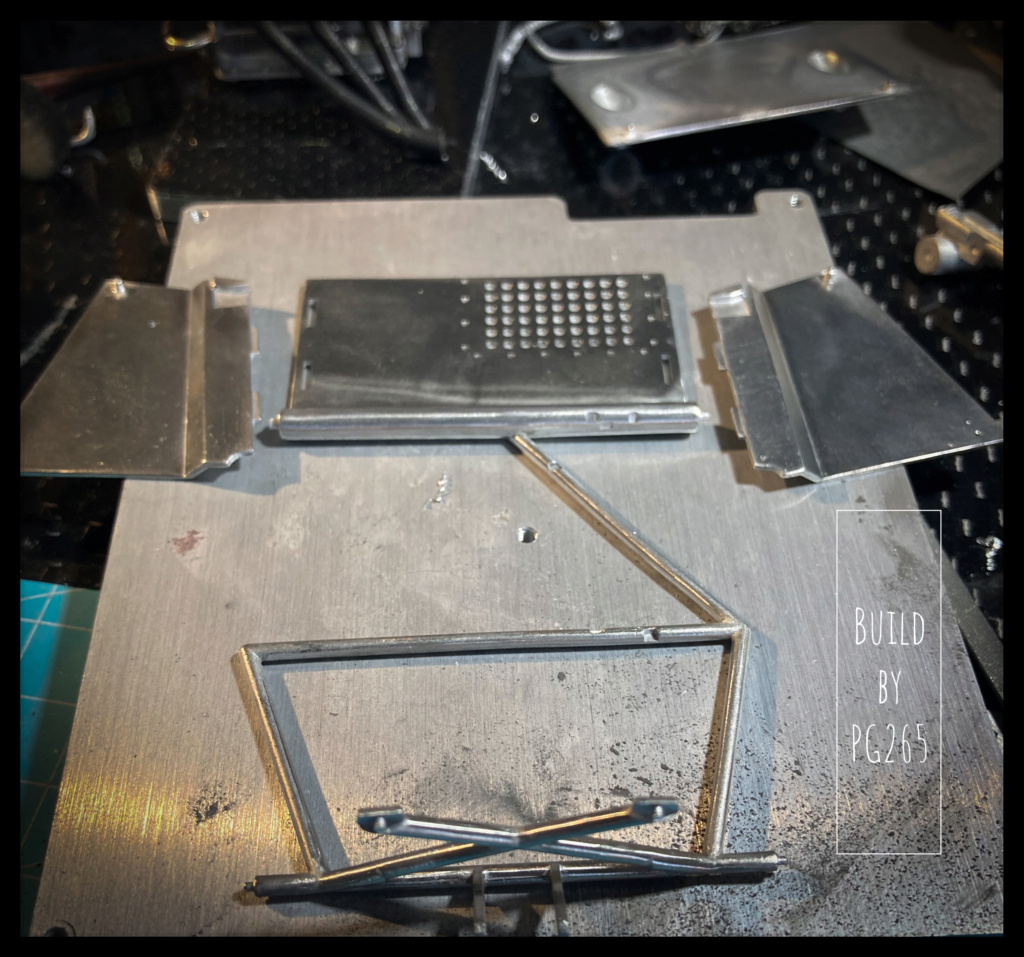  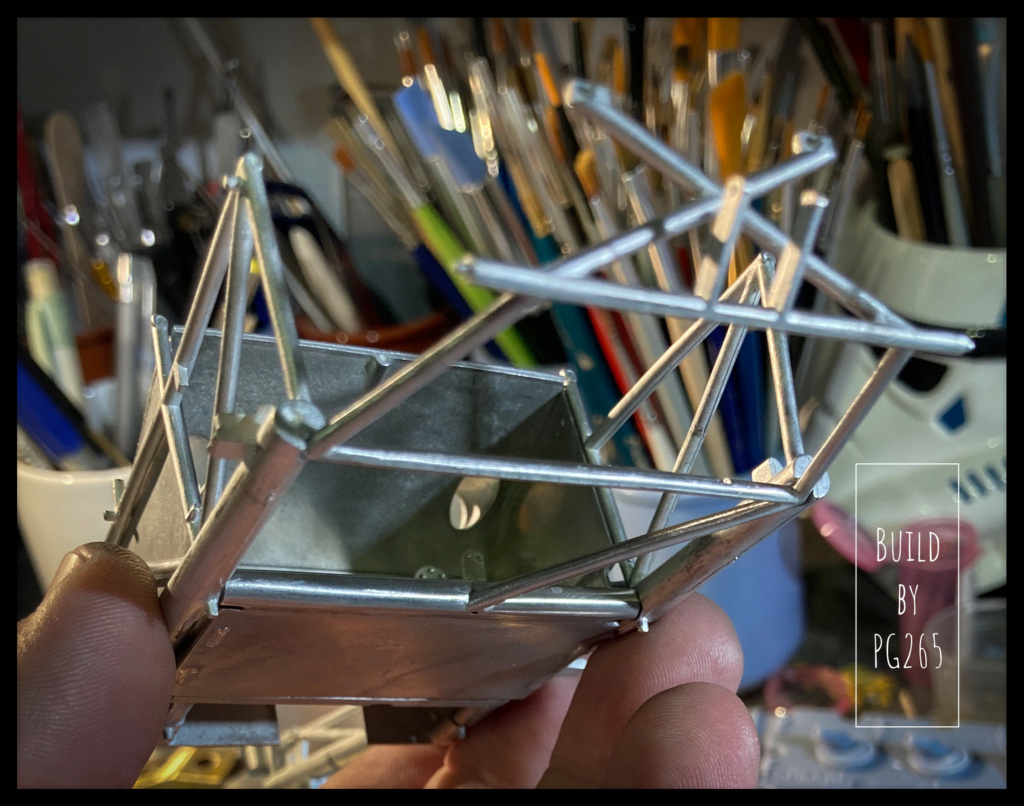 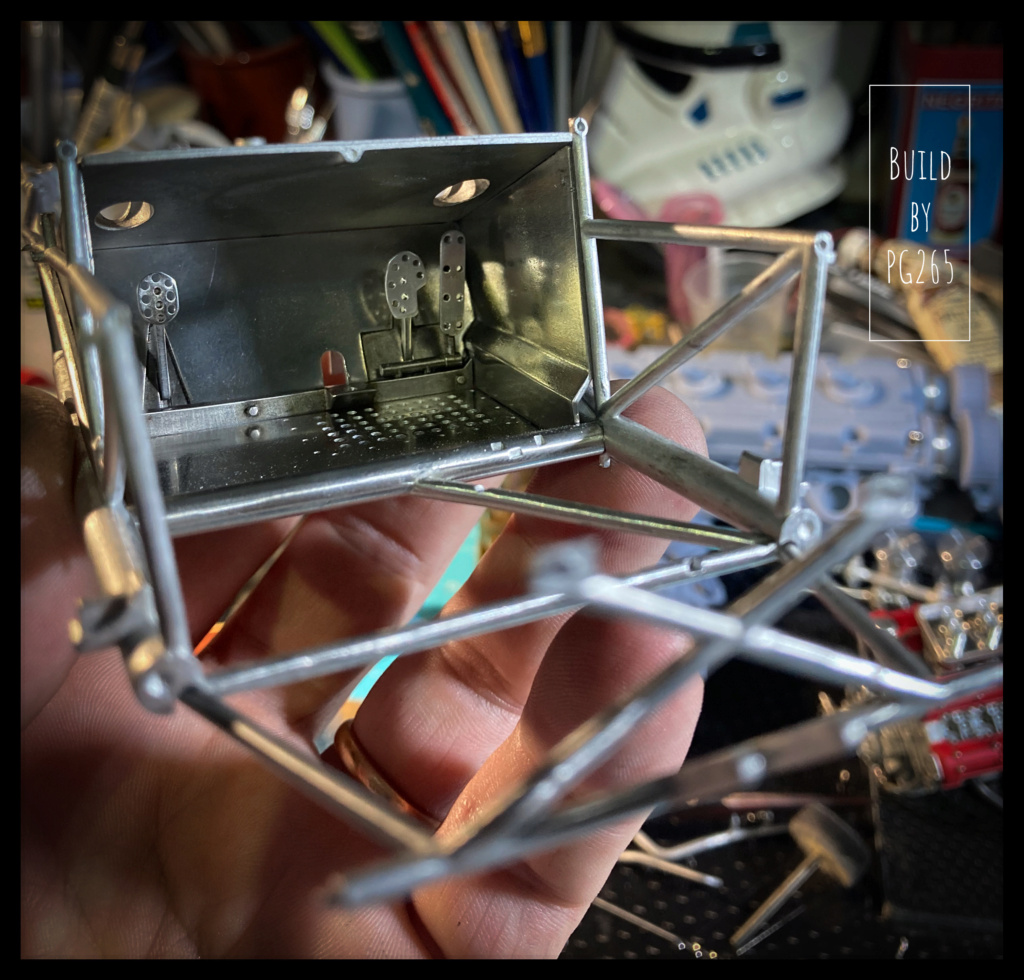 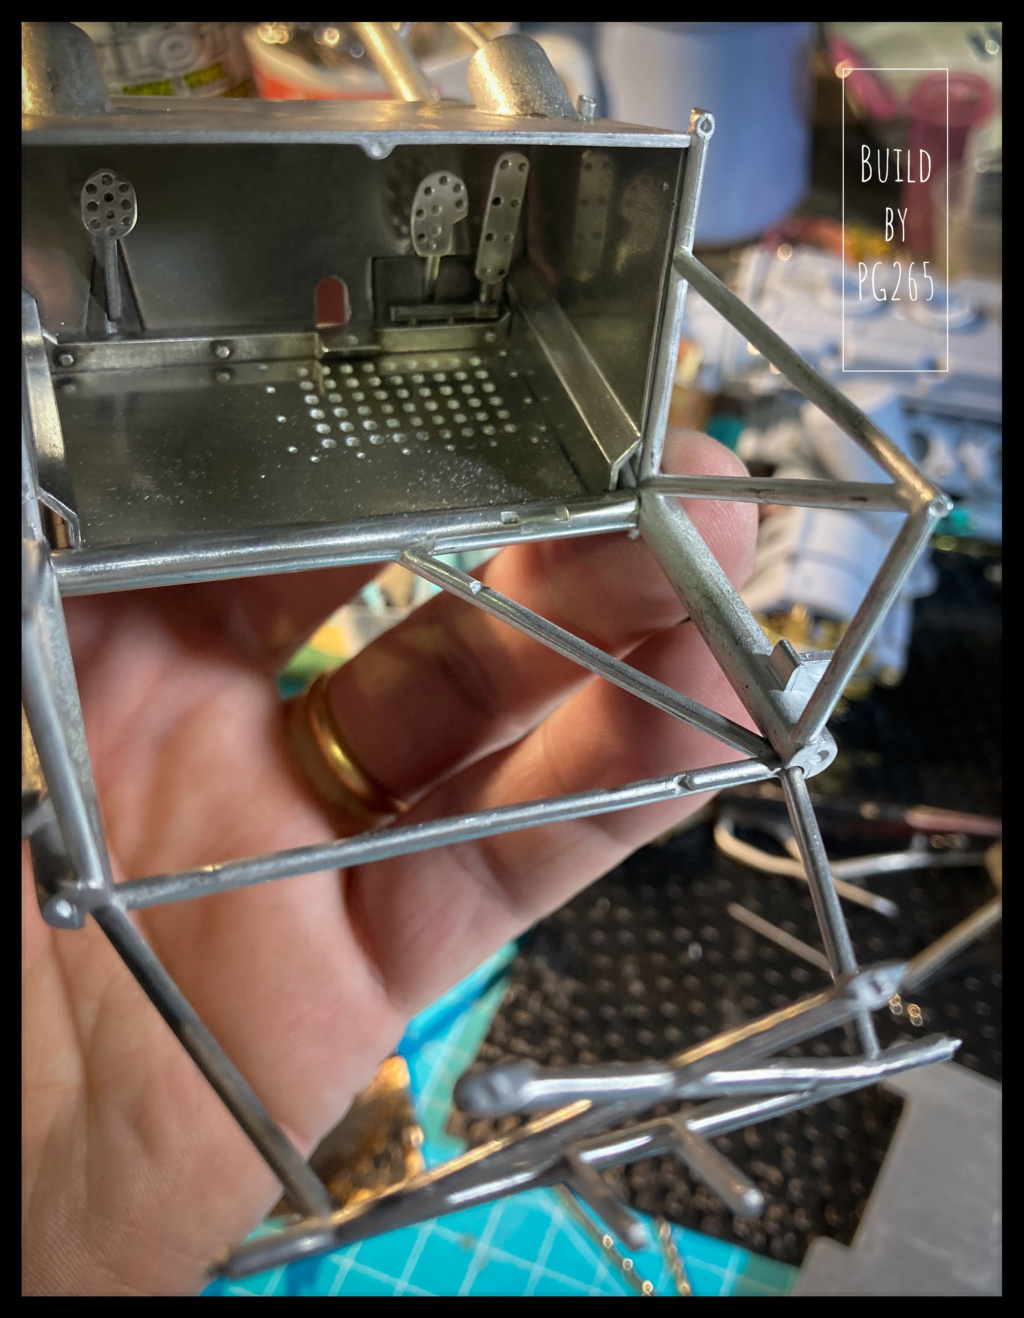 Well, still a lot of work preparing the chassis tubes and the ancillary parts that are grafted on. All the holes are made, as well as the threads for screw assemblies. Finally, the front part of the chassis and the passenger compartment are permanently assembled by welding. 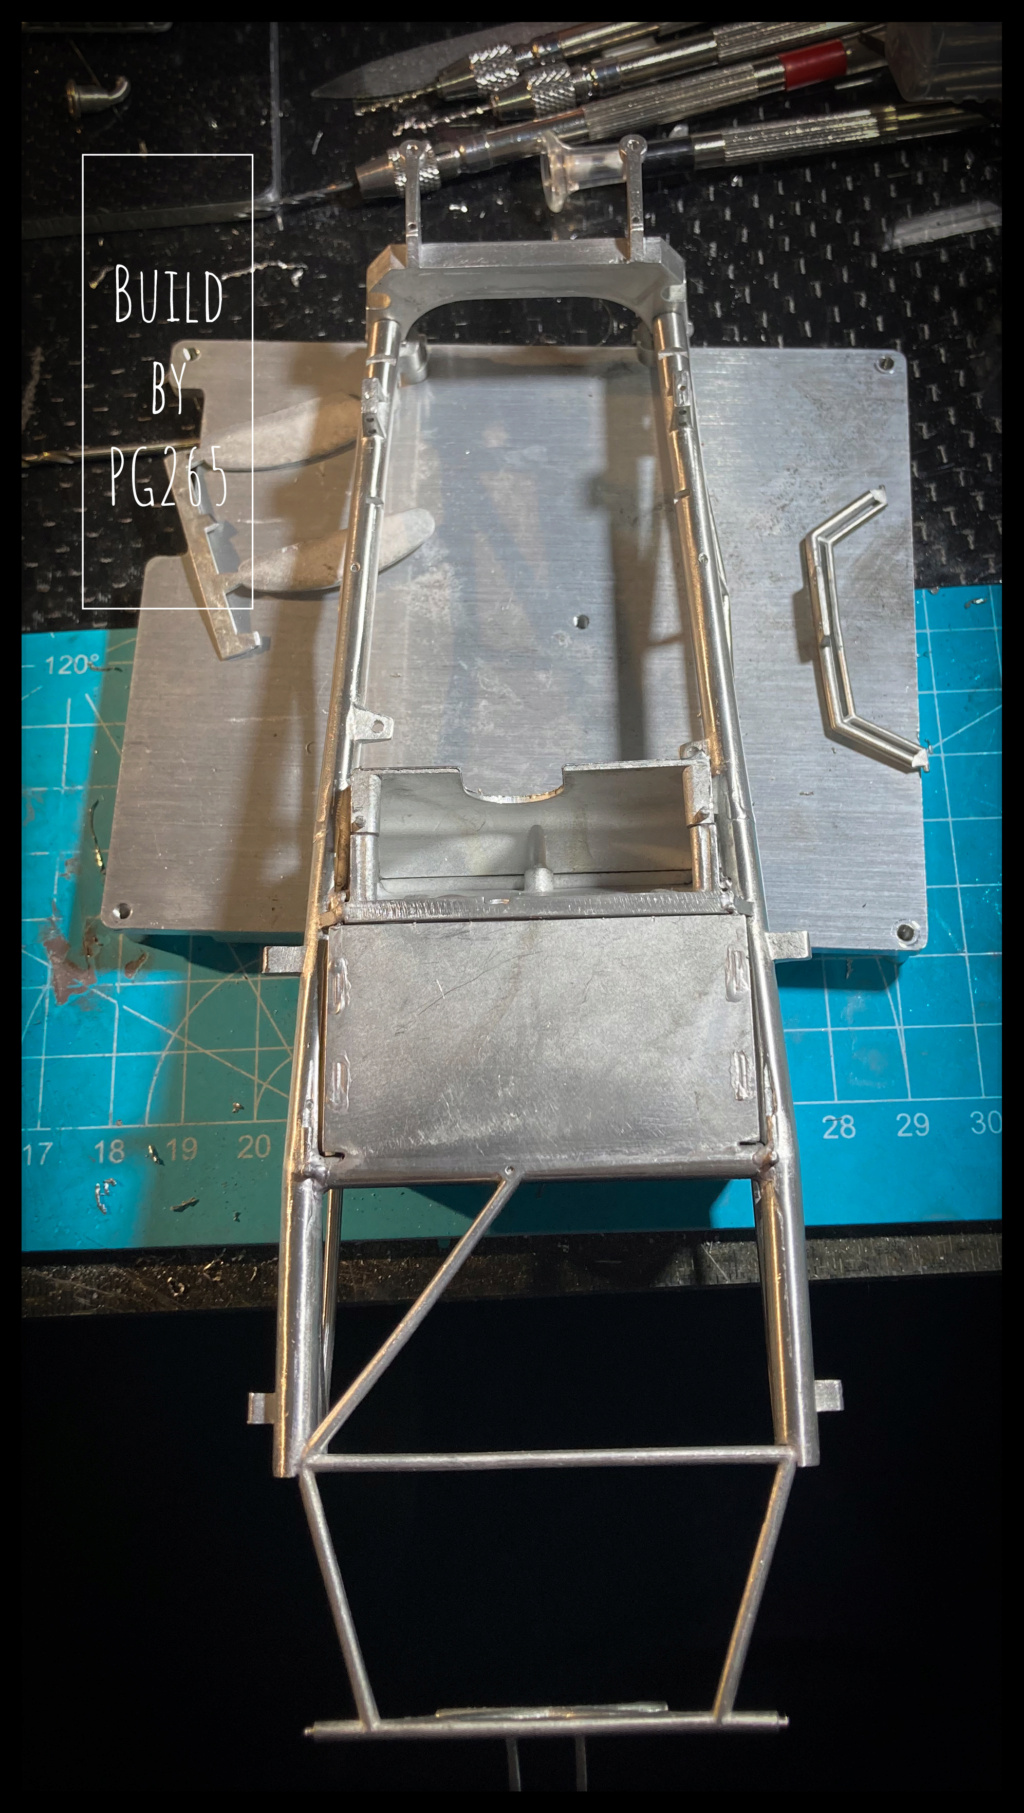 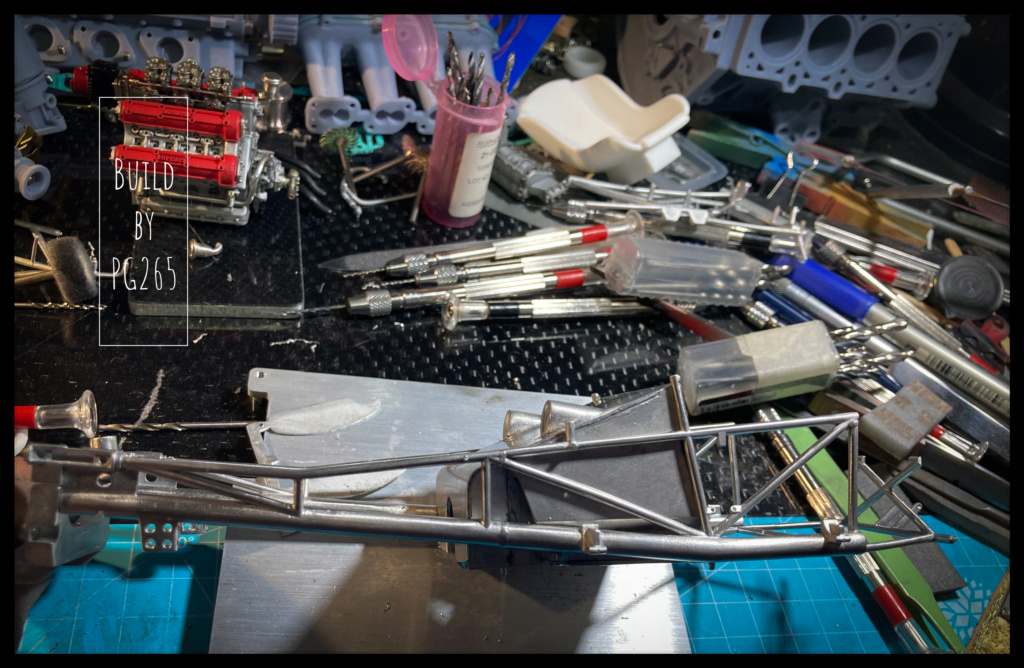 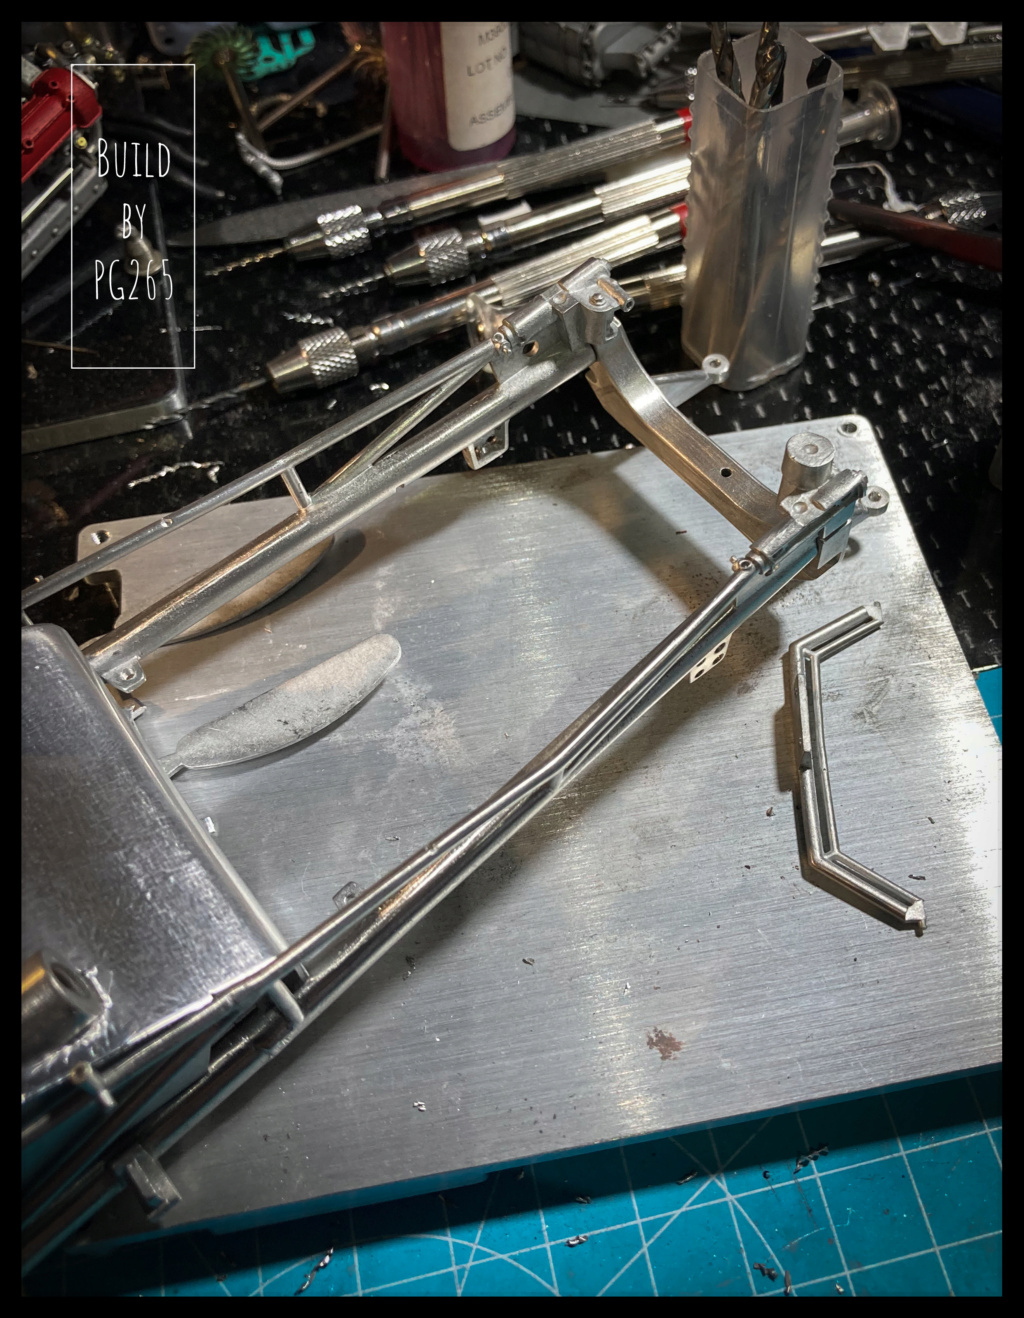 I took the opportunity to validate the installation of the engine on the supports and the cradle. 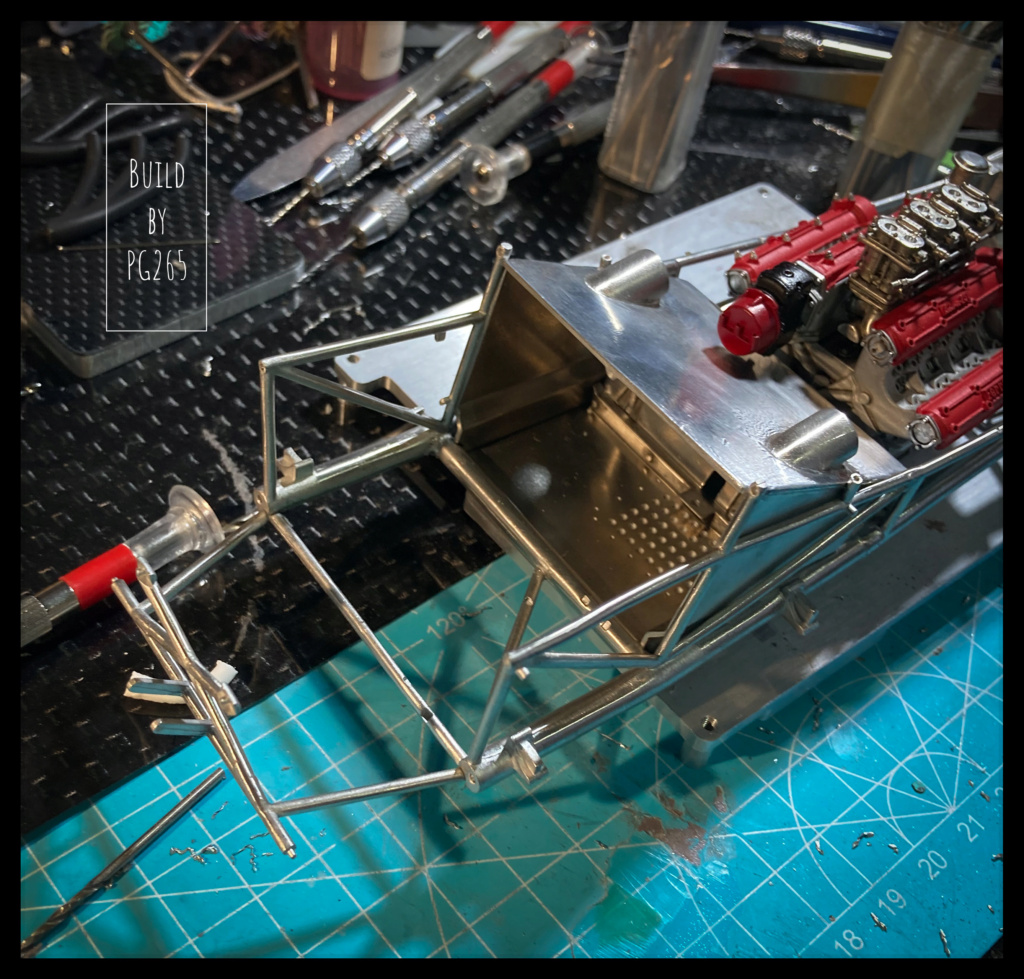  I decided to redo the front part of the cockpit in aluminium. A little Kabuki pattern, cut out wide Speed tape, and presto! 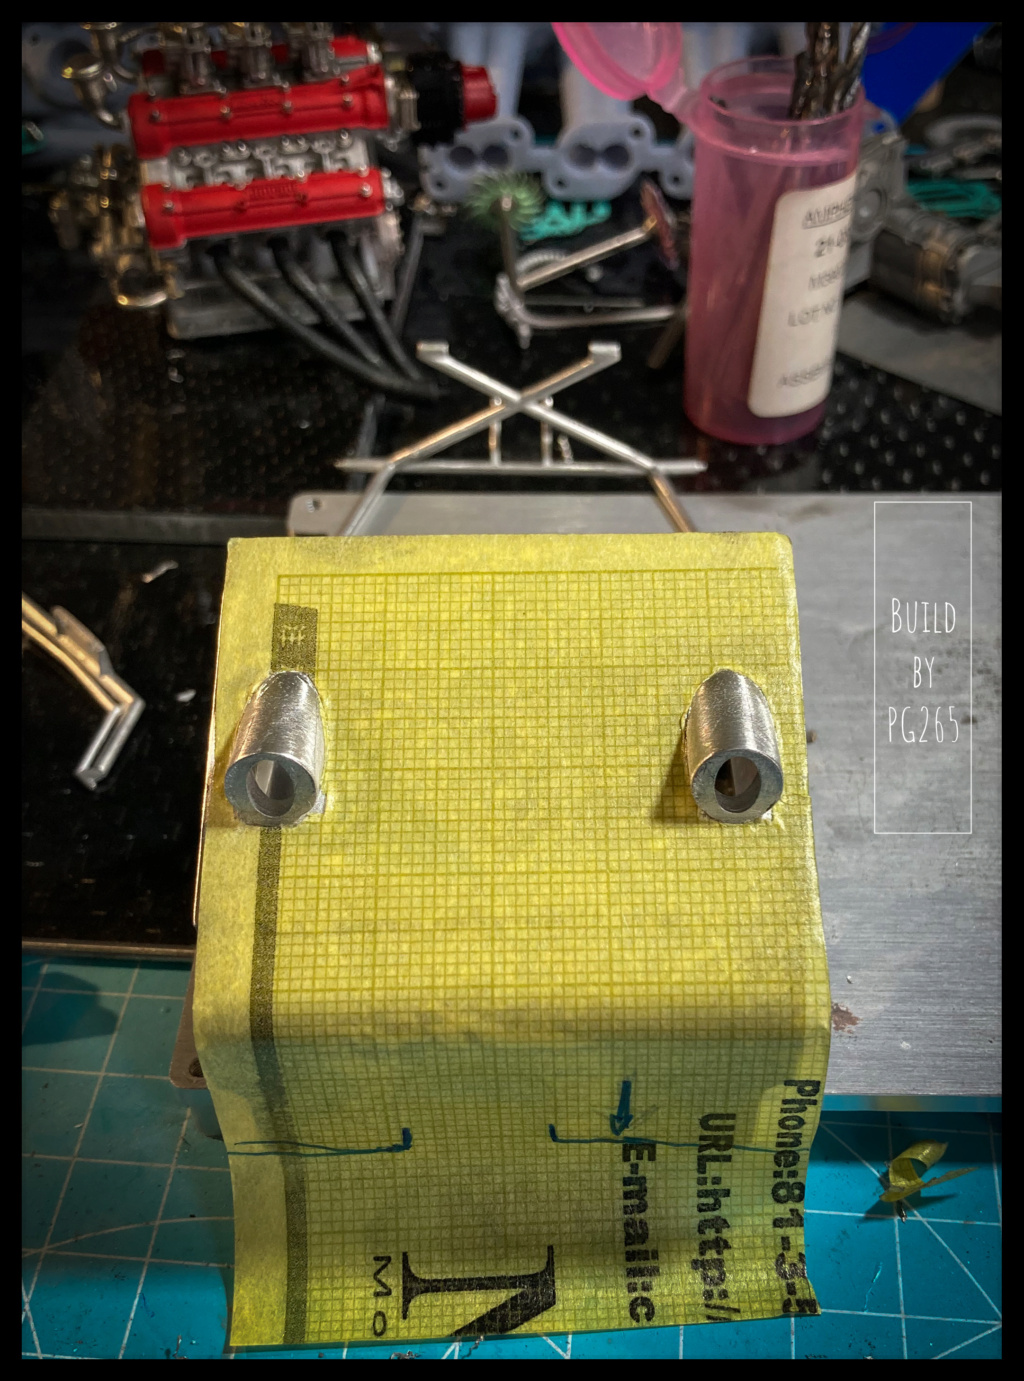 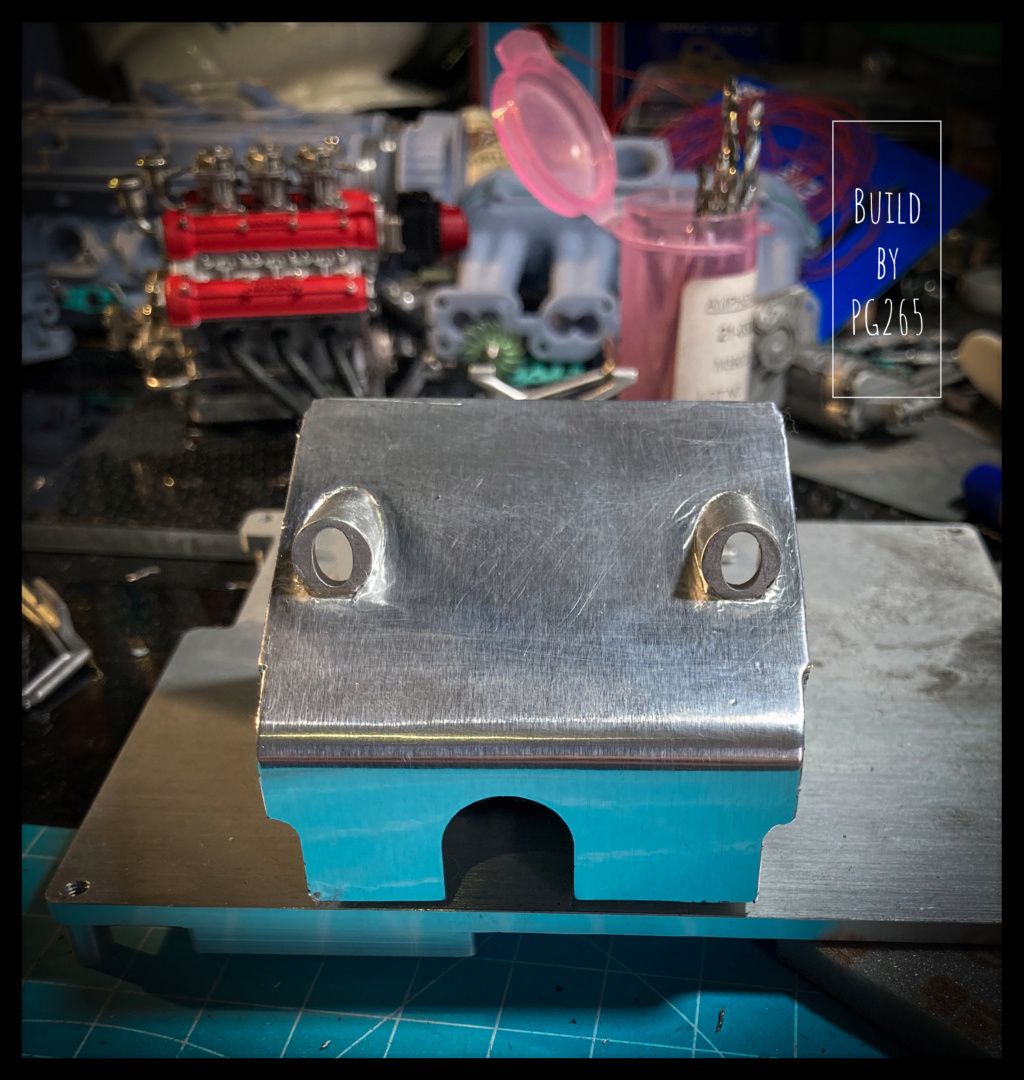 I couldn't resist assembling one of the tanks whose 5 parts require a little preparation. Heat the iron again and solder. 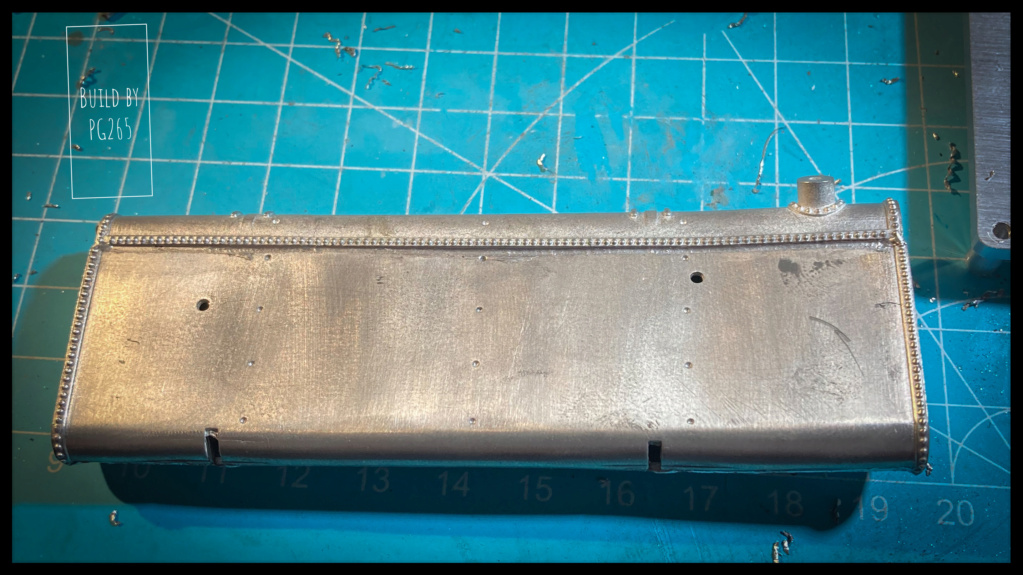 Next very soon. Pascal |
|
|
|
Post by pnance26 on Mar 26, 2022 5:20:33 GMT -8
All very well done! Thanks for sharing!
|
|
|
|
Post by Ben_B on Mar 26, 2022 5:43:21 GMT -8
Wow! That's some amazing work!
Ben
|
|
|
|
Post by chrissmith on Mar 26, 2022 6:32:32 GMT -8
It’s coming together well! Curious to know why you decided to make a new part for the cockpit. It came out great! Your skill set is far superior than mine, I need to practice soldering. I’m just afraid that I will turn the metal into a pile of goo 😬
|
|
|
|
Post by pg265 on Mar 26, 2022 13:57:17 GMT -8
Good evening, Thank you! I just wanted to try with real aluminum. A lot of preparation today… and welding! The tanks are assembled by welding once again. The side tanks still have to be masked to be painted in Rosso Corsa on the outside. 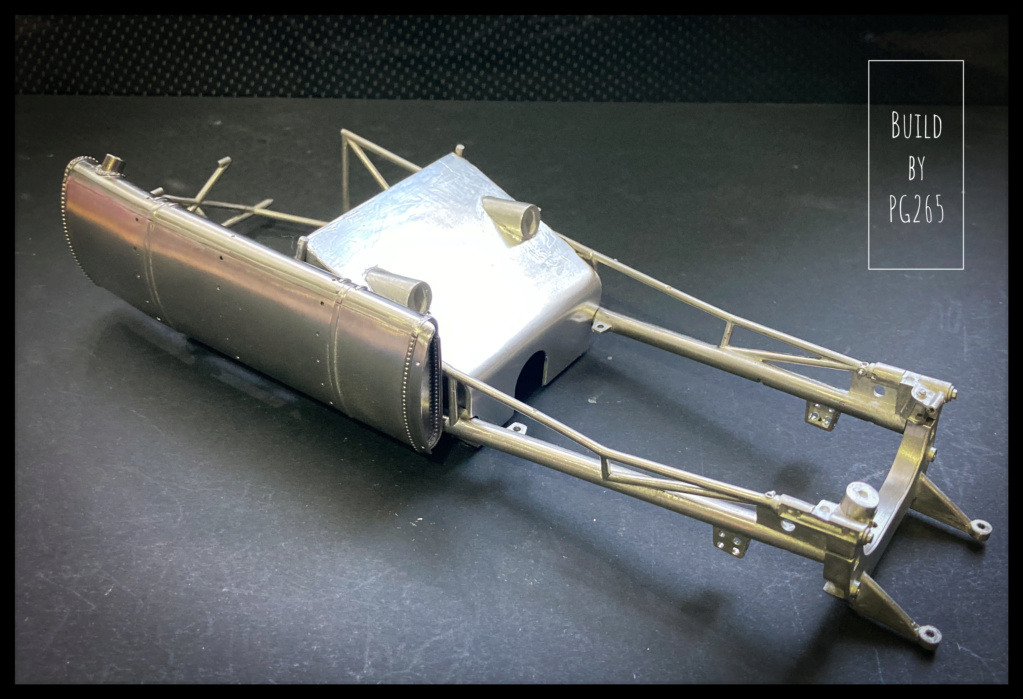 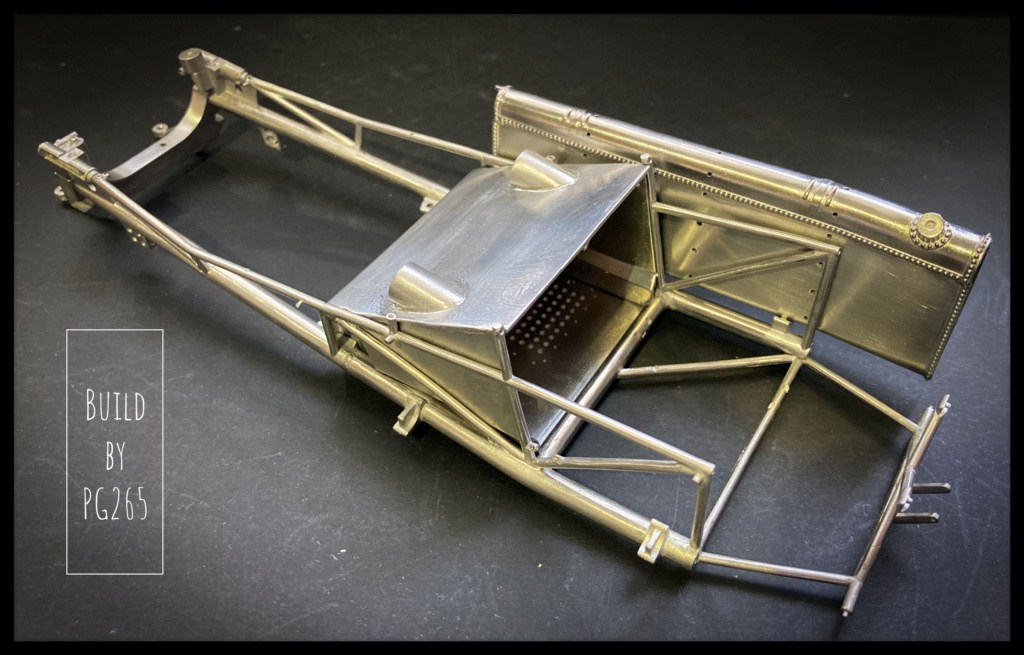 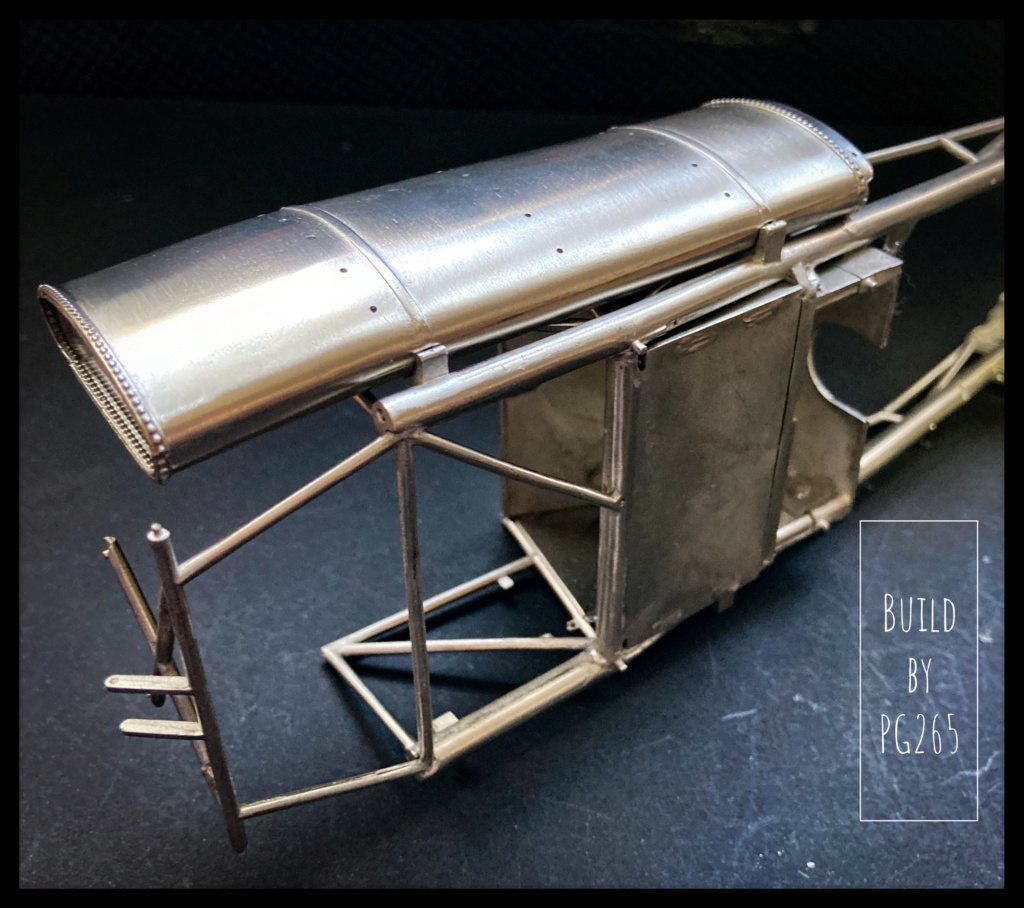 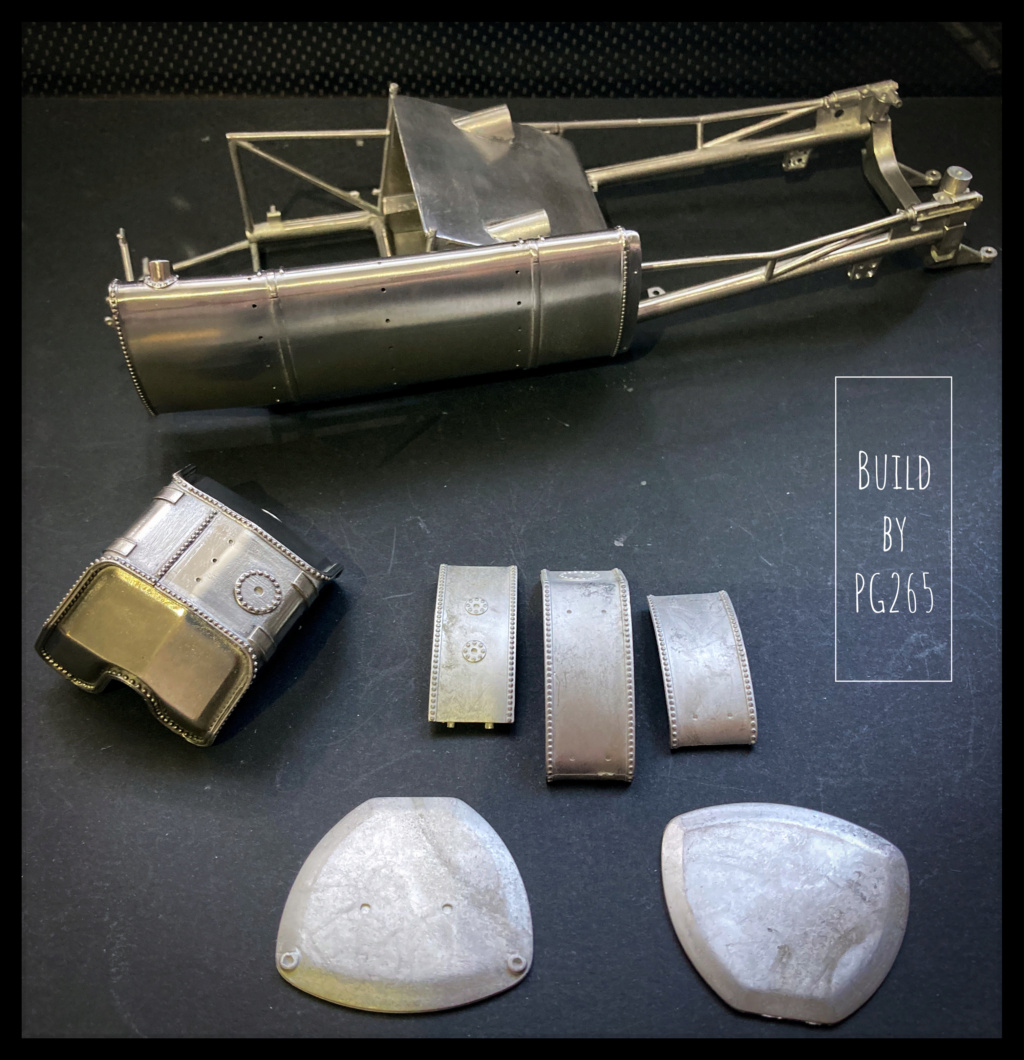   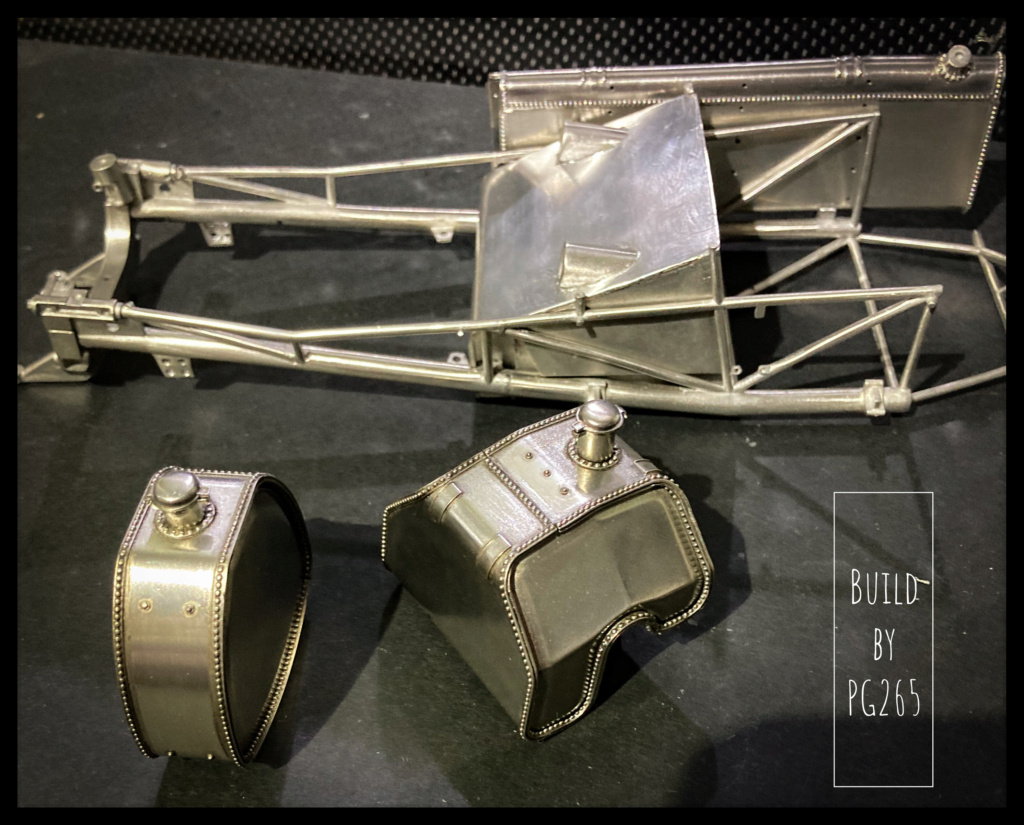 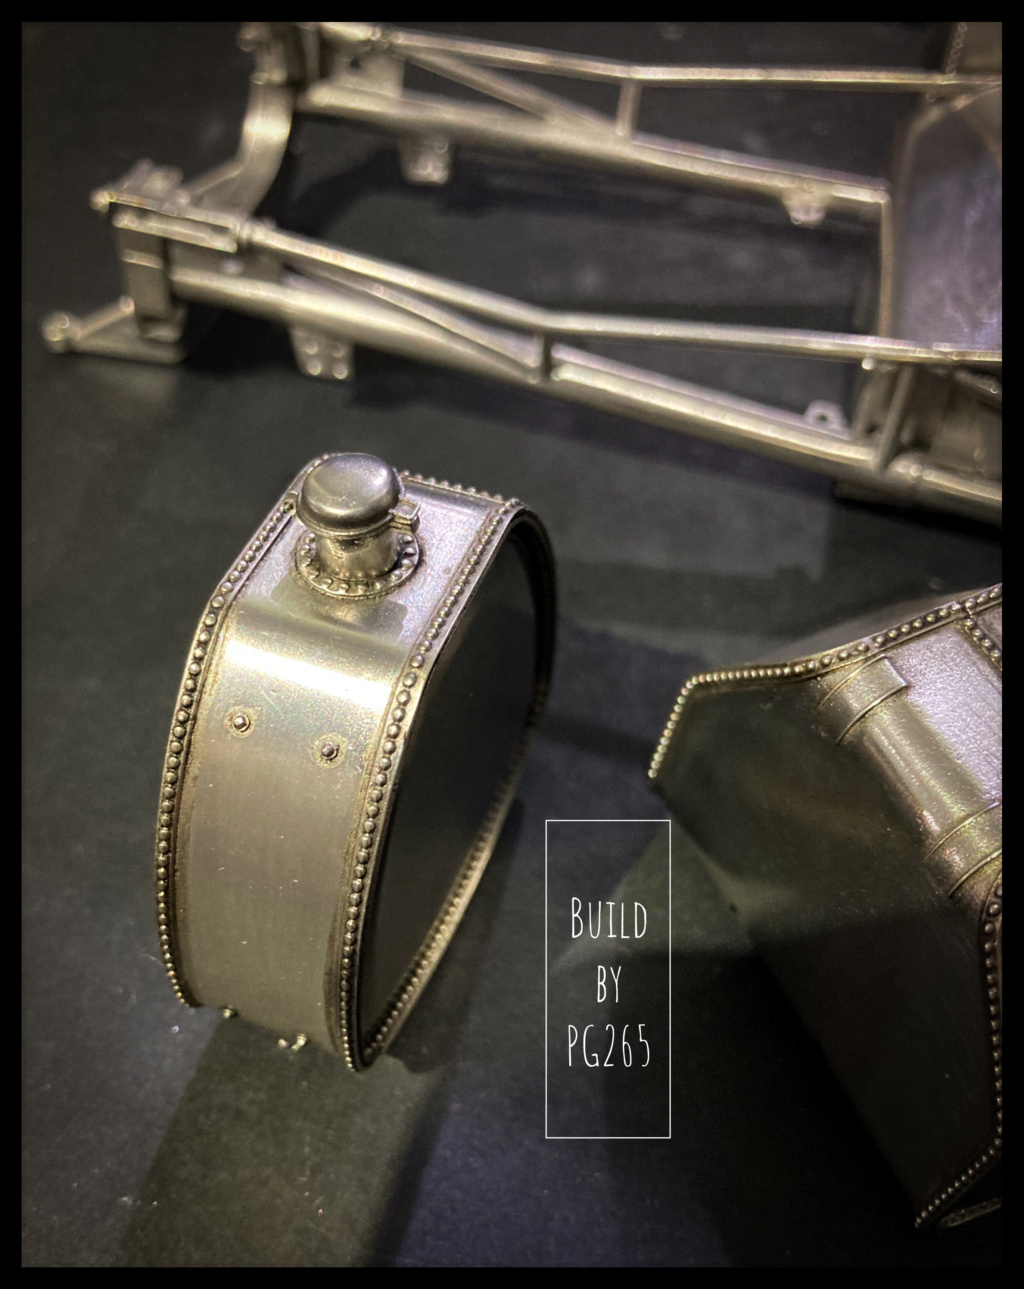 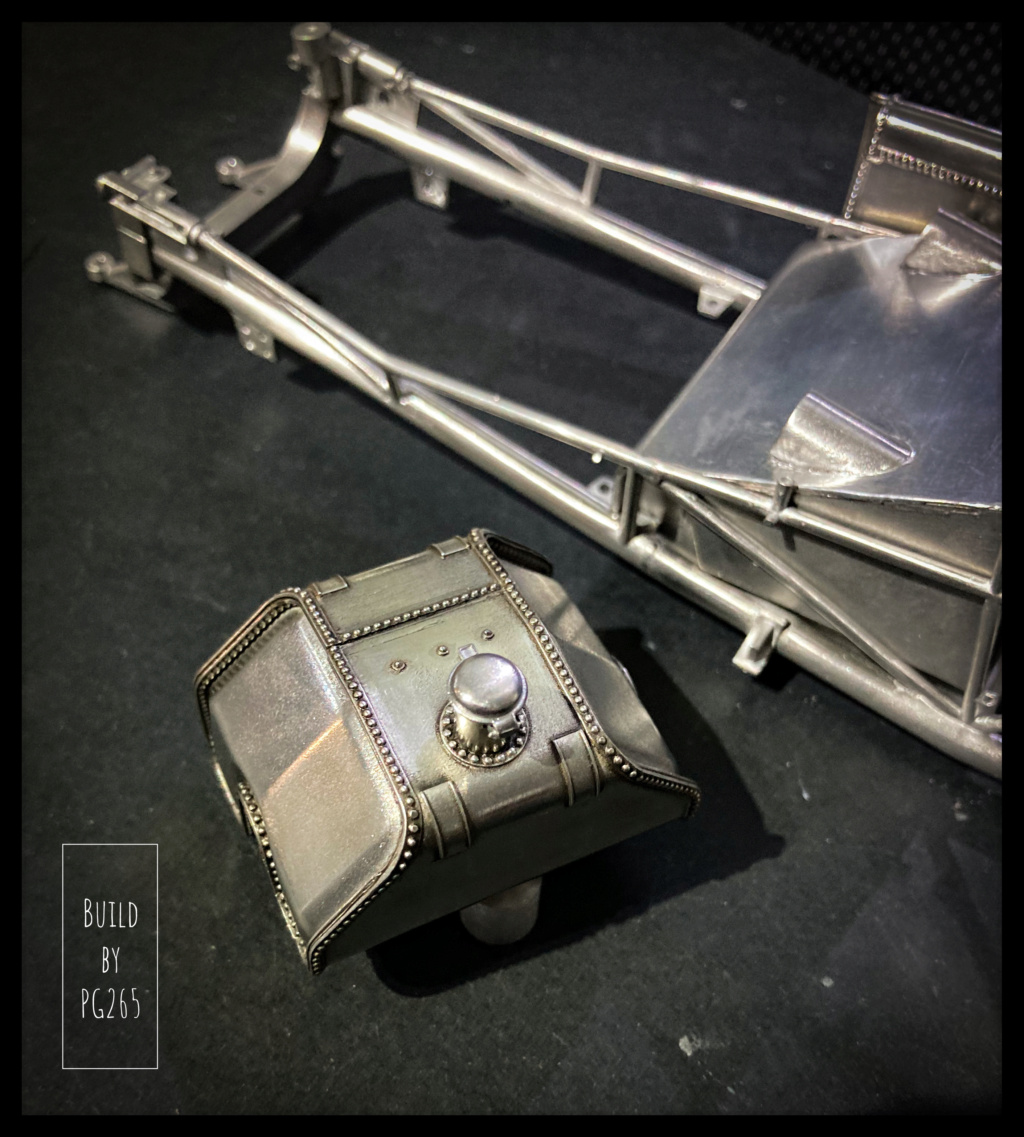 For fun, the caps are movable. Pascal |
|
|
|
Post by Joel_W on Mar 27, 2022 4:46:52 GMT -8
Pascal,
I've never seen that procedure before for simulating the exhaust paint flaking off from heat, but it sure does look realistic. And the series of pictures of the engine especially the highly polished intake stacks and pan really looks fantastic.
As with all you Darkside MFH guys who turn those very rough white metal parts/castings into those super smooth and shiny pcs just continues to amaze.
And those finished tanks are truly models on their own. Your weathering just adds the needed touch to bring them to the next level of realism.
joel
|
|
|
|
Post by pg265 on Mar 30, 2022 13:12:07 GMT -8
Good evening, Grazie mille signore Joel! Here we are! The rear part of the tubular frame is finished! A lot of work: shaping to ensure a good geometry, the symmetry of all the elements before they are fixed... The advantage is that the assembly is very economical… in glue! Not even a drop for the entire chassis so far.  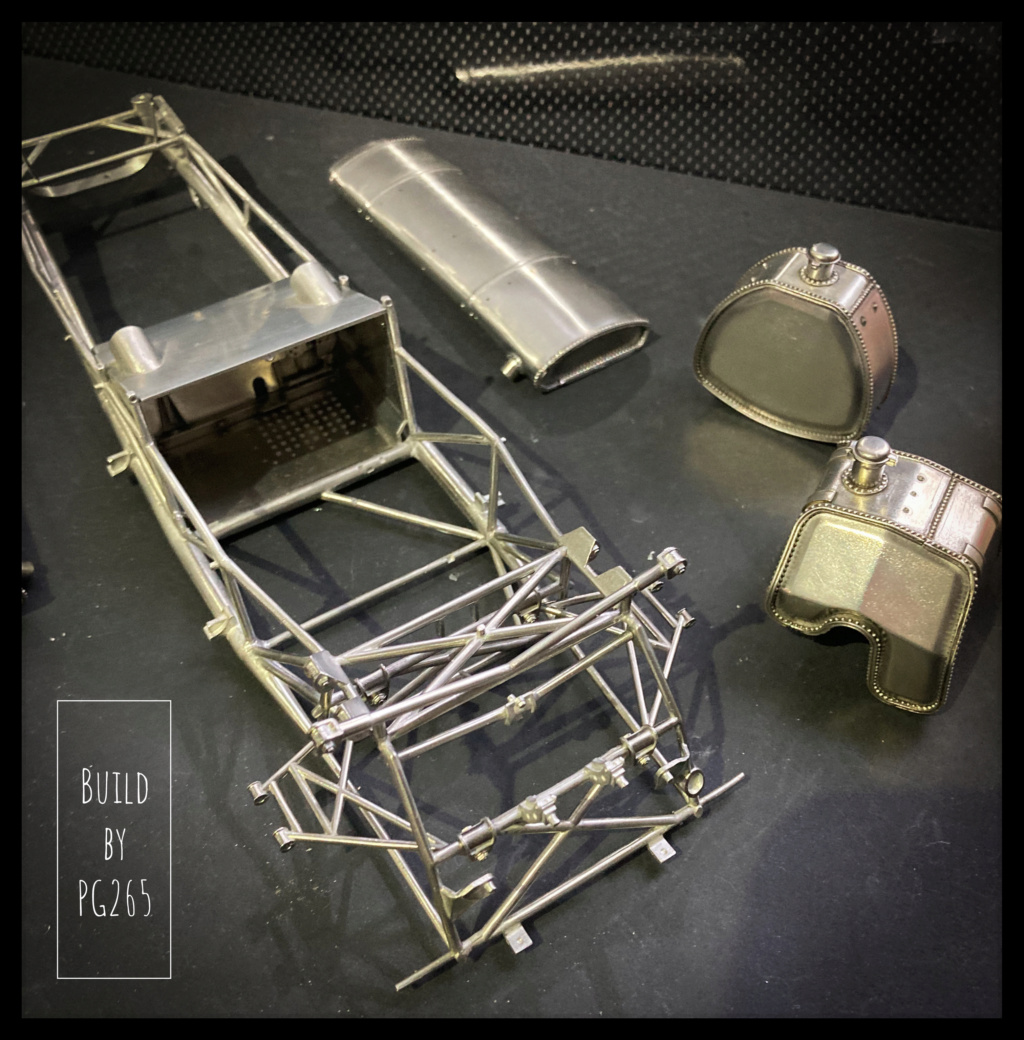 The blank assembly of the tanks seems to validate the operation. 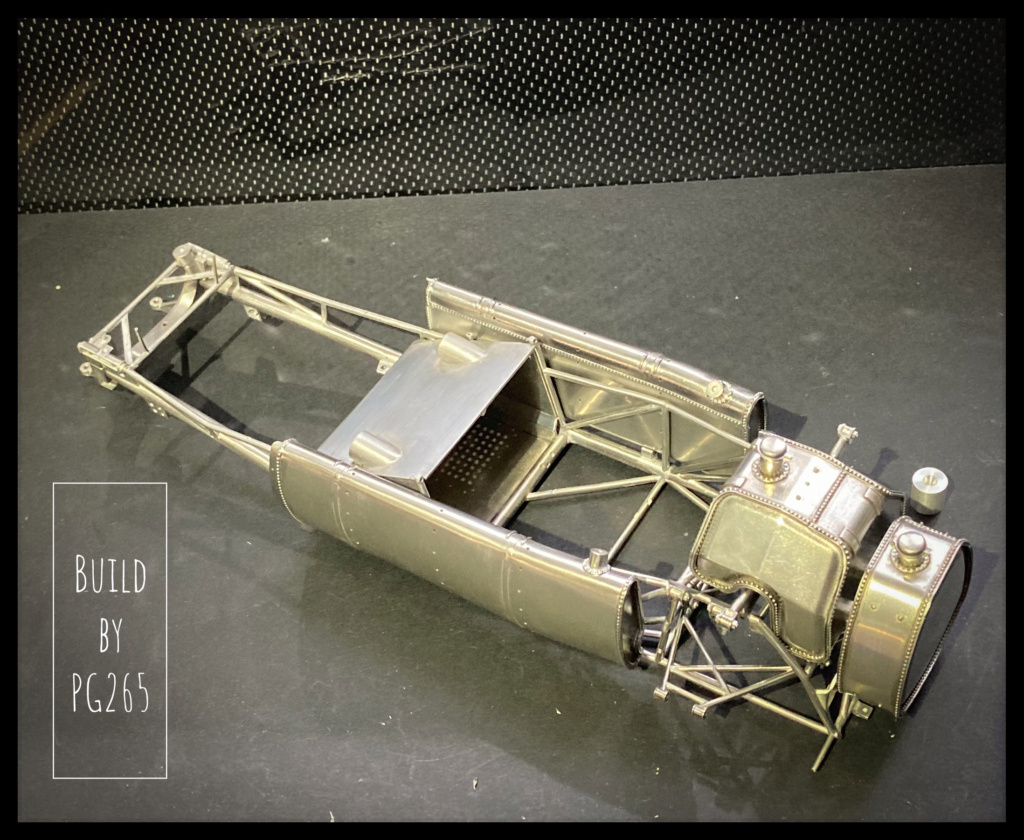 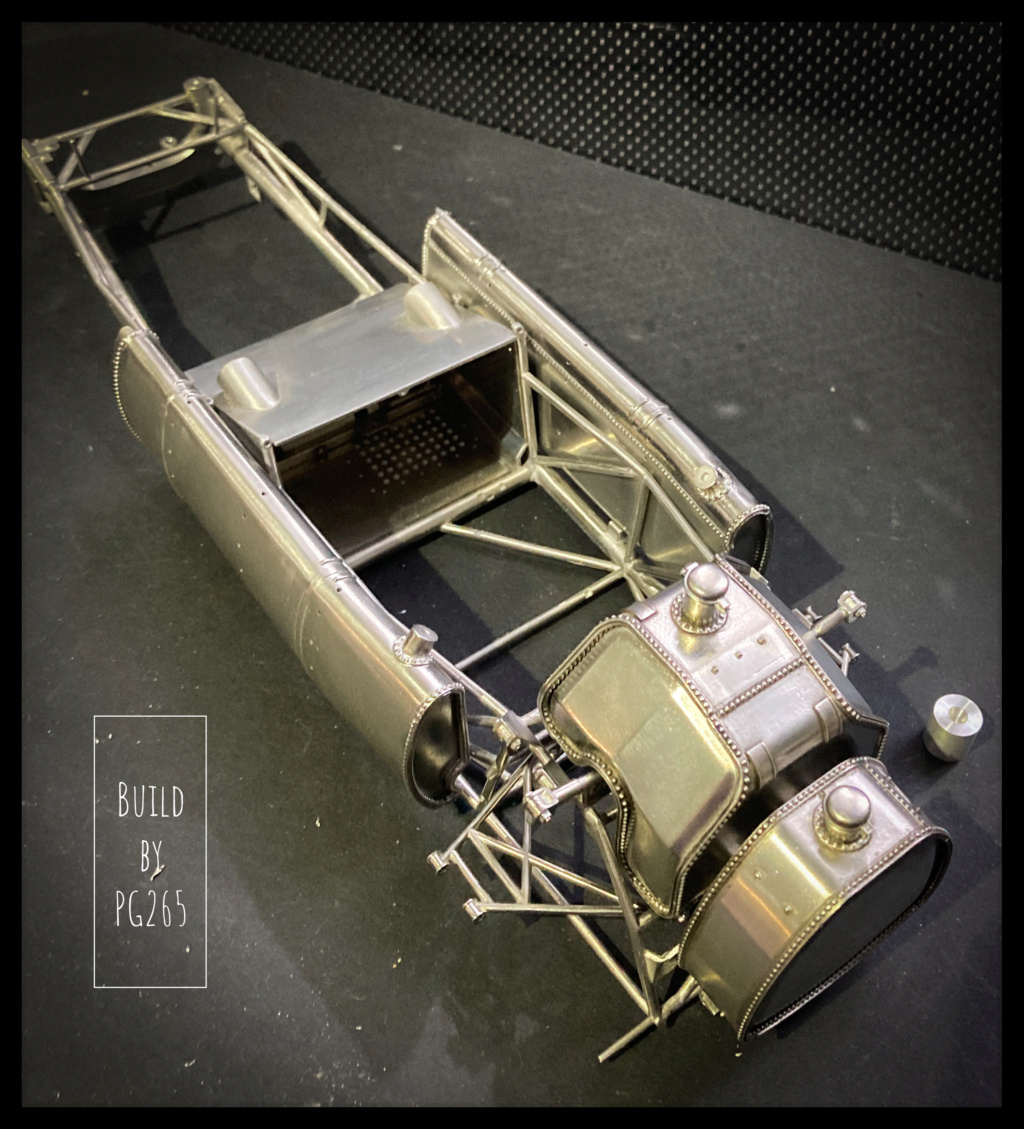 The box will be integrated later, after painting the chassis in gray. Grayish Blue (FS35237) in this case I think, as I did for the Tipo 500. Recent documents have made me modify the cabin and remove the aluminum previously installed. Pascal |
|


