Good evening,
Sorry for posting so late…
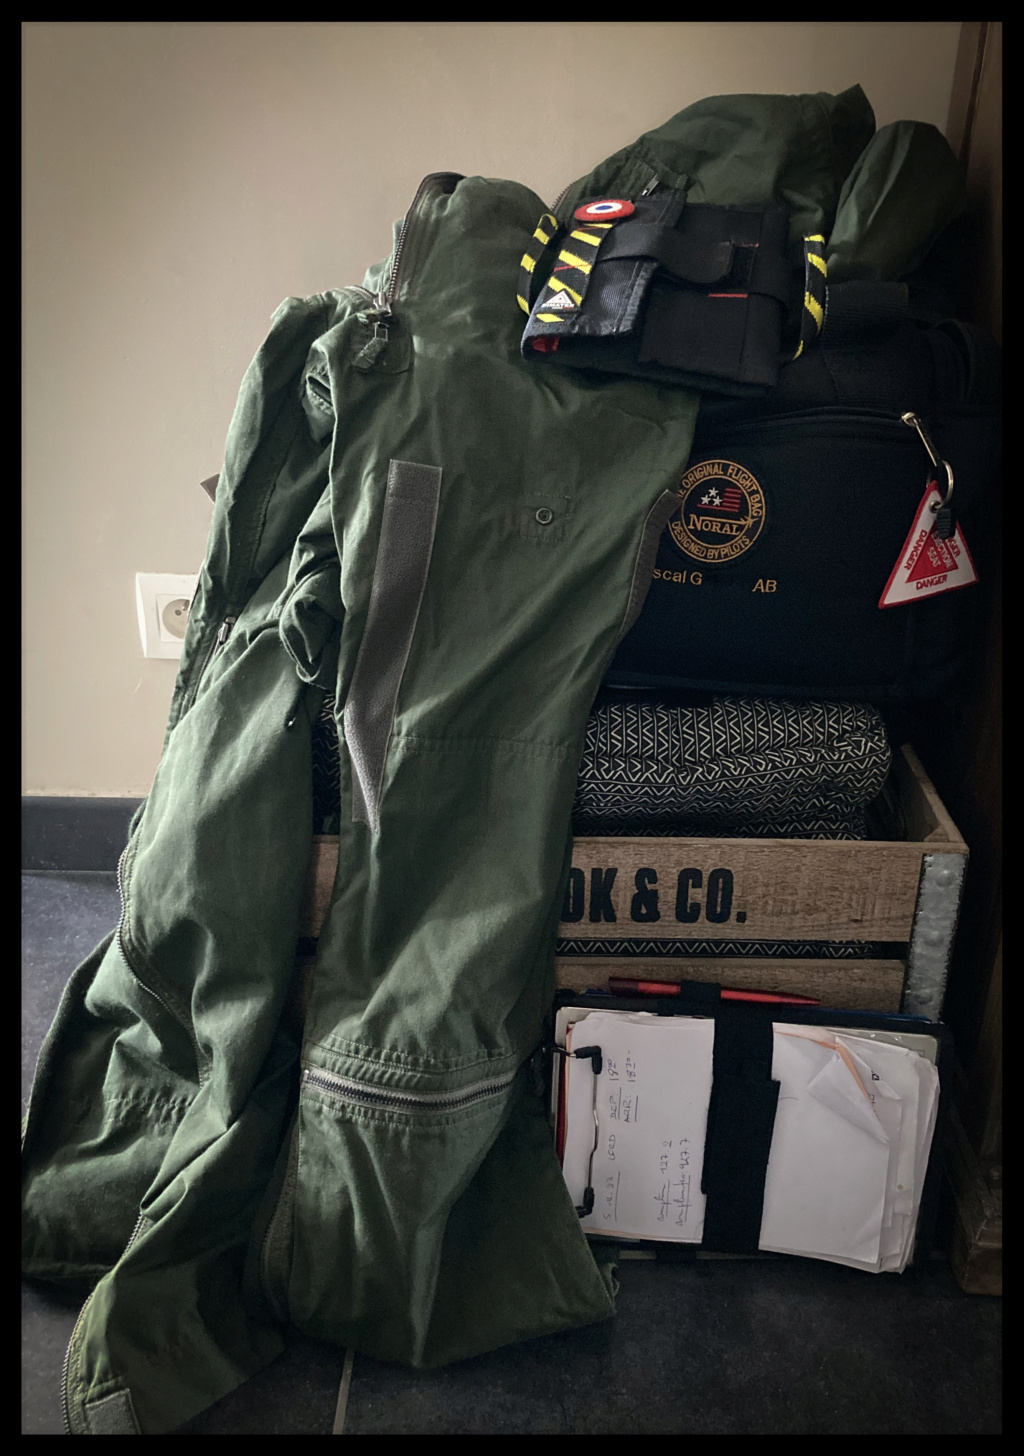
But I had good reasons…I had T-6.
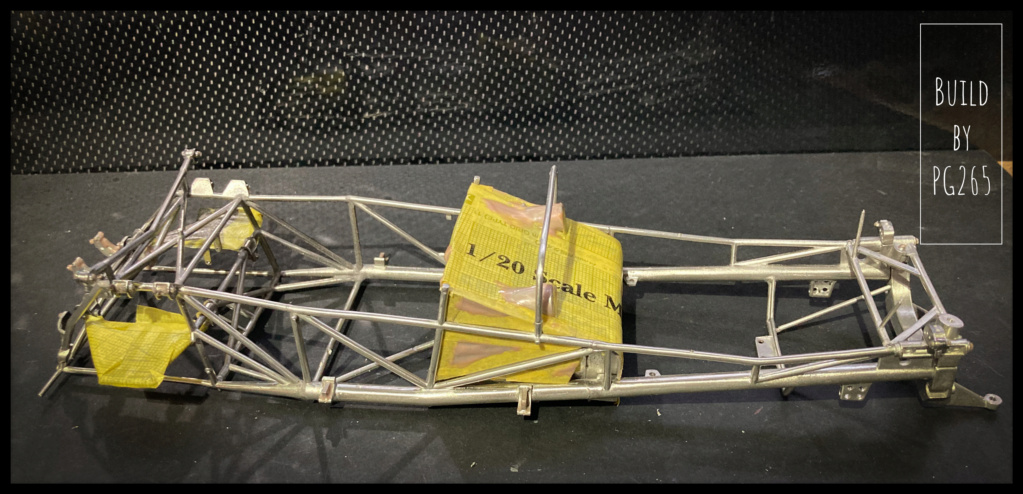
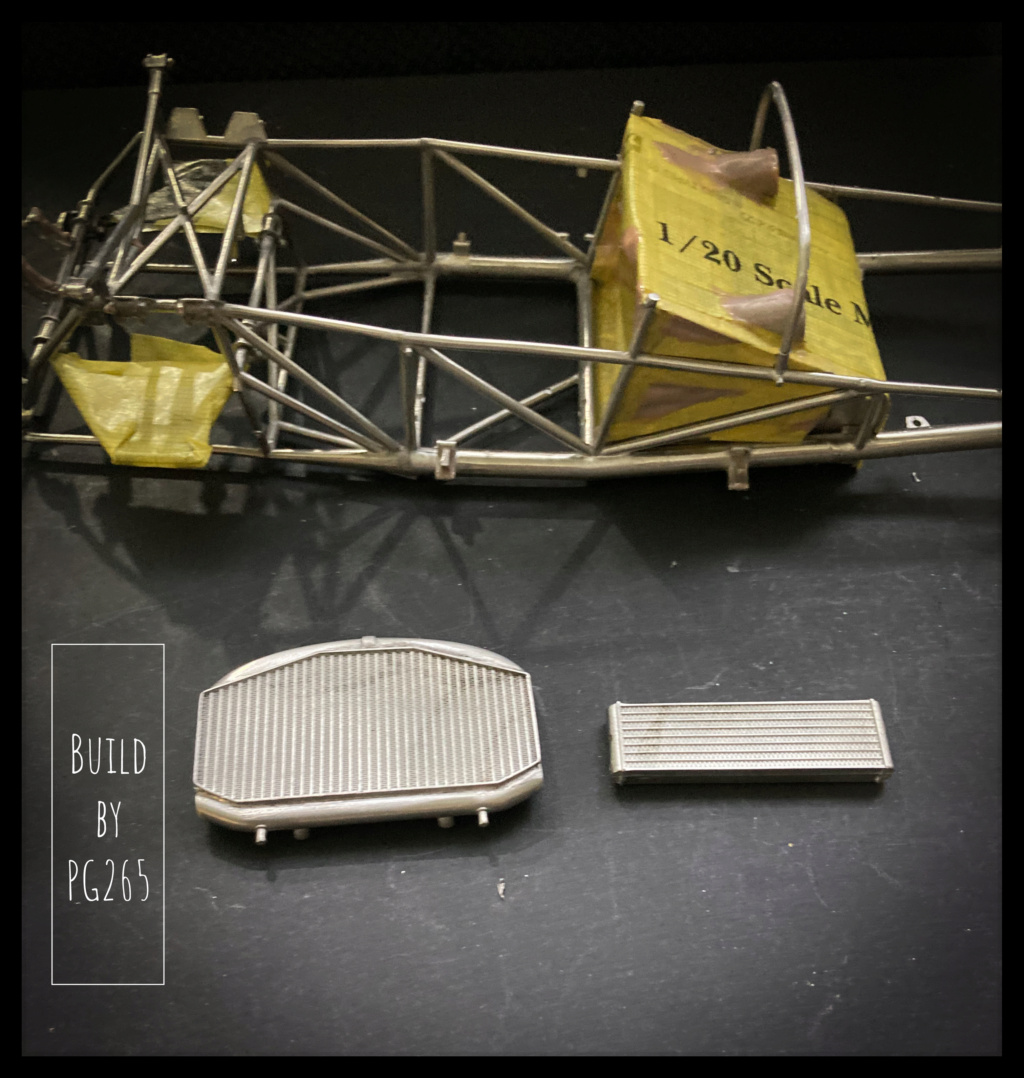
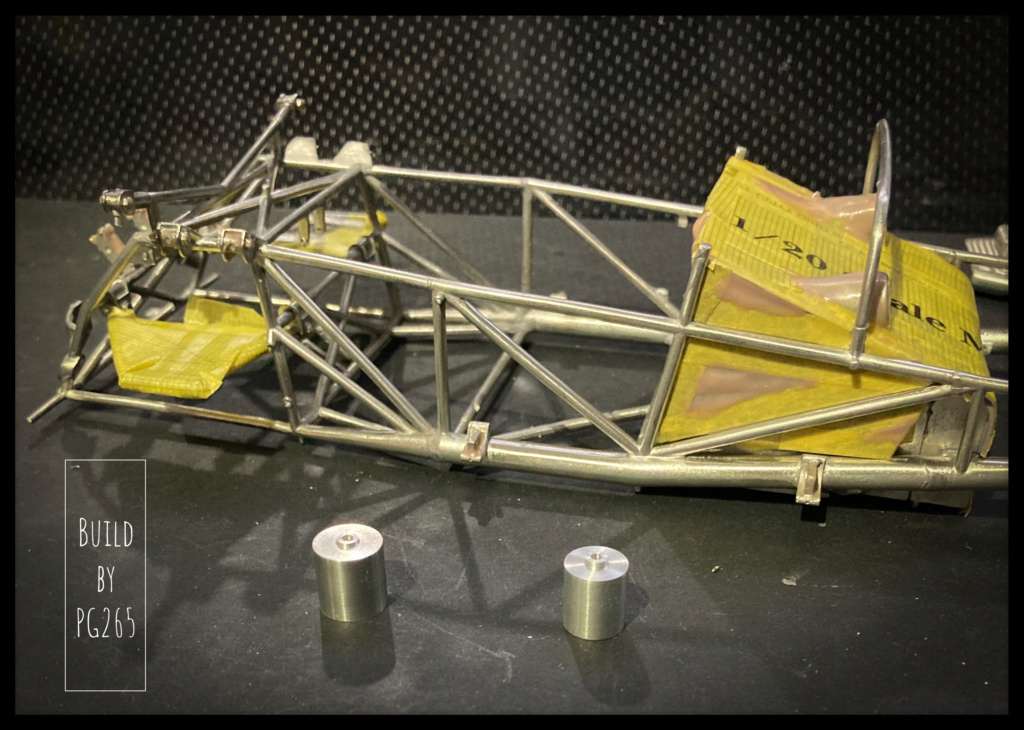
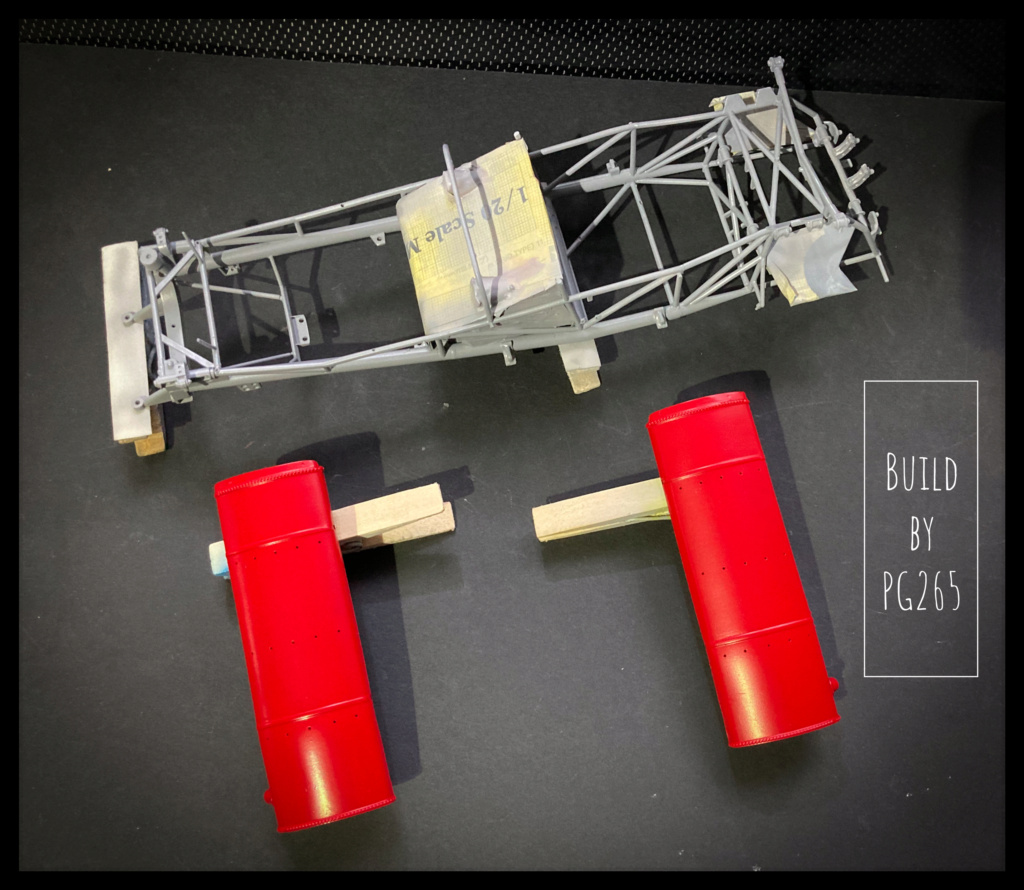
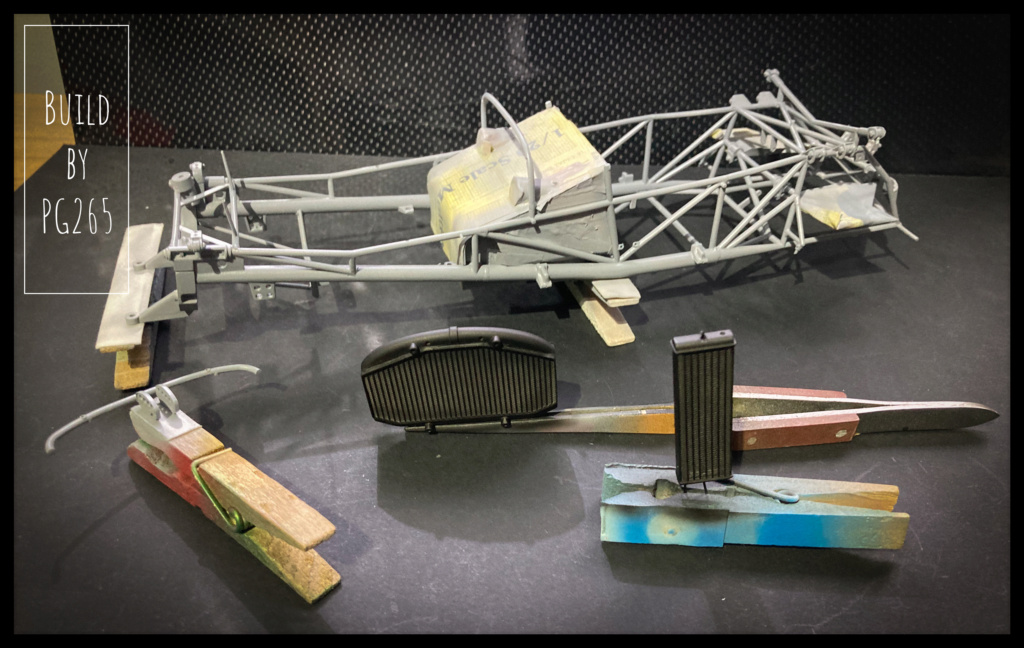
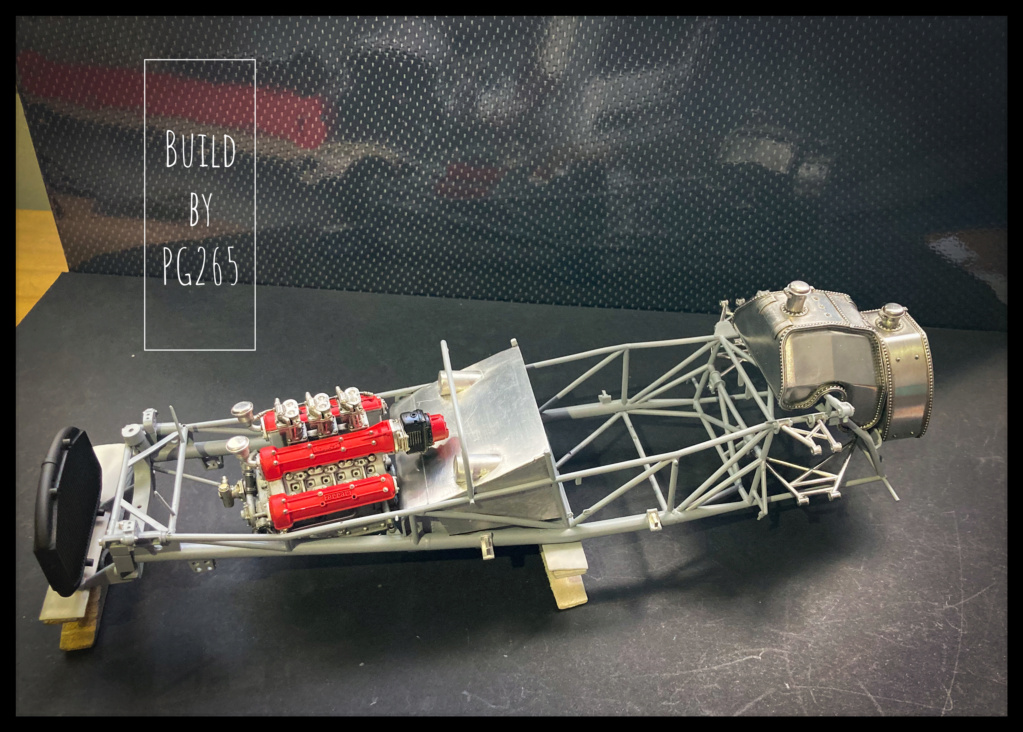
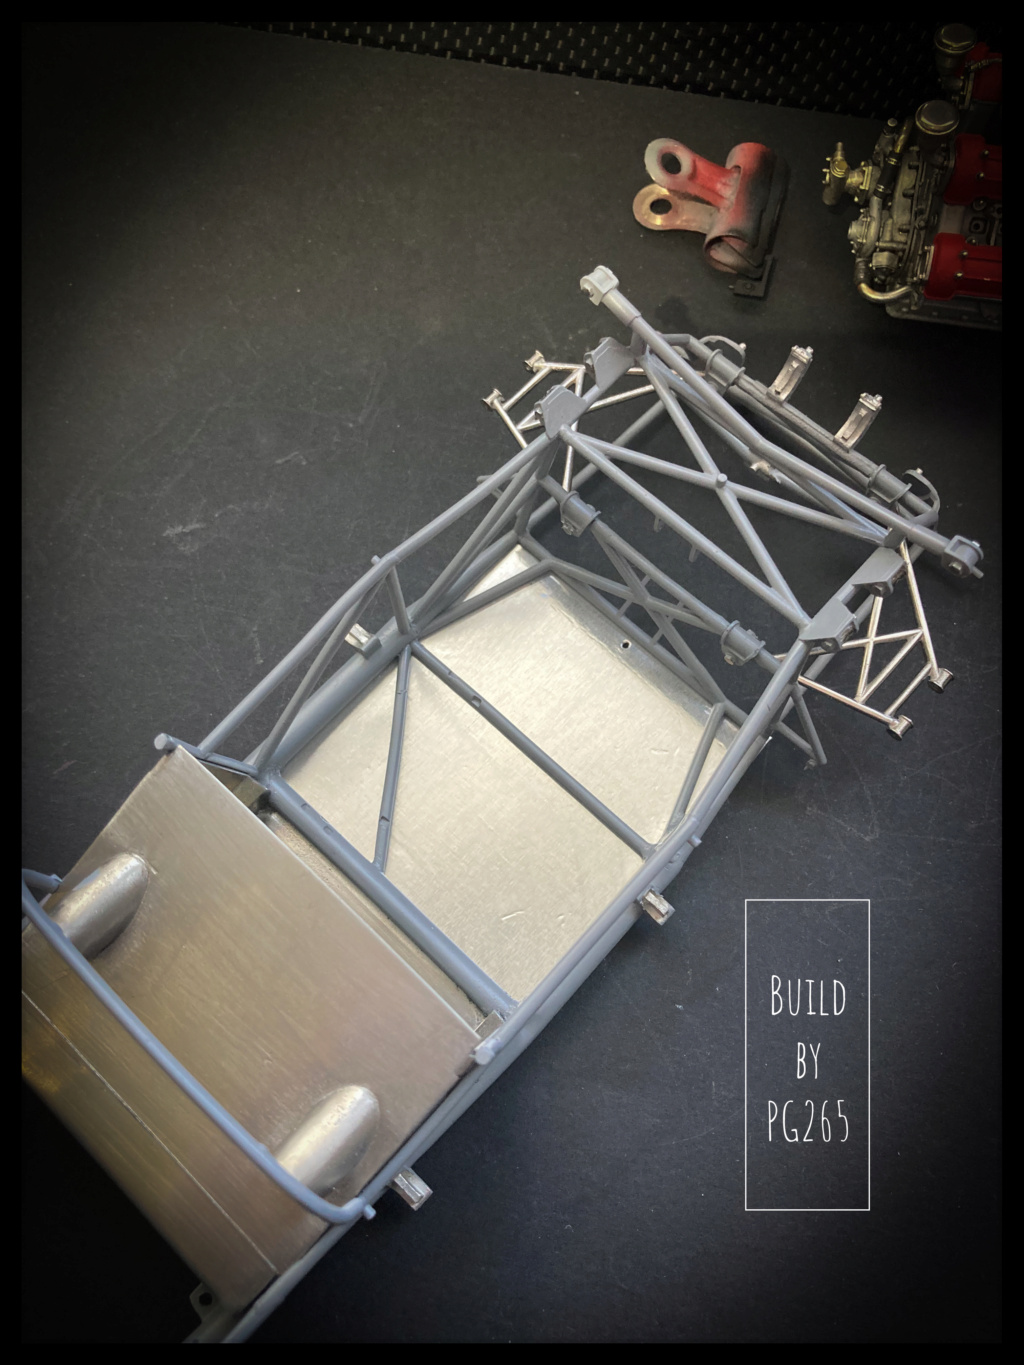
Some progress.
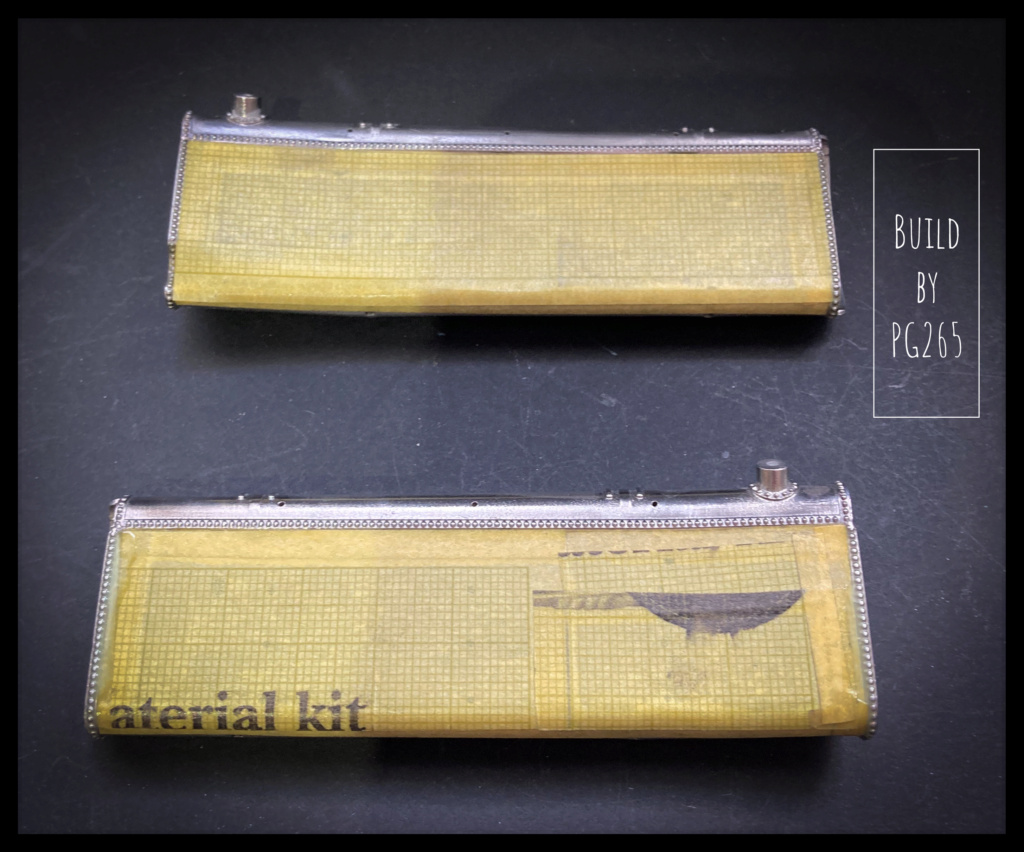
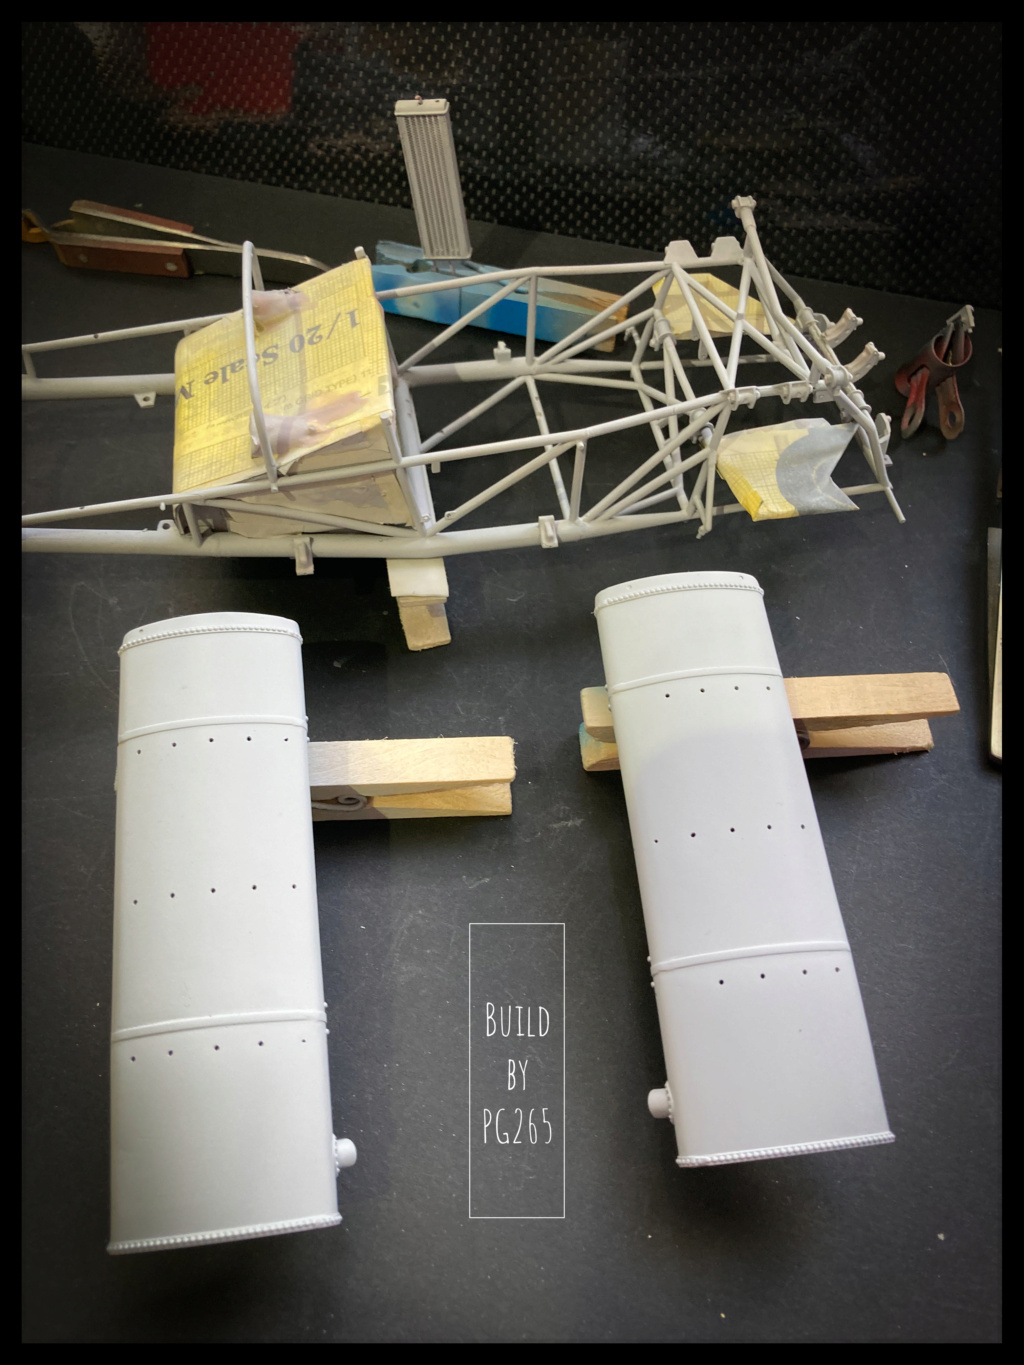
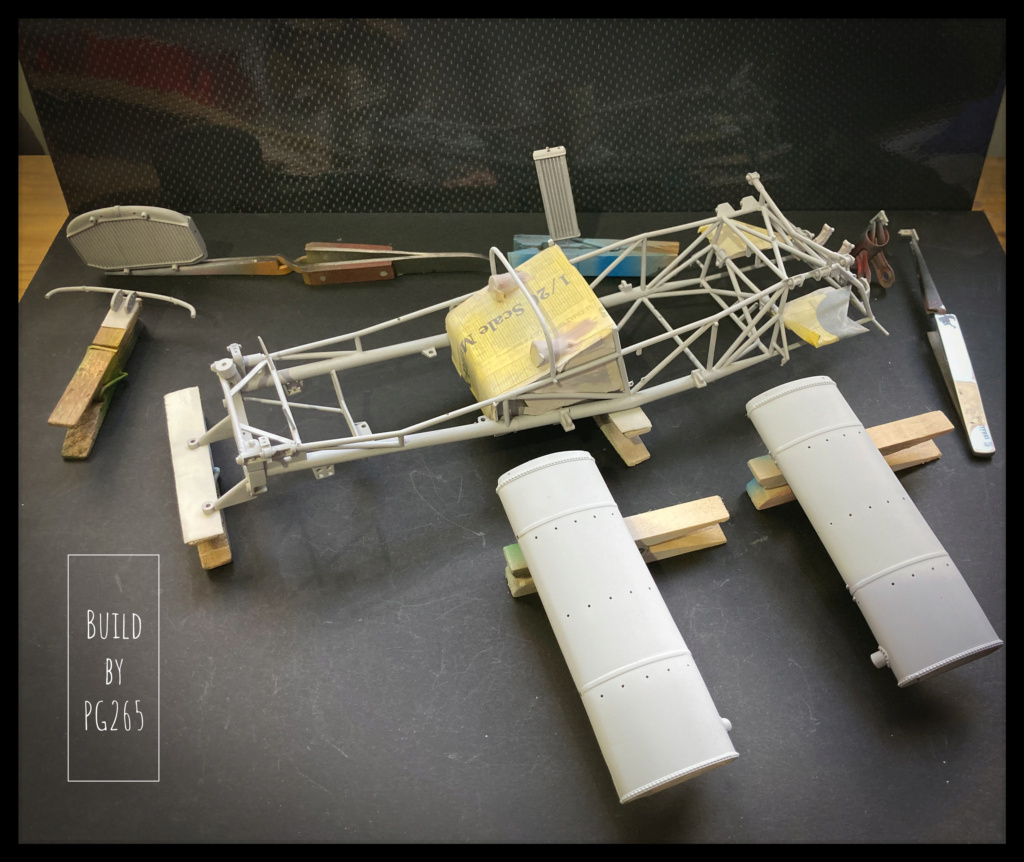
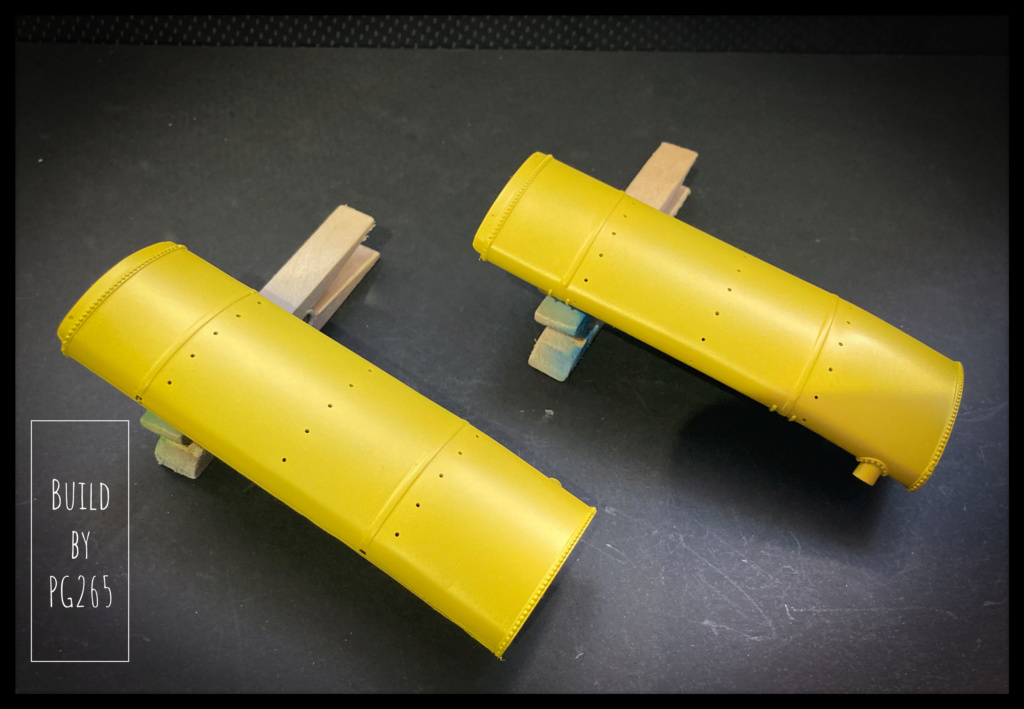
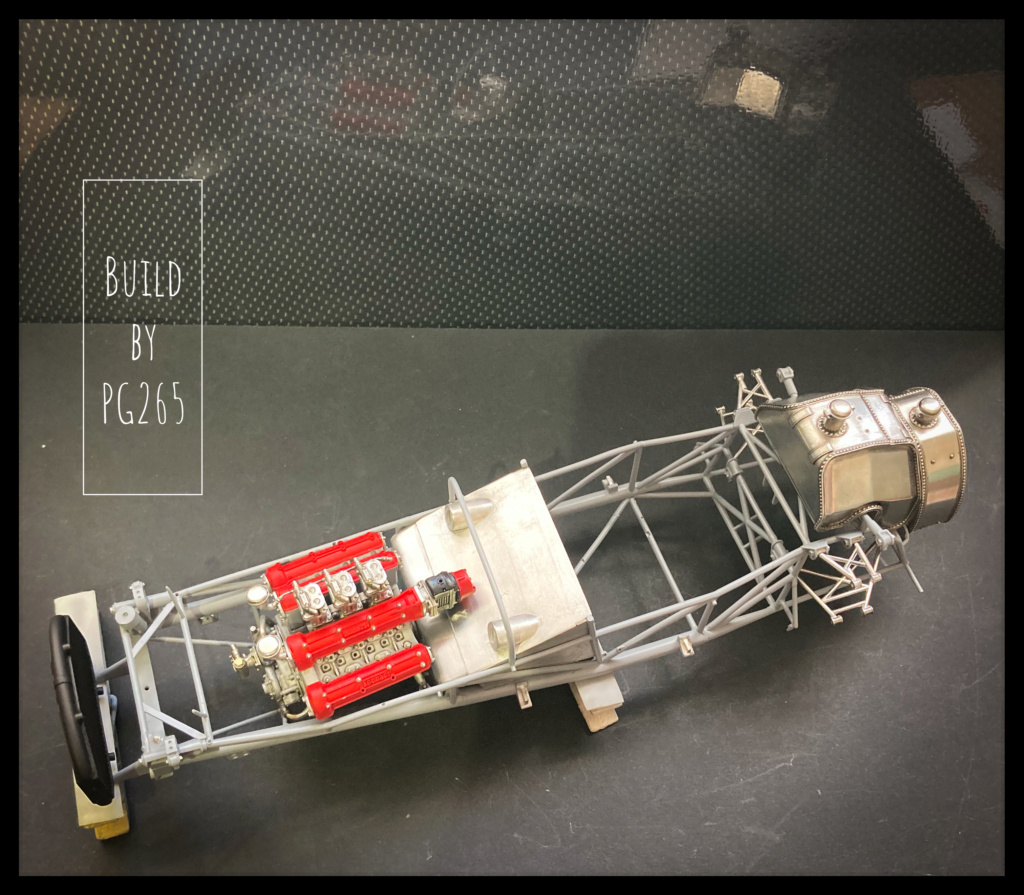
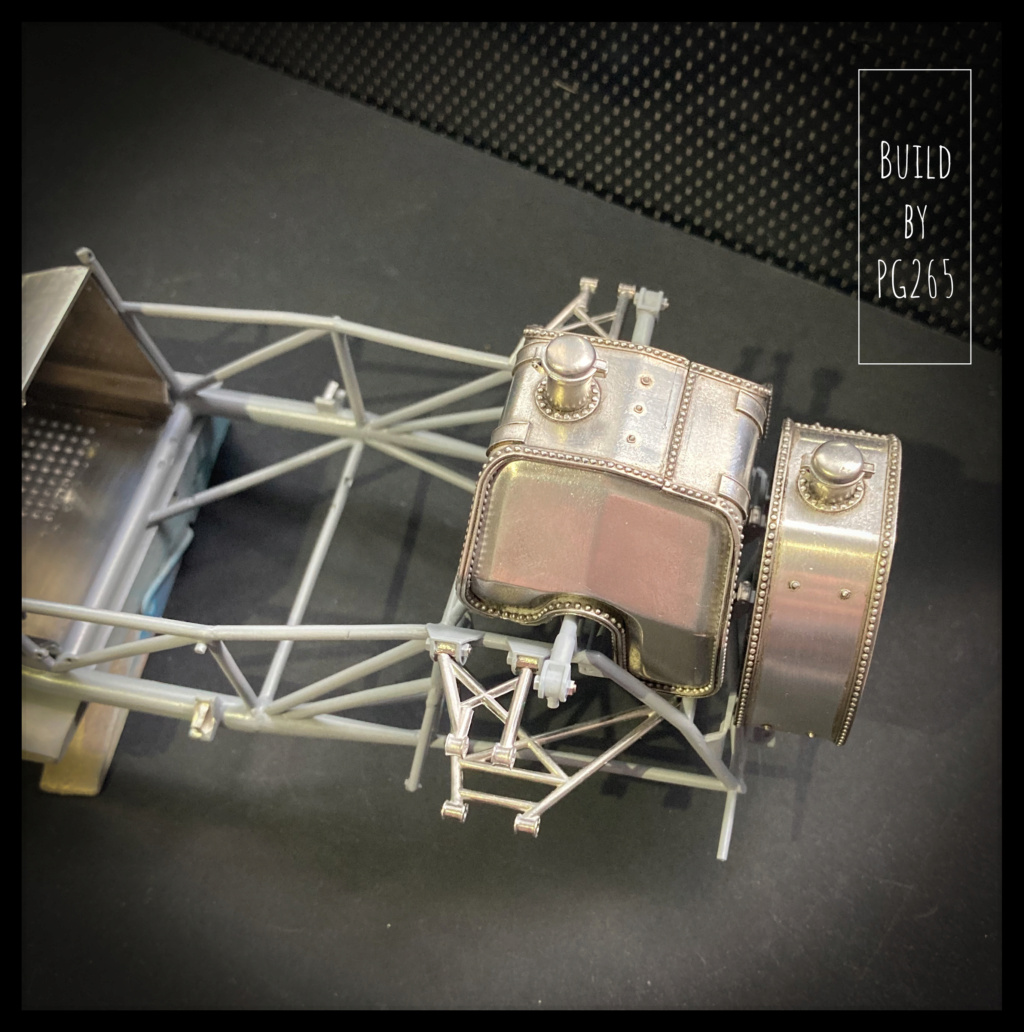
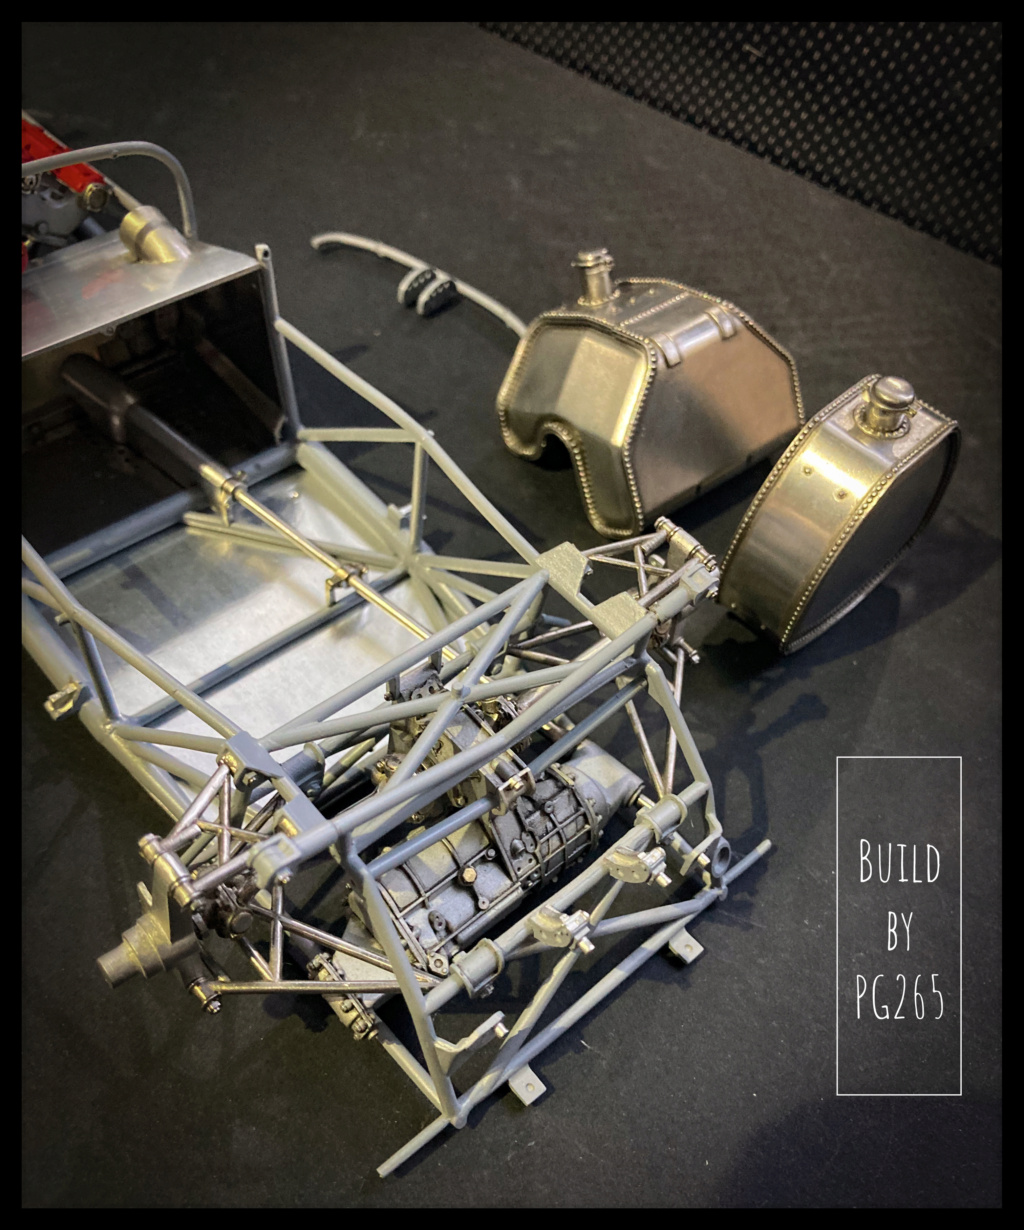
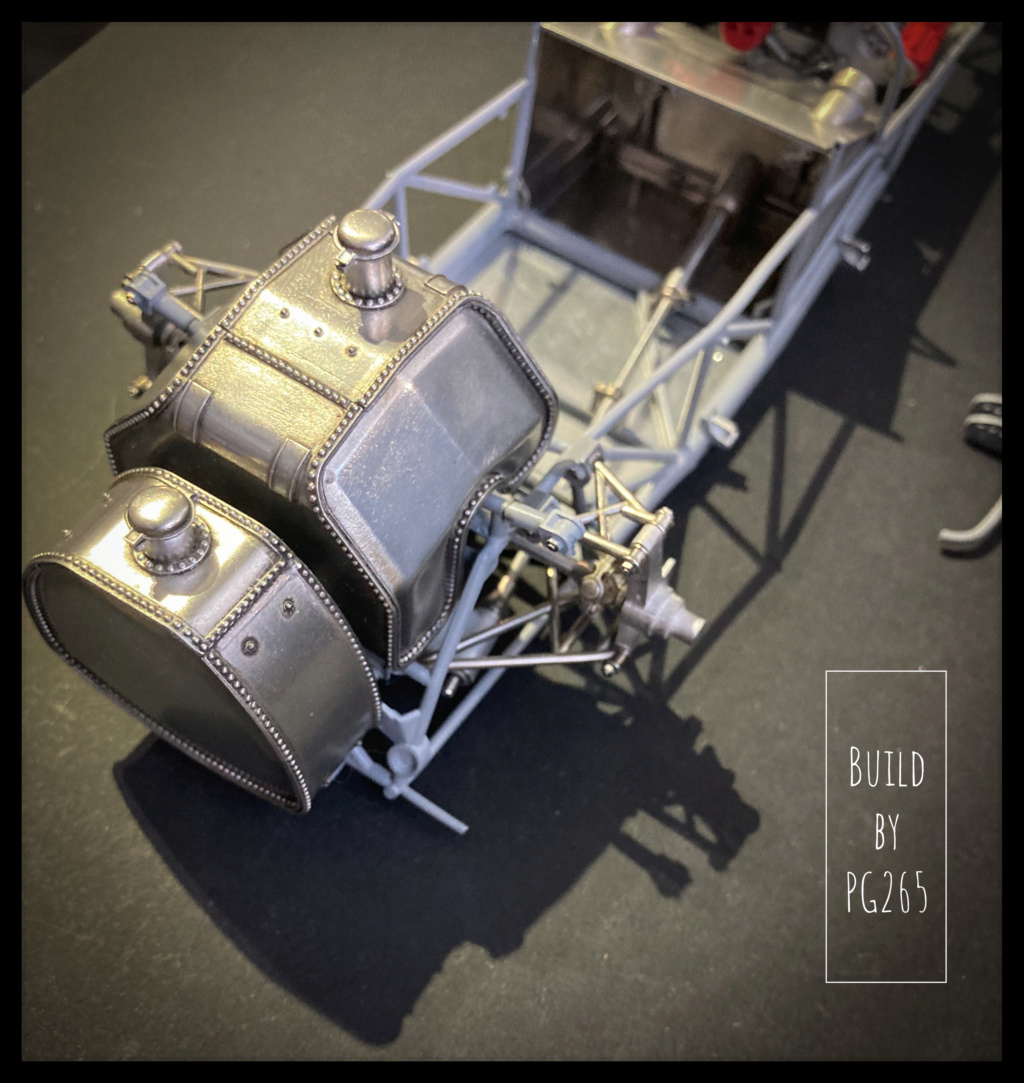
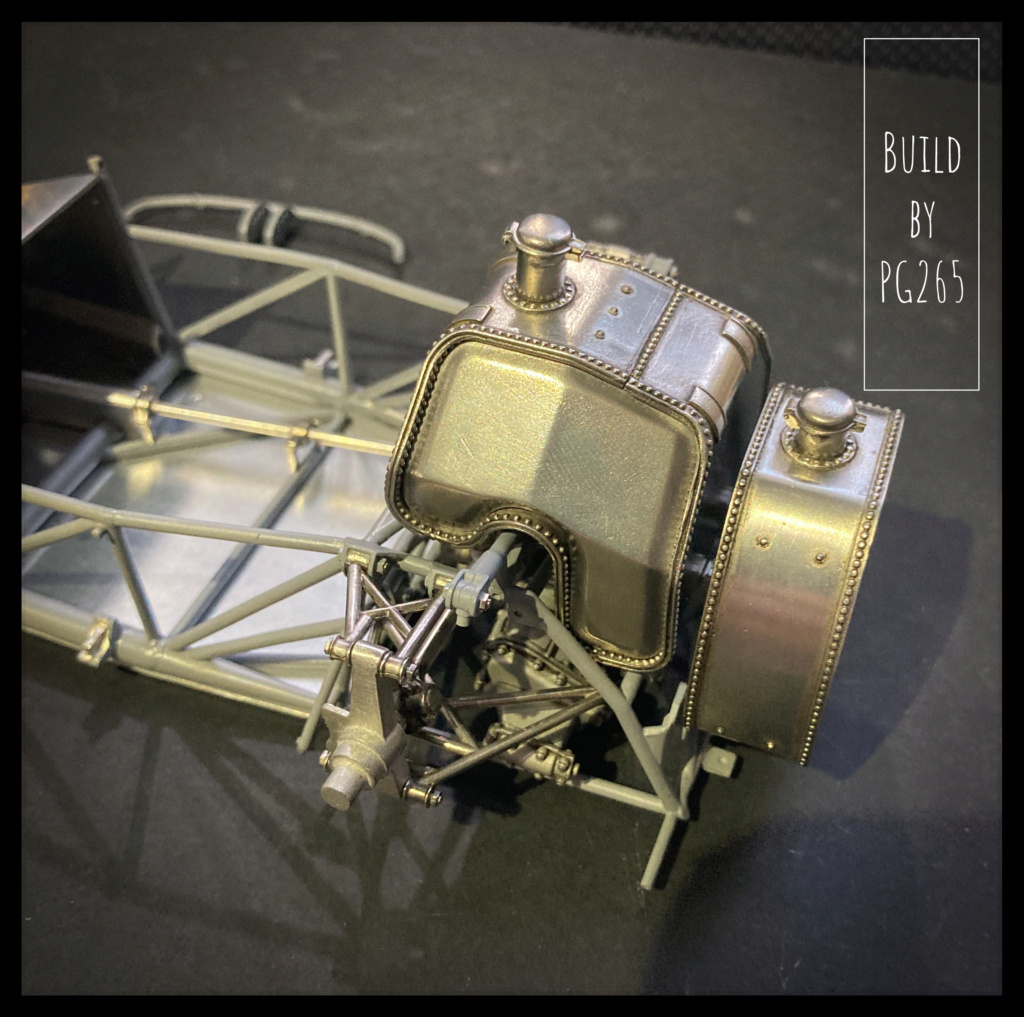
I modified the fuel supply, created a pump and am in the process of modifying the tanks...
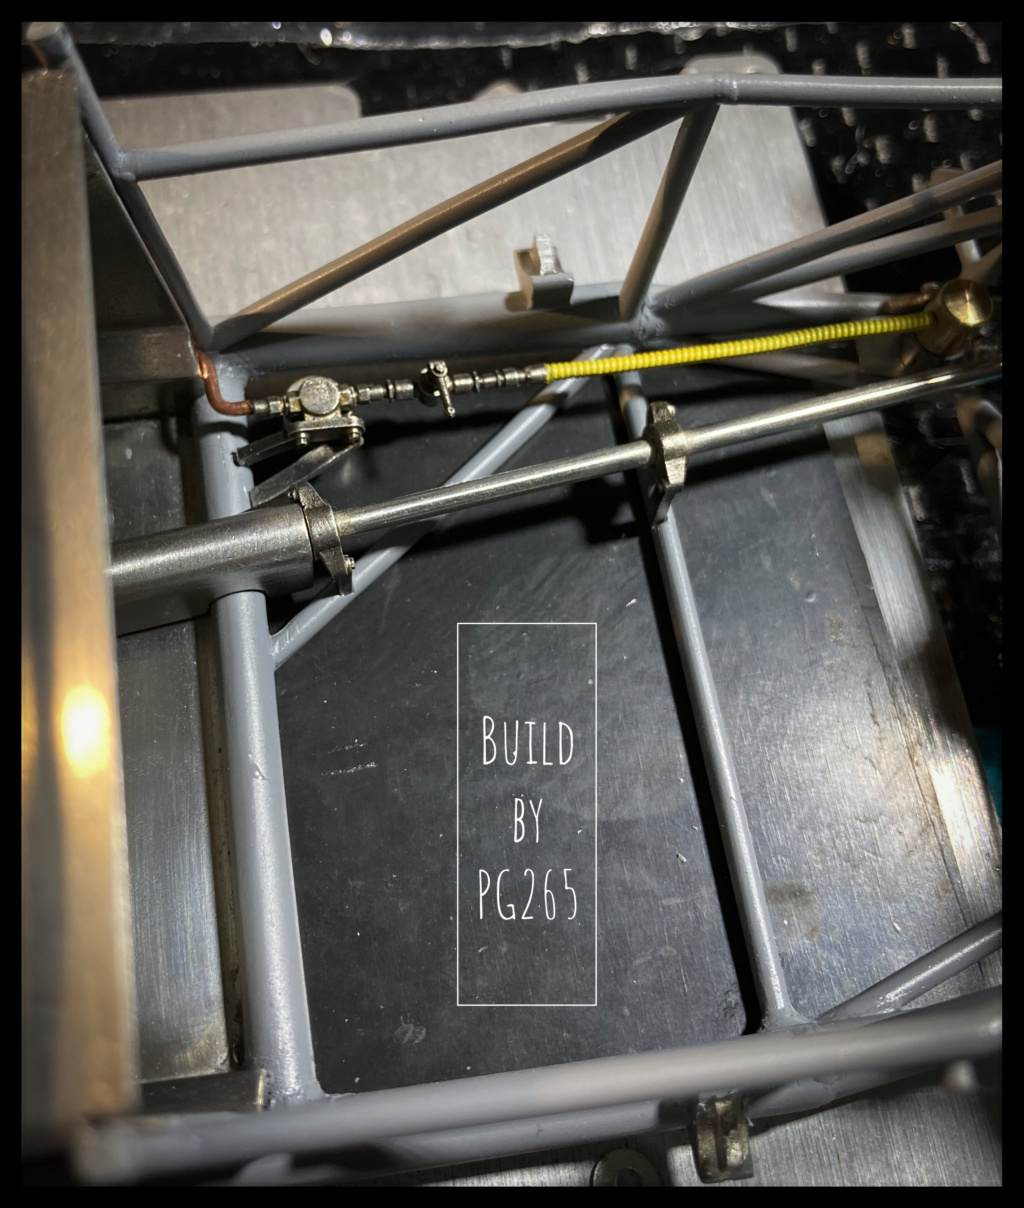


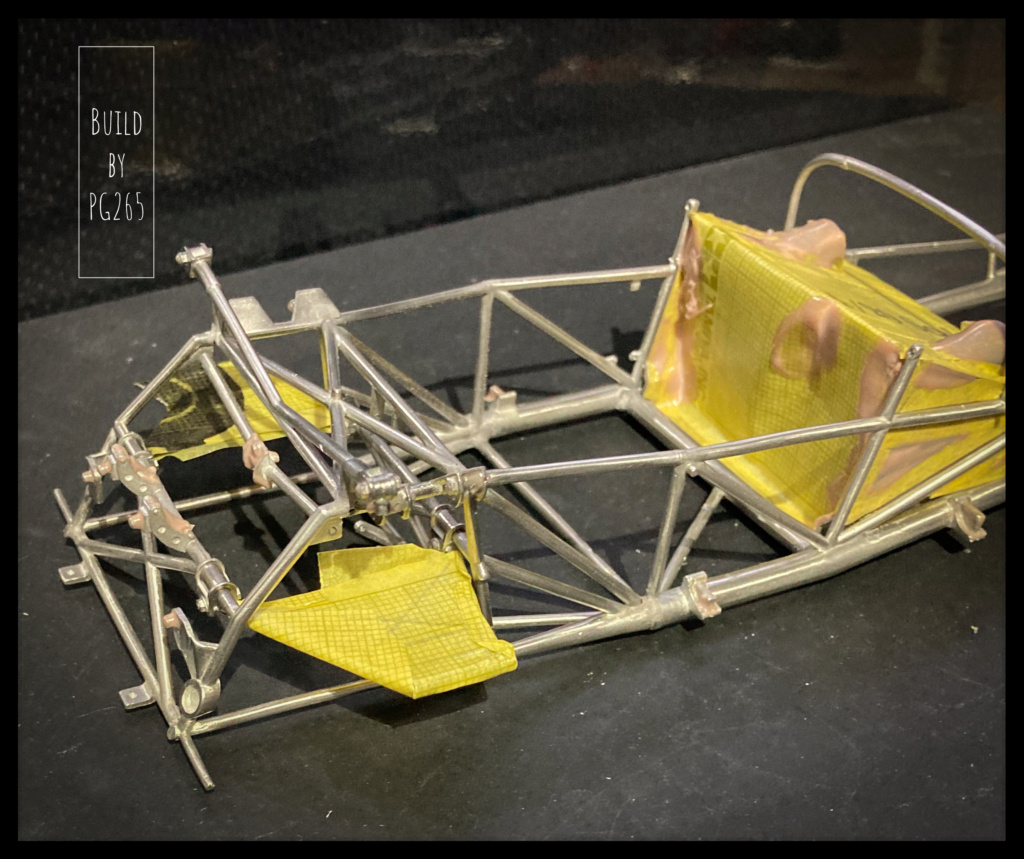
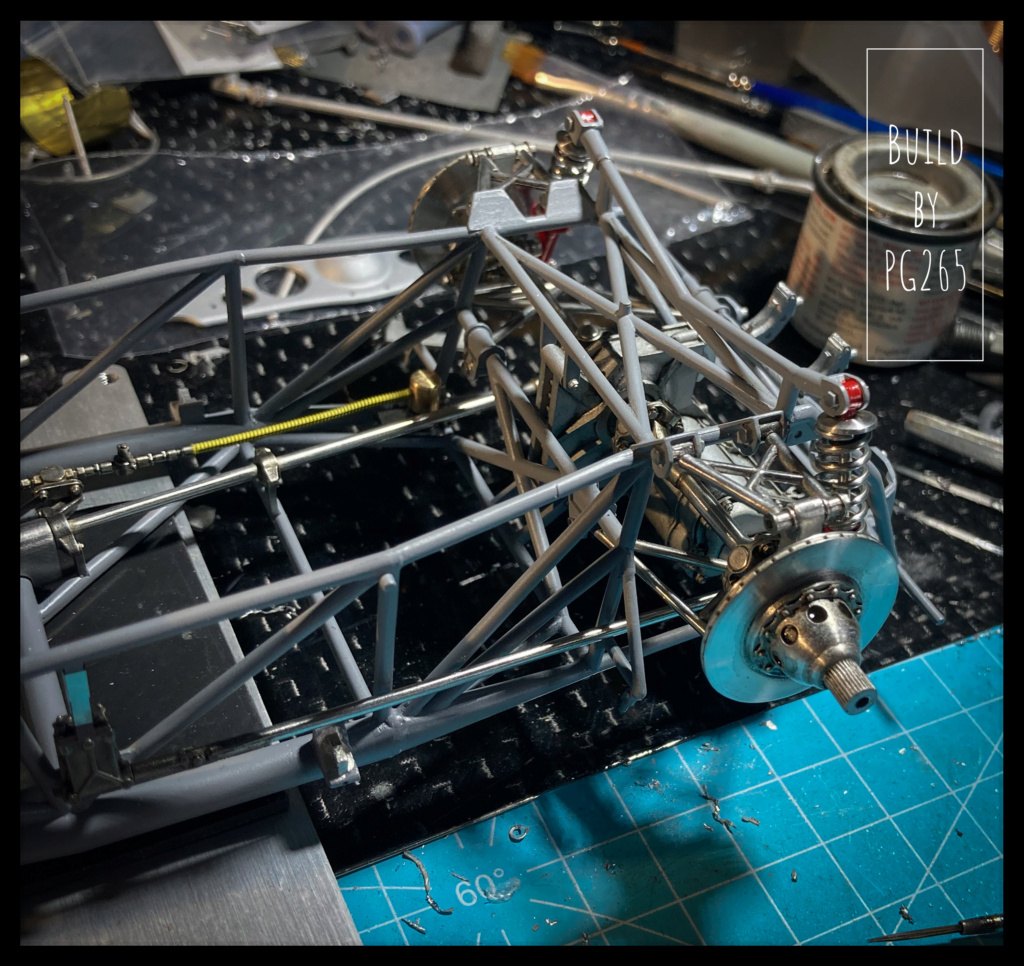
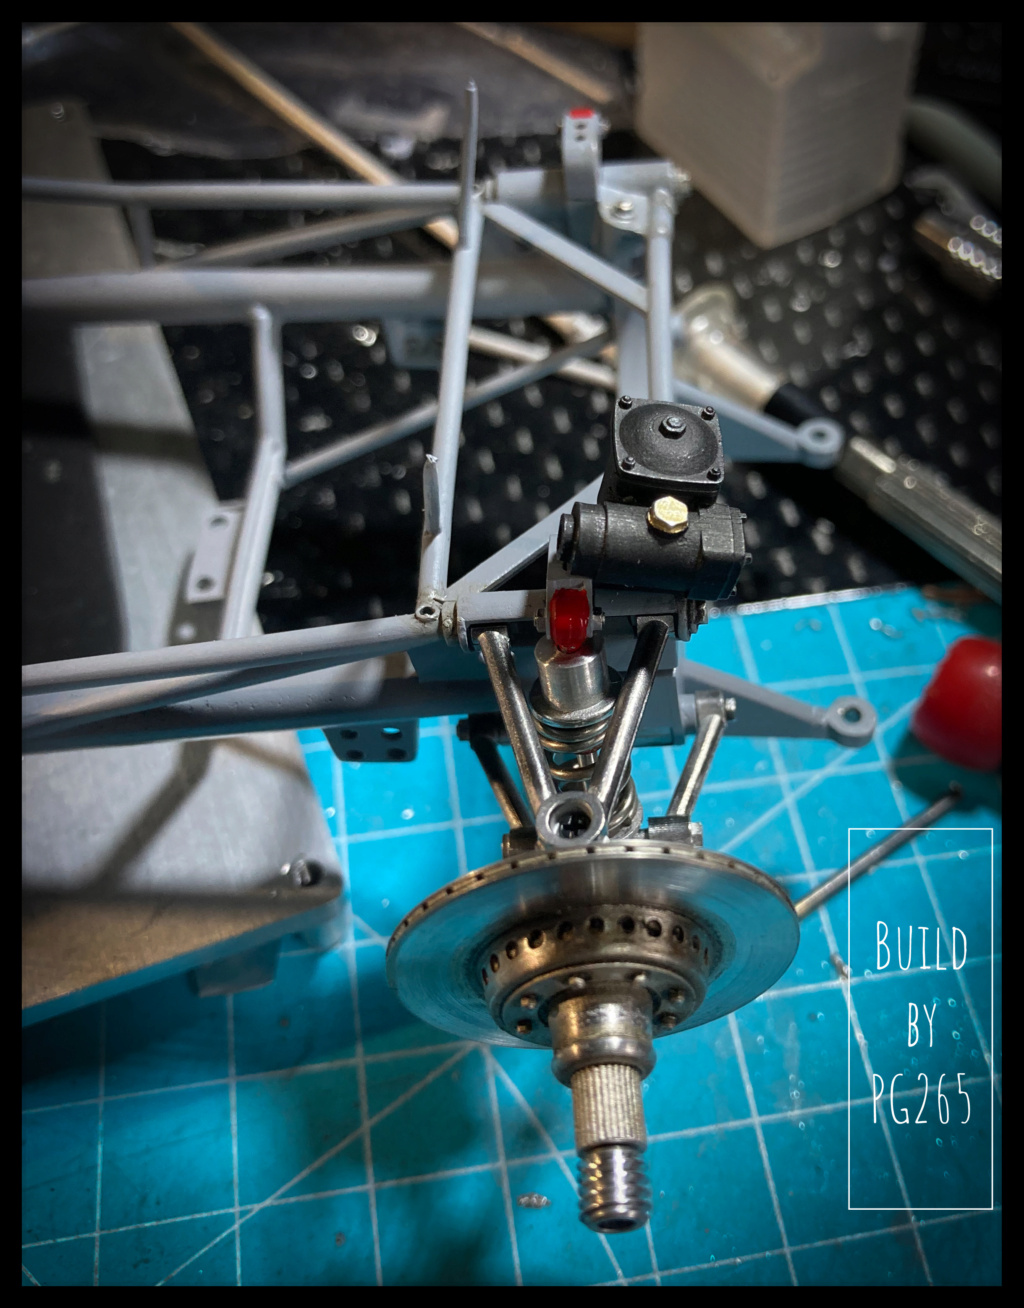
the shock absorbers are slightly modified, painted and temporarily installed to adjust the symmetry of the rear axle.
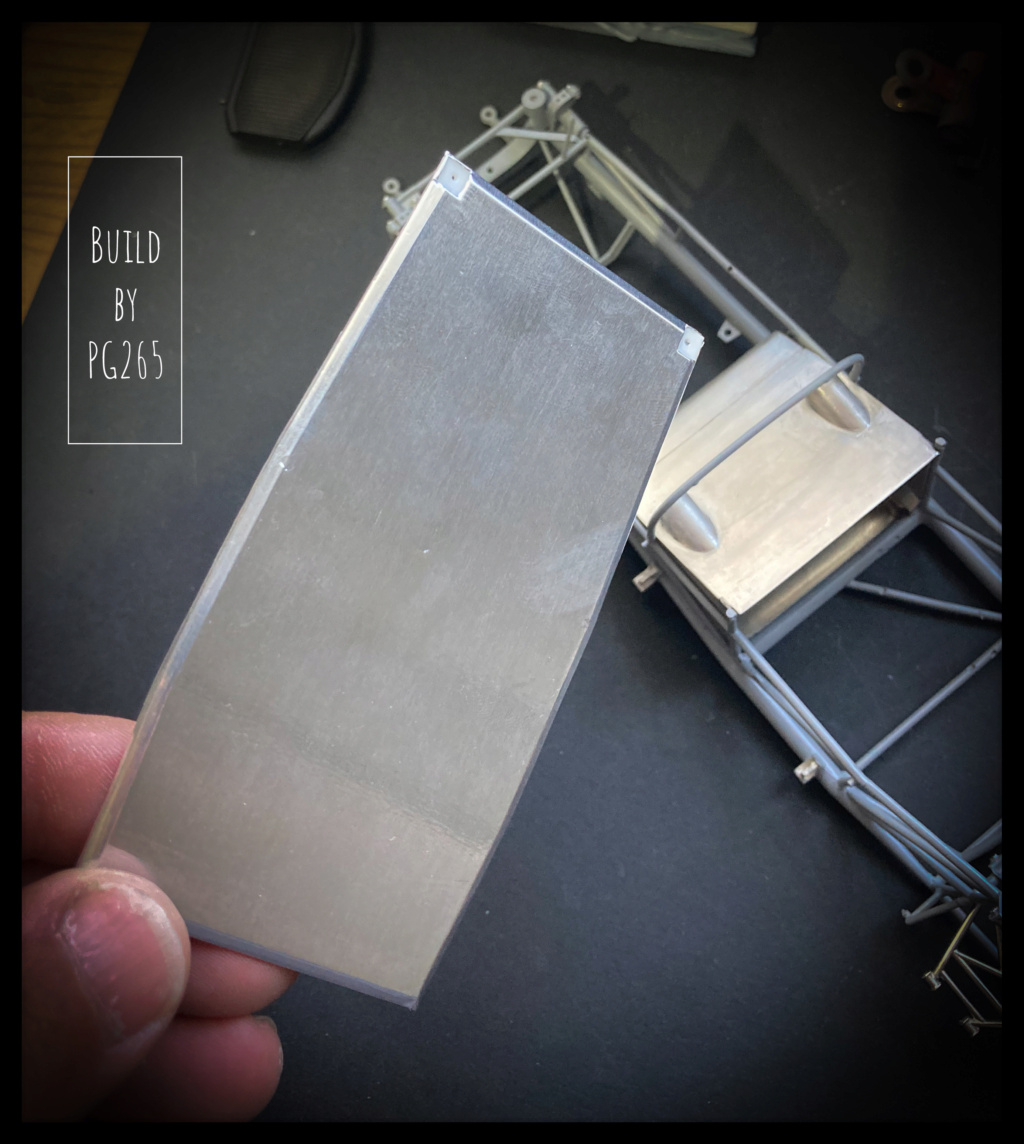
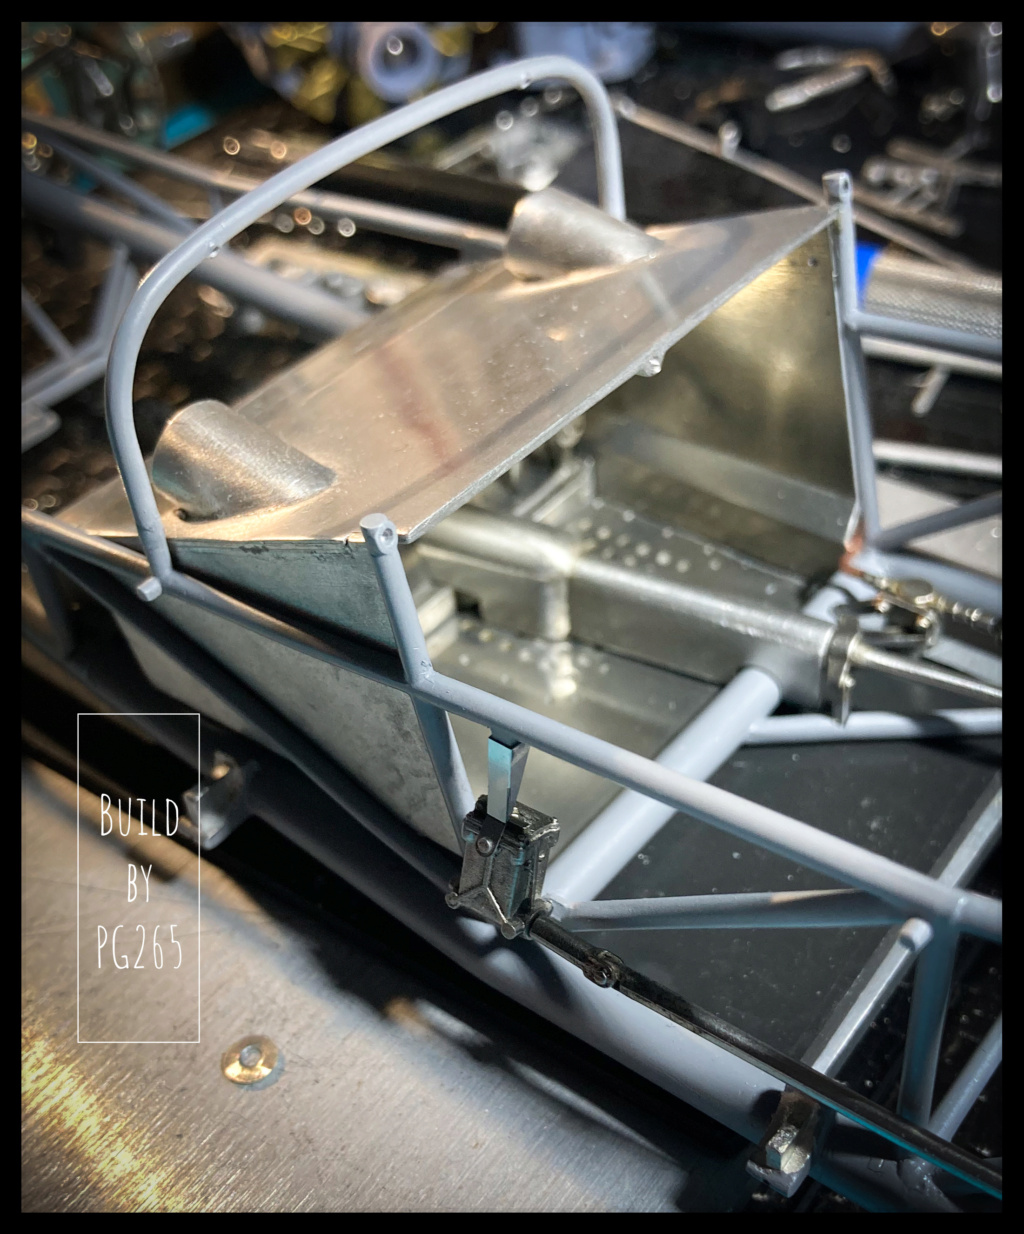
A lot of other things in the process of being prepared or modified.
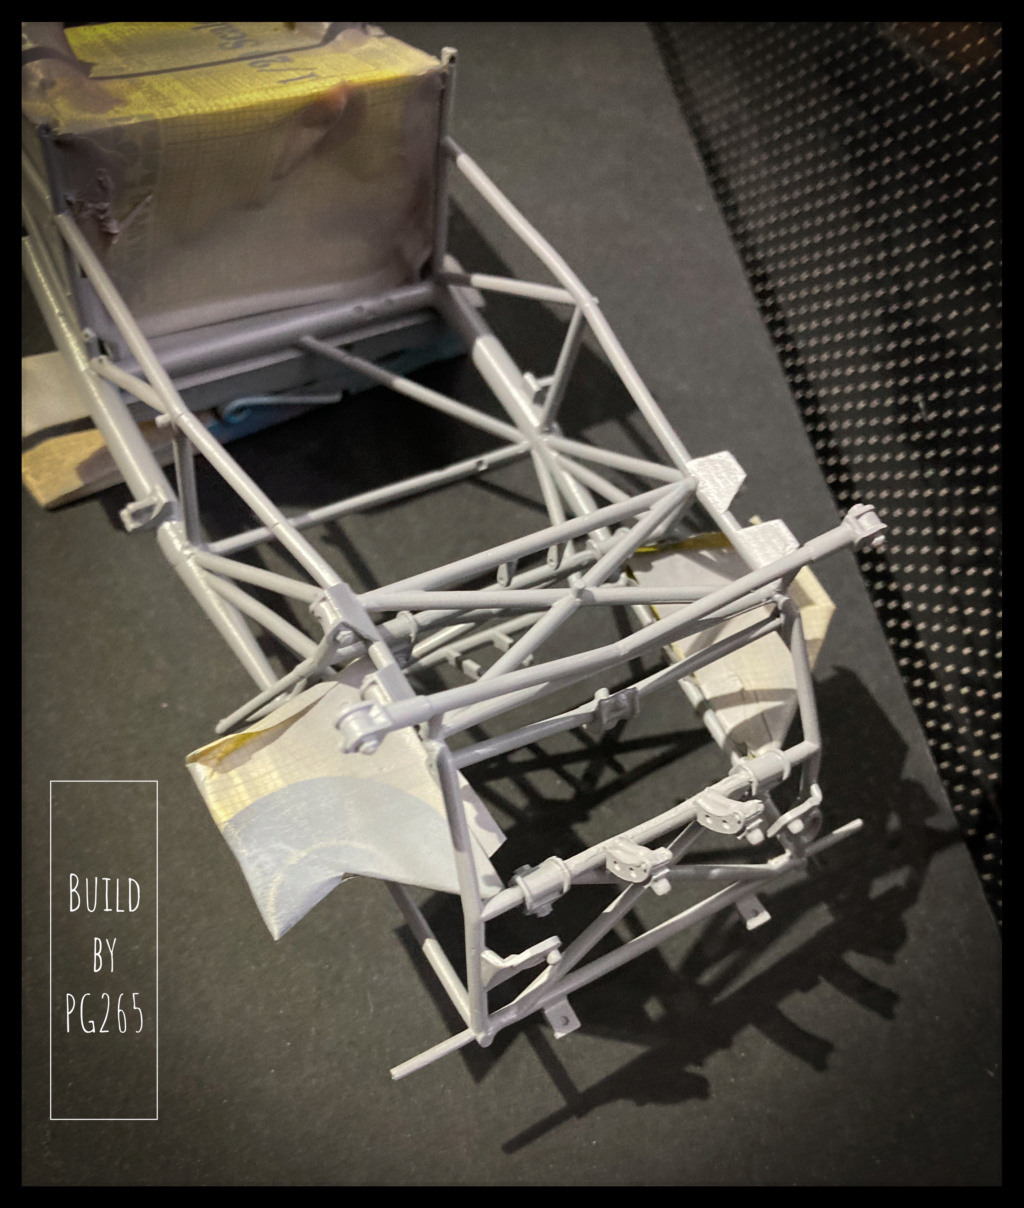
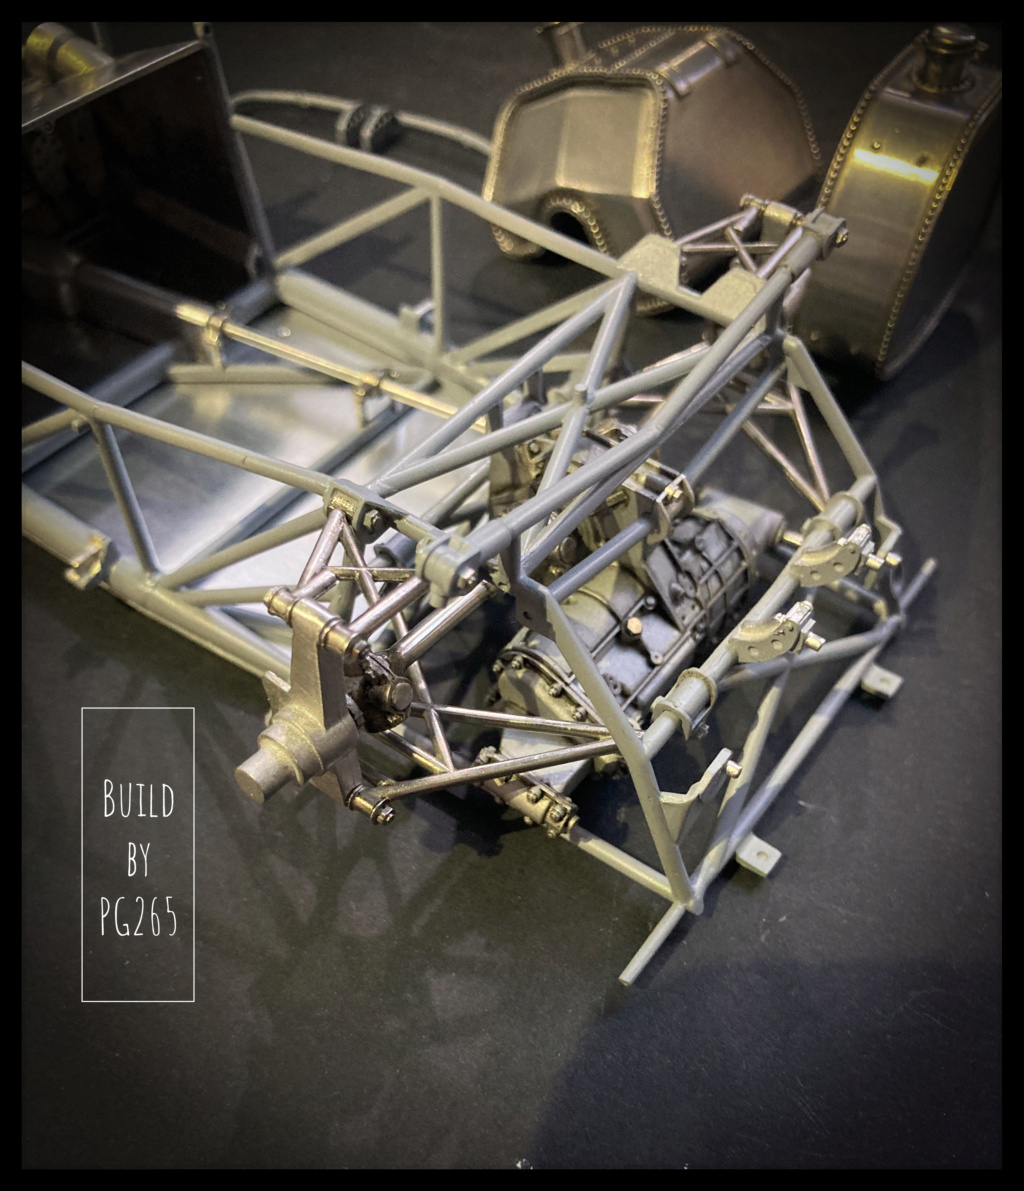
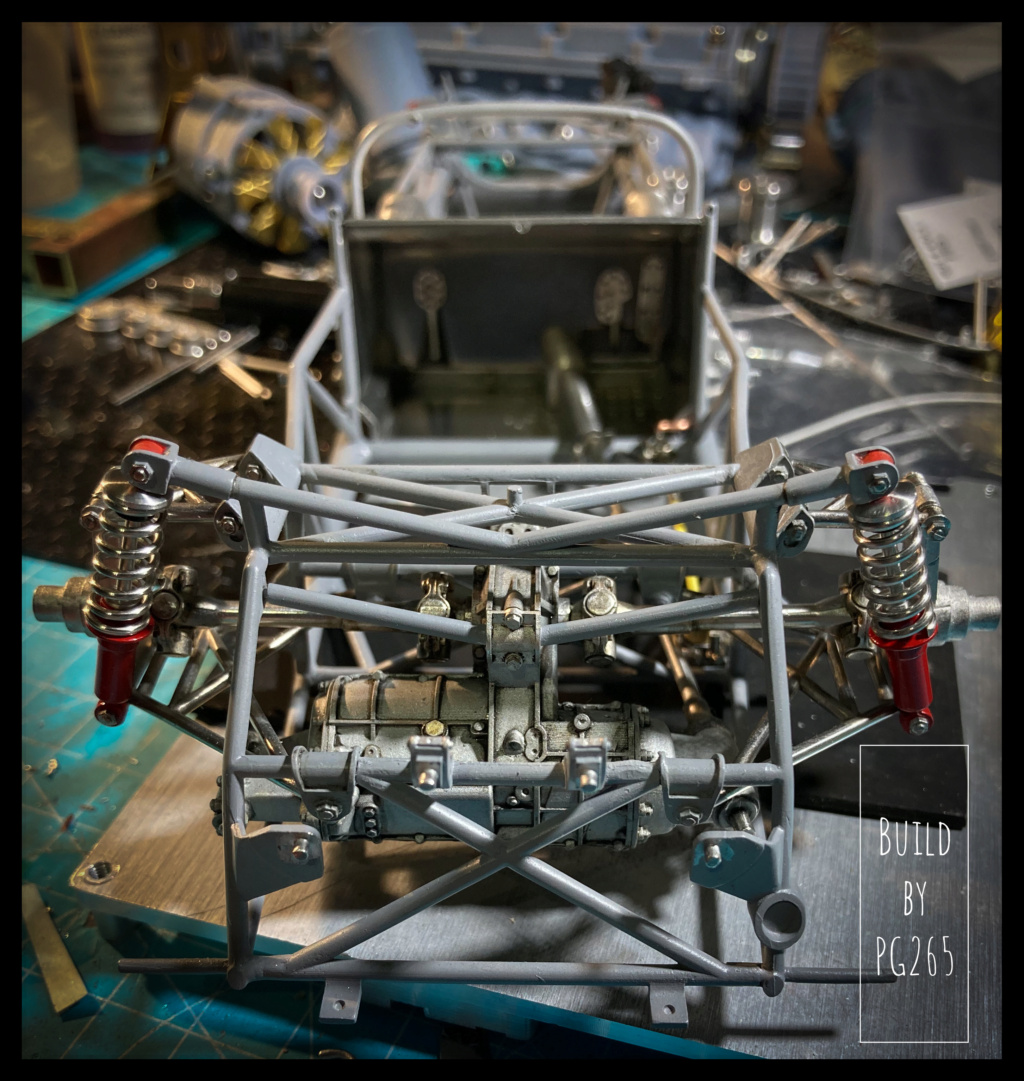
I prepared and installed the front axle as well as the rear.
The calipers are in progress.
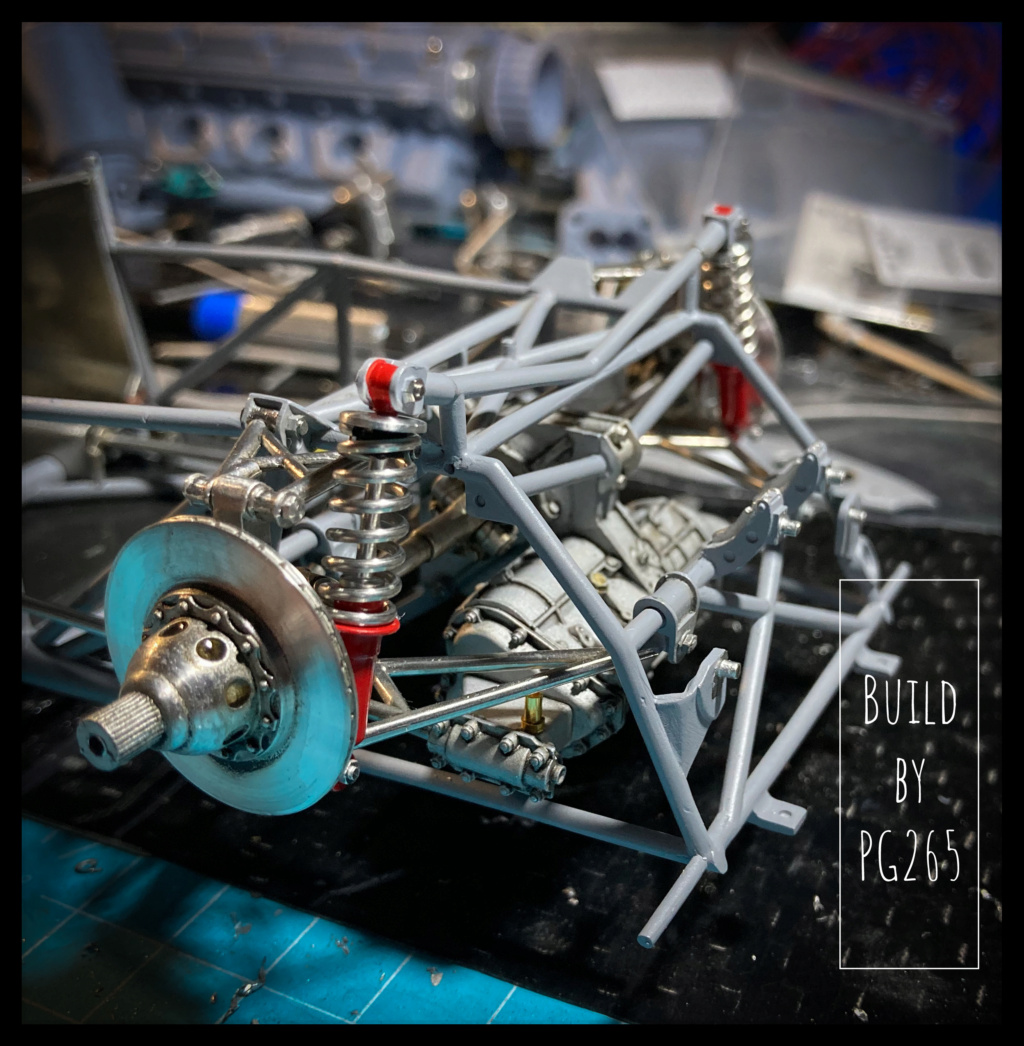

I also quickly turned a 5/10 washer to fix an interference at the steering box.
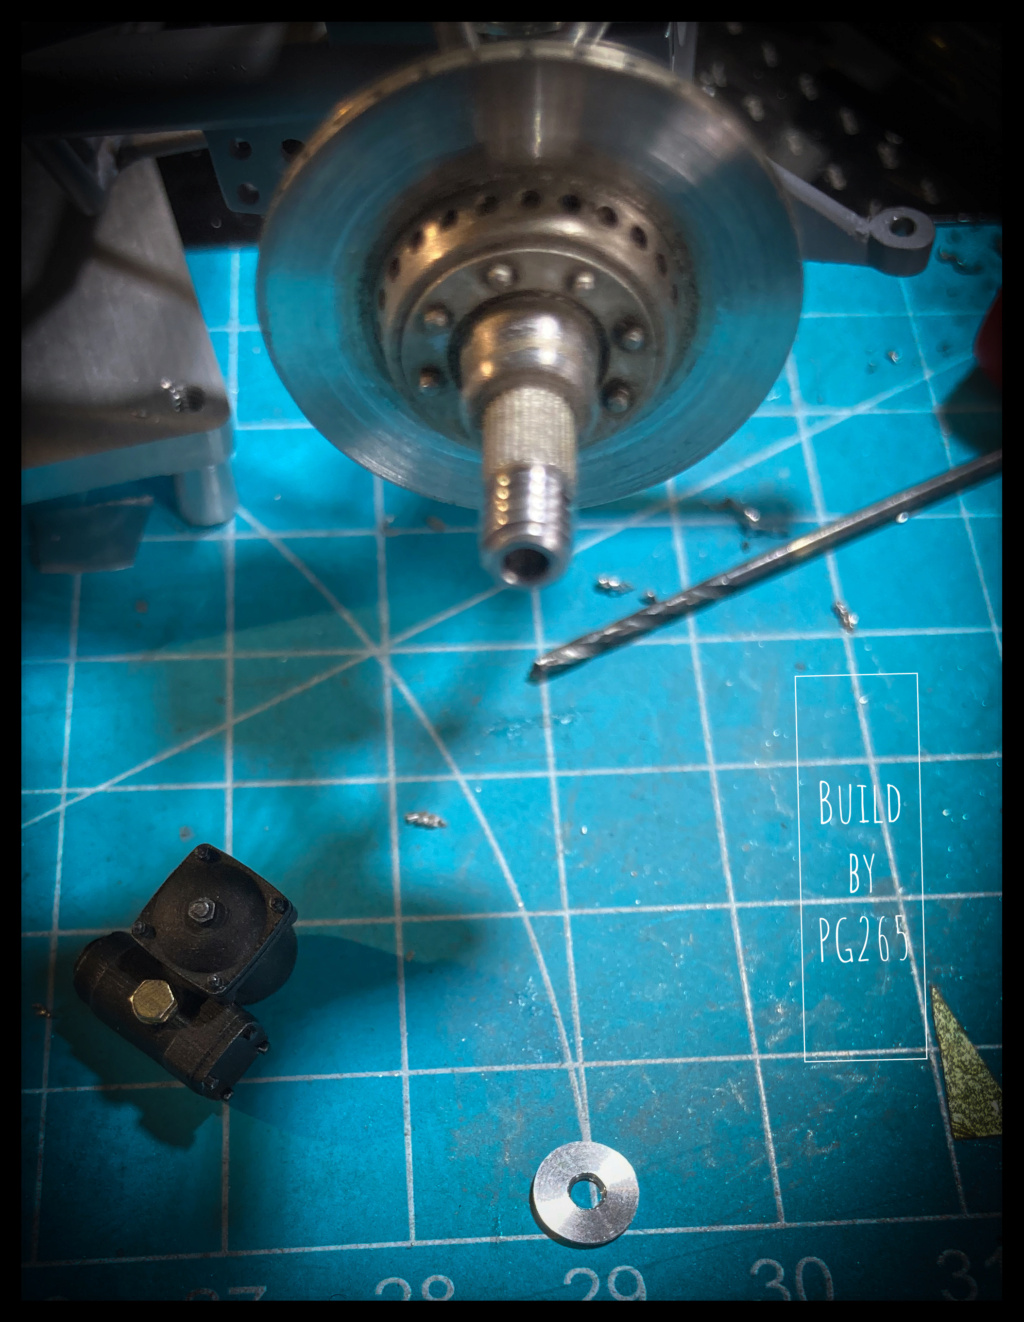
I also took the opportunity to turn another brass piece to place on the gearbox.
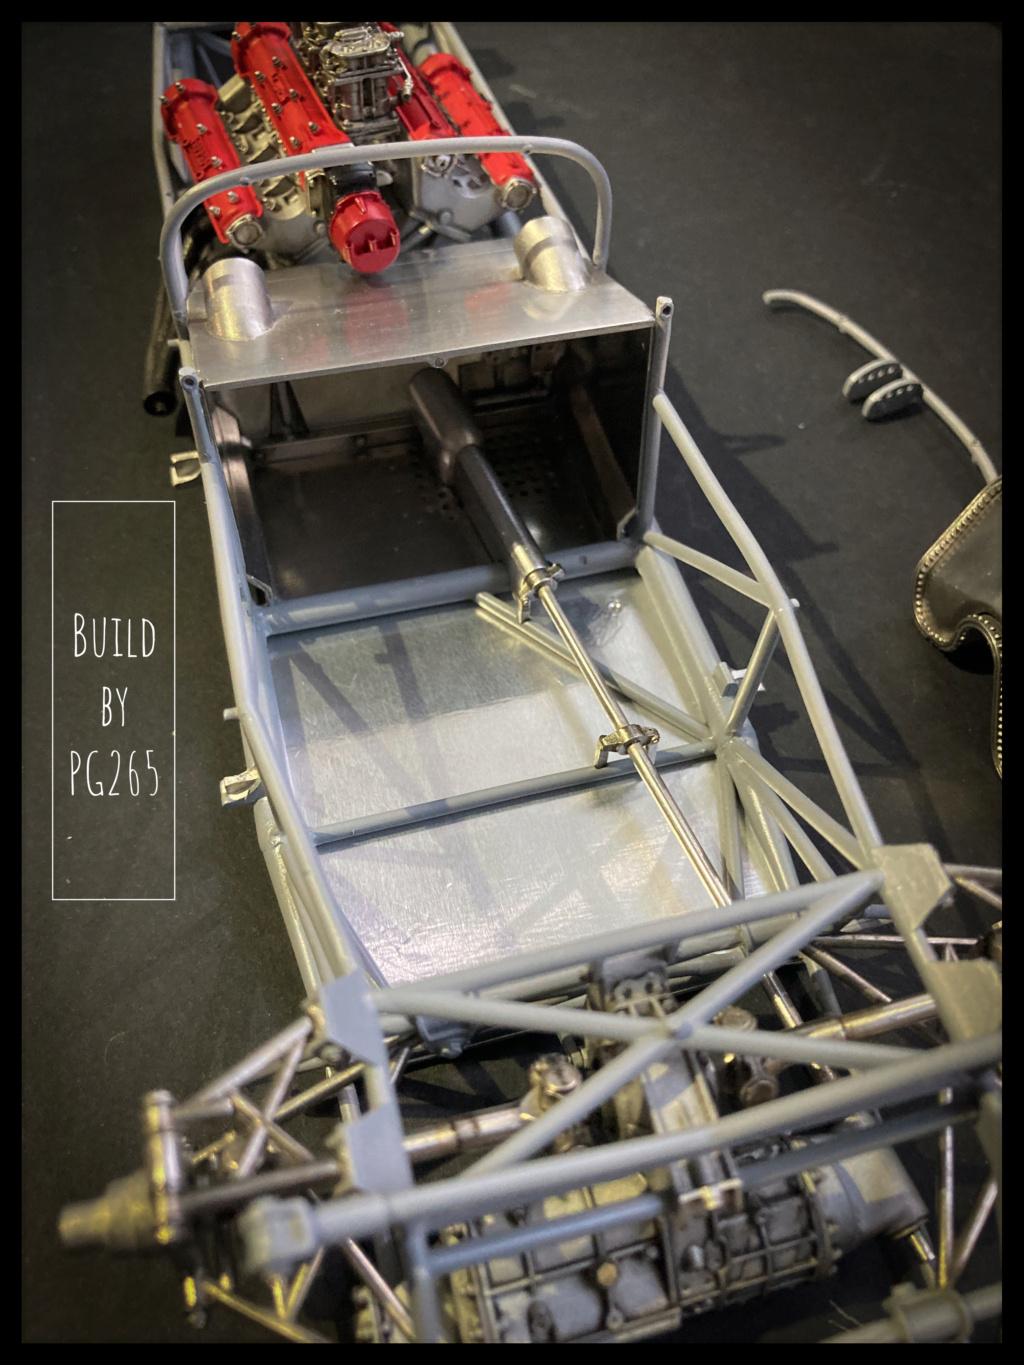
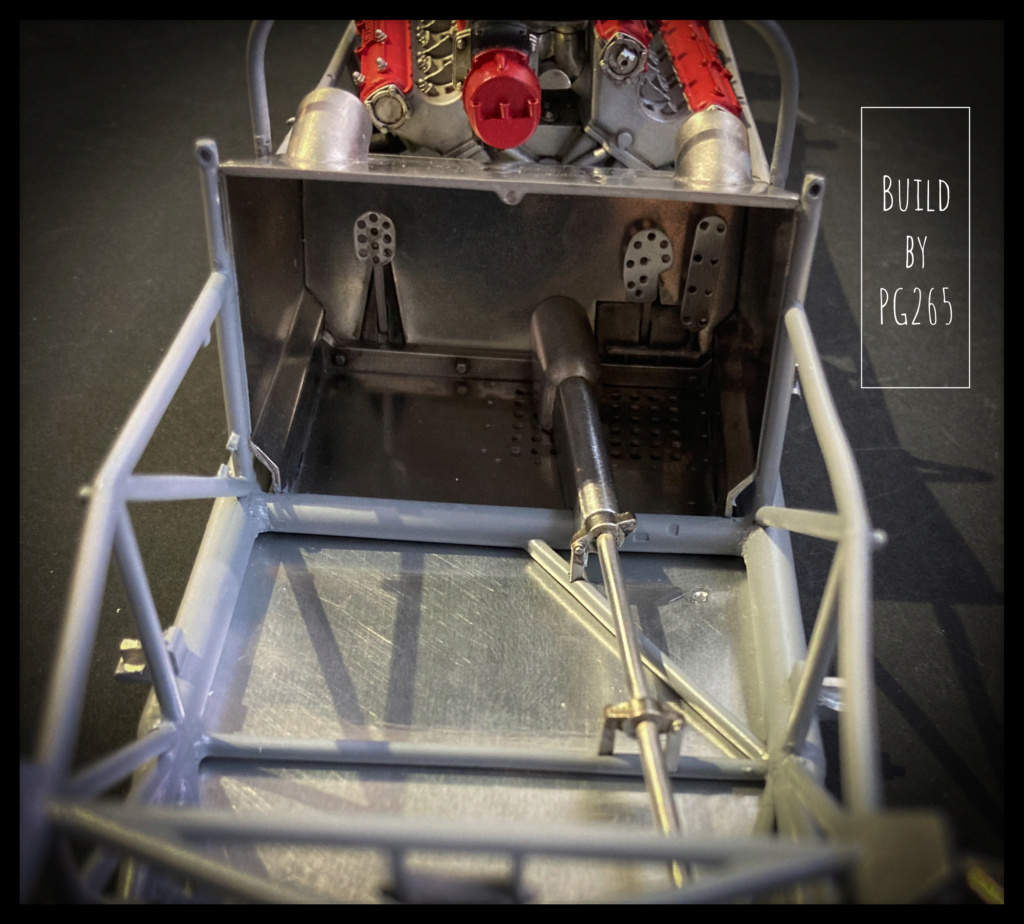
The gearbox is also now connected to the gearshift in the cockpit.
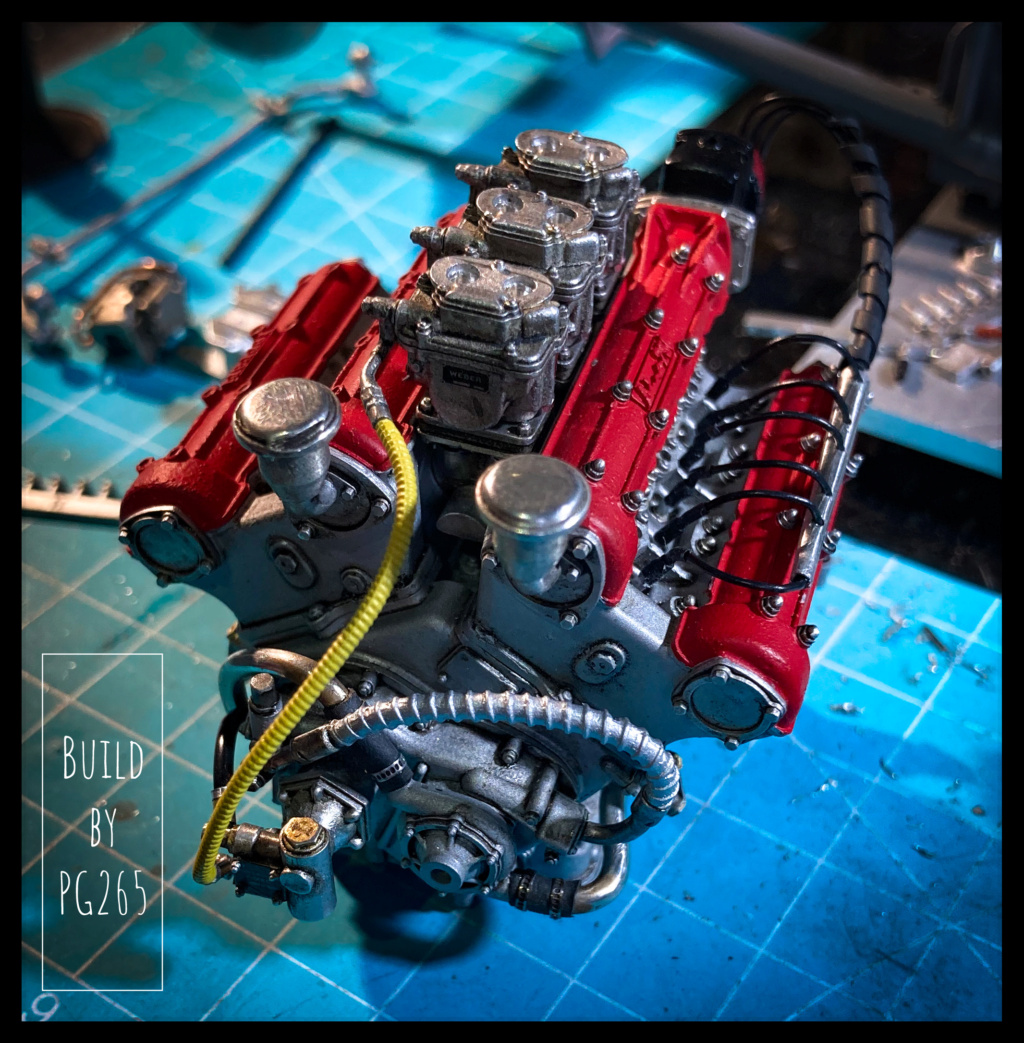
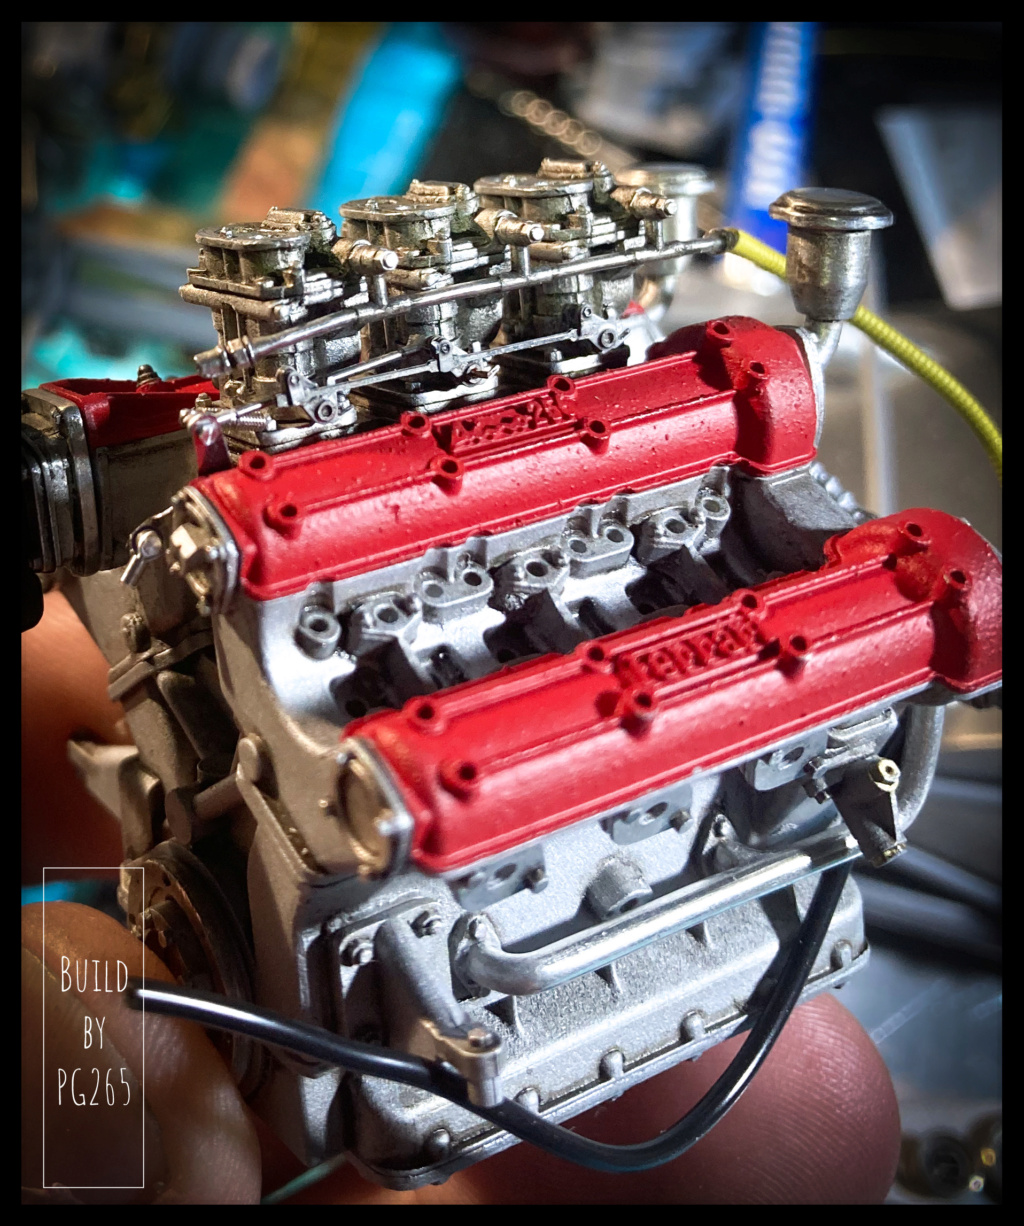
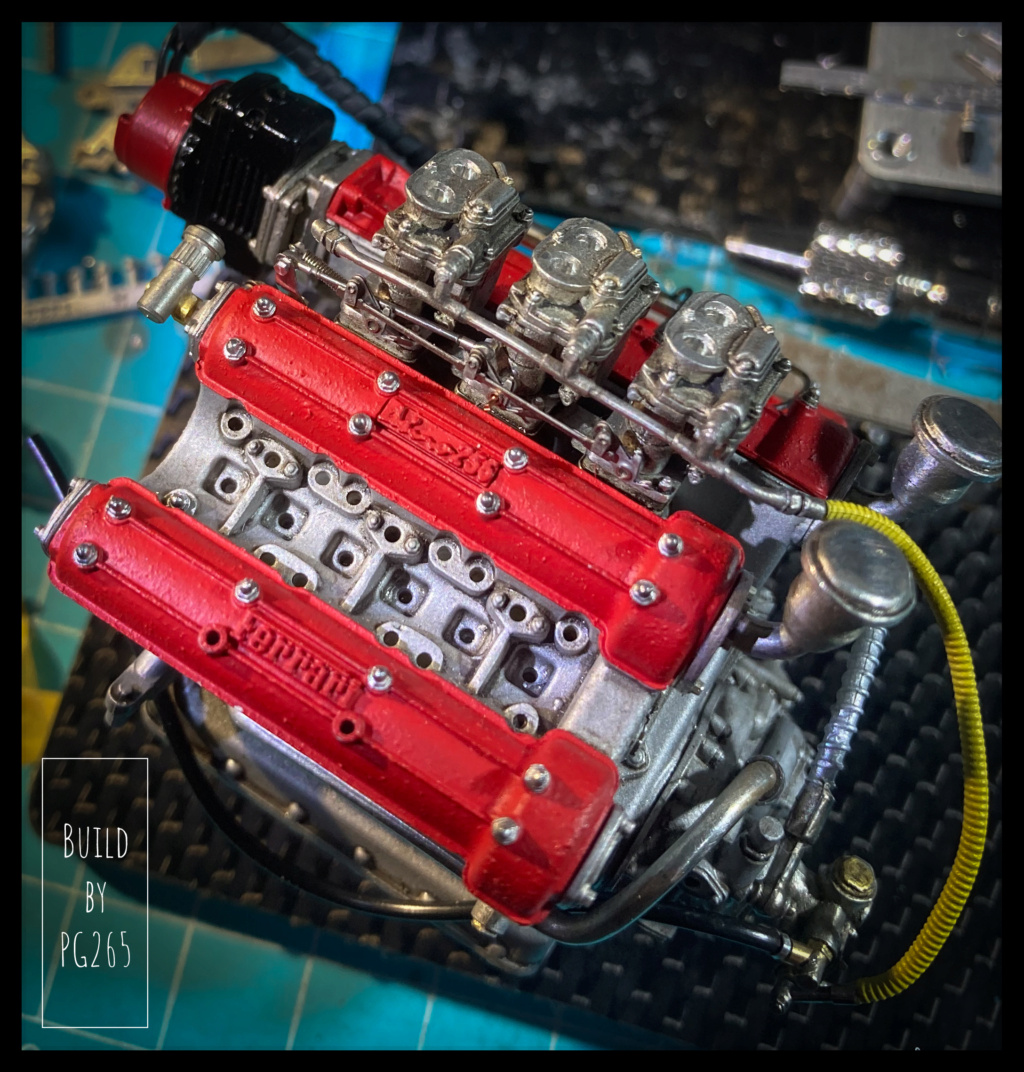
Start of ignition installation.
I think MFH made a mistake about the spark plug cables coming from the magneto...
The distributor head will remain barely visible once the body is installed.
Even if it is still difficult to see, the porcelains are painted white and I have installed sleeves on the spark plug wires.
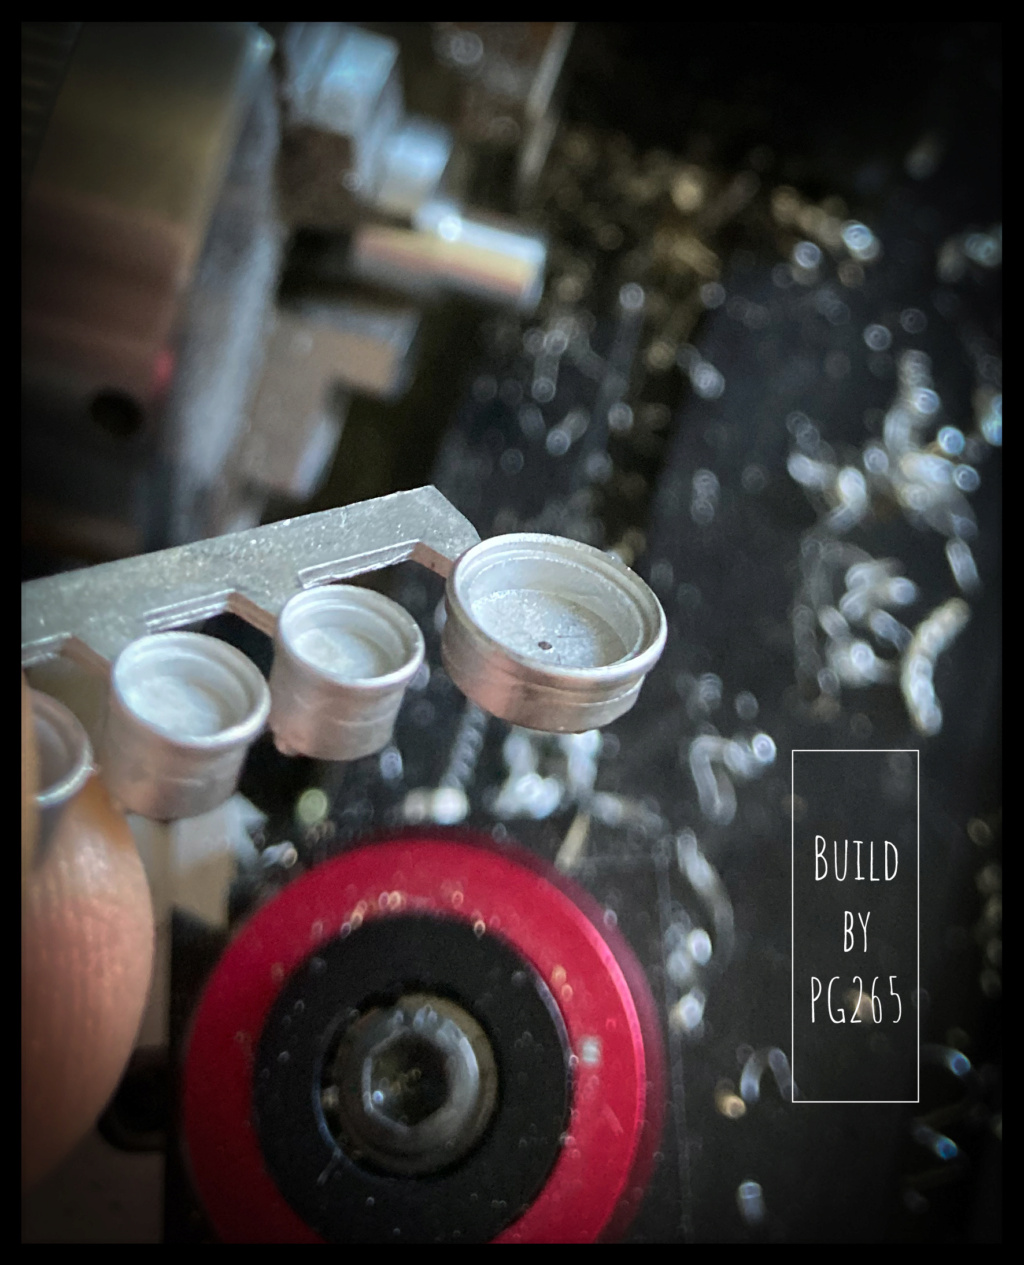
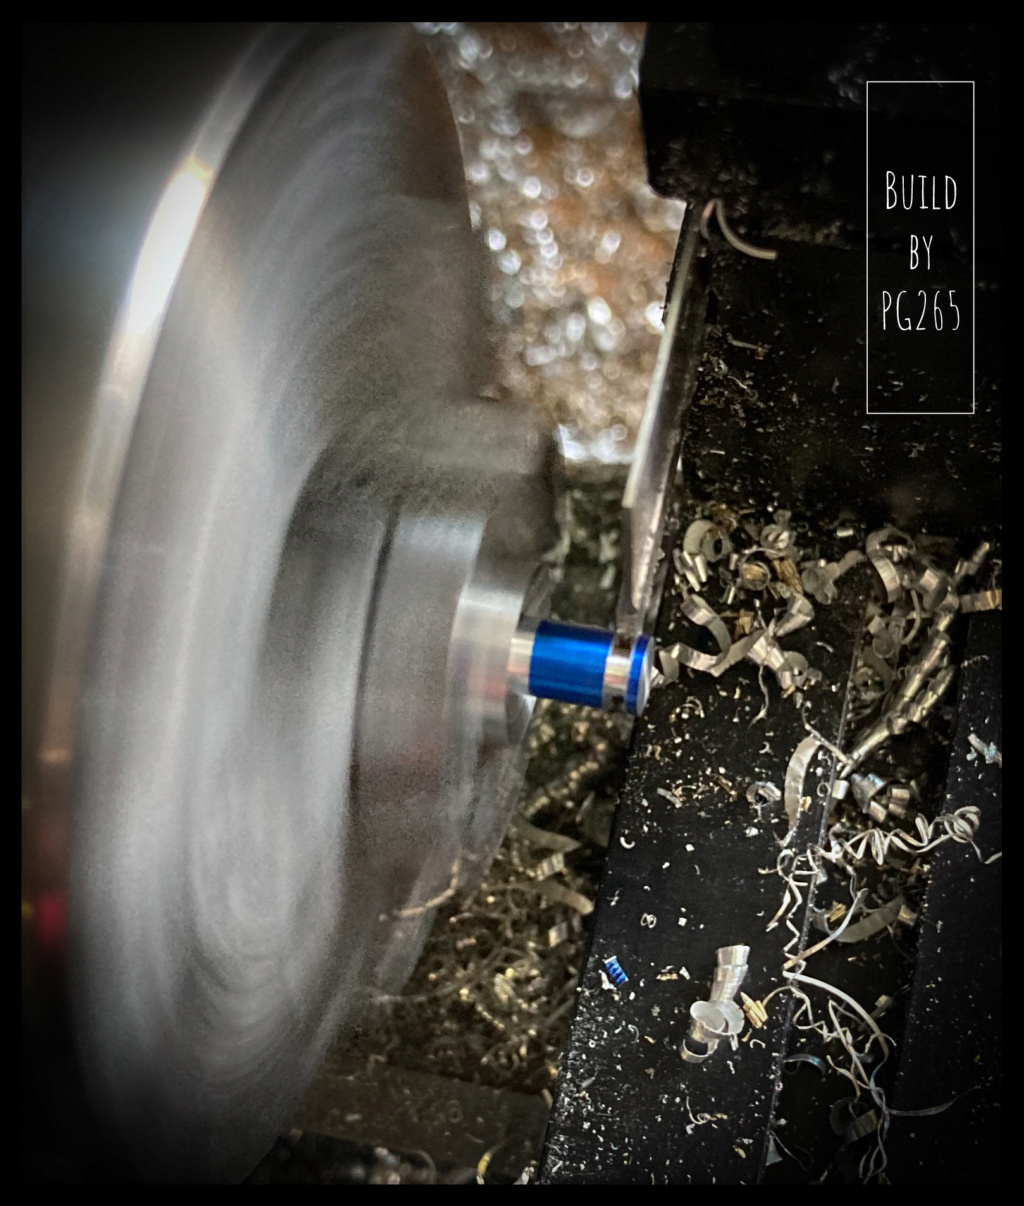
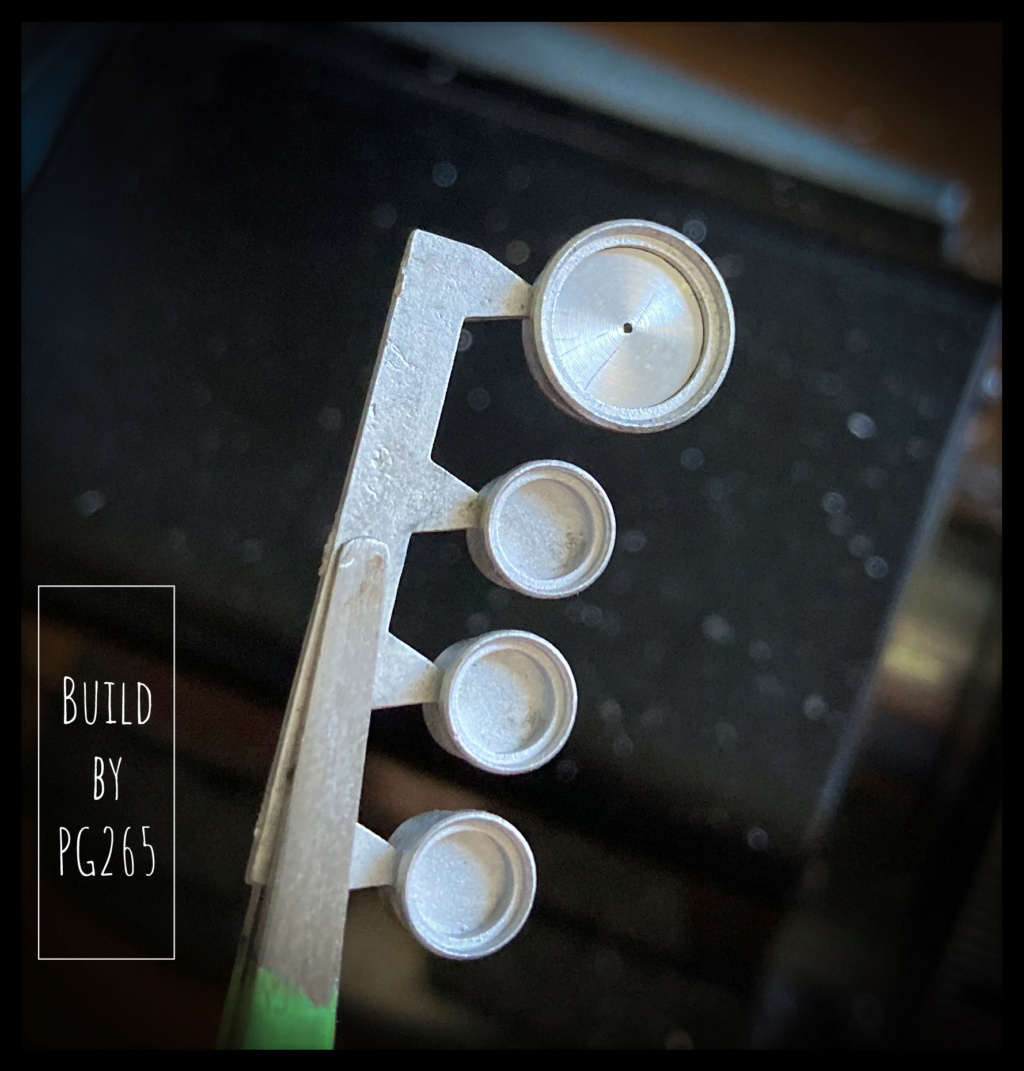
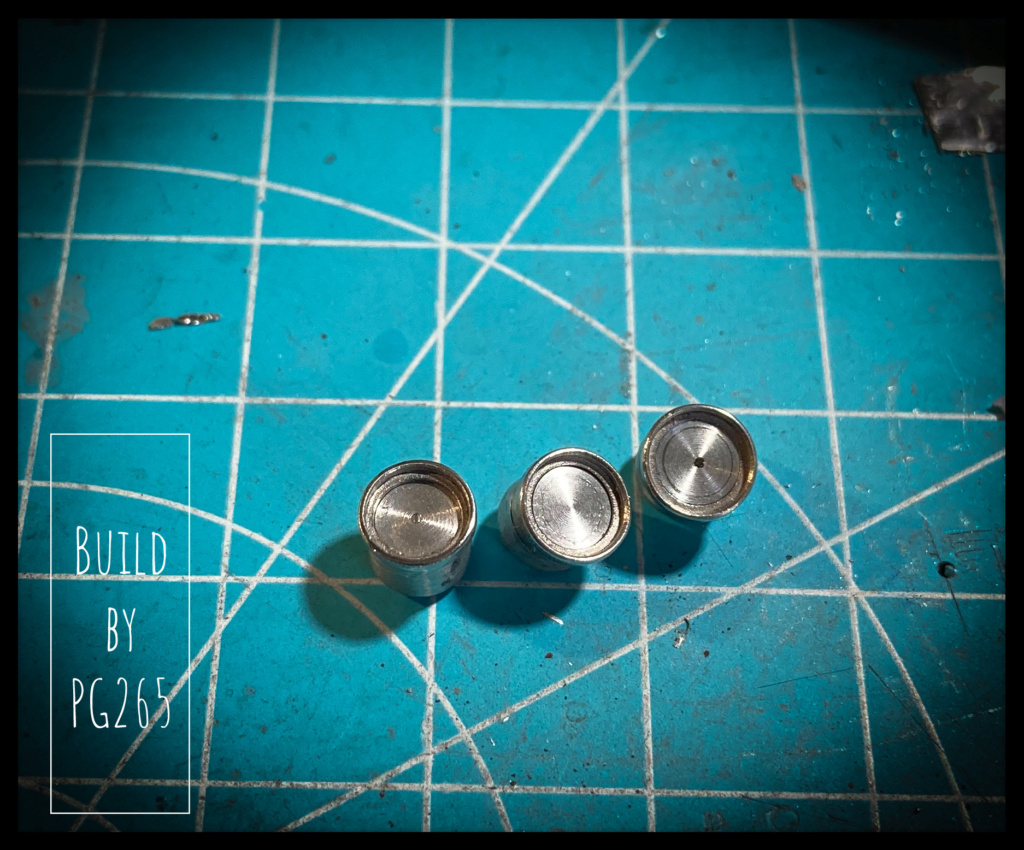
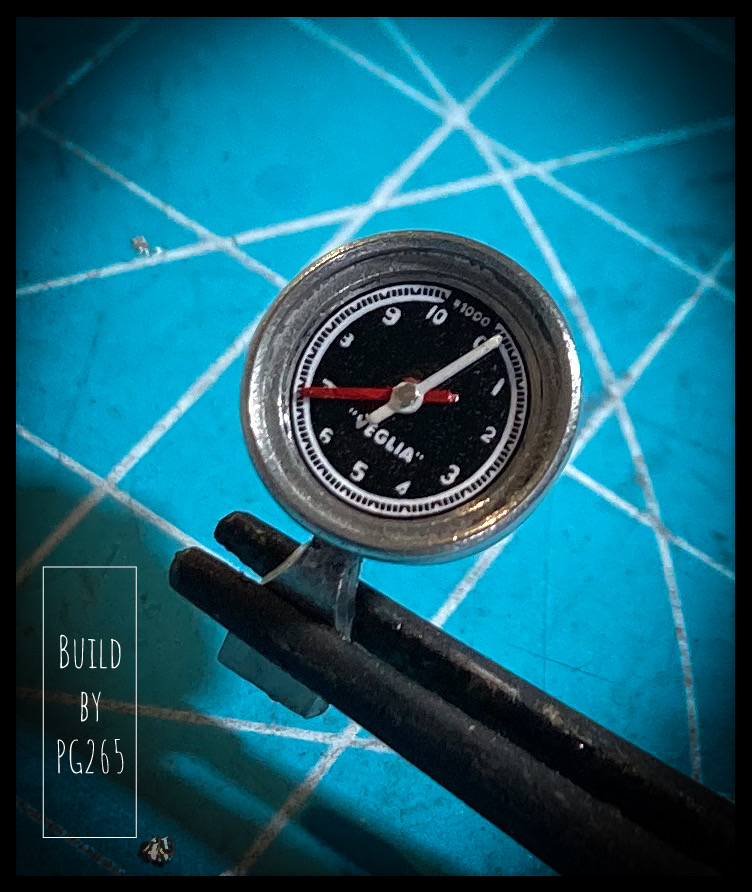
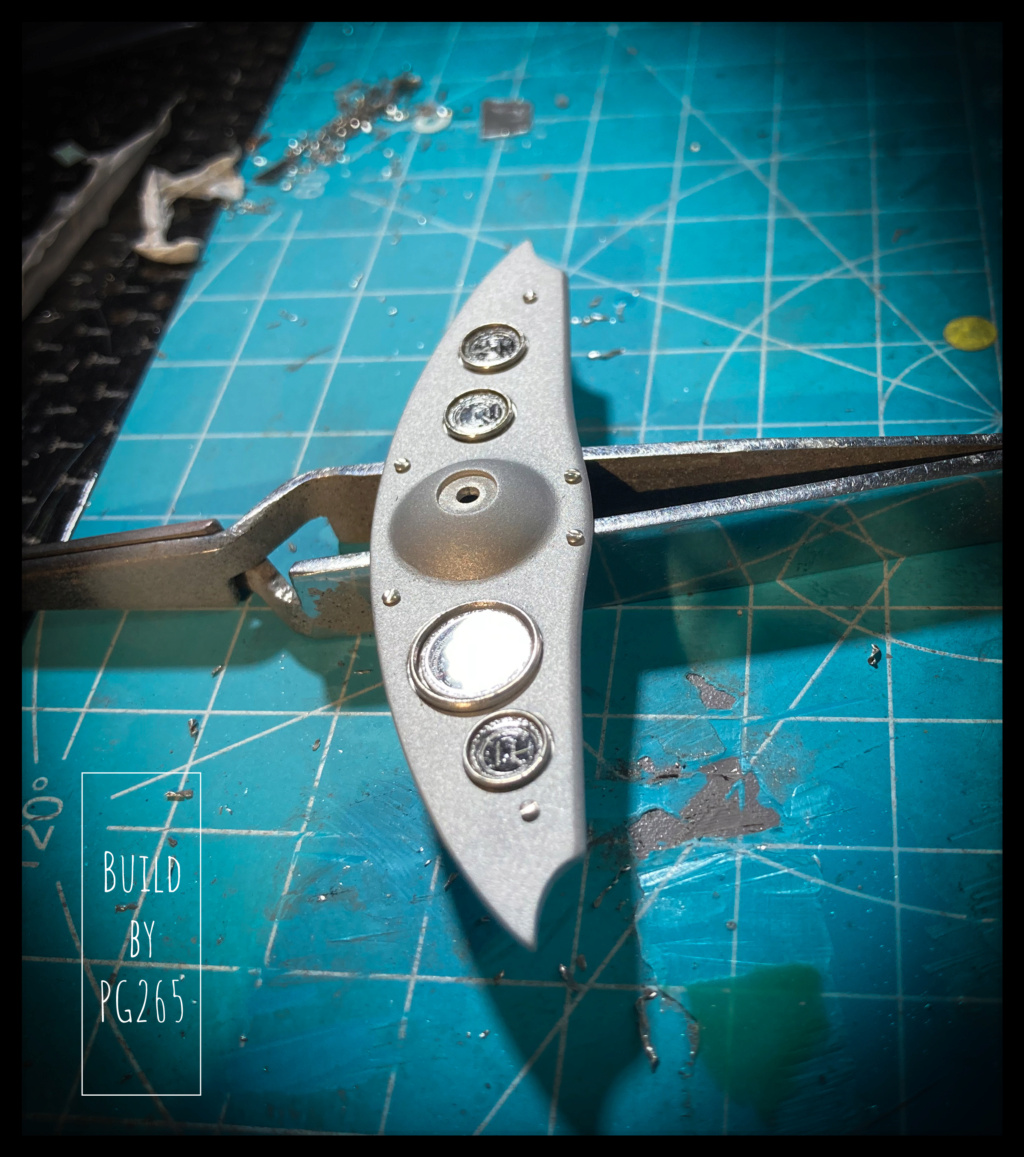
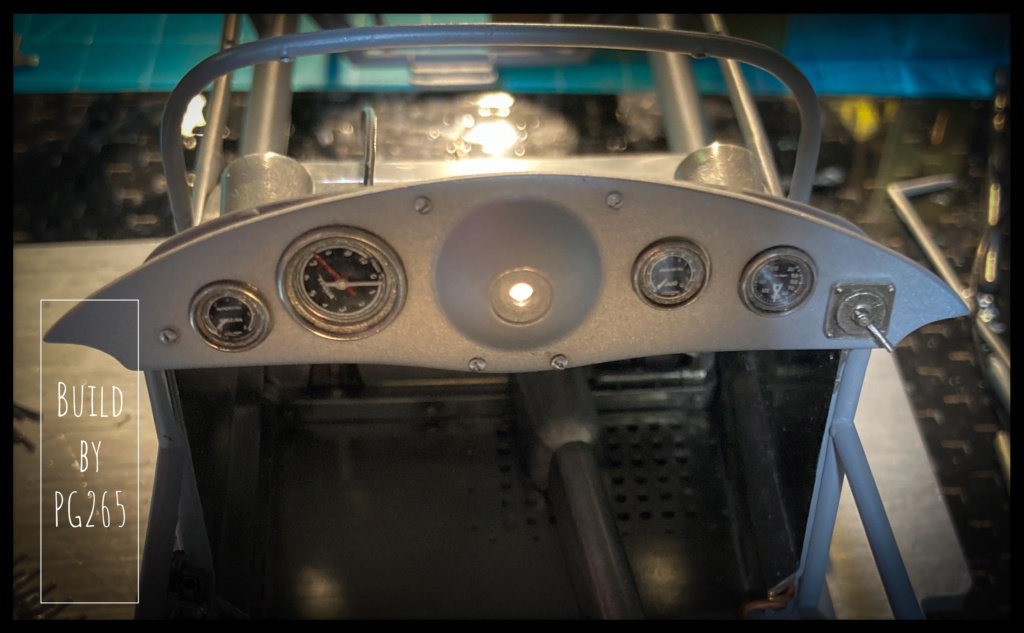
I didn't like the depth of the counters... way too deep.
So I turned Alu inserts to raise the bottom.
ø 6.8 and 4mm, thickness 1.55 and 1mm.
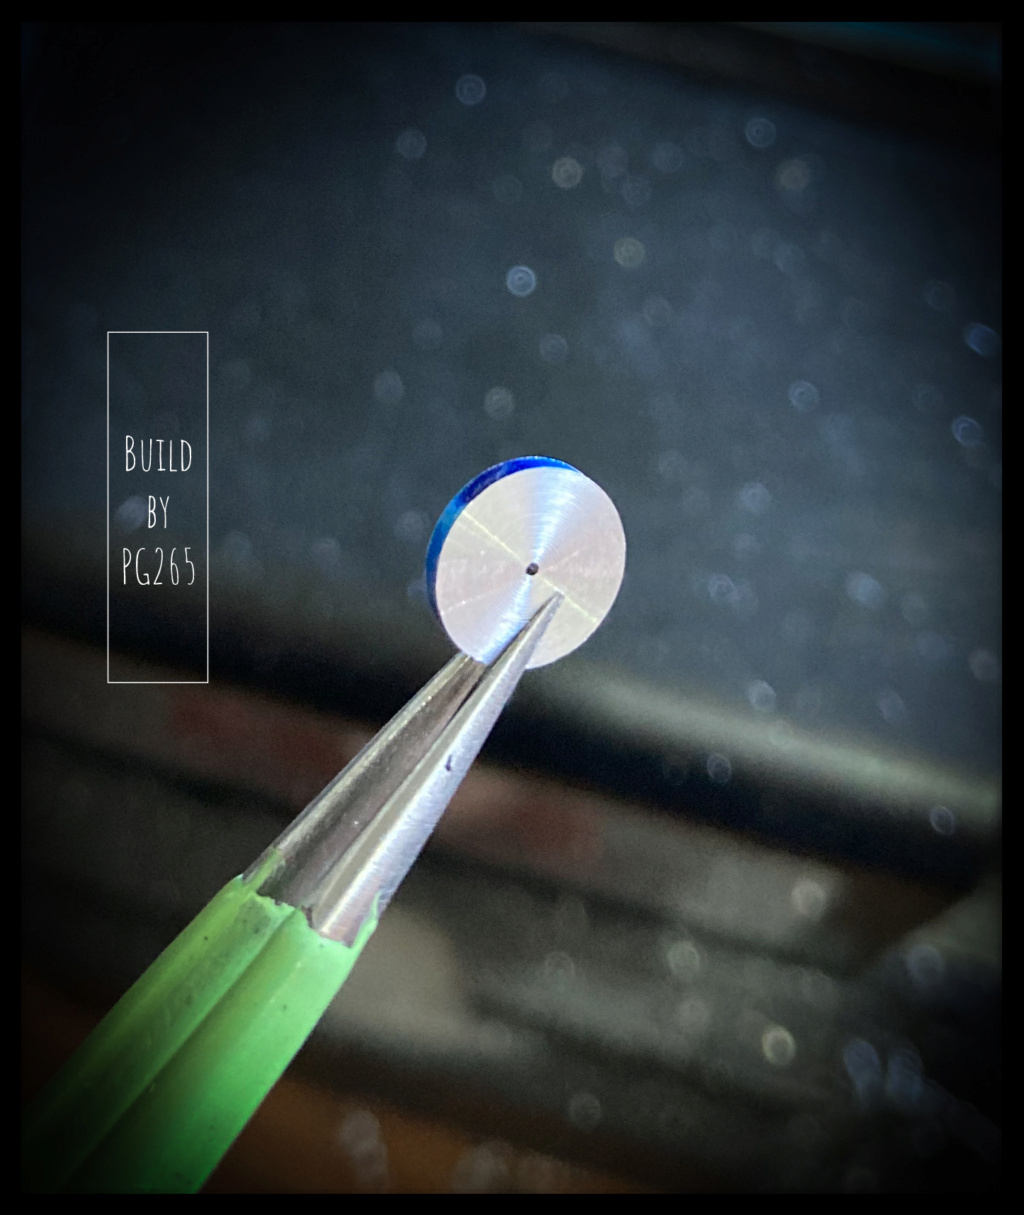
Still had to be careful with the rev counter because I decided to modify the assembly and install 2 photo-etched needles (plus their axis).
It mustn’t interfere with the glass.
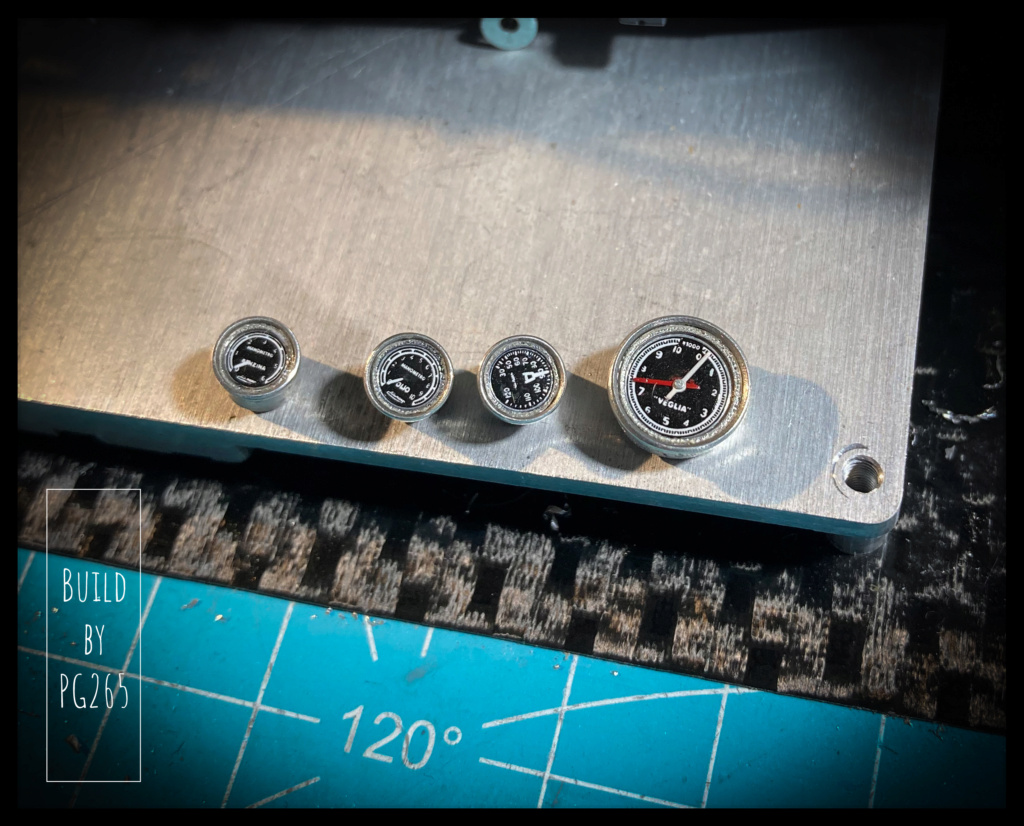
Here they are fitted with their windows and installed, temporarily, on the dashboard.
I'm going to modify their back side a bit.
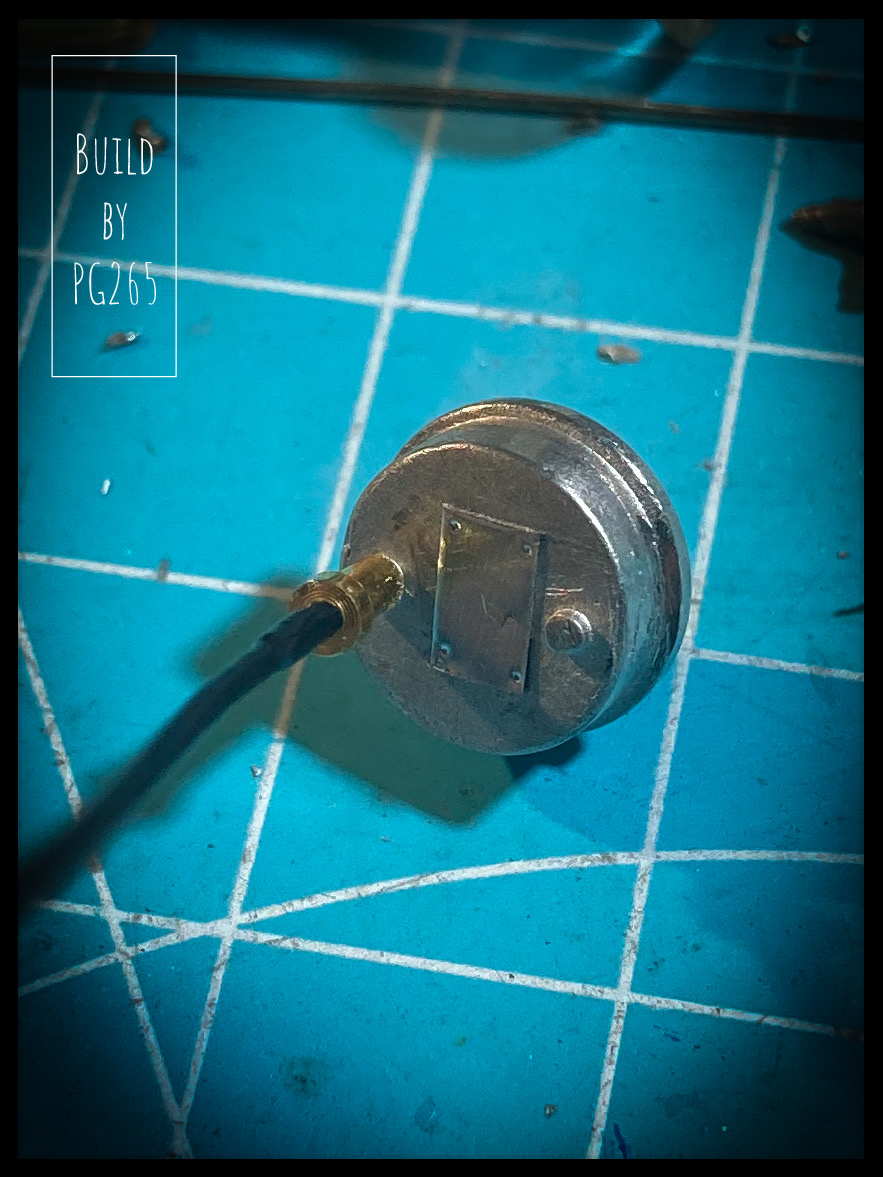
I also turned then passed under the milling machine a brass fuel connector and installed it, again temporarily, on the fuel pump drilled for the occasion.
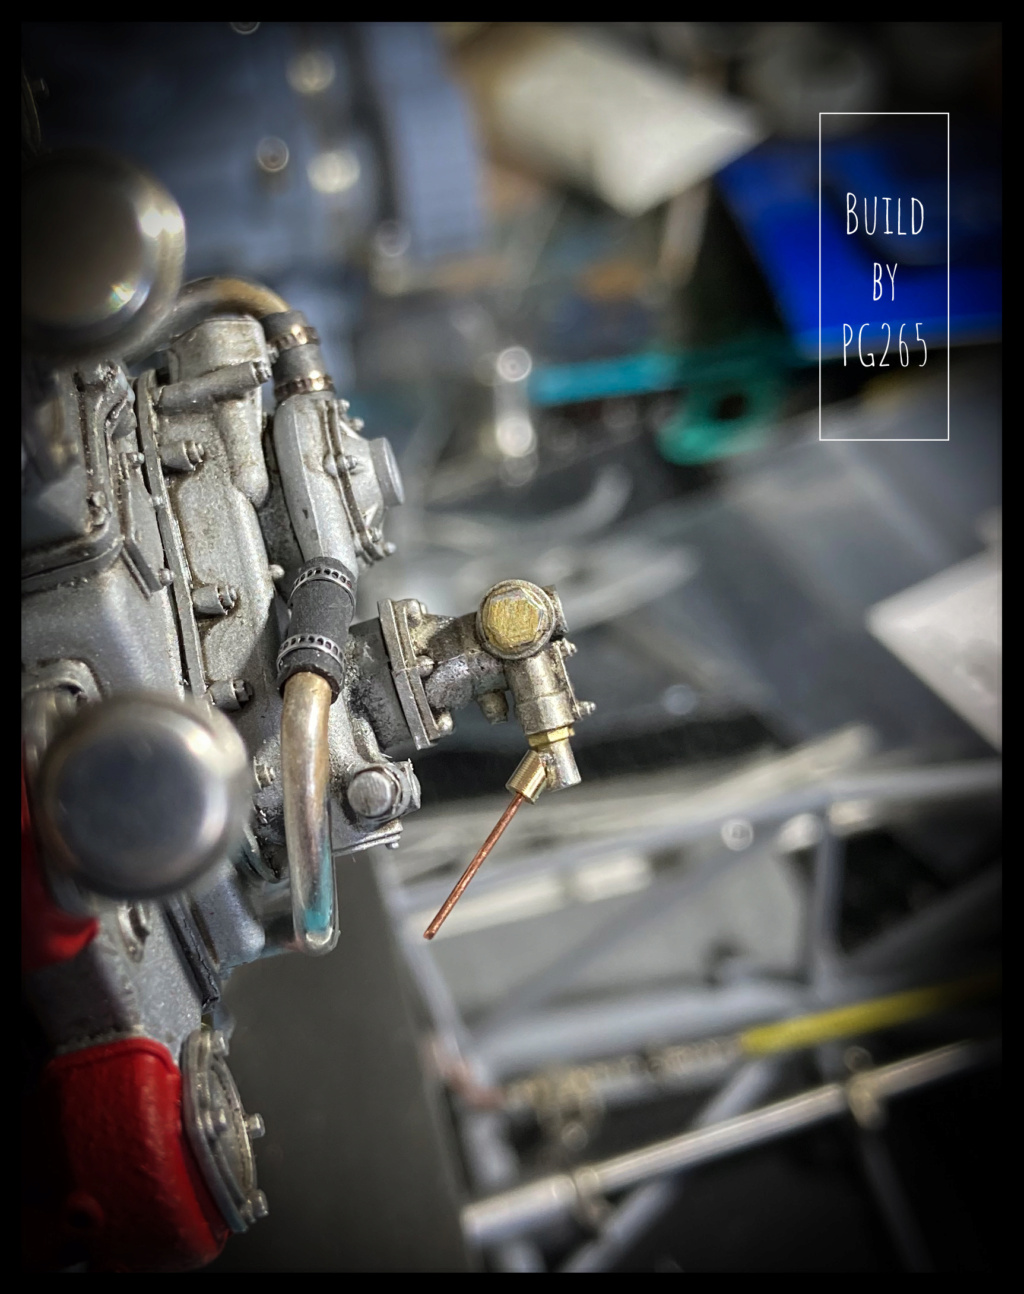
Then connected:
- the fuel pump on the carb ramp with the pipe previously painted in yellow,
- the oil pump with the block.
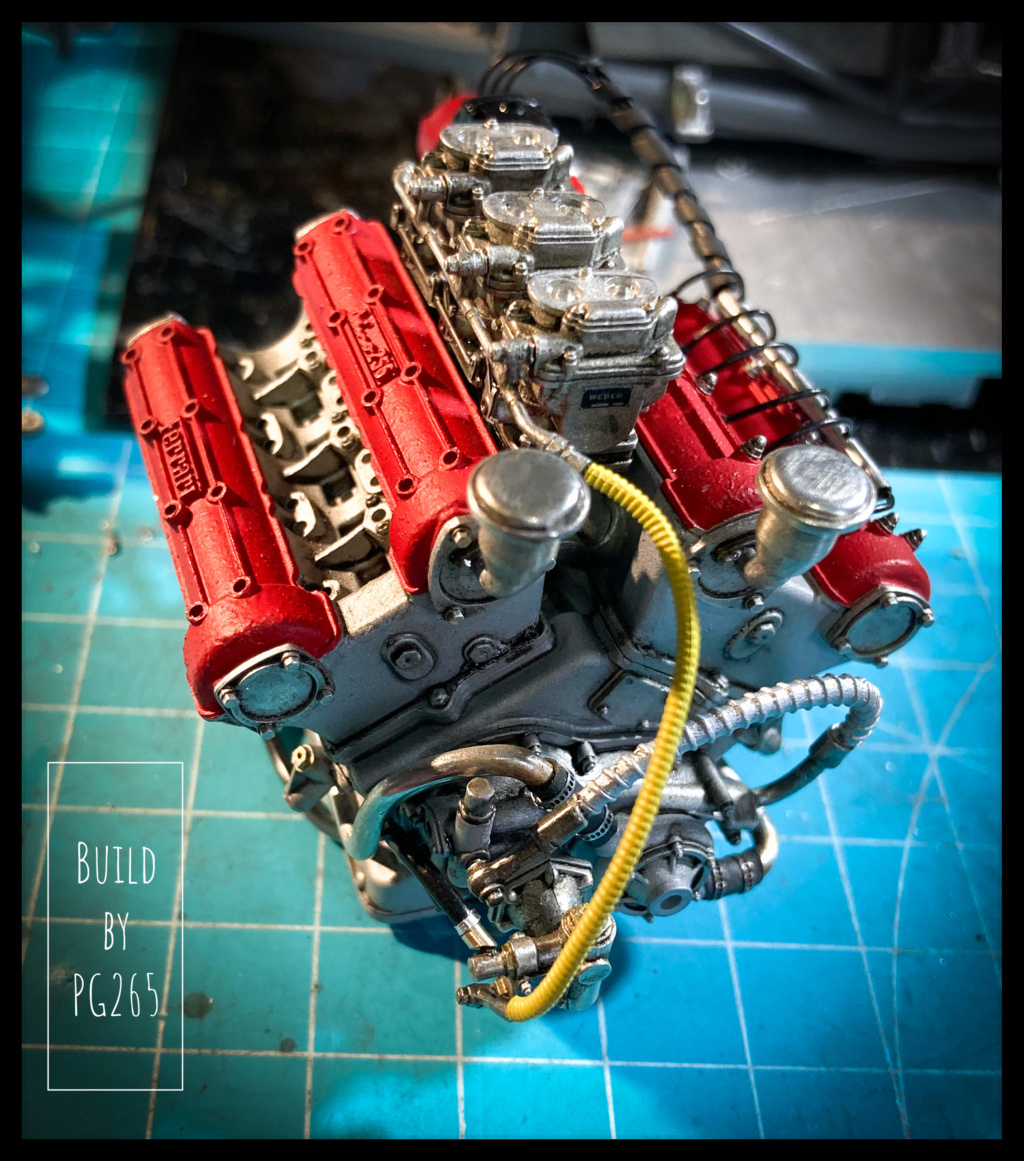
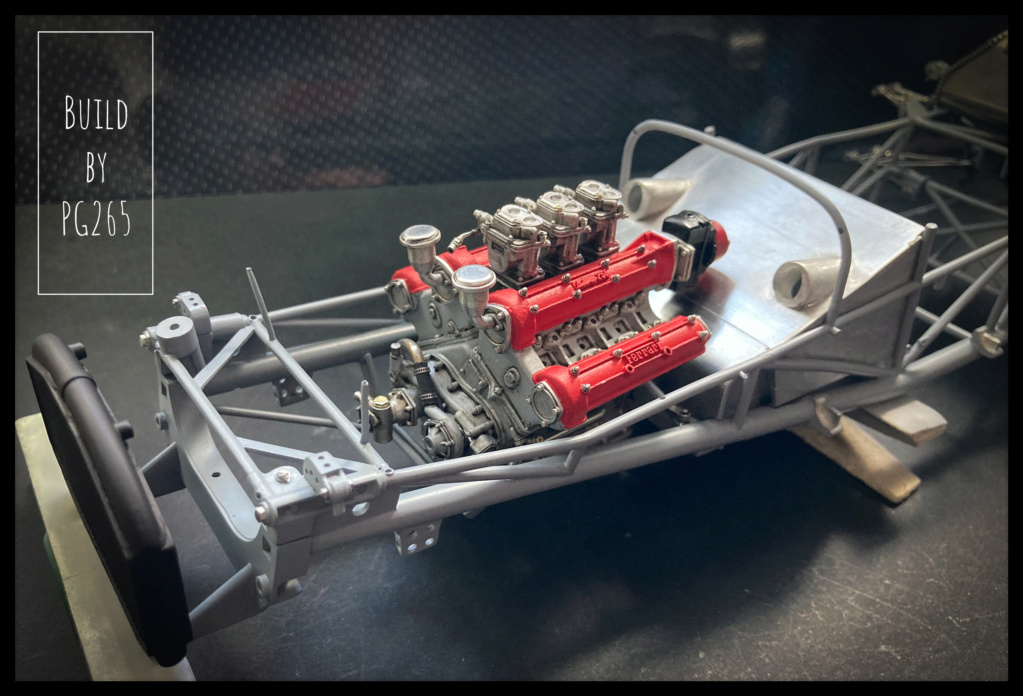
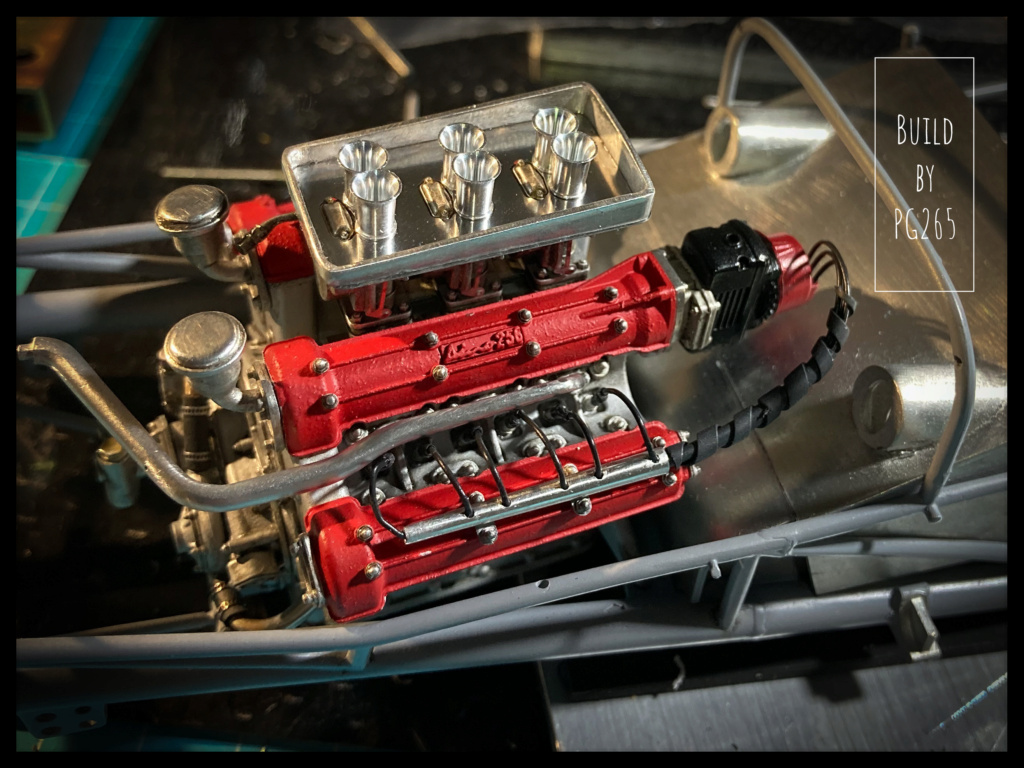
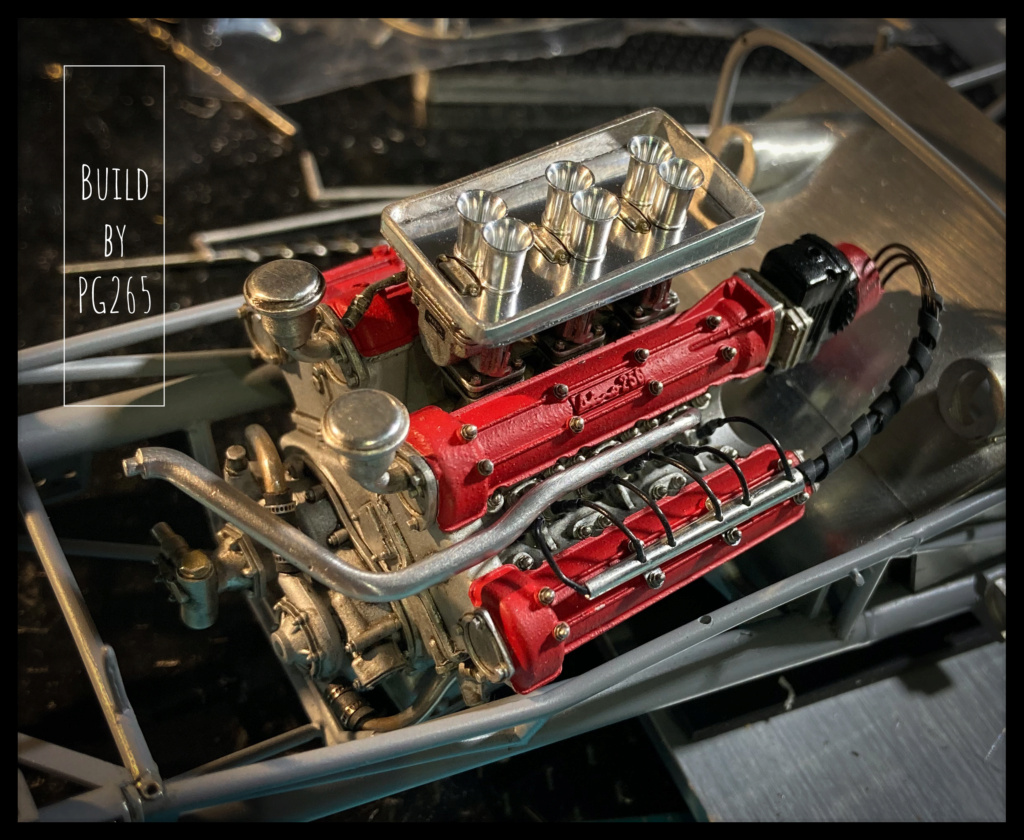
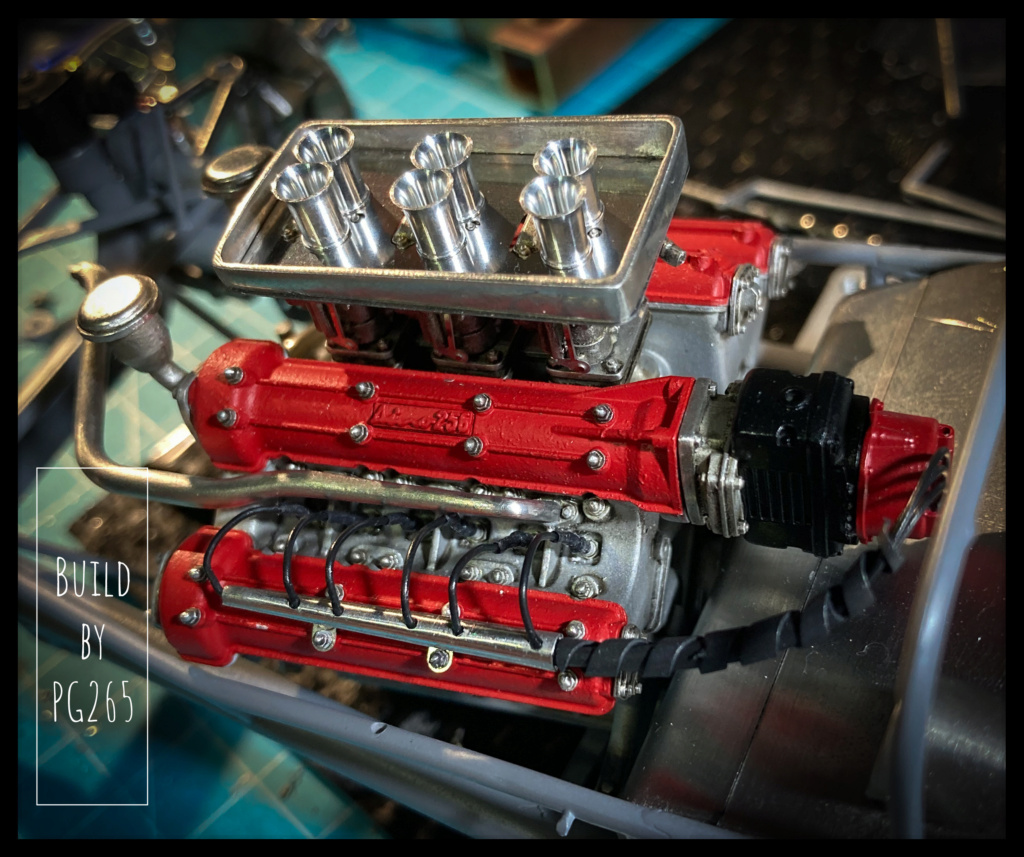
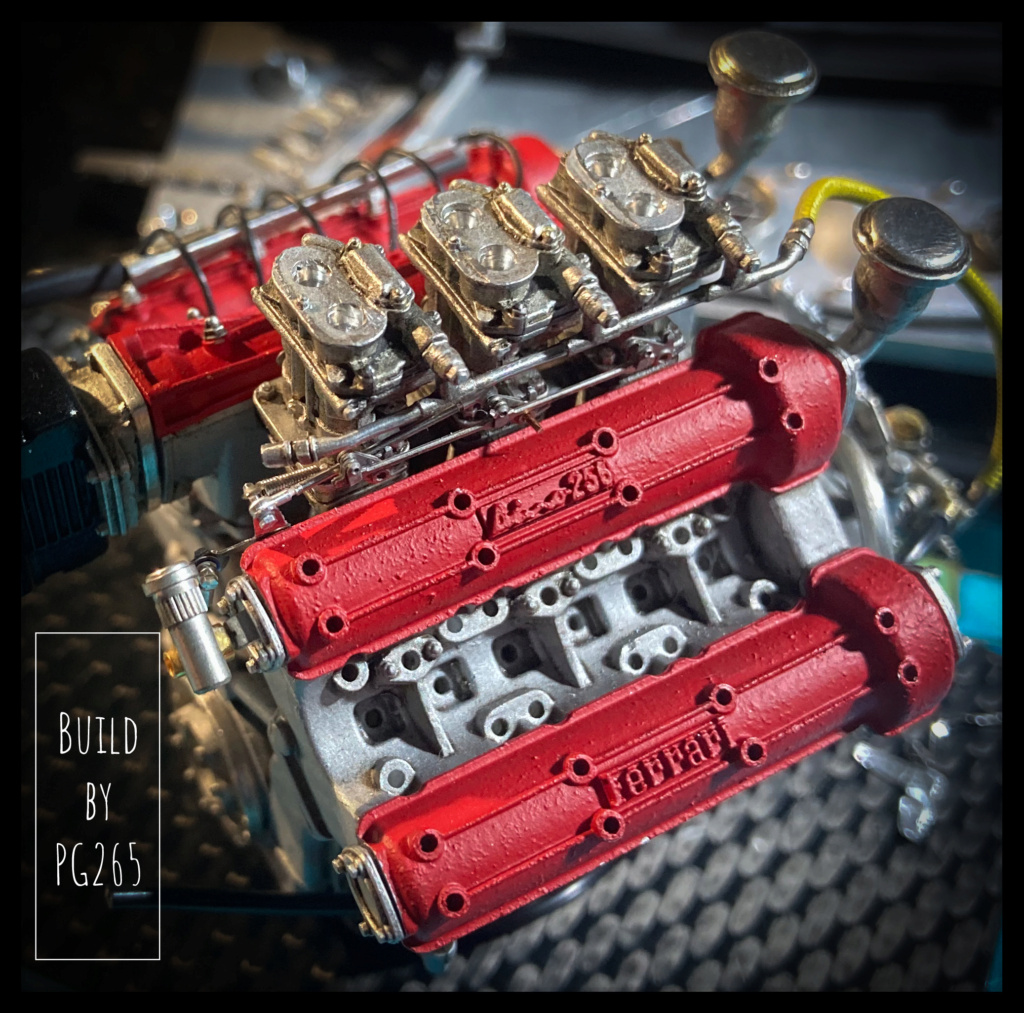
I could not see myself presenting my model without representing the linkage of the carbs.
So I made a steel control gear in a photo-etched scrap.
Then I turned a brass spacer to mount it against the block.
The assembly is mounted on a bolt and its washer.
Then I installed it on the engine with the clevises, the linkage and the return spring.
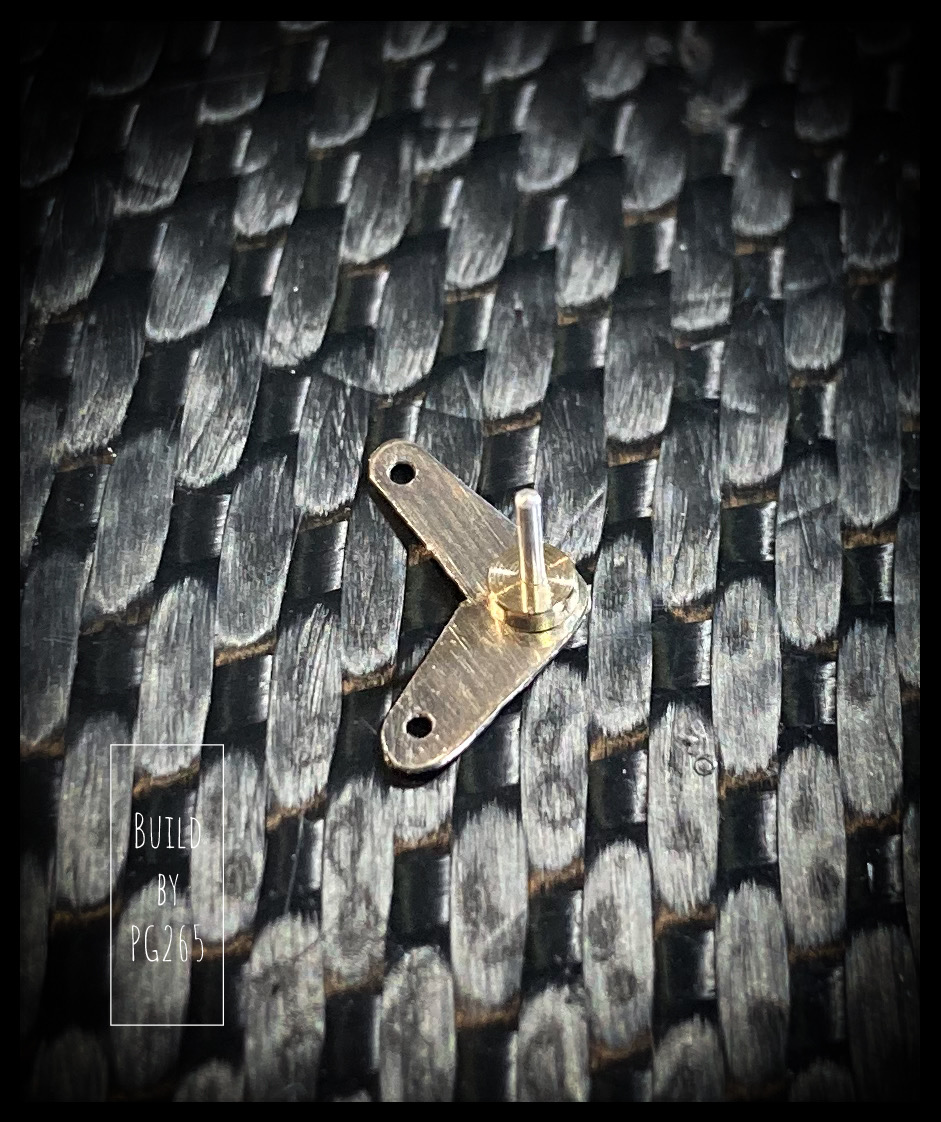
I took the opportunity to make a bevel gear for the rev counter by… turning a brass part and fitting myself into a part I had.
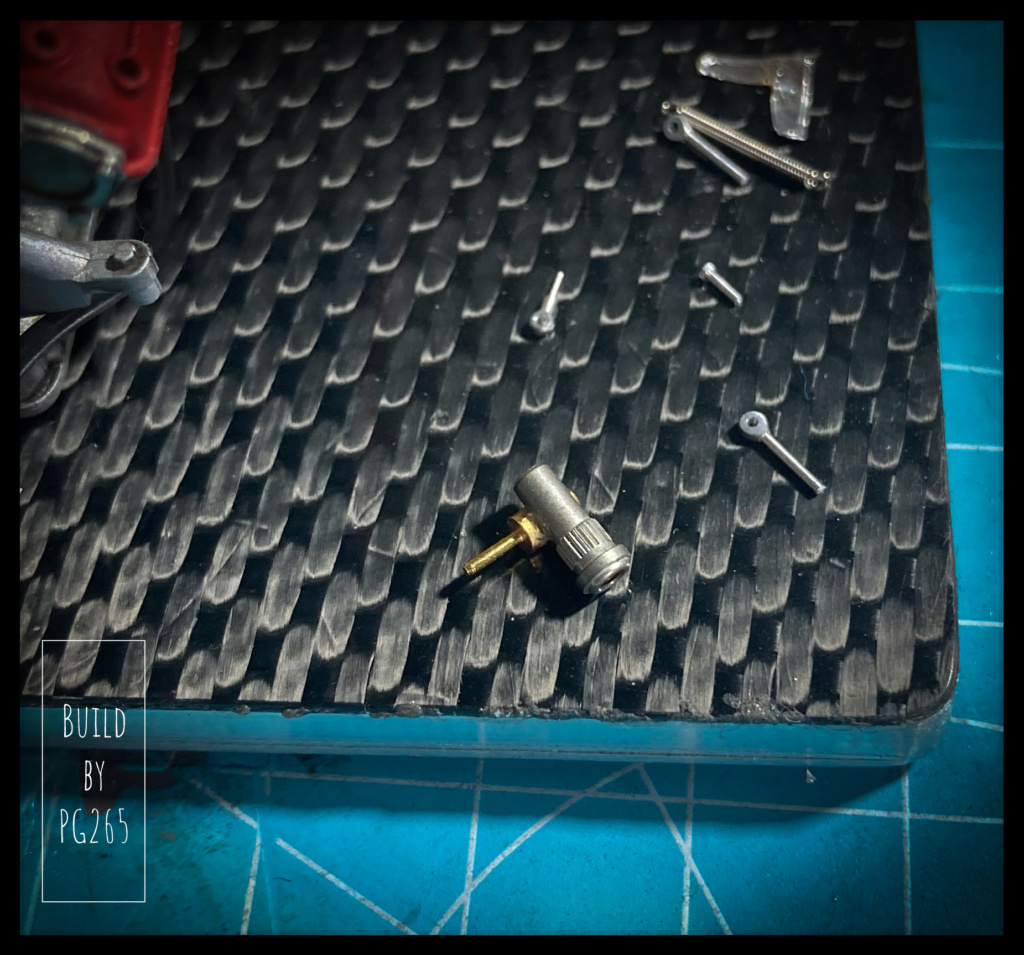
…. and another brass piece is again turned to complete the rear of the rev counter.
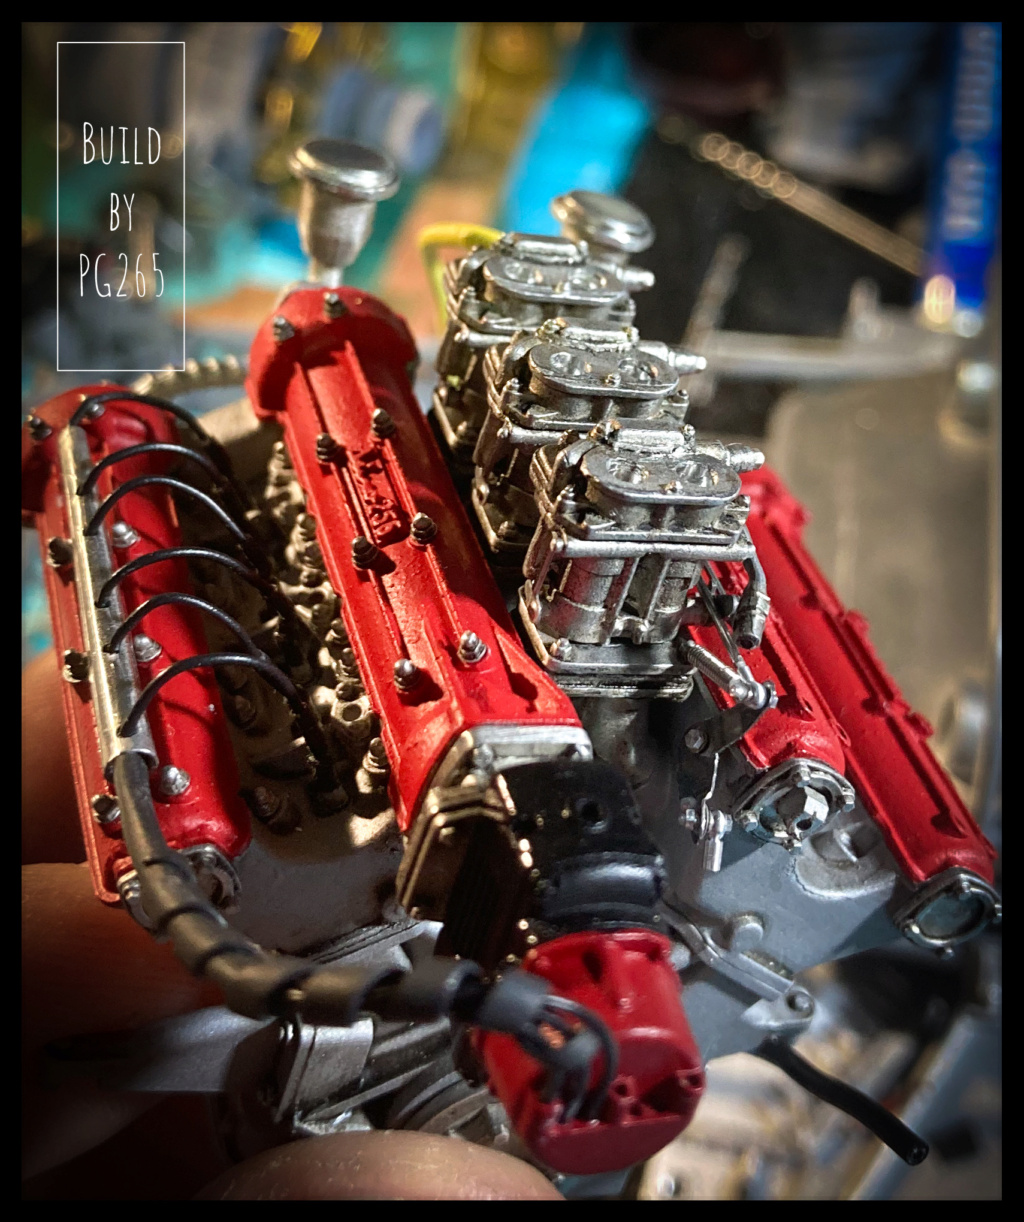
The linkage done, we can now start dressing the cylinder head and the shaft covers with their bolts.
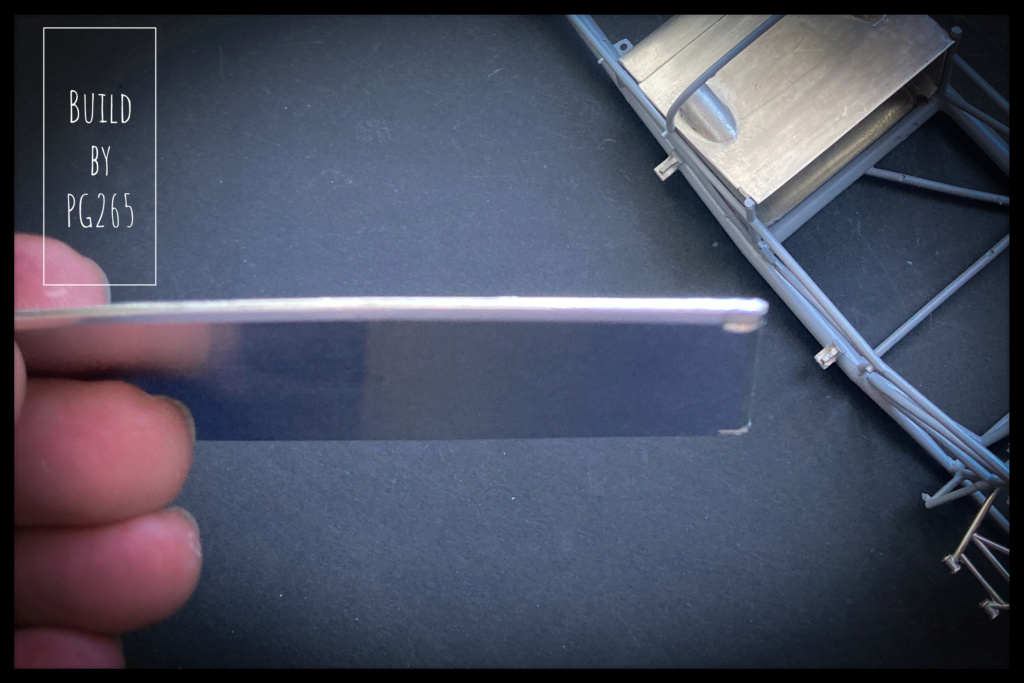
A small reflection on the windows.
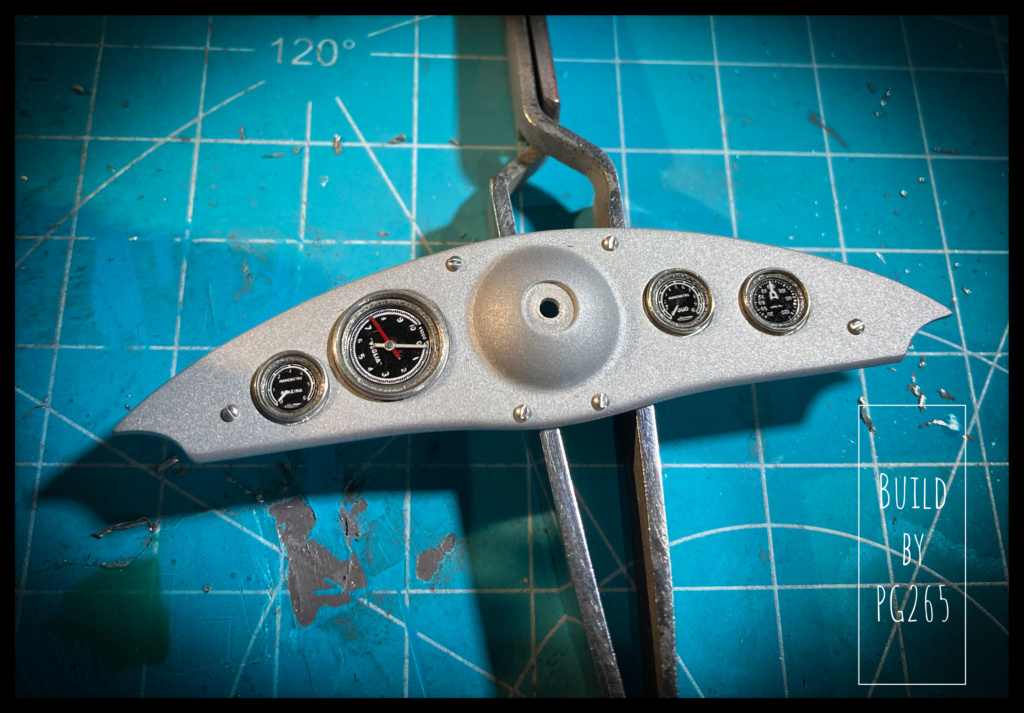
The dashboard progresses quietly.
The indicators are now installed and embellished with various details that I thought did not detract from the final look...
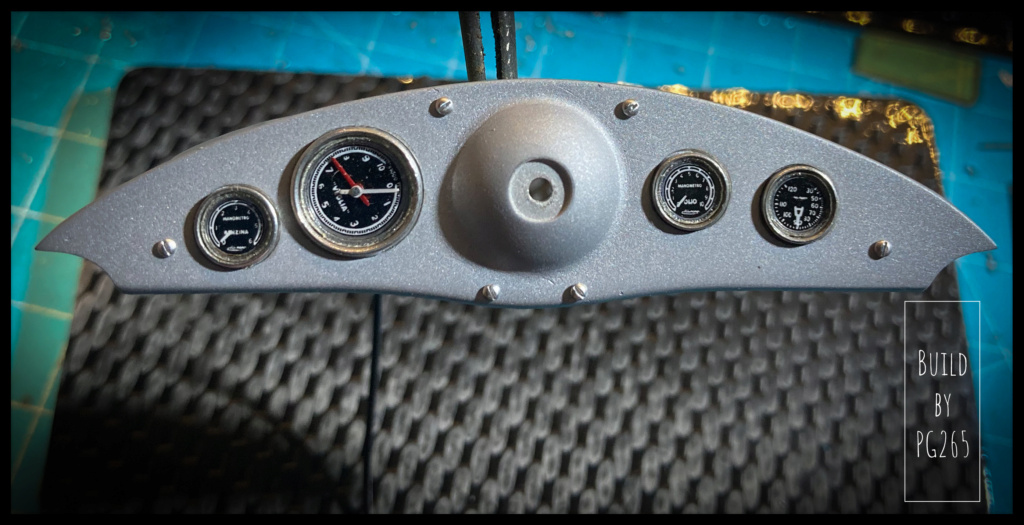
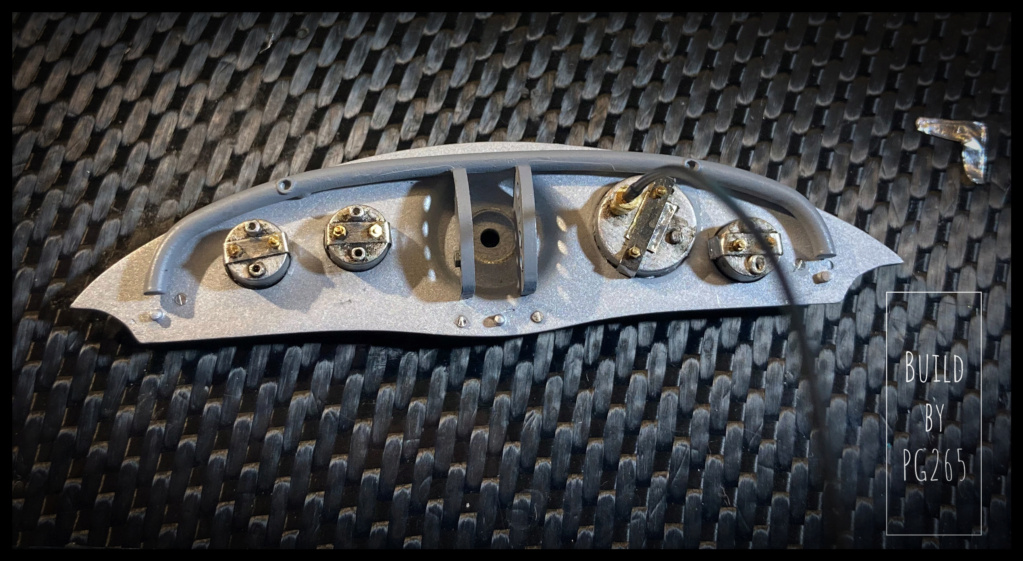
As far as the rear face is concerned, everything will of course be almost invisible once the bodywork elements are in place.
Finally, the magneto control is modified and placed on the dashboard contrary to what the assembly instructions recommend.
More soon.
Pascal