|
|
Post by pnance26 on Sept 7, 2022 16:05:23 GMT -8
I love it when a chassis is able to stand on its own! Good work!
|
|
|
|
Post by pg265 on Sept 16, 2022 10:19:13 GMT -8
Good evening, Thank you very much!  The hubs are finished, the threading of the wing nut is added after the splines. The wing nuts are prepared and equipped with the female threaded part. It is a turned aluminum part at the end of which is machined a hexagon which corresponds to the female imprint at the back of the wing nut. I must admit that I find the assembly rather judicious and very simple. 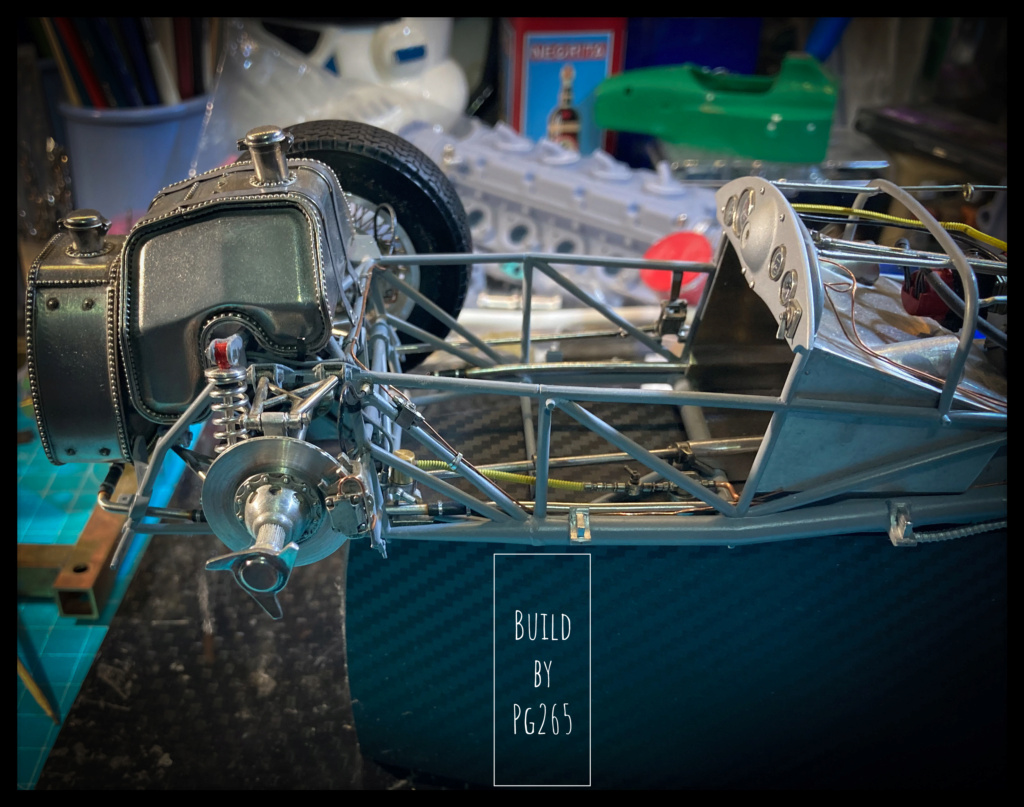   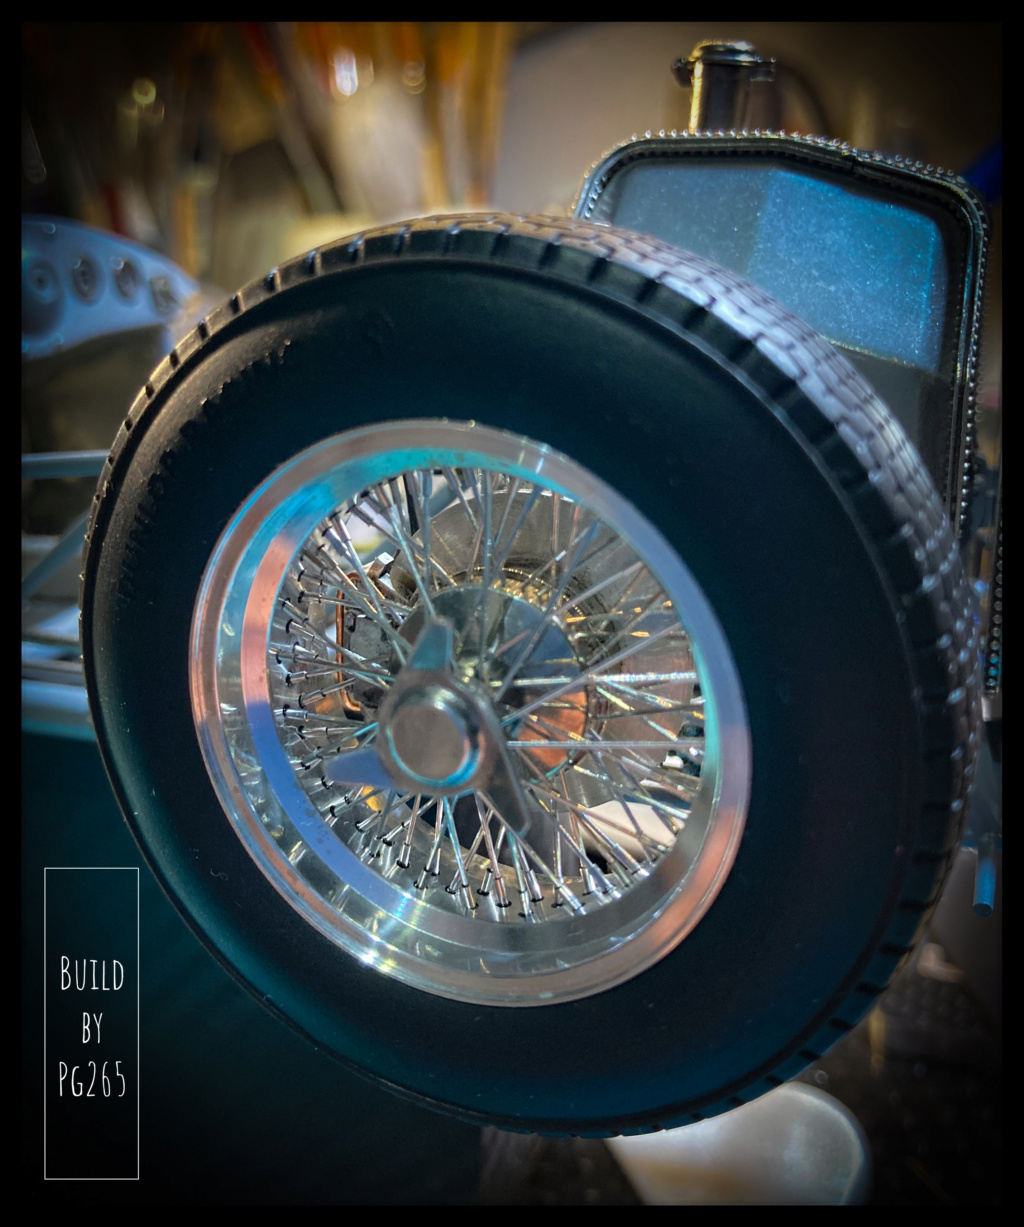 More soon. Pascal |
|
|
|
Post by Joel_W on Sept 17, 2022 7:21:43 GMT -8
Pascal,
I love that overall pic. From the position of the fuel tank, I can only wonder just how much the balance of the car must have changed during the race as the fuel load slowly lightened. From under steer to extreme over steer. Did these cars have any way to adjust the balance, or did the drivers just have to learn how to live with it?
The wheel/tire pics look better then the real ones.
joel
|
|
|
|
Post by pg265 on Sept 24, 2022 7:39:54 GMT -8
Hi, Thank you very much Joel. There are 2 other fuel tanks on the R/H and L/H sides. The upper center tank should feed the side tanks I think… Most of the parts to be painted are now waiting for the primer layer. They were first test fitted, then drilled to receive rivets and fasteners. A sanding session followed before a clean-up with Teepol to avoid any greasy residue. These are the “victims”. 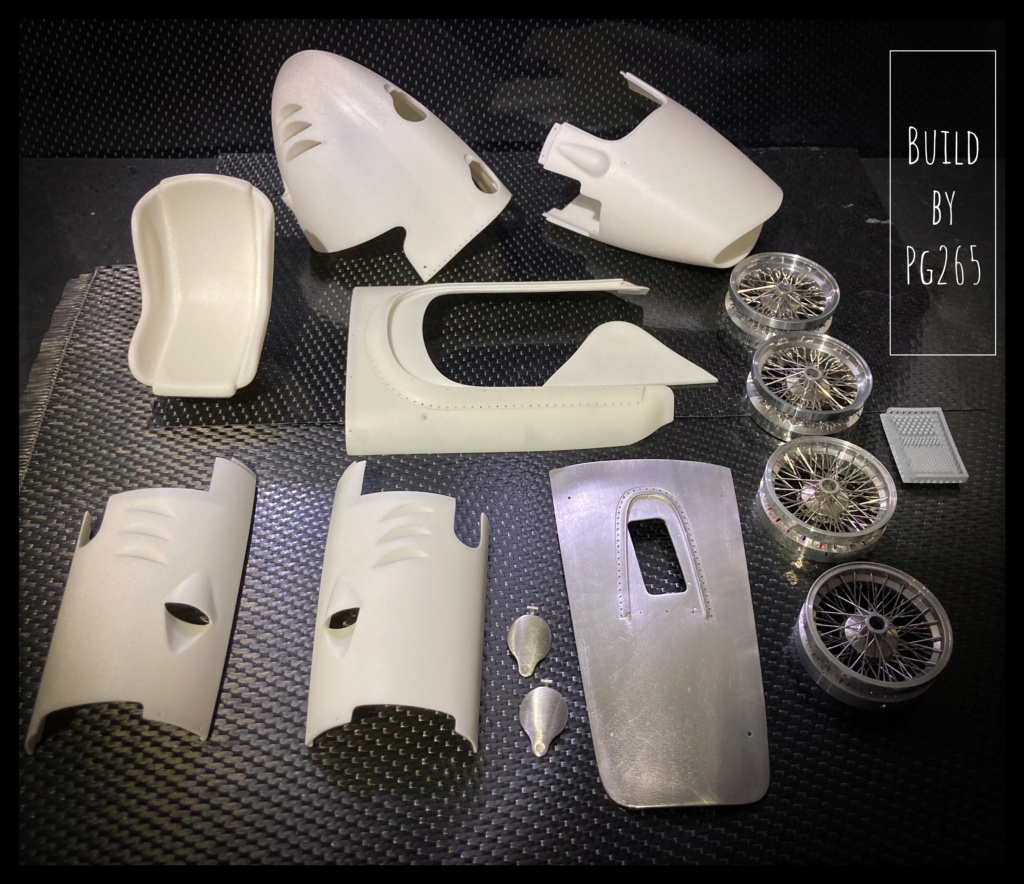 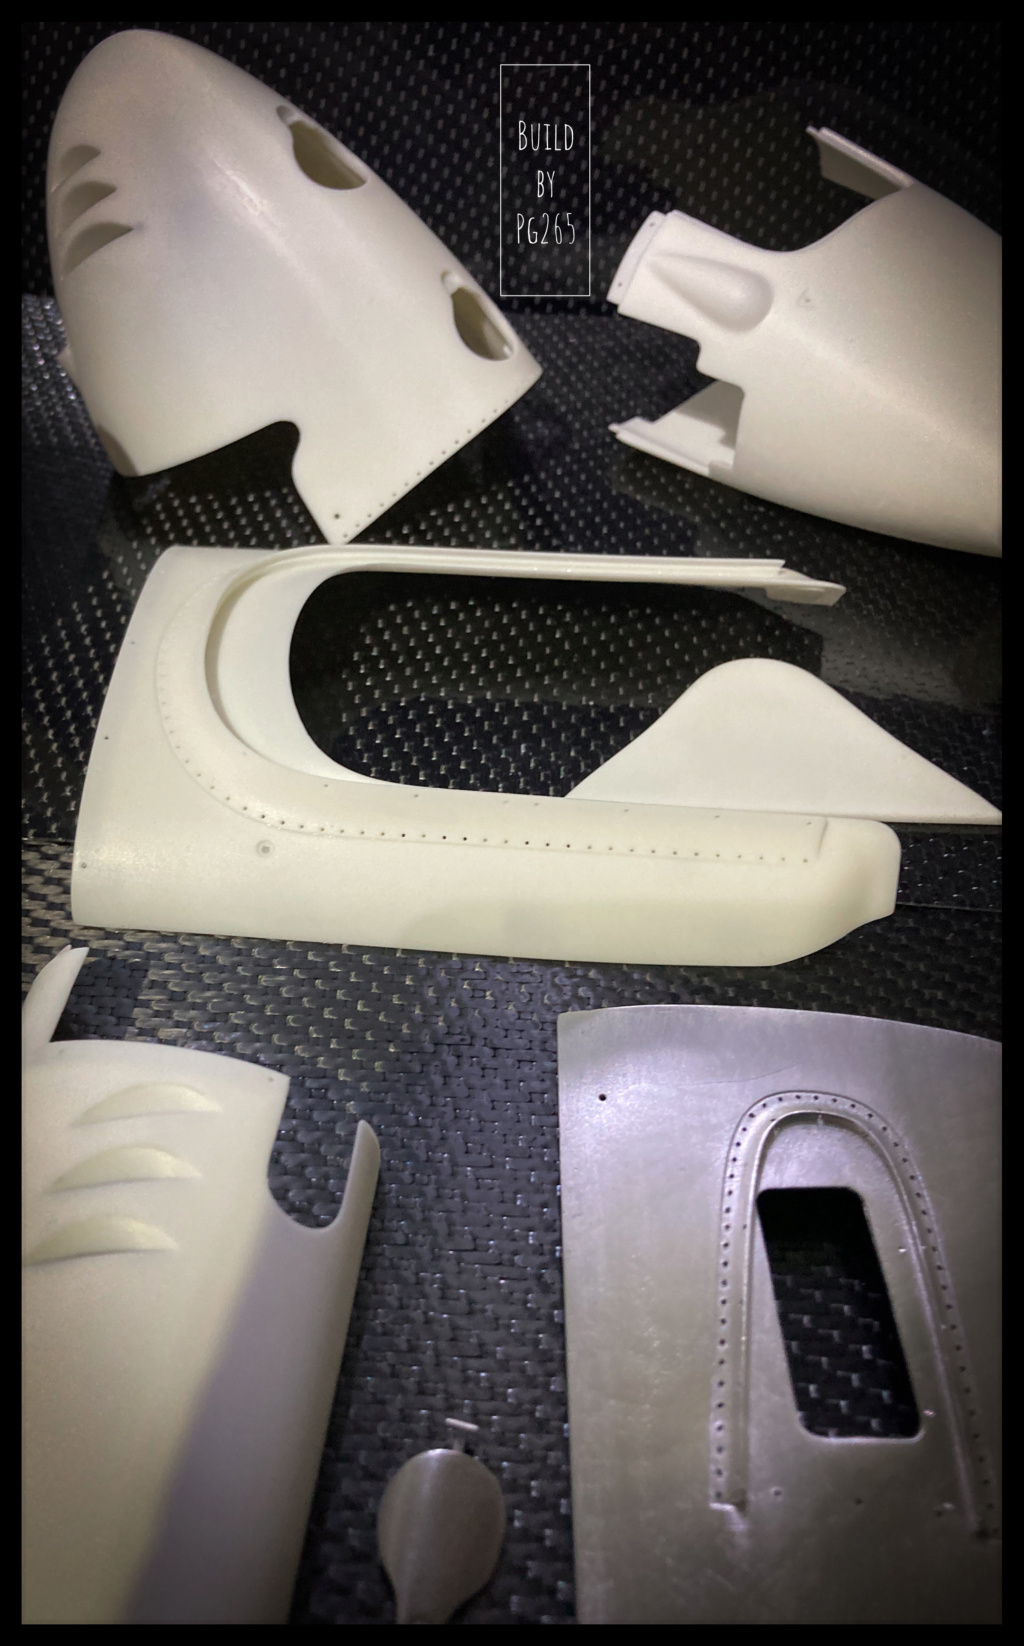 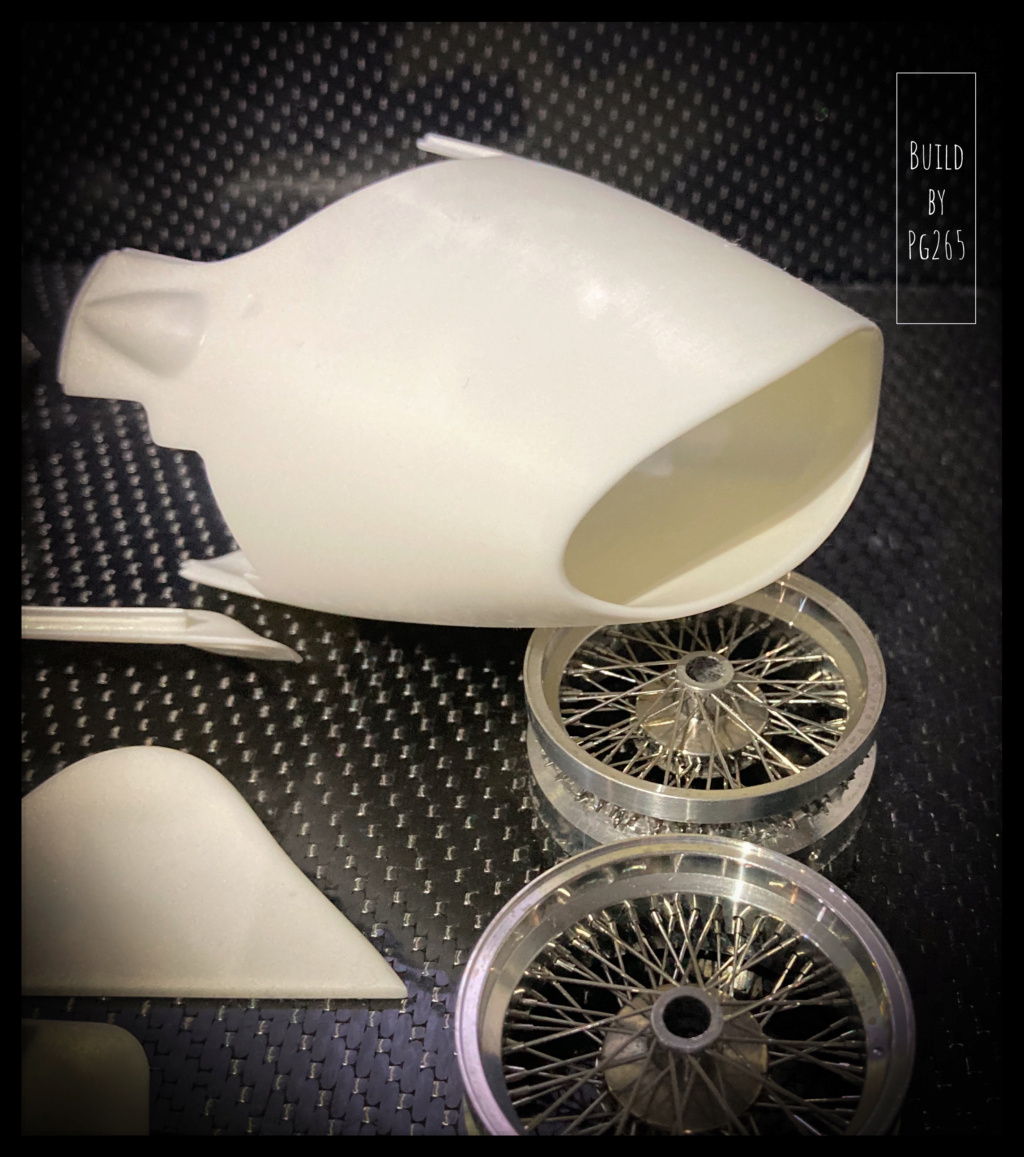 Pascal |
|
|
|
Post by pg265 on Sept 24, 2022 11:18:44 GMT -8
Good evening, Well, I had some time to: - Apply primer, - spray a layer of Giallo Modena, - pass the layer of Rosso Corsa, - paint the rims with Alclad and head rest/seat in black. Here are some pictures of progress. 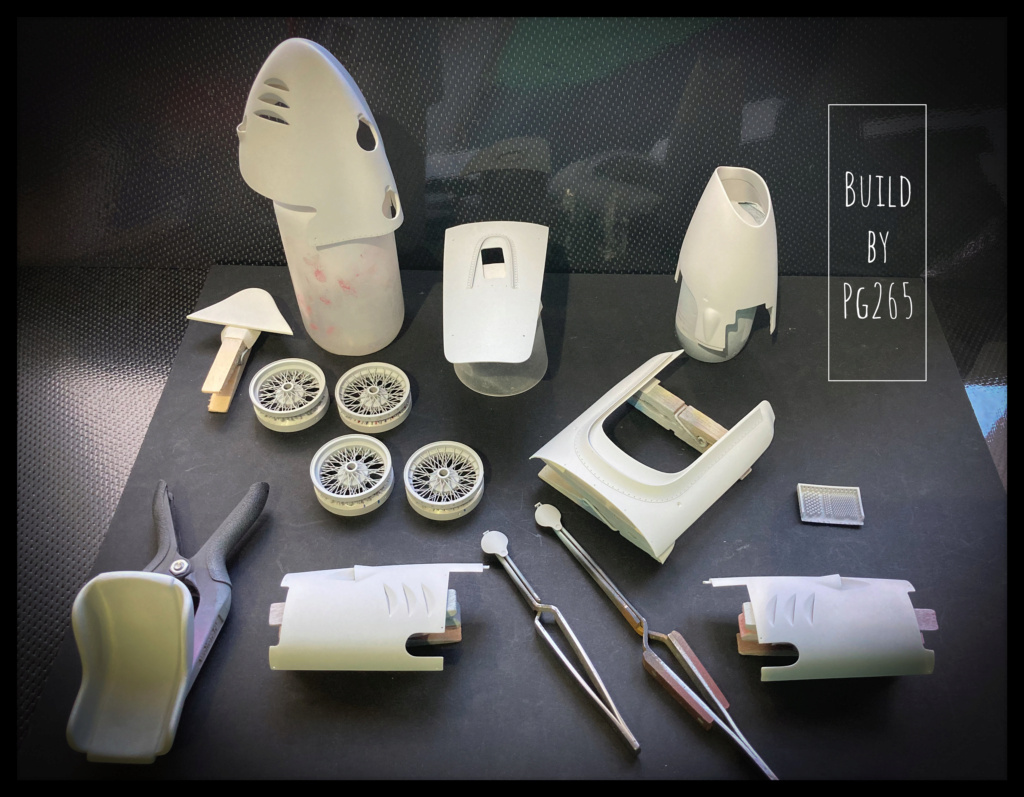  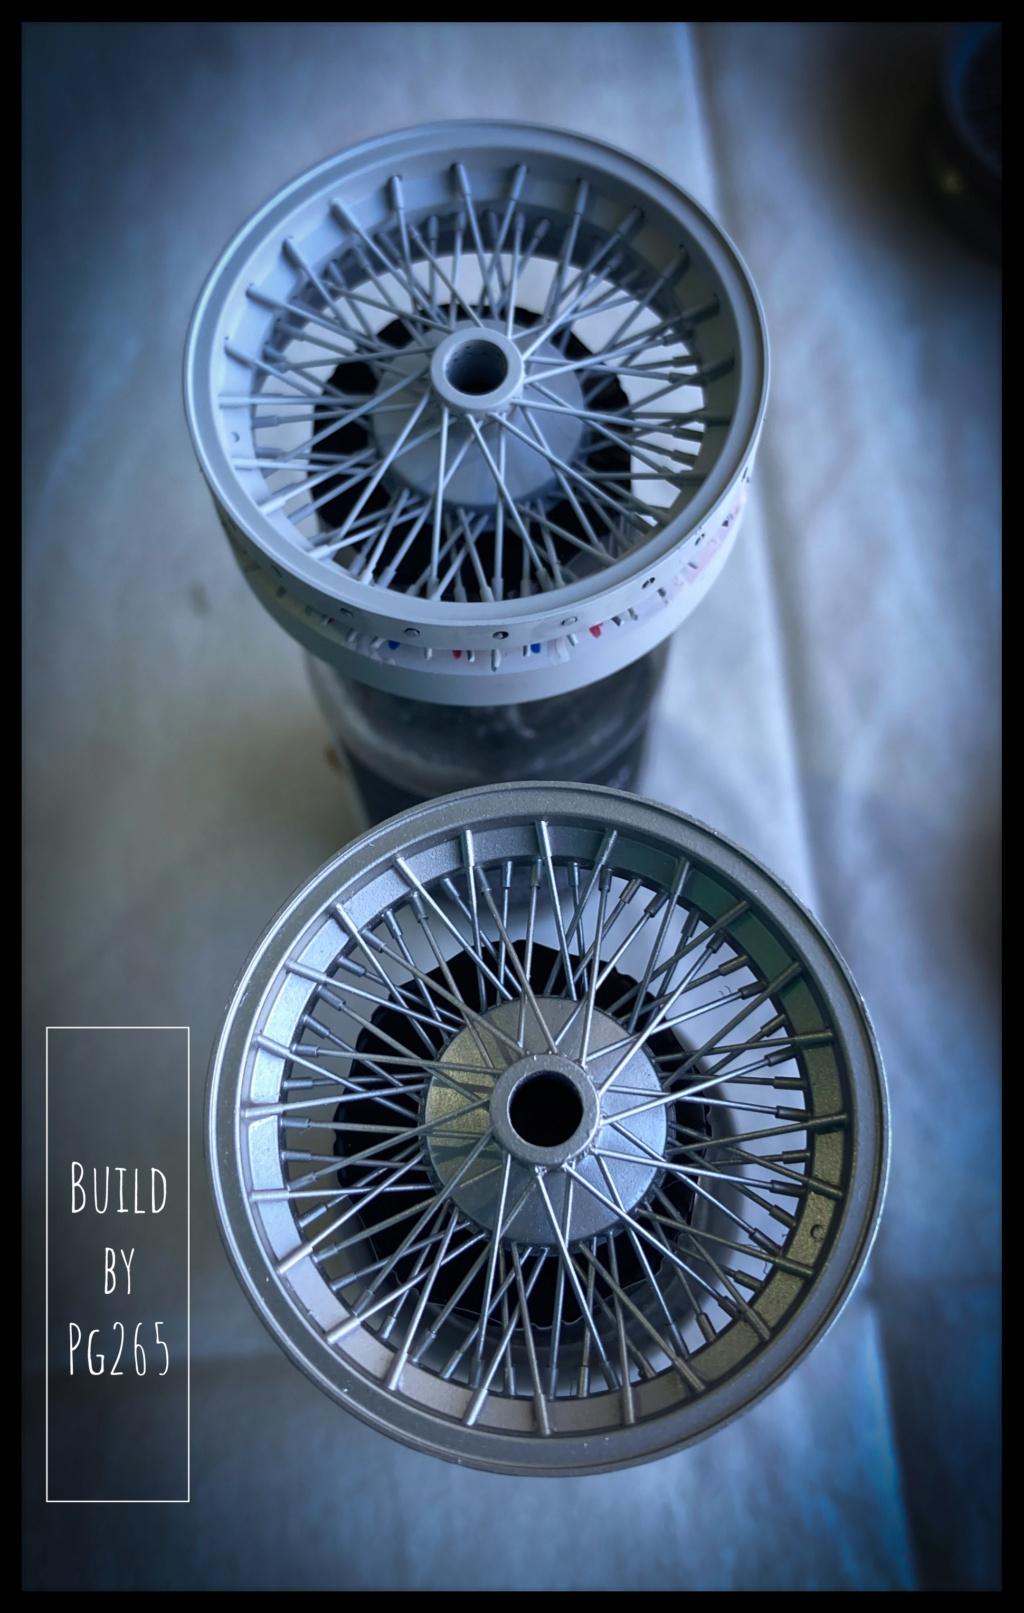 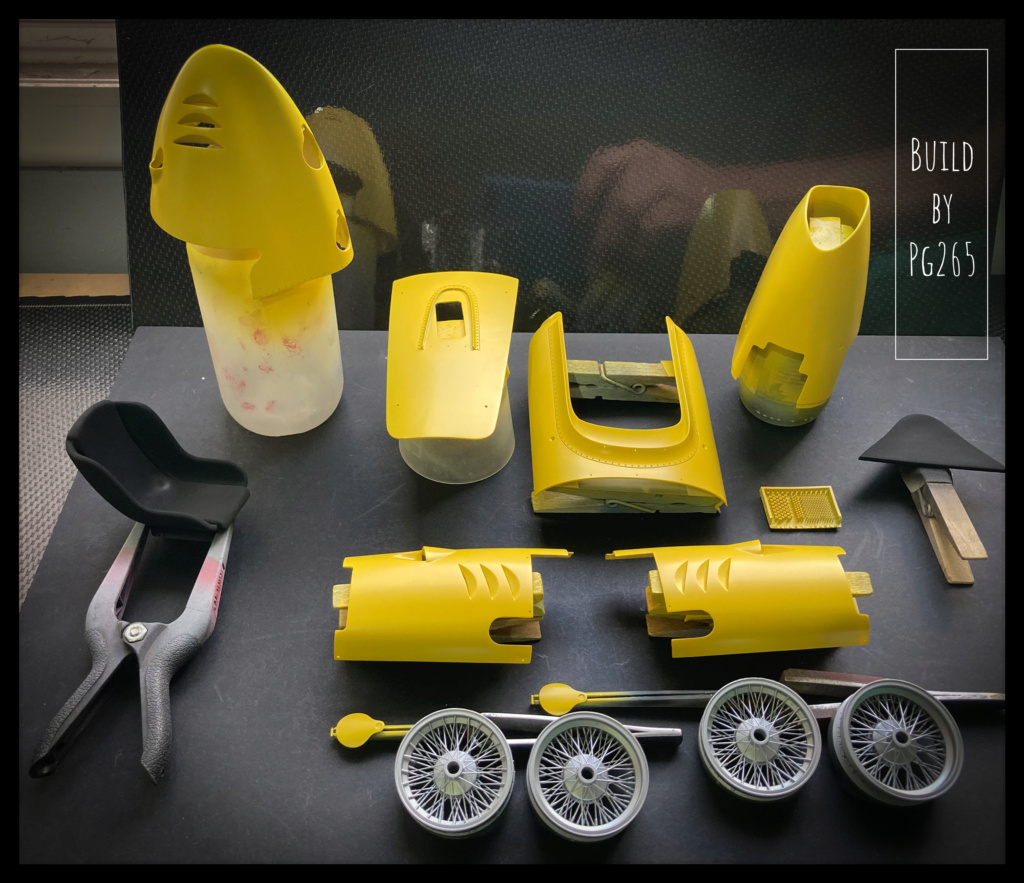 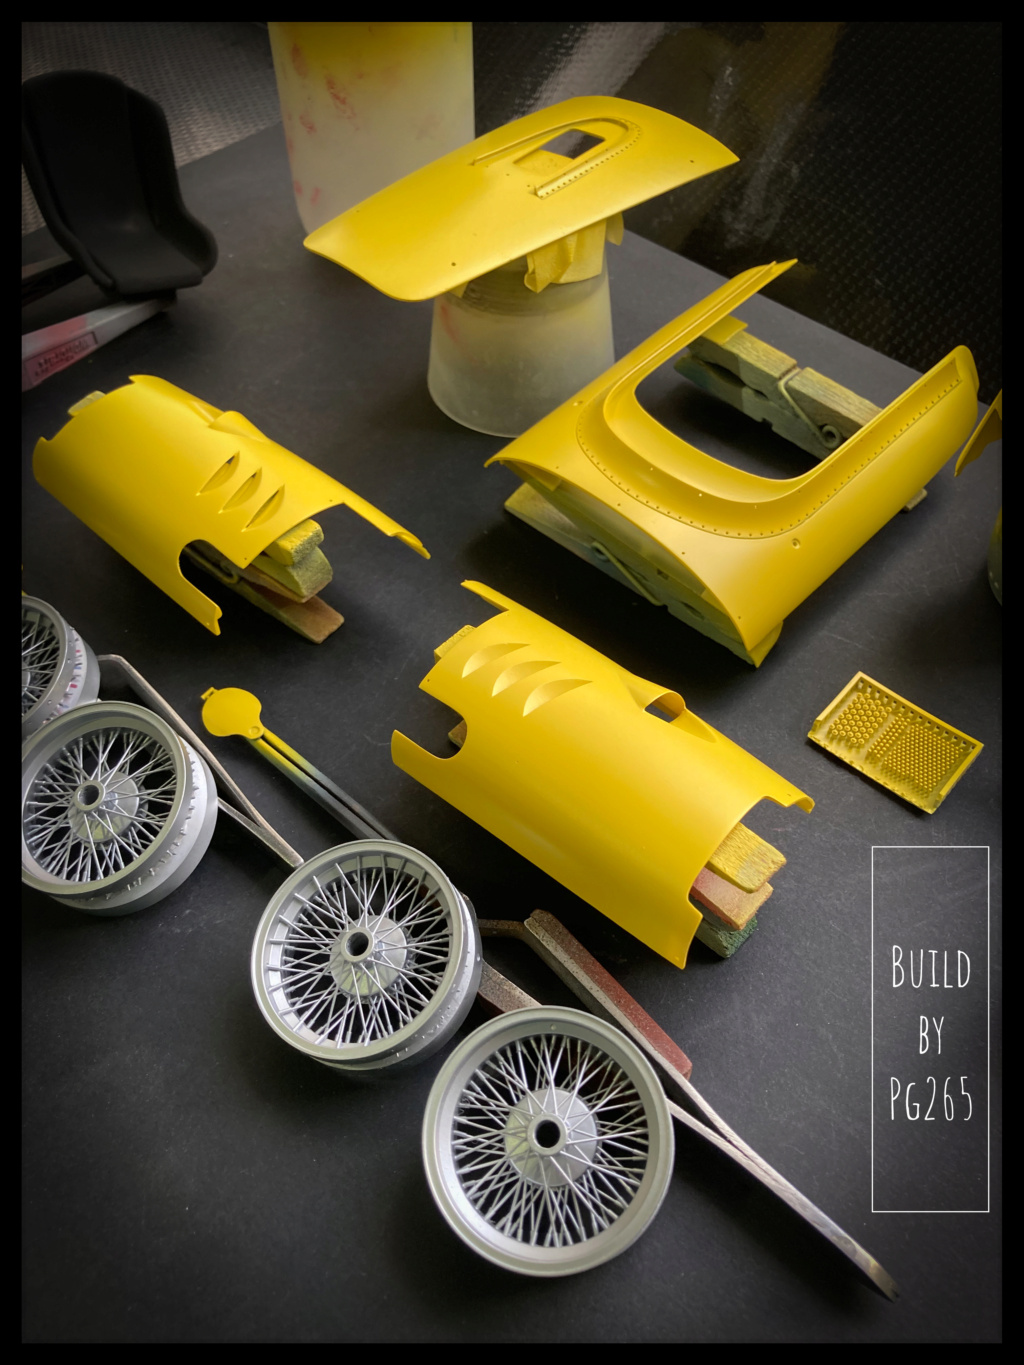 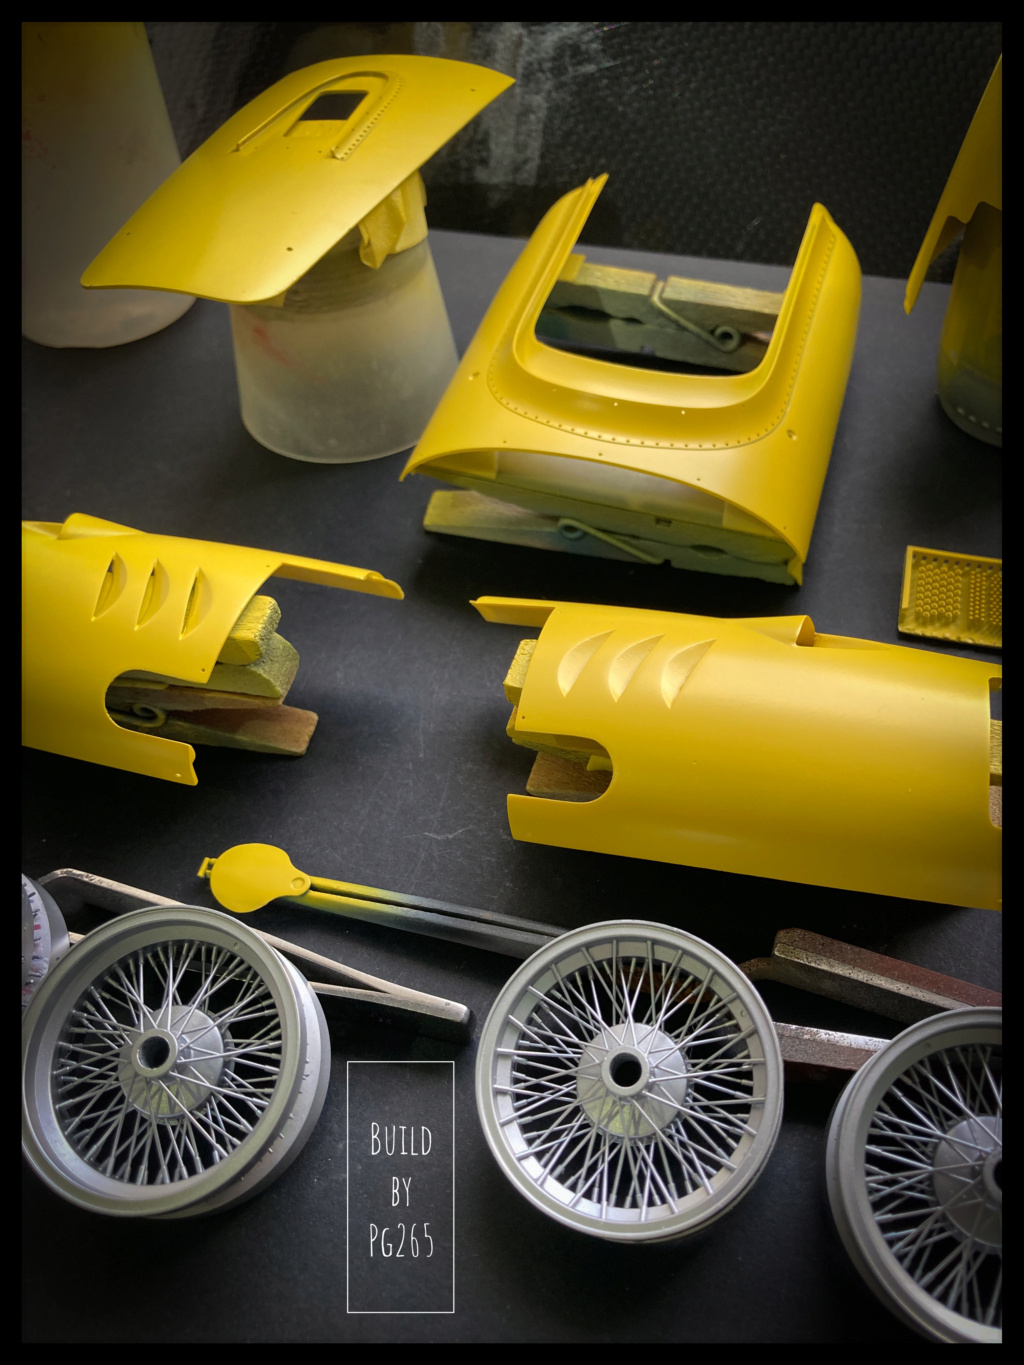 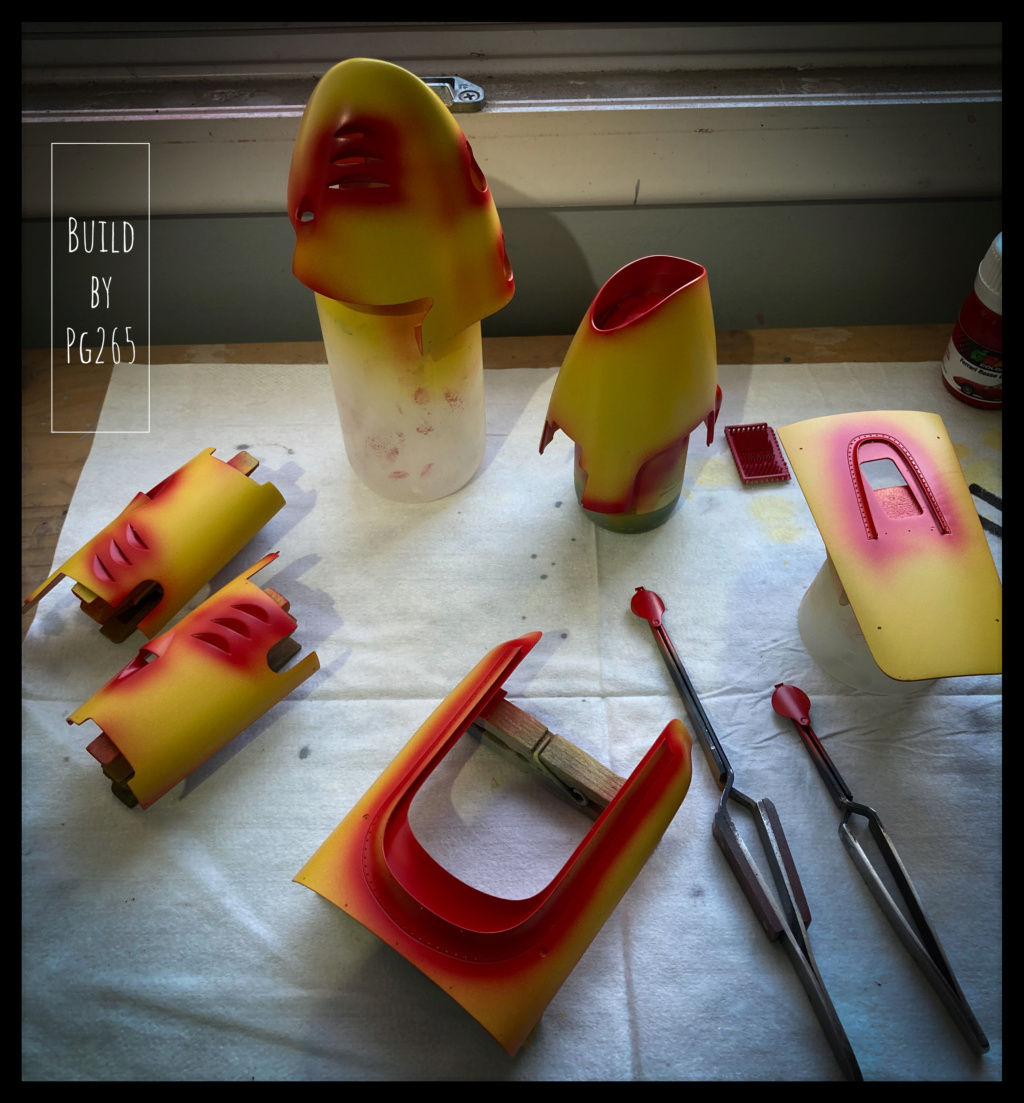 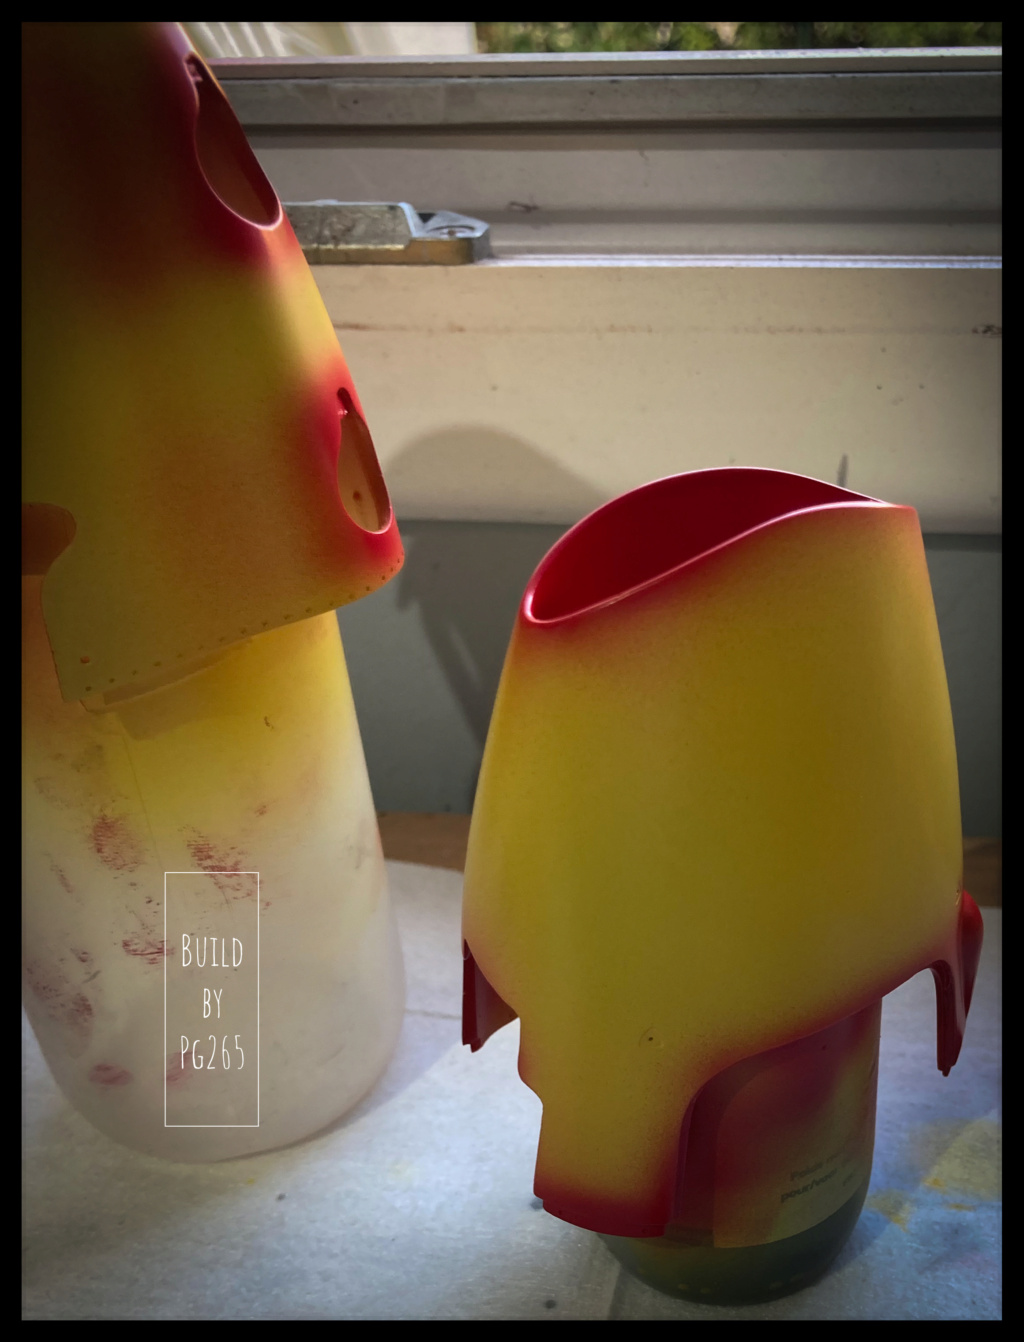  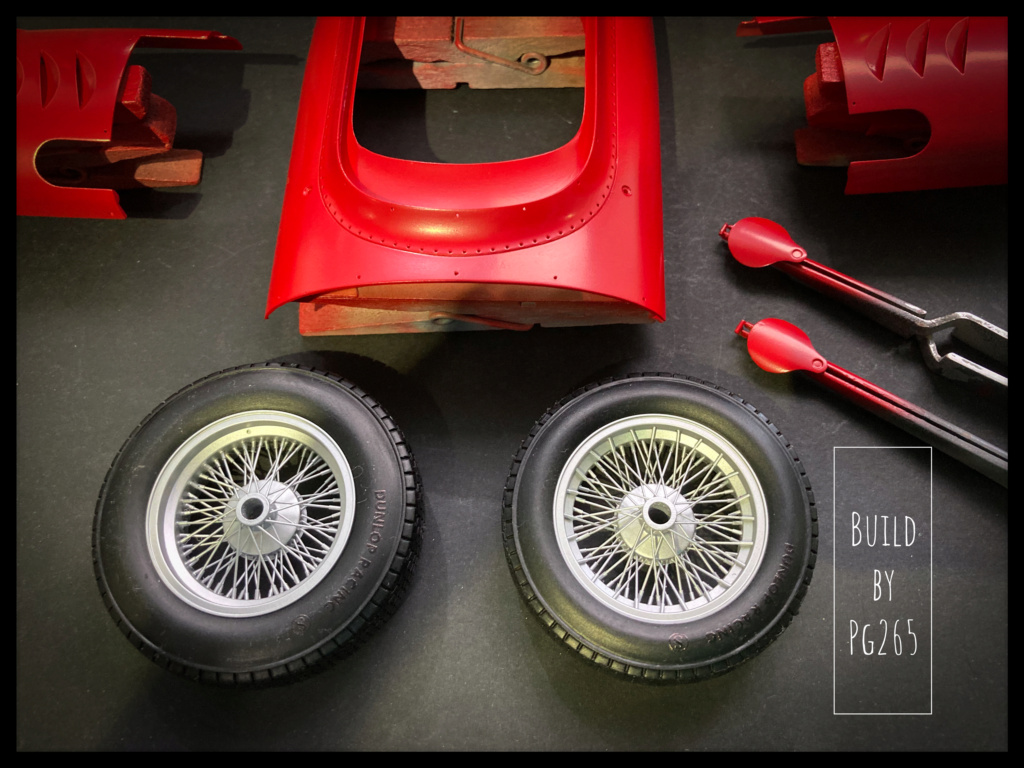 That’s all. More soon. Pascal |
|
|
|
Post by pg265 on Sept 27, 2022 8:54:59 GMT -8
Good evening, Here are 2 pics of the wheels painted and installed for test. 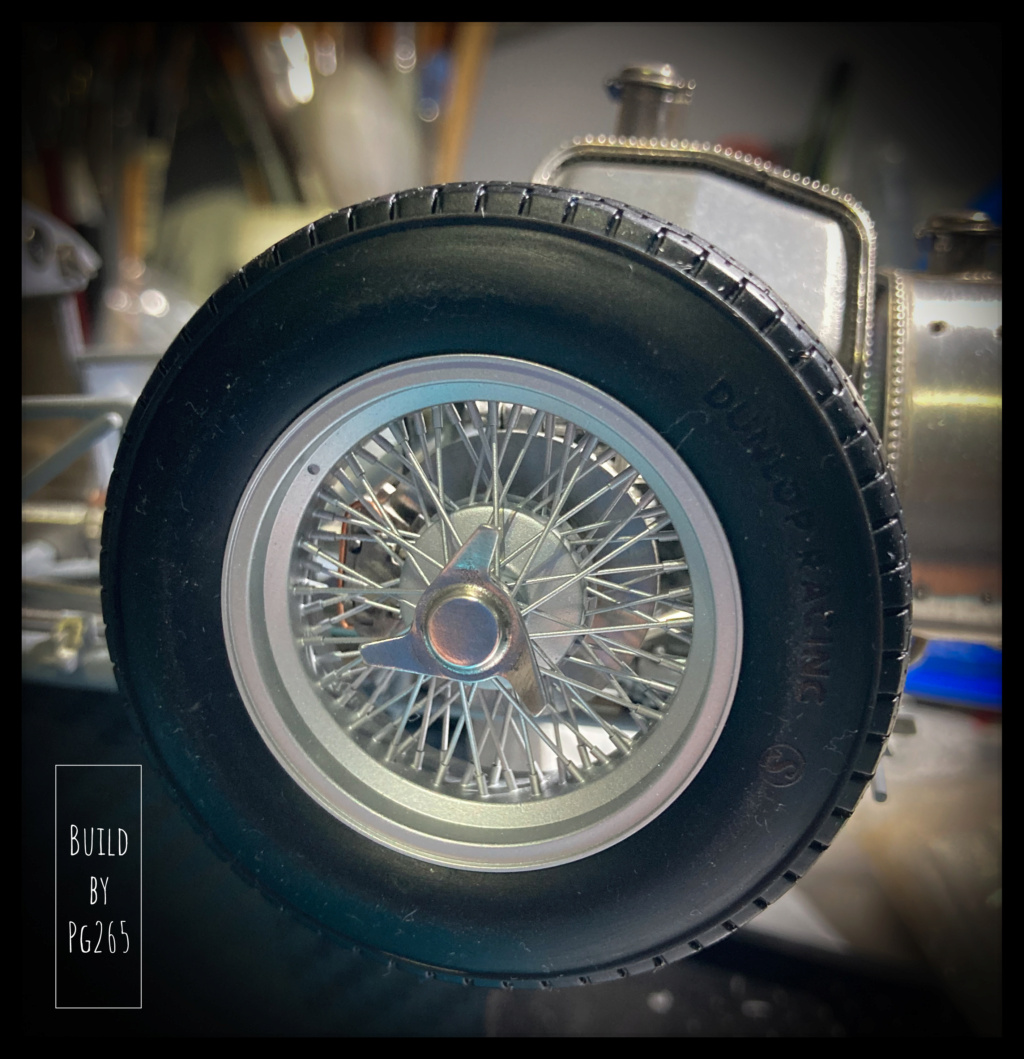 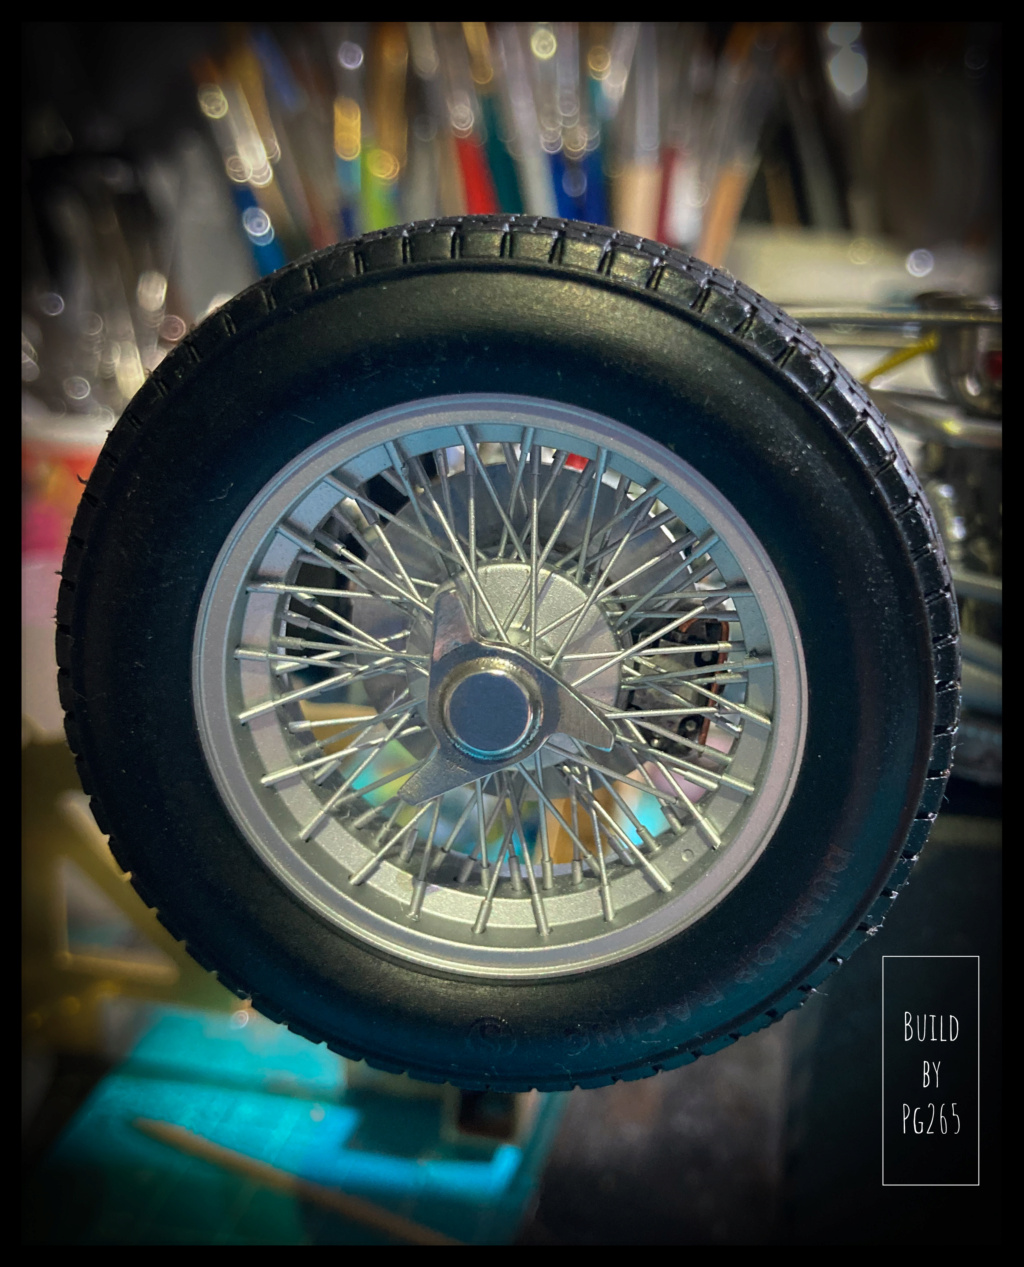 On the seat and headrest, a layer of Semi Gloss Black Humbrol was sprayed over the Tamiya mat black layer. I also started working on these two with oils. 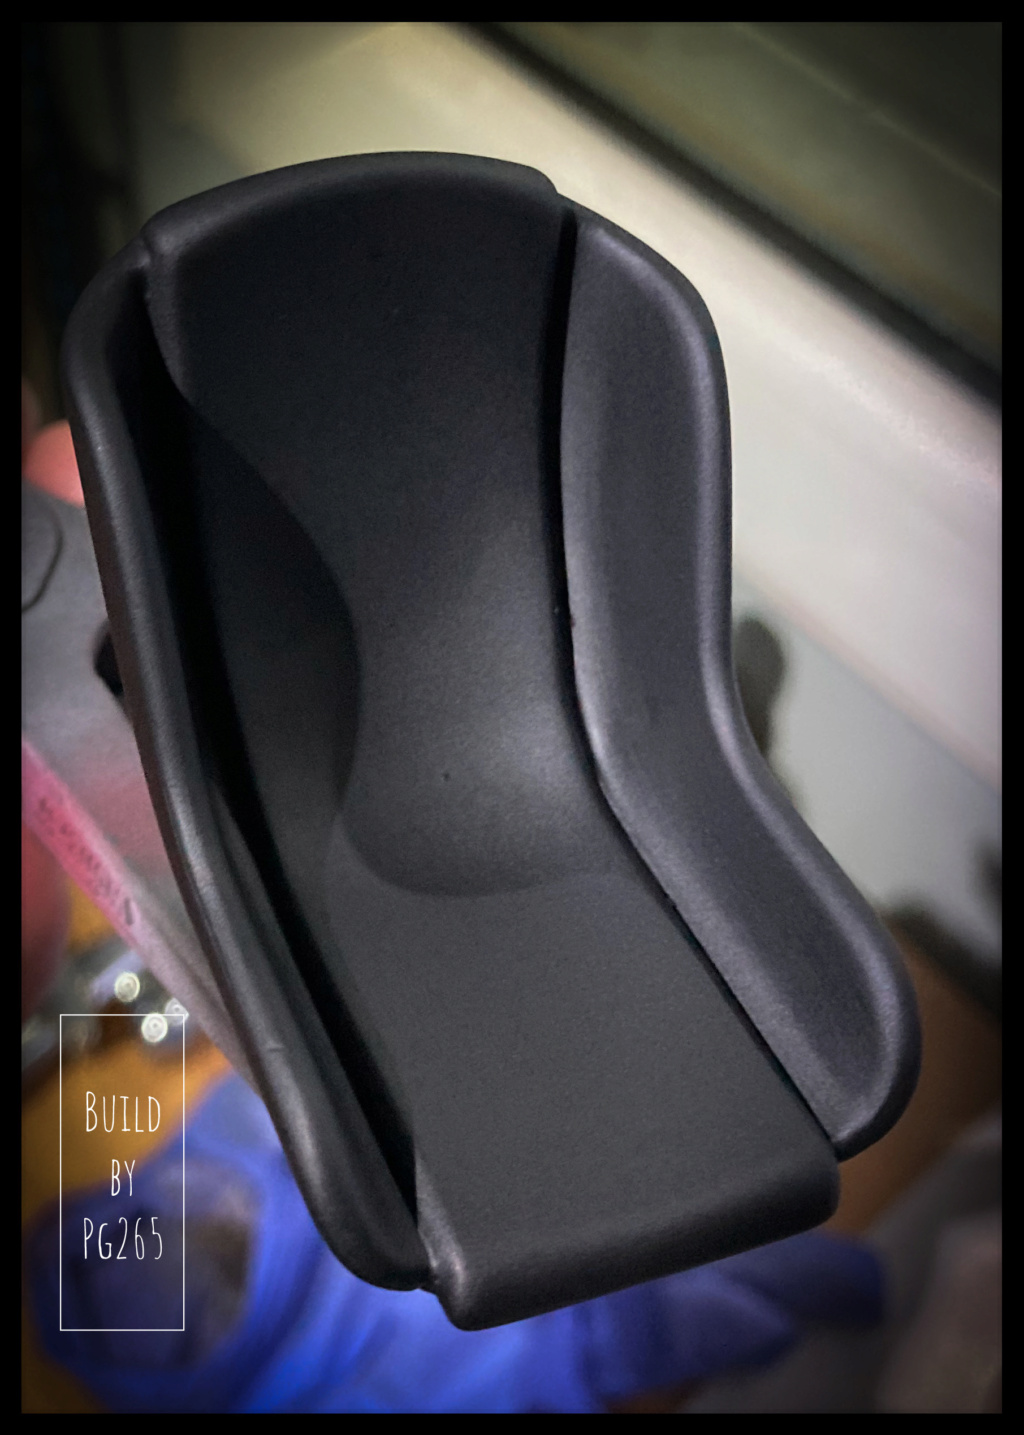 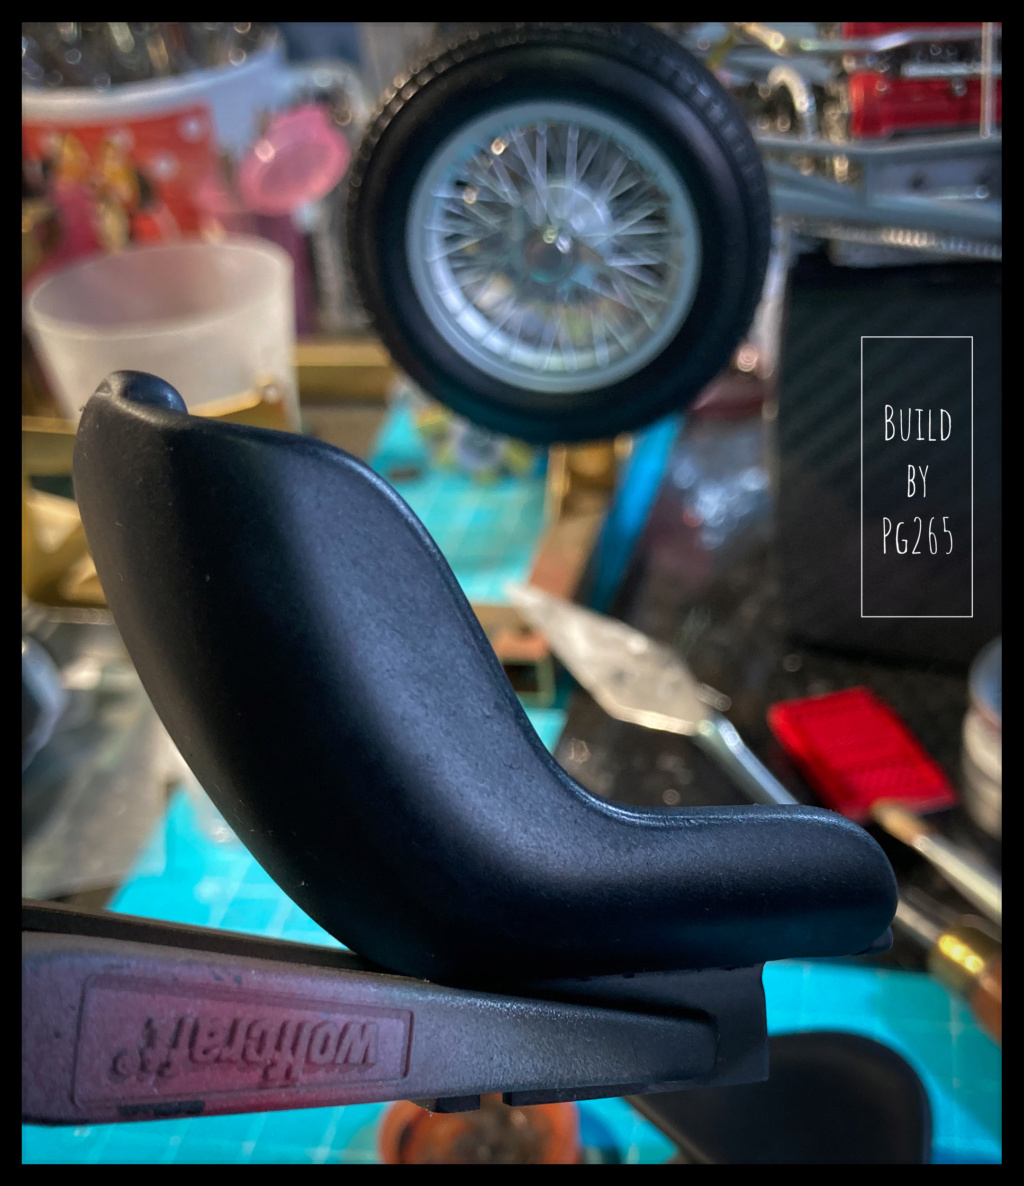  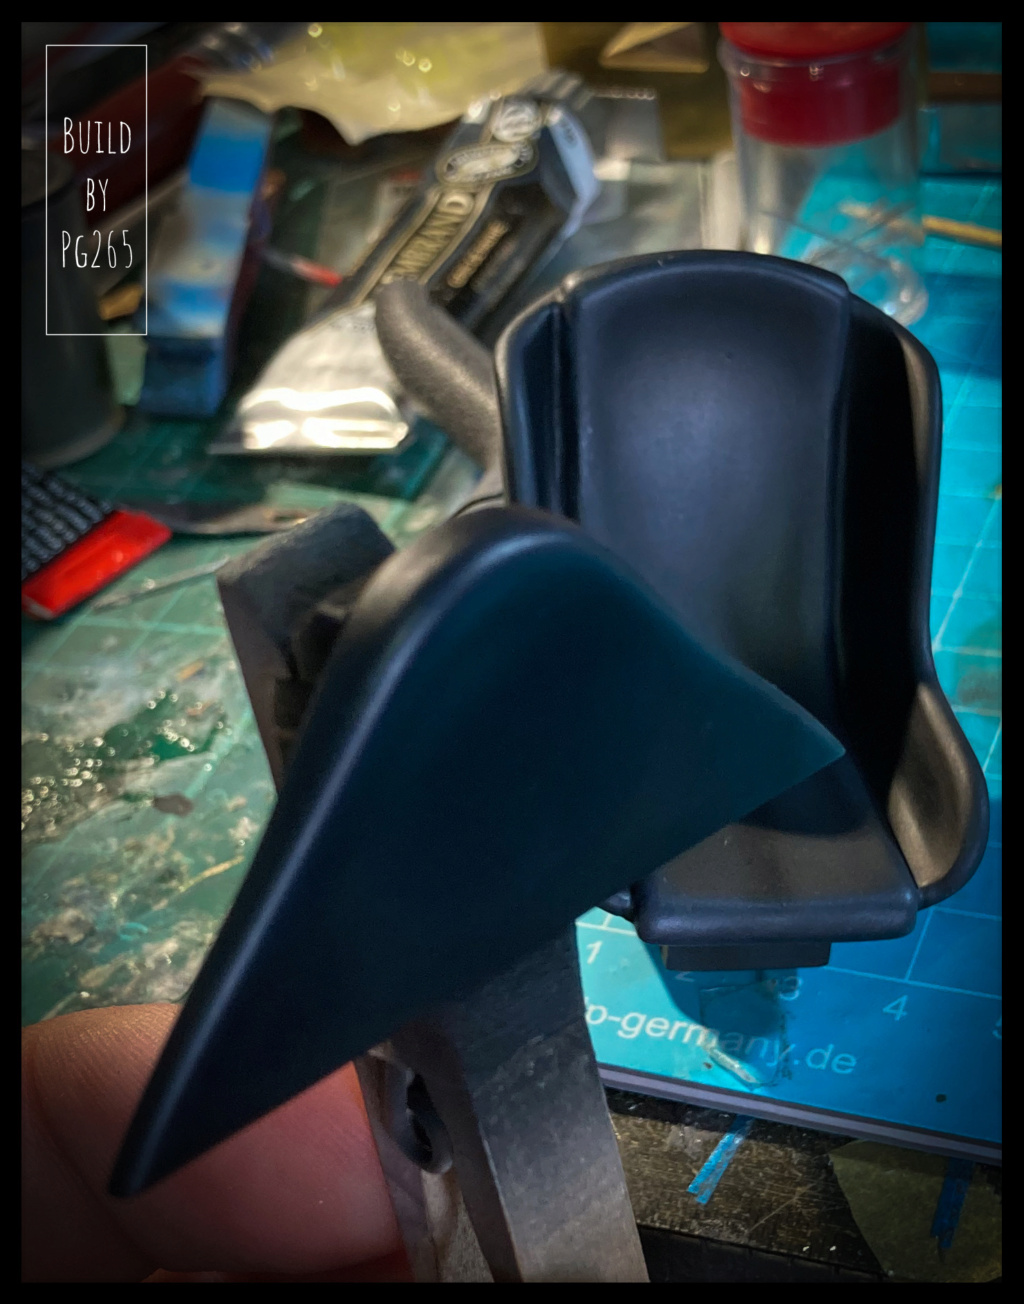 Pascal |
|
|
|
Post by 2whl on Sept 27, 2022 11:01:46 GMT -8
Pascal, I'm loving the look of those wheels in silver.
|
|
|
|
Post by Joel_W on Sept 27, 2022 12:15:32 GMT -8
Pascal,
As usual your work is dead on perfect. The lacquer paint for the body panels really looks smooth and consistent. With polishing and wax will be museum quality for sure. The wire wheels really look the part. I still remember when my MGB was brand new in 1967 that's how they looked. Painted Aluminum with no shine. As for the seat it does have that leather sheen to it.
looking forward to your next update.
joel
|
|
|
|
Post by pg265 on Oct 1, 2022 2:57:33 GMT -8
Good morning Mates, Thank you very much for your kind comments guys! I had forgotten to post a picture of the chassis of the car equipped with its body for test fit. 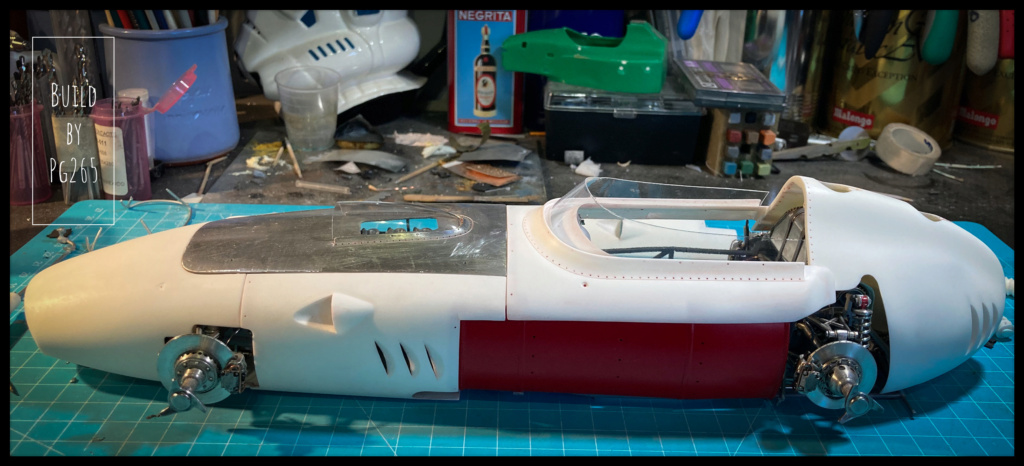 I also prepared, welded, shaped and primed the tubular reinforcement that supports the nose and runs on each side of the lower part of the frame. There’s still the gray to shoot on the parts. 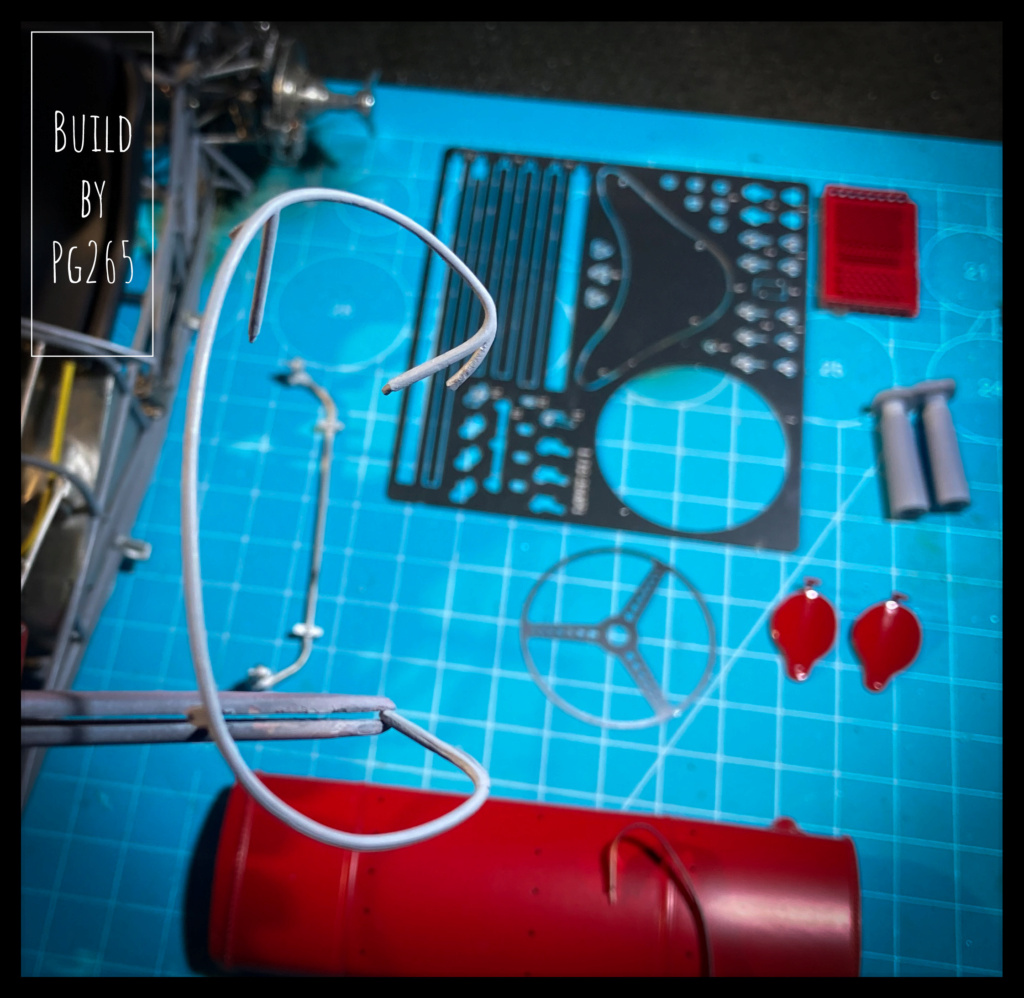 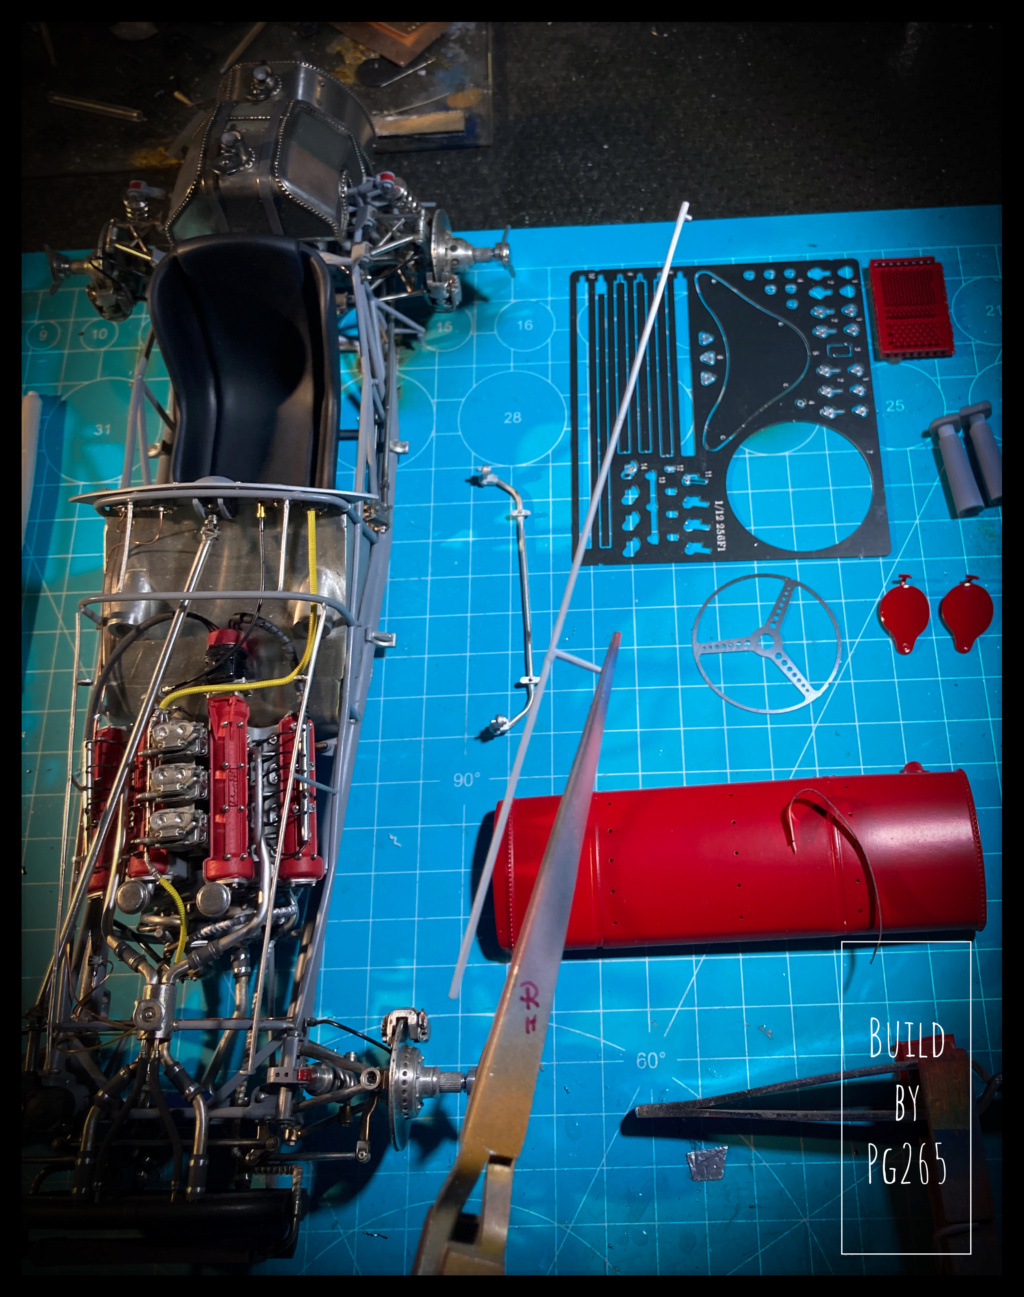 The side tank straps are pretty stiff! They are heated with a mini torch, then put in shape on the tank and using cylinders of different diameters. 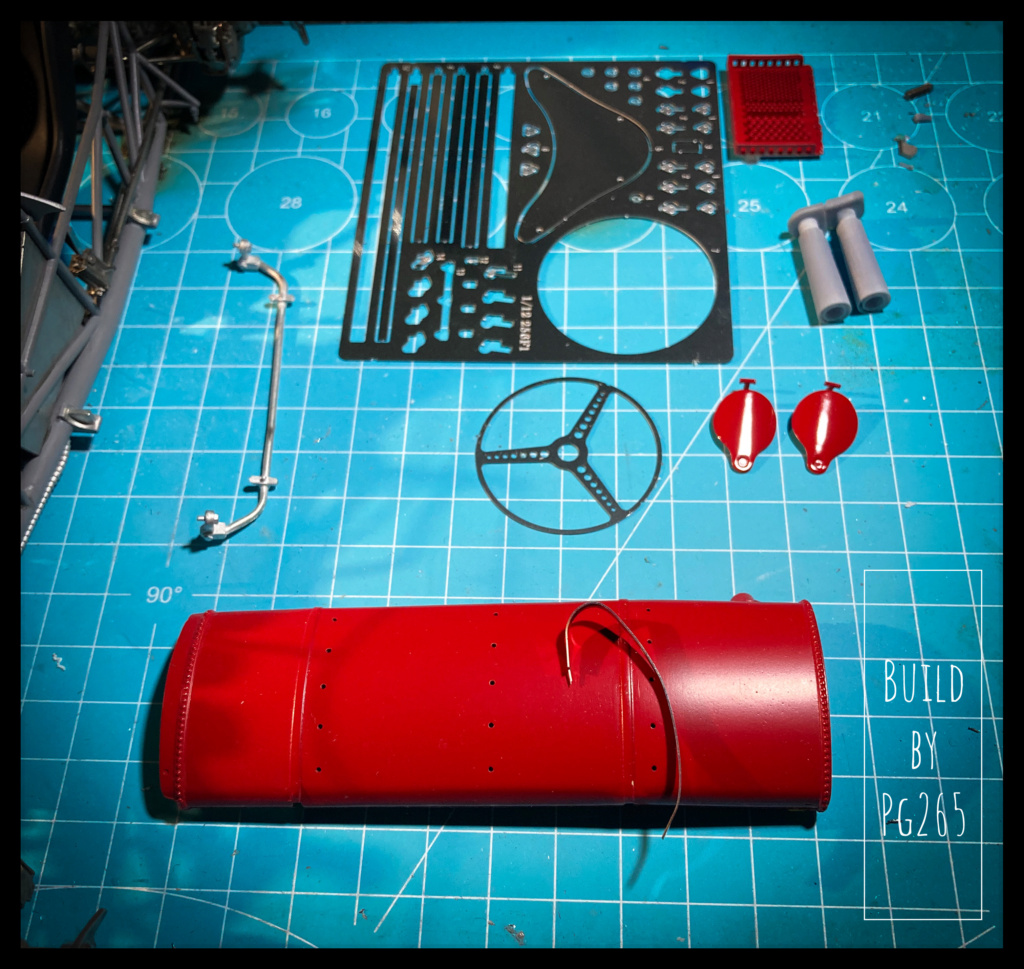 The half wheel rims are also primed in anticipation of woody hues. 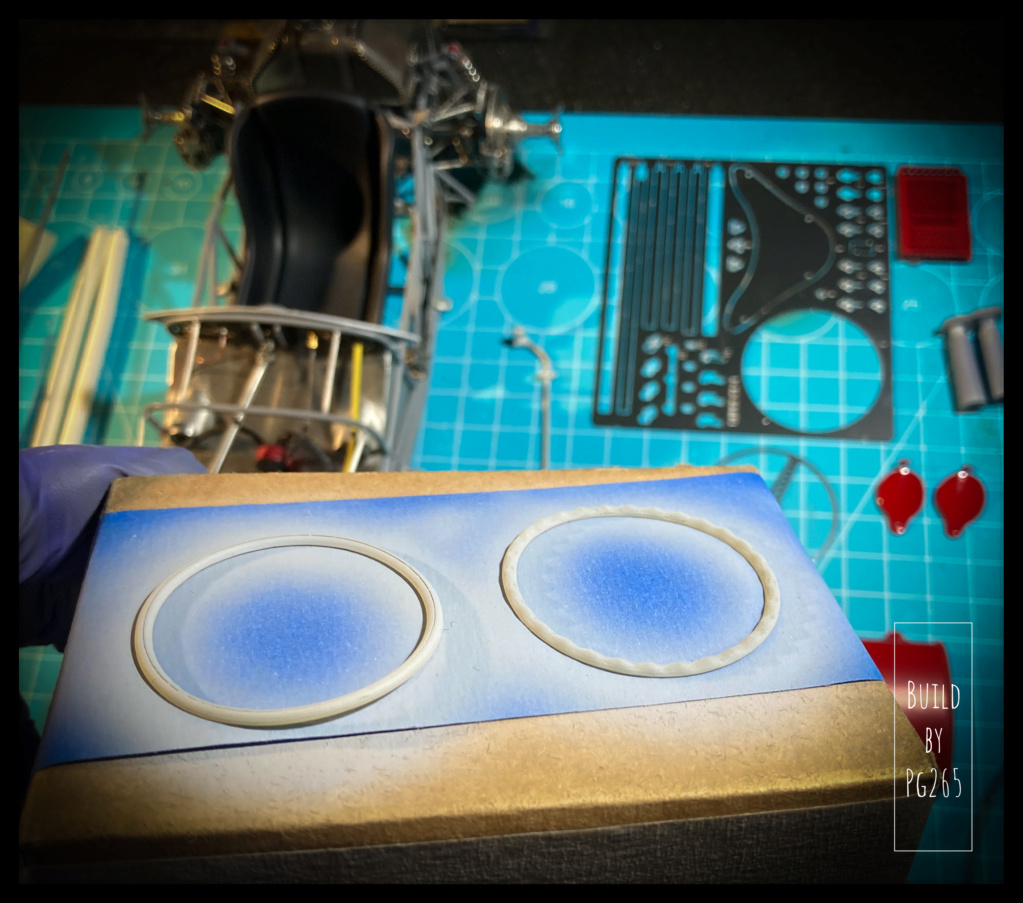 Pascal |
|
|
|
Post by pg265 on Oct 1, 2022 13:53:54 GMT -8
Good evening, Here is the progress of the day: I prepared, assembled and added a small weld on the exhausts. 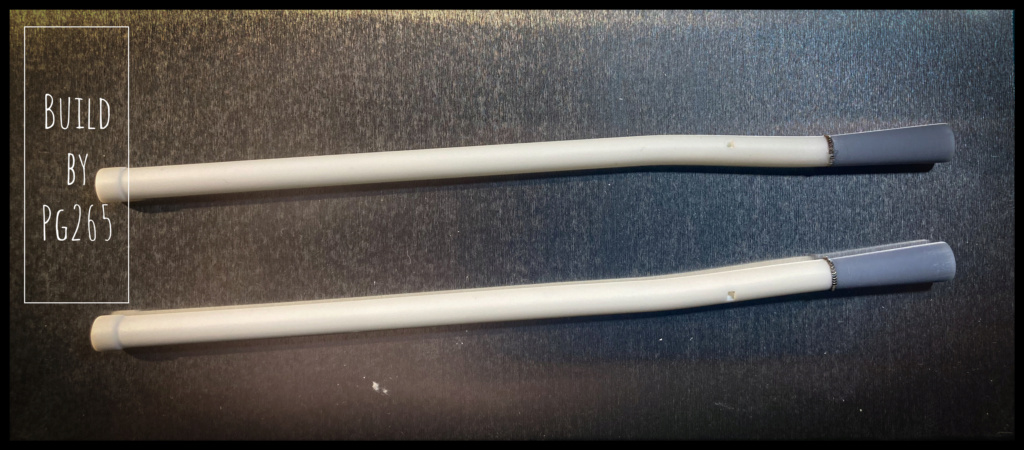 Then a primer layer 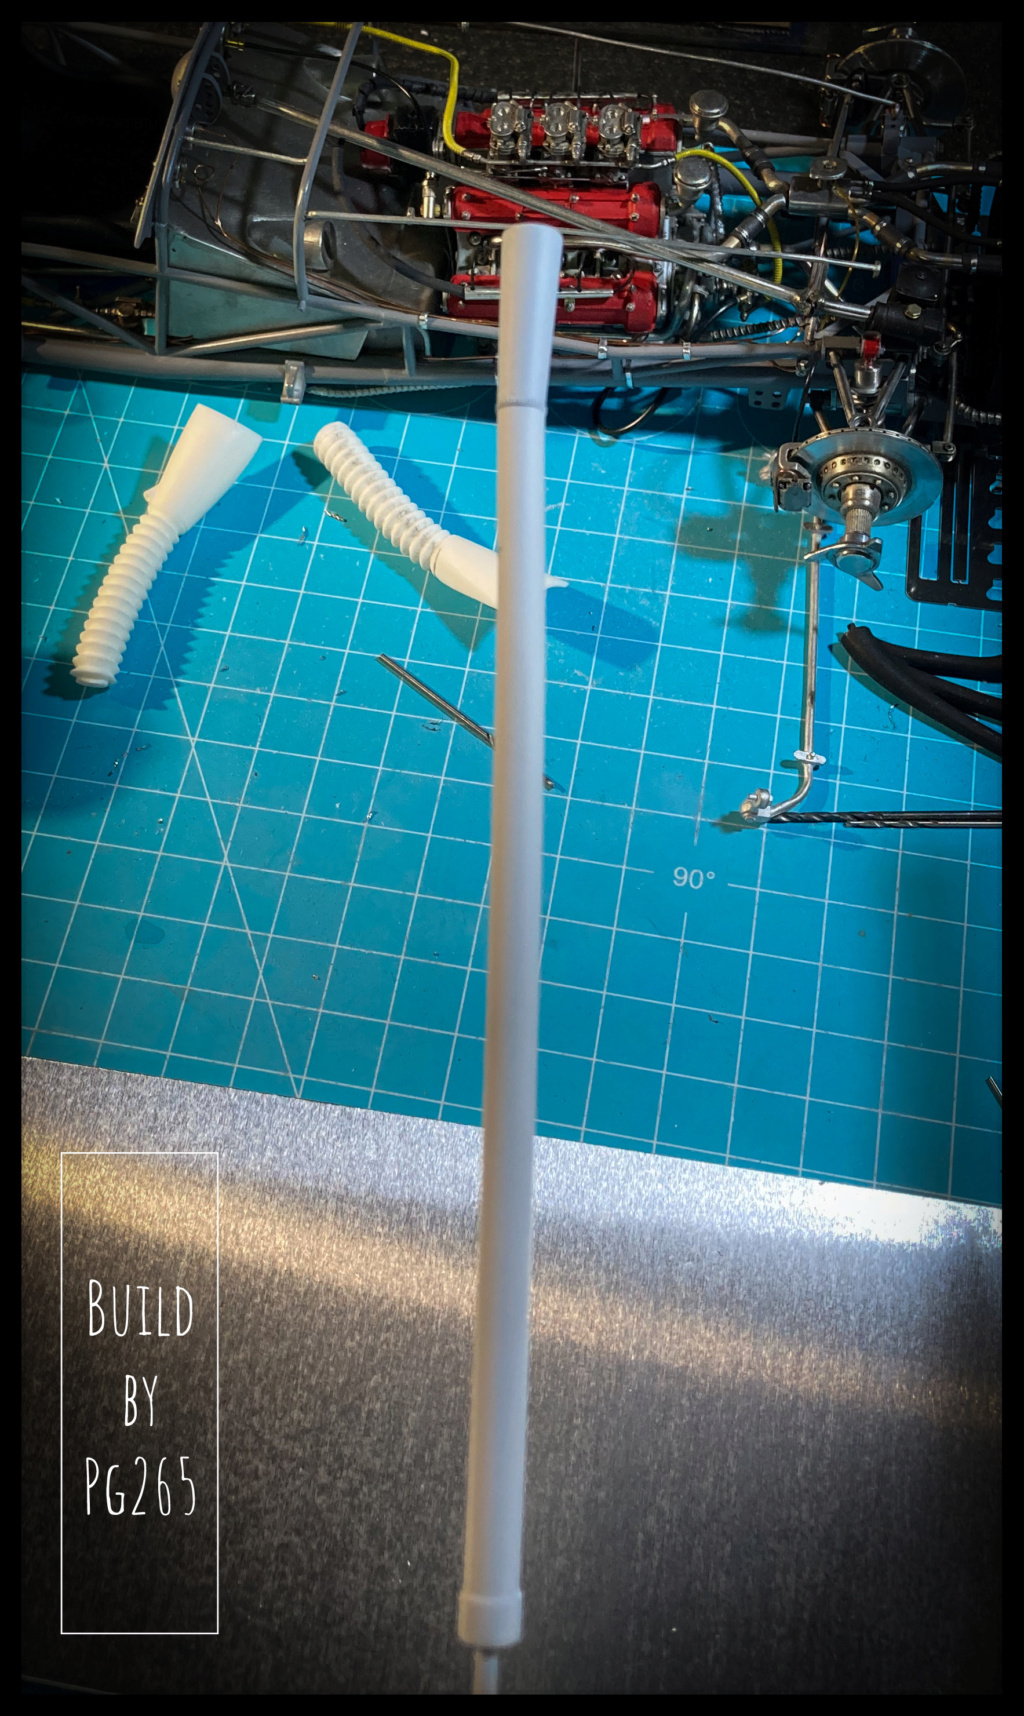 And a quick coat of matte black before pastels and oils.  Same for the steering wheel: A light and very light first layer of acrylic. 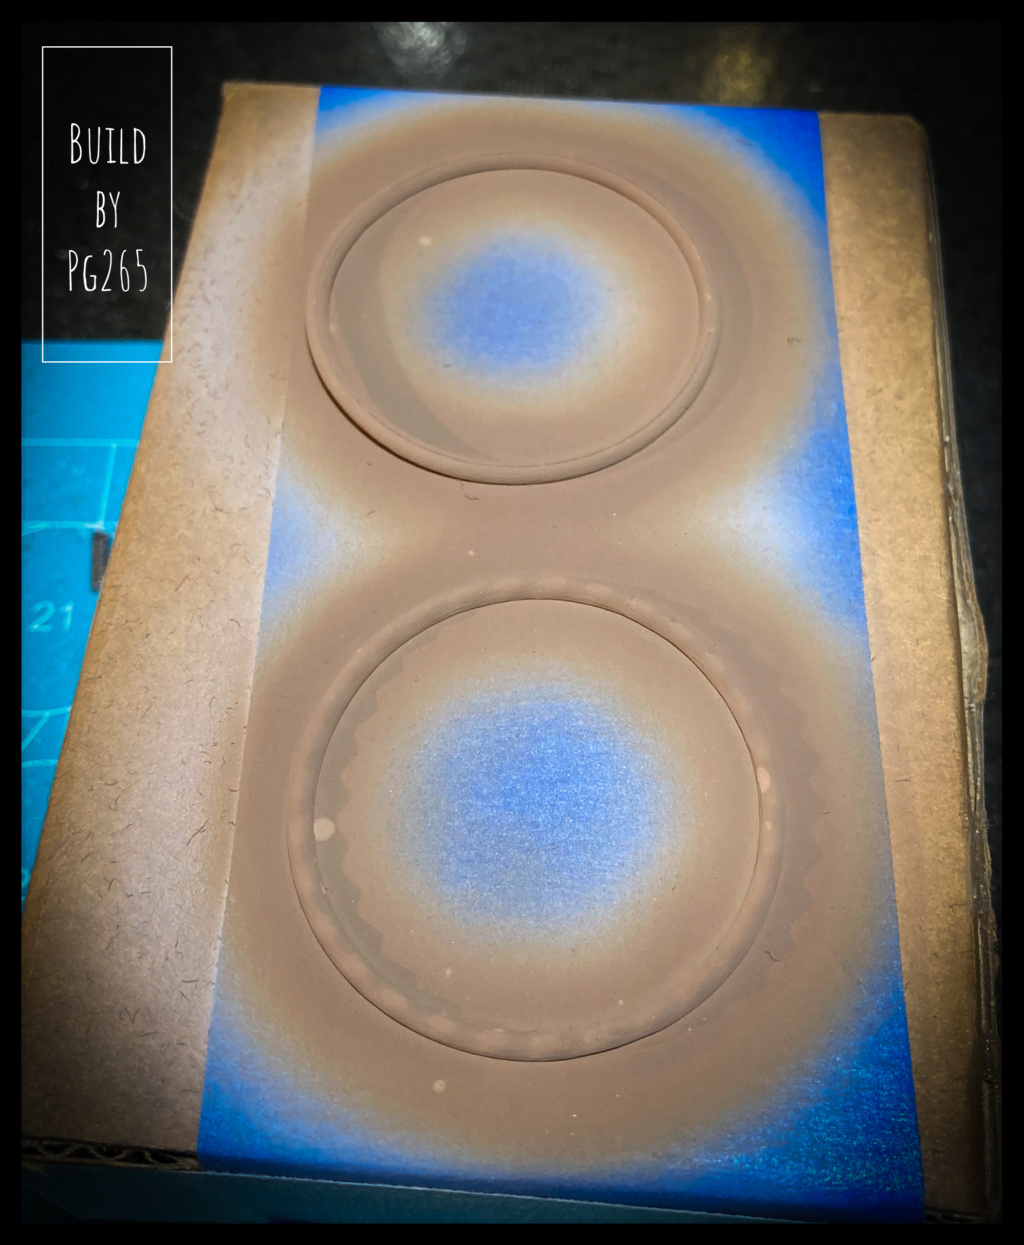 Quickly followed by a second of a slightly darker mixture of 3 shades. 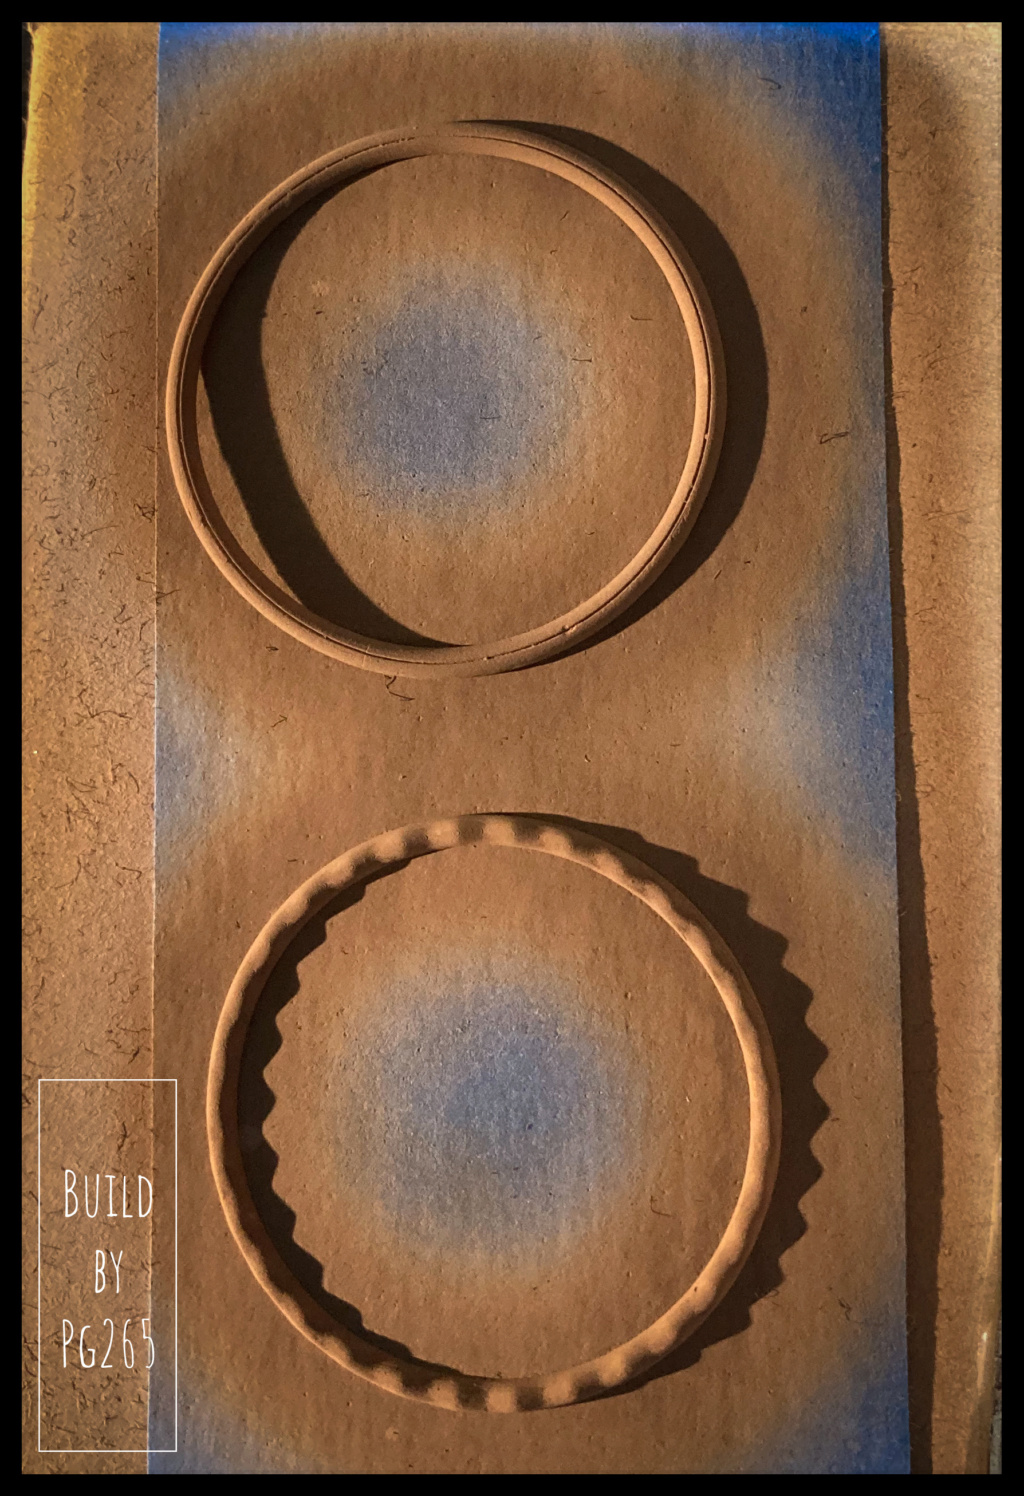 And the beginning of work with oils. 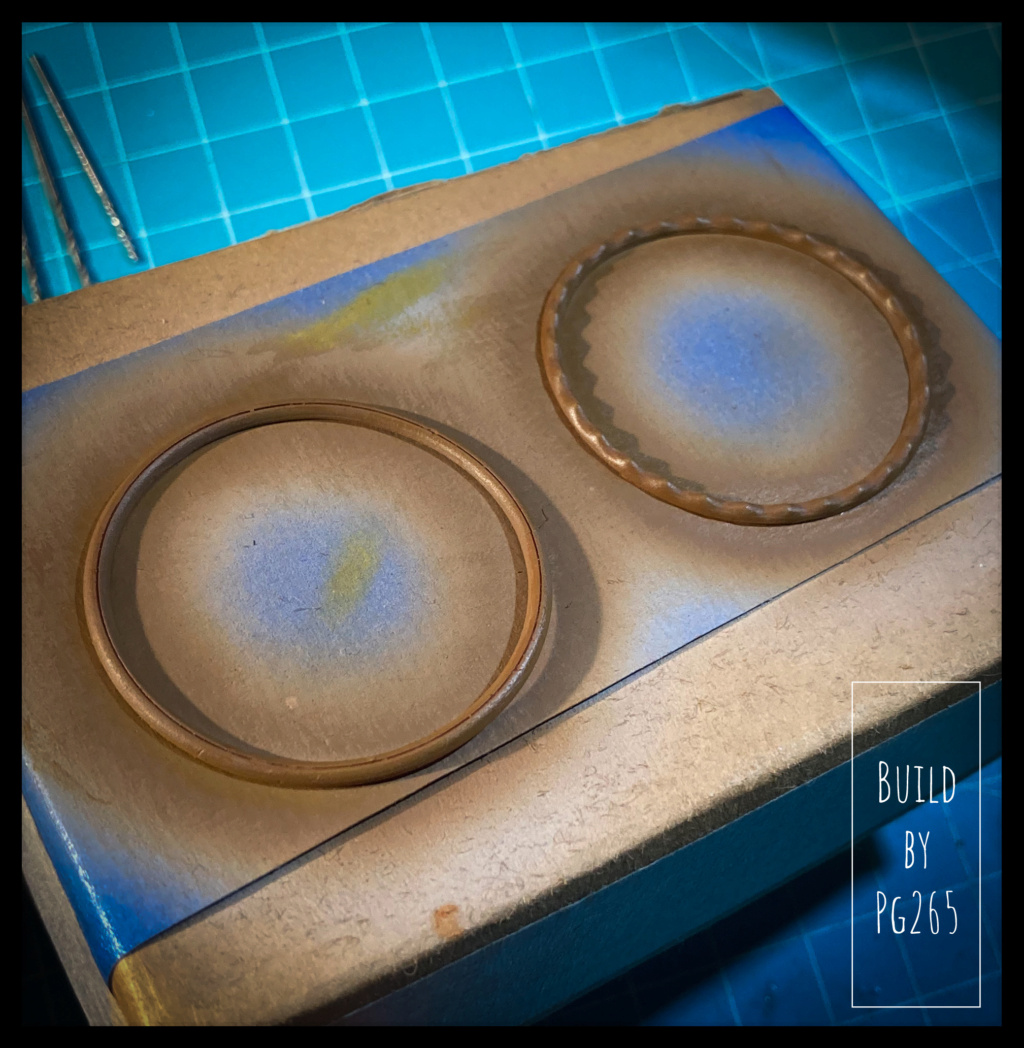 More soon with the exhausts, steering wheel, chassis and tanks… Pascal |
|
|
|
Post by pg265 on Oct 2, 2022 12:58:59 GMT -8
Good evening, The exhausts are painted, assembled and mounted on the chassis/motor on each bench. I started to apply some pastels. 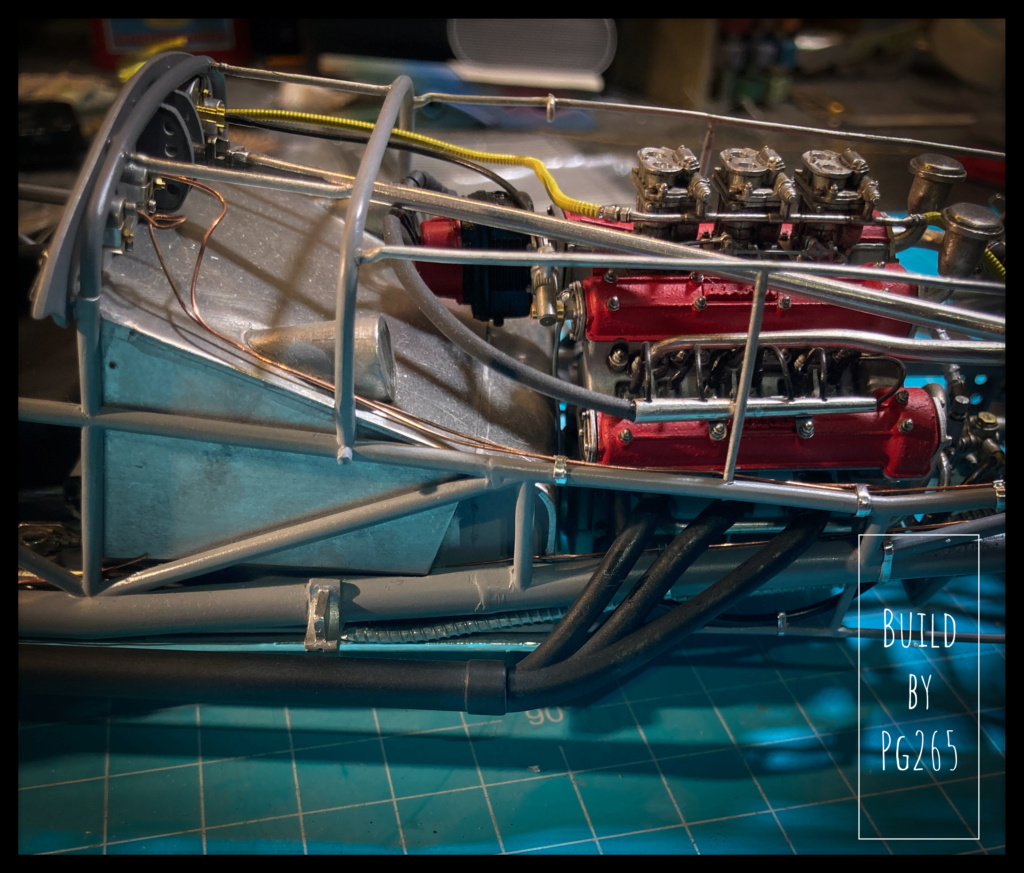   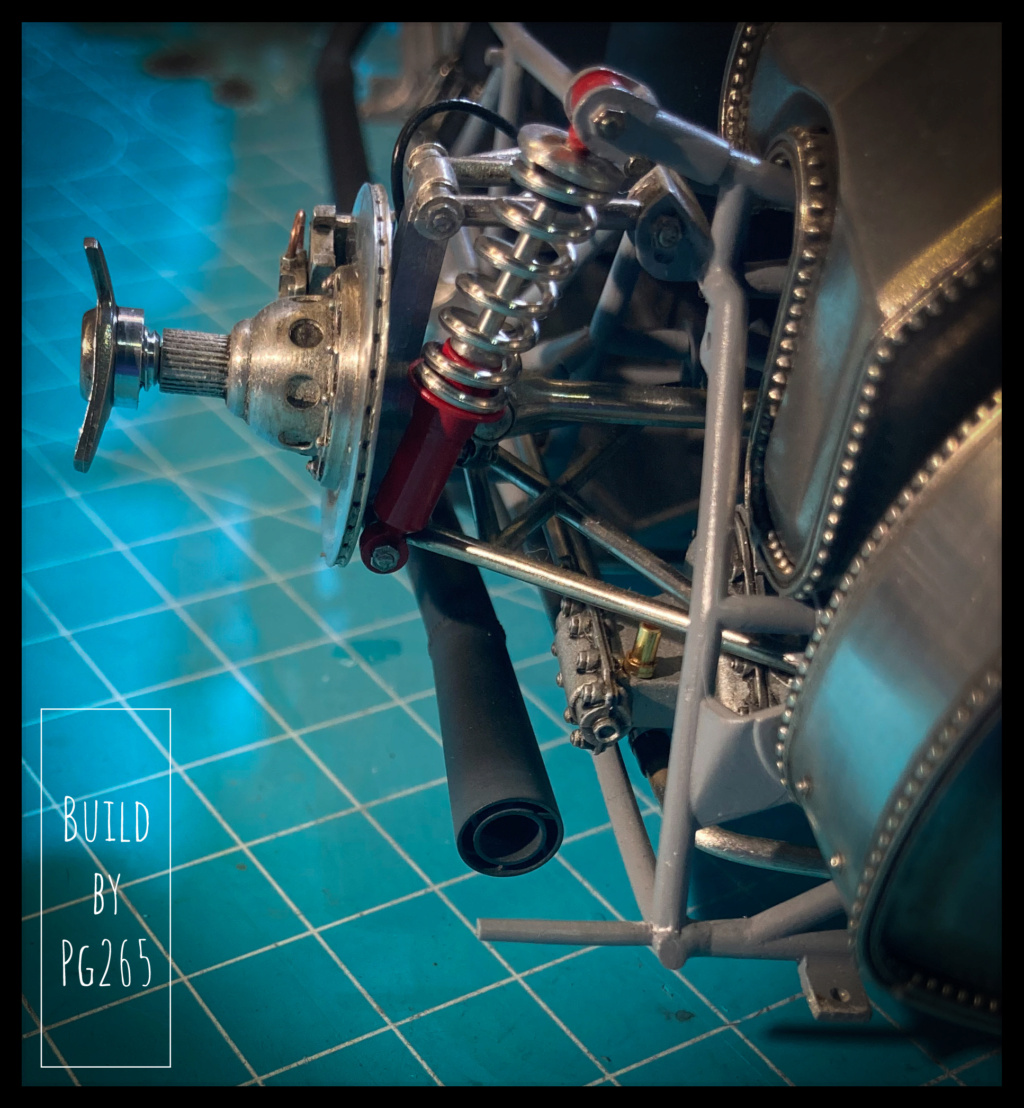 The steering wheel is assembled, varnished and decorated. 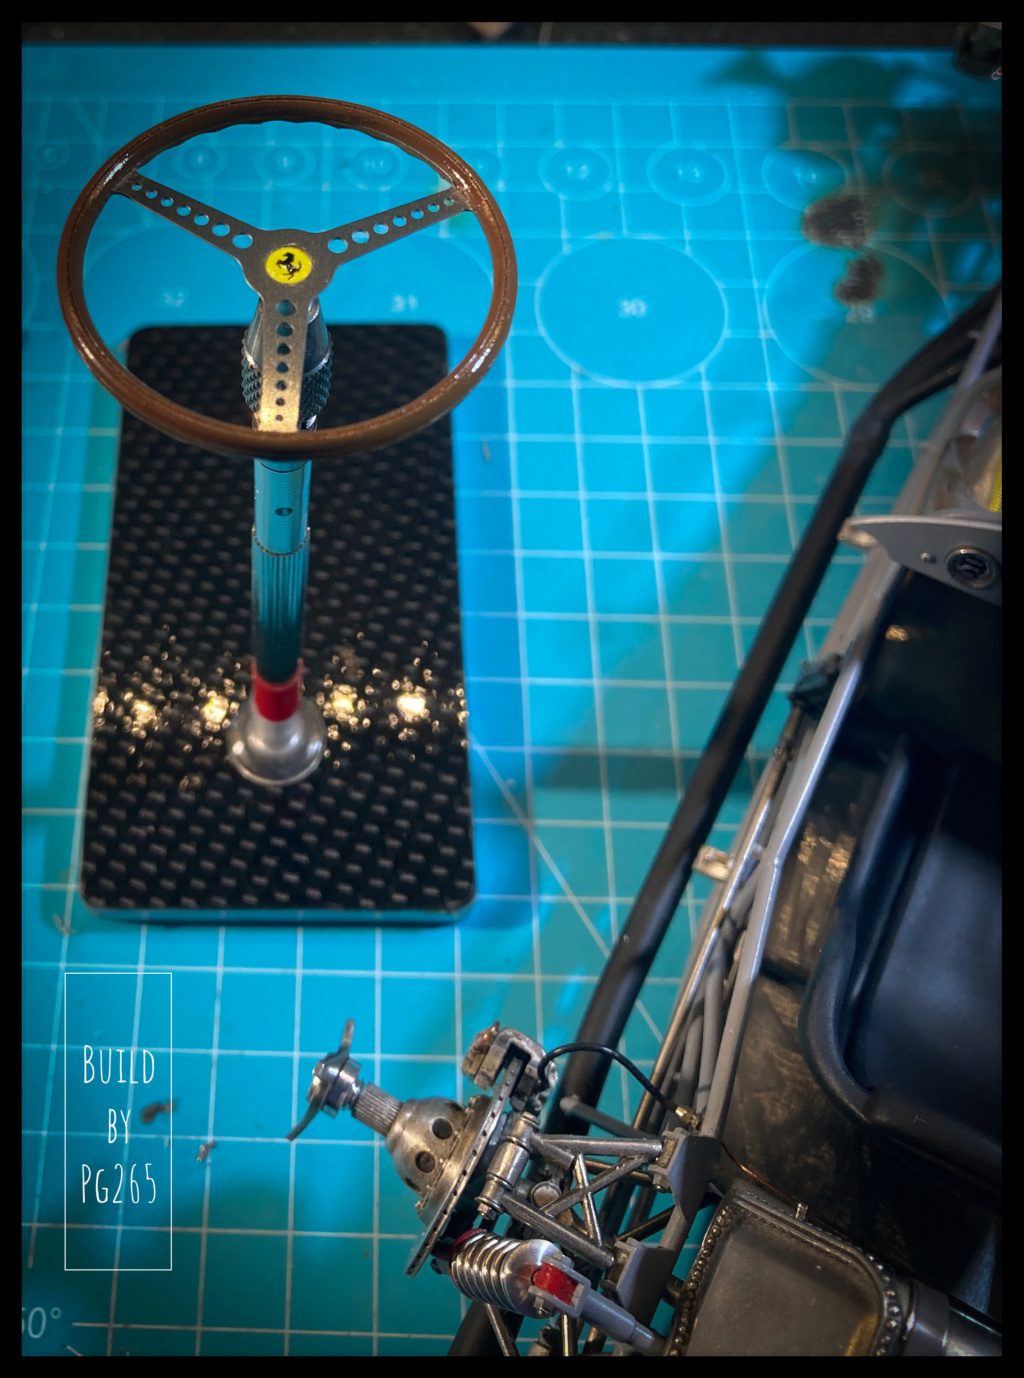 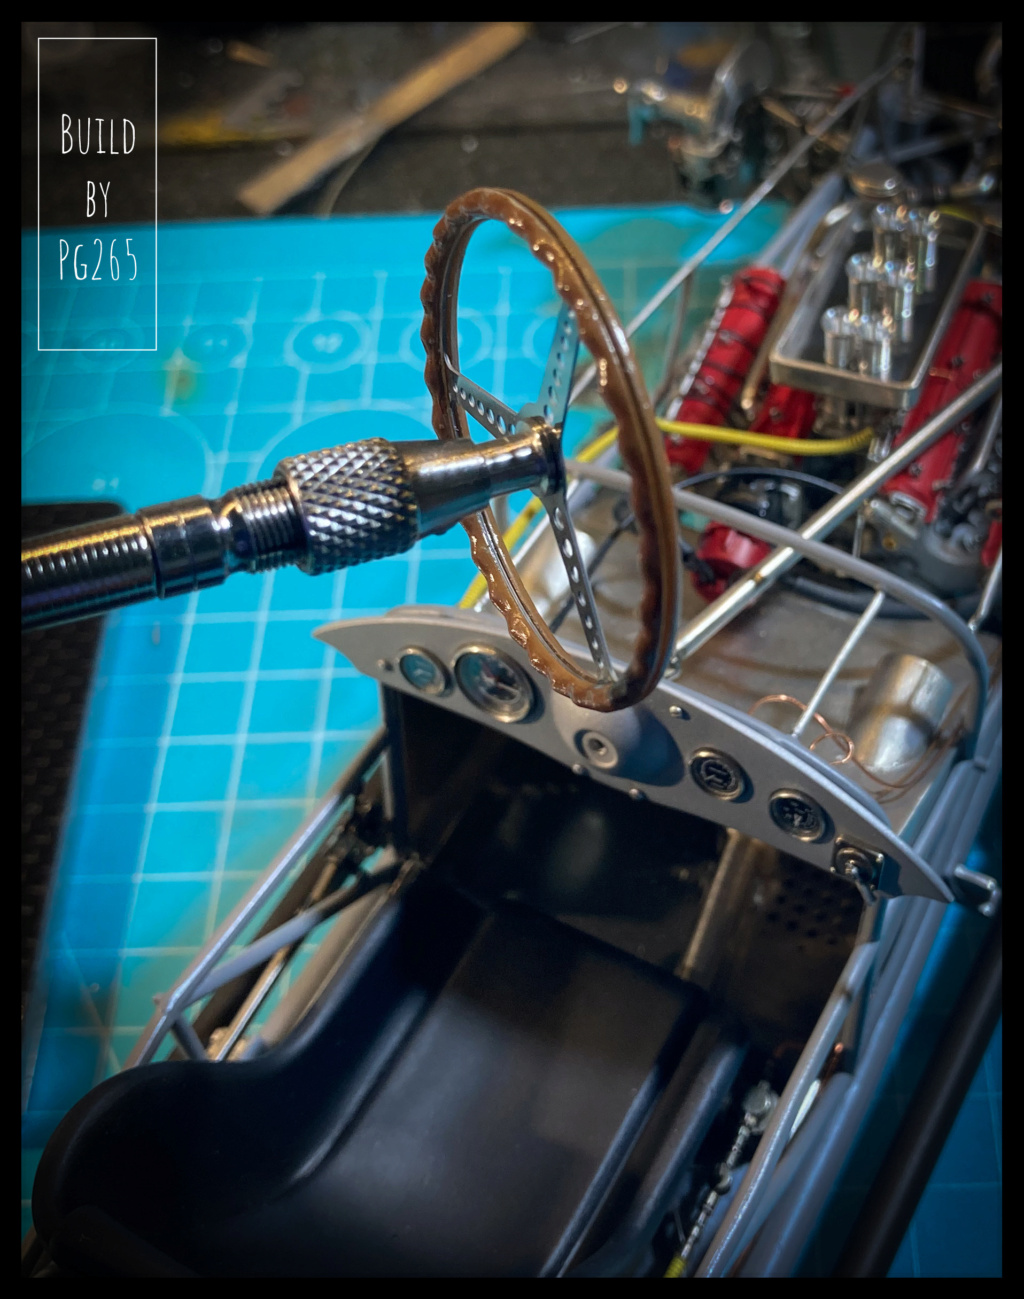 The nose support is installed after receiving its Grayish Blue layer. Same for the lower tubes of the chassis. The front anti-roll bar is done and installed too. 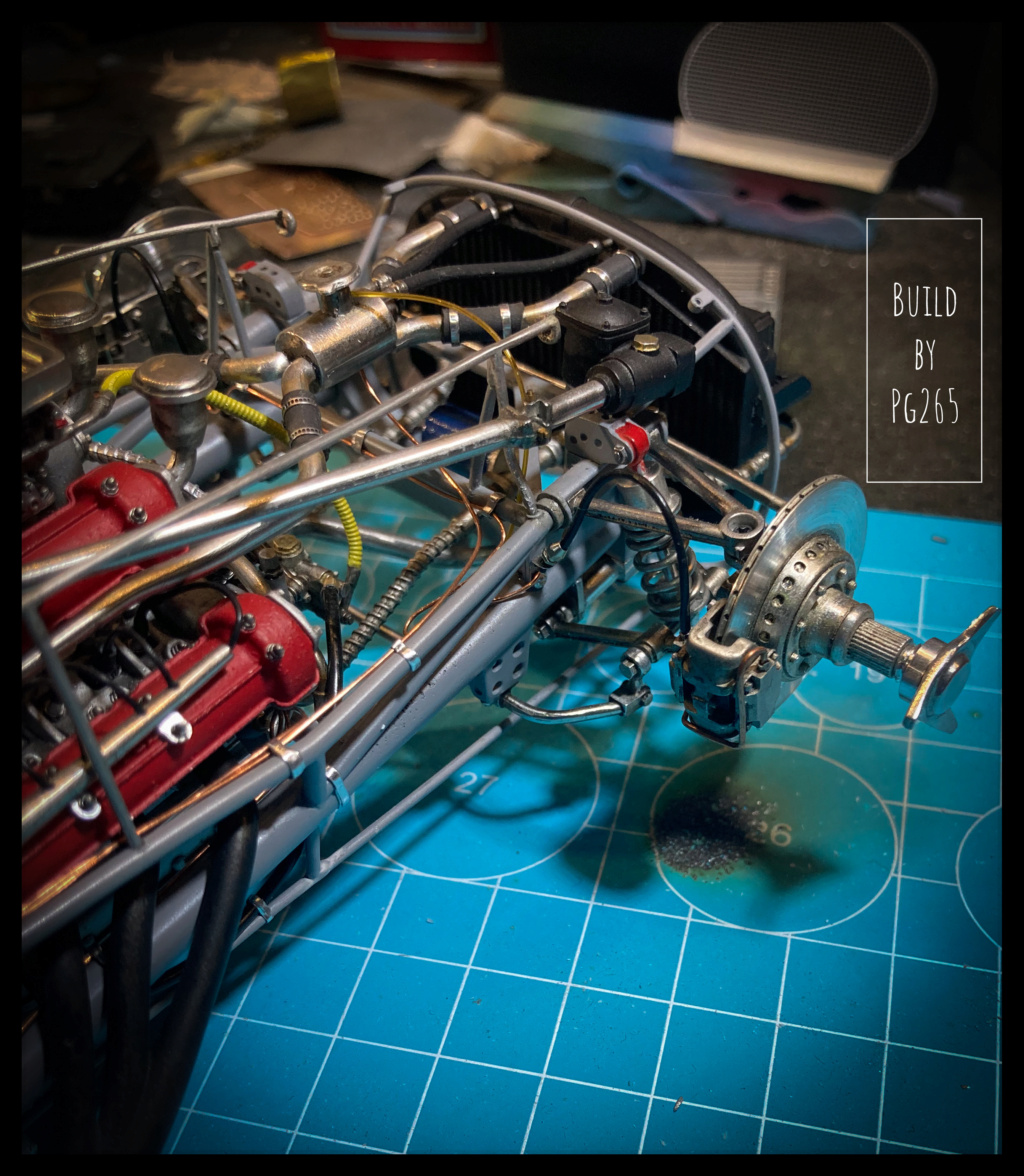 Although they are not very visible afterwards, the new supports of the model are decorated. The two White Metal parts are those provided in the kit. 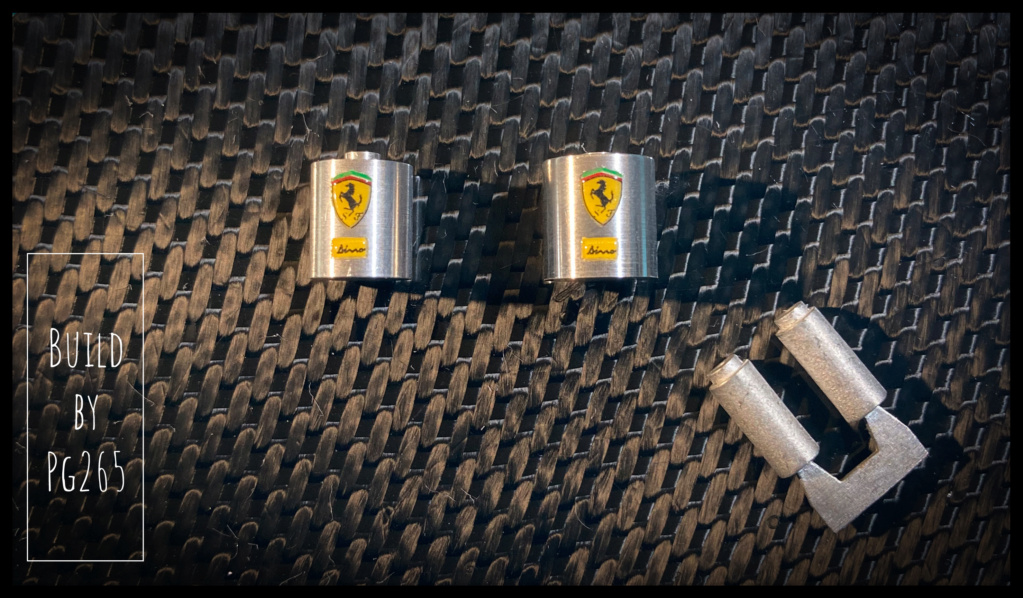 The turned supports are drilled and tapped to be attached to their locations. Pascal |
|
|
|
Post by pnance26 on Oct 3, 2022 8:13:52 GMT -8
Pascal,
All great work and photos!
Just one question though… why did you use yellow under the red? Does it make the red “pop” more than another color underneath? Curious because it’s a different choice.
I’ll hang up and take your answer off the air.
Patrick
|
|
|
|
Post by pg265 on Oct 3, 2022 8:39:35 GMT -8
Good morning, Grazie mille Patrick! As the kit is made of resin and White Metal, with heavy different shades, the Giallo Modena layer allow to avoid any tiny shade for the final color. I also use other colored under coat depending on the final color or the feeling of the moment… I love pink undercoat made of few drops of Rosso Corsa in White primer. I wasn’t happy with the steering wheel. So I inserted a 0.3 steel wire into a groove: It suits me better. 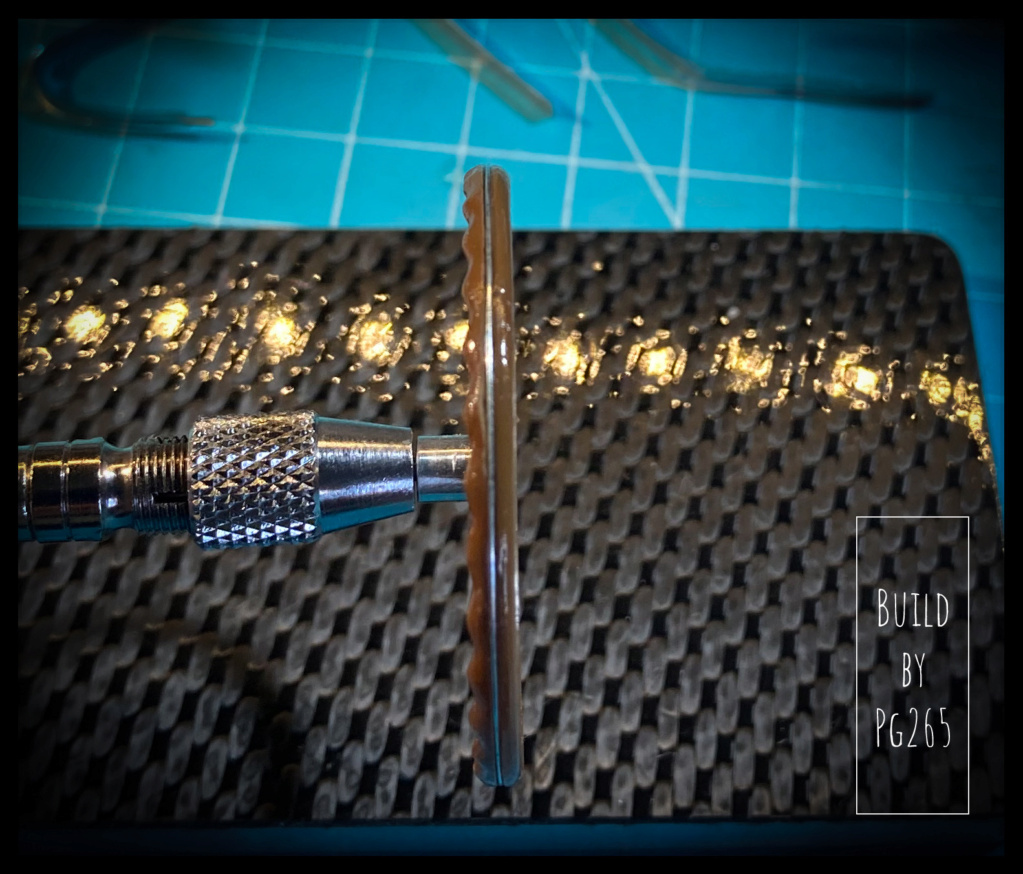 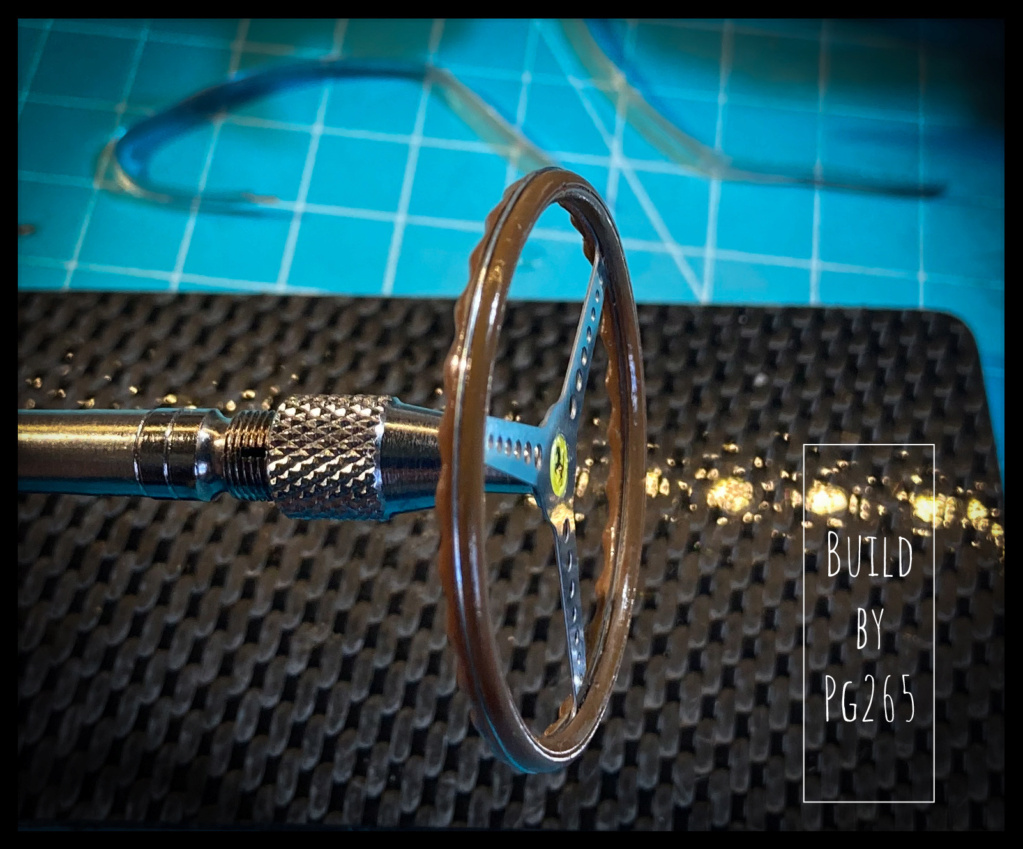 Same with the tank straps. Their rigidity did not facilitate shaping on the tanks or the final assembly. 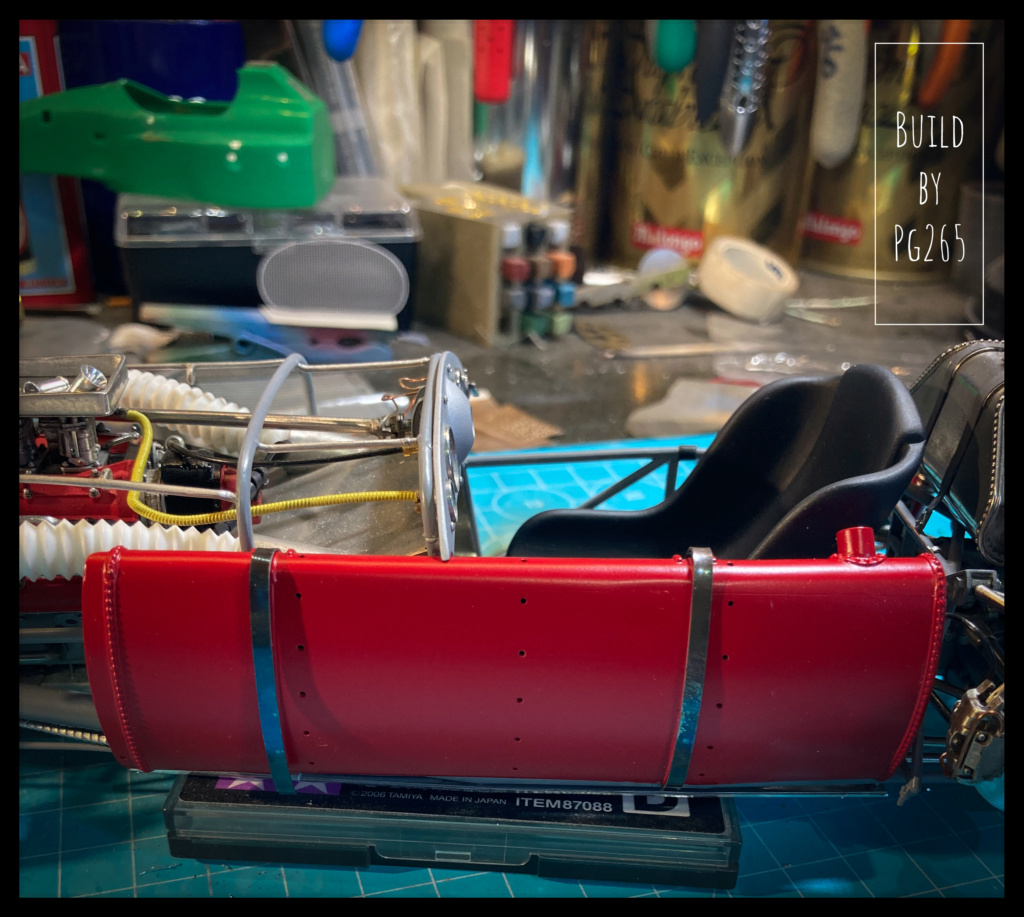 I remade them in 1/10 aero Alu foil. A copper rod is glued and then coated with photo sensitive resin. 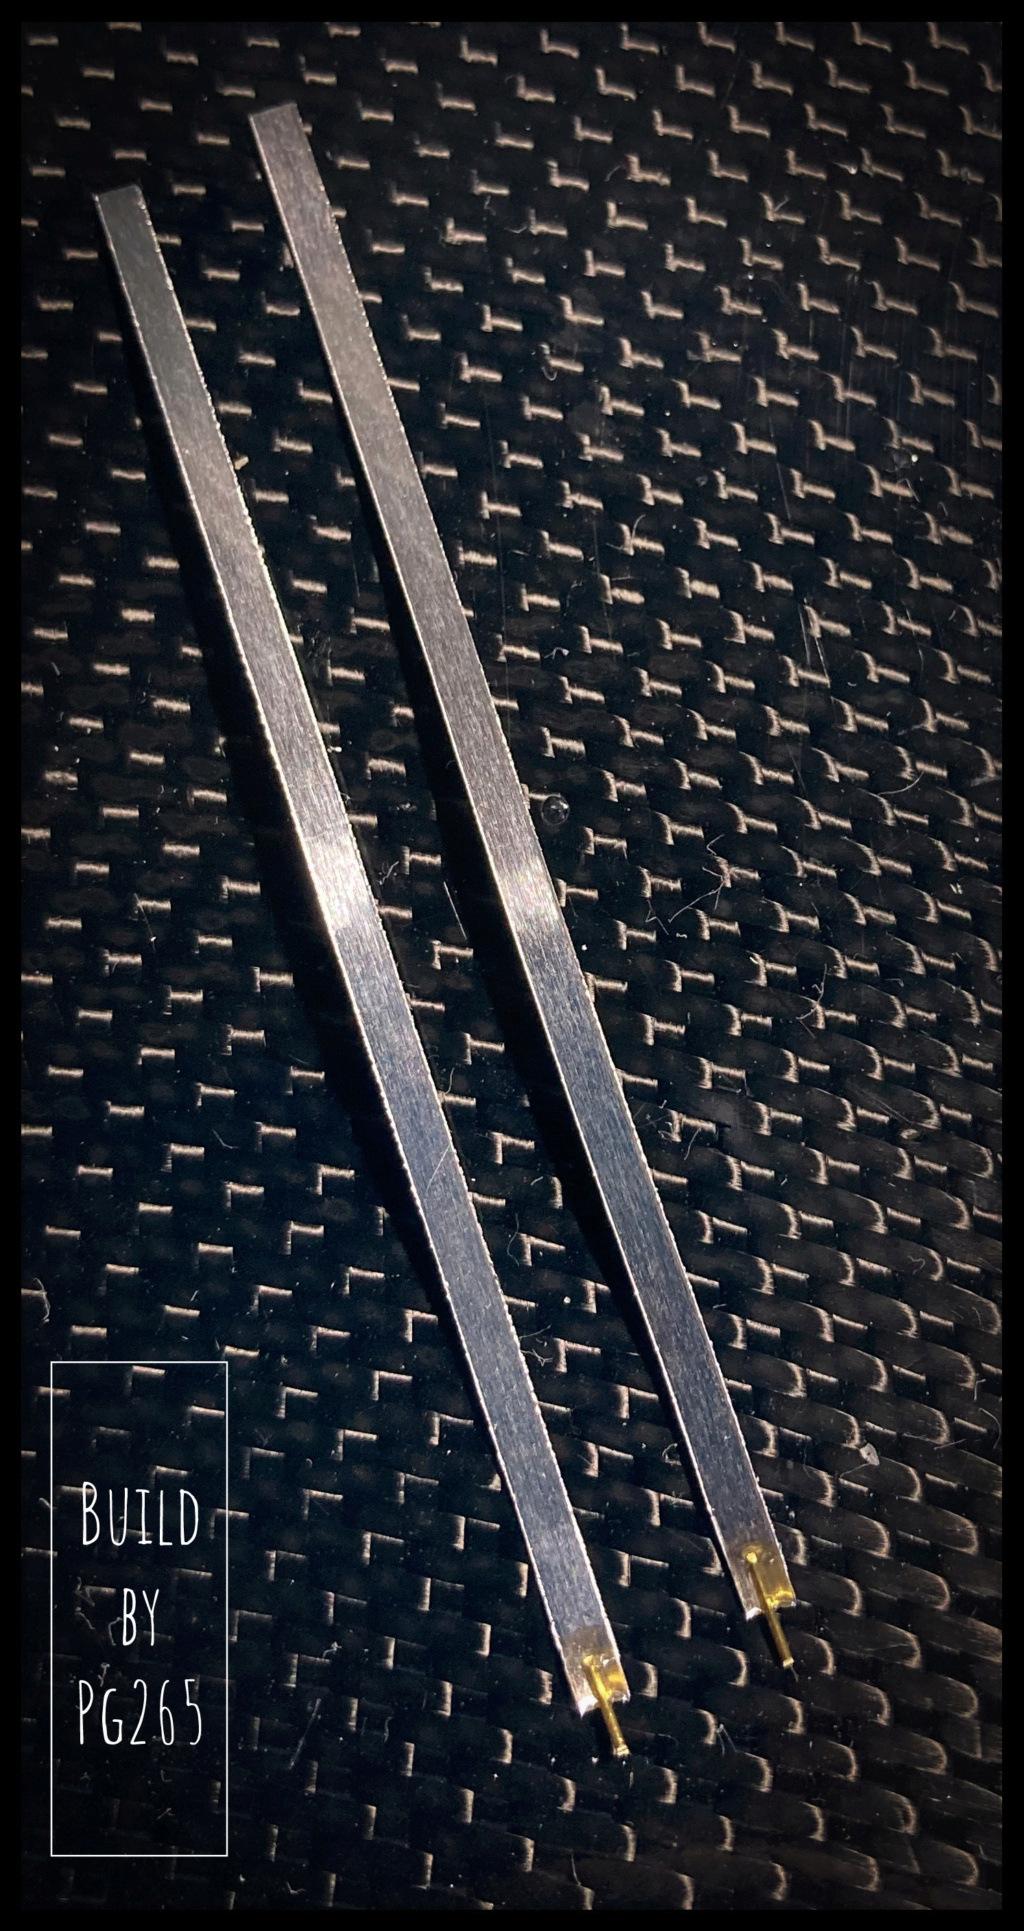 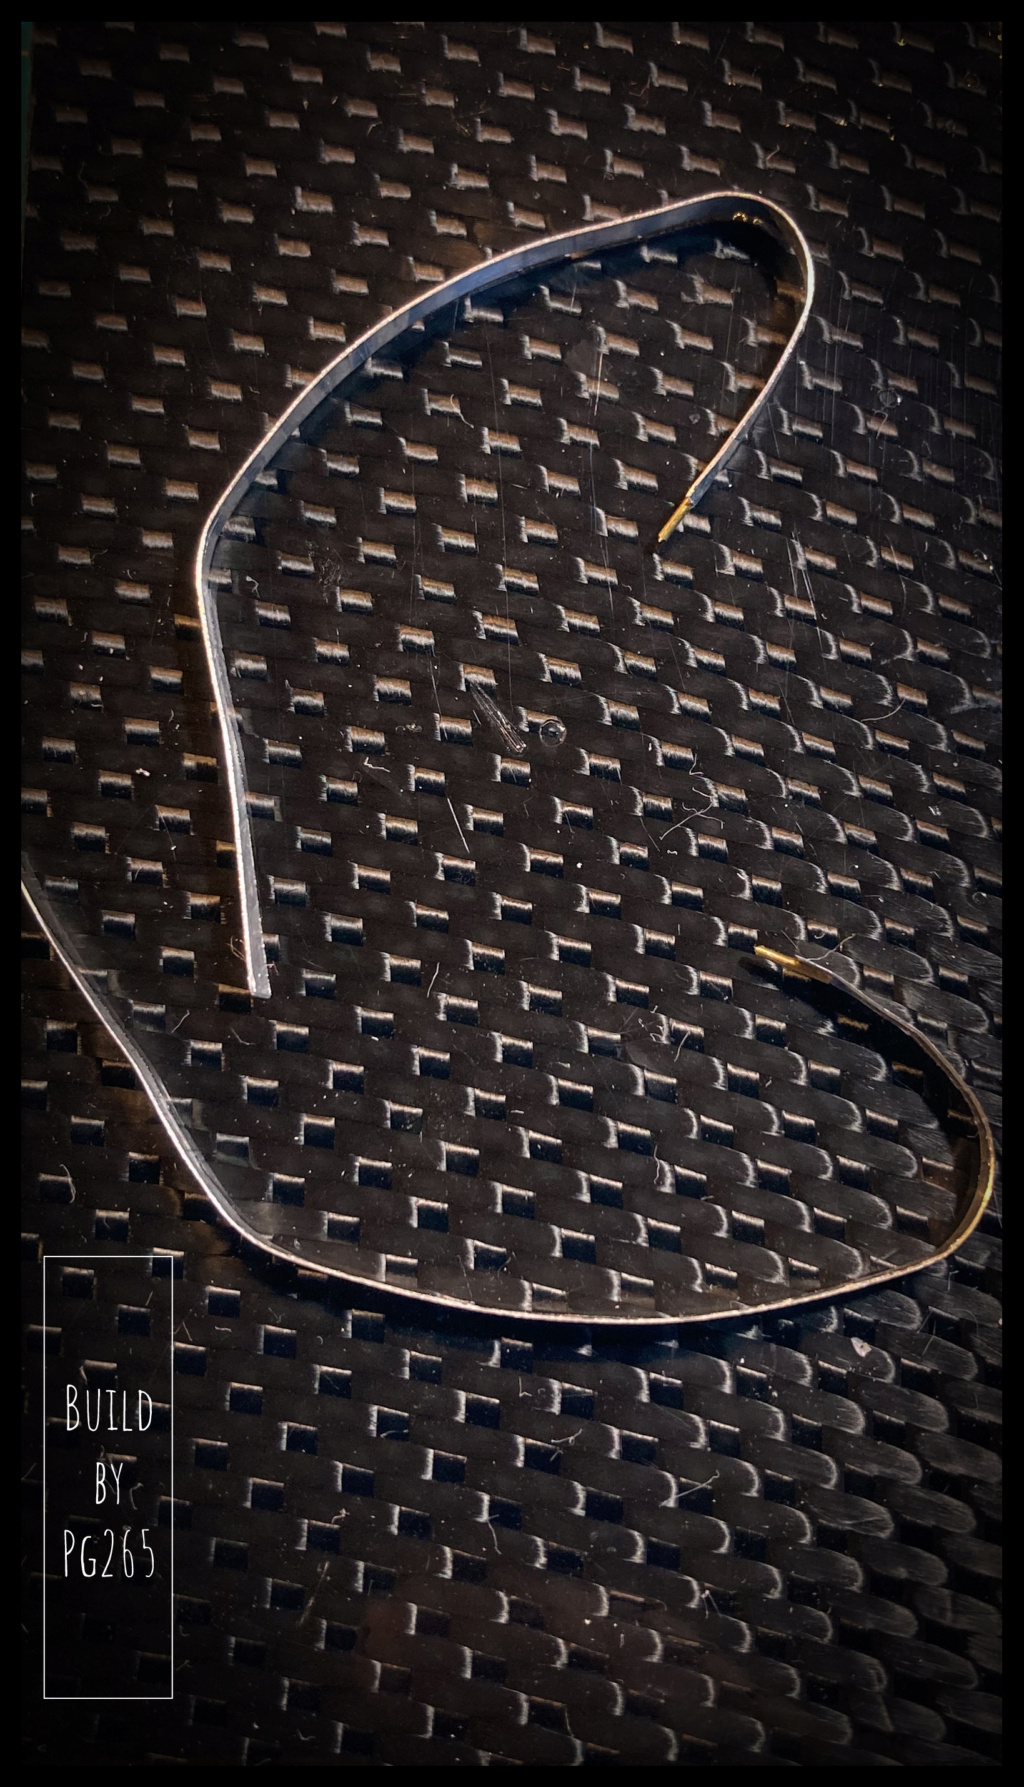 The “Superpotente” coil will be invisible or almost invisible. I decided not to go into too much detail. 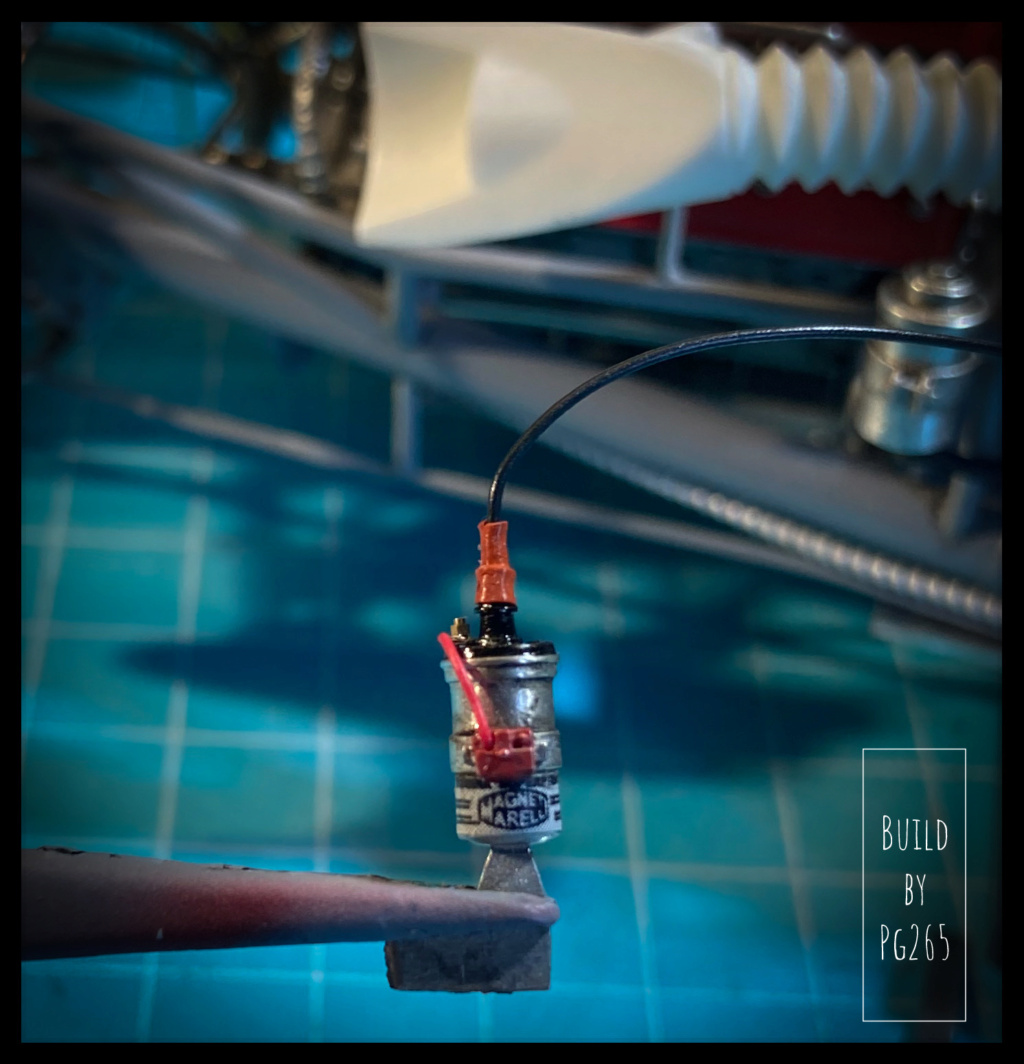 The small lateral tank (brake fluid…) is also installed. 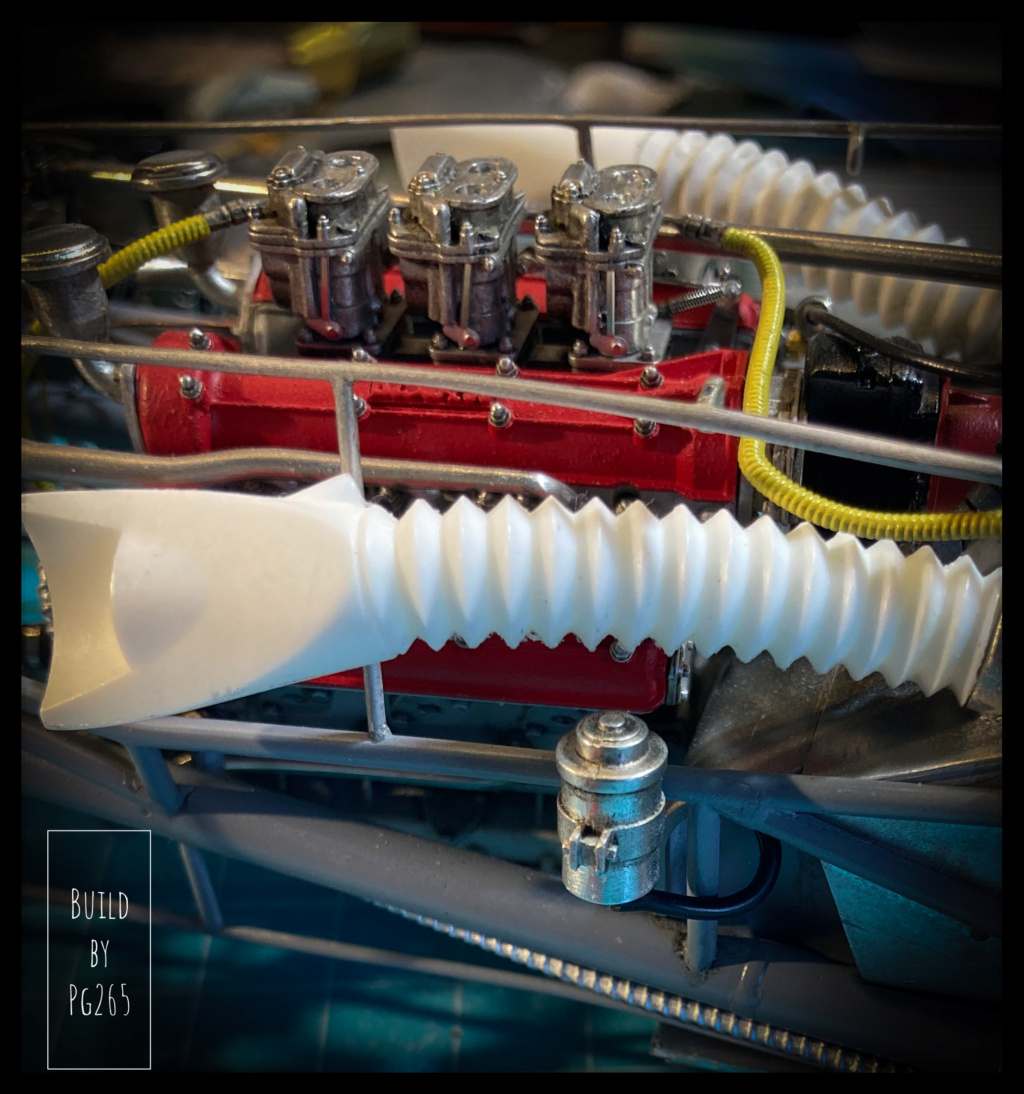 Pascal |
|
|
|
Post by Joel_W on Oct 4, 2022 12:21:09 GMT -8
Pascal,
The streeling wheel is a perfect miniature, as is the coil as it sure looks pretty well detailed to me. As usual, every picture has some unique detailing or replacement.
joel
|
|
|
|
Post by pg265 on Oct 7, 2022 11:23:45 GMT -8
Good evening, Thanks so much Joel! I really appreciate your comments and I’m very glad you enjoy this build. The straps are shaped on the tanks, equipped with fixing plates, primed and painted. 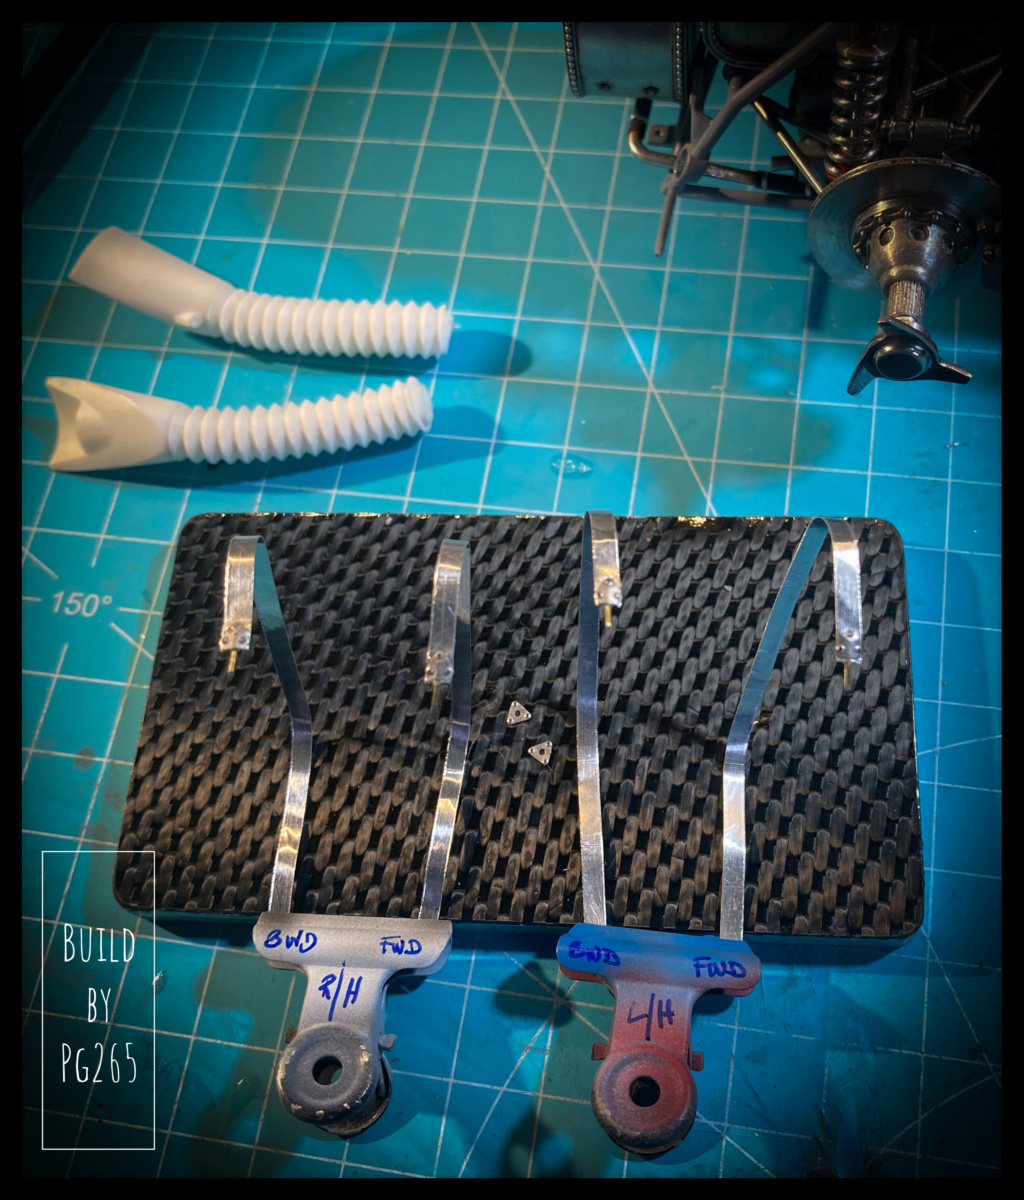 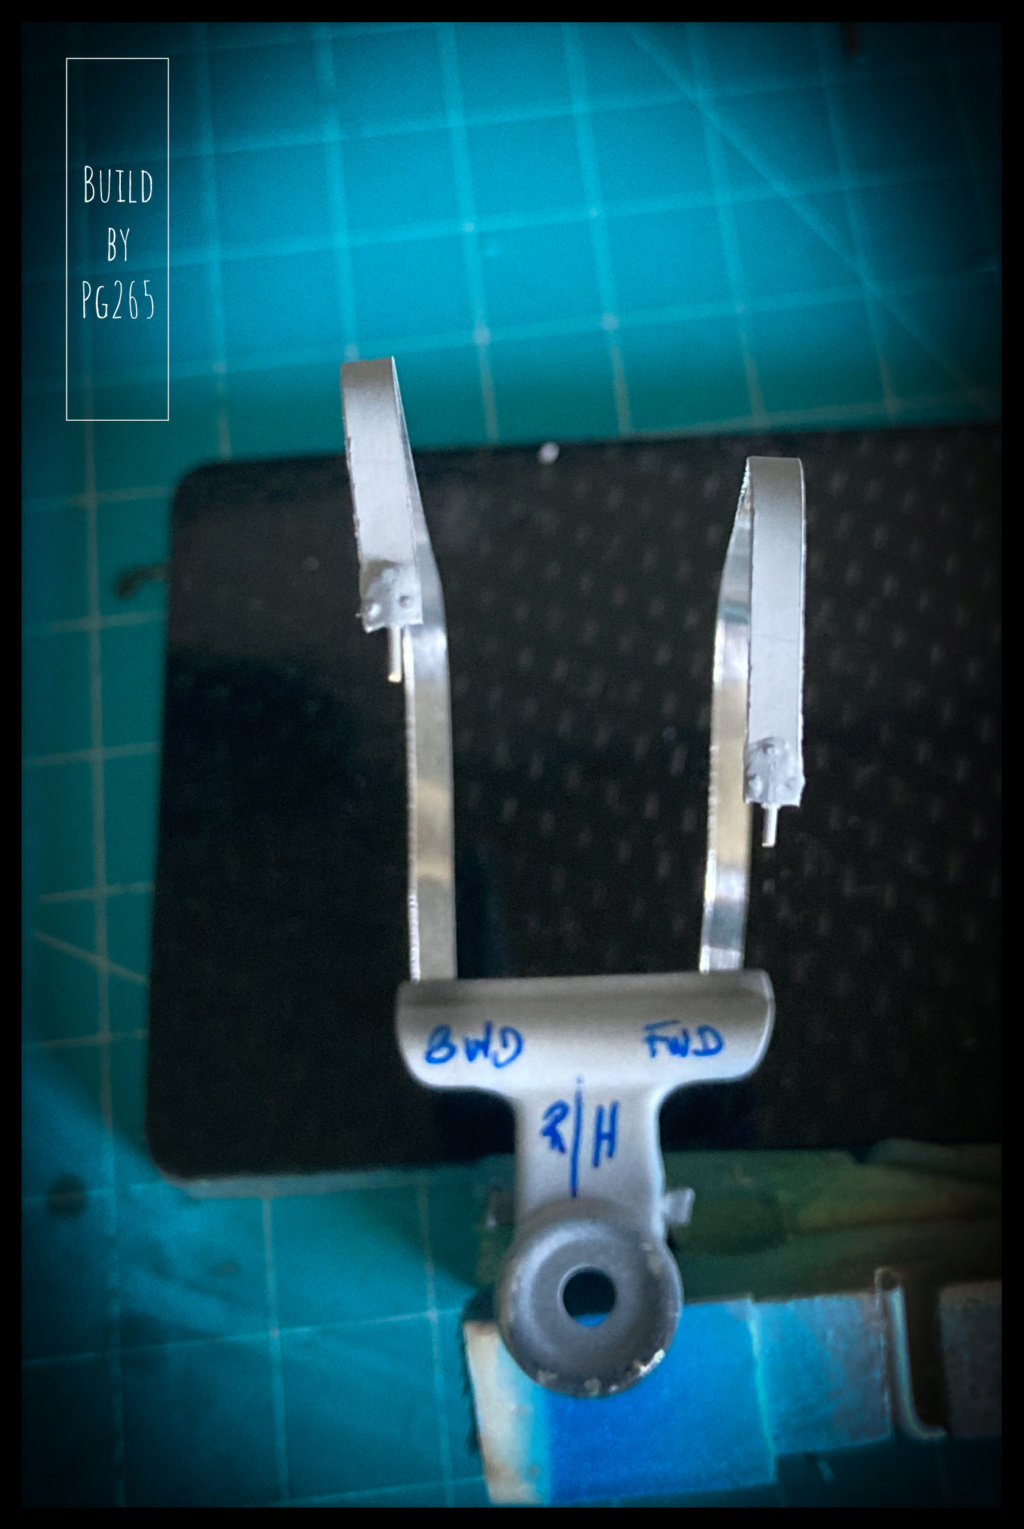 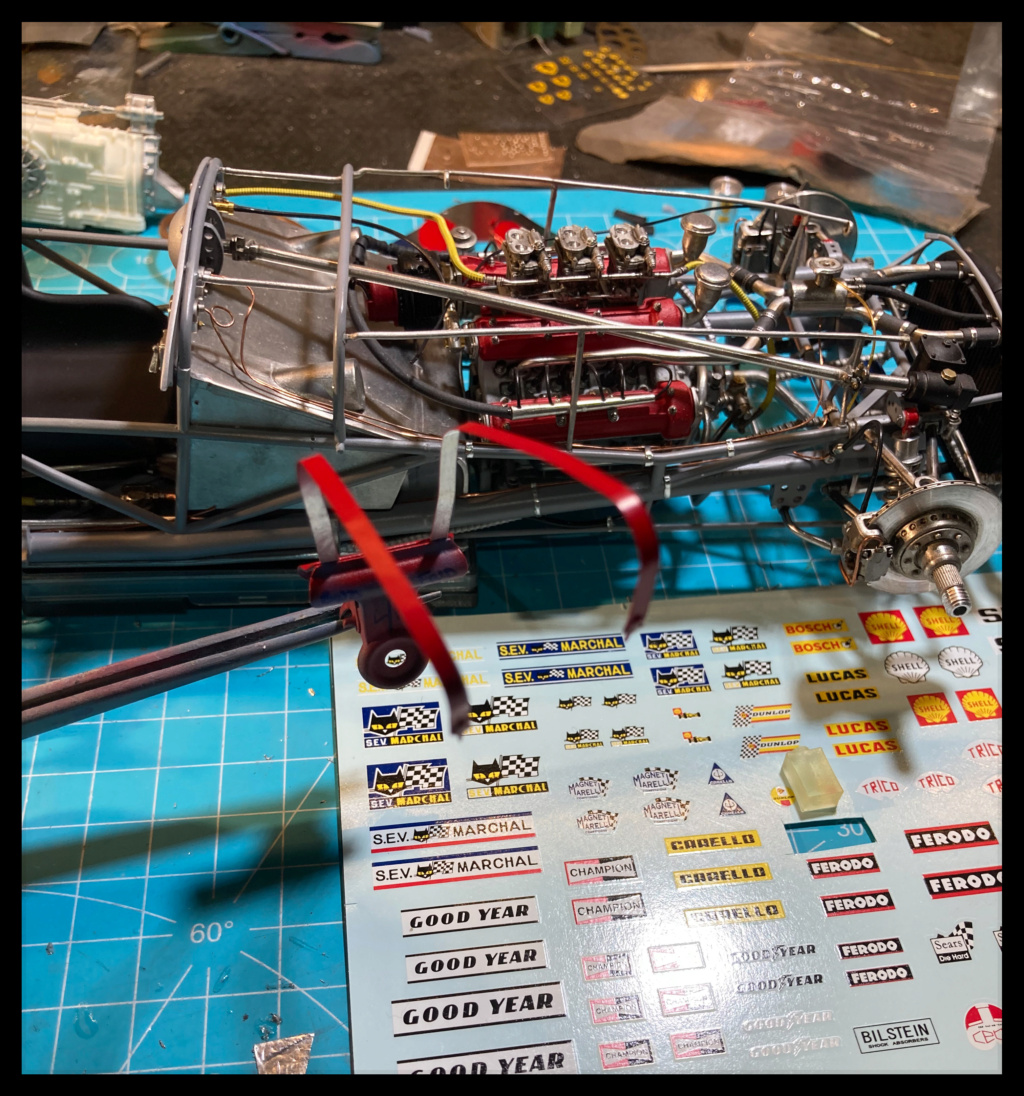 Same thing for fresh air ducts painted gray. The aluminum will be sprayed over the masked part. 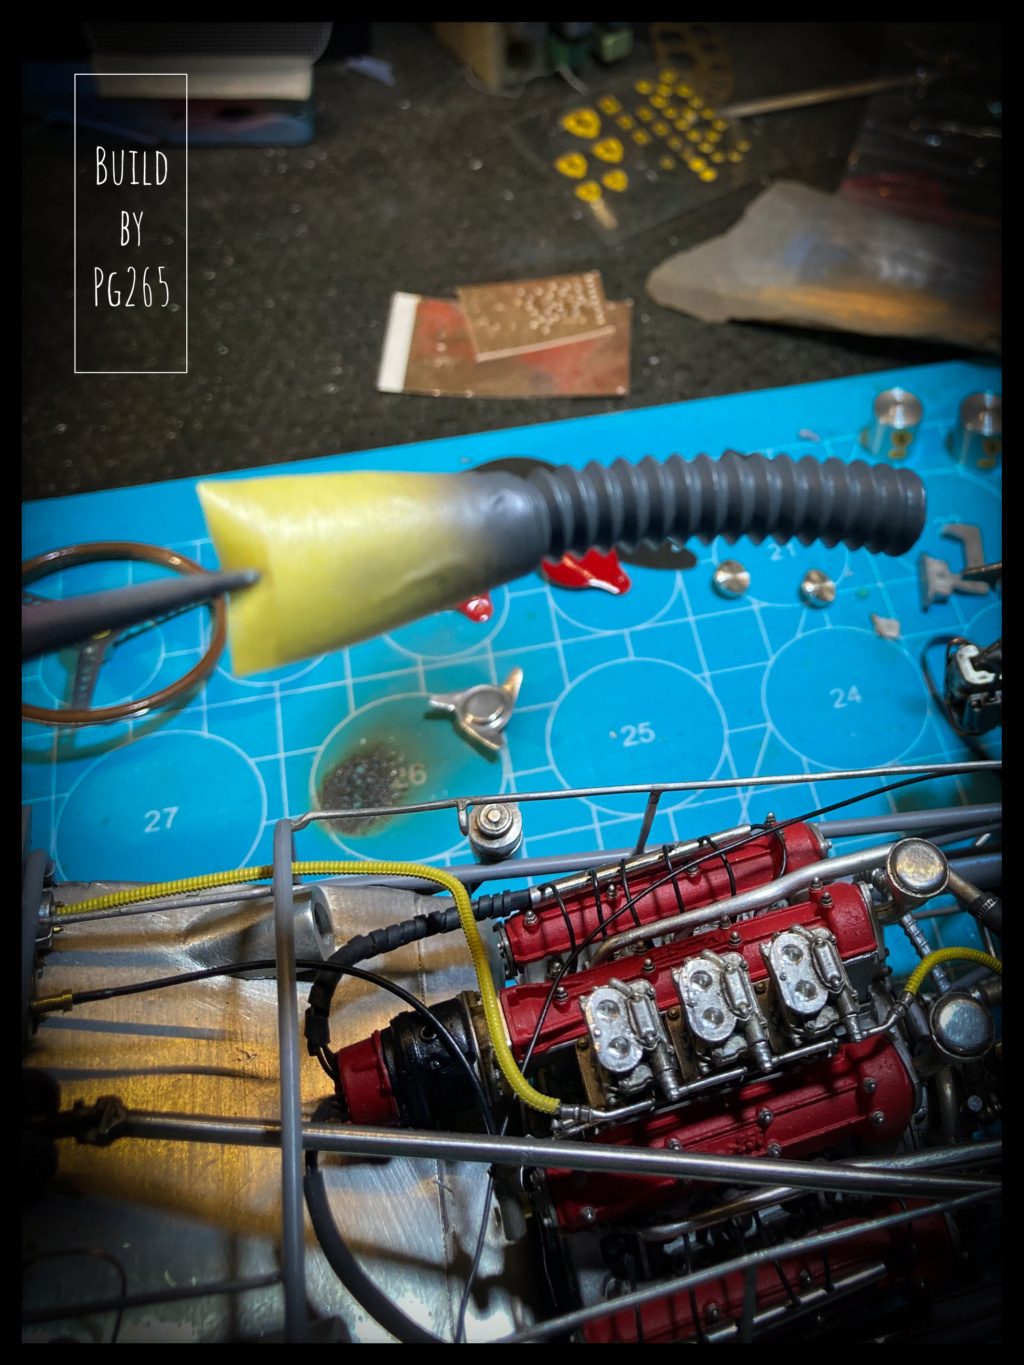 Painting session for small elements. 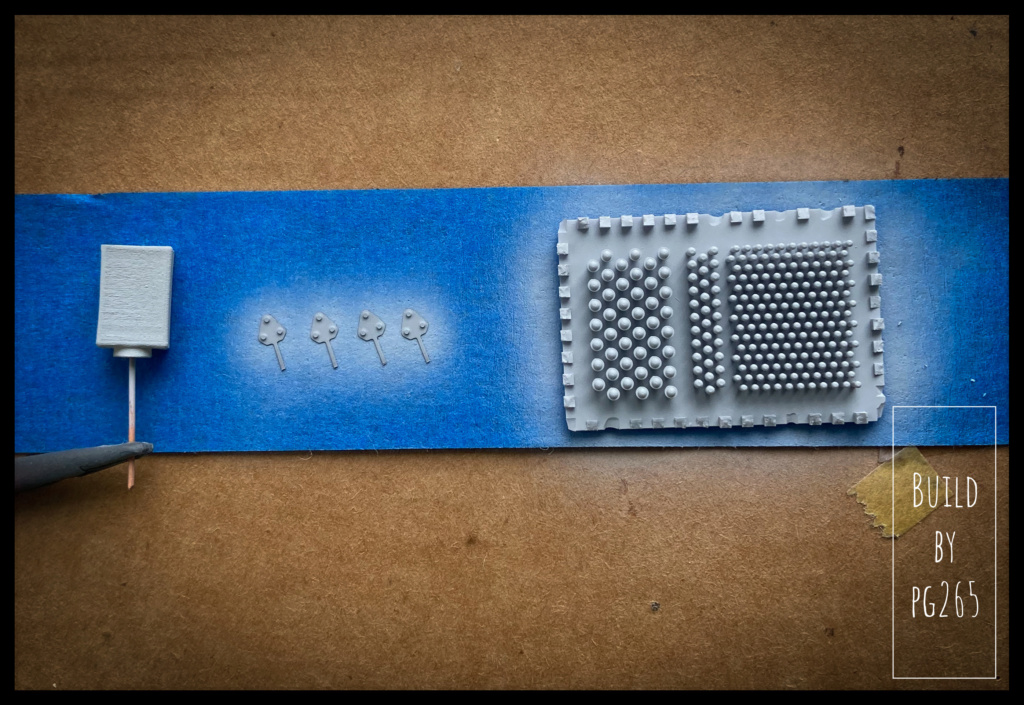 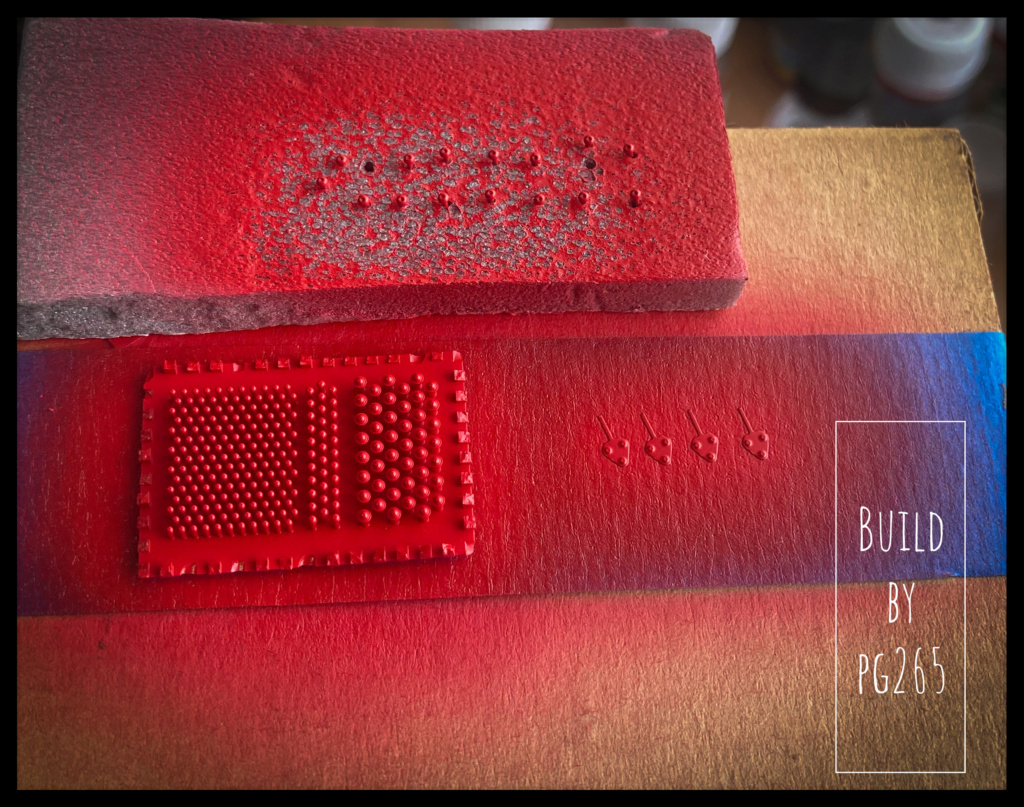 The air ducts are painted and installed on the car. The rear view mirrors are just waiting for… their mirror. 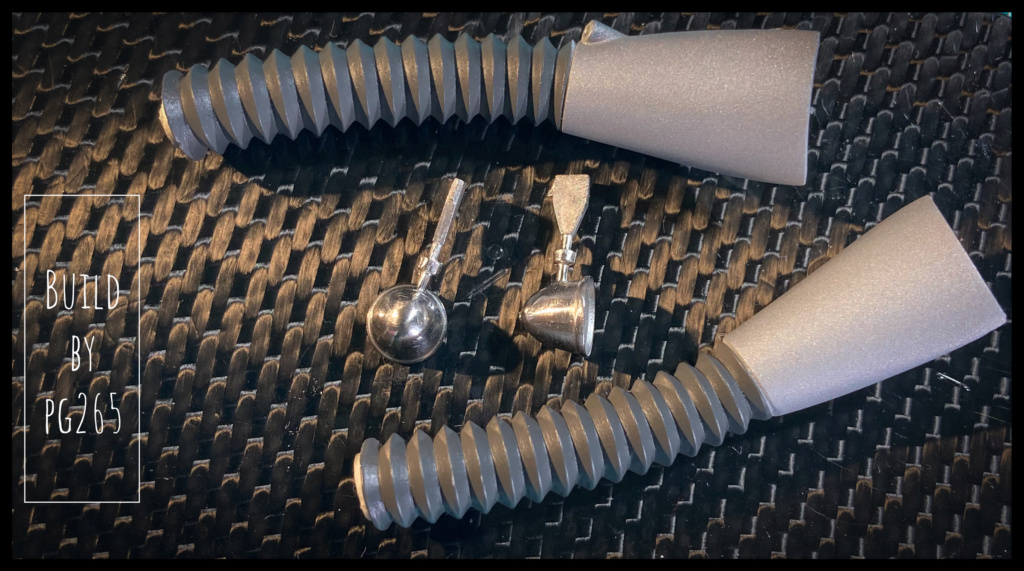 We are not immune to a clear coat attack...  Well, well, of course, I took in the face the thing I was not immune to!…  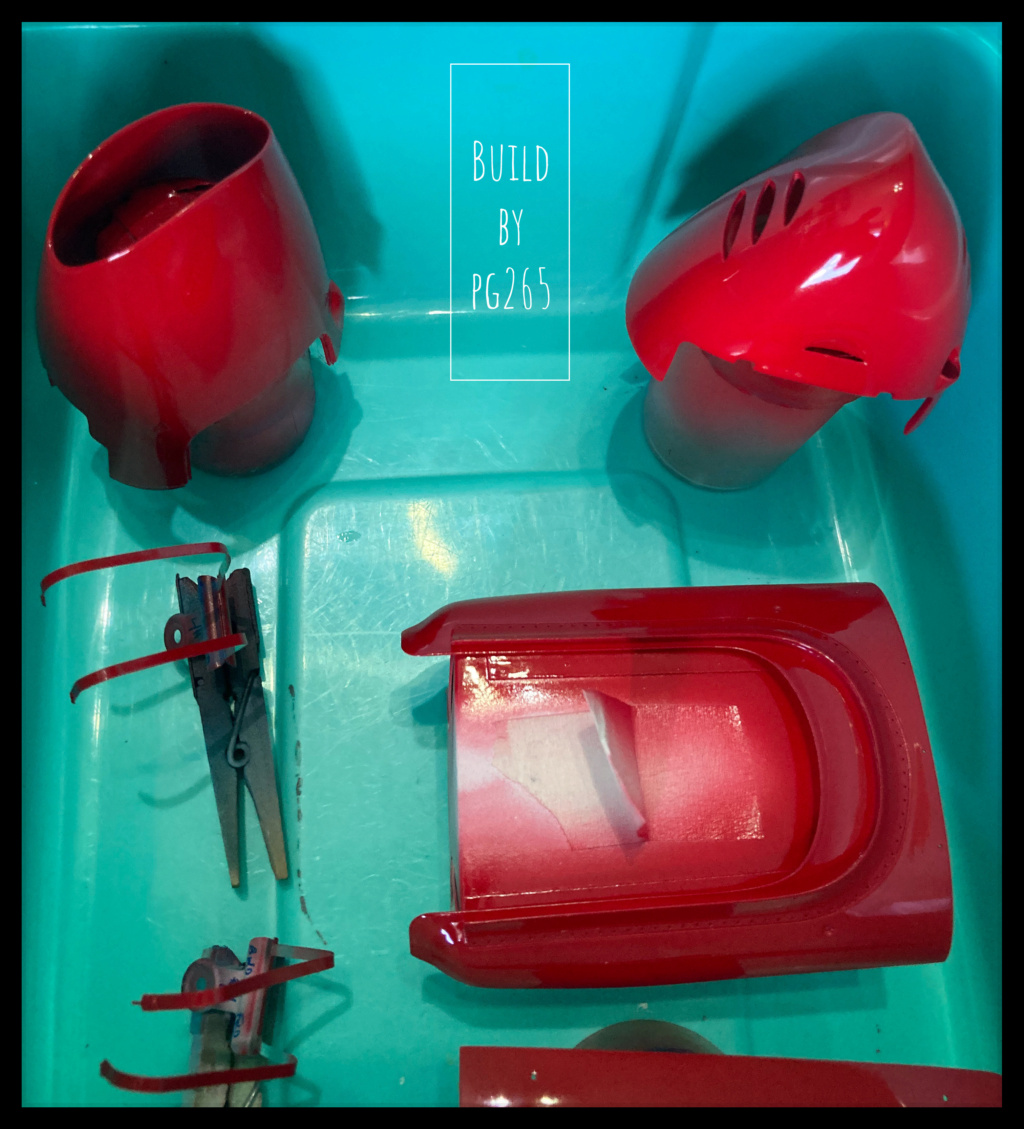 I was not happy with the top of a shock. I redid it using a 1/10th shaped aluminum strip, all that remains is to paint. 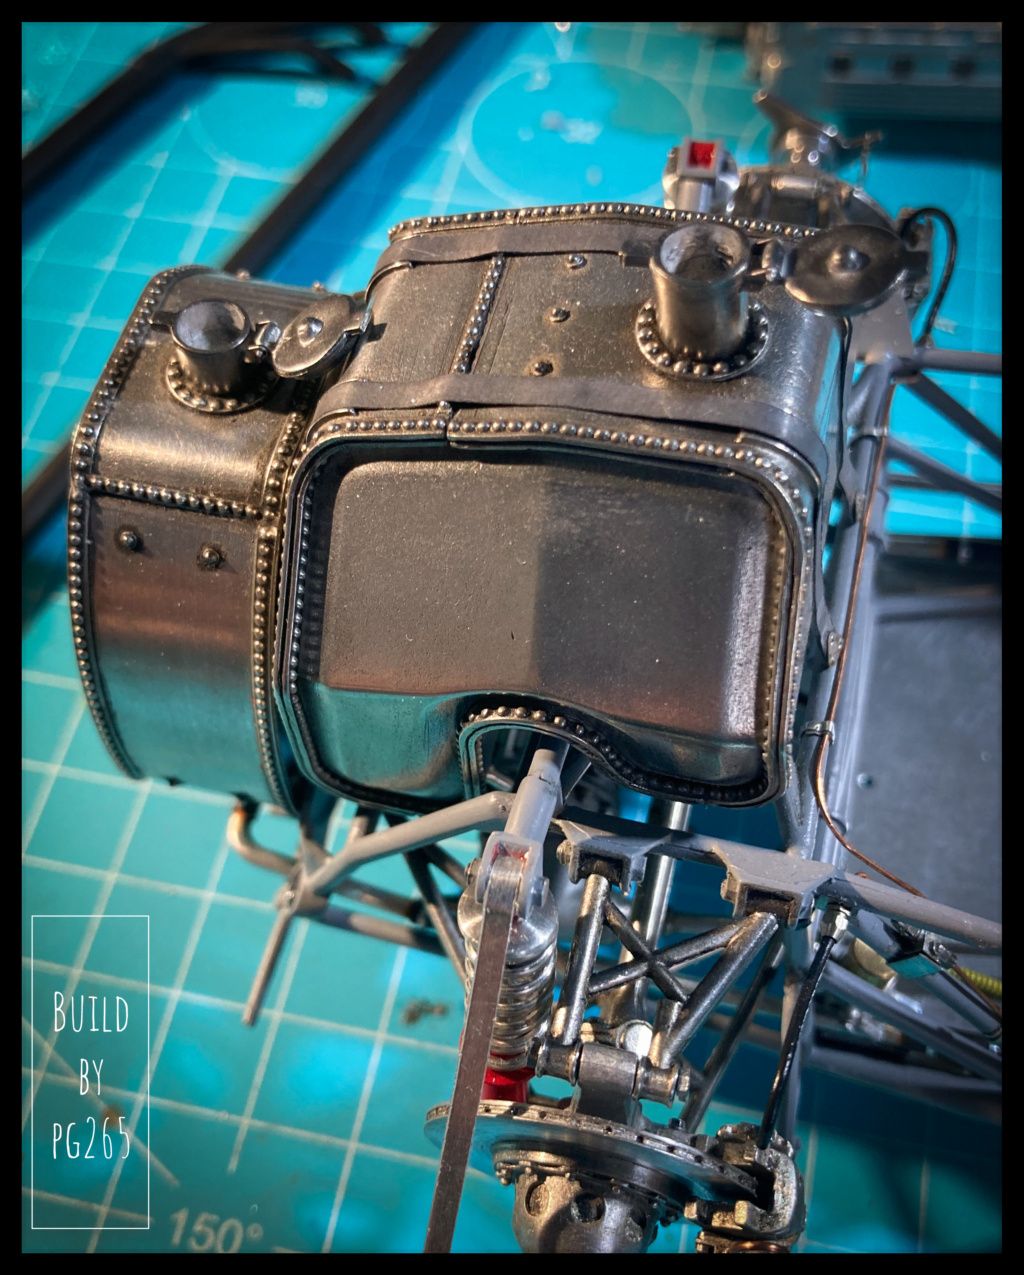 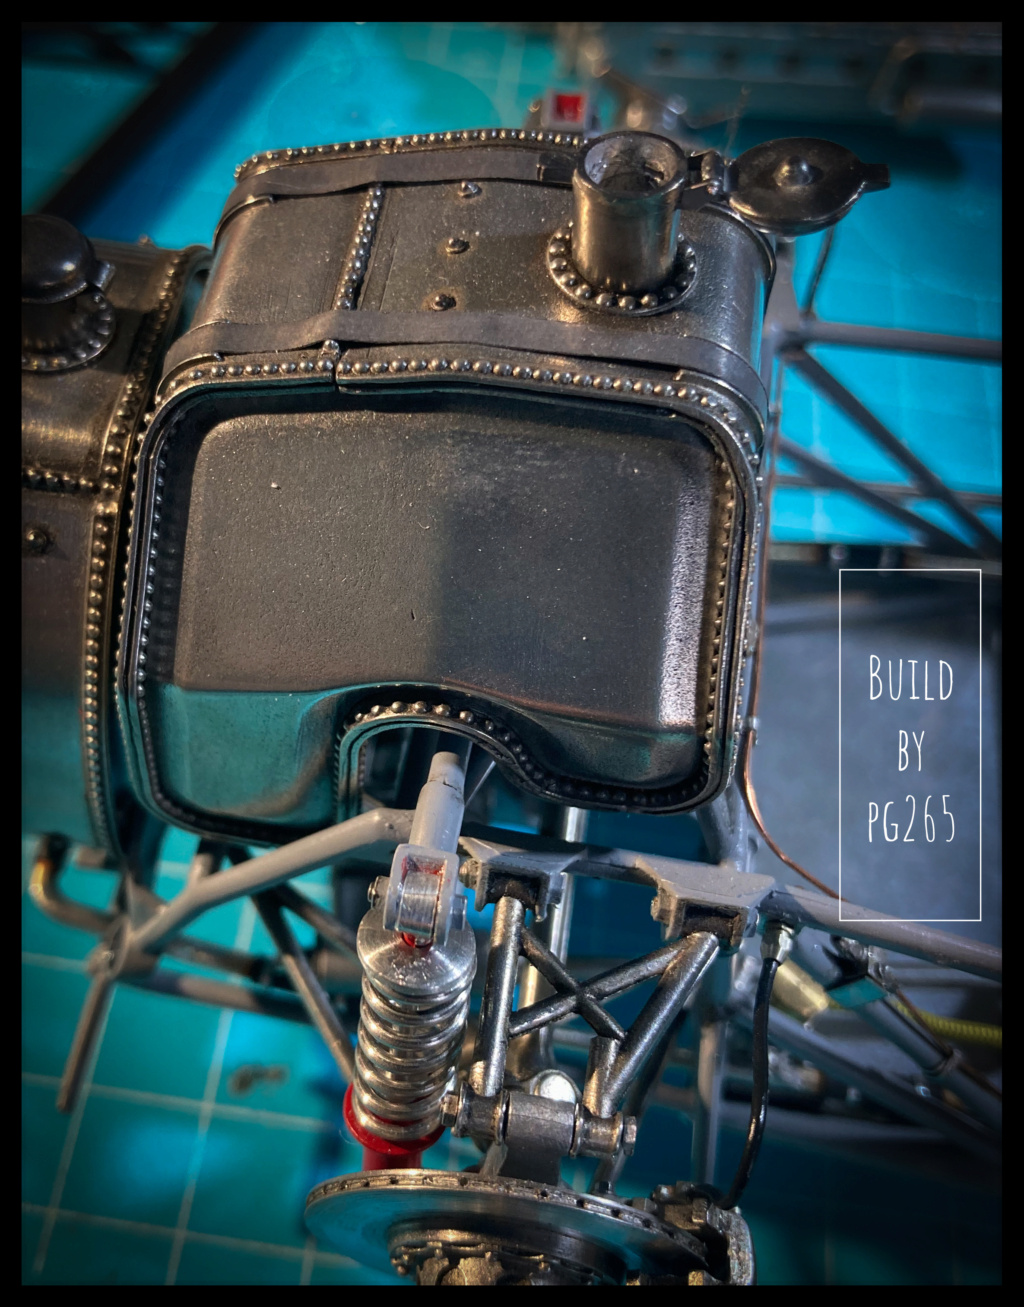 I didn't really know what to do while waiting for the varnish to dry... I decided to make a small bungee cord and a container to collect the overflow of coolant. 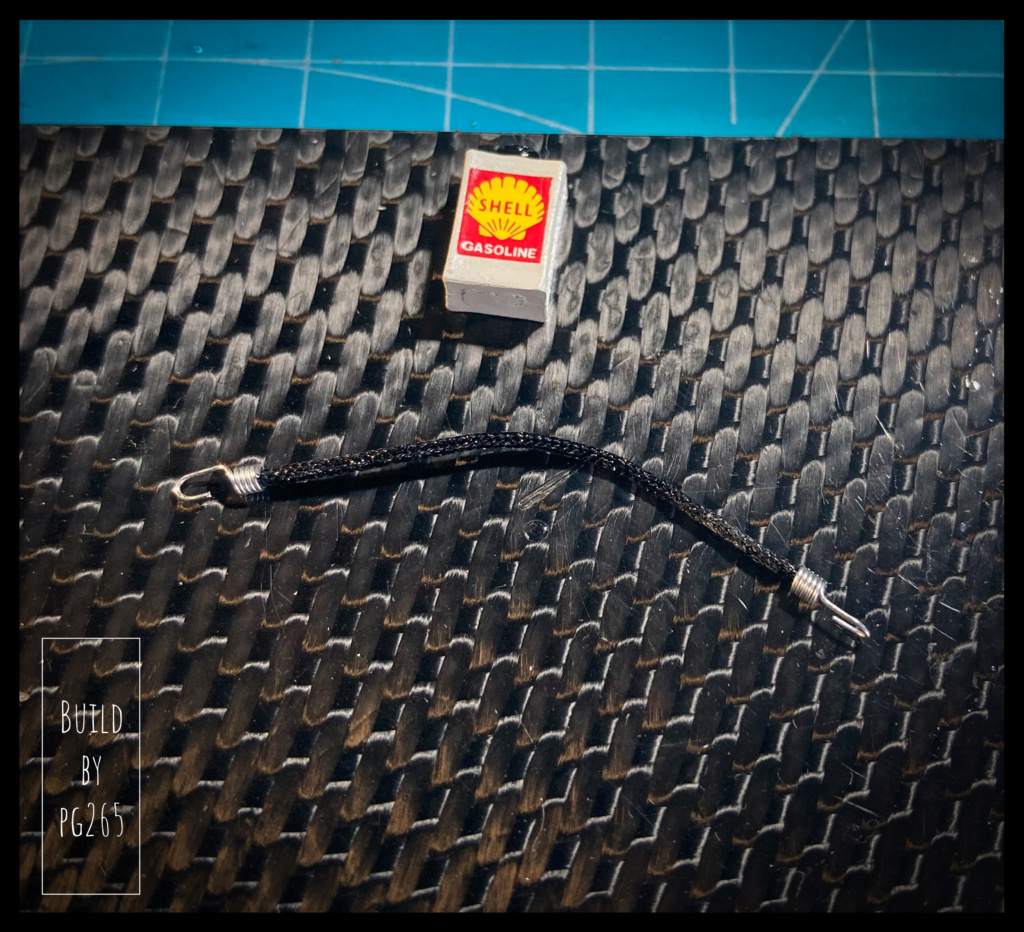 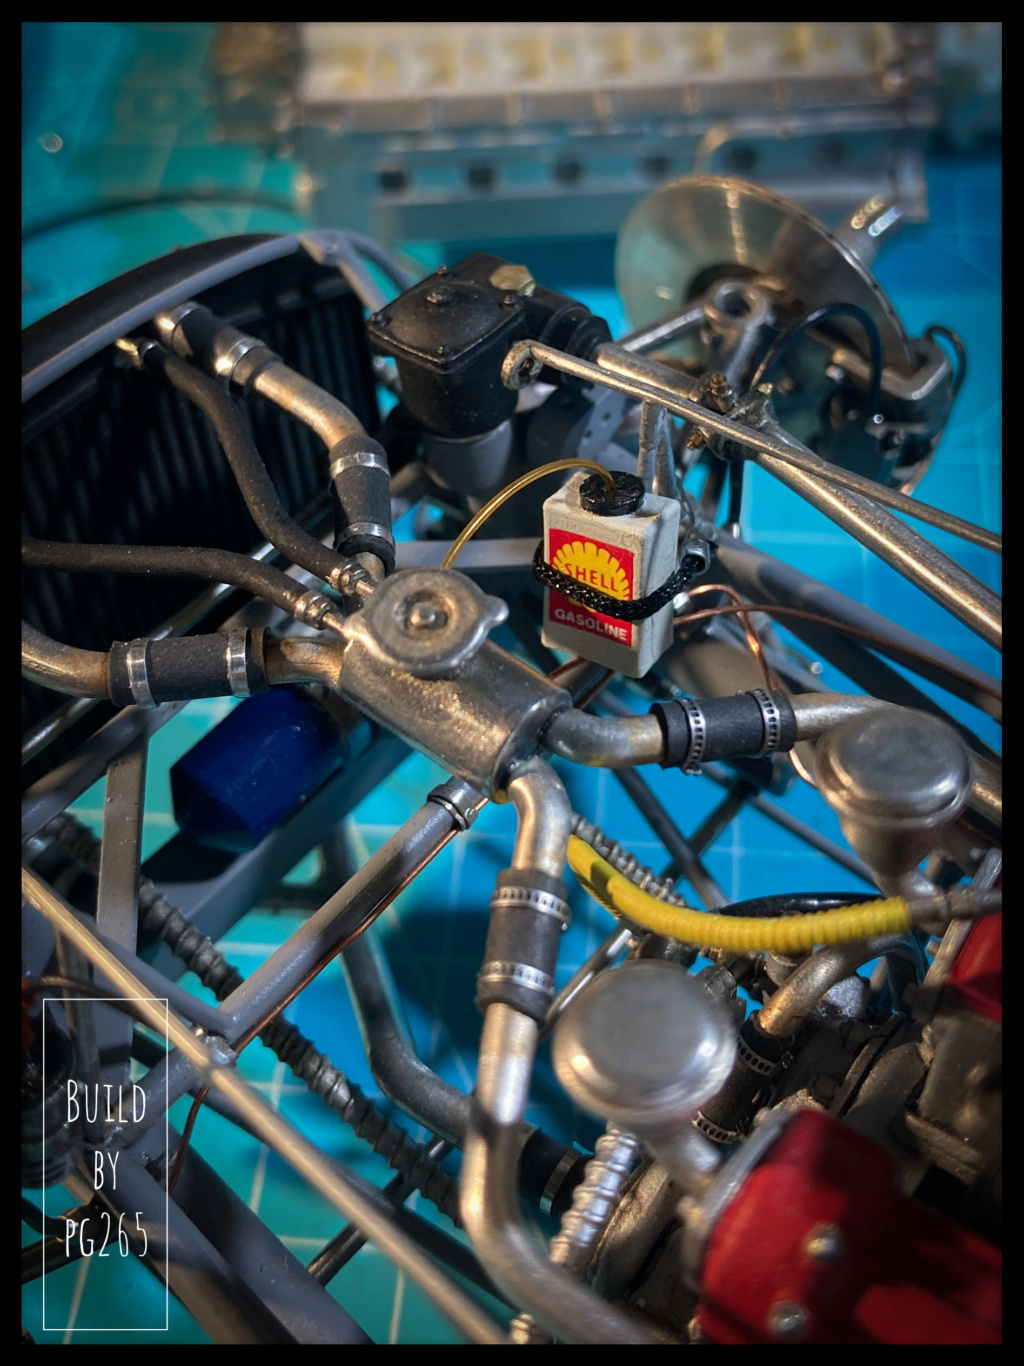 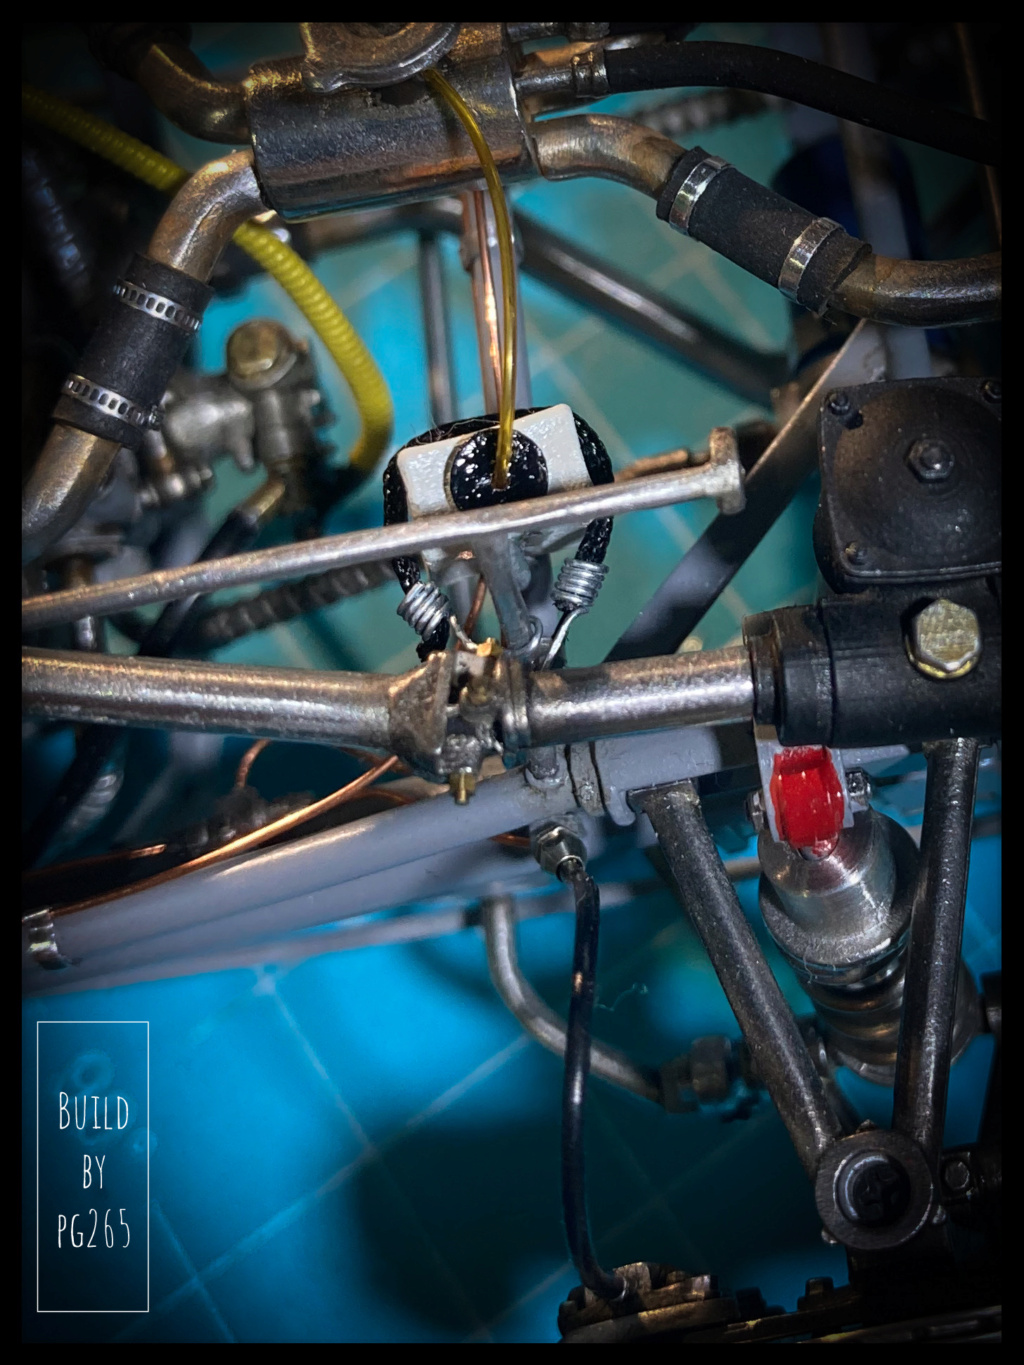 More soon. Pascal |
|


