|
|
Post by 2whl on Mar 26, 2019 14:26:58 GMT -8
Just amazing. The engine looks about as real as you can get. Ok, 1st round of questions. 1-The Magnetic tumbler answers my question about how you properly polish the metal part. If one doesn't have a tumbler what method or methods would work with a lot of elbow grease? 2- Are you using various thicknesses of CCA glue to glue all those metal parts, or are other glues like epoxies being used? Joel Thanks for the compliment Joel. 1. In the past I have used a soft brass brush and steel wool. I will still use that method. I just added the polisher to my arsenal. 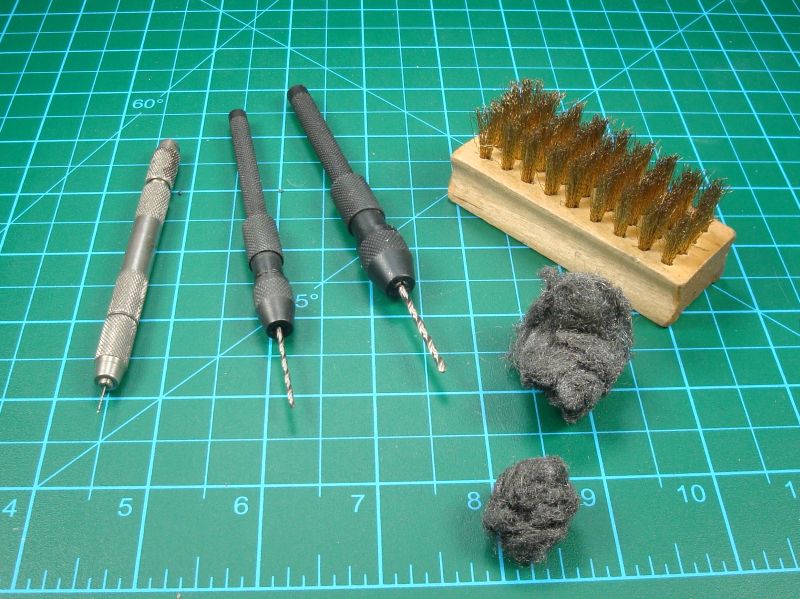 2. I use several thicknesses of CA. I have also used a glue I found at Home Depot for stronger bonds. I plan on using J-B Weld for the strongest bond. 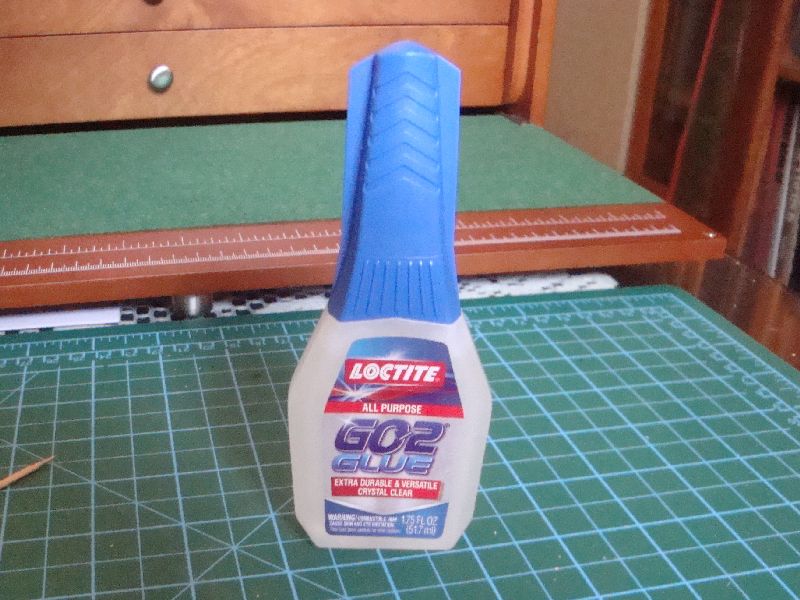 |
|
|
|
Post by Joel_W on Mar 27, 2019 6:00:08 GMT -8
Thanks for your reply. I can assure you everyone is greatly appreciated. What grades of Steel Wool would you use? Does the polishing remove all the blemishes and scratches I always see in metal parts? I've seen that glue at my local Home Depot, so I'll just buy a tube. I do use their Gorilla CCA glues which are a medium and a Gel. No thin from what I've seen on the shelves.
Using epoxies for extra strength makes sense, but doesn't that change and cause fit issues?
I do like the Polisher. Where did you get it, and how much does it cost?
Thanks for all the answers to my basic questions.
Joel
|
|
|
|
Post by garydavis on Mar 28, 2019 12:25:56 GMT -8
The Magnetic tumbler sounds like a good tool to have on the bench for sure. Specially if a person builds some of the Silver City, MFH, Syudio 27 and other kits that have metal parts in them. I haven't heard any feedback on these(or other tumblers for that matter)on how well they work for the small metal parts in these type of kits. I did a search and found this on line. Pretty informative for sure. Here's the link for all to take a look. www.youtube.com/watch?v=BT3O0LT13nE It will be very interesting to see a few results when you get them done 2whl... |
|
|
|
Post by Joel_W on Mar 28, 2019 13:53:49 GMT -8
Gary,
Thanks for the link. I watched the video, and it looks like it would do an excellent job on engine blocks, transmissions, wheels, parts like that. But I'd be really concerned about putting any suspension rods or even exhaust headers, as those pins just might mangle them into all sorts of unwanted shapes.
Joel
|
|
|
|
Post by 2whl on Mar 29, 2019 17:15:42 GMT -8
Thanks for your reply. I can assure you everyone is greatly appreciated. What grades of Steel Wool would you use? Does the polishing remove all the blemishes and scratches I always see in metal parts? I've seen that glue at my local Home Depot, so I'll just buy a tube. I do use their Gorilla CCA glues which are a medium and a Gel. No thin from what I've seen on the shelves. Using epoxies for extra strength makes sense, but doesn't that change and cause fit issues? I do like the Polisher. Where did you get it, and how much does it cost? Thanks for all the answers to my basic questions. Joel Joel, I use 3-0 and 4-0 steel wool. I usually go over the part with the wire brush first. Then use the 3-0, and after the 4-0. The firewall is supposed to be silver, but I will probably just polish it. When I do, I will take pictures at each of the steps so you can see the change after each. Using epoxy can make a change to the fit, just as painting can. I just adjust the fit to make up for the thickness. The polisher I got off of E-bay. It was $148...free shipping. But it didn't come with enough pins or the solution. So I have those on order from another E-bay seller for about $25 for both. They'll arrive next week. I have a modeling buddy that brought his polisher to one of our meetings and we ran a batch of parts through it. That convinced me to buy one. But his was only a 100mm bowl, and since I mostly have 1/12th cars, I got a bigger version. My bowl is 185mm. Gary, I'll be sharing before and after pics of the polishing. Also I'll start with larger pieces and work down to the thinner ones. That way I can manage any deformation on the delicate parts. |
|
|
|
Post by 2whl on Apr 4, 2019 9:49:19 GMT -8
The extra pins and solution I ordered arrived 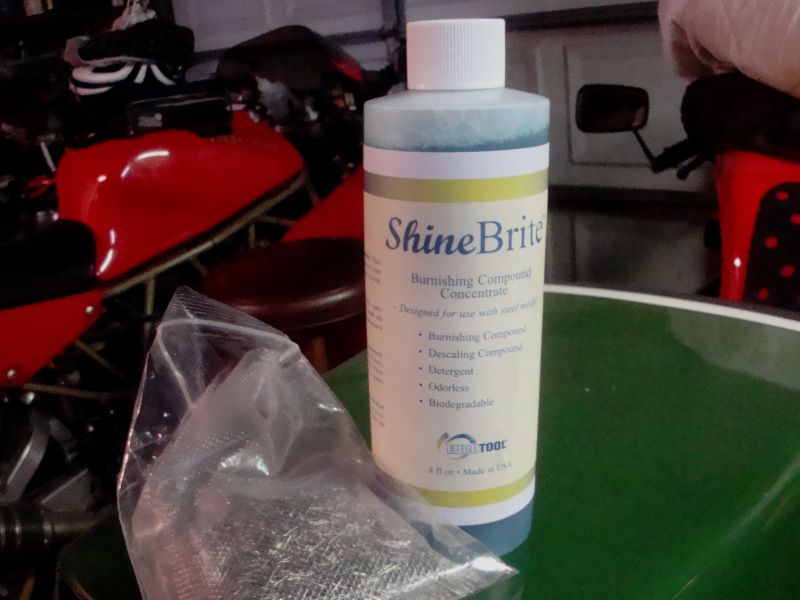 This is just the pins that came with the tumbler. It barely covers the bottom of the bowl. I was concerned that with not enough pins, the pieces would hit against each other. 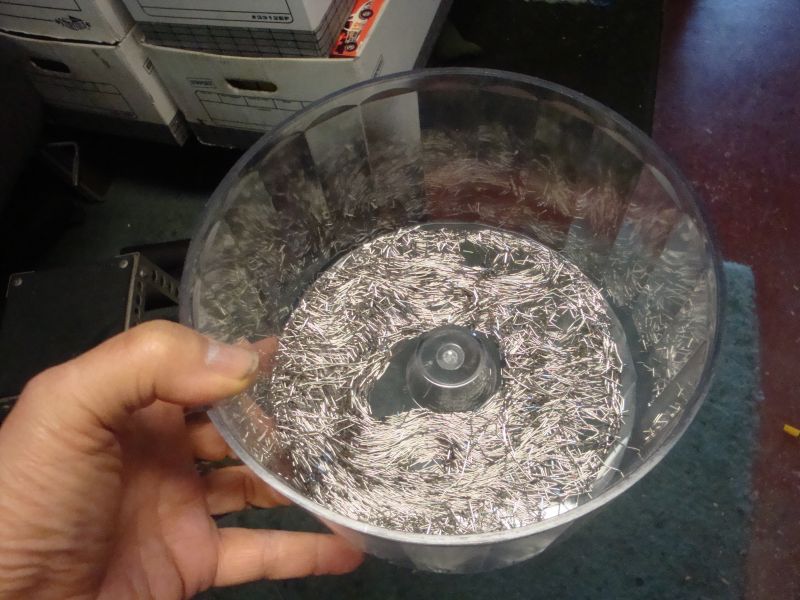 The test pieces prior to the first attempt. 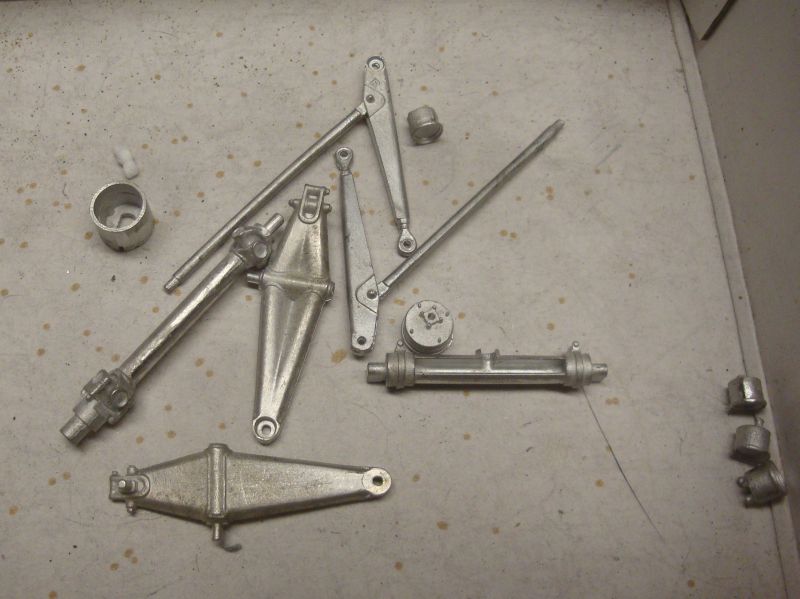 I'm planning on dumping the contents of the bowl into this and then lifting out the coffee filter to remove the solution. 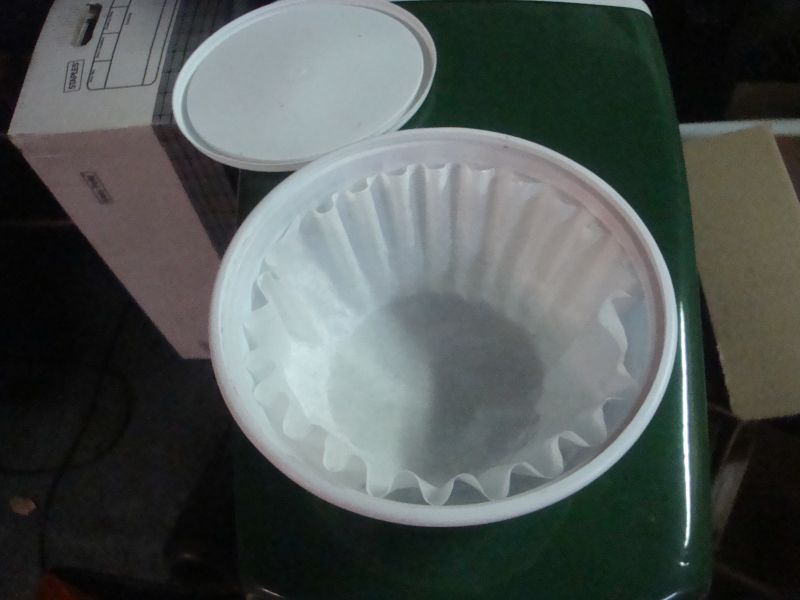 The machine in action. Seems to be getting quite a 'head'. LOL 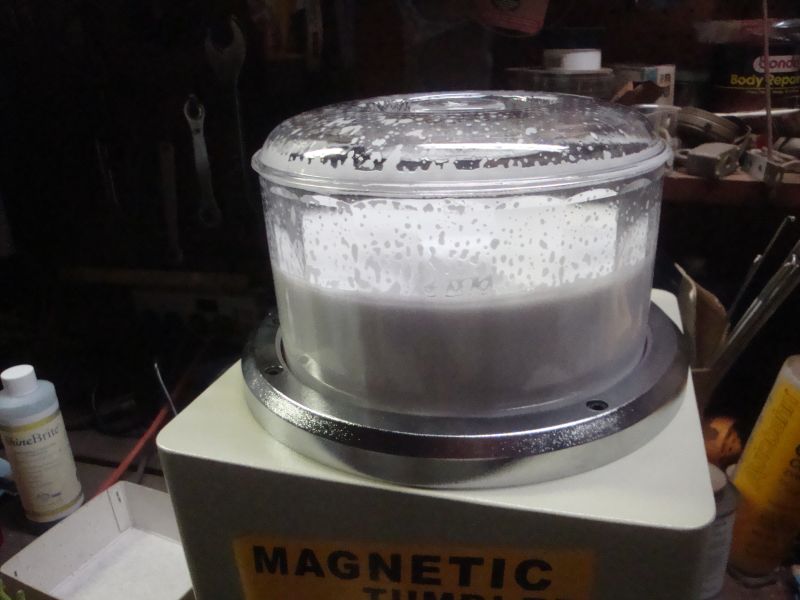 I'm letting the foam subside right now. 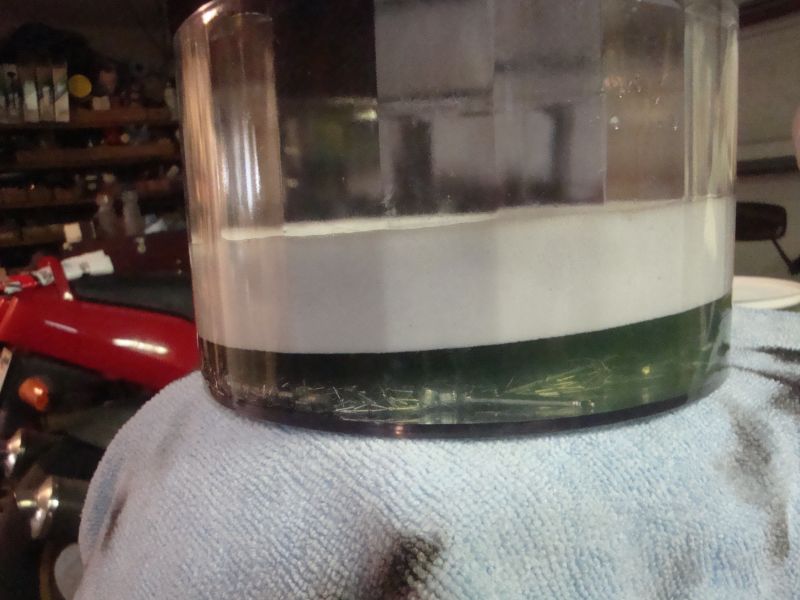 |
|
|
|
Lotus 49
Apr 4, 2019 10:25:05 GMT -8
via mobile
Post by sam on Apr 4, 2019 10:25:05 GMT -8
"An-tic-i-pa-a-tion, is making me wait..."
|
|
|
|
Post by Joel_W on Apr 4, 2019 10:31:05 GMT -8
Please update the results ASAP. I hate suspense.
Joel
|
|
|
|
Post by 2whl on Apr 4, 2019 11:11:26 GMT -8
"An-tic-i-pa-a-tion, is making me wait..." Please update the results ASAP. I hate suspense. Joel Well, I was going to go to lunch, but I'll post a couple of pictures first. After 20 min in the tumbler, the results are in..... 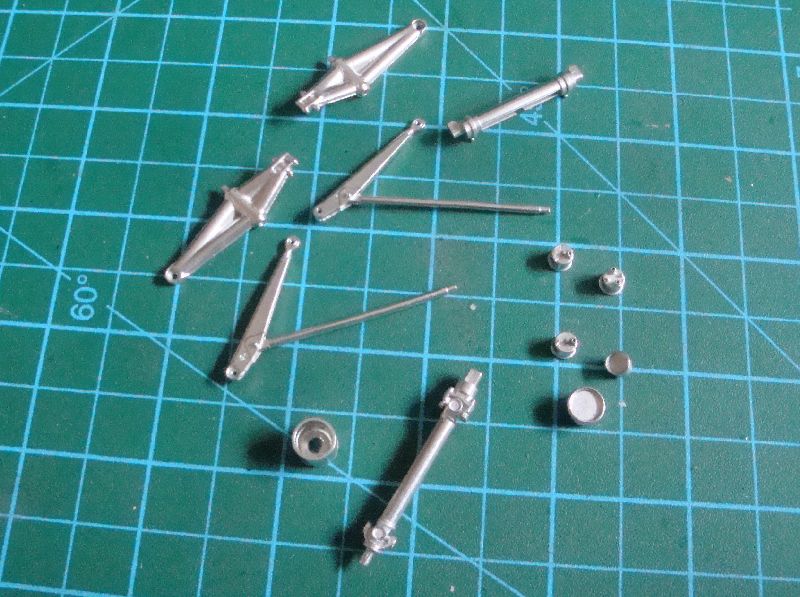 A comparison of two pieces. 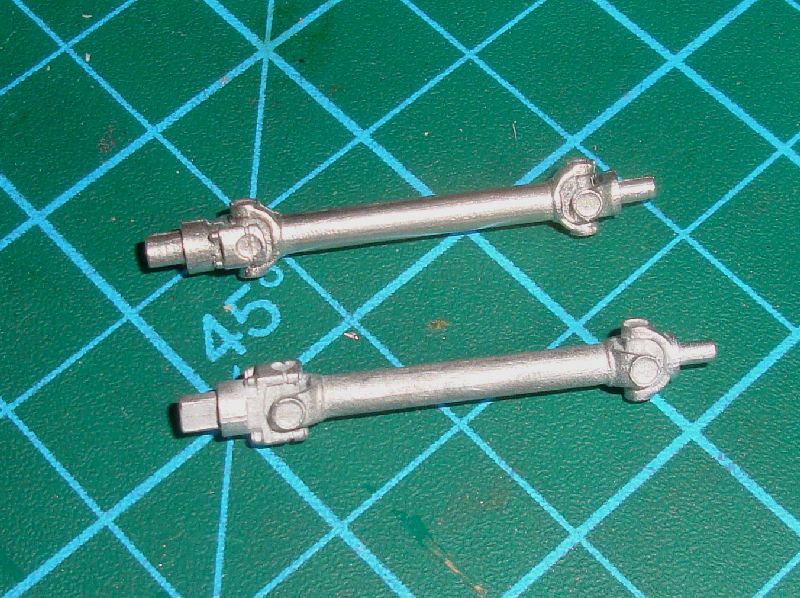 |
|
|
|
Post by Joel_W on Apr 4, 2019 12:34:51 GMT -8
That's a huge improvement. Will you be hand polishing those half shafts, or more time in the tumbler?
Joel
|
|
|
|
Post by petej on Apr 5, 2019 8:10:54 GMT -8
Hi Paul, I just logged in to see this thread. When we spoke yesterday, I had forgotten I was a member of this board. I will be back more frequently.
Interesting design on the pin polisher. Although the concept is the same, my bowl seems to be more designed to create a turbulent flow. I am curious about your satisfaction with the results. When I get a chance I will attach a photo.
Looking good on the build.
|
|
|
|
Post by 2whl on Apr 7, 2019 11:56:22 GMT -8
Joel, I'll probably send the other half-shaft through the tumbler first on a longer time to see how it comes out. I would like the surface to be smoother. The tumbler seems to produce a slightly hammered surface.
Hi Pete. Now you can see what I meant about the 'head' that was created. I think it's like we guessed, that the pins needed to be cleaned and most of the foam was from the residual oils on the pins. The second run didn't have near the amount of foam. I like the way it defined the details in the parts, but would like the surface to be smoother. More experimentation is needed.
|
|
|
|
Post by 2whl on Apr 7, 2019 15:40:32 GMT -8
|
|
|
|
Post by Joel_W on Apr 7, 2019 16:19:45 GMT -8
The wheels are exceptional. Did they come in that highly finished state, or did you have to do much of the finishing with the Tumbler or by hand?
The bulkhead clearly shows the finishing work that you did. I do have one question about the scratches. How will you remove them, or do you let the primer/filler take care of it?
Joel
|
|
|
|
Post by 2whl on Apr 7, 2019 17:27:03 GMT -8
Joel, the outer wheel halves are machined aluminum, just the these wheels.... 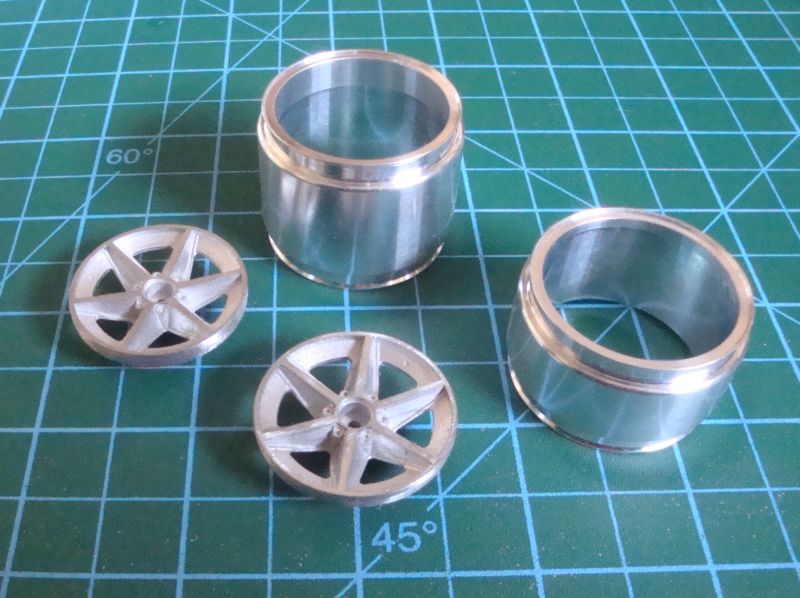 As for the bulkhead, I will work on them some more with steel wool, 1200 grit sanding sticks and possibly some metal polish. Even though the instructions call for them to be silver, I had planned to leave them as unpainted metal. After all, nothing simulates a metal bulkhead better than metal. |
|