|
|
Post by Joel_W on Oct 8, 2019 13:08:06 GMT -8
Back in the early 1990's Revell molded the 1986-1989 Roush Cobra Mustangs that were driven in both the IMSA GTO series, as well as the SCCA Trans AM series. The kit started out as the Black JPS Cobra Mustang, but I decided that I wanted to do the Folger's IMSA GTO sponsored car. Bill Elliot, Ricky Rudd, Kyle Petty, and Ken Schreader drove this Roush Ford Mustang to a 5th place finish at the 1986 12-Hours of Sebring. What makes this even more interesting is that all 4 drivers are Nascar stock car drivers, who were also excellent road racers, and whom dominated the 2 road course races per season. 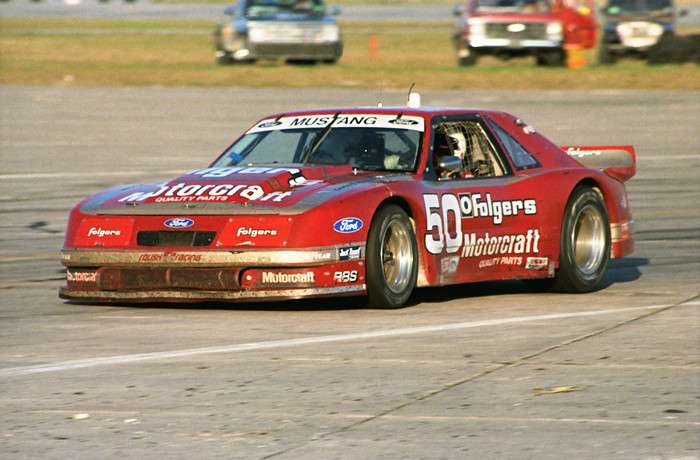 Revell decided to mold the shell in two parts: the front clip, and the rest of the body including the rear clip. This makes sense if you want to build the engine/transmission/front suspension, and have it viewable. As I said the rear clip is molded to the center section, but the large rear window offers a pretty good view of that area with some kit details. I've decided to build the kit with the front clip separate for this reason rather then just removing it for viewing. Revell has done an excellent job in reproducing the tube chassis. They've also used the same exact chassis and suspension for their Camaros, with just a different engine/transmission. Fortunately for me, I've got one of them also in my stash now along with Slixx decals for it. I've decided not to follow the kit instructions, and instead opted to paint, decal, detail paint, and gloss coat the body shells 1st. I cleanerd up the body parts, then glued on the bumper clips, and then a good lite rub down with Tamiya's 1,000, 2,000, & 3,000 sponges to remove all the scratches. The primer coats were air brushed with my favorite primer: Mr. Hobby's #1500 thinned with their #400 leveling thinner. 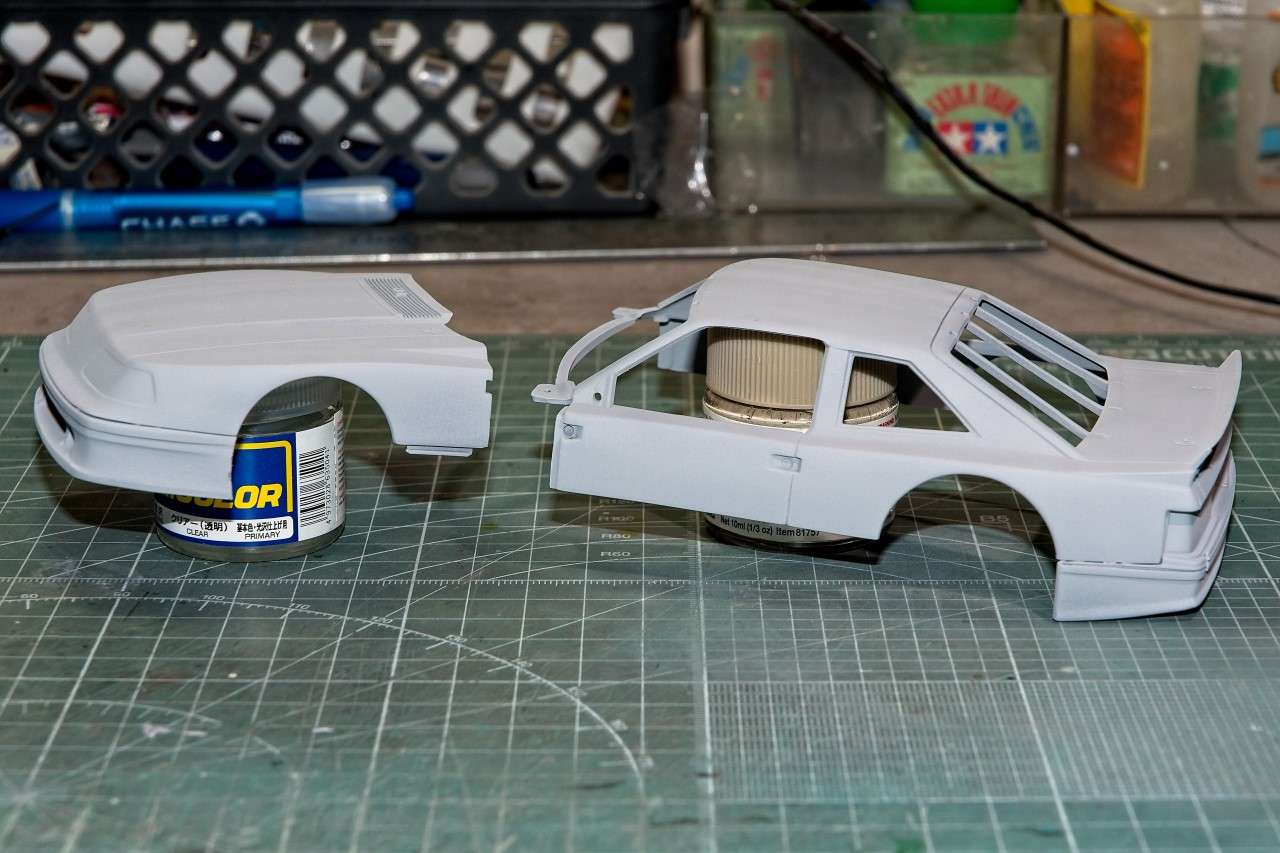 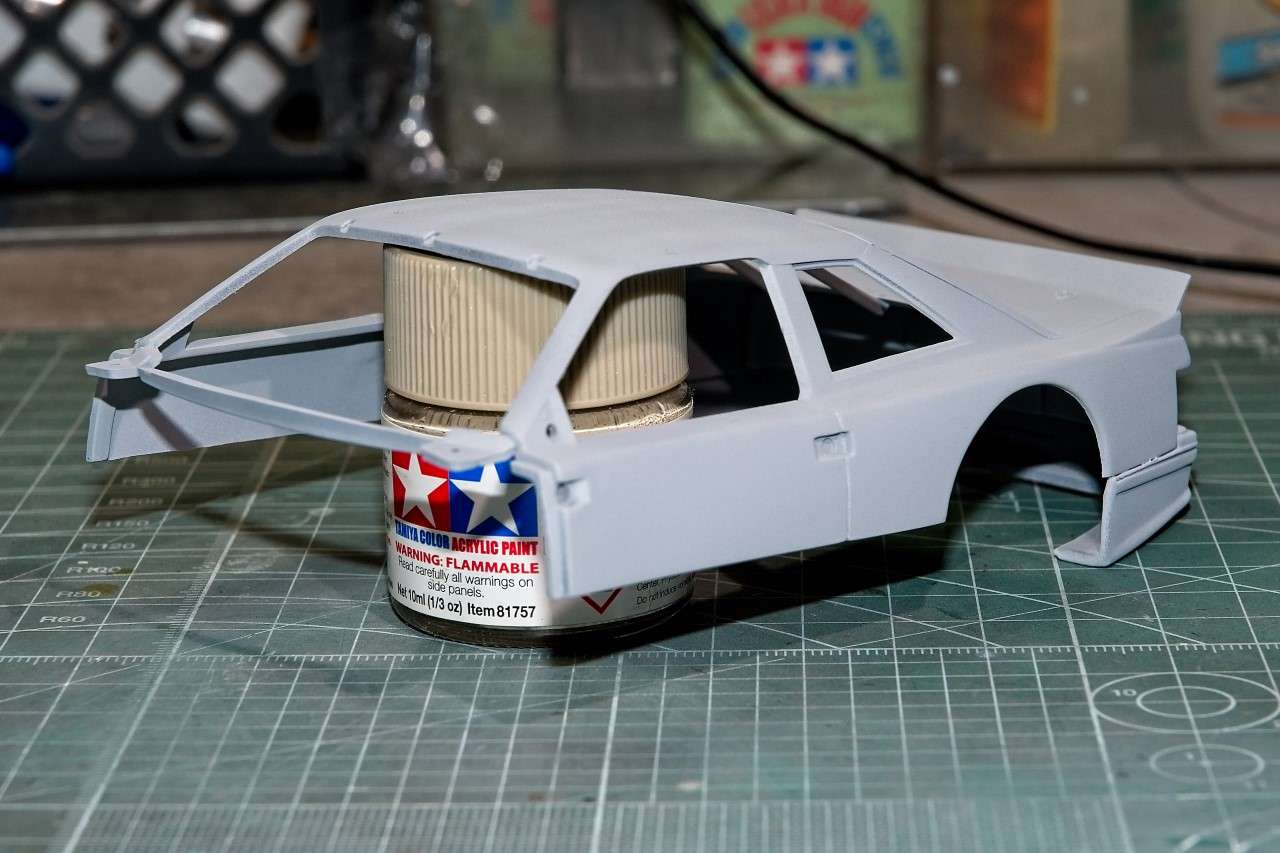 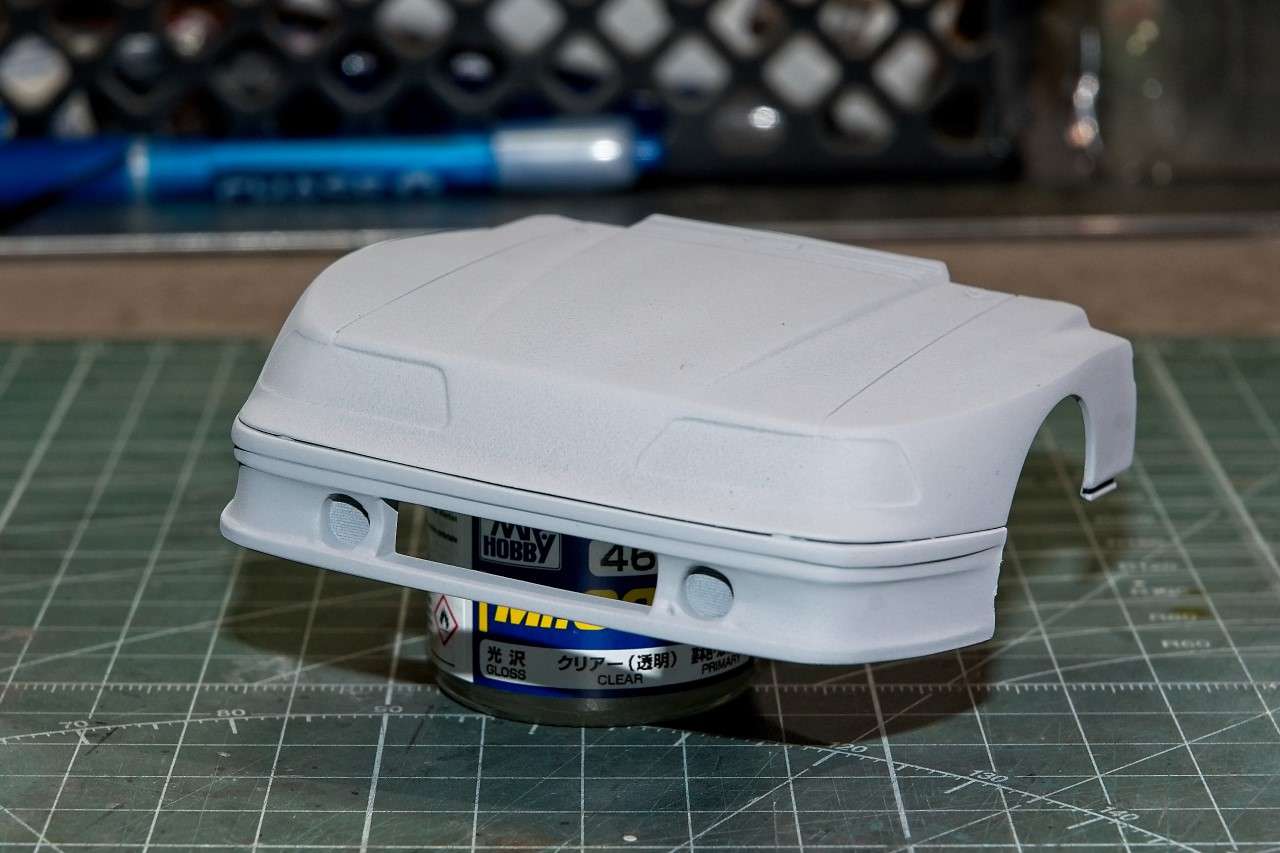 I gave the primer a full day to cure, then an easy rub with Tamiya's 3,000 sponge and plenty of water. Next up was the color coats. My usual go to paint companies: Gravity and Zero really have nothing listed for American road racing, so I tried MCW paints that has the Folger's Red after talking to the owner, Mike. The paint needs to be applied over a gray primer, so that's another reason I went the primer I did. MCW paints are true auto Lacquers and are pre-thinned to the nth degree. The paint comes in a 2 oz bottle, and I used more then 80% of it for the two shells and the sides of the chassis pan. But the coverage is what counts, and I'm more then satisfied with how the color looks. 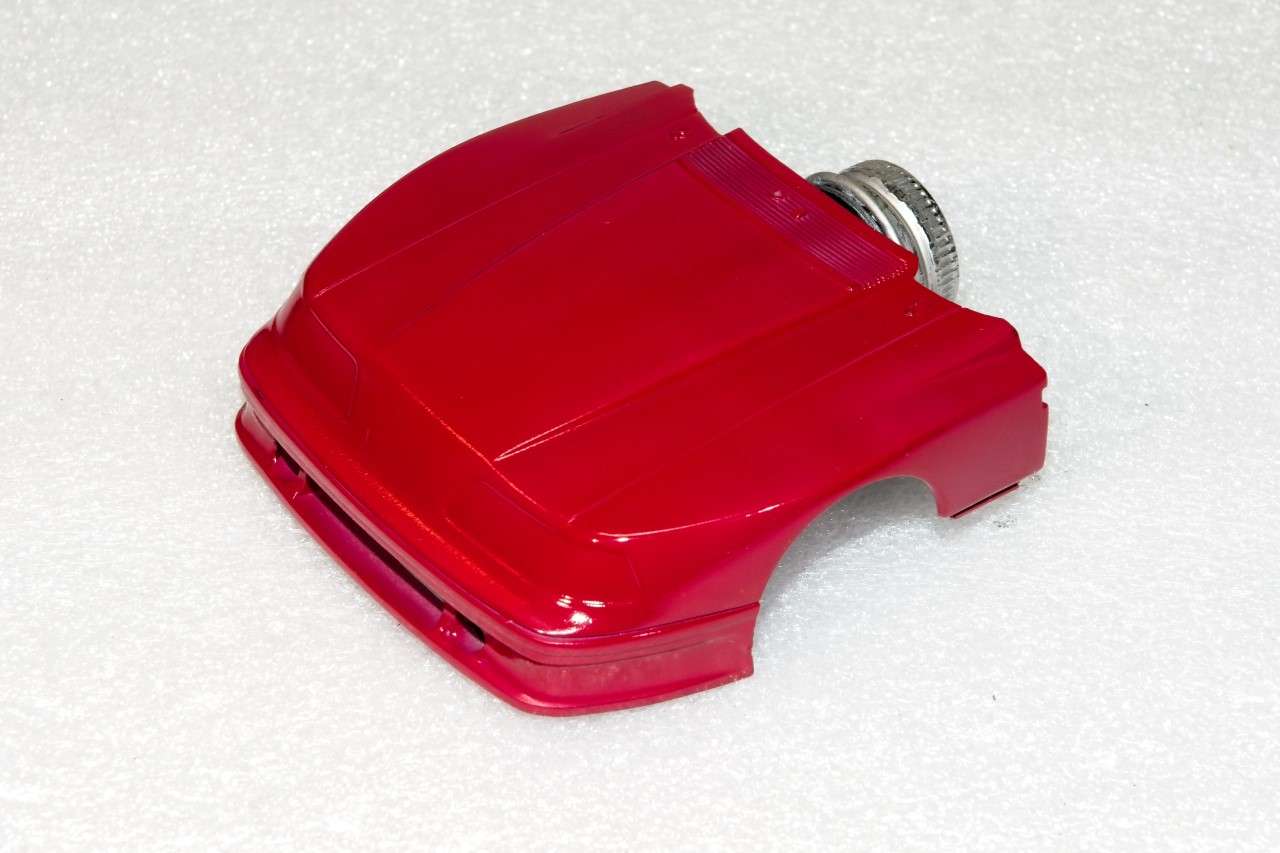 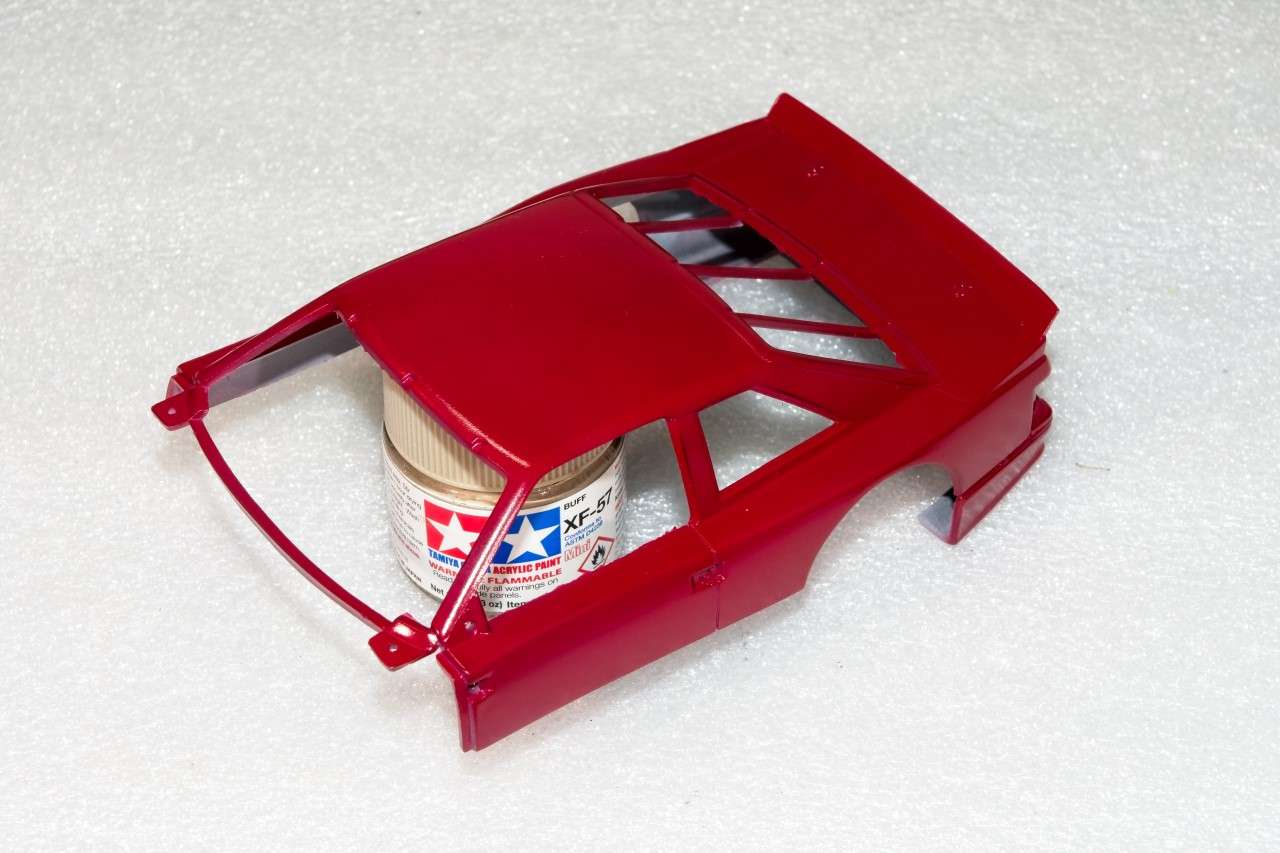 Next up is the prep work to start decaling, and then on to the Indy Cal Folger decals, and there's a full sheet of them to keep me real busy for some time. Joel |
|
|
|
Post by starfighterace on Oct 9, 2019 9:19:48 GMT -8
Oh, I love it! I built this kit about 20+ years ago. I gave up on the kit Folgers decals and ended up using Motorcraft decals from a stock car kit and it became a "Fantasy" markings car. Looking forward to seeing more of this build.
|
|
|
|
Post by Joel_W on Oct 10, 2019 4:18:31 GMT -8
Oh, I love it! I built this kit about 20+ years ago. I gave up on the kit Folgers decals and ended up using Motorcraft decals from a stock car kit and it became a "Fantasy" markings car. Looking forward to seeing more of this build. Glad that you like my modest efforts to date. As for the Revell decals, I almost never use kit decals and go with AM ones. Those kit decals I use are usually printed by Cartograf or of similar quality like the Beemax decals. For the Folger's decals I'm using the ones from Indy Cal. great decals, just hate having to cut each one out separately. Joel |
|
|
|
Post by Joel_W on Oct 12, 2019 10:41:59 GMT -8
Ok guys, I have to confess that I really screwed up this time but good with my Roush Ford Folger's GTO Mustang. The Revell kit that I was able to buy was the Roush JPS Mustang. I just assumed that it was the same body style for the run of Mustangs that Roush Racing fielded in that time frame. Well, the bodies aren't the SAME.  look very closely at the front clip and notice that there is a opening between the two headlights. Now carefully look at the rear wing, it's what they called the Whale Tail as it's a huge scoop. 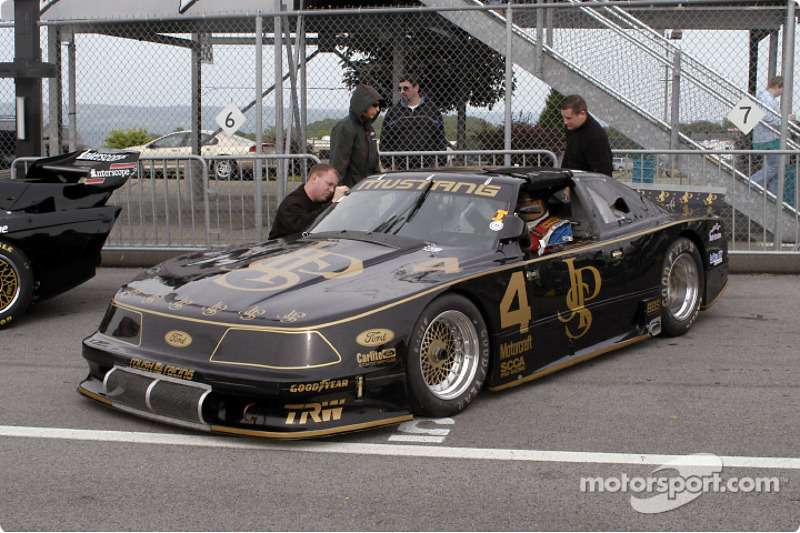 Now here's the JPS Mustang. There's no vent between the headlights, and the tail is just a straight spoiler. There are a few other differences, but enough so that one can't be modeled from the other with just paint and decals. There's also some differences in the pit as well. So I spent a full week priming, then painting the two shells, and I actually started to decal them. Then Bill, whose an expert on these cars pointed out my mistake. I had a decsion to make. Do I just keep on going with what is now a fantacy build, or suck it up, strip the shells back down, and start over again? I just couldn't go on with what I knew was plain wrong. So today I stripped all the paint off, which was some job with the MCW paints, and will build the JPS Mustang. I do have the correct decals from Indy Cal for the car, but I'm going to have to order paint from Gravity of Spain as I don't have enough Black in an opened bottle. Bill is sending me the full body for the correct Folger's car that was cast by Fox, who I honestly never heard of. I still need the Whale Tail, and that's coming from hiim as well Oh, one other little detail, the fox shell only has the basic chassis. the rest I have to come up with from another Revell kit. Joel |
|
|
|
Post by Joel_W on Oct 15, 2019 6:24:15 GMT -8
Lots has changed since my last post confessing to my major screw up from shear laziness to do a more complete research of the kits. Anyhow, it was time to get my butt in gear and start to convert the Folgers build to the Roush 1989 JPS SCCA Trans AM wining car. The 1st step was to strip all the decals and paint off of the body shells. For this I use plain old Denatured Alcohol. Works fast, no smell, and it won't damage the plastic. One hour later this is where I was at: 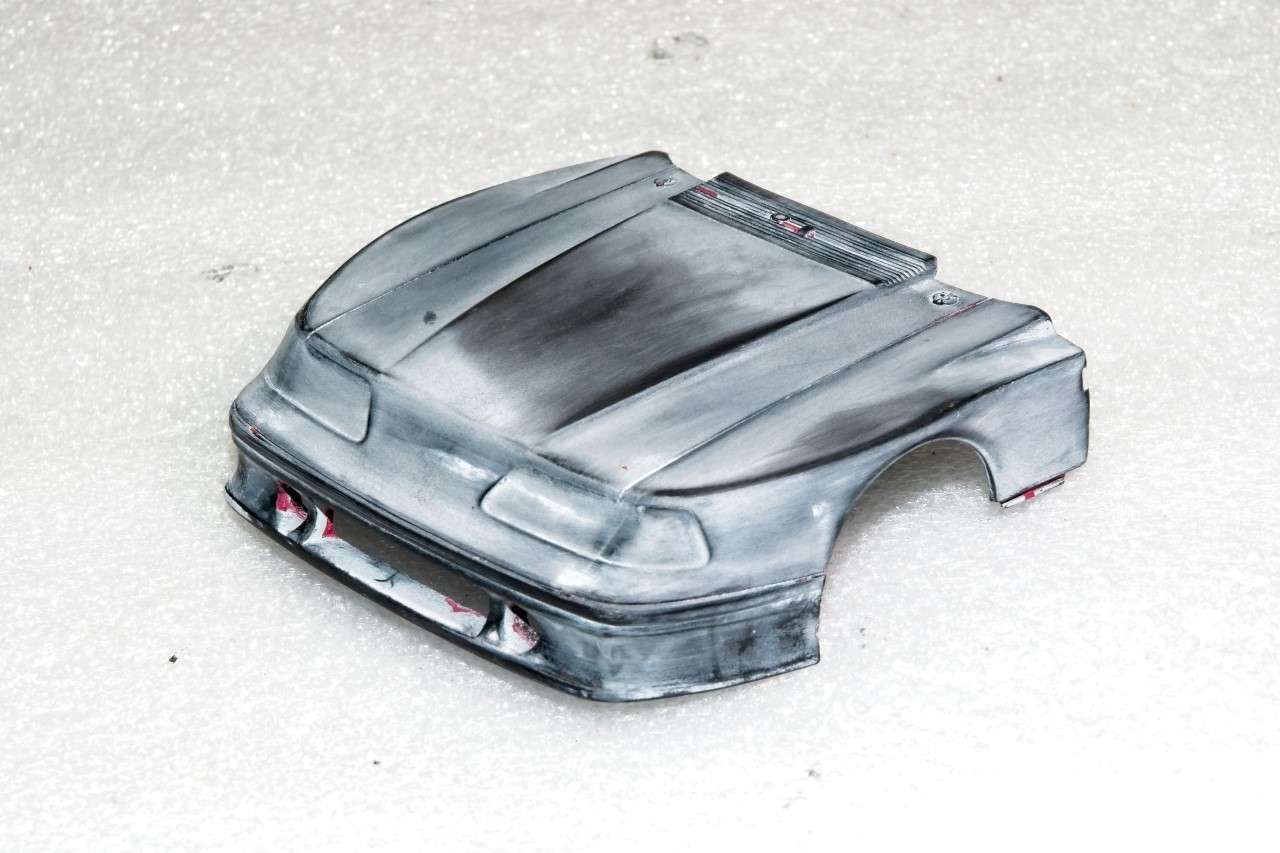 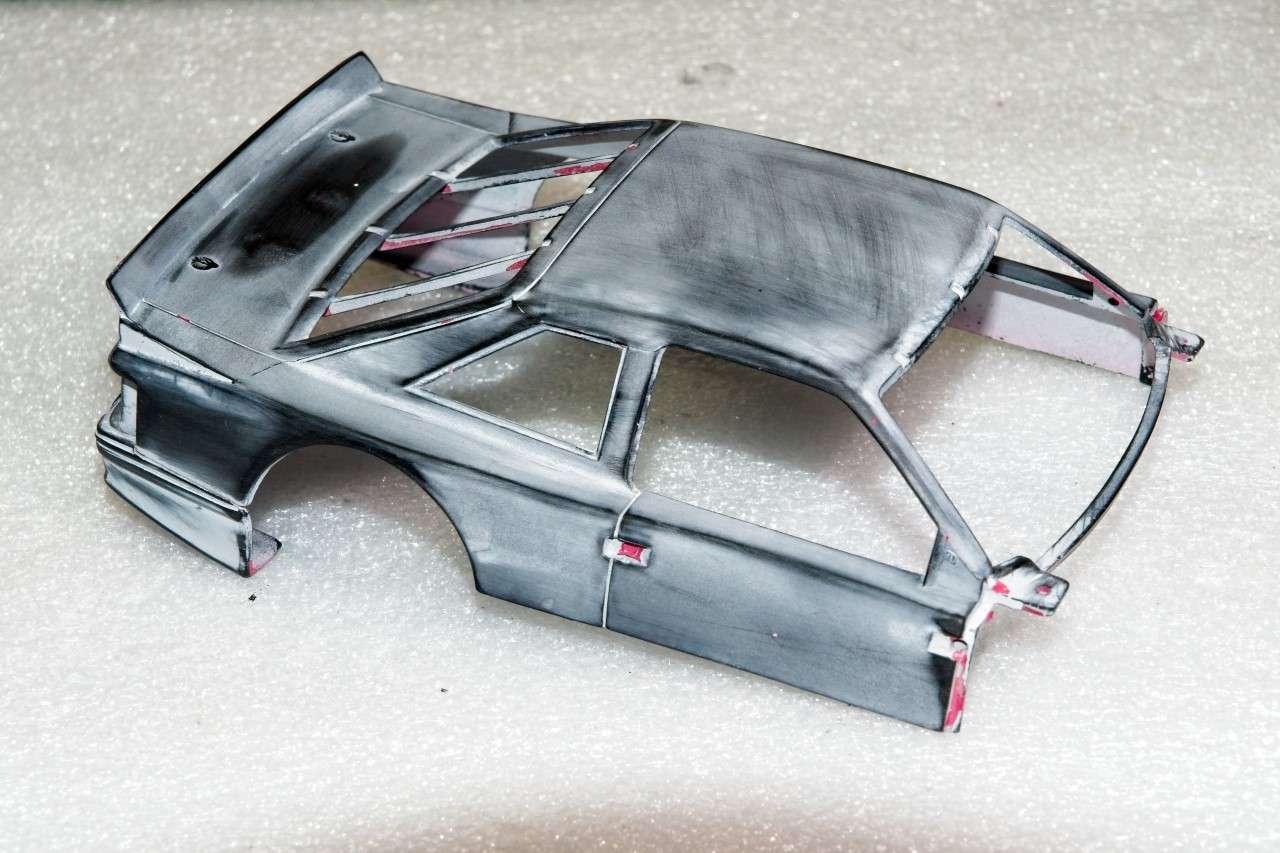 Next work session I primed the shells with Mr. Hobby's #1500 thinned 1:1 with their #400 leveling thinner. 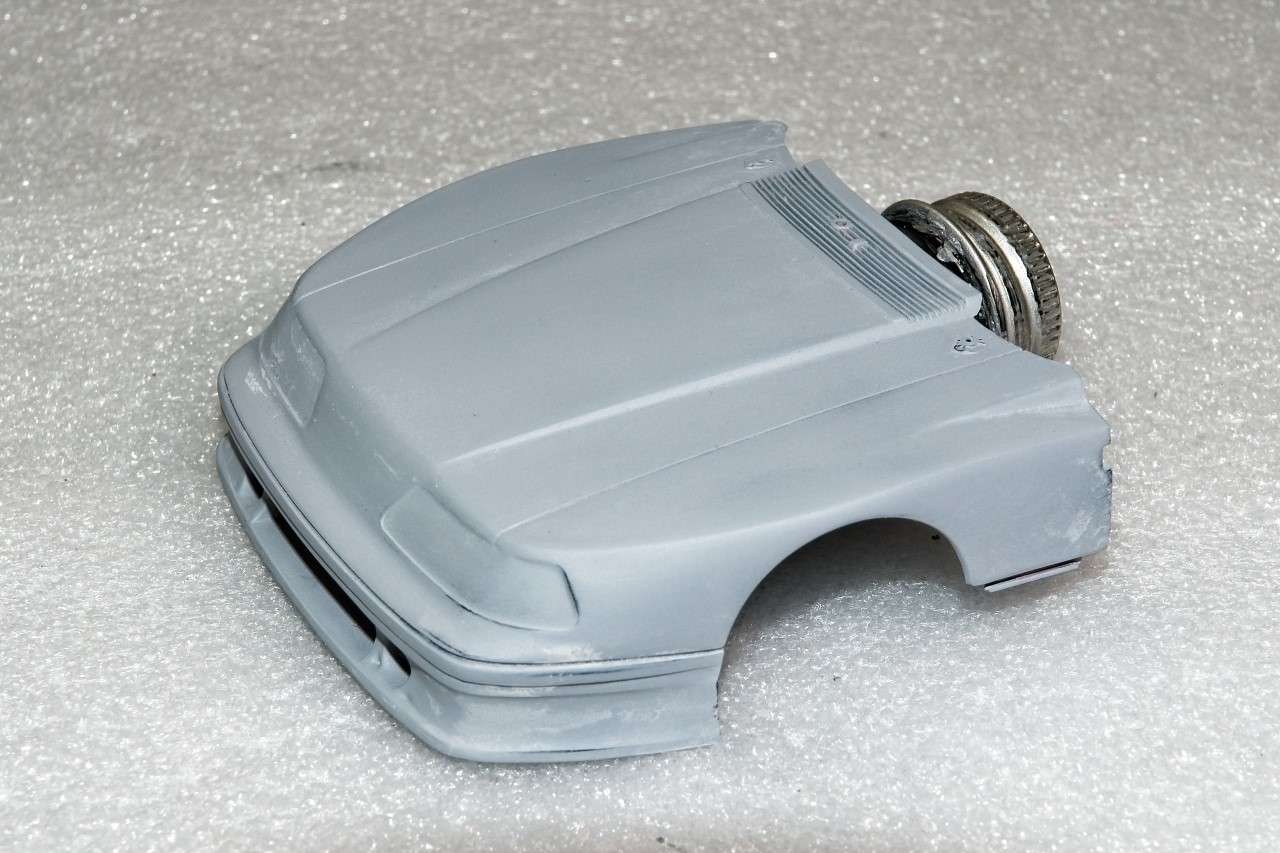 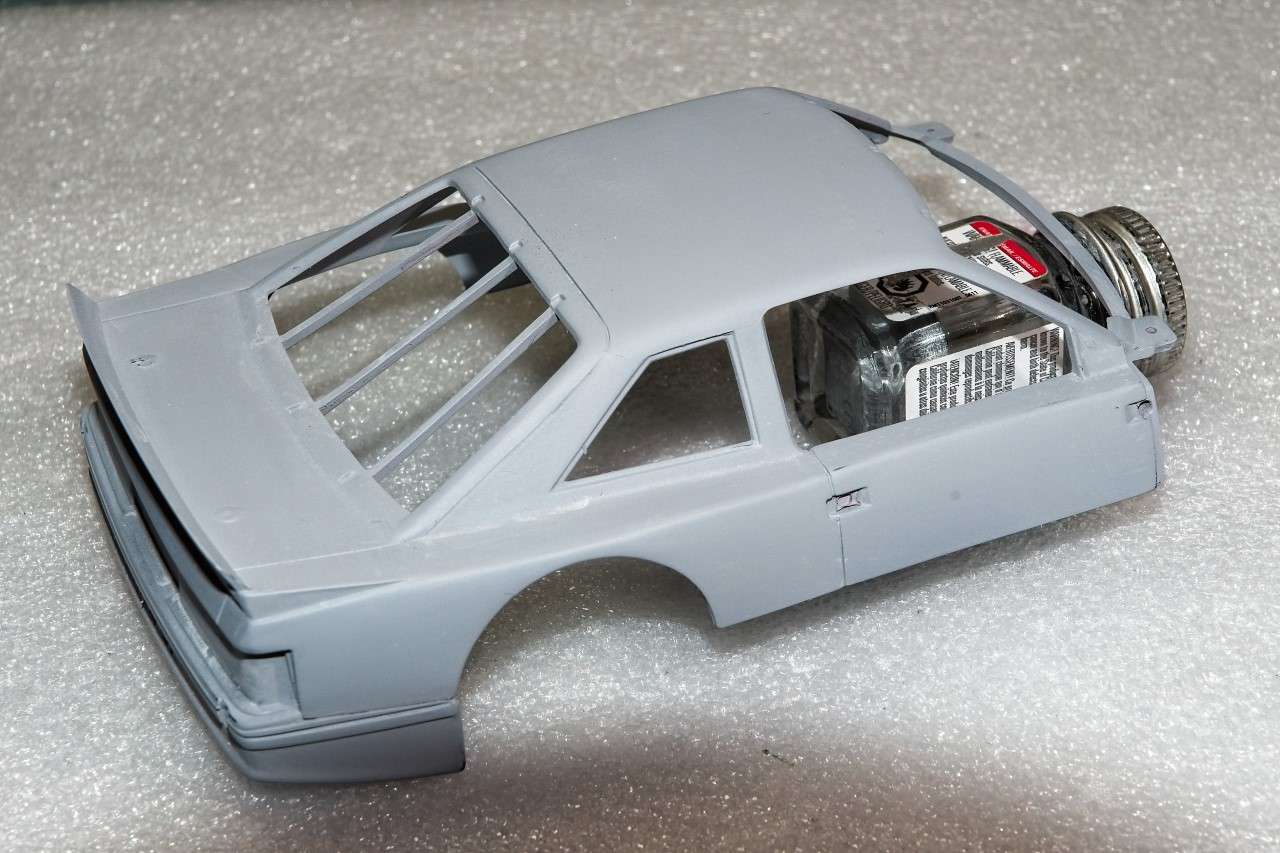 The white residue you see here and there is the remains of the rub with a Tamiya #3000 sponge wet that has dried. Since then a light wipe with a damp paper towel as removed all of it. Next step is back in the paint booth for the Black color coat. Joel |
|
|
|
Post by Joel_W on Oct 16, 2019 5:02:07 GMT -8
Bill,
Thanks for checking out my modest new start.
Another quickie update coming later today as I did manage to get the color coats down.
Joel
|
|
|
|
Post by Chris K. Hale on Oct 16, 2019 5:41:47 GMT -8
Joel, excellent restart.. The alcohol did a nice job stripping the paint. Chris
|
|
|
|
Post by Joel_W on Oct 16, 2019 6:02:21 GMT -8
Chris,
I was really surprised when I accidently found out that Denatured Alcohol strips all types of model paint, but has a tougher time with lacquer primers. Not sure really why that is unless the paints are acrylic based lacquers (which I still don't understand that combination), while the primers are true Lacquers.
Too bad that it has no effect on chromed parts. For that I still use oven cleaner, but no longer fill the container till it covers the parts. I just cover the parts directly. Seems to actually work better and much quicker.
As I posted to Bill, I'll be doing a quick update after I take a few pictures of the shells with their color coats on.
Joel
|
|
|
|
Post by Joel_W on Oct 16, 2019 8:17:39 GMT -8
Making slow but steady progress trying to get back to where I was before the big DISCOVERY. Yesterday I was ready to apply the Black color coat. so I Decided to open the last bottle I have of Gravity's standard racing Black: GC 101 Anthracite Black. Then I discovered that I have already opened it, and used about 1/4+ of the bottle. Just couldn't remember when. Oh well, I thought that I still have enough for the job at hand. But it's going to be close. Heard a little voice reminding me that many moons ago when I 1st got back into modeling and tried my hand at cars, I bought a good dozen or so bottles of Zero paints. And Black was one of those colors. Sure enough the bottle was still in its section, but it was opened as well. Zero paints use the same plastic sealing plug under the cap as Mr. Hobby does, and the metal cap also has a sealing ring. The bottles are twice as large as Gravity's which is a good thing as it was half empty. Still, more then enough for the task at hand. Setup up my spray booth, reached for my Grex .5mm AB, and then shook up the paint & loaded the color up. Set the compressor to 18 psi, and moved to the spray booth. Couldn't tell the difference between the Zero paint and the Gravity paints I now use. A few tack coats, then at least 4 wet coats. A quick check to see if I missed or screwed up. But everything looked pretty good, so all three parts went into my drying bin. I kept on opening the lid every few hours to let the gas escape, and the smell was way stronger then Gravity's aroma. The gassing seemed to take quite a bit longer, but by the next afternoon that stage of the drying process was over. I'd wait a good 3 more days for the Acrylic Lacquer to cure, then it's time to prepare the parts for decaling. 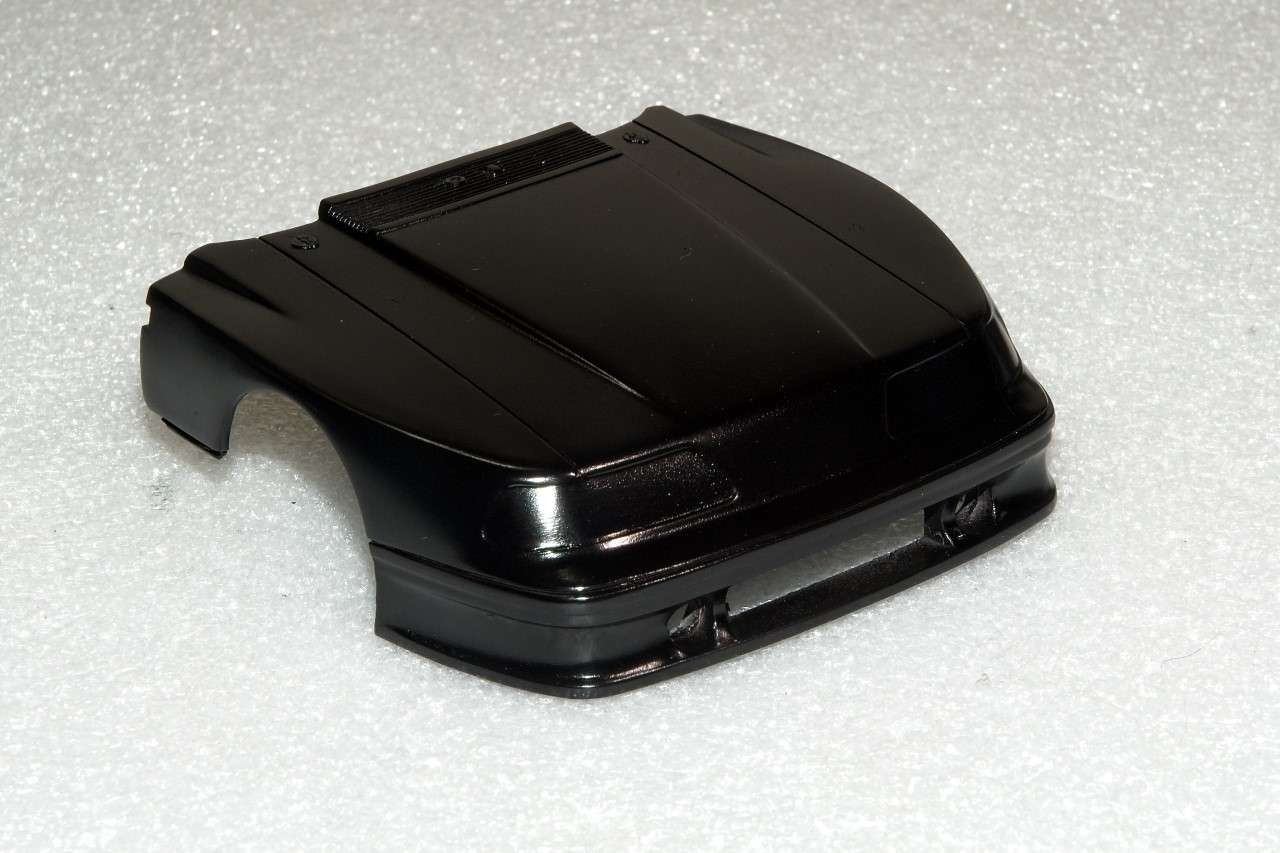 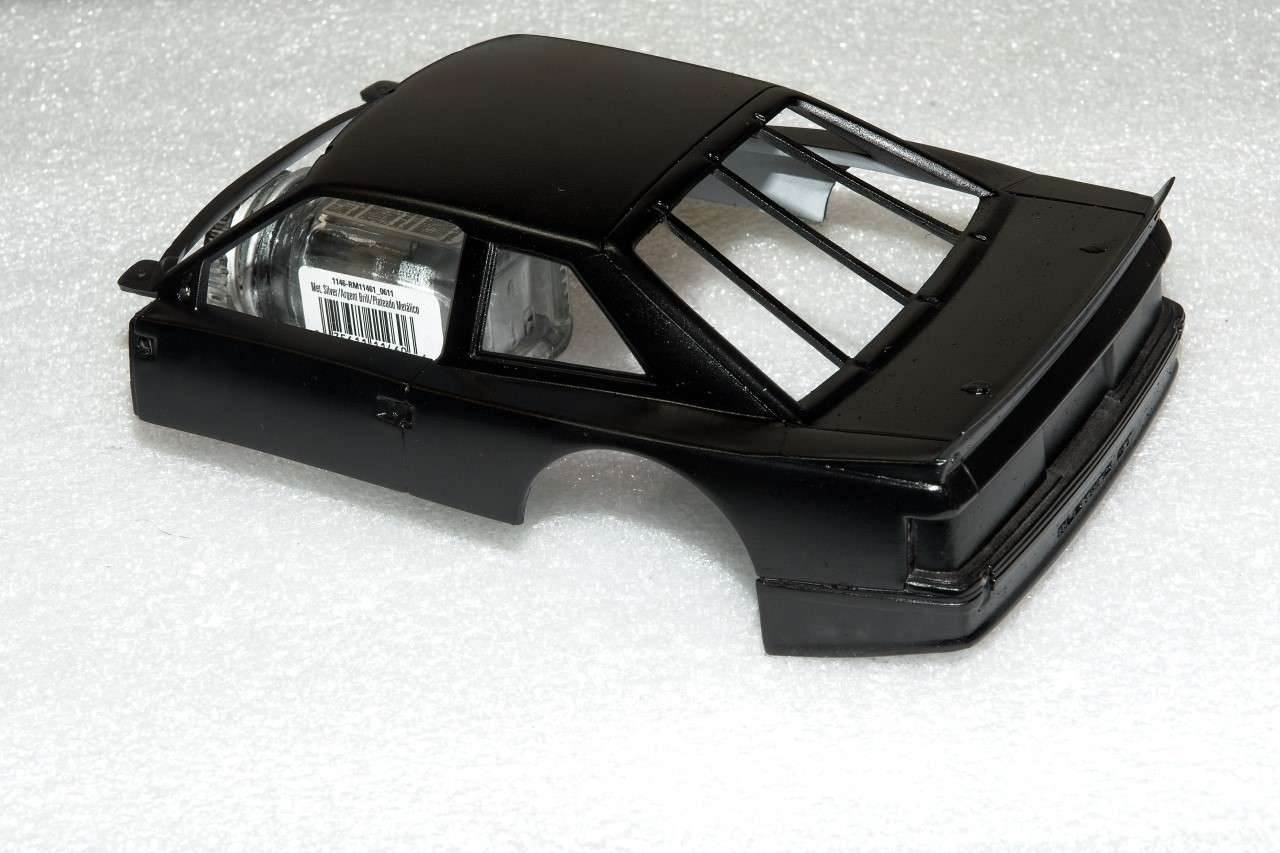 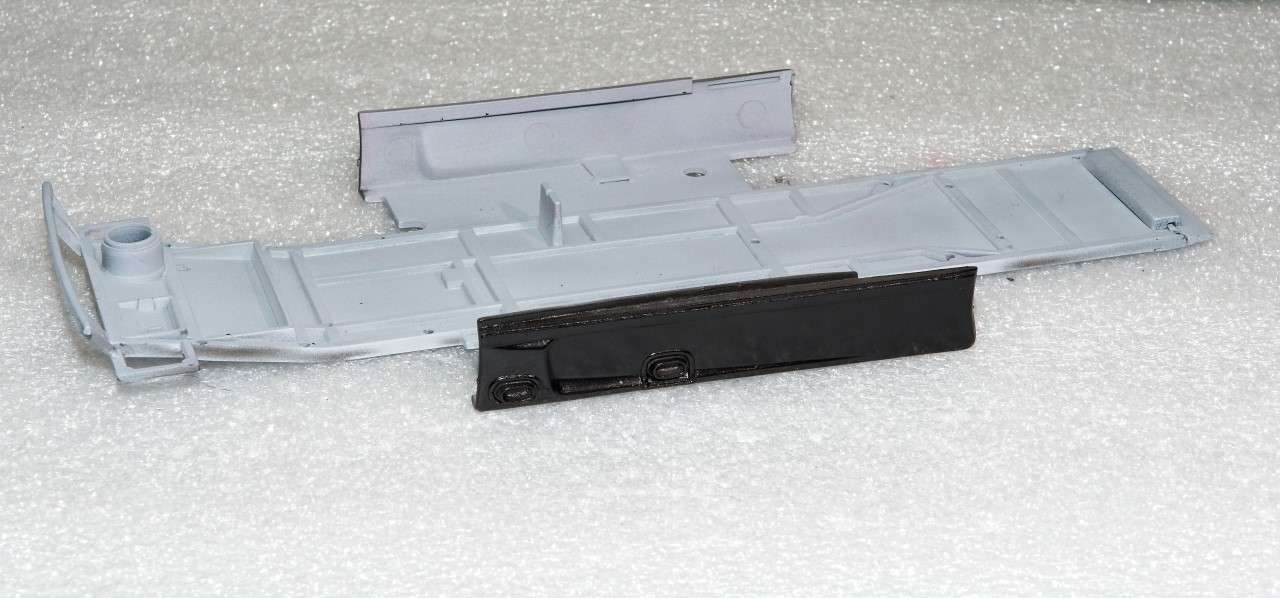 Thanks to all for stopping by and checking out my progress to date. It's always greatly appreciated. Joel |
|
|
|
Post by Chris K. Hale on Oct 16, 2019 9:58:57 GMT -8
Chris, I was really surprised when I accidently found out that Denatured Alcohol strips all types of model paint, but has a tougher time with lacquer primers. Not sure really why that is unless the paints are acrylic based lacquers (which I still don't understand that combination), while the primers are true Lacquers. Too bad that it has no effect on chromed parts. For that I still use oven cleaner, but no longer fill the container till it covers the parts. I just cover the parts directly. Seems to actually work better and much quicker. As I posted to Bill, I'll be doing a quick update after I take a few pictures of the shells with their color coats on. Joel Joel, instead of Oven cleaner on Chrome, humor me a bit, Try Formula 409 cleaner.... let me know how it works for you , Ive been using it for 30+ years.. no toxic fumes to deal with either and it is really quick on most Chrome...Chris |
|
|
|
Post by Joel_W on Oct 16, 2019 11:00:24 GMT -8
Chris,
Well give a go for sure. I'm assuming you use the spray bottle, not the refill. And I'm sure it's way cheaper as an added bonus. Will try it next build for sure.
Joel
|
|
|
|
Post by Joel_W on Oct 16, 2019 12:26:48 GMT -8
Oh my goodnes!! THAT is what I call black. Great job on the color coats Joel that sheen, that is amazing. You definitely know your way around an airbrush. Bill, Thanks buddy for the big Thumbs up. But 99% of the Shine at this point is the lights. All I'm concerned with is how smooth I can rub it out for decaling, as I don't use a gloss clear coat. Hopefully I'll be able to get to that inventory we talked about after dinner. Joel |
|
|
|
Post by Ben_B on Oct 16, 2019 12:38:52 GMT -8
Looking great, Joel!
I’ve had great results with Purple Power Degreaser from the auto parts store when stripping paint or removing chrome. It will remove even Tamiya lacquers in about 24 hrs. It strips chrome in about an hour. Welsey’s Bleche-White also works well. They both smell like 409, so they may be just more concentrated versions of the same stuff. Denatured alcohol also works well. I use it to clean airbrush parts in my ultrasonic cleaner.
Ben
|
|
|
|
Post by Joel_W on Oct 16, 2019 12:46:57 GMT -8
Ben,
Purple Power Degreaser is a new one for me. I've got plenty of Auto parts stores around me, so it's on my list. But the Formula 409 can be a household multi-tasker. And I love multi-tasking.
Joel
|
|
|
|
Post by shunter on Oct 19, 2019 1:12:49 GMT -8
99% alcohol works well this is the stuff used for cleaning computers etc usually available at electronic stores
|
|


