Been about two weeks since my last update. Of course those two weeks included Christmas and New Years, but I still managed to stick to my 3 day work week. Well, more of less.
Decided to switch gears, leaving the last of the drivers, engine, and rear compartments for a well needed break. So I turned my attention to the four wheels and tires. Now how hard could they possibly be? I should have known that the Revell Roush JPS Mustang still had some real fight left, as it seems that it's going to fight me all the way to the bitter end.
The tires are on a separate tree made out of some really hard as nails rubber. I can certainly live with that, but it's the molding that struck the 1st offensive blow of this battle. Seems that the molds leak a little, and they don't correctly align. That left me with both the usual center seam, and a slight step from one side of the seam to the other. Add to that the tires each have a sprue arm dead on center into the seam. Again, I can live with that resulting nub, but the attachment point actually is slightly below the surface.
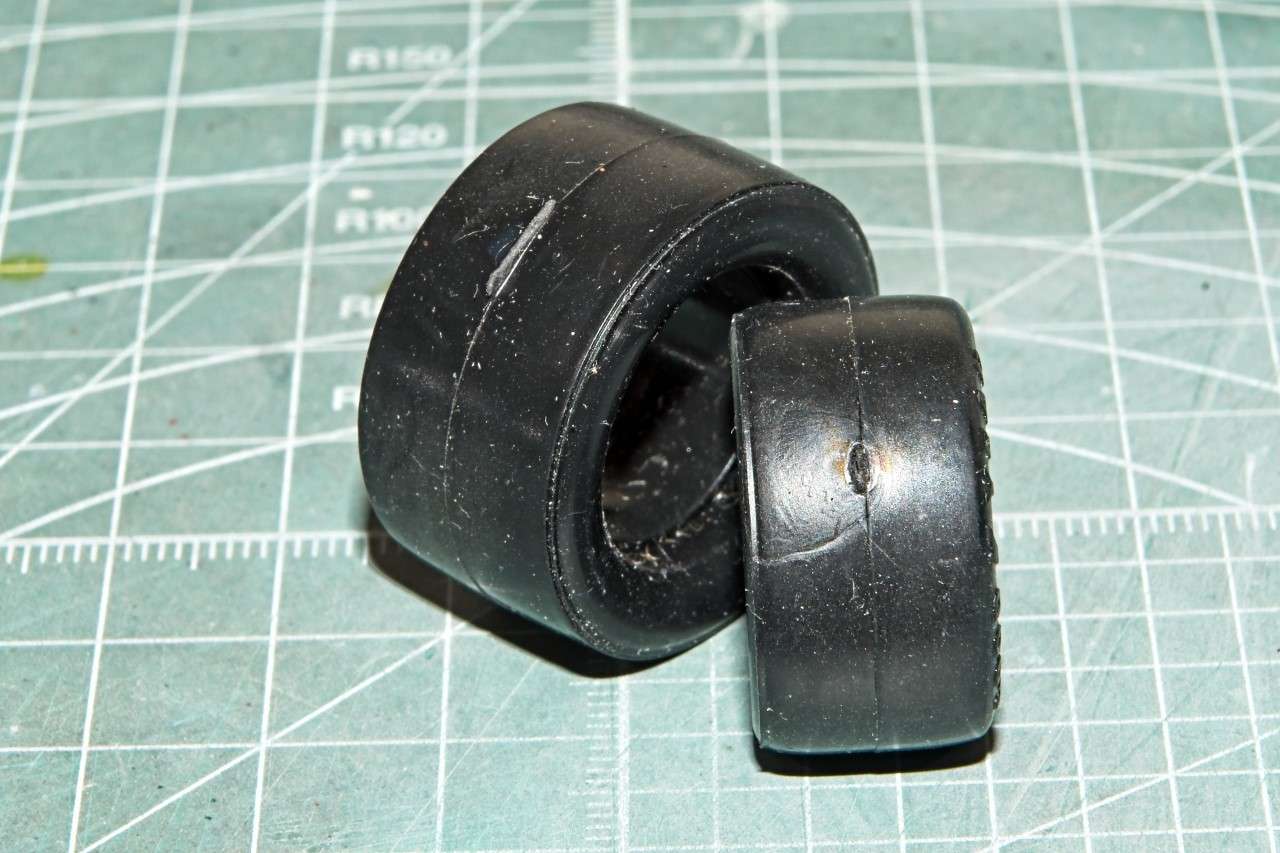
There's no using any type of filler for sure. So out came every grit of emerycloth I have plus some wood working files. I finally got rid of most of the seam which is prototypical, and gone are those nubs and depressions.
The tires still need to be cleaned up some, but you can get the general idea.
I had to decide if I wanted to use metal stencils or decals for the Goodyear logos. I opted for decals as properly applied, they do look rather good. I bought 1/25 scale Goodyear tire logos from Indy Cals pre 1981 as well as post 1981, but never gave it much thought as to why the 1981 break. But more on that in a few. 1st I had to gloss the side walls. This is the only application that I still use Pledge for by brush no less. I applied a even wet coat on the back sidewall, as the front side had the name in raised letters, and I've never gotten them to look good enough needing multiple coats of white over primer, Then cleaning up any screw ups with a toothpick. So I just reversed the tire sidewalls. I gave the Pledge two full days to dry and cure.
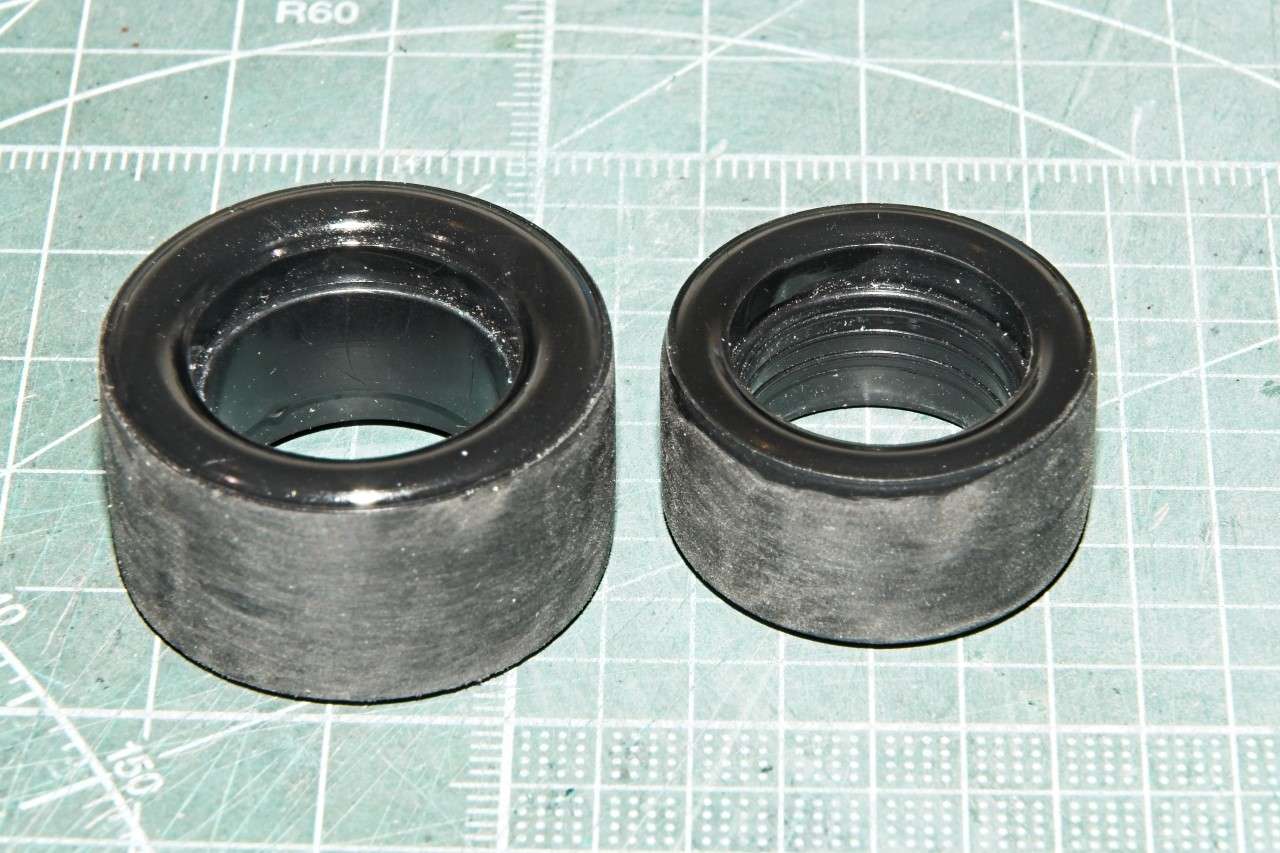
Then came the fun decal part. Indy Cal sheets are all one super big decal, so I have to cut each decal out from the blue backing paper which was EXTREMELY difficult for me to see under a bright tensor light, but very slowly I got it done. Then trim with a new #10 Exacto blade.
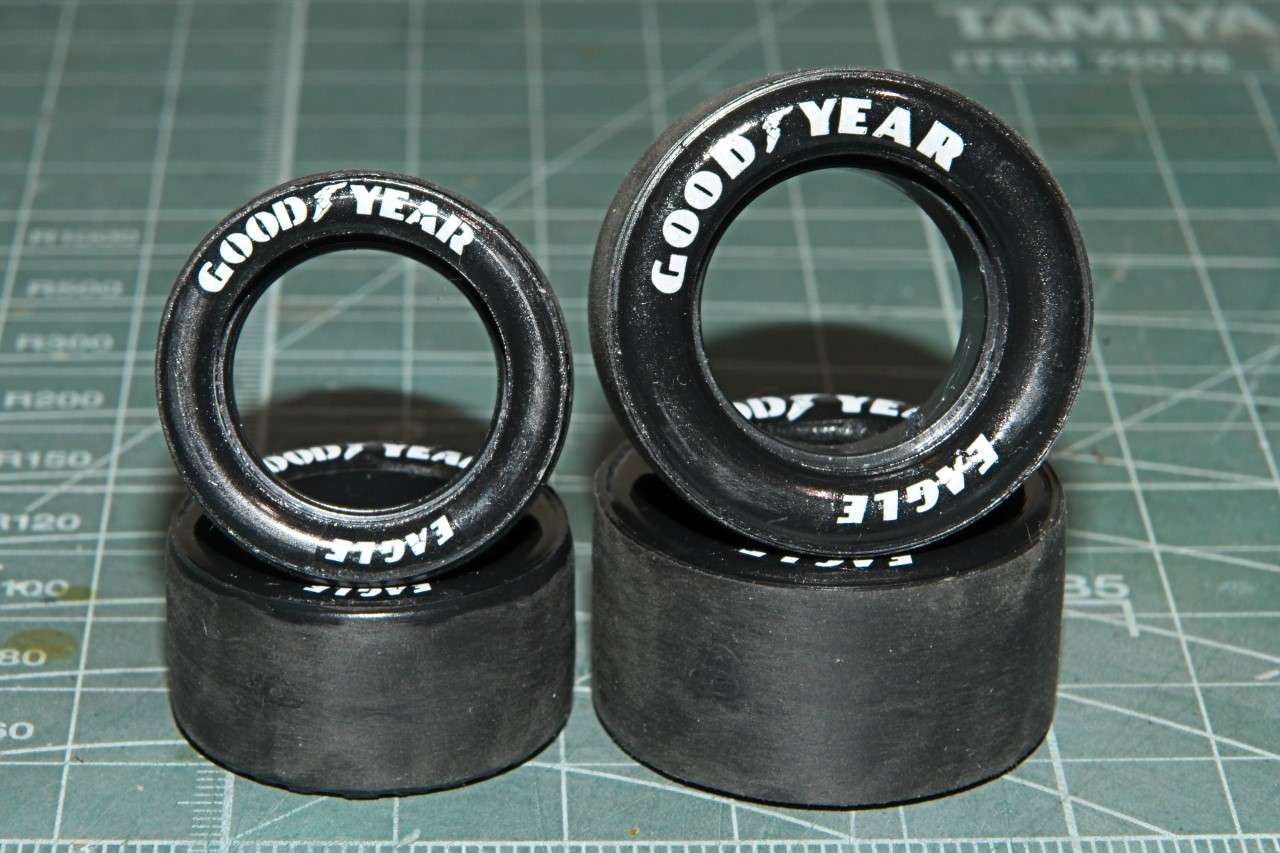
Now back to the imfamous 1981 issue. Once again I didn't really check my references as I should have, and started with one rear tire. With the way that the decals are laid out on the sheet you get all the Goodyears in pairs. So I applied two Goodyear logo decals on the 1st sidewall using my decaling method of Micro Set, Micro Sol, and Solvaset, giving each solution 1 min to work it's magic before touching them. Worked great. Then I noticed that the sheet had the year pre-1981 on it, but my build is post 1981. A guick Google check to confirm this, and sure enough Goodyear started to use the name EAGLE in 1981. So back into my decal box for Indy Cars to see what I had screwed up. And sure enough I had totally forgotten that I had multiple tire logo sheets from Indy Cals, and one was for 1/25 scale POST 1981 with GOODYEAR & EAGLE on it in pairs. So I just rewet the 2nd Goodyear logo and removed it. But if I thought that the Goodyear logos were hard to cut out and trim, they're a piece of cake compared to the two different sizes of EAGLE logos. But finally I got them cut out and ready to apply. Took a while but all four tires were decaled.

The following day I air brushed on a coat of Alcad2 Semi Matte as I wanted to tires to look more like used tires that were cleaned along with the car rather then new tires.
Tires done, so it's back to the wheels. They came in the kit with some overly done chrome, so I just stripped them in Denatured Alcohol. Just a lovely shade of bright Red. You'll notice that the BBS wheel inserts have next to no depth to fool ones eye of the open spaces.
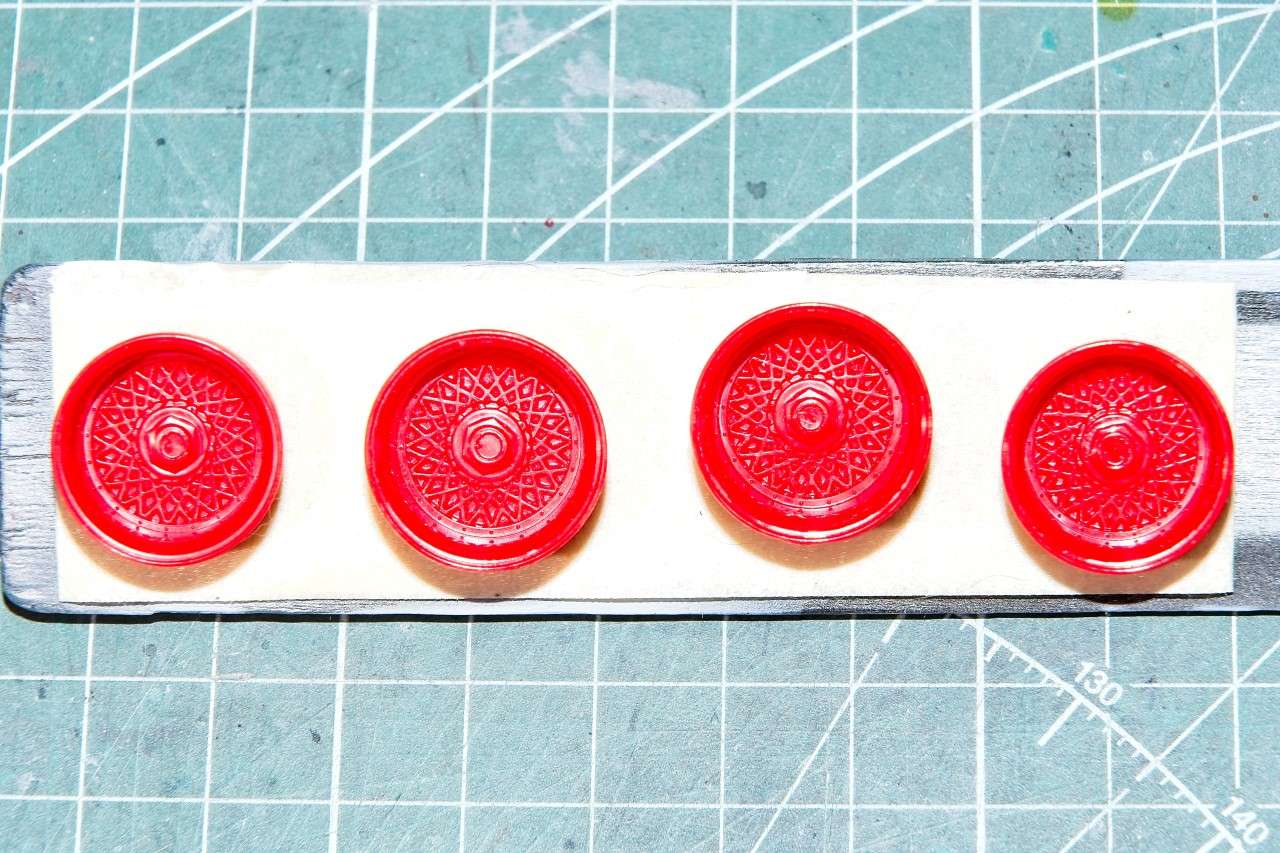
I primed them with Mr. Hobby Light Gray #1500 primer thinned 1:1 with their #400 leveling thinner. Waited a few hours, then I applied several lite coats of Tamiya X-1 Gloss Black. Gave that 2 full days to dry and cure.
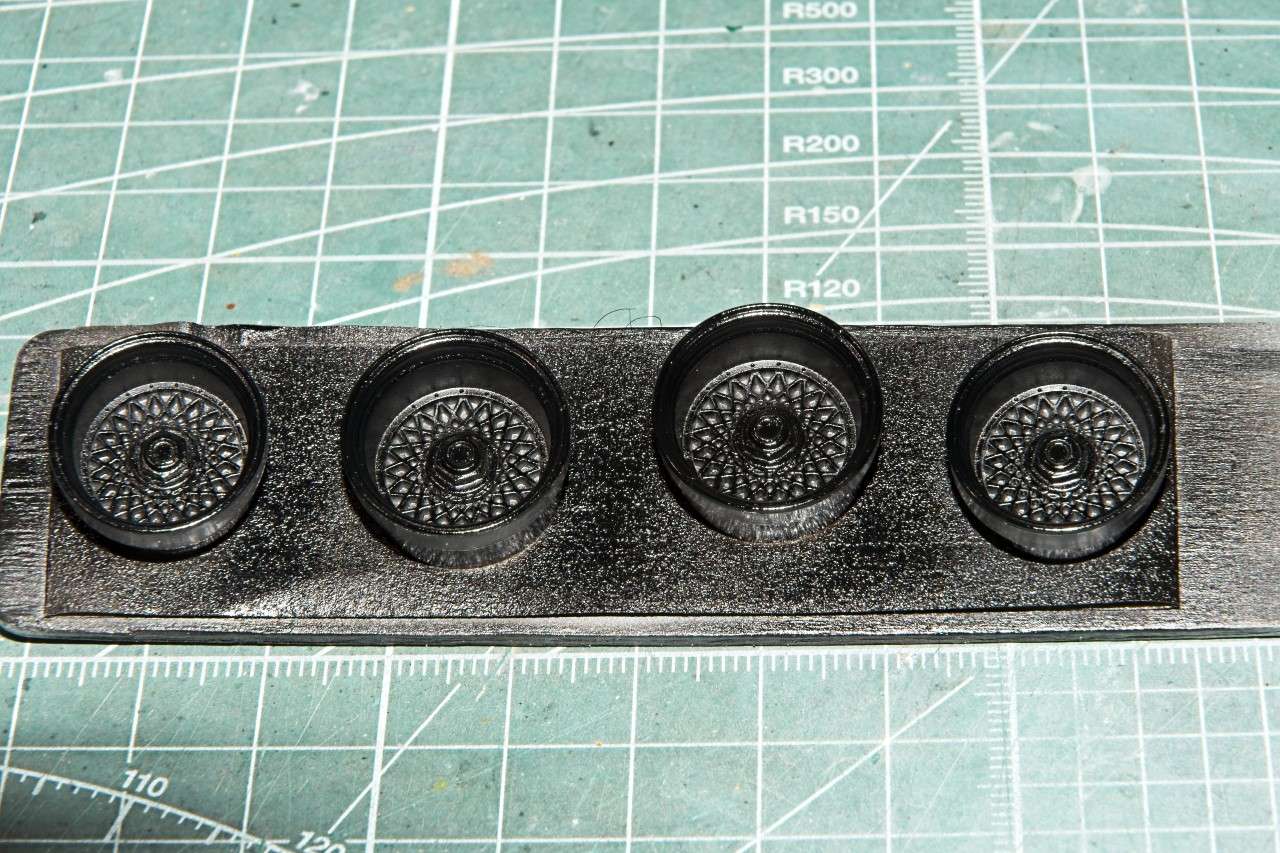
Then I decided to air brush on Alad2 Chrome as it has a kind of polished look to it, but not like polished Chrome. Next work session I hand painted the middle of the wheel with a custom mix of Mr. Color Gold & Bronze as neither color looked right. Gave that a day to really dry, then working with a very thin brush, I carefully dabbed on Tamiya Black panel line wash into the recesses, and then cleaned off any that I got on the wheel with a damp Q tip using Mineral Spirits.
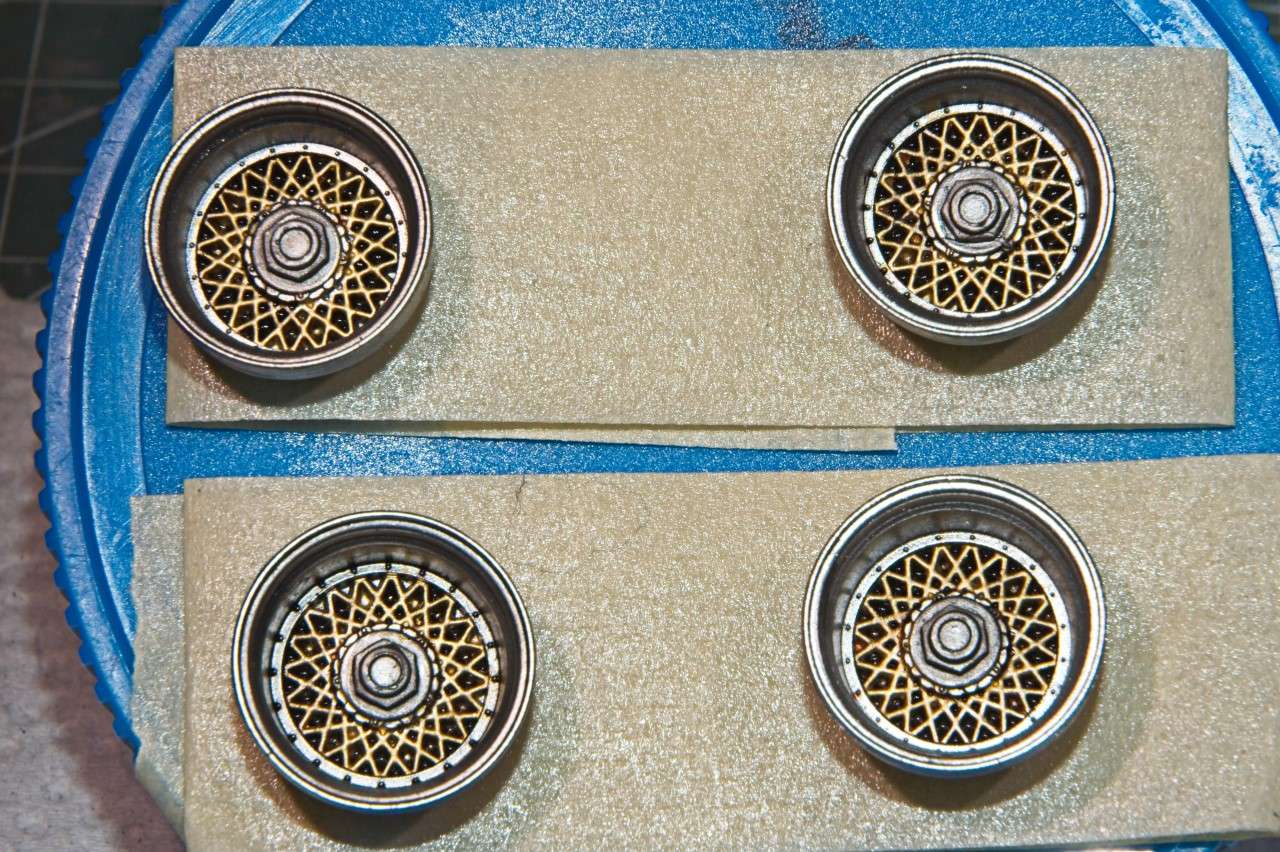
Gave the wheels a few days to cure and then pushed them into place 1st on the rears and added the back half of the wheels which I also air brushed with Alcad2 Chrome. Nice tight fit. Then the front wheels, and wouldn't you just know it, the wheels wouldn't fit no matter how much force I used. So out came some #320 Emerycloth and a few jeweler files. Eventually I got them into place, but it was a struggle.
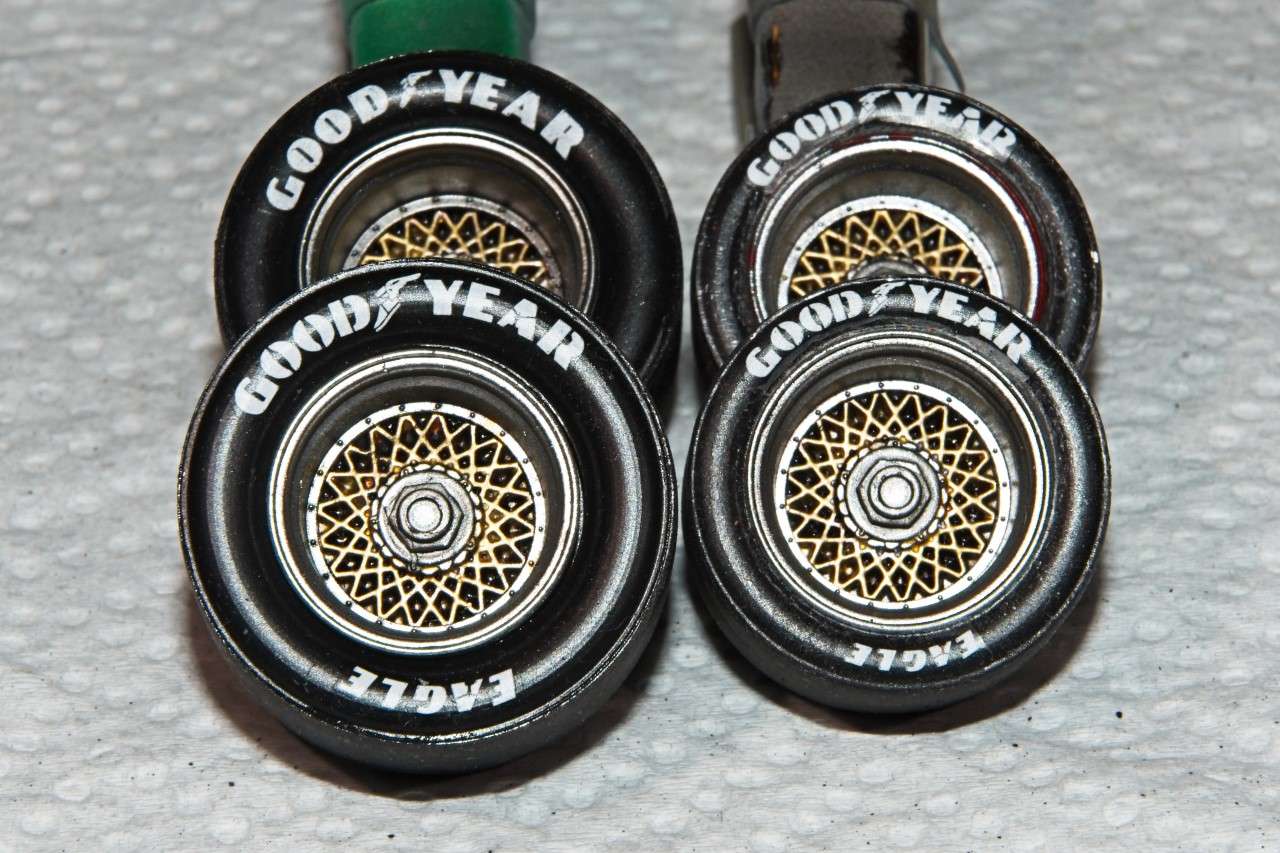
The finished wheels still need a final cleaning, but I'm really happy how they turned out. Lets hope that they actually will fit on to the press fit ends of the Axles after the the body shell is glued into place.
Thanks to all for checking out my build to date, it's always much appreciated.
Joel