Revell 1/25 scale Roush SCCA Trans AM JPS Mustang
Nov 22, 2019 11:36:15 GMT -8
Chris K. Hale likes this
Post by Joel_W on Nov 22, 2019 11:36:15 GMT -8
Well, another week, and I actually managed to get some work done for a change.
All my efforts were concentrated on getting the basic detailing done in the trunk area, even though I said that I'd finish the complete rubing and polishing of the two part shell, and lower chassis panels. Rather then go through each item, I'll just list them with any info that might be helpful.
1- Two .035 Braided oil lines from the Dry Sump tank to the tunnel in the Driver's compartment. Lines still need to be somewhat tighter going into the tunnel, and plastic clamps stratched out to hold them in place.
2- One .025 Braided fuel line to the fuel pump on the right hand side of the tube frame, & a over flow line from the tank routed down through the bottom of the chassis made from wire sheathing. Hold down brackets also need to be scratched for the fuel line as well.
3- Two electrical lines from the battery box to the cockpit tunnel out of a larger dia. wire sheathing.
4- The driver's compartment rear bulkead for some strange reason is where the plastic Windshield washer container is located. I ran a clear line from the pump on the bottom of the tank to just to the side of the drivers compartment for now ,till I actually can figure out where it does go.
5- I glued up the basic engine block and transmission, then sanded all the seams to get ready for priming. Nothing special, so no pictures till it's primed. And once again I had real issues with finding a glue that actually glued the Revelll plastic.
Overall view of the chassis.


front of the drivers compartment facing the rear bulkhead. Notice the windshield washer tank and line.

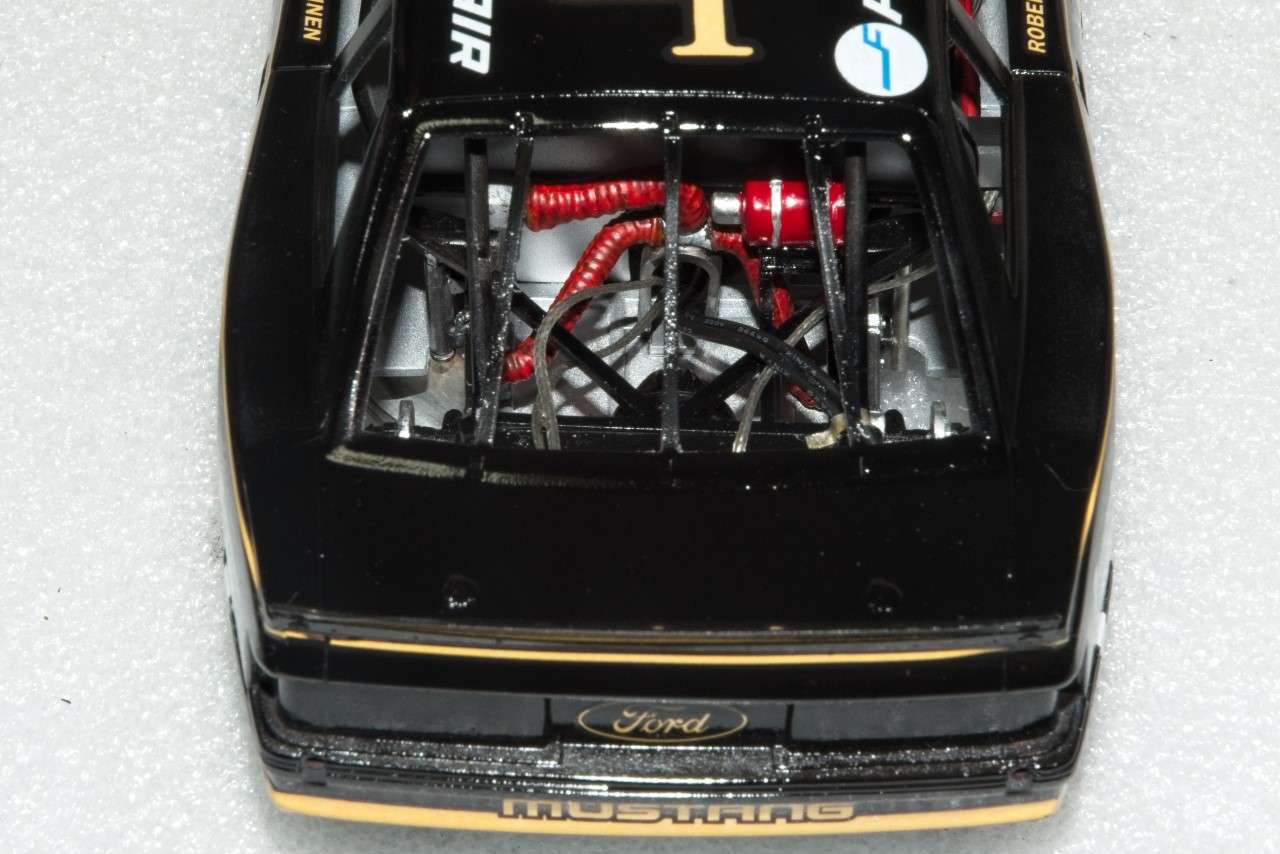
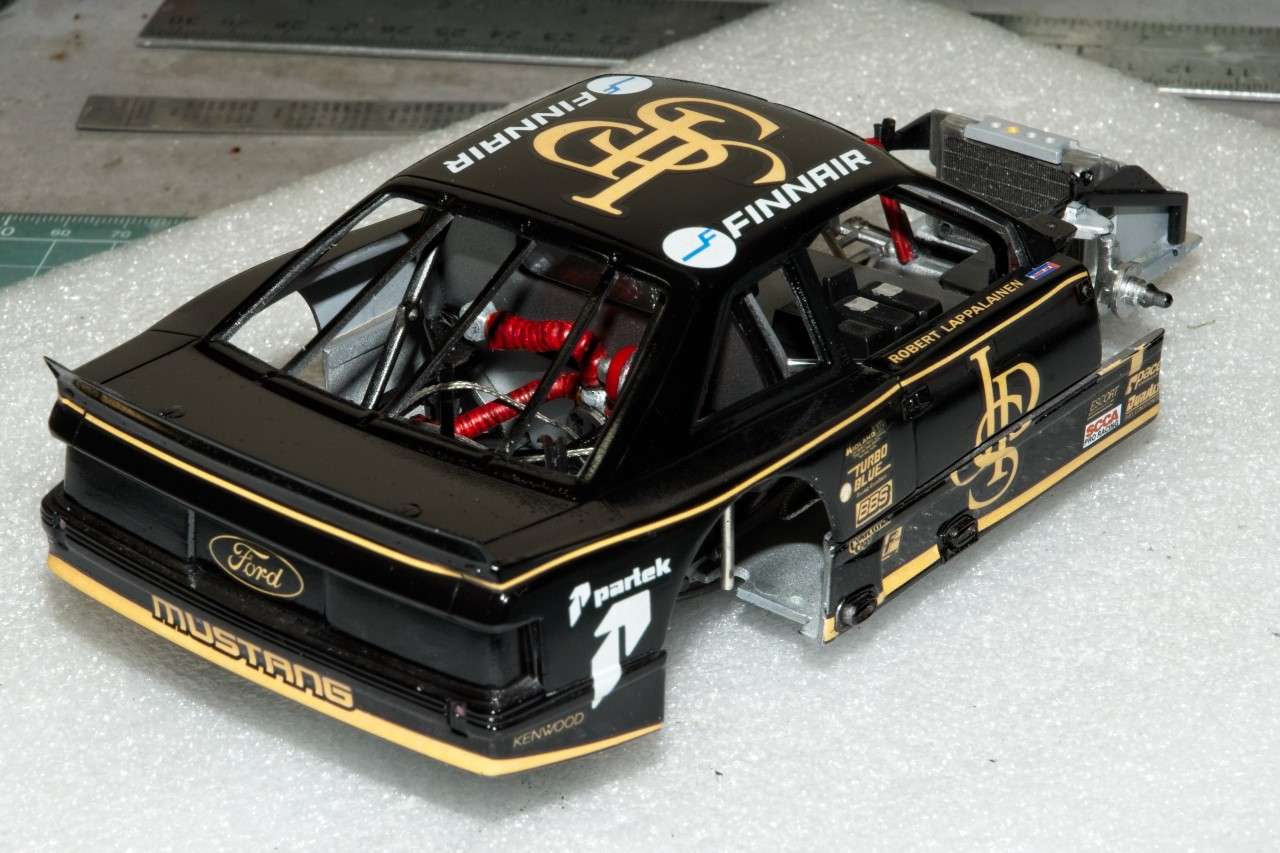
As I've mentioned in previous updates once the main shell is attached, very little of the trunk compartment will be seen, and that's only when looking in through the rear window. Here's a few views to see just how restrictive it actually is.


Thanks for stopping by and checking out my progress to date. It's always greatly appreciated.
Joel
All my efforts were concentrated on getting the basic detailing done in the trunk area, even though I said that I'd finish the complete rubing and polishing of the two part shell, and lower chassis panels. Rather then go through each item, I'll just list them with any info that might be helpful.
1- Two .035 Braided oil lines from the Dry Sump tank to the tunnel in the Driver's compartment. Lines still need to be somewhat tighter going into the tunnel, and plastic clamps stratched out to hold them in place.
2- One .025 Braided fuel line to the fuel pump on the right hand side of the tube frame, & a over flow line from the tank routed down through the bottom of the chassis made from wire sheathing. Hold down brackets also need to be scratched for the fuel line as well.
3- Two electrical lines from the battery box to the cockpit tunnel out of a larger dia. wire sheathing.
4- The driver's compartment rear bulkead for some strange reason is where the plastic Windshield washer container is located. I ran a clear line from the pump on the bottom of the tank to just to the side of the drivers compartment for now ,till I actually can figure out where it does go.
5- I glued up the basic engine block and transmission, then sanded all the seams to get ready for priming. Nothing special, so no pictures till it's primed. And once again I had real issues with finding a glue that actually glued the Revelll plastic.
Overall view of the chassis.


front of the drivers compartment facing the rear bulkhead. Notice the windshield washer tank and line.

As I've mentioned in previous updates once the main shell is attached, very little of the trunk compartment will be seen, and that's only when looking in through the rear window. Here's a few views to see just how restrictive it actually is.


Thanks for stopping by and checking out my progress to date. It's always greatly appreciated.
Joel


