|
|
Post by Chris K. Hale on Nov 17, 2018 8:45:28 GMT -8
Thanks Joel, the decals have a 1/8 Gold stripe that splits the Black and Red so it should look good, I also didnt get any bleed anywhere so that helps too, the restored car looks more like a yellow stripe but I chalk that up to lighting.. 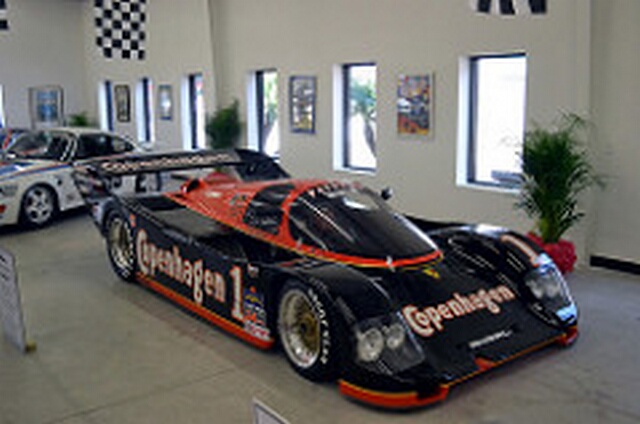 Chris |
|
|
|
Post by Joel_W on Nov 17, 2018 10:37:09 GMT -8
Chris,
so you're not going to work on refining the edge between the two colors, rather letting the decal hide it. I have the same for the Rothman's car except on the tail fins.
Joel
|
|
|
|
Post by garydavis on Nov 17, 2018 10:58:49 GMT -8
That paint job looks good in the pics Chris. It don't look like there's any build up between colors that need to be addressed.The edges look good to me. Love that paint scheme...so did AJ. I think Poppy Red was one of his Favorite colors....
|
|
|
|
Post by Chris K. Hale on Nov 18, 2018 7:00:05 GMT -8
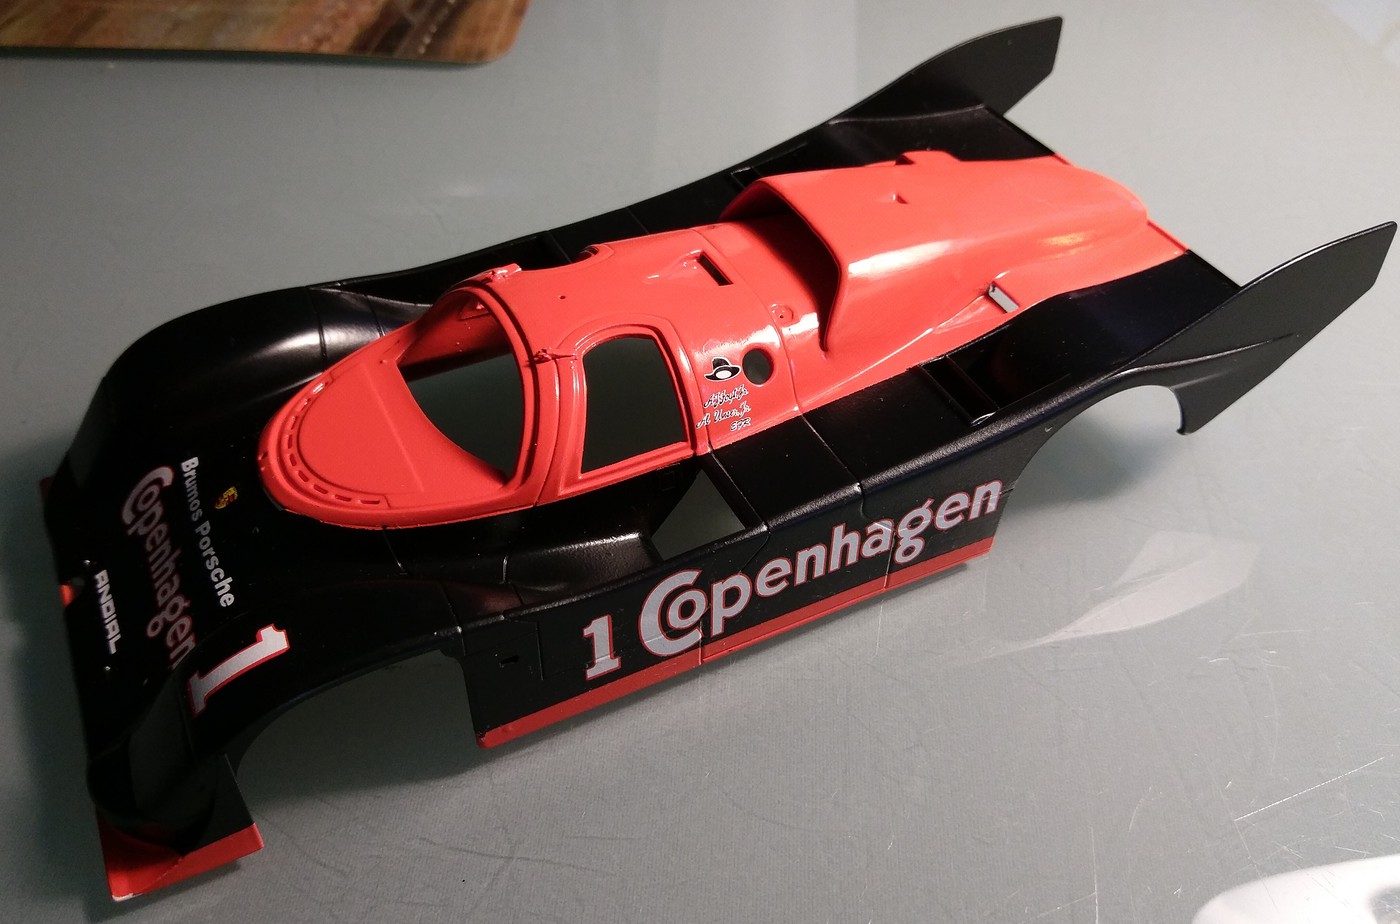
I miss understood Joel's comment on the paint , there is no defining buildup between the colors, mostly because I didnt mask the Poppy Red just sprayed it in the general areas and then lightly wet sanded it, also letting it cure a week helped, so when I sprayed the black the only defining line was for the black, I understand how when using multiple colors there can be build up but the rule of lightest color first and then the darker color, and black being a complete covering color there is no worry of bleed from the first color. Does that make sense?? After allowing the paint to cure in the usually warm office a day I dont think I need to sand much at all and the rear deck I had been concerned about came out smoother than I thought. so I may work on decals today. Chris
|
|
|
|
Post by Joel_W on Nov 18, 2018 7:41:10 GMT -8
I miss understood Joel's comment on the paint , there is no defining buildup between the colors, mostly because I didnt mask the Poppy Red just sprayed it in the general areas and then lightly wet sanded it, also letting it cure a week helped, so when I sprayed the black the only defining line was for the black, I understand how when using multiple colors there can be build up but the rule of lightest color first and then the darker color, and black being a complete covering color there is no worry of bleed from the first color. Does that make sense?? After allowing the paint to cure in the usually warm office a day I dont think I need to sand much at all and the rear deck I had been concerned about came out smoother than I thought. so I may work on decals today. Chris Chris, Thanks for the clarification on the demarcation line. I guess you can tell that I'm more then a little concerned about the Rothmans hard blue demarcation line over the all White main color. I did really think about using the IndyCal decals with the Blue as a decal, but for the life of me, I can't see how any decal can conform to the nose intakes properly. I did think about just using the Gravity Rothmans paint for the nose intakes, and decals for the rest of the shell. But that is kind of like cheating, and sooner or later I'll have to learn how to handle multi color schemes. In my years as a military aircraft modeler, the majority of the those demarcation lines were soft edge. The hard edge ones were very easy to deal with as a lot less paint was needed for coverage with military matt paints, and the painting process uses a lot less paint. All I ever had to do was a few passes with (don't laugh) a piece of old cotton tee shirt. No super fine emery cloth needed as there was so little paint actually used. With any doubt (in my mind), auto gloss finishes are by far the hardest of any painting process in plastic modeling. Joel |
|
|
|
Post by Ben_B on Nov 18, 2018 8:25:32 GMT -8
Looks good, Chris! Getting a good demarcation between two colors has always given me headaches on my airliner builds. Having a decal cover the break is always a good thing!  Ben |
|
|
|
Post by Chris K. Hale on Nov 21, 2018 6:01:53 GMT -8
 I started decals yesterday and found out immediately, These Decals will sliver if you dont clear them first!!! So I sprayed them with the Testors Ultra clear , let them dry and went to work, I am glad they give you two sheets to do the car so the one that slivered on me was a duplicate, I am unsure of the size of the gold striping and may use Microscale Gold decal sheet to cut some thinner ones , more to come..Every photo of each race and restored car has different placement on this livery , there is a lot of variation on sponsor placement so I am mixing it up a bit but it will look right.. Chris |
|
Deleted
Deleted Member
Posts: 0
|
Post by Deleted on Nov 21, 2018 7:05:57 GMT -8
Very nice Chris I really like this conversion, I must admit I am not a a big Porsche fan but this is looking extra nice.
|
|
|
|
Post by Joel_W on Nov 22, 2018 6:52:01 GMT -8
Chris,
Impressive to say the least. As I said before, your two tone paint scheme is just perfectly done. Your decaling indeed looks like paint or even dry transfers as they are sucked down into every Nook & Cranny. Honestly, I don't see a single issue of Silvering or Flash, so the gloss coat worked.
I'm a little confused as to what the clear coating prior to decal application does to prevent Silvering? Silvering is the result of the decal not sticking to the surface, so as the decal dries the clear decal film becomes translucent and thus visible. I would have thought that the clear gloss coat would just make that translucent film glossy.
Joel
|
|
|
|
Post by Chris K. Hale on Nov 22, 2018 9:05:54 GMT -8
Joel, SLIVERING is the decal falling apart into Slivers, thus not usable, spraying a clear coat makes it stay together, You still have to trim very closely to the decal as it will transfer the clear coat too, but even at that when you spray a seal or gloss coat of clear over it, it will become part of the final clear coat..Make Sense? Chris
|
|
|
|
Post by Joel_W on Nov 22, 2018 12:33:08 GMT -8
Joel, SLIVERING is the decal falling apart into Slivers, thus not usable, spraying a clear coat makes it stay together, You still have to trim very closely to the decal as it will transfer the clear coat too, but even at that when you spray a seal or gloss coat of clear over it, it will become part of the final clear coat..Make Sense? Chris Chris, Talk about bad eyesight. How I got Silvering from Slivering, proves just how bad my one eye really is Joel |
|
|
|
Post by Chris K. Hale on Nov 25, 2018 13:14:48 GMT -8
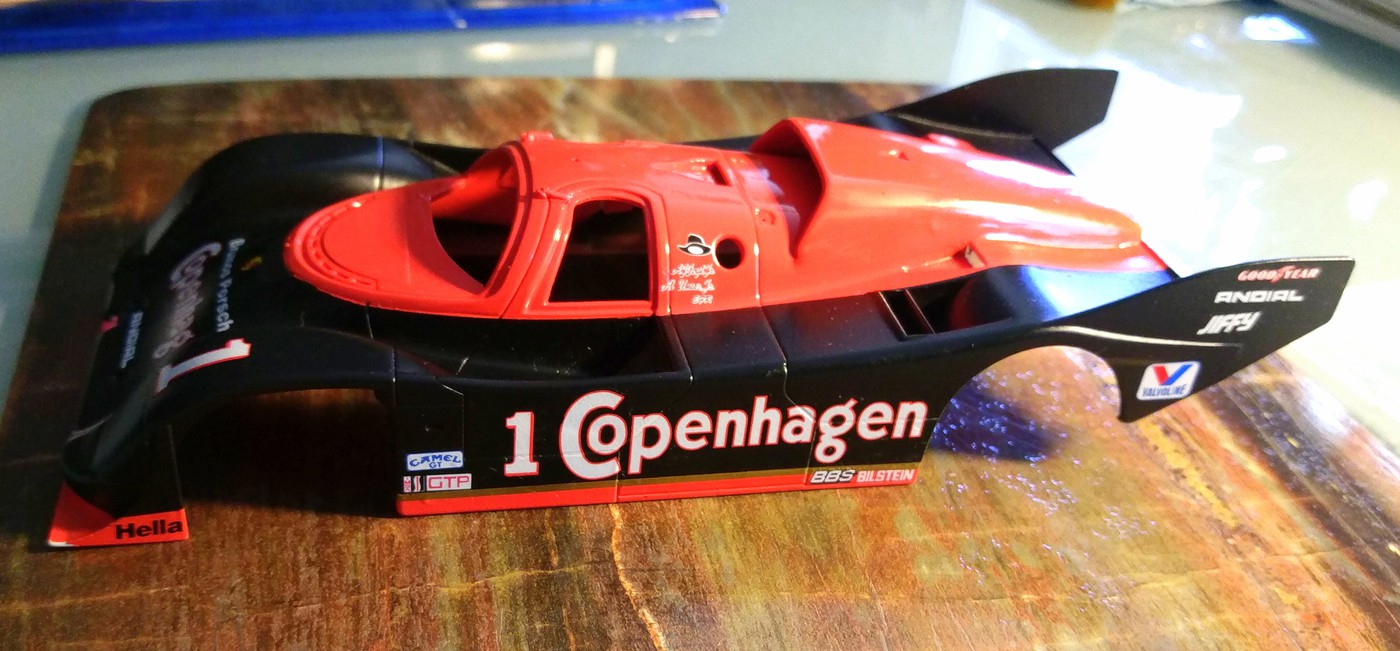  Left and Front sides, I had very little problems with the Gold stripe dividing the black and poppy red on the left side , came out pretty nice. Now on to the top and right side then clear!! Gettin there!! Chris |
|
|
|
Post by Joel_W on Nov 25, 2018 14:07:27 GMT -8
Chris,
the Gold stripping on the lower left side looks so good, it could easily pass for paint.
Joel
|
|
|
|
Post by Chris K. Hale on Nov 28, 2018 13:11:40 GMT -8
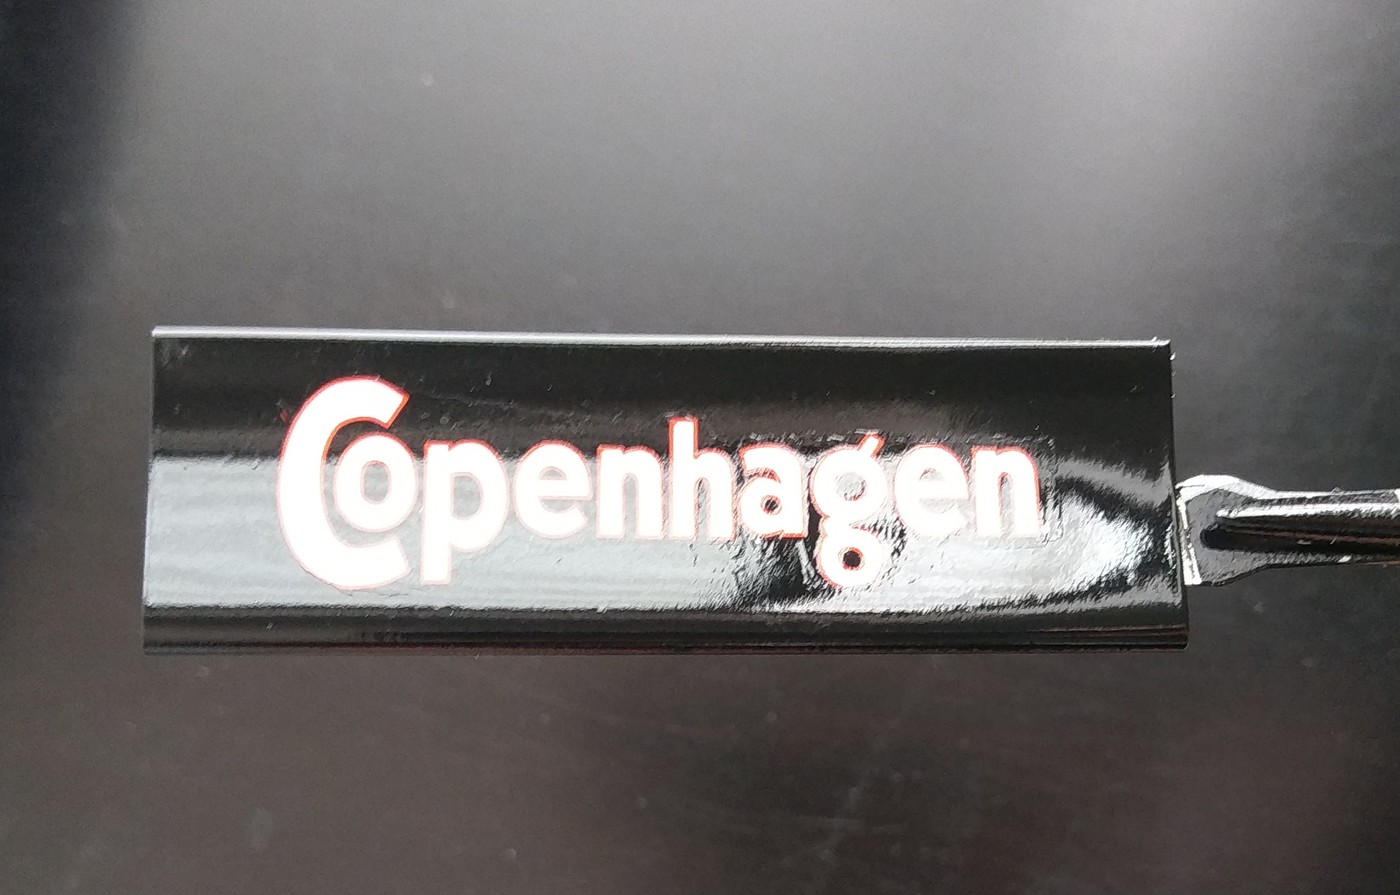 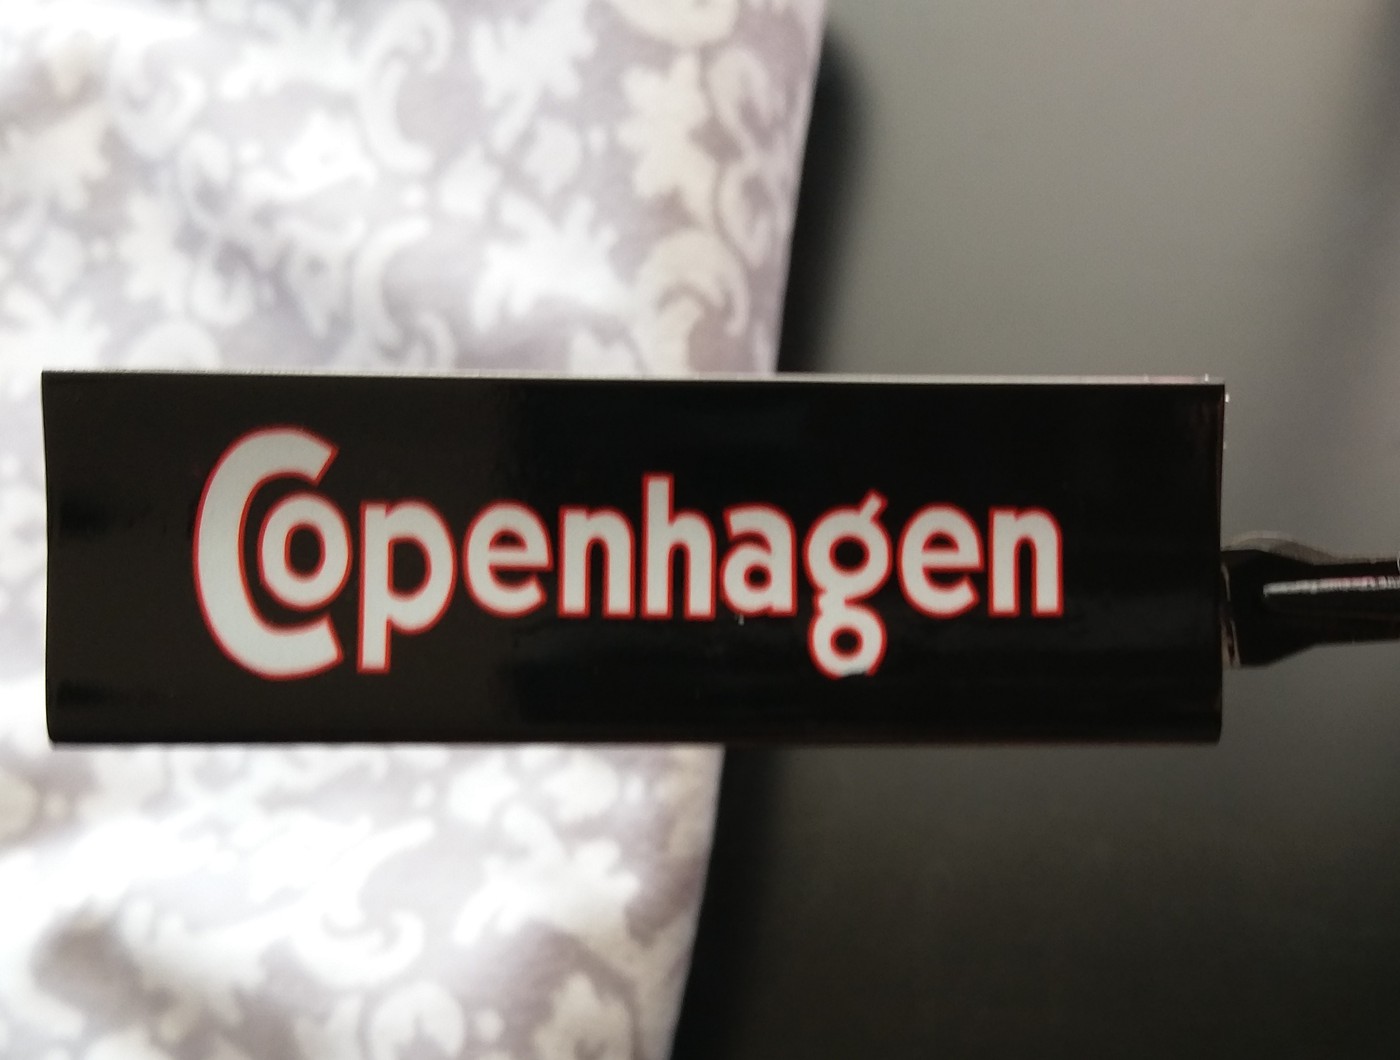 Dont Ya Just Love It when A Plan comes together? I sprayed the Wing with the TS-29 Semi Gloss Black just as I had done with the body, applied the decal and then sprayed the Gloss Coat,, I was worried since it didnt have much of a Gloss...so this morning after the temps went up from 54 degrees out to 72 I sprayed the heavier Gloss Coat on, then it hit me the first coat was absorbed and sealed the semi-gloss the second coat really shined it up, the pics are without any sanding or polishing but since it is a race car with a Carbon Fibre Body I think it is right on and no polishing is necessary...On to the rest of the decals and then clear the entire body..100% rain tomorrow and temps in the low 30's in the morning with a high of 56 I will either fire up the heater in the shop or wait until the weather gets better..... Chris |
|
|
|
Post by Joel_W on Nov 28, 2018 13:23:23 GMT -8
Chris,
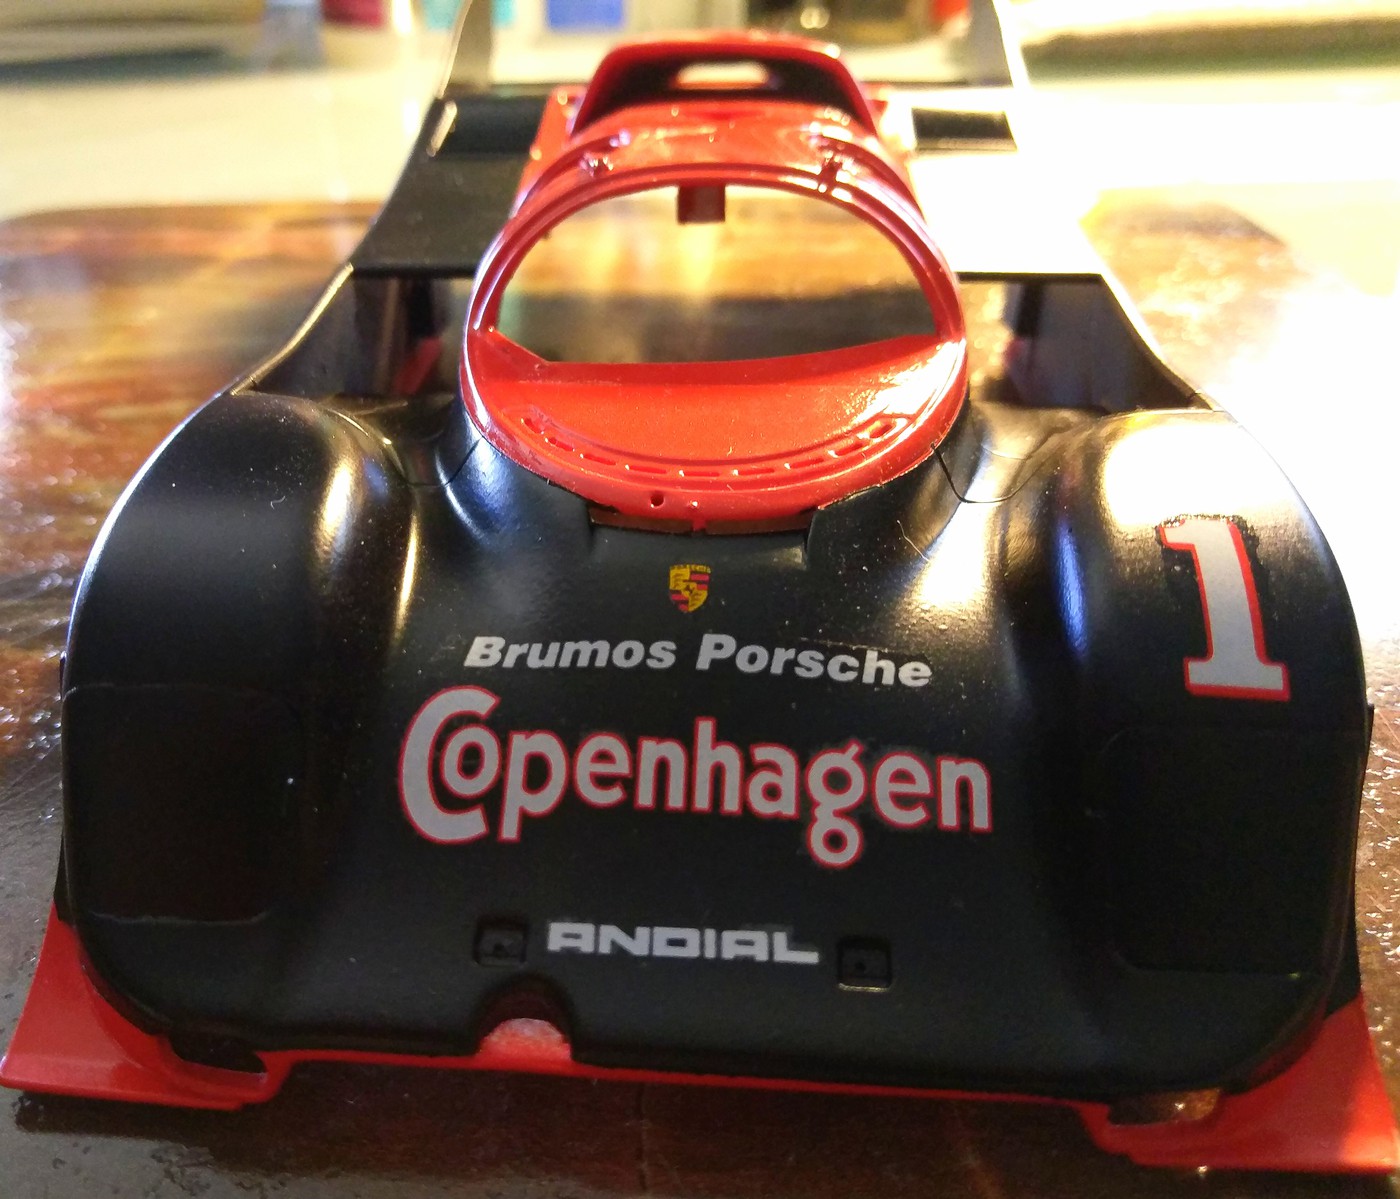
The 2nd application of Gloss really made a huge difference. The clear decal edges just disappeared. Looks like you used masks to paint the Copenhagen logo.
Joel
|
|


